Articles
How To Install A Sliding Closet Door
Modified: May 6, 2024
Learn how to install a sliding closet door in your home with this comprehensive guide on home maintenance. Simplify your space and upgrade your storage solutions today!
(Many of the links in this article redirect to a specific reviewed product. Your purchase of these products through affiliate links helps to generate commission for Storables.com, at no extra cost. Learn more)
Introduction
Installing a sliding closet door can be a great way to optimize space and enhance the aesthetics of your room. Sliding doors are not only functional but also add a stylish touch to any closet. Whether you’re renovating your home or simply looking to upgrade your closet doors, this step-by-step guide will walk you through the process of installing a sliding closet door.
Before you begin, make sure you have all the necessary tools and materials on hand. This will ensure a smooth and efficient installation process. The tools you’ll need include a tape measure, level, power drill, screwdriver, pencil, and a miter saw. Additionally, you’ll need a sliding door kit, consisting of a track, door panels, and any additional hardware.
Now that you’re ready, let’s delve into the steps involved in installing a sliding closet door.
Key Takeaways:
- Installing a sliding closet door involves precise measurements, careful selection of door system, and meticulous preparation. Attention to detail ensures smooth operation and enhances the aesthetics of your space.
- The installation process requires patience and fine-tuning to achieve optimal functionality and visual appeal. Adding finishing touches and conducting final checks are crucial for a successful sliding closet door installation.
Read more: How To Fix Sliding Closet Door
Tools and Materials Needed
Before you begin installing a sliding closet door, gather the following tools and materials:
- Tape measure
- Level
- Power drill
- Screwdriver (Phillips and flathead)
- Pencil
- Miter saw
- Sliding door kit (includes track, door panels, and additional hardware)
- Screws
- Wall anchors (if needed)
- Shims
Having these tools and materials readily available will make the installation process smoother and more efficient. It’s essential to have the proper tools to ensure accurate measurements, secure installation, and precise adjustments.
Make sure to choose a sliding door kit that suits your style and fits the dimensions of your closet opening. Measure the width and height of the opening before purchasing a kit to ensure a proper fit. Additionally, consider the weight and material of the door panels as it will determine the type and number of tracks needed.
With the necessary tools and materials on hand, you’re now equipped to move on to the next steps of installing a sliding closet door. Let’s get started!
Step 1: Measure the Closet Opening
The first step in installing a sliding closet door is to accurately measure the dimensions of the closet opening. This step is crucial to ensure that you purchase a sliding door kit that fits perfectly.
Start by measuring the width of the opening. Use a tape measure to measure the distance between the two side walls where the door will be installed. Take into account any trim or molding on the walls.
Next, measure the height of the opening. Measure from the floor to the top of the opening, accounting for any flooring or carpeting that may affect the height.
Write down the measurements and double-check for accuracy. It’s always a good idea to measure twice to ensure precision.
Once you have the measurements, consider the required clearance for the sliding door panels to slide smoothly. Typically, you’ll need a minimum of 1 inch (2.5 cm) of clearance on each side and at the top of the opening.
With the measurements in hand, you can now proceed to the next step of choosing the sliding door system that fits your closet opening.
Step 2: Choose the Sliding Door System
After measuring the closet opening, it’s time to select the sliding door system that best suits your needs and complements your room’s aesthetic.
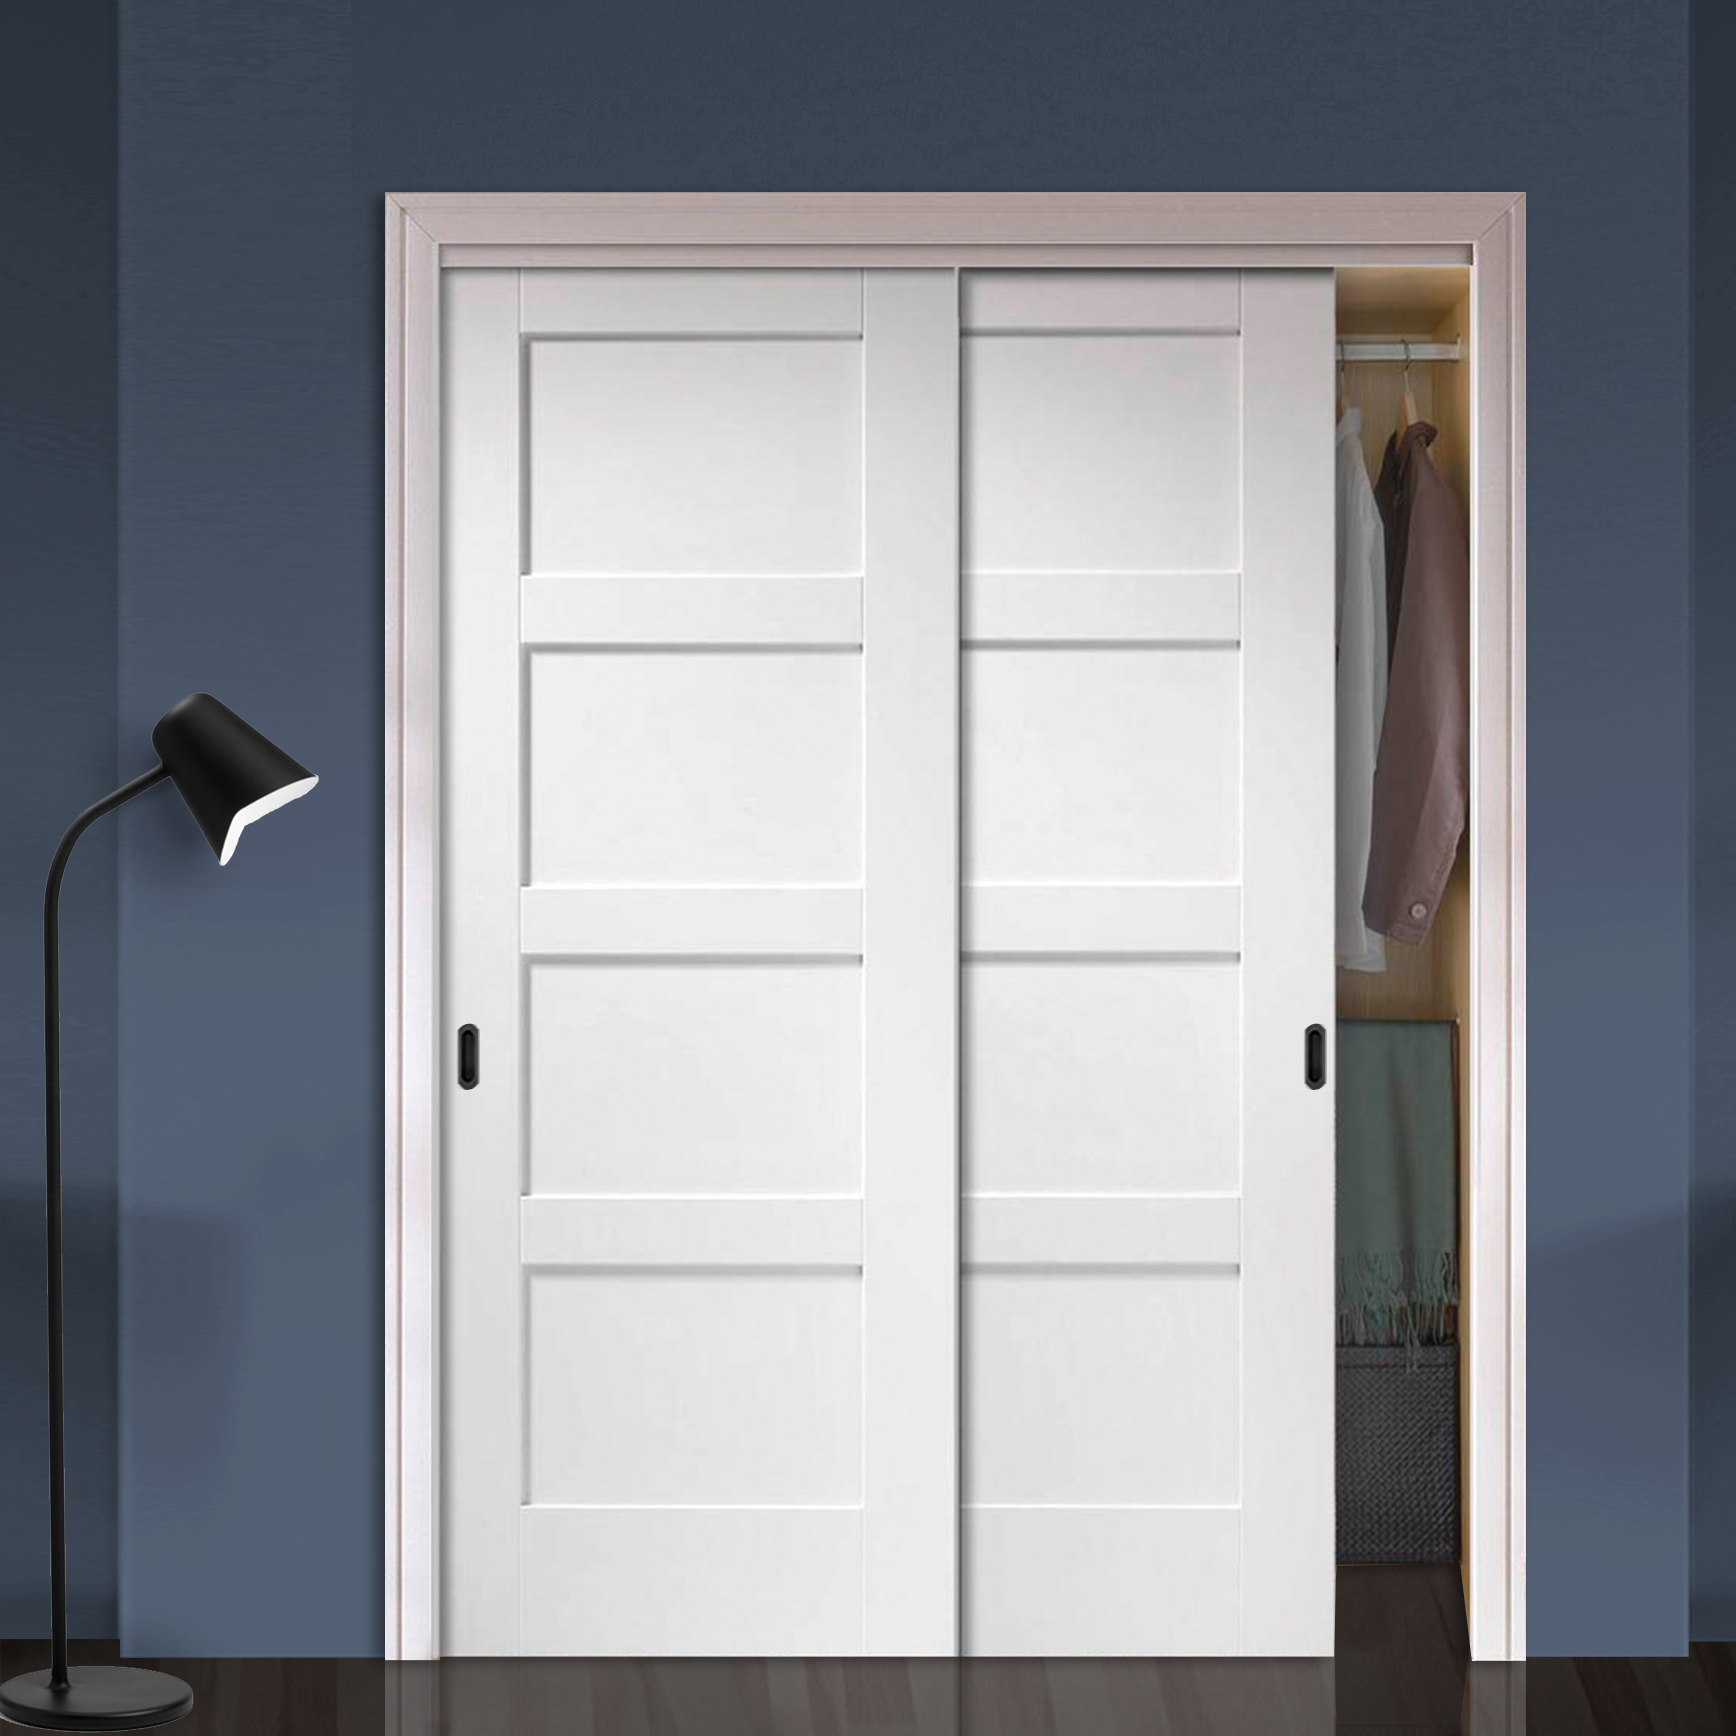
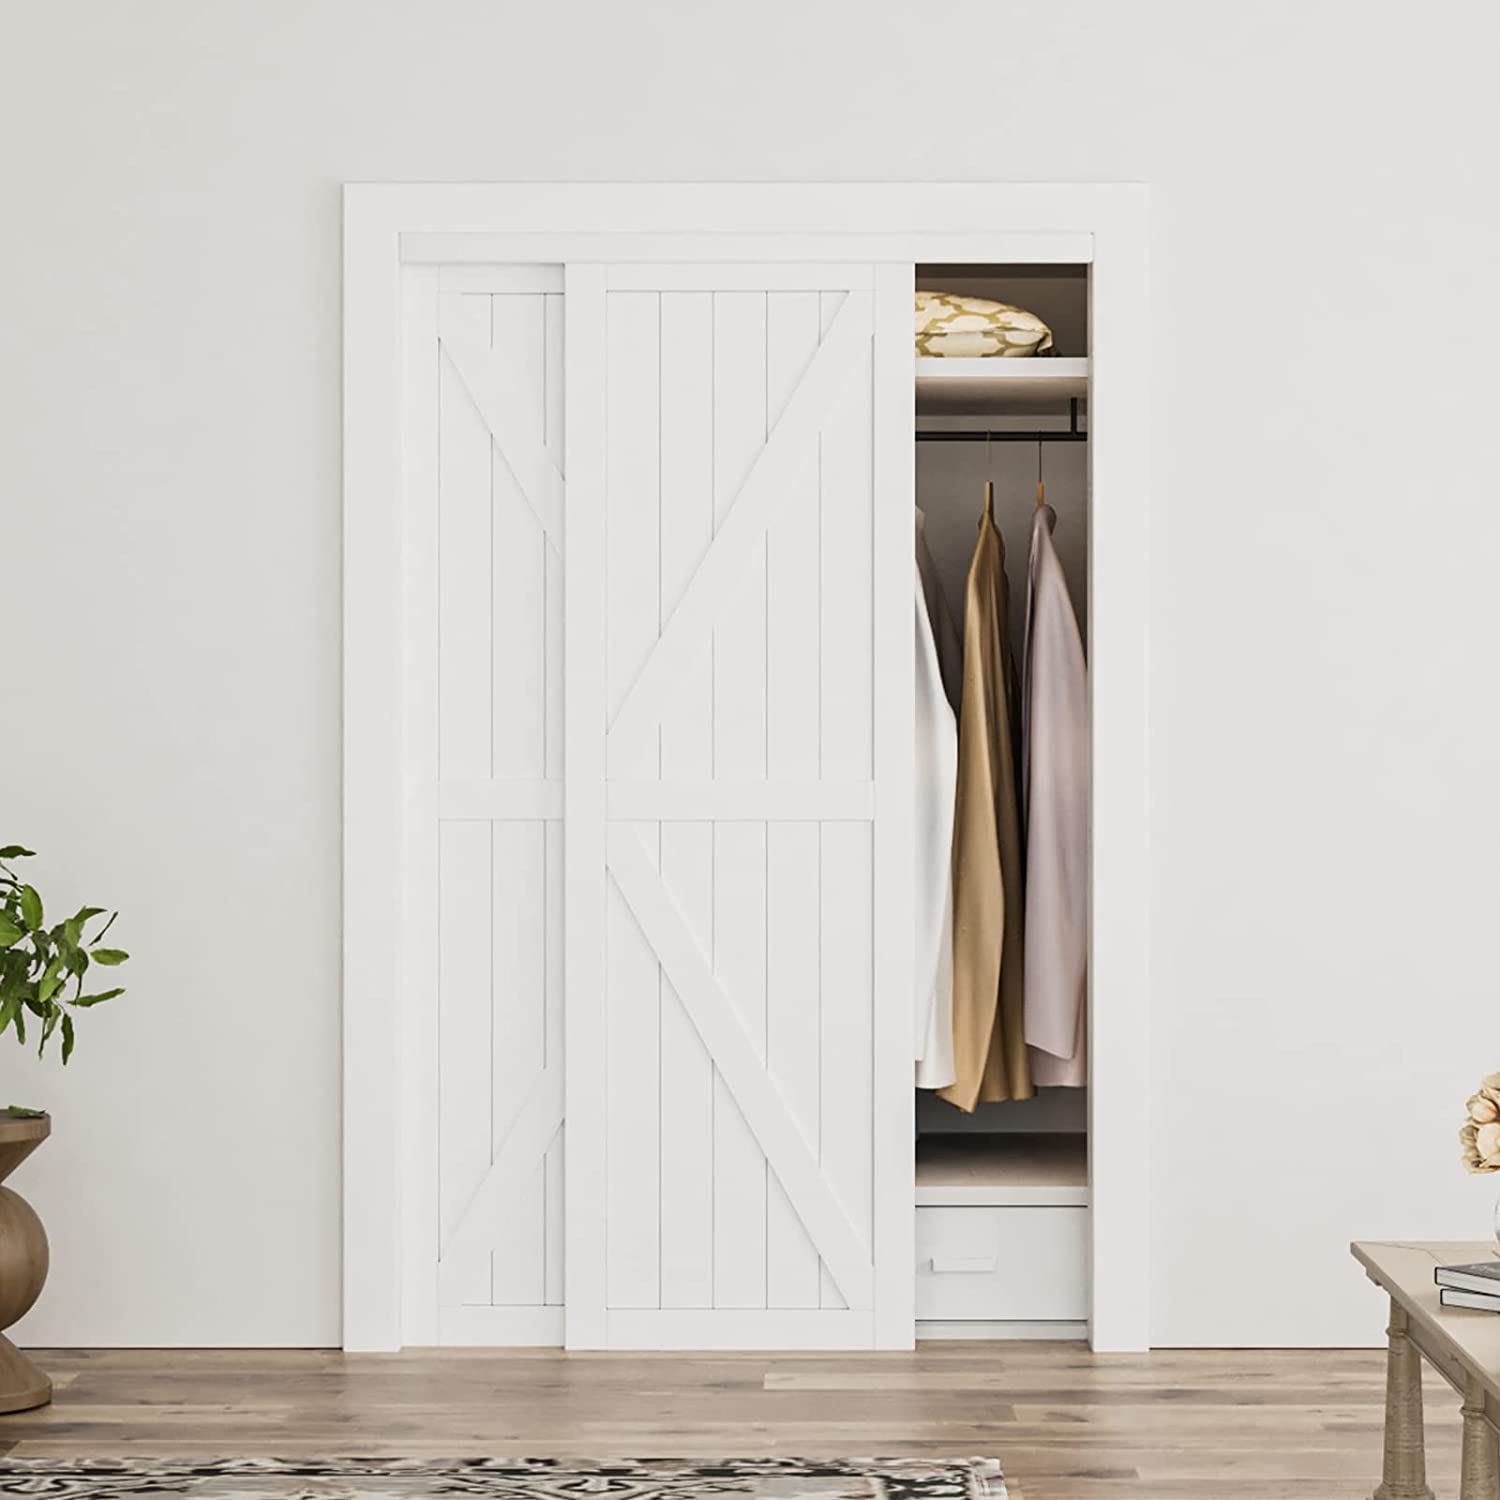
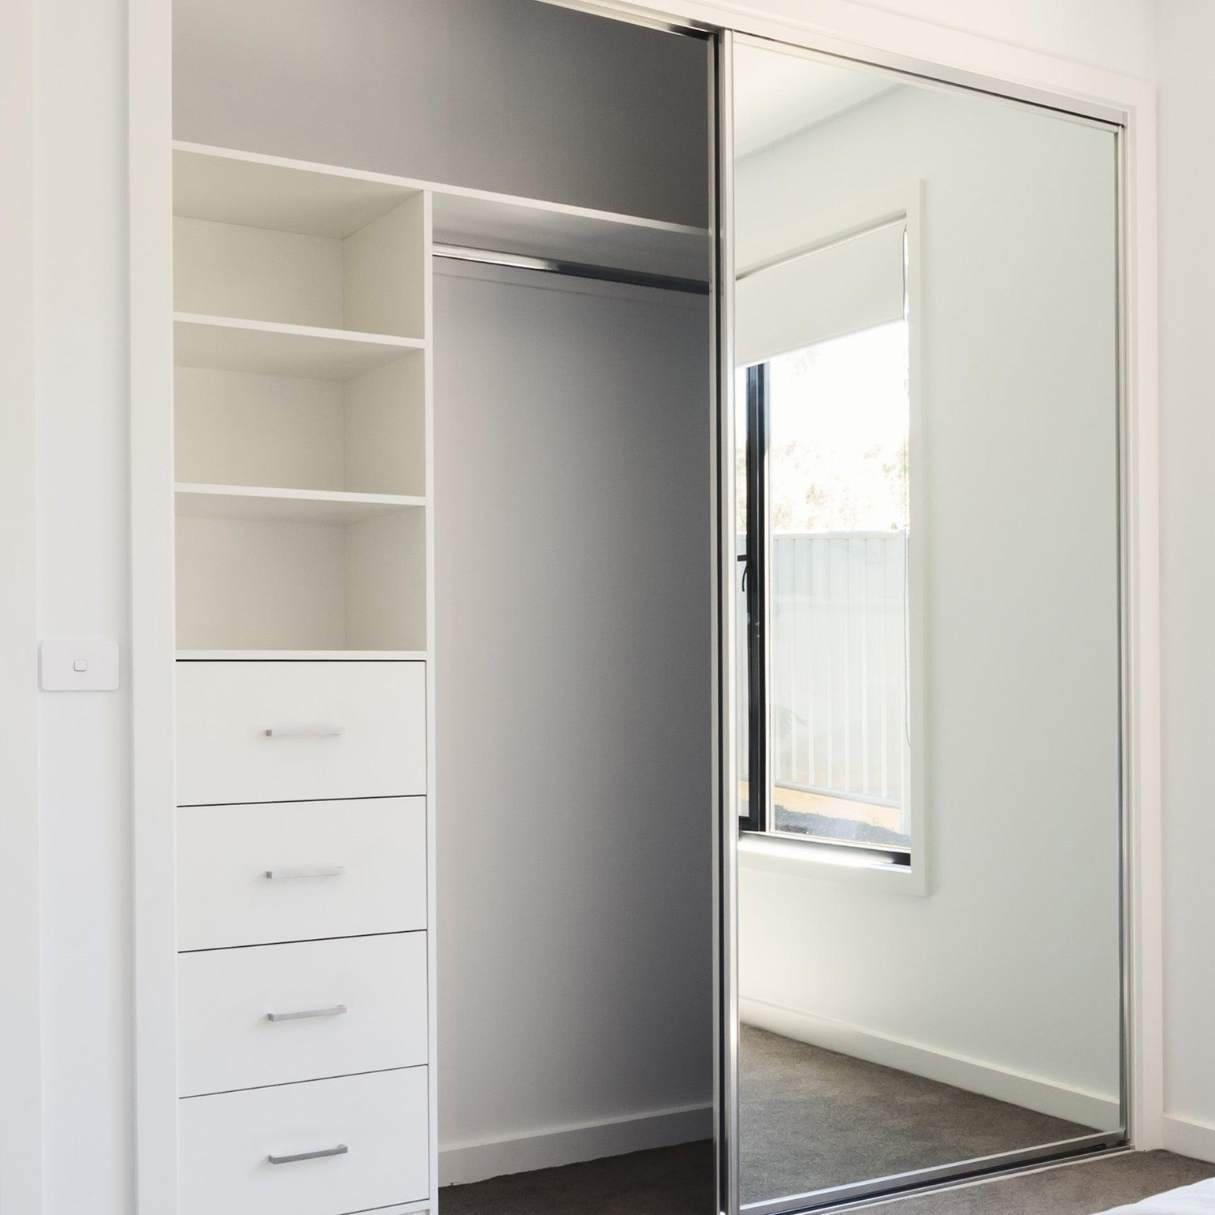
Consider the style and material of the sliding door panels. Popular options include solid wood, mirrored glass, or frosted glass. Choose a style that matches the overall decor of your room and reflects your personal taste.
Next, determine the number of panels you want for your sliding door. This will depend on the width of your closet opening and the desired aesthetic. Common configurations include single-panel, two-panel, and three-panel sliding doors.
Take into account the weight of the sliding door panels. If you choose heavier materials like solid wood, you may need a more robust track system and additional support for smooth operation.
Consider the track system options as well. There are top-mount and bottom-rolling tracks available, each with its pros and cons. Top-mount tracks provide a clean look, while bottom-rolling tracks are easier to install. Choose the option that suits your preferences and installation requirements.
Lastly, check if the selected sliding door system includes all the necessary hardware for installation, such as screws, rollers, guides, and handles. If not, make sure to purchase the required hardware separately.
By carefully selecting the sliding door system, you’ll ensure a functional and visually appealing addition to your closet. Once you’ve made your choice, it’s time to move on to preparing the closet opening for installation.
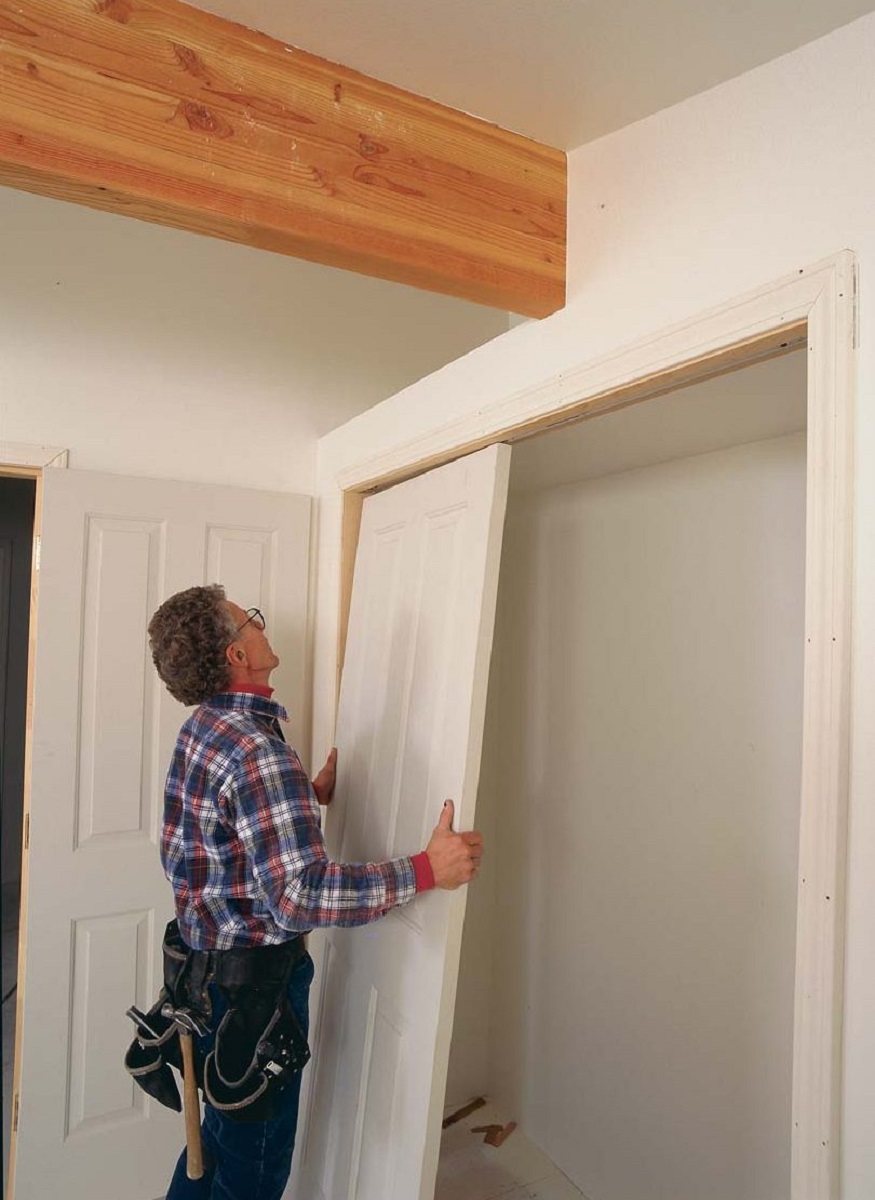
Step 3: Prepare the Closet Opening
With your sliding door system chosen, it’s now time to prepare the closet opening for installation. This step involves inspecting the opening, making any necessary repairs, and ensuring that it is clean and level.
Start by inspecting the walls surrounding the opening. Look for any cracks, holes, or damage. Fill in any imperfections with spackle or drywall compound, and sand them down until smooth. This will provide a clean and even surface for the installation.
Next, check if the opening is level and plumb. Use a level to ensure that the sides and top of the opening are perfectly vertical and horizontal. If the opening is not level, use shims to adjust and ensure a level surface.
Remove any existing trim, molding, or baseboards that might interfere with the installation of the sliding door system. This will create a clear and unobstructed pathway for the tracks and panels.
Before proceeding, it’s important to clean the closet opening thoroughly. Remove any dust, dirt, or debris that may have accumulated. A clean surface will ensure proper adhesion when installing the track.
Once the opening is repaired, level, and clean, you are now ready to move on to the next step of installation: installing the sliding door track.
Remember to take your time during this step and ensure that the closet opening is properly prepared. This will set the foundation for a smooth and successful installation of your sliding closet door system.
Read more: How To Childproof A Sliding Closet Door
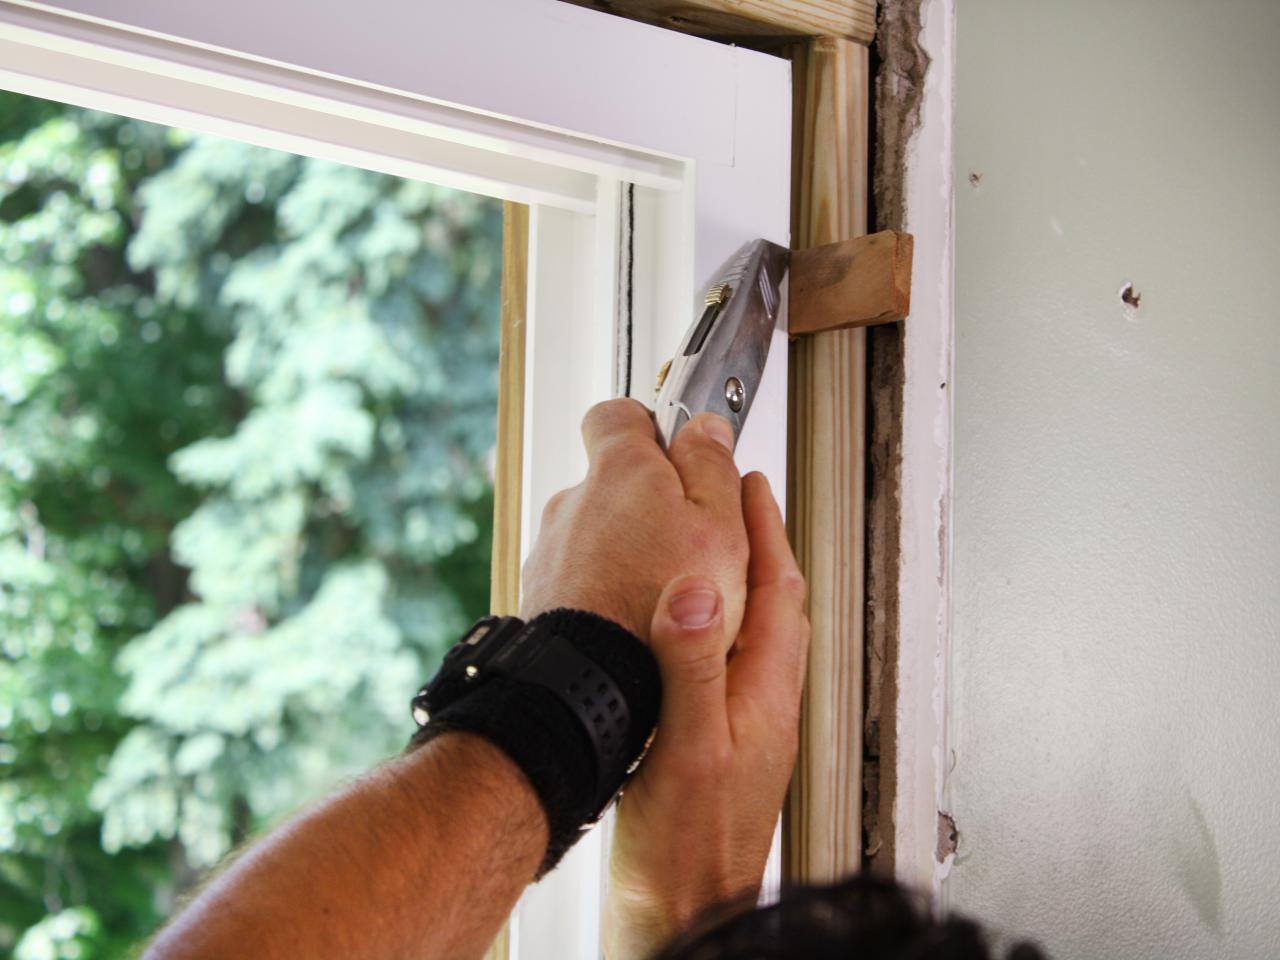
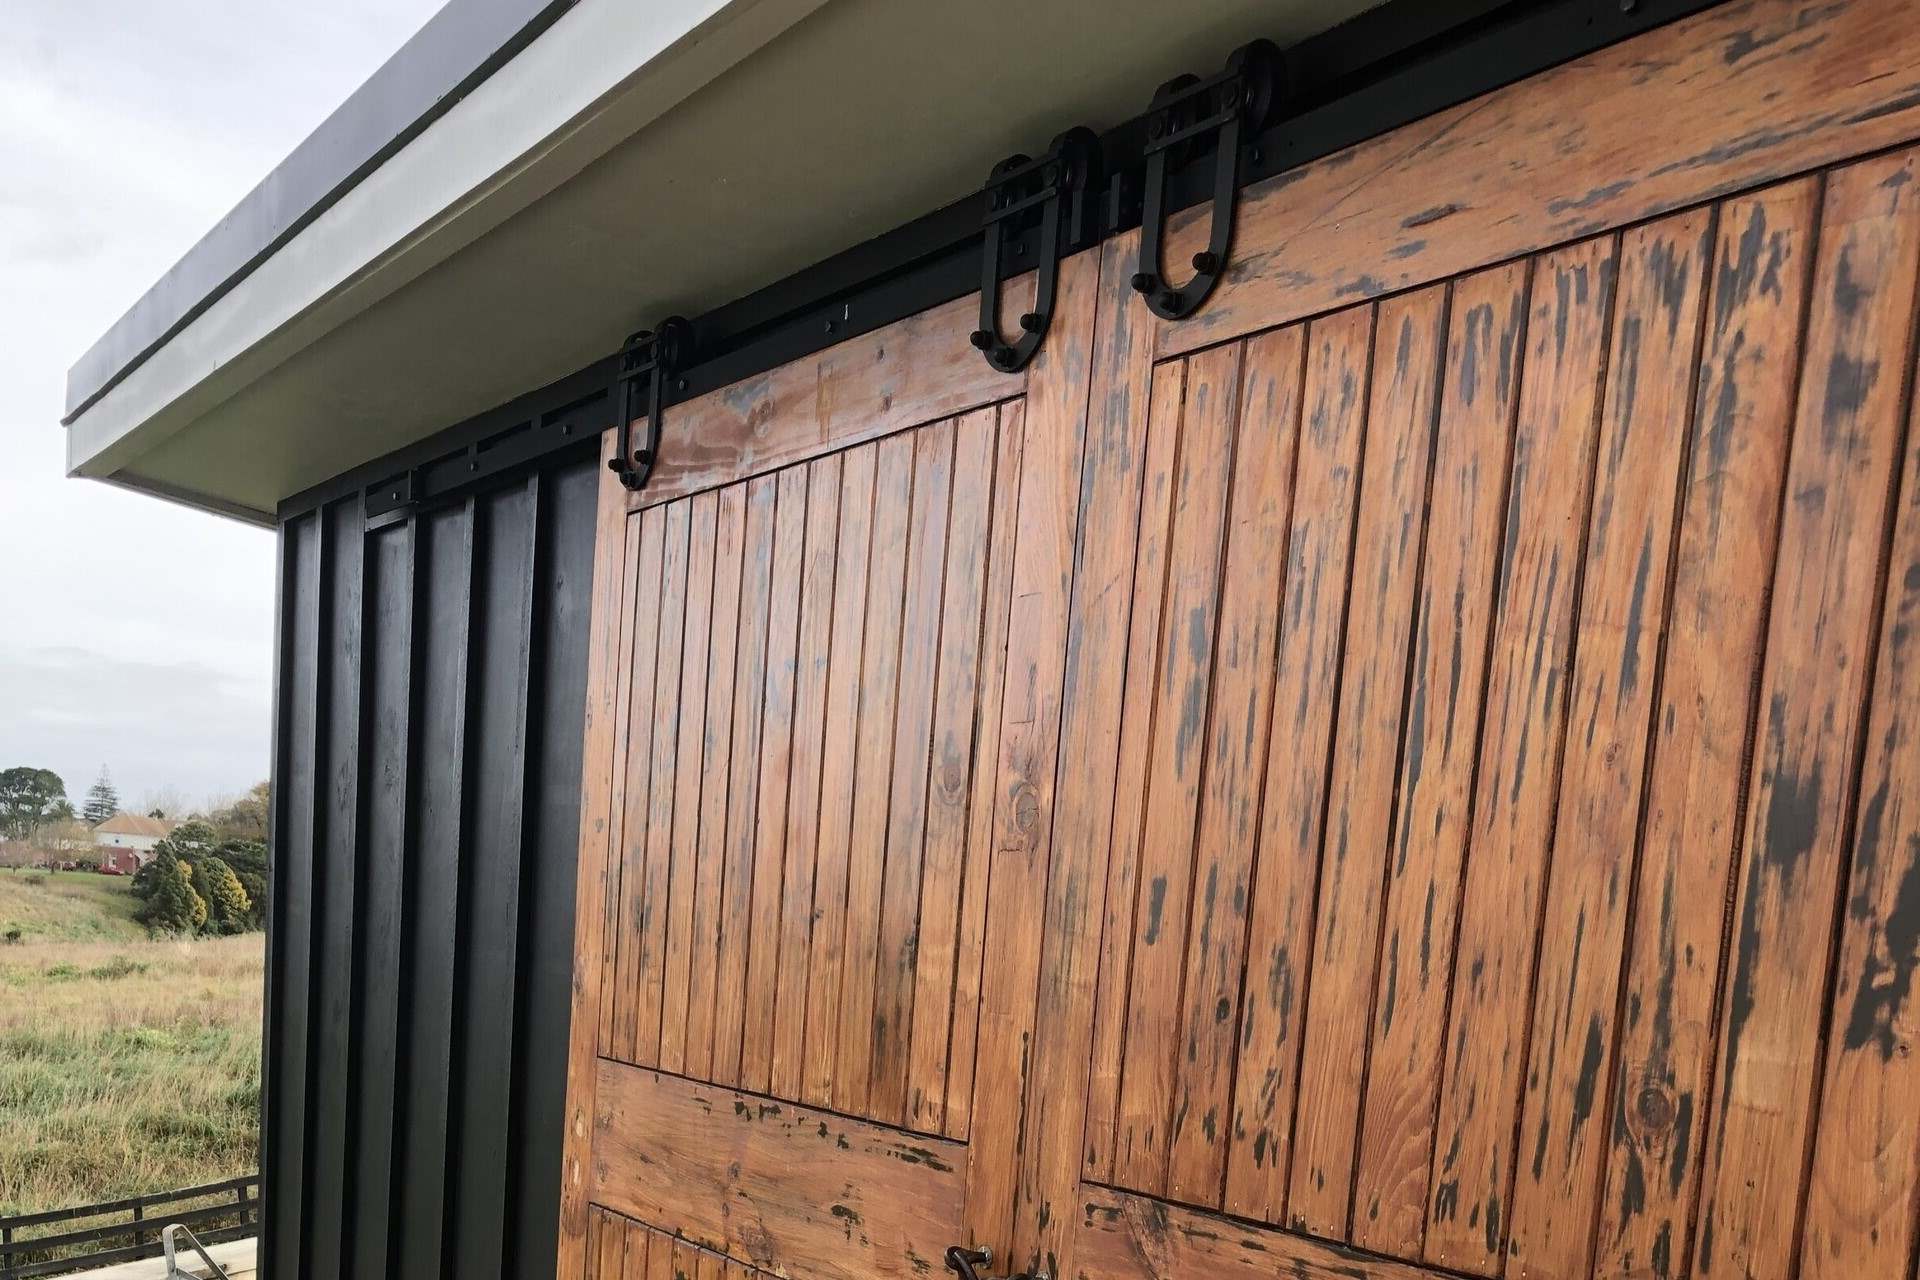
Step 4: Install the Track
Now that the closet opening is prepared, it’s time to install the track for your sliding closet door system. The track serves as a guide for the door panels, allowing them to slide smoothly.
Start by measuring and marking the location for the track. Measure the height from the floor to determine the desired position of the track. Typically, the track is installed a few inches above the floor to allow for easy cleaning and avoid any potential obstructions.
Using a level, ensure that the track is perfectly horizontal. Mark the screw hole locations along the length of the track.
Pre-drill the holes for the screws using a power drill and the appropriate drill bit. This will prevent the wood from splitting when the screws are inserted.
Position the track on the marked locations, aligning it with the level line, and secure it in place using screws. Make sure to tighten the screws securely to provide a stable and secure track.
Repeat the process for the top track if your sliding door system has a top-mount track configuration.
After installing the track, double-check its alignment and ensure that it is level and securely fastened to the wall. Smoothly slide the door panels along the track to test its functionality.
If the track is not aligning properly or if the doors are not sliding smoothly, make any necessary adjustments. This may involve repositioning the track, leveling it again, or checking for any obstructions that may impede the movement of the door panels.
With the track successfully installed, you’re ready for the next step: mounting the sliding door panels.
Take your time during this step to ensure a proper and secure installation of the track. A well-installed track is essential for the smooth operation of your sliding closet doors.
When installing a sliding closet door, make sure to measure the opening accurately and choose the right size door. Follow the manufacturer’s instructions carefully and use the proper tools for a smooth installation.
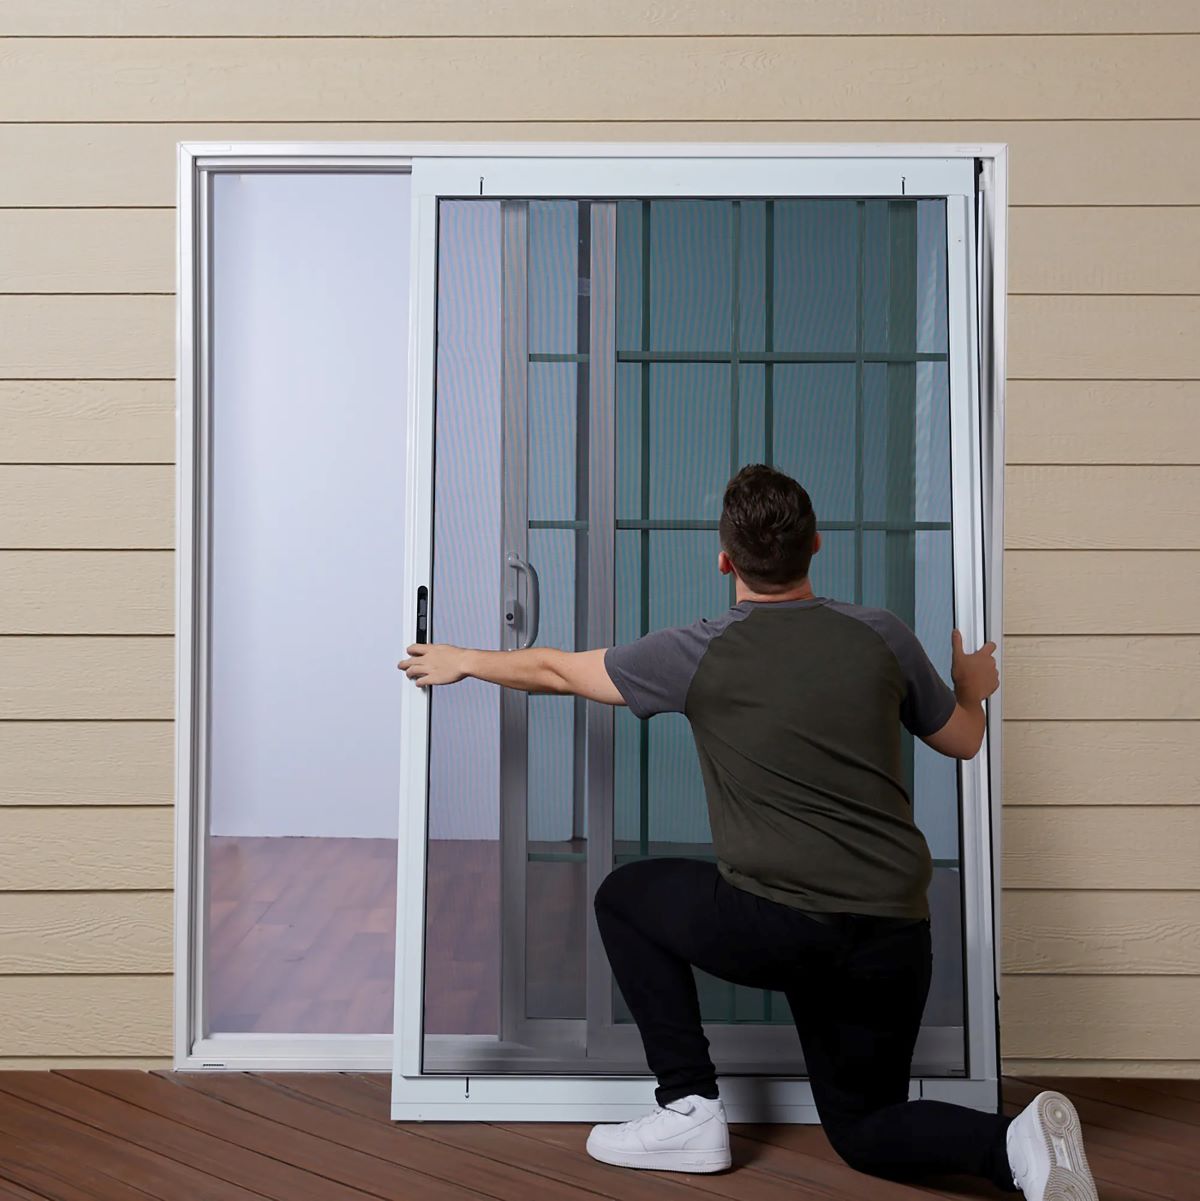
Step 5: Mount the Sliding Door Panels
With the track securely installed, it’s time to mount the sliding door panels onto the track. This step brings your sliding closet door system to life.
Start by positioning the first door panel at the opening of the track. Carefully lift the panel, aligning the rollers with the track, and insert them into the track channel.
Slide the door panel along the track to ensure that it moves smoothly and effortlessly. If the panel feels stiff or encounters any resistance, adjust the rollers as needed to ensure a smooth glide.
Repeat the process for the second door panel, aligning the rollers with the track channel and sliding it into place. Ensure that the panels are aligned evenly and meet in the center when closed.
Once both door panels are mounted and aligned, check for any gaps or misalignment. Adjust the rollers as necessary to ensure that the panels fit snugly and operate smoothly.
Test the sliding motion of the door panels several times, making sure they slide effortlessly along the track. If there are any issues, such as sticking or misalignment, make further adjustments until the panels move seamlessly.
Take your time during this step to ensure that the panels are mounted correctly and glide smoothly along the track. A well-mounted set of sliding door panels will provide ease of use and enhance the functionality of your closet.
Now that the door panels are successfully mounted, you’re ready to move on to the next step: adjusting and testing the sliding doors.
Step 6: Adjust and Test the Sliding Doors
After mounting the sliding door panels, it’s essential to adjust and test them to ensure smooth operation and proper alignment. This step will guarantee that your sliding doors function properly and align perfectly.
Begin by checking the vertical alignment of the door panels. Use a level to confirm that both panels are plumb and vertically aligned. If one panel is higher or lower than the other, adjust the rollers accordingly until they are level.
Next, check the horizontal alignment of the door panels. Ensure that the panels are evenly spaced and centered within the closet opening. Make any necessary adjustments to the rollers to achieve proper alignment.
Test the sliding motion of the doors multiple times, paying attention to any areas of sticking or resistance. If the doors do not glide smoothly, adjust the rollers until they move effortlessly along the track.
Check the panels for any gaps between them when closed. If there are noticeable gaps, adjust the rollers or make slight adjustments to the position of the panels to eliminate the gaps.
Once you are satisfied with the alignment and sliding functionality of the doors, give them a final test to ensure smooth operation and proper alignment.
Remember, the adjustment process may take some time and patience. Take the necessary time to fine-tune the sliding doors for optimal performance and aesthetic appeal.
Now that the sliding doors are adjusted and tested, you’re ready to move on to the next step: installing any additional hardware such as handles or locks.
Step 7: Install any Additional Hardware
Installing additional hardware can enhance the functionality and appearance of your sliding closet doors. This step allows you to add finishing touches and customize the doors to your liking.
Start by deciding on the type of hardware you want to install, such as handles or knobs. Consider the style and material that will complement your sliding doors and match the overall aesthetic of the room.
Measure and mark the desired location for the hardware on each door panel. Ensure that the placement is symmetrical and visually appealing.
Once you have determined the positions, use a measuring tape and level to ensure accuracy when marking the hole locations. Use a pencil or a small awl to make pilot holes for the screws.
Attach the handles or knobs using the provided screws, ensuring they are securely fastened. Double-check to make sure they are aligned and positioned properly.
If you want to add any other hardware, such as a lock or a soft-closing mechanism, follow the manufacturer’s instructions for installation.
After installing the additional hardware, test its functionality. Open and close the sliding doors, ensuring that the handles or knobs operate smoothly and that any added features function correctly.
Take this opportunity to make any final adjustments or fine-tuning. If necessary, recheck the alignment of the door panels and rollers to ensure that everything is properly set before moving on to the final step.
With any additional hardware successfully installed, you’re now ready for the final step: adding the finishing touches and conducting a final check of your sliding closet doors.
Read more: How To Organize Closet With Sliding Doors
Step 8: Finishing Touches and Final Checks
Congratulations! You’re in the final step of installing your sliding closet doors. This step involves adding the finishing touches and conducting a final check to ensure that everything is in place and functioning as intended.
Start by inspecting the overall appearance of the doors. Check for any visible gaps, misalignment, or imperfections. If necessary, make any minor adjustments to improve the aesthetics of the doors.
Next, examine the operation of the sliding doors. Open and close them multiple times to ensure they slide smoothly along the track and that there are no hitches or resistance. Pay attention to any unusual noises or sticking points, as these may indicate a need for further adjustments.
Inspect the tracks and rollers for any signs of wear or damage. Clean them if necessary and lubricate them with a silicone-based lubricant to ensure optimal performance.
Check the functionality of any additional hardware that you installed, such as handles, knobs, or locks. Ensure they operate smoothly and securely.
Finally, step back and appreciate the final look of your newly installed sliding closet doors. Take a moment to admire the enhanced aesthetics and the added functionality they provide to your space.
If everything looks and operates as desired, give yourself a pat on the back for a job well done!
However, if you encounter any issues during the final checks, don’t hesitate to make the necessary adjustments or seek professional assistance if needed. It’s important to ensure that your sliding closet doors meet your expectations and function properly.
By completing this final step, your sliding closet door installation process is complete! Enjoy the benefits of your revamped closet and the visual appeal it adds to your living space.
Conclusion
Installing a sliding closet door can transform the aesthetics and functionality of your space. By following the step-by-step guide outlined in this article, you have learned how to successfully install a sliding closet door from start to finish.
Beginning with measuring the closet opening and selecting the right sliding door system, you took the necessary steps to prepare the closet opening and install the track. You then mounted the sliding door panels, adjusted and tested their operation, installed additional hardware, and conducted final checks.
Throughout the process, attention to detail and precision ensured that your sliding closet doors were properly aligned and smoothly gliding along the track. By adding the finishing touches and conducting a final check, you ensured the doors’ functionality and appearance met your expectations.
Now, with your newly installed sliding closet doors, enjoy the benefits of optimized space utilization and improved aesthetics. Your closet will be more organized and visually appealing, adding value to your living environment.
Remember, if you encounter any difficulties or require further assistance, consult with a professional for guidance. Proper installation ensures the longevity and optimal performance of your sliding closet doors.
We hope this guide has been informative and helpful in guiding you through the process of installing a sliding closet door. Enjoy your transformed closet space!
Feeling handy after mastering sliding closet doors? Dive into the world of DIY projects where creativity meets utility. Or, if quick fixes are more your style, discover the benefits of closet organization with the best shirt folding board to streamline your wardrobe setup. Both guides offer practical tips and clever hacks to enhance your living space efficiently.
Frequently Asked Questions about How To Install A Sliding Closet Door
Was this page helpful?
At Storables.com, we guarantee accurate and reliable information. Our content, validated by Expert Board Contributors, is crafted following stringent Editorial Policies. We're committed to providing you with well-researched, expert-backed insights for all your informational needs.


0 thoughts on “How To Install A Sliding Closet Door”