Home>Technology>Security & Surveillance>How To Repair Multipoint Door Lock
Security & Surveillance
How To Repair Multipoint Door Lock
Modified: December 28, 2023
Learn how to repair a multipoint door lock to ensure the security of your home with our comprehensive guide. Find expert tips and techniques for security and surveillance.
(Many of the links in this article redirect to a specific reviewed product. Your purchase of these products through affiliate links helps to generate commission for Storables.com, at no extra cost. Learn more)
Introduction
Welcome to our comprehensive guide on repairing multipoint door locks. Multipoint door locks are a crucial component of home security, providing enhanced protection and peace of mind. Over time, these locks may experience wear and tear, leading to issues such as difficulty in locking or unlocking the door. In this guide, we will walk you through the step-by-step process of repairing a multipoint door lock, empowering you to tackle this task with confidence.
Whether you are a seasoned DIY enthusiast or a homeowner looking to address a specific issue, understanding the inner workings of multipoint locks and how to troubleshoot common problems is invaluable. By following the instructions outlined in this guide, you will be equipped with the knowledge and skills to effectively repair your multipoint door lock, ensuring the continued security and functionality of your entryway.
From dismantling the lock to inspecting and repairing its components, we will cover each stage in detail, accompanied by insights into the tools and materials you will require. By the end of this guide, you will have a clear understanding of the repair process and the satisfaction of restoring your multipoint door lock to optimal working condition.
Key Takeaways:
- Repairing multipoint door locks involves removing, inspecting, and repairing the lock components. This restores optimal functionality and enhances home security, ensuring peace of mind for homeowners.
- Gathering the right tools and materials is crucial for a successful repair. By following the step-by-step process, homeowners can maintain and prolong the lifespan of their multipoint door locks, contributing to overall home security.
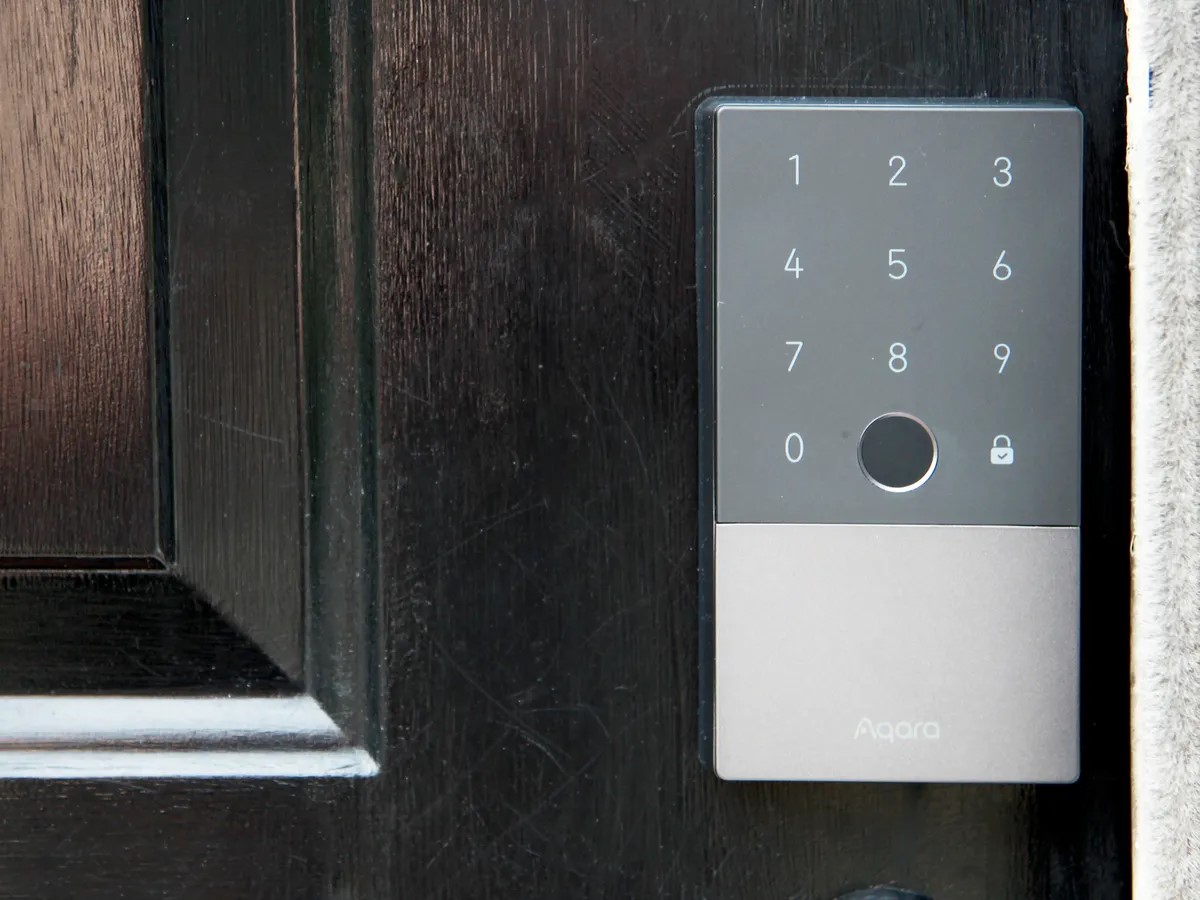
Read more: How To Lock A Digital Door Lock
Understanding Multipoint Door Locks
Multipoint door locks, also known as multi-locking systems, are advanced mechanisms designed to secure doors at multiple points along their vertical length. Unlike traditional single-point locks, which engage with the door frame at only one position, multipoint locks feature multiple locking points, typically three or more, distributed along the edge of the door. This configuration significantly enhances the security and stability of the door, providing superior resistance to forced entry attempts.
These locks are commonly found in uPVC, composite, and timber doors, serving as a fundamental element of residential and commercial security systems. The multipoint locking mechanism is typically operated by lifting the door handle, causing the locking points to engage simultaneously into their respective keeps on the door frame. This comprehensive locking action creates a tight seal around the door, bolstering its resistance to unauthorized access and ensuring a high level of protection against intruders.
One key advantage of multipoint locks is their ability to distribute the force of an attempted break-in across multiple points, minimizing the likelihood of a successful intrusion. Additionally, the multi-locking system enhances the door’s resistance to warping and bowing, contributing to its overall durability and longevity.
Understanding the anatomy of a multipoint door lock is crucial for effective repair and maintenance. The main components of a multipoint lock assembly include the lock gearbox, which houses the internal mechanisms responsible for engaging and disengaging the locking points, as well as the locking points themselves, often in the form of bolts or hooks that extend from the gearbox when activated.
By familiarizing yourself with the inner workings of multipoint door locks, you will be better equipped to diagnose issues and perform necessary repairs. In the following sections, we will delve into the specific tools and materials required for repairing a multipoint lock, as well as the step-by-step process for dismantling, inspecting, and reassembling the lock to restore its optimal functionality.
Tools and Materials Needed
Before embarking on the repair of a multipoint door lock, it is essential to gather the necessary tools and materials to ensure a smooth and efficient process. The following list outlines the key items required for this undertaking:
- Screwdriver Set: A comprehensive set of screwdrivers, including flathead and Phillips head varieties, will be indispensable for removing screws and disassembling components.
- Allen Keys: Also known as hex keys, these tools are essential for loosening and tightening specific types of fasteners commonly found in multipoint locks.
- Pliers: Needle-nose pliers and/or locking pliers may be needed for manipulating small components and fasteners within the lock assembly.
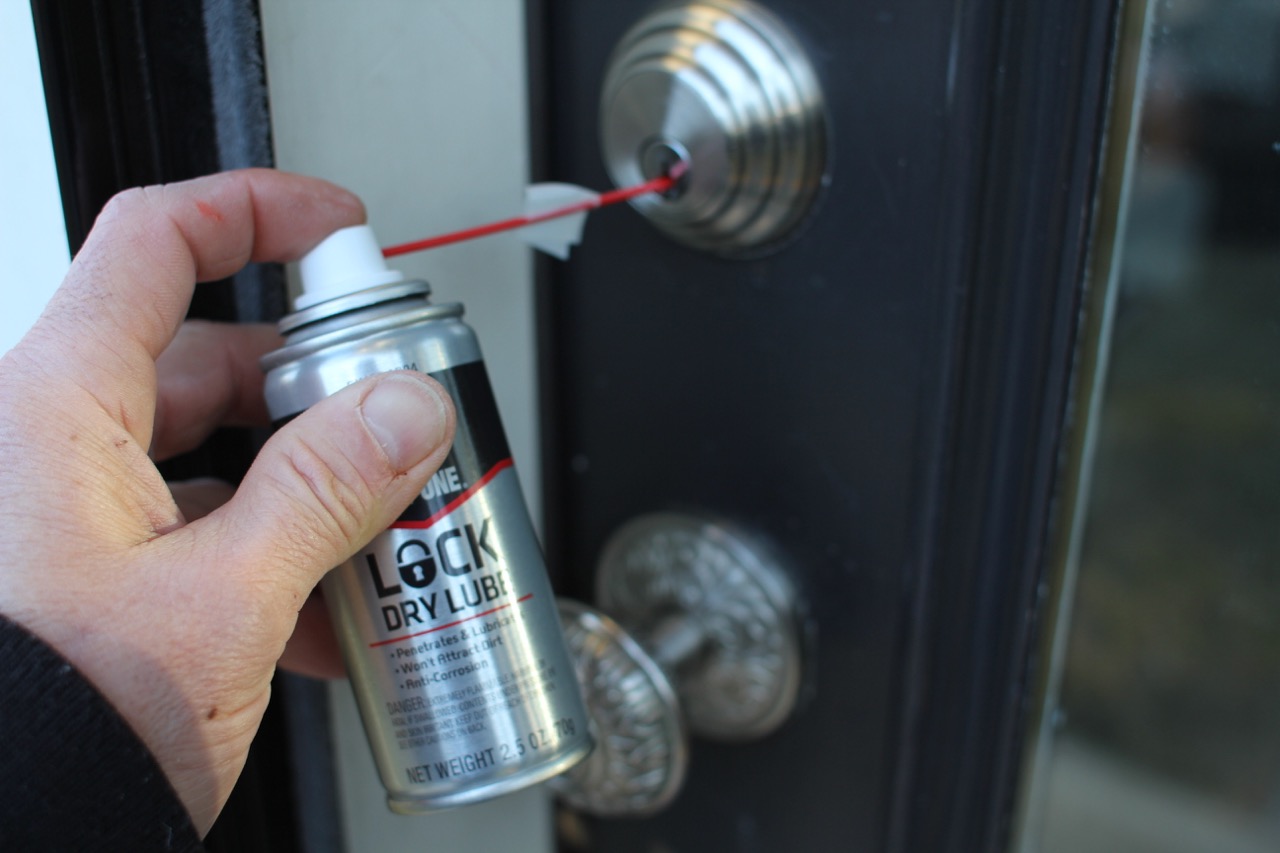
- Lubricant: A suitable lock lubricant, such as graphite or silicone-based spray, will aid in the smooth operation of the lock mechanisms and help prevent future issues.
- Replacement Parts: Depending on the specific nature of the lock’s malfunction, it may be necessary to have replacement components on hand, such as lock cylinders, gearboxes, or locking points.
- Masking Tape and Marker: These items can be used to label and organize components during disassembly, ensuring accurate reassembly later on.
- Cleaning Supplies: A small brush or compressed air canister, along with a mild solvent or cleaning solution, can be useful for removing debris and grime from the lock mechanism.
- Safety Equipment: Gloves and safety glasses are recommended to protect your hands and eyes during the repair process.
It is important to ensure that the selected tools and materials are of high quality and suitable for the specific type of multipoint lock being repaired. Additionally, having a clear workspace with ample lighting will facilitate the repair process and minimize the risk of misplacing or losing small components.
By assembling the necessary tools and materials in advance, you will be well-prepared to address any issues affecting the functionality of your multipoint door lock. With these items at your disposal, you can proceed with confidence through each stage of the repair process, from disassembly and inspection to reinstallation and testing.
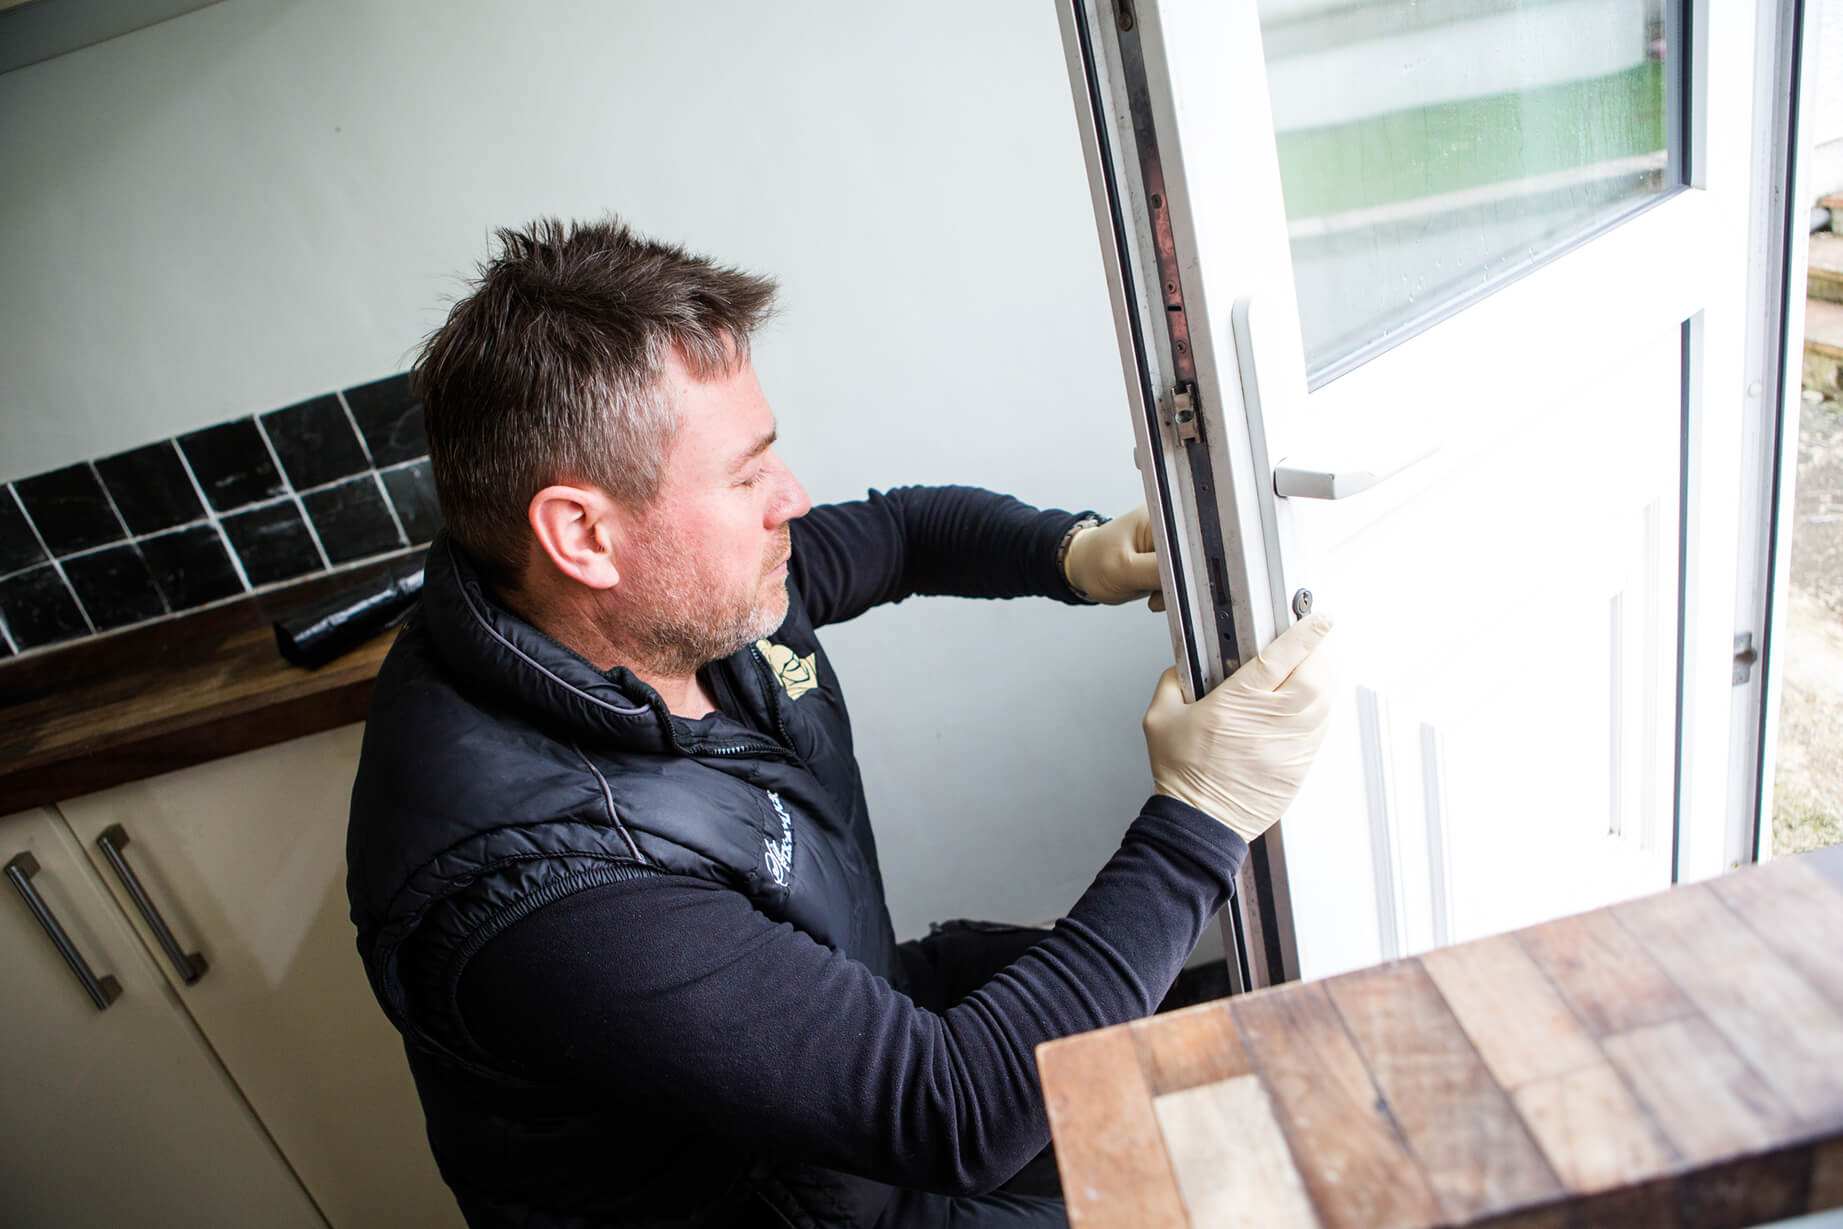
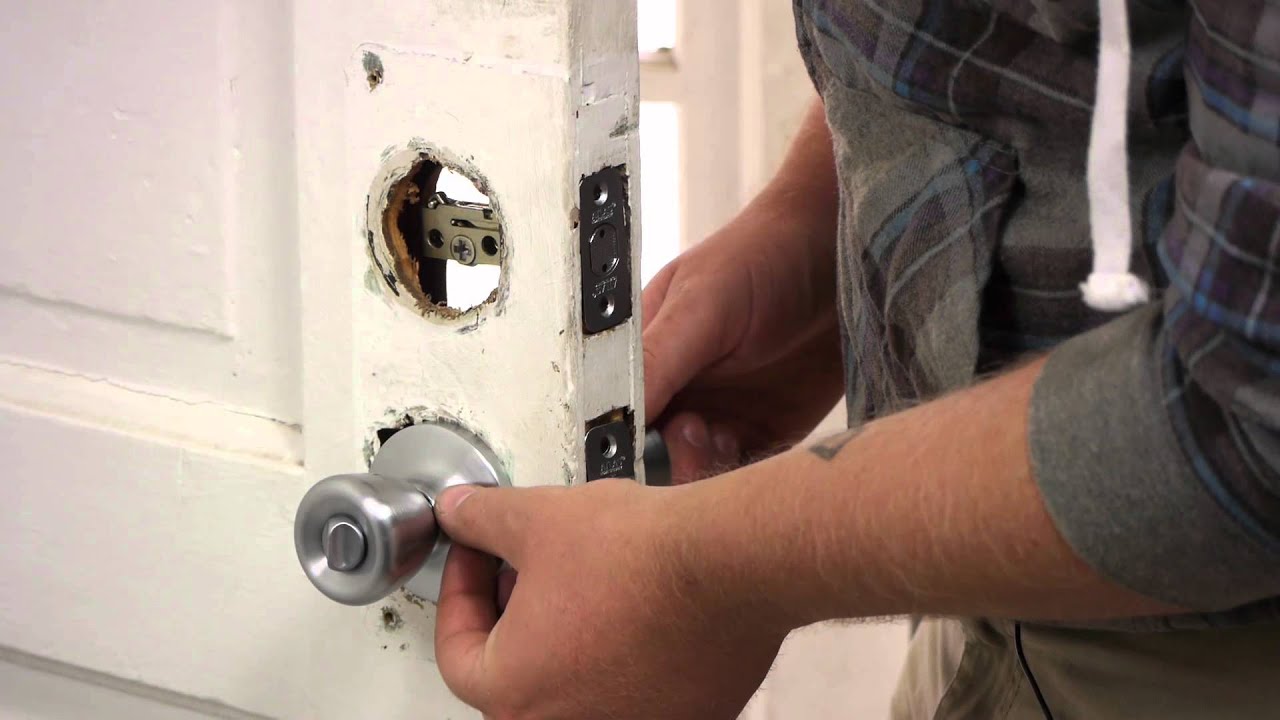
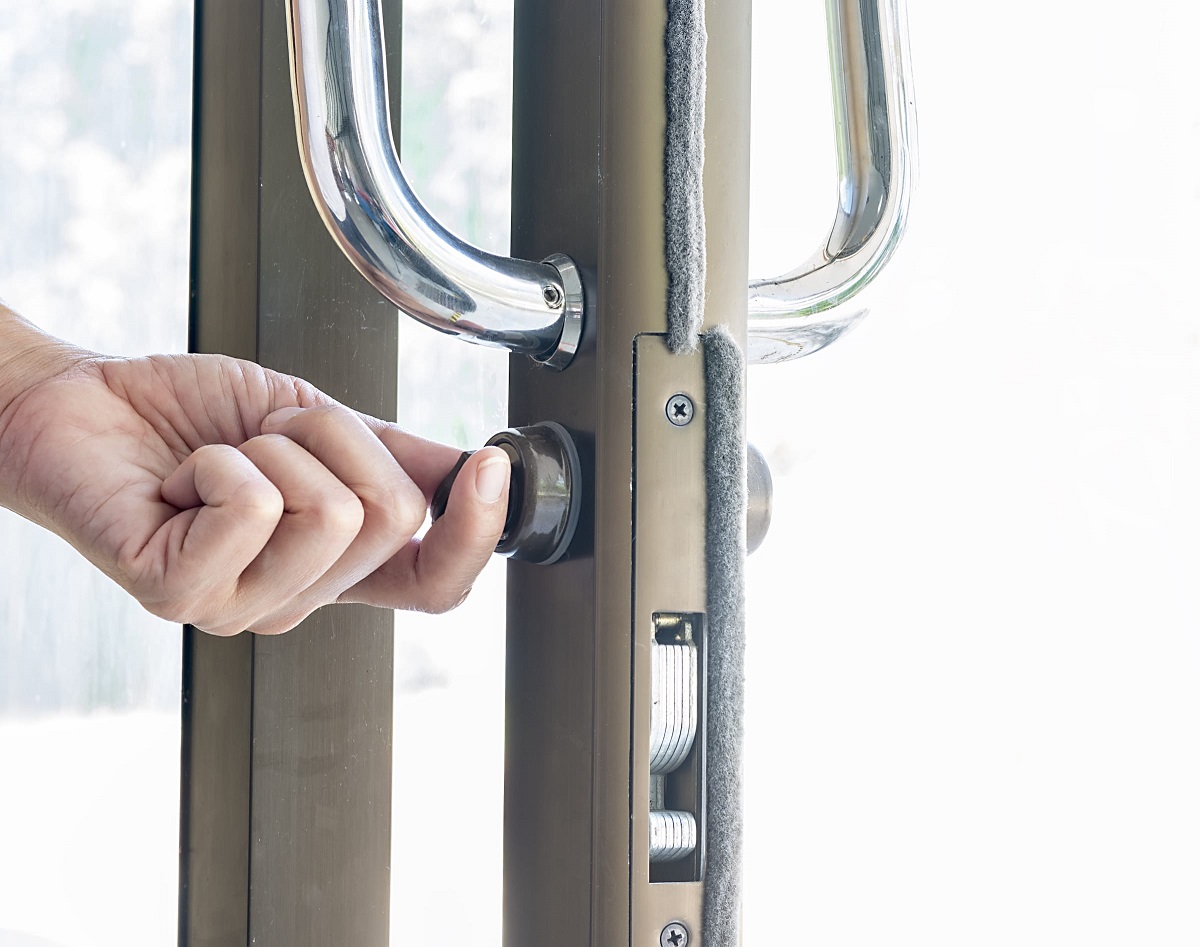
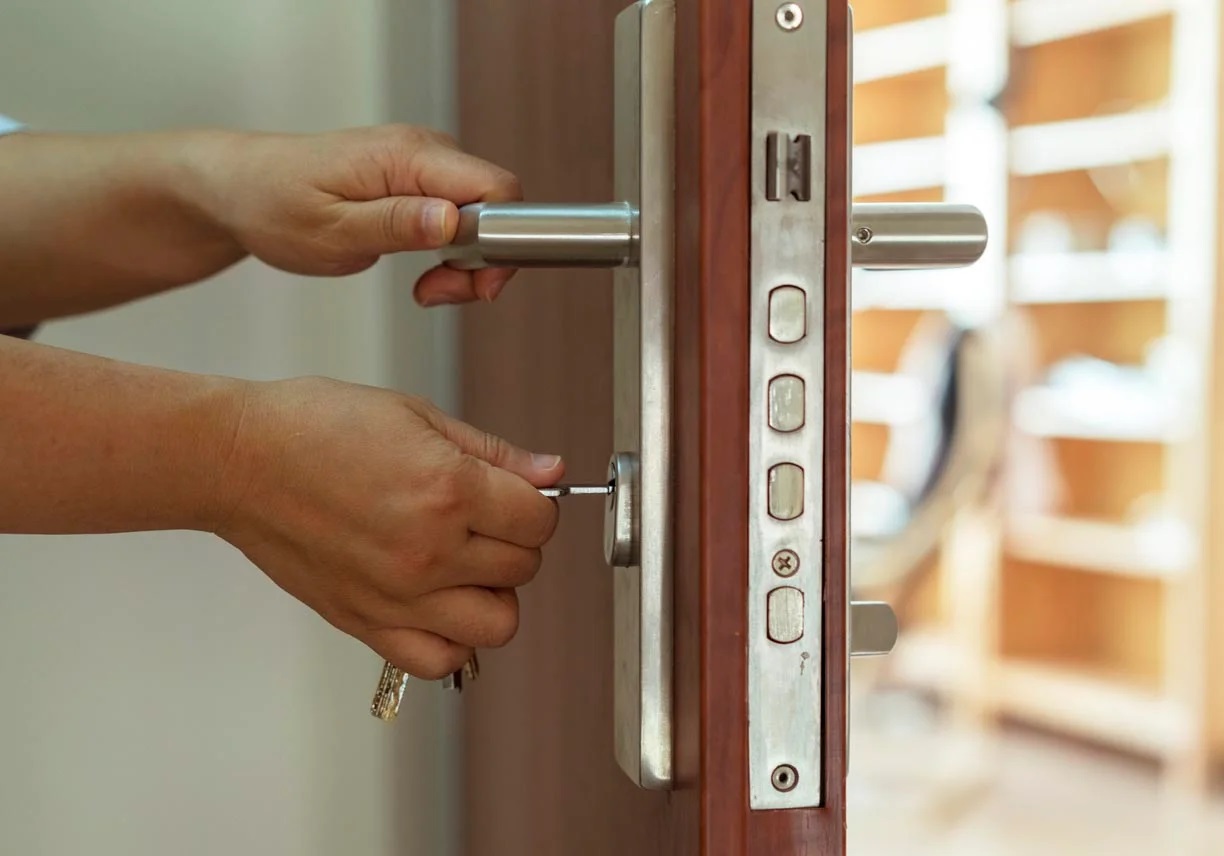
Step 1: Removing the Door Handle and Escutcheon
Before delving into the intricacies of the multipoint lock repair, it is essential to prepare the door by removing the handle and escutcheon to gain access to the internal components. Follow these steps to safely and effectively remove the door handle and escutcheon:
- Locate the Fixing Screws: Identify the fixing screws that secure the door handle and escutcheon in place. These screws are typically located on the interior side of the door handle and may be concealed beneath a cover plate or decorative cap.
- Remove the Cover Plate or Cap: If applicable, carefully pry off the cover plate or cap to reveal the fixing screws. Use caution to avoid damaging the surrounding surfaces or finish.
- Unscrew and Detach the Handle: Using the appropriate screwdriver, carefully loosen and remove the fixing screws that secure the door handle to the door. Once the screws are removed, gently pull the handle away from the door, exposing the spindle and any additional concealed screws.
- Detach the Escutcheon: With the handle removed, locate and remove any remaining screws securing the escutcheon to the door. Once the screws are extracted, the escutcheon can be carefully detached, revealing the cylinder and associated components.
- Label and Organize Components: As you disassemble the door handle and escutcheon, take care to label and organize the components and fasteners. Using masking tape and a marker, clearly label each part to facilitate reassembly later on.
By following these steps, you will successfully remove the door handle and escutcheon, granting access to the multipoint lock mechanism for further inspection and repair. It is crucial to handle the components with care and attention to detail, ensuring that each part is properly labeled and organized to streamline the reassembly process.
With the door handle and escutcheon removed, you are now ready to proceed to the next phase of the repair, focusing on the extraction and assessment of the multipoint lock itself.
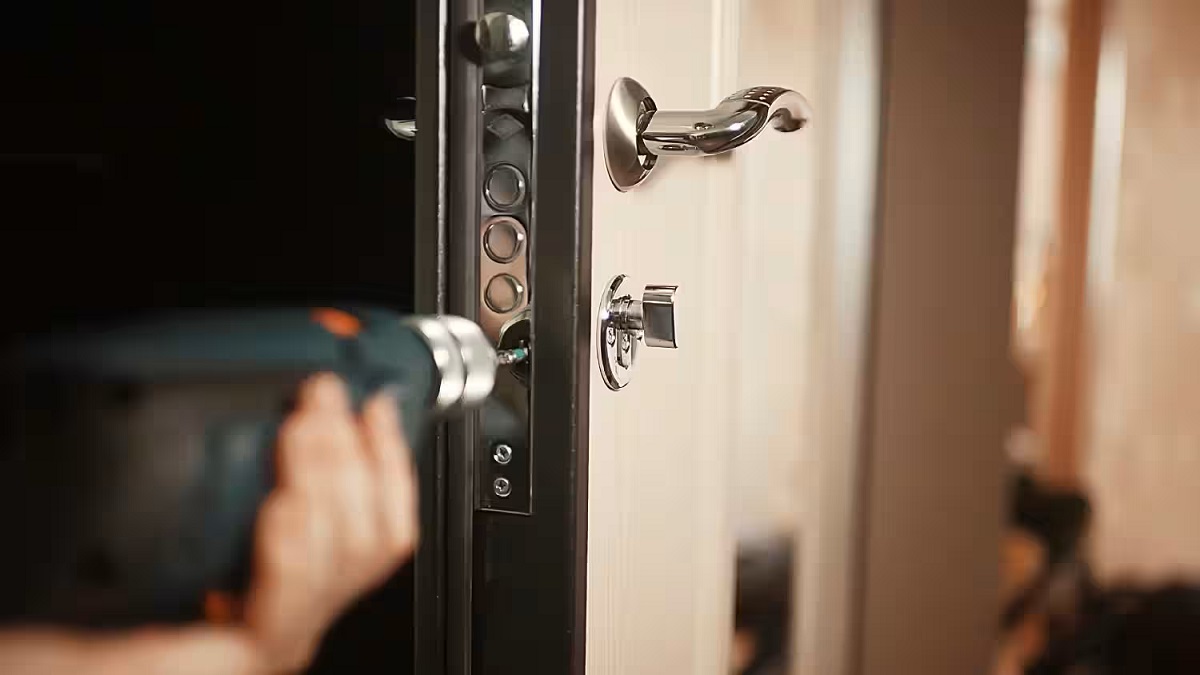
Step 2: Removing the Multipoint Lock
With the door handle and escutcheon successfully removed, the next critical step in repairing a multipoint door lock involves the extraction of the lock mechanism from the door. This process allows for thorough inspection, potential repairs, and the replacement of any faulty components. Follow these steps to effectively remove the multipoint lock:
- Identify the Locking Points: Take note of the locations of the locking points along the edge of the door where the multipoint lock engages with the frame. These points may consist of bolts, hooks, or other mechanisms, and they are typically visible when the door is in the closed position.
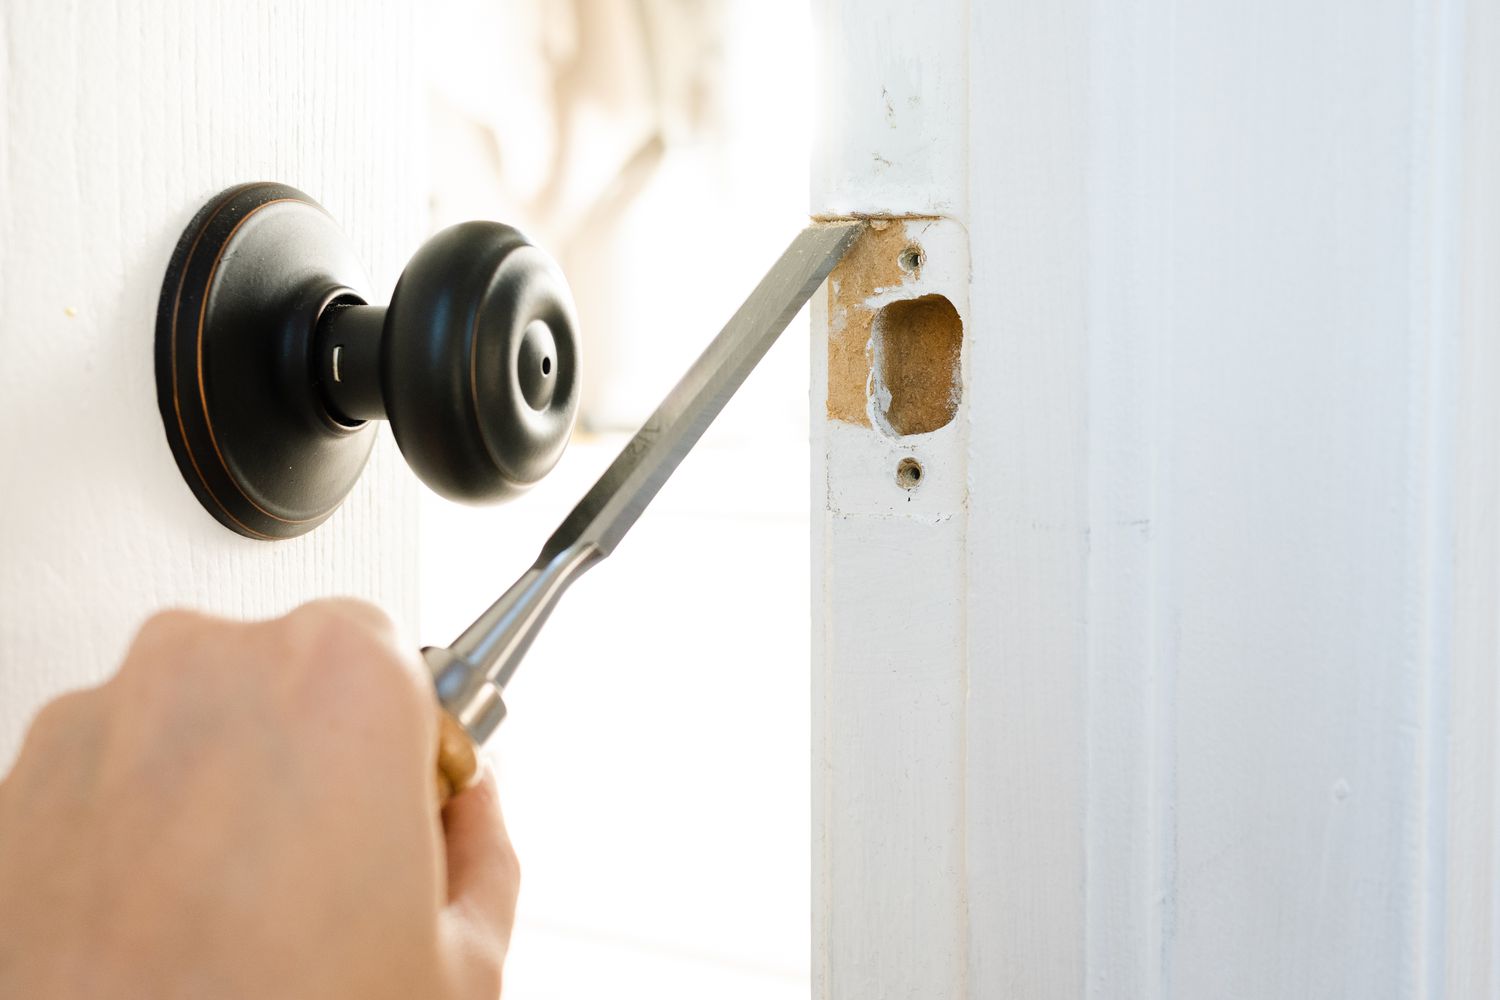
- Locate the Fixing Screws: Examine the edge of the door to identify the fixing screws that secure the multipoint lock in place. These screws may be positioned along the length of the lock mechanism, often within the door’s interior recess.
- Remove the Fixing Screws: Using the appropriate screwdriver, carefully loosen and remove the fixing screws that secure the multipoint lock to the door. Keep the screws organized and labeled for ease of reinstallation later on.
- Extract the Lock Mechanism: Once the fixing screws are removed, gently extract the multipoint lock from the door, taking care to guide any attached locking points or bolts through their respective openings in the door frame.
- Inspect the Lock and Surrounding Area: With the lock removed, take the opportunity to inspect the recess in the door where the lock was situated. Look for any signs of wear, damage, or debris that may have contributed to the lock’s malfunction.
By carefully following these steps, you will effectively remove the multipoint lock from the door, setting the stage for a comprehensive inspection and potential repairs. It is crucial to handle the lock mechanism with care, ensuring that any attached components, such as locking points or bolts, are maneuvered out of the door frame without causing damage to the surrounding surfaces.
With the multipoint lock successfully extracted, you are now poised to proceed with the detailed inspection and any necessary repairs to restore its optimal functionality and security performance.
When repairing a multipoint door lock, make sure to thoroughly clean and lubricate all moving parts to ensure smooth operation. This can help prevent future issues and extend the life of the lock.
Read more: How To Lock Liftmaster Garage Door
Step 3: Inspecting and Repairing the Multipoint Lock
Upon removing the multipoint lock from the door, the next crucial phase involves a comprehensive inspection of the internal components, followed by any necessary repairs to address identified issues. This meticulous process will enable you to diagnose the root cause of the lock’s malfunction and implement targeted solutions. Follow these steps to effectively inspect and repair the multipoint lock:
- Assess the Lock Gearbox: Examine the lock gearbox, the central component housing the internal mechanisms responsible for engaging and disengaging the locking points. Look for signs of wear, corrosion, or damage that may impede the smooth operation of the gearbox.
- Inspect the Locking Points: Thoroughly examine each locking point, whether in the form of bolts, hooks, or alternative mechanisms, to ensure they move freely and engage securely. Address any stiffness, misalignment, or damage observed in the locking points.
- Clean and Lubricate Components: Use a mild solvent or cleaning solution to remove any accumulated debris or grime from the internal components of the lock. Once cleaned, apply a suitable lock lubricant to ensure smooth operation and friction reduction.
- Replace Faulty Components: If any components within the multipoint lock exhibit irreparable damage or wear, such as broken locking points or a compromised gearbox, proceed to replace these parts with suitable replacements to restore the lock’s functionality.
- Test the Repaired Lock: After completing the necessary repairs and maintenance, perform a series of tests to ensure that the multipoint lock operates smoothly and engages securely at all locking points. Verify that the lock aligns properly with the door frame and that the handle functions as intended.
By meticulously following these steps, you will effectively inspect and repair the multipoint lock, addressing any identified issues and restoring its optimal functionality. It is crucial to exercise precision and attention to detail throughout this process, ensuring that each component is thoroughly examined and any necessary repairs are carried out with care.
With the multipoint lock meticulously inspected and any required repairs completed, you are now prepared to proceed to the reinstallation phase, where the lock will be securely positioned back into the door to resume its vital security role.
Step 4: Reinstalling the Multipoint Lock
After conducting a thorough inspection and any necessary repairs, the next critical phase in the repair process involves the careful reinstallation of the multipoint lock into the door. Proper reinstallation is essential to ensure the lock functions seamlessly and provides the desired level of security. Follow these steps to effectively reinstall the multipoint lock:
- Position the Lock in the Door: Carefully guide the multipoint lock back into the recess in the door, aligning it with the corresponding fixing points and ensuring that any attached locking points or bolts are correctly oriented for engagement with the door frame.
- Secure the Fixing Screws: Using the labeled and organized fixing screws, reattach the multipoint lock to the door, securing it in place. Ensure that the screws are tightened evenly and securely to maintain the stability of the lock within the door.
- Test the Lock Operation: With the lock firmly reinstalled, test its operation by operating the door handle and observing the engagement of the locking points with the door frame. Verify that the lock functions smoothly and that all locking points secure firmly in place when activated.
- Adjust as Needed: If any issues are observed during the initial testing, such as misalignment or stiffness in the lock operation, make necessary adjustments to ensure optimal functionality. This may involve fine-tuning the positioning of the lock within the door or addressing any alignment discrepancies.
By meticulously following these steps, you will effectively reinstall the multipoint lock, setting the stage for its seamless integration back into the door and the restoration of its critical security function. It is crucial to exercise precision and attention to detail throughout this process, ensuring that the lock is securely positioned and functions as intended.
With the multipoint lock successfully reinstalled and its operation verified, you are now poised to proceed to the final phase of the repair, which involves the reattachment of the door handle and escutcheon to complete the restoration of the entryway’s security system.
Step 5: Reattaching the Door Handle and Escutcheon
With the multipoint lock securely reinstalled, the final phase of the repair process involves reattaching the door handle and escutcheon to complete the restoration of the entryway’s security system. Proper reattachment ensures that the door operates smoothly and securely, reflecting the successful repair of the multipoint lock. Follow these steps to effectively reattach the door handle and escutcheon:
- Position the Escutcheon and Handle: Align the escutcheon and door handle with their respective positions on the door, ensuring that the spindle of the handle fits securely into the lock mechanism and that the escutcheon aligns with the cylinder and fixing points.
- Secure the Fixing Screws: Using the labeled fixing screws, reattach the escutcheon and door handle to the door, securing them in place. Ensure that the screws are tightened evenly and securely to maintain the stability of the components on the door.
- Test the Door Operation: With the door handle and escutcheon firmly reattached, test the door’s operation by operating the handle and observing the smooth engagement of the lock mechanism. Verify that the handle functions seamlessly and that the door latches securely when closed.
- Adjust as Needed: If any issues are observed during the initial testing, such as stiffness in the handle operation or misalignment of the escutcheon, make necessary adjustments to ensure optimal functionality. This may involve fine-tuning the positioning of the components or addressing any alignment discrepancies.
By meticulously following these steps, you will effectively reattach the door handle and escutcheon, completing the restoration of the door’s security system following the repair of the multipoint lock. It is crucial to exercise precision and attention to detail throughout this process, ensuring that the components are securely positioned and function seamlessly.
With the door handle and escutcheon successfully reattached and the door’s operation verified, you have completed the comprehensive repair of the multipoint door lock, restoring its functionality and the security of your entryway.
Conclusion
Congratulations on successfully completing the comprehensive repair of your multipoint door lock! By following the step-by-step process outlined in this guide, you have gained valuable insights into the intricate workings of multipoint locks and acquired the skills to address common issues affecting their functionality. Through meticulous inspection, targeted repairs, and careful reinstallation, you have restored the optimal security and smooth operation of your entryway’s locking system.
It is essential to recognize the significance of maintaining and repairing multipoint door locks to uphold the security and integrity of your home. A well-functioning lock not only provides protection against unauthorized access but also contributes to the overall stability and longevity of the door itself. By taking a proactive approach to lock maintenance and repair, you can ensure the continued security and peace of mind for you and your family.
As you reflect on your accomplishment, consider implementing a regular maintenance schedule for your multipoint door lock to prevent potential issues and prolong its lifespan. Simple measures, such as periodic lubrication and inspection, can go a long way in preserving the functionality and reliability of the lock over time.
Remember that the successful repair of your multipoint lock is a testament to your dedication to home maintenance and security. By equipping yourself with the knowledge and skills to address this essential component of your home, you have taken a proactive step in safeguarding your living space and ensuring its continued protection.
We hope this guide has empowered you to approach multipoint lock repair with confidence and proficiency. As you enjoy the restored security and functionality of your entryway, take pride in your newfound expertise and the positive impact it has on your home’s security infrastructure.
Thank you for entrusting us with your multipoint lock repair journey. We wish you continued success in all your home maintenance endeavors and the peace of mind that comes with a secure and well-maintained living environment.
Frequently Asked Questions about How To Repair Multipoint Door Lock
Was this page helpful?
At Storables.com, we guarantee accurate and reliable information. Our content, validated by Expert Board Contributors, is crafted following stringent Editorial Policies. We're committed to providing you with well-researched, expert-backed insights for all your informational needs.


0 thoughts on “How To Repair Multipoint Door Lock”