
Articles
How To Repair Bifold And Sliding Doors
Modified: December 7, 2023
Learn how to repair bifold and sliding doors with these informative articles. Discover expert tips and techniques to fix common door problems.
(Many of the links in this article redirect to a specific reviewed product. Your purchase of these products through affiliate links helps to generate commission for Storables.com, at no extra cost. Learn more)
Introduction
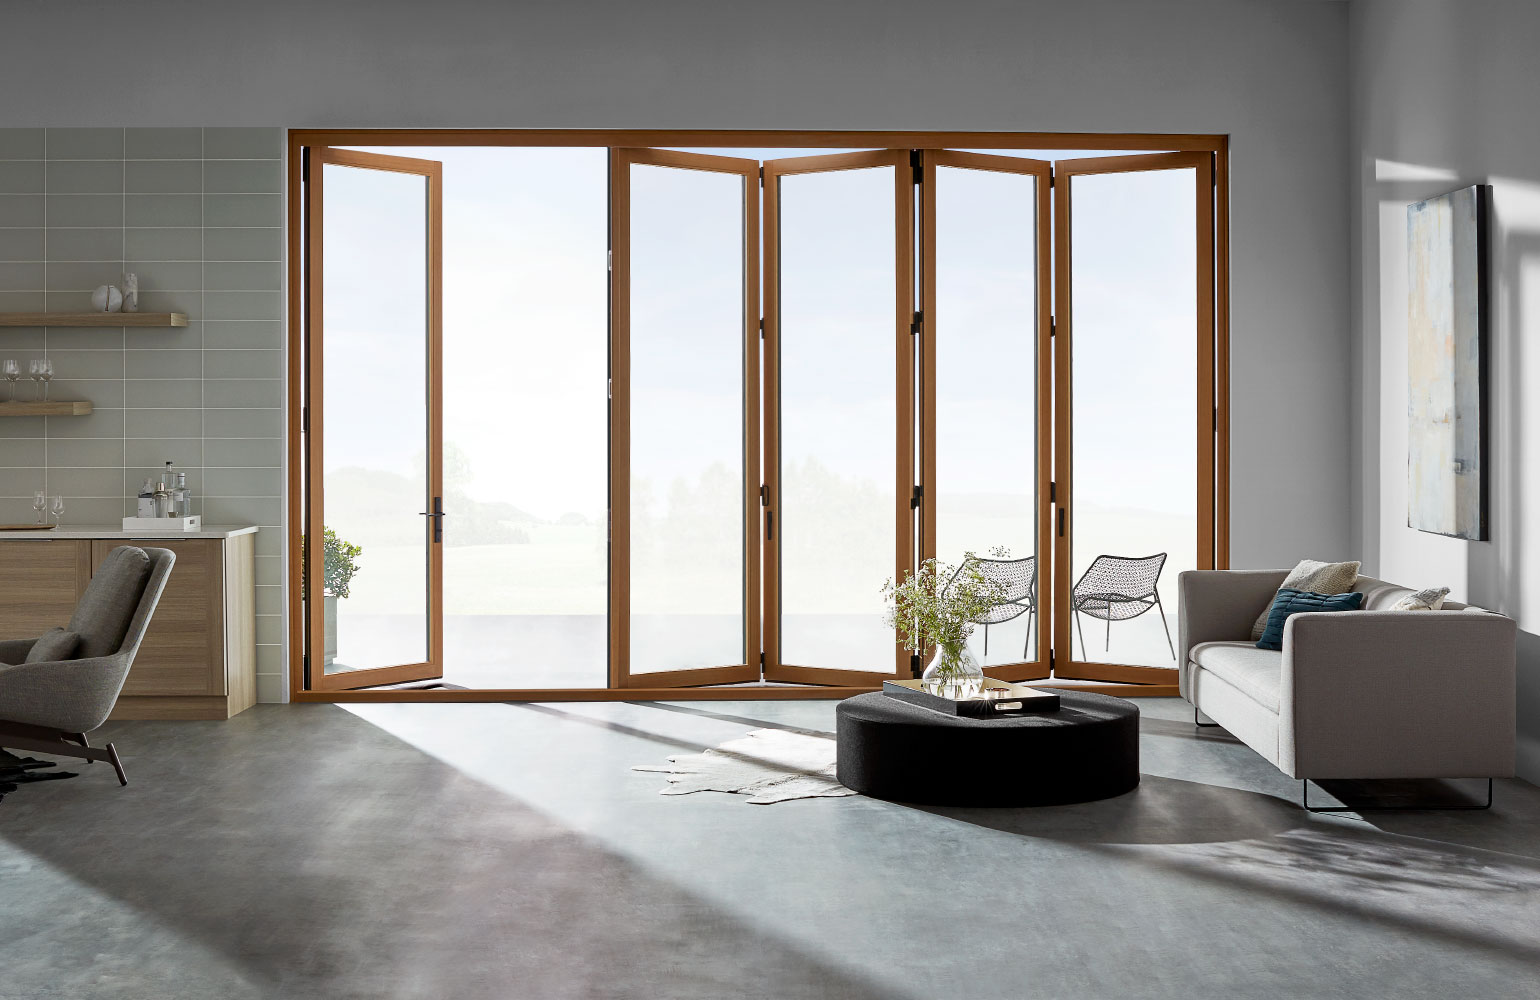
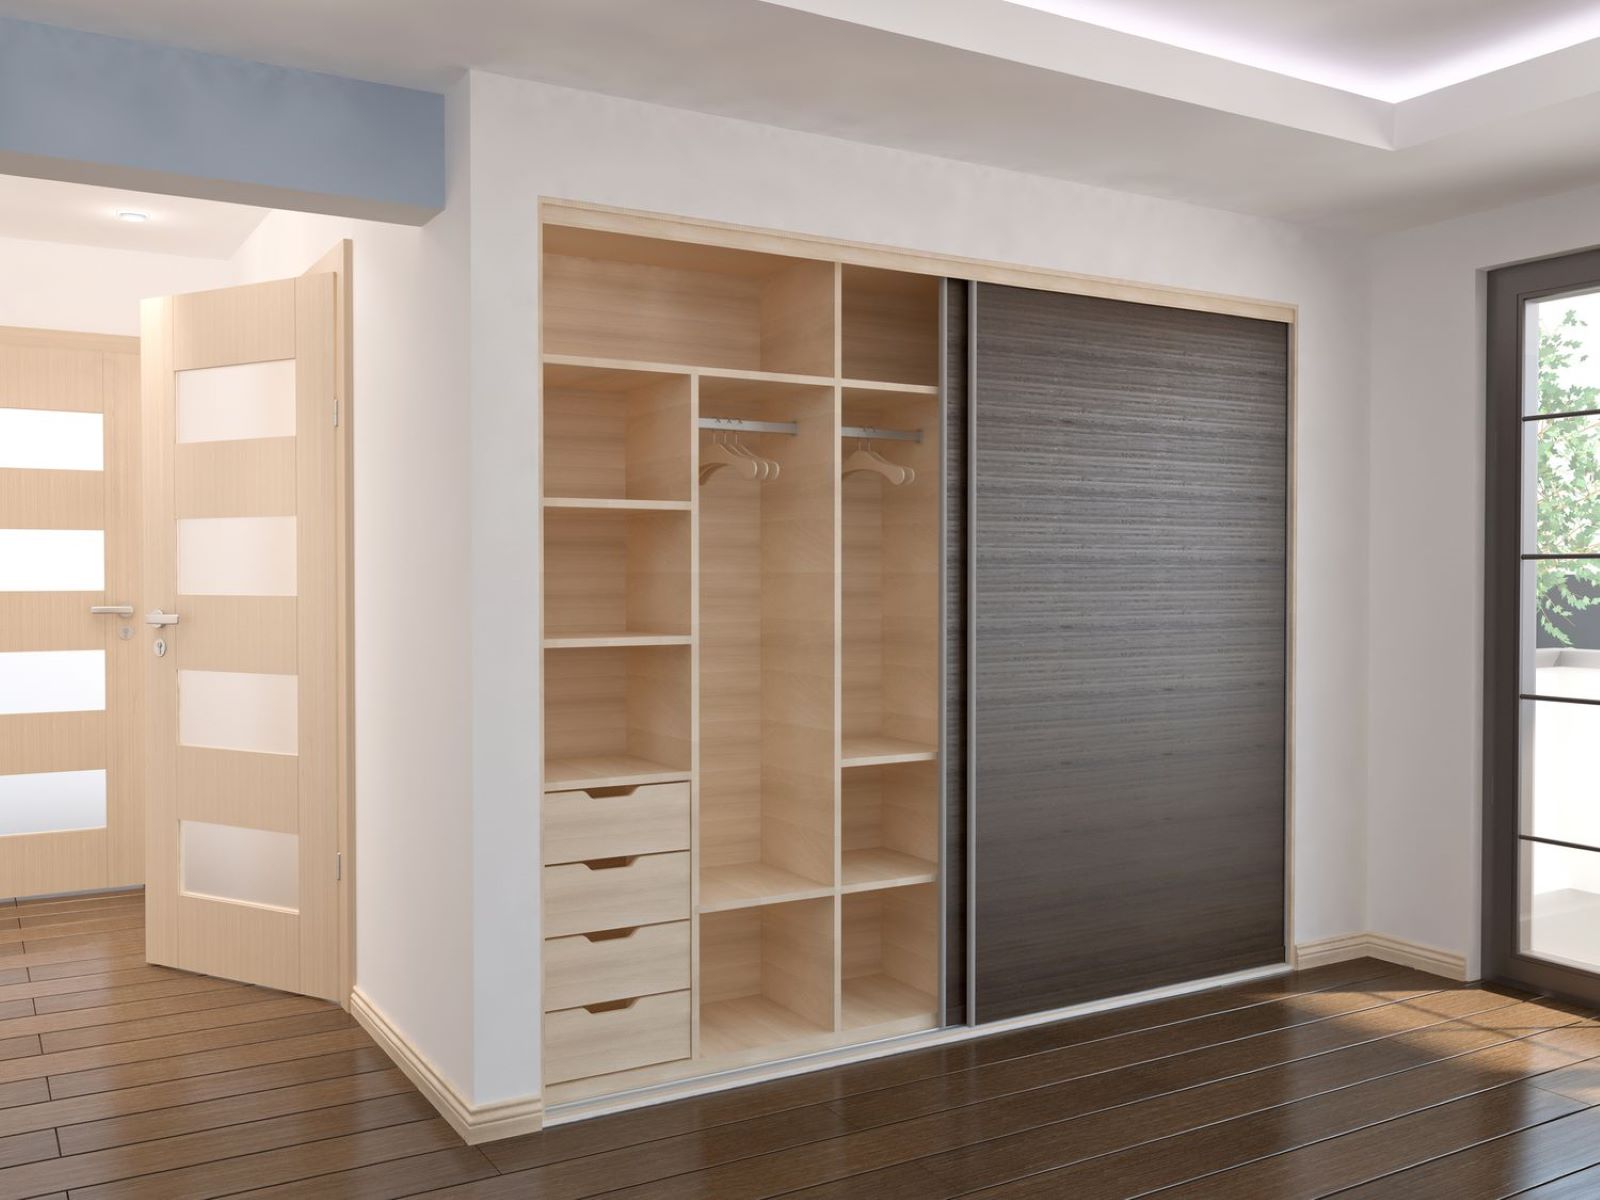
When it comes to interior doors, bifold and sliding doors are popular choices for many homeowners. Not only do they save space, but they also add a touch of modernity and elegance to any room. However, like any element of your home, these doors may encounter issues over time that require repair.
In this article, we will explore the common issues that can arise with bifold and sliding doors and provide you with a step-by-step guide on how to repair them. Whether you are dealing with sticky tracks, misaligned panels, or damaged hardware, we’ve got you covered.
Before we delve into the repair process, it’s essential to gather the necessary tools and materials. Having these on hand will ensure a smooth and efficient repair job. The tools you’ll need include a screwdriver, pliers, a hammer, a level, a tape measure, and a power drill (if necessary). Additionally, you’ll need replacement parts such as screws, brackets, tracks, and rollers.
Now, let’s dive into the specific repair techniques for bifold and sliding doors. Armed with the right knowledge and tools, you’ll be able to fix your doors and restore their functionality in no time.
Key Takeaways:
- Easily repair common bifold and sliding door issues with basic tools and simple techniques, restoring smooth functionality and elegance to your home.
- Regular maintenance, cleaning, and inspection of bifold and sliding doors can extend their lifespan and prevent future issues, ensuring optimal performance and space-saving benefits.
Read more: How To Childproof A Bifold Door
Common Issues with Bifold and Sliding Doors
Bifold and sliding doors are designed to operate smoothly and effortlessly. However, over time, various issues can arise that affect their functionality. Let’s take a look at some of the common issues you may encounter:
- Sticky Tracks: One of the most common issues with bifold and sliding doors is sticky tracks. This occurs when dirt, dust, or debris accumulates on the tracks, causing the doors to drag and become difficult to open or close.
- Misaligned Panels: Bifold doors consist of multiple panels that fold together when opened. If the panels become misaligned, they may not fold or stack properly, leading to difficulties in opening or closing the doors.
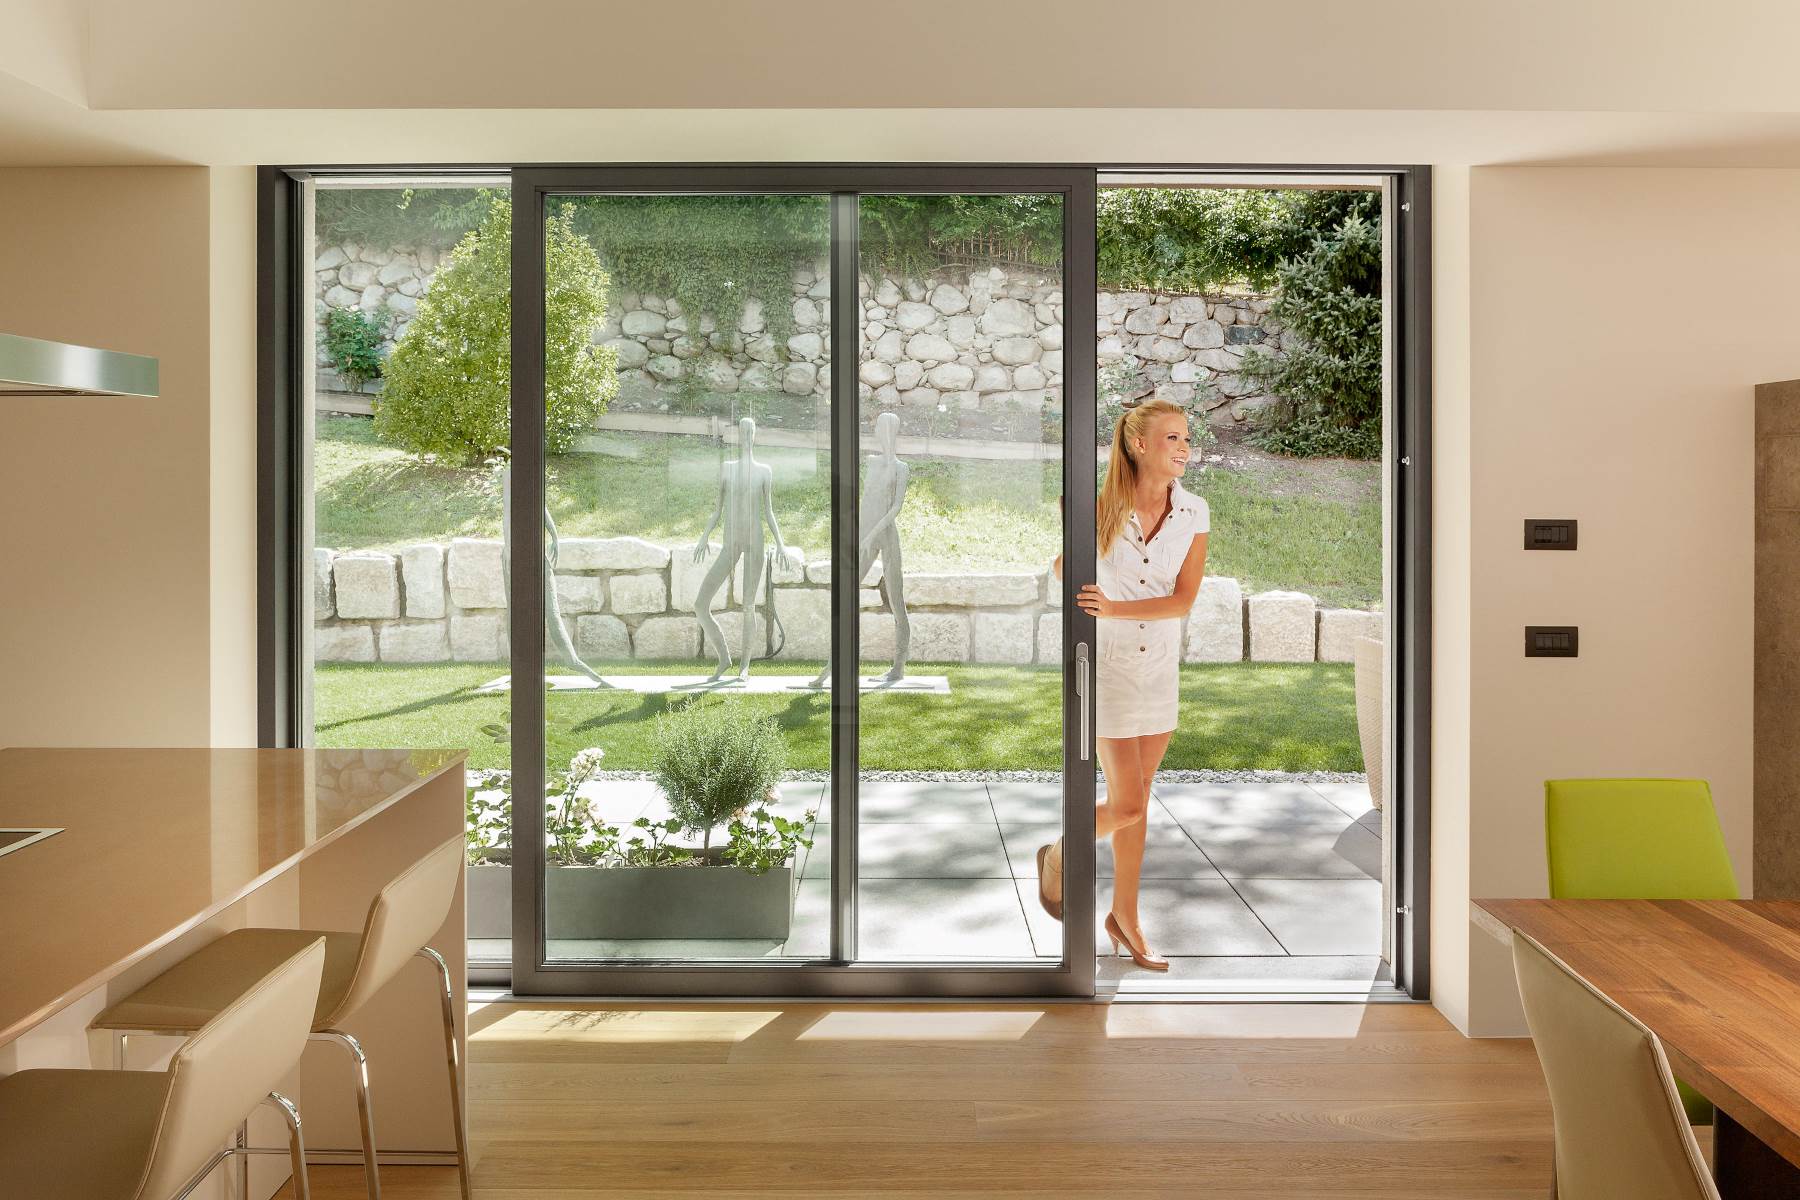
- Worn Out Rollers: Sliding doors rely on rollers to glide smoothly along the tracks. Over time, these rollers can become worn out or damaged, making it challenging to slide the doors open or closed.
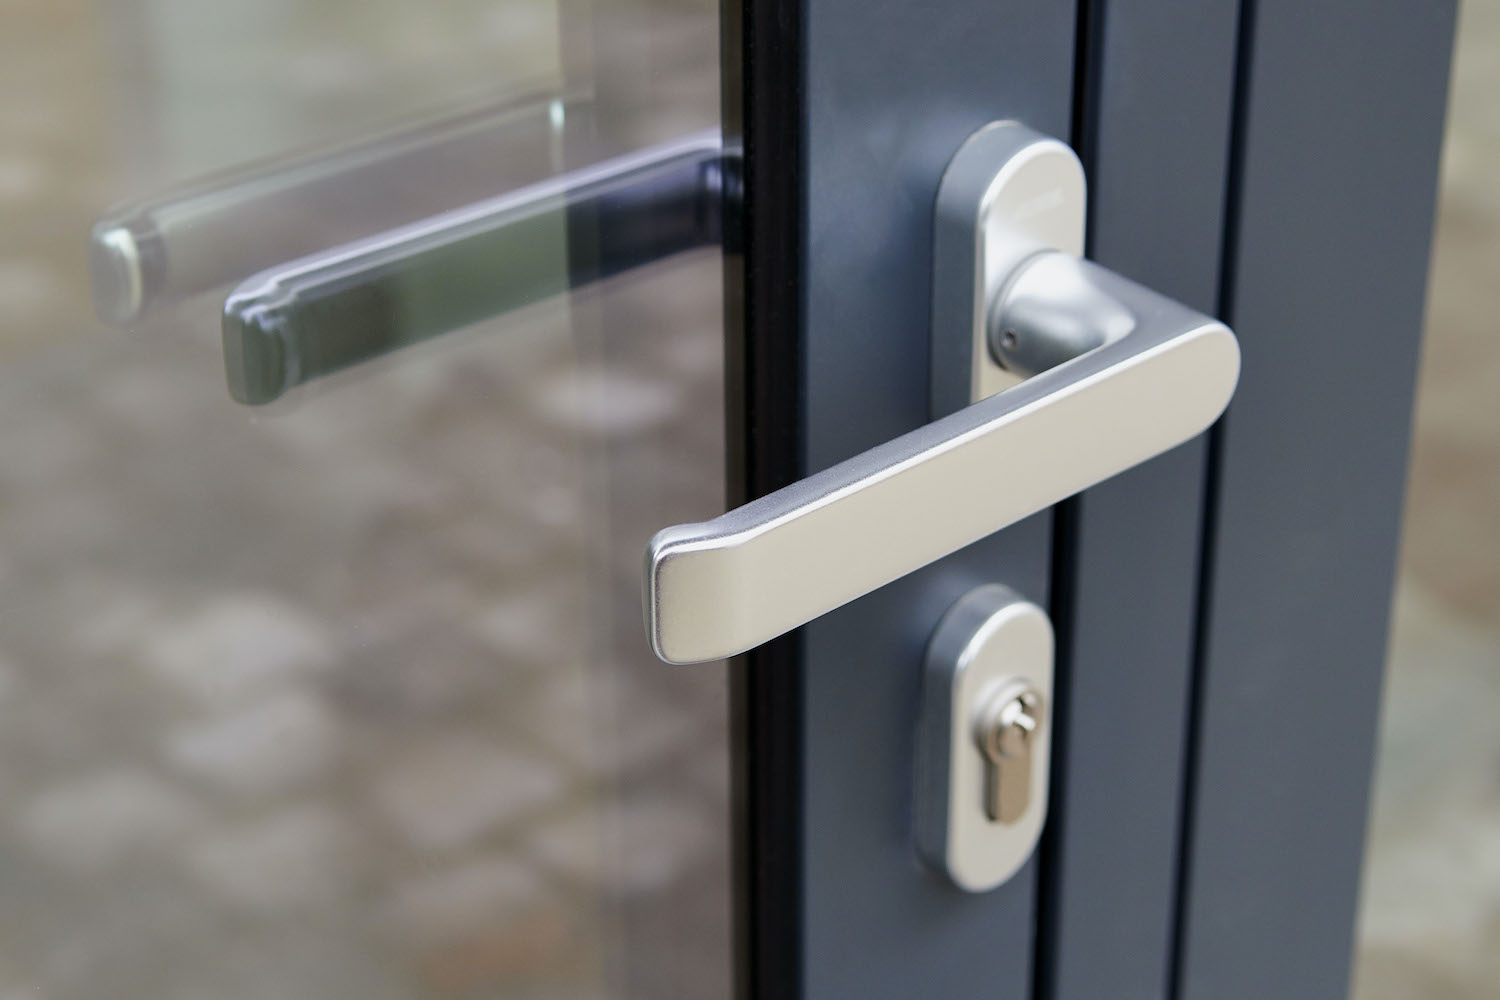
- Broken Hardware: The hardware, such as hinges, brackets, or handles, can break or become loose, affecting the overall functionality of the doors.
- Leaky or Drafty Seals: Bifold and sliding doors typically have seals to provide insulation and prevent drafts or leaks. If these seals become damaged or worn out, it can lead to energy loss and discomfort.
These issues can cause frustration and inconvenience, but the good news is that most of them can be easily repaired with some basic knowledge and simple tools. In the following sections, we’ll guide you through the repair process for each specific issue, helping you get your bifold and sliding doors back in working condition.
Tools and Materials Needed
Before you begin repairing your bifold and sliding doors, it’s important to have the right tools and materials on hand. Here’s a list of what you’ll need:
- Screwdriver: A screwdriver is essential for removing screws and securing hardware.
- Pliers: Pliers are useful for gripping and twisting components, such as hinges or brackets.
- Hammer: A hammer may be needed to gently tap and adjust misaligned panels.
- Level: A level will help ensure that your doors are properly aligned.
- Tape Measure: You’ll need a tape measure to accurately measure the dimensions of replacement parts, such as tracks or seals.
- Power Drill: A power drill with the appropriate bits may be necessary for drilling new holes or securing hardware.
- Screws: Keep a variety of screws on hand, including different sizes and types, as you may need to replace damaged or missing screws.
- Brackets: If any brackets are damaged or missing, have replacement brackets ready.
- Tracks: In the case of worn-out or damaged tracks, you may need to replace them entirely.
- Rollers: If your sliding doors have worn-out rollers, have replacement rollers available to ensure smooth movement.
It’s always a good idea to check the manufacturer’s instructions or consult a professional to ensure that you have the correct tools and materials for your specific bifold or sliding door system. Additionally, make sure to wear appropriate safety gear, such as gloves and goggles, during the repair process.
Now that you’re equipped with the necessary tools and materials, let’s move on to the step-by-step repair process for bifold and sliding doors.
When repairing bifold and sliding doors, start by cleaning the tracks and lubricating the rollers to ensure smooth operation. Check for any damaged or worn-out parts and replace them as needed.
Repairing Bifold Doors
Repairing bifold doors requires a systematic approach to address common issues such as sticky tracks, misaligned panels, and broken hardware. Here’s a step-by-step guide to help you get started:
- Clean the tracks: Start by removing any debris or dirt from the tracks. Use a vacuum or a brush to thoroughly clean the tracks. If there are stubborn stains or residue, you can use a mild detergent or a track cleaning solution.
- Check and adjust the hinges: Inspect the hinges to ensure they are secure and properly aligned. Tighten any loose screws using a screwdriver. If needed, adjust the hinges to ensure that the panels are aligned correctly.
- Replace damaged hardware: If any hinges or brackets are broken or damaged, replace them with new ones. Make sure to select hardware that matches the existing style and size.
- Adjust the height: If the bifold doors are dragging or scraping the floor, you may need to adjust the height. Most bifold doors have a height adjustment screw located at the top or bottom of the doors. Turn the screw to raise or lower the height until the doors glide smoothly.
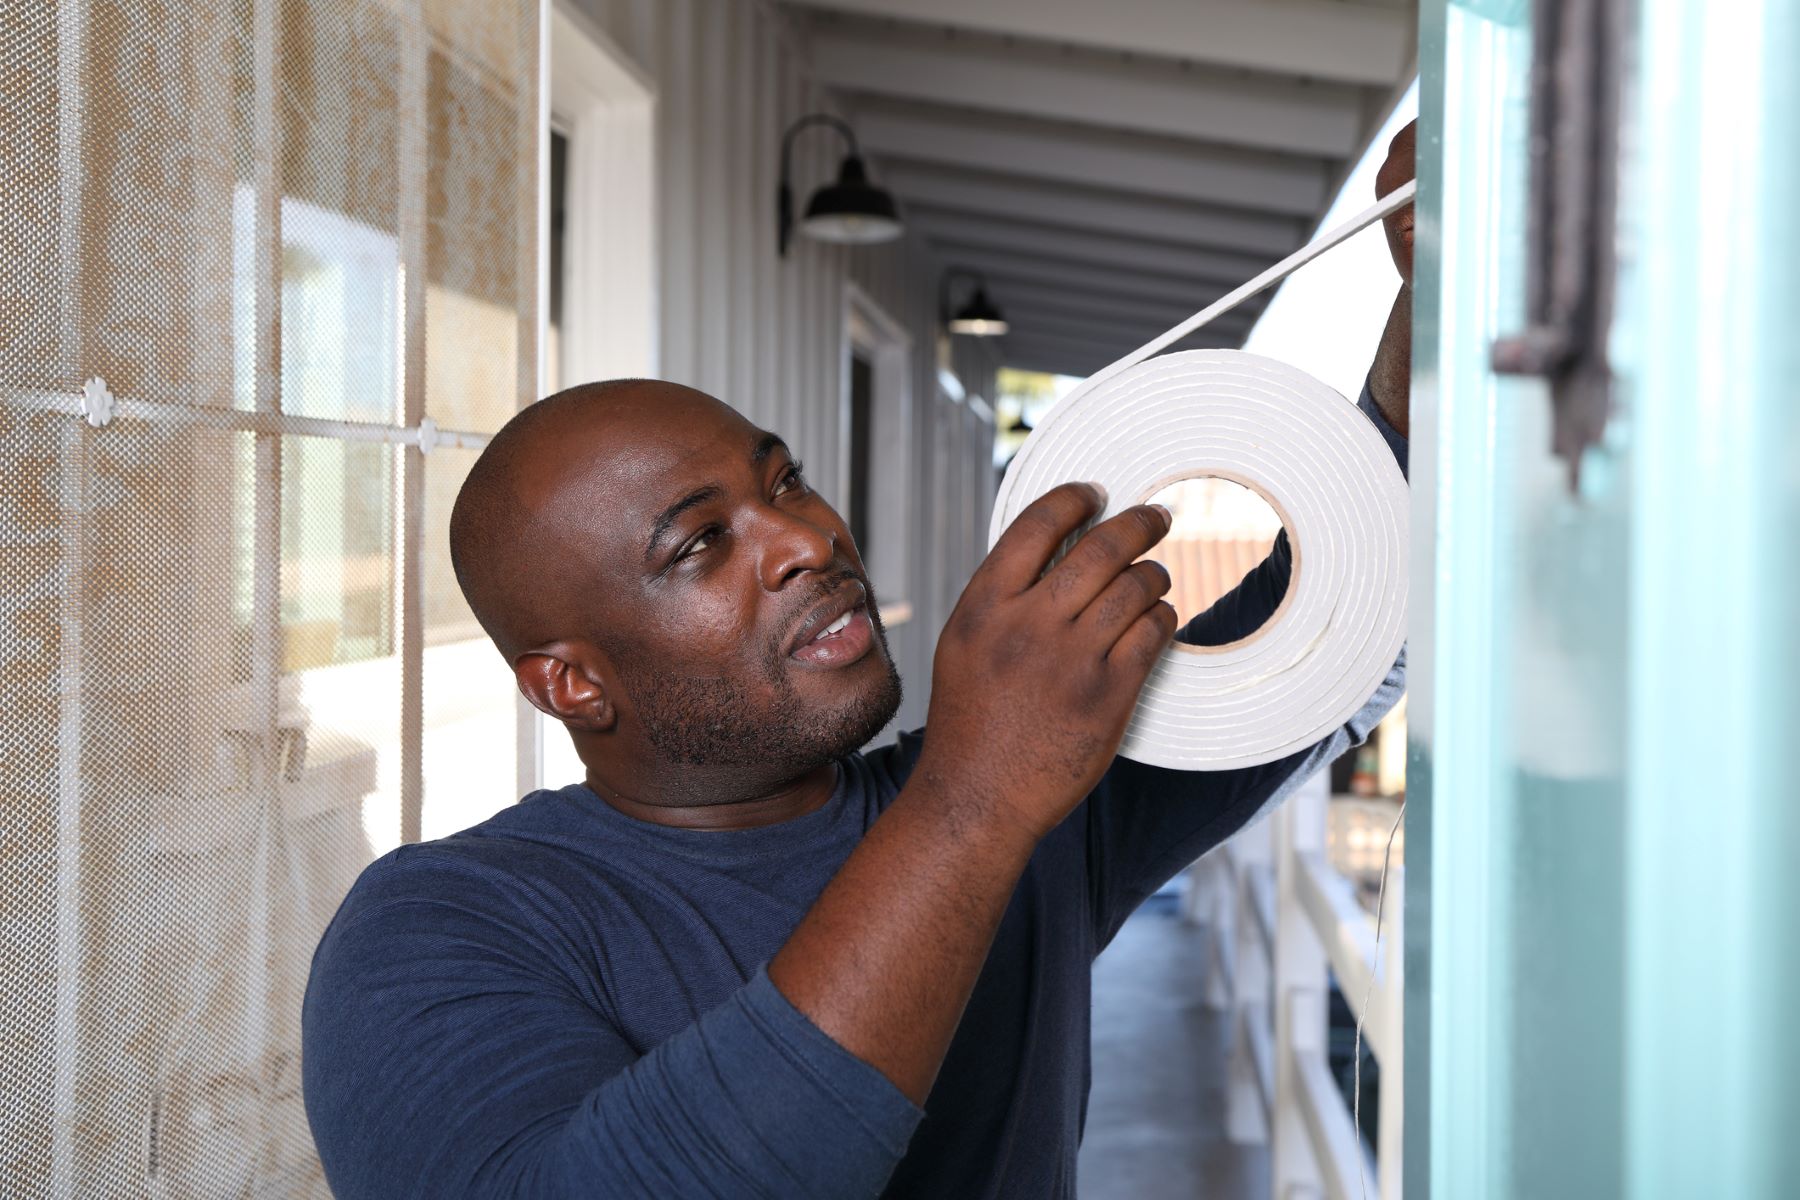
- Check and replace seals: Inspect the seals around the edges of the doors for any signs of wear or damage. If necessary, remove the old seals and replace them with new ones to prevent drafts and improve insulation.
By following these steps, you should be able to address common issues with bifold doors and restore their functionality. Remember to double-check all adjustments and ensure that the doors open and close smoothly before considering the repair complete.
If you encounter any major issues or if you are unsure about the repair process, it’s always recommended to consult a professional or contact the manufacturer for guidance specific to your bifold door system.
Repairing Sliding Doors
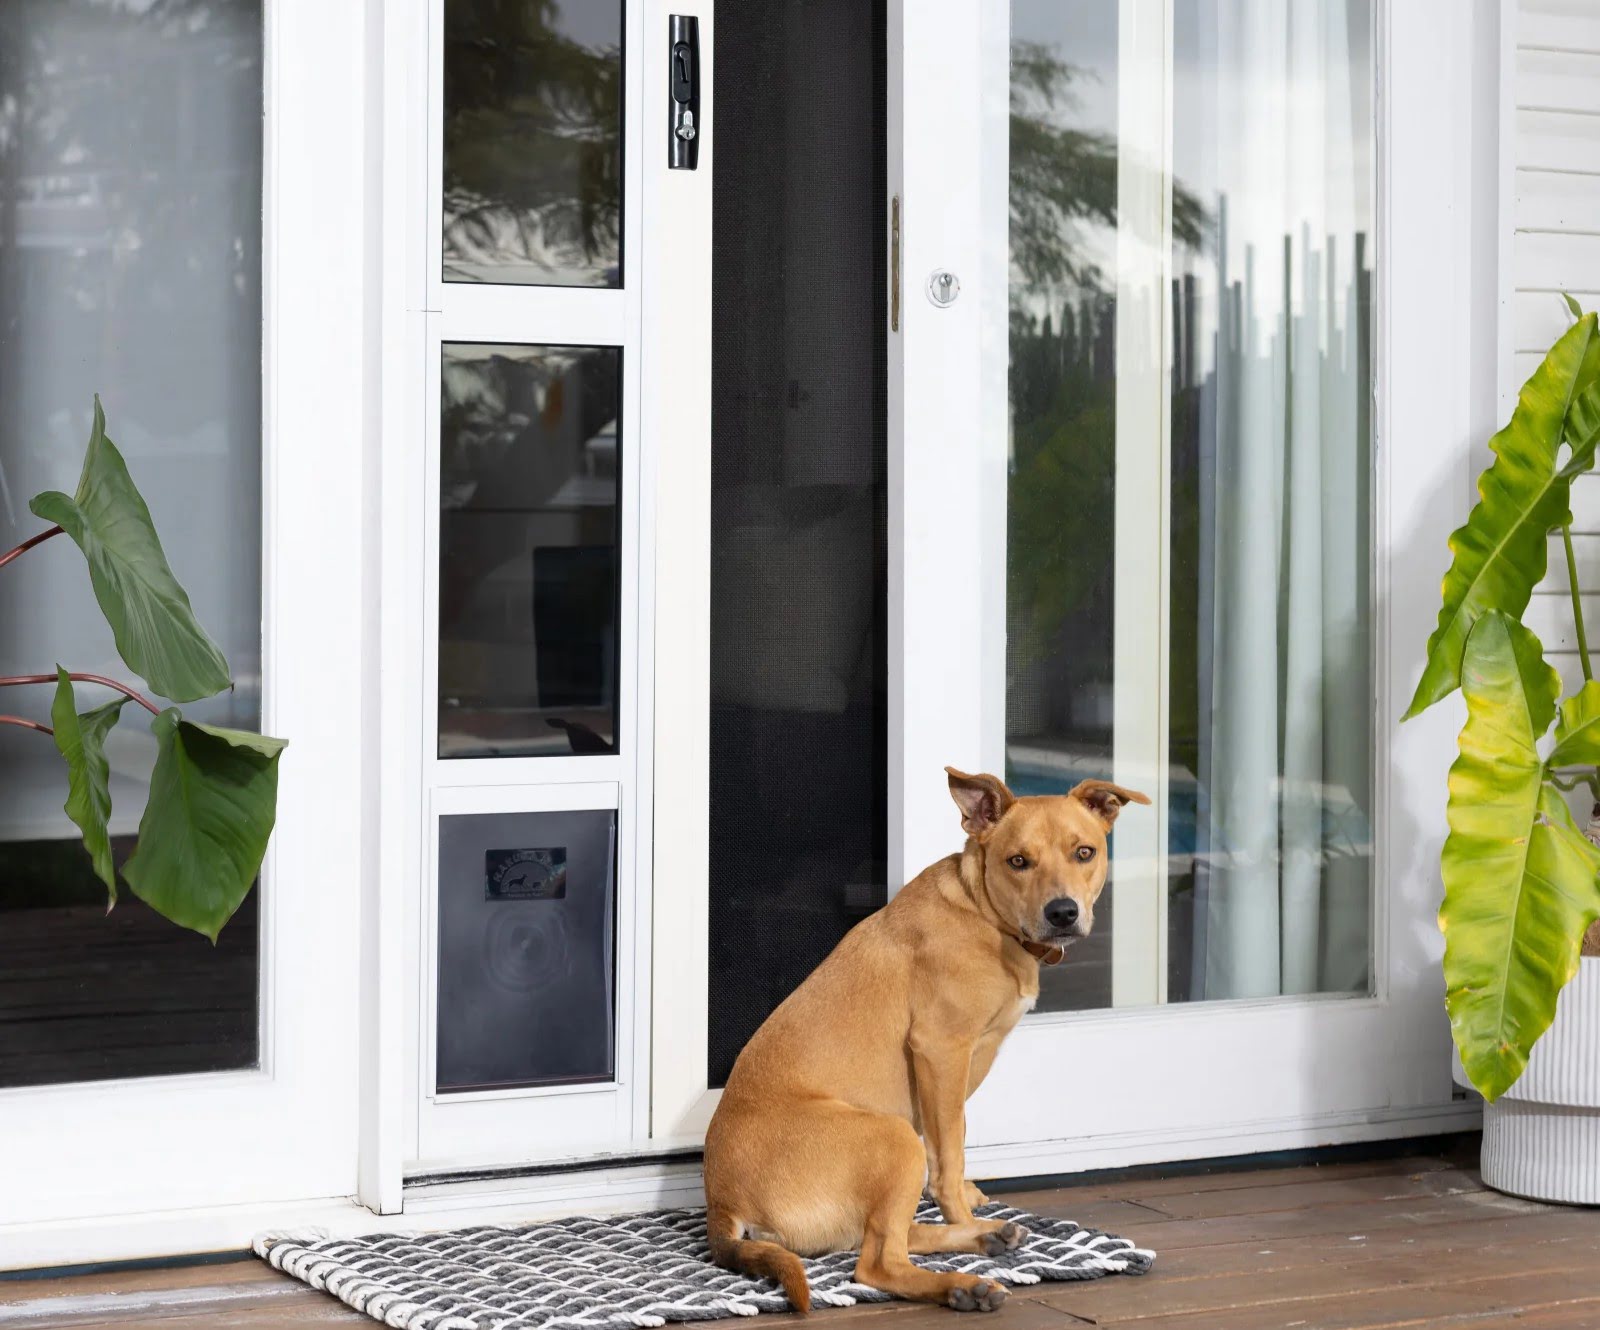
Repairing sliding doors involves addressing issues such as sticky tracks, worn-out rollers, and damaged hardware. Here’s a step-by-step guide to help you repair your sliding doors:
- Clean the tracks: Start by removing any dirt, debris, or obstructions from the tracks. Use a vacuum or a brush to clean the tracks thoroughly. If there are any stubborn stains or residue, you can use a mild detergent or a track cleaning solution.
- Inspect and lubricate the tracks: Check the tracks for any signs of wear or damage. If you notice any rough areas, use sandpaper to smoothen them out. Once the tracks are clean and smooth, apply a silicone-based lubricant to ensure smooth sliding motion.
- Check and replace the rollers: Examine the rollers to see if they are worn out or damaged. If they are, carefully remove the old rollers and replace them with new ones. Make sure the replacement rollers match the size and type of the original ones.
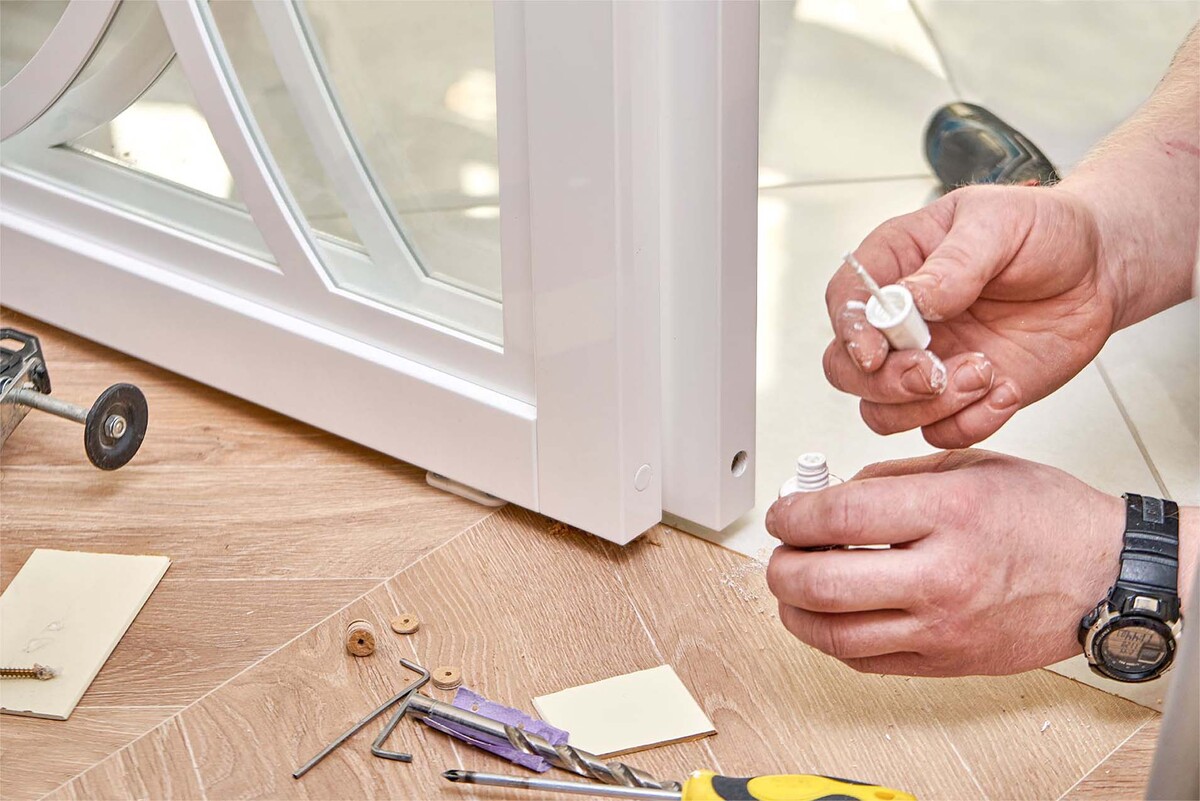
- Adjust the rollers: If the sliding doors are not gliding smoothly, you may need to adjust the rollers. Most sliding doors have adjustment screws located at the bottom corners of the door panels. Use a screwdriver to turn the adjustment screws and raise or lower the rollers until the doors slide effortlessly.
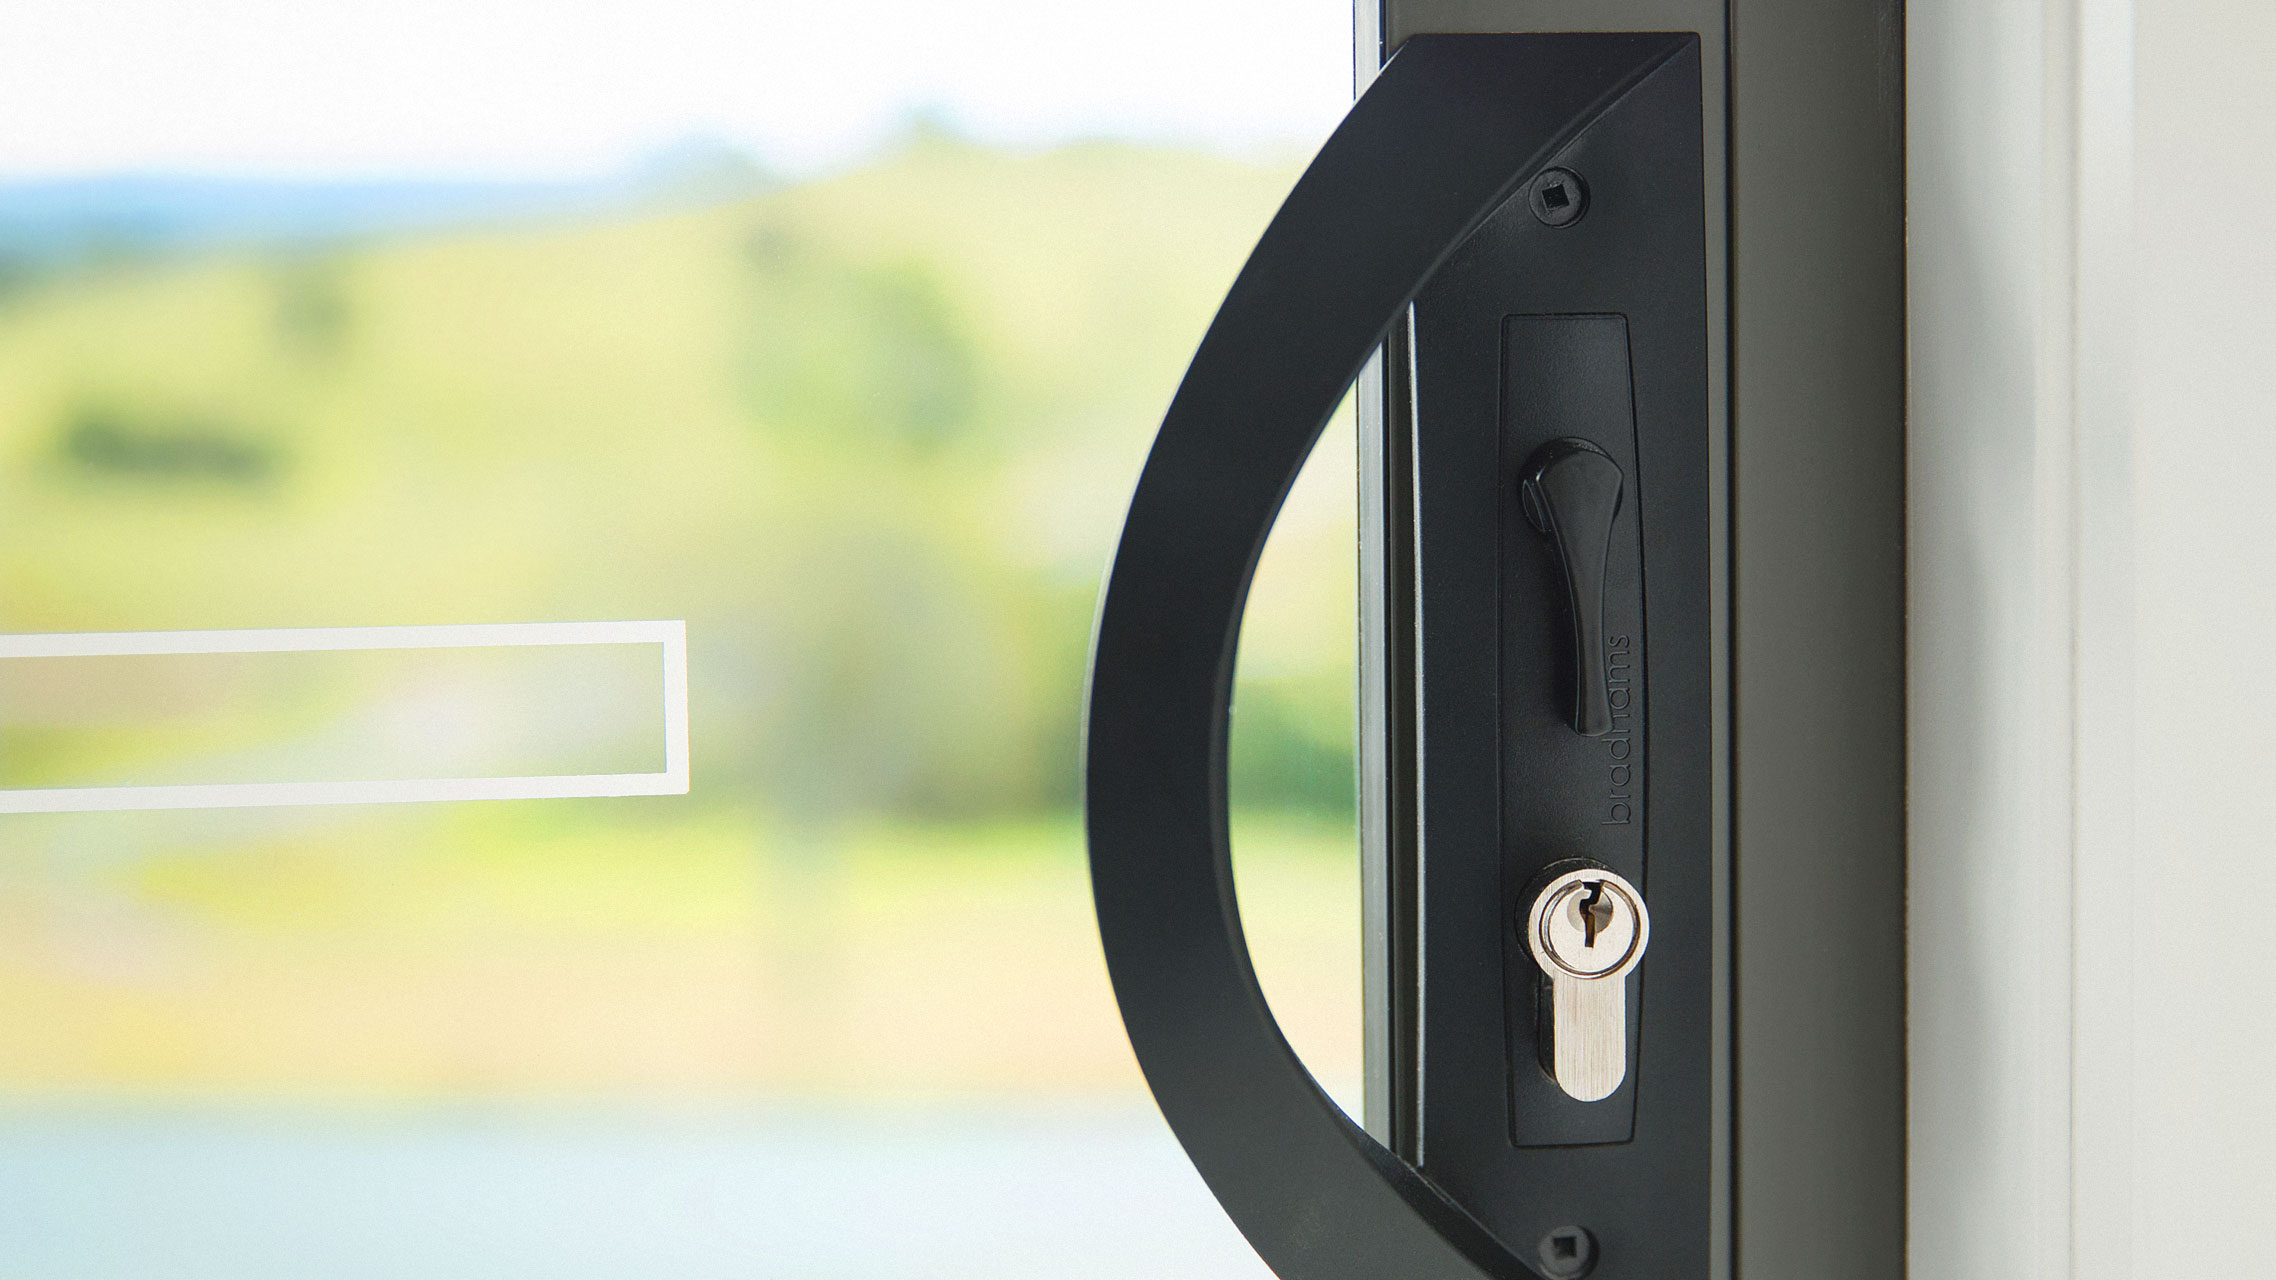
- Check and replace damaged hardware: Inspect the hardware, such as handles, locks, or latches, for any damage or wear. If necessary, replace the damaged hardware with new ones that match the style and size of the original hardware.
- Secure loose screws: Check all screws and bolts on the sliding doors and tighten any that are loose. This includes not only the hardware but also any brackets or tracks that may have become loose over time.
By following these steps, you should be able to repair common issues with sliding doors and restore their smooth functionality. However, if you encounter significant issues or if you are unsure about the repair process, it’s always advisable to seek assistance from a professional or contact the manufacturer for guidance specific to your sliding door system.
Remember, regular maintenance and periodic cleaning of your sliding doors will help prolong their lifespan and prevent future issues. Additionally, lubricating the tracks and regularly inspecting the hardware will ensure smooth and effortless operation.
Read more: How To Install A Sliding Closet Door
Conclusion
Bifold and sliding doors add a touch of elegance, functionality, and space-saving benefits to any home. However, over time, these doors may encounter issues that affect their smooth operation. The good news is that many of these common problems can be easily repaired with some basic knowledge and a few simple tools.
In this article, we discussed some of the common issues you may encounter with bifold and sliding doors, including sticky tracks, misaligned panels, worn-out rollers, and damaged hardware. We provided step-by-step repair techniques to address these issues, ensuring that your doors can function optimally once again.
When repairing bifold doors, it’s important to clean the tracks, check and adjust the hinges, replace damaged hardware, adjust the height if necessary, and replace worn-out seals. For sliding doors, cleaning and lubricating the tracks, inspecting and replacing rollers, adjusting the rollers, checking and replacing damaged hardware, and securing loose screws are crucial steps in the repair process.
By properly maintaining and addressing issues promptly, you can extend the lifespan of your bifold and sliding doors and prevent further damage. Regular cleaning, lubrication, and inspections will help keep your doors working smoothly and efficiently.
If you encounter any major issues or if you are unsure about the repair process, it’s always recommended to seek assistance from a professional or contact the manufacturer for guidance specific to your door system.
Now that you have the knowledge and tools to repair bifold and sliding doors, you can confidently tackle any issues that may arise and enjoy the functionality and beauty these doors bring to your home.
Frequently Asked Questions about How To Repair Bifold And Sliding Doors
Was this page helpful?
At Storables.com, we guarantee accurate and reliable information. Our content, validated by Expert Board Contributors, is crafted following stringent Editorial Policies. We're committed to providing you with well-researched, expert-backed insights for all your informational needs.


0 thoughts on “How To Repair Bifold And Sliding Doors”