Articles
How To Lock Liftmaster Garage Door
Modified: August 22, 2024
Discover the top articles on how to lock your Liftmaster garage door and keep your home safe and secure. Find step-by-step guides and expert tips to ensure maximum protection.
(Many of the links in this article redirect to a specific reviewed product. Your purchase of these products through affiliate links helps to generate commission for Storables.com, at no extra cost. Learn more)
Introduction
A Liftmaster garage door is a popular choice for homeowners looking to ensure the security and convenience of their homes. While Liftmaster garage doors are known for their durability and advanced features, it’s important to take additional measures to protect your belongings and loved ones.
One effective way to increase the security of your Liftmaster garage door is by installing a lock mechanism. By adding a lock, you can prevent unauthorized access and provide an extra layer of protection for your valuables.
In this article, we will guide you through the process of locking your Liftmaster garage door step by step. Whether you’re a first-time homeowner or just looking to enhance the security of your existing Liftmaster garage door, this guide will provide you with the necessary information to ensure that your garage is secure.
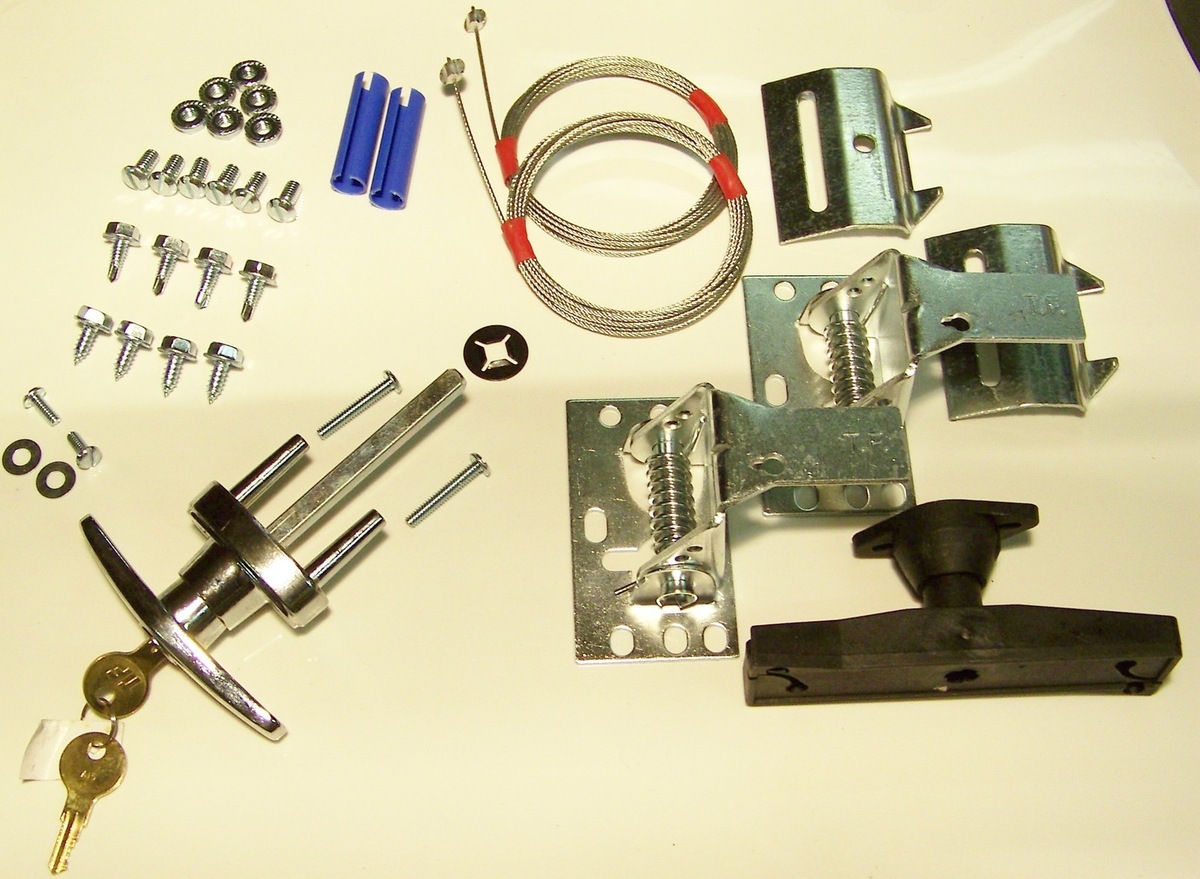
Before diving into the step-by-step process, it’s important to gather the necessary tools. Having these tools on hand will ensure a smooth and hassle-free locking experience.
Here are the tools you will need:
- A key – This is the main component of the lock mechanism, so make sure you have the right key that matches your lock.
- A flashlight – This will come in handy if you need to inspect the lock or any other components of your garage door.
- Protective gloves – These will protect your hands from any sharp edges or potential injuries during the locking process.
Now that you have the tools ready, let’s move on to the next step: locating the lock mechanism on your Liftmaster garage door.
Key Takeaways:
- Enhance your home security by following a simple step-by-step process to lock your Liftmaster garage door, providing peace of mind and protection for your belongings and loved ones.
- By gathering the necessary tools, locating the lock mechanism, and testing the locking mechanism, you can ensure that your Liftmaster garage door is securely locked, deterring potential intruders and maintaining the safety of your home.
Read more: How To Unlock Liftmaster Garage Door
Step 1: Gather the necessary tools
Before you begin the process of locking your Liftmaster garage door, it’s essential to gather the necessary tools. Having these tools on hand will ensure a smooth and efficient locking experience. Here’s what you’ll need:
- A key: Before you can install a lock on your Liftmaster garage door, you’ll need a suitable key. Make sure you have the correct key that matches your lock. If you’re unsure, check the user manual or consult a professional locksmith.
- A flashlight: A flashlight will come in handy throughout the locking process. It will help you illuminate dark areas and inspect the lock mechanism, ensuring everything is in working order.
- Protective gloves: It’s always a good idea to wear protective gloves when working with your garage door. They will protect your hands from any sharp edges or potential injuries that may occur during the locking process.
Having these tools ready will save you time and frustration down the line. Once you’ve gathered all the necessary tools, you’re ready to proceed to the next step: locating the lock mechanism on your Liftmaster garage door.
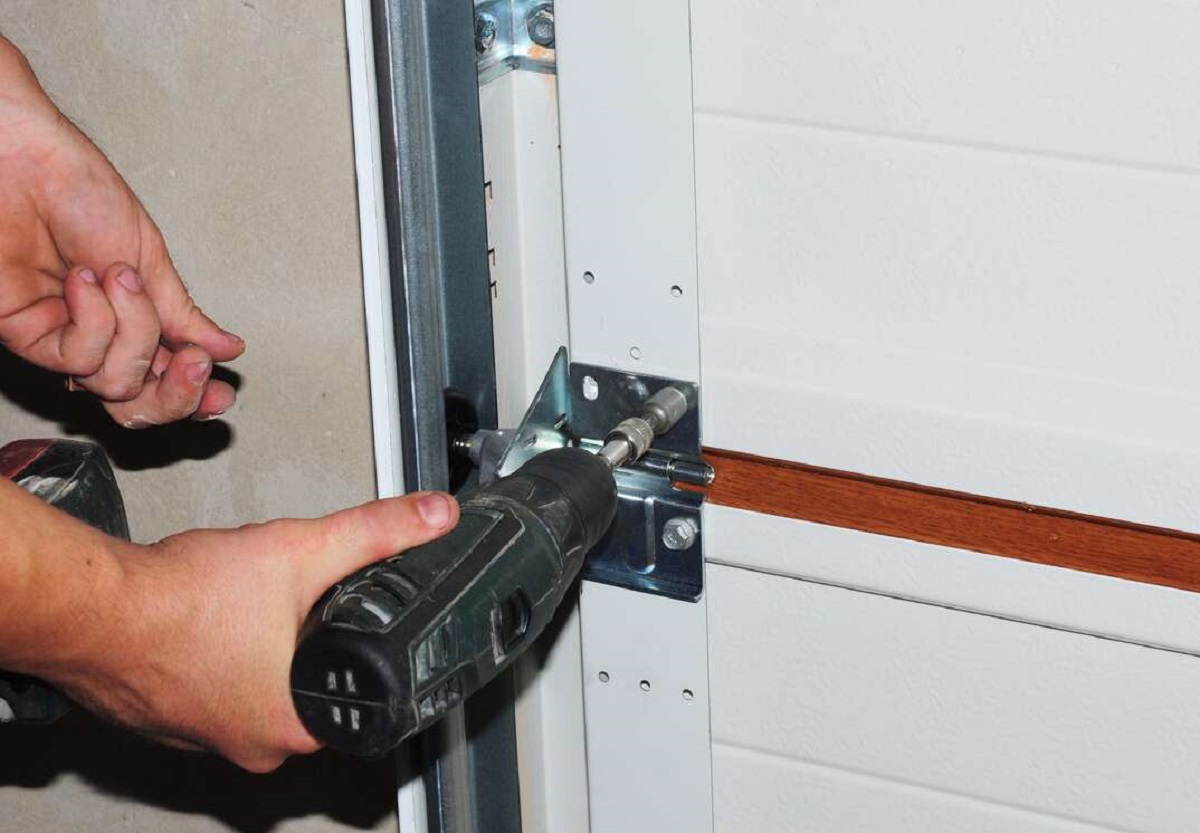
Step 2: Locate the lock mechanism on your Liftmaster garage door
Locating the lock mechanism on your Liftmaster garage door is essential before you can proceed with the locking process. The lock mechanism is typically located on the inside of the door, near the bottom. Follow the steps below to locate it:
- Close your garage door completely.
- Stand inside your garage, facing the door.
- Inspect the bottom section of the door, specifically the center area.
- Look for a small lock cylinder, which resembles a keyhole or a circular opening. It is commonly located on the bottom panel of the door, near the center or off-center.
- If you have trouble locating the lock cylinder, use your flashlight to get a better view. Be thorough and ensure you inspect the entire bottom section of the door.
Once you have successfully located the lock mechanism, you are ready to move on to the next step: unlocking any existing locks.
Step 3: Unlock any existing locks
Before you can install a new lock on your Liftmaster garage door, it’s crucial to unlock any existing locks that may be in place. Follow the steps below to unlock the existing locks:
- Insert the key into the lock cylinder.
- Turn the key counterclockwise or clockwise, depending on the lock mechanism, to unlock it.
- If the lock cylinder is stiff or difficult to turn, apply a small amount of lubricant to the key and try again. This will help the key slide smoothly into the lock and ease the unlocking process.
- Continue turning the key until you hear a click or feel resistance release. This signifies that the lock has been successfully unlocked.
- If you’re unable to unlock the existing lock or encounter any issues, it’s recommended to seek assistance from a professional locksmith. They have the expertise and tools to handle potential complications effectively.
Once you have successfully unlocked any existing locks, you can move on to the next step, which is installing the new lock on your Liftmaster garage door.
Step 4: Insert the key into the lock cylinder
Now that you’ve successfully unlocked any existing locks on your Liftmaster garage door, it’s time to insert the key into the lock cylinder. Follow these steps:
- Take the key that matches your lock and hold it between your thumb and forefinger.
- Align the key with the keyhole or circular opening of the lock cylinder.
- Gently insert the key into the lock cylinder, ensuring that it goes in smoothly and straight.
- Avoid using excessive force to prevent any damage to the key or lock cylinder.
- If the key doesn’t fit or doesn’t insert properly, double-check that you have the correct key for your lock. If you are certain that it’s the right key, consult a professional locksmith for assistance.
Once the key is properly inserted into the lock cylinder, you’re ready to move on to the next step: turning the key to engage the lock.
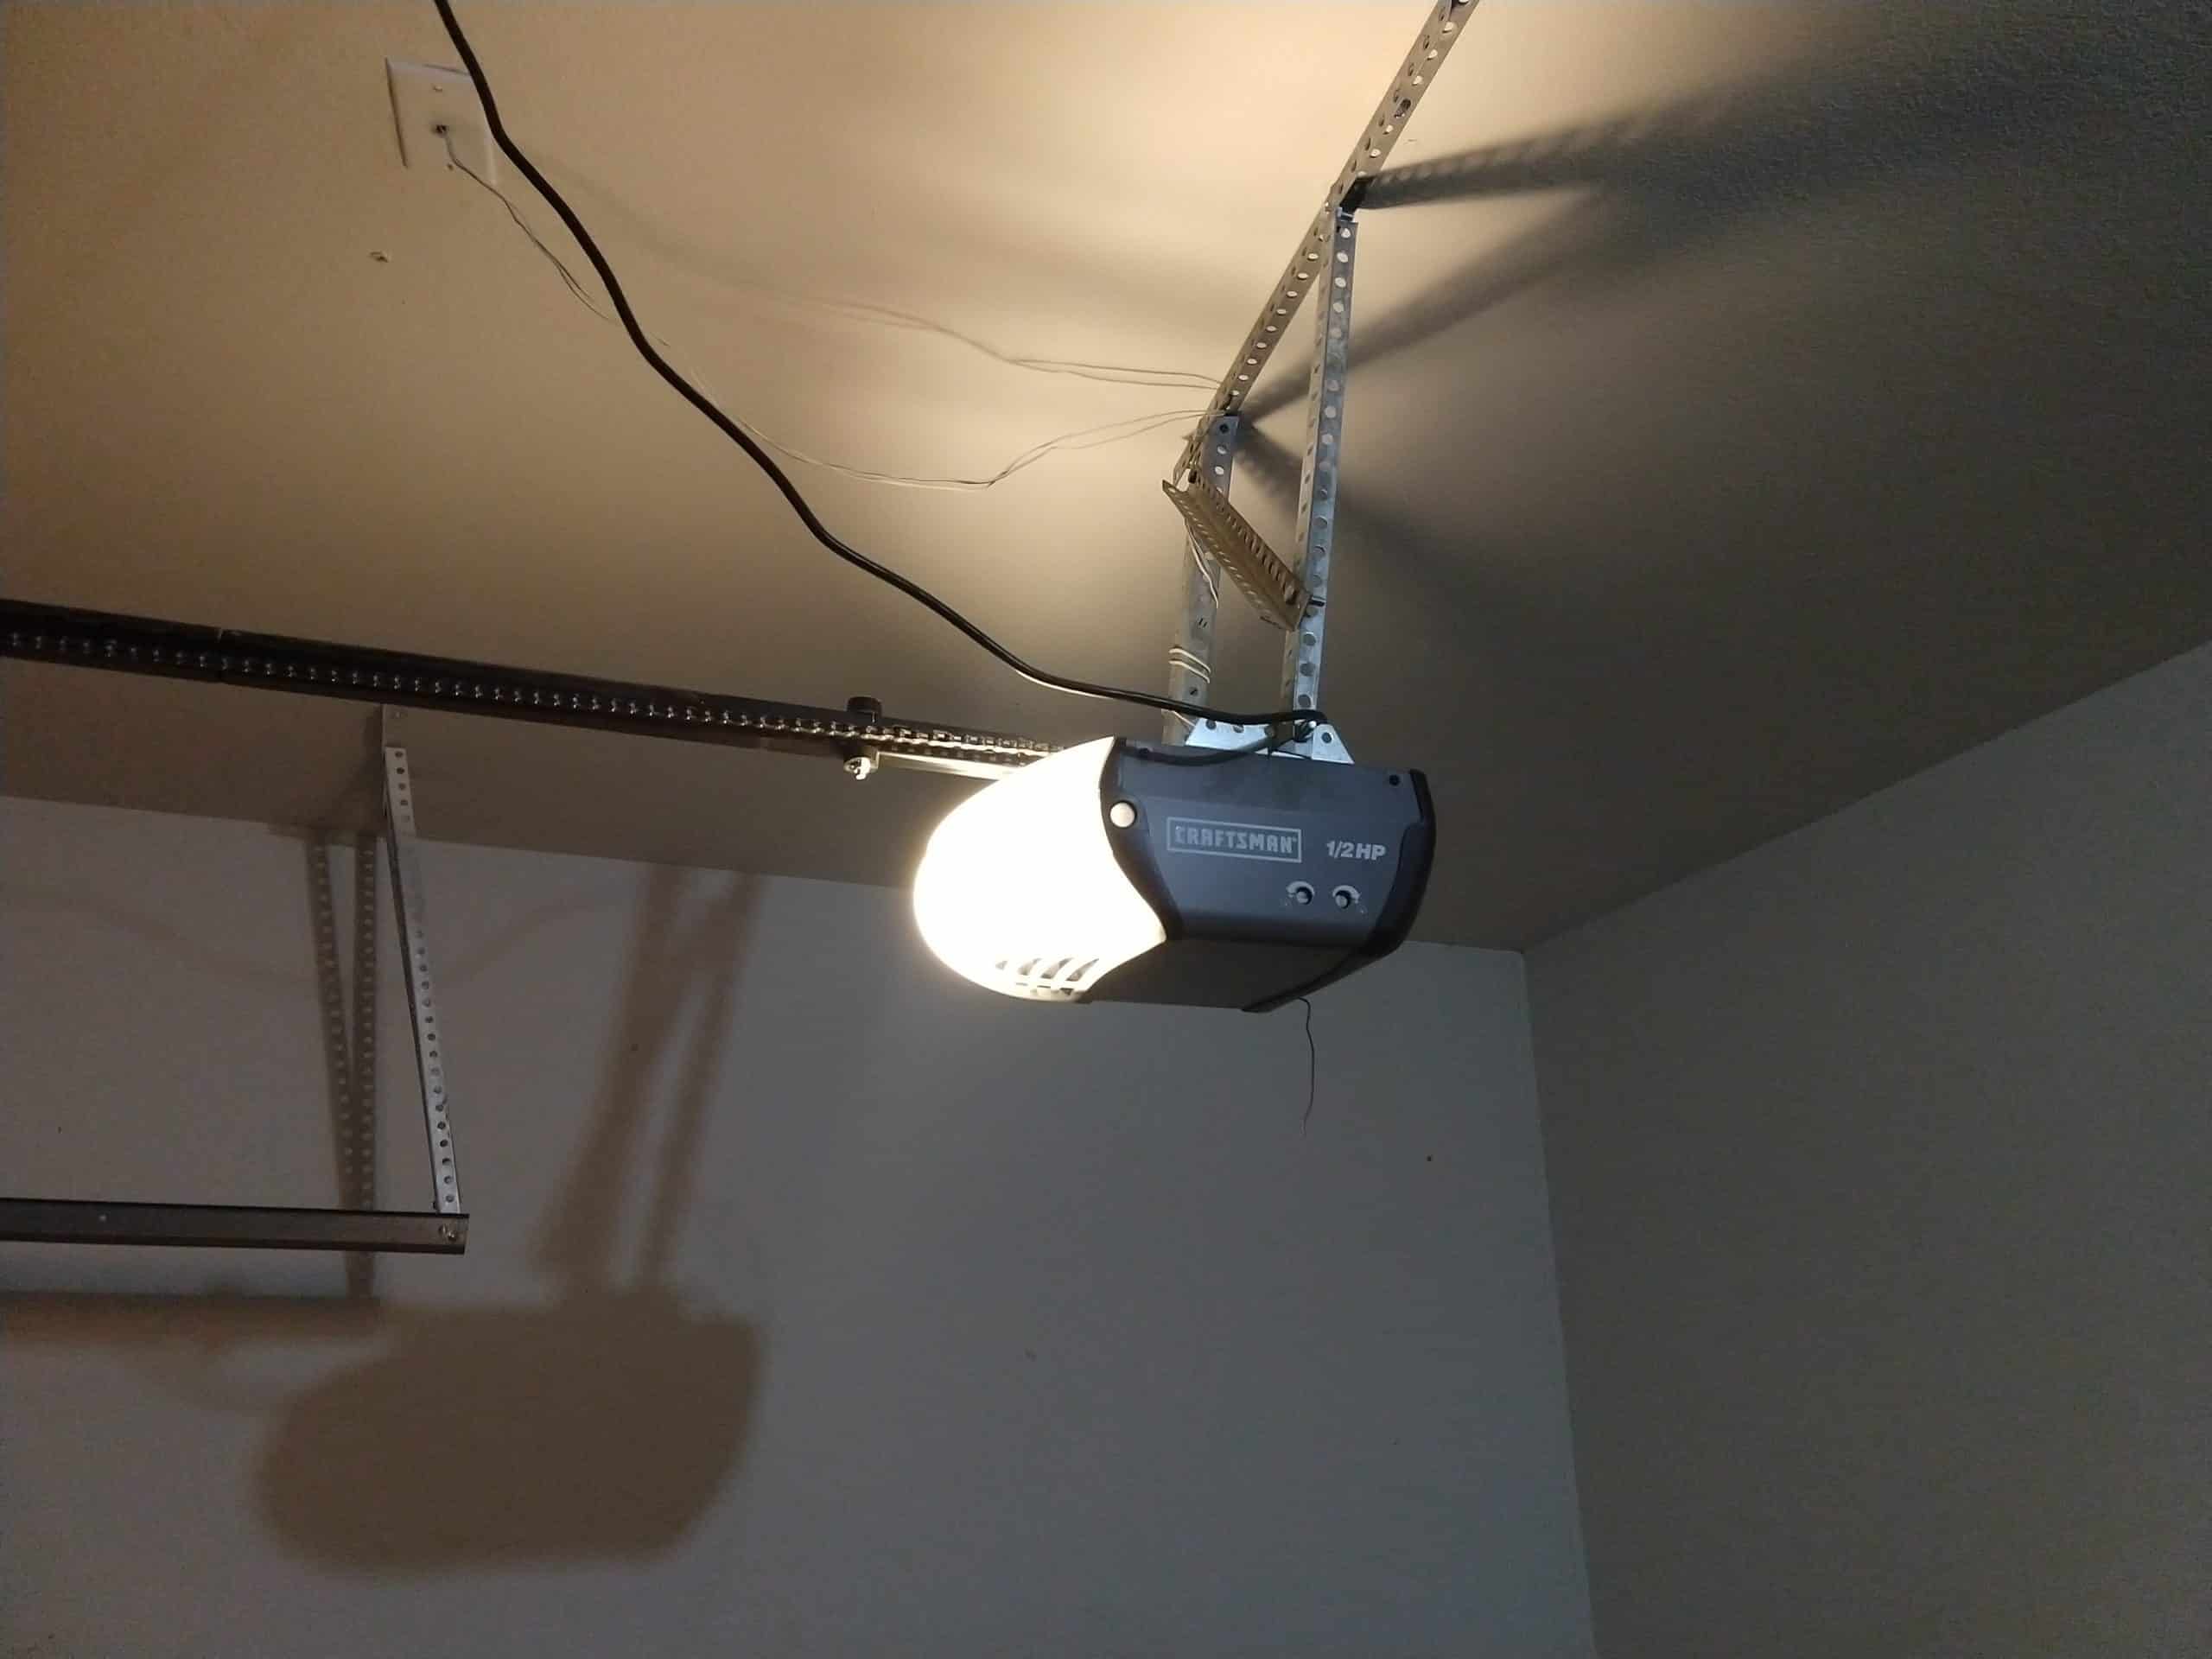
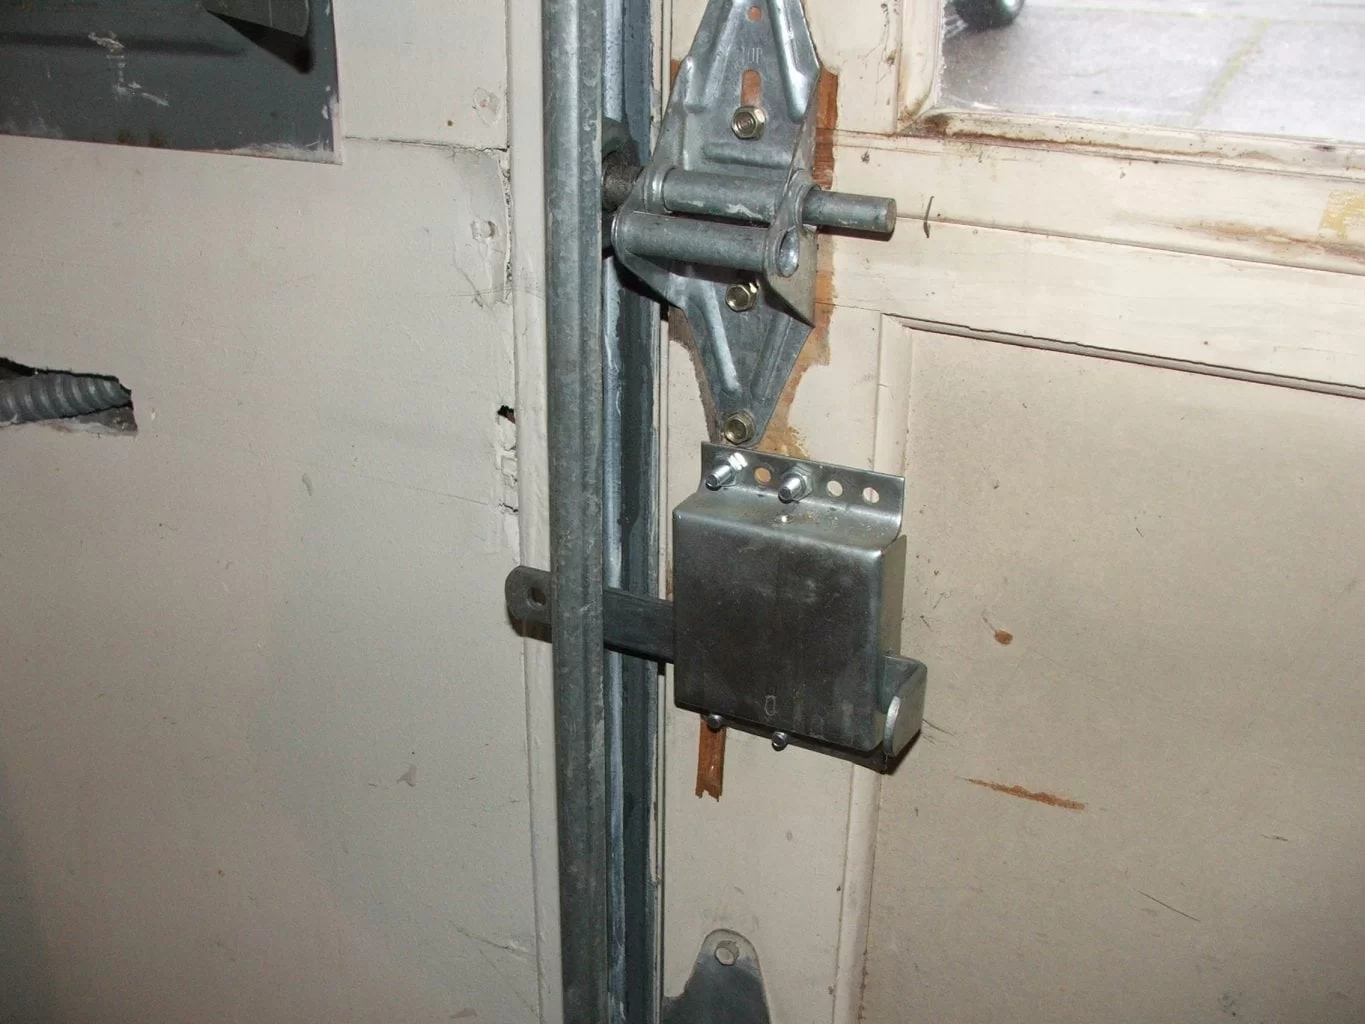
To lock a Liftmaster garage door, locate the manual lock on the inside of the door and slide it into the locked position. This will prevent the door from being opened with a remote or keypad.
Read more: How To Adjust Liftmaster Garage Door
Step 5: Turn the key to engage the lock
With the key inserted into the lock cylinder of your Liftmaster garage door, it’s time to turn the key to engage the lock. This step will secure your garage door and prevent unauthorized access. Follow these instructions:
- Grip the key with your thumb and forefinger.
- Turn the key in a clockwise direction, applying gentle and steady pressure.
- Continue turning the key until you feel resistance or hear a click. This indicates that the lock has been engaged.
- Ensure that the key is fully turned and that the lock mechanism is secure.
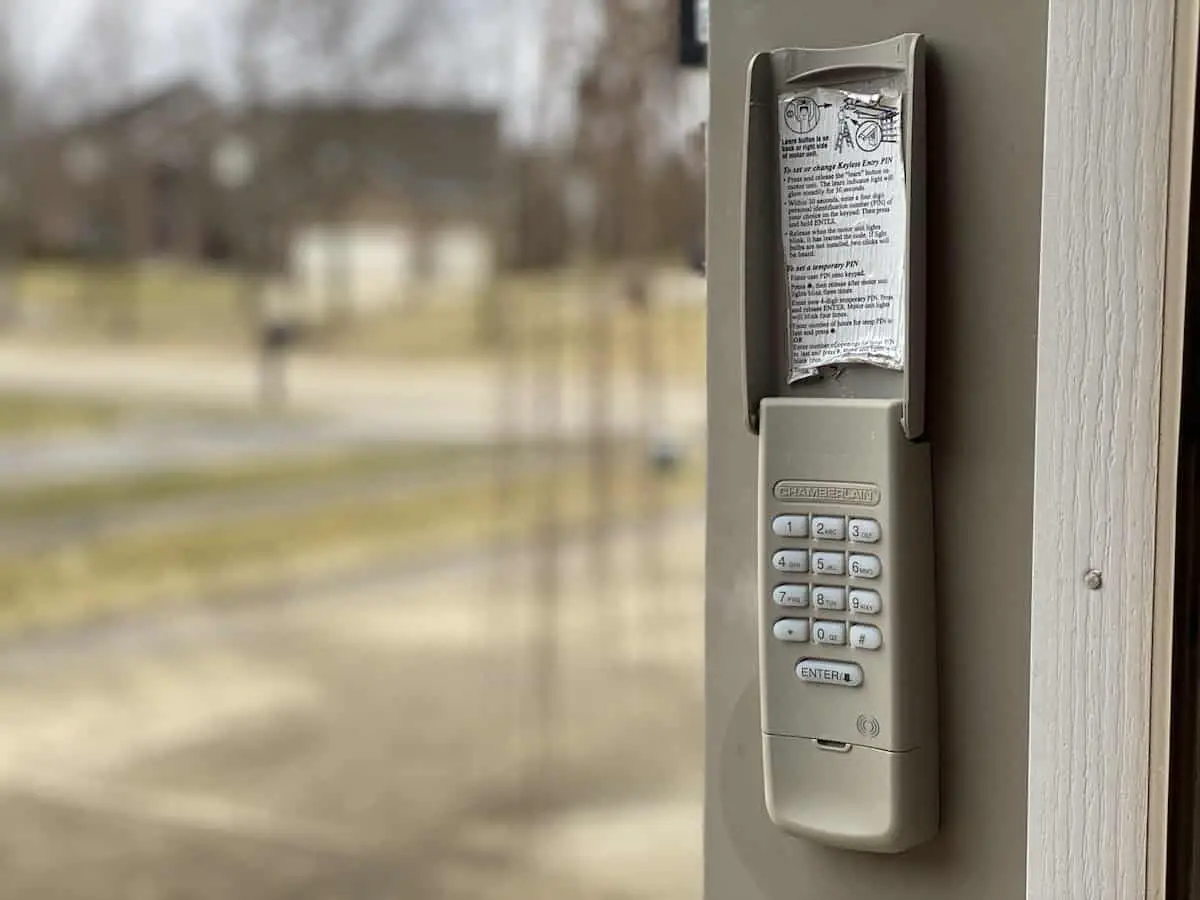
- If you have a keyless entry system for your garage door, check the manufacturer’s instructions for locking procedures.
By turning the key and engaging the lock, you have taken an important step in ensuring the security of your Liftmaster garage door. With the lock now engaged, you can move on to the next step: testing the locking mechanism.
Step 6: Test the locking mechanism
After turning the key and engaging the lock on your Liftmaster garage door, it’s crucial to test the locking mechanism to ensure it’s functioning correctly. This step will help you verify that the lock is securely in place and providing the desired level of security. Follow these steps to test the locking mechanism:
- Close the garage door completely.
- Attempt to manually lift the garage door from the outside. Apply moderate force to see if the door opens.
- If the lock is engaged correctly, the garage door should remain firmly shut and not open despite your efforts.
- Inspect the lock mechanism visually to ensure it’s in the proper position and fully engaged.
- If the door opens without resistance, it indicates that the lock may not be properly engaged. In this case, go back to Step 5 and make sure you turn the key until you feel resistance or hear a click, indicating that the lock has been engaged.
Testing the locking mechanism of your Liftmaster garage door is crucial to ensure the security of your belongings and loved ones. Take the time to perform this step and make any necessary adjustments to ensure that your garage door is securely locked.
Once you’re satisfied with the results of your lock test, you can proceed to the final step: removing the key and storing it in a safe place.
Step 7: Remove the key and store it in a safe place
With the locking mechanism tested and confirmed to be functioning correctly on your Liftmaster garage door, it’s important to remove the key and store it in a safe place. This final step ensures that the key is kept secure and easily accessible whenever you need to unlock the garage door. Follow these instructions:
- Take hold of the key that is inserted into the lock cylinder.
- Gently turn the key counterclockwise to unlock the lock.
- Once the lock is unlocked, carefully remove the key from the lock cylinder.
- Inspect the key to ensure it is not damaged or bent.
- Find a safe and secure location to store the key. Consider a keychain, a lockbox, or a designated drawer in your home.
- Avoid leaving the key in an easily accessible place, such as on the keyring or inside your unlocked car.
- Remember to keep the key separate from the garage door opener to prevent unauthorized access.
By removing the key and storing it in a safe place, you’re taking an important step in maintaining the security of your Liftmaster garage door. Keeping the key secure ensures that only authorized individuals can access your garage.
Congratulations! You have successfully completed the process of locking your Liftmaster garage door. By following these steps, you have enhanced the safety and security of your garage and provided peace of mind for your home and belongings.
Remember, in case of any difficulties or concerns during the locking process, it’s always a good idea to consult a professional locksmith who can provide expert advice and assistance.
Thank you for using this guide, and we hope it has been helpful in securing your Liftmaster garage door!
Conclusion
Securing your Liftmaster garage door with a lock is a simple yet effective way to enhance the security and protect your belongings and loved ones. By following the step-by-step process outlined in this guide, you can ensure that your garage door is properly locked and inaccessible to unauthorized individuals.
Throughout the process, we highlighted the importance of gathering the necessary tools, locating the lock mechanism, unlocking any existing locks, inserting the key into the lock cylinder, turning the key to engage the lock, testing the locking mechanism, and finally, removing the key and storing it in a safe place.
By taking the time to lock your Liftmaster garage door, you are implementing an additional layer of security to your home. This added security can deter potential intruders and provide you with peace of mind.
Remember, it is important to test the lock periodically to ensure it is still functioning properly. If you encounter any issues or concerns, don’t hesitate to seek assistance from a professional locksmith.
By implementing these locking techniques, you are taking proactive measures to protect your home and belongings. Your Liftmaster garage door will now provide you with the security and peace of mind you deserve. Stay safe!
Frequently Asked Questions about How To Lock Liftmaster Garage Door
Was this page helpful?
At Storables.com, we guarantee accurate and reliable information. Our content, validated by Expert Board Contributors, is crafted following stringent Editorial Policies. We're committed to providing you with well-researched, expert-backed insights for all your informational needs.


0 thoughts on “How To Lock Liftmaster Garage Door”