Home>Articles>How Do You Clean A Black And Decker Waffle Iron

Articles
How Do You Clean A Black And Decker Waffle Iron
Modified: August 26, 2024
Learn the best tips and tricks to clean your Black and Decker waffle iron in this informative article. Keep your appliance in top condition with easy maintenance!
(Many of the links in this article redirect to a specific reviewed product. Your purchase of these products through affiliate links helps to generate commission for Storables.com, at no extra cost. Learn more)
Introduction
Welcome to our guide on how to clean a Black and Decker waffle iron. Black and Decker is a renowned brand known for producing high-quality kitchen appliances, including waffle irons. Whether you enjoy making fluffy Belgian waffles on the weekends or use your waffle iron frequently, it’s important to keep it clean for optimal performance and longevity.
Regular cleaning of your waffle iron will help remove any built-up residue, ensure even cooking, and prevent any unpleasant odors or tastes in your waffles. In this article, we will provide you with step-by-step instructions on how to clean your Black and Decker waffle iron effectively.
Before we dive into the cleaning process, let’s go over the materials you will need to gather:
Key Takeaways:
- Regular cleaning of your Black and Decker waffle iron is essential for optimal performance, longevity, and delicious, evenly cooked waffles. Follow the step-by-step guide to keep your appliance in excellent condition.
- Properly drying and storing your waffle iron after cleaning will help prolong its lifespan and ensure it’s ready to use whenever you crave delicious homemade waffles. Regular maintenance guarantees consistently tasty waffles for years to come!
Materials Needed
Before you start cleaning your Black and Decker waffle iron, make sure you have the following materials on hand:
- Mild dish soap
- Warm water
- Soft sponge or cloth
- Toothbrush or soft brush
- Non-abrasive scrub pad
- Paper towels or clean cloth for drying
With these materials ready, you can now move on to the step-by-step process of cleaning your Black and Decker waffle iron.
Step 1: Preparing the Waffle Iron for Cleaning
Before you start cleaning your Black and Decker waffle iron, ensure that it is completely cool and unplugged. This is important for your safety and to prevent any damage to the appliance.
Take a moment to examine the waffle iron and its components. If the plates are removable, detach them according to the manufacturer’s instructions. If the plates are not removable, don’t worry, we will cover how to clean them effectively in the next step.
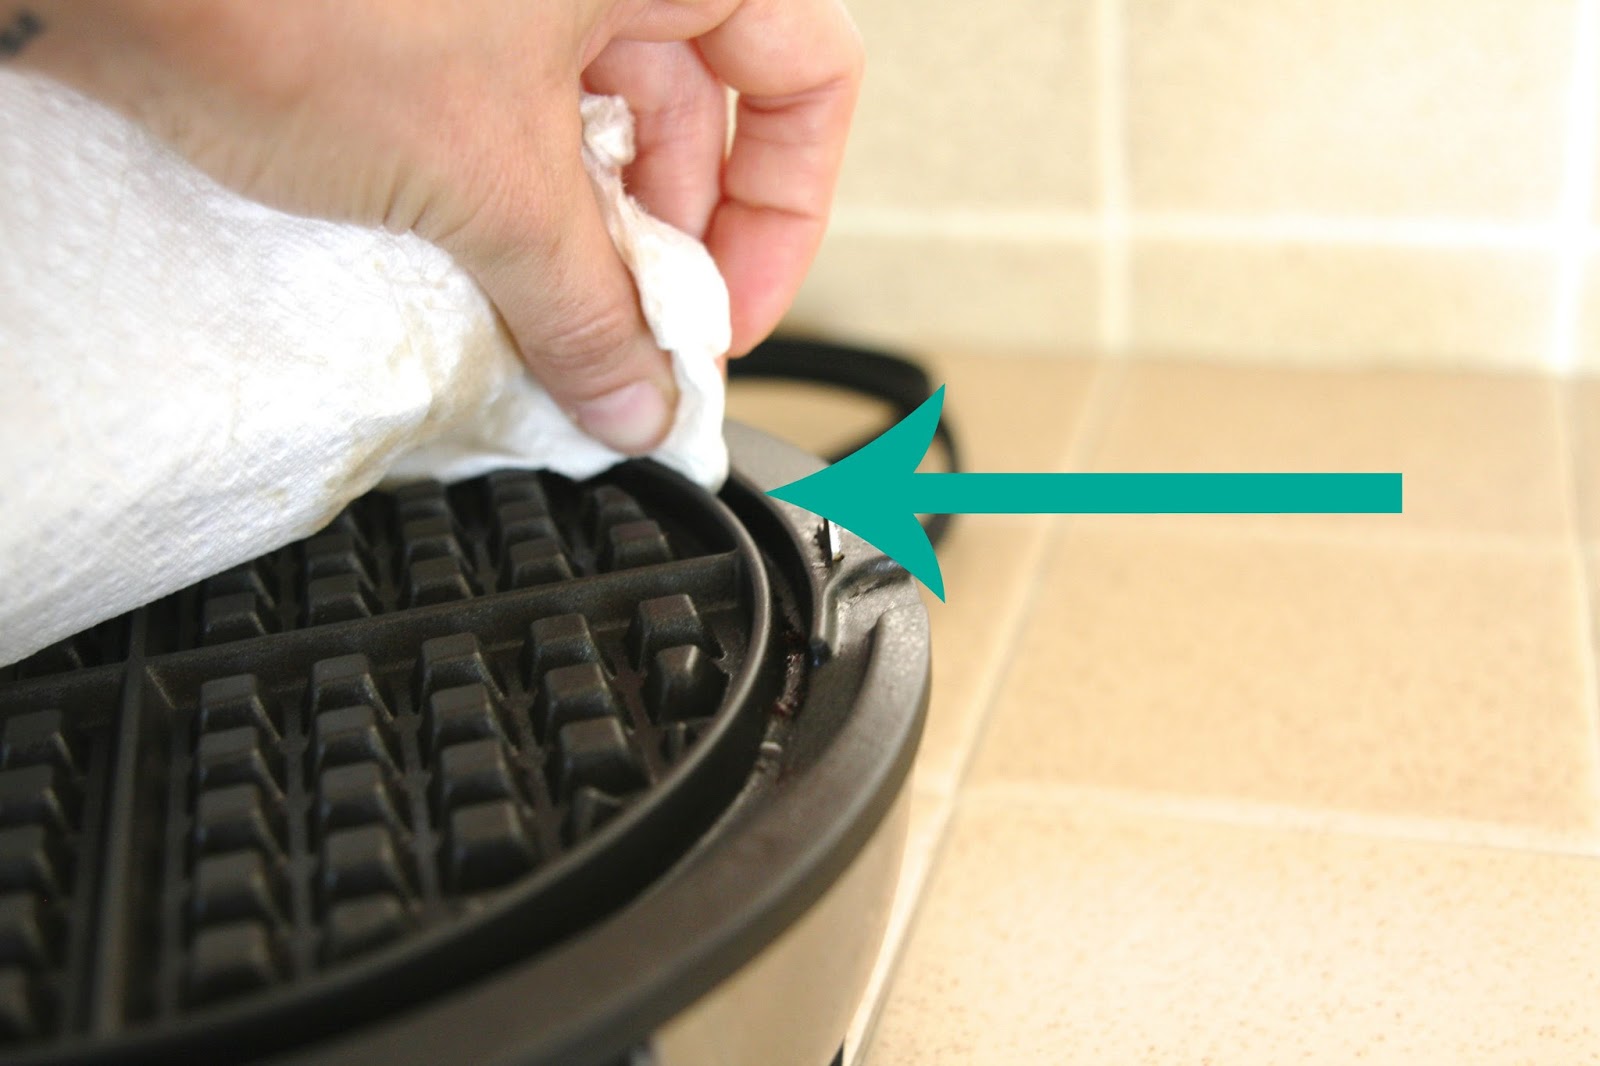
Next, check if there are any chunks of leftover batter or hard residue on the waffle plates. Use a soft brush or toothbrush to gently dislodge these bits and remove them. Be careful not to scratch or damage the non-stick surface of the plates as this can affect the performance of your waffle iron.
Once you have removed any visible debris, it’s time to move on to the next step of the cleaning process.
Step 2: Removing Excess Residue
Now that you have prepared your Black and Decker waffle iron, it’s time to tackle any excess residue that may be present. This can include leftover batter, grease, or other sticky substances.
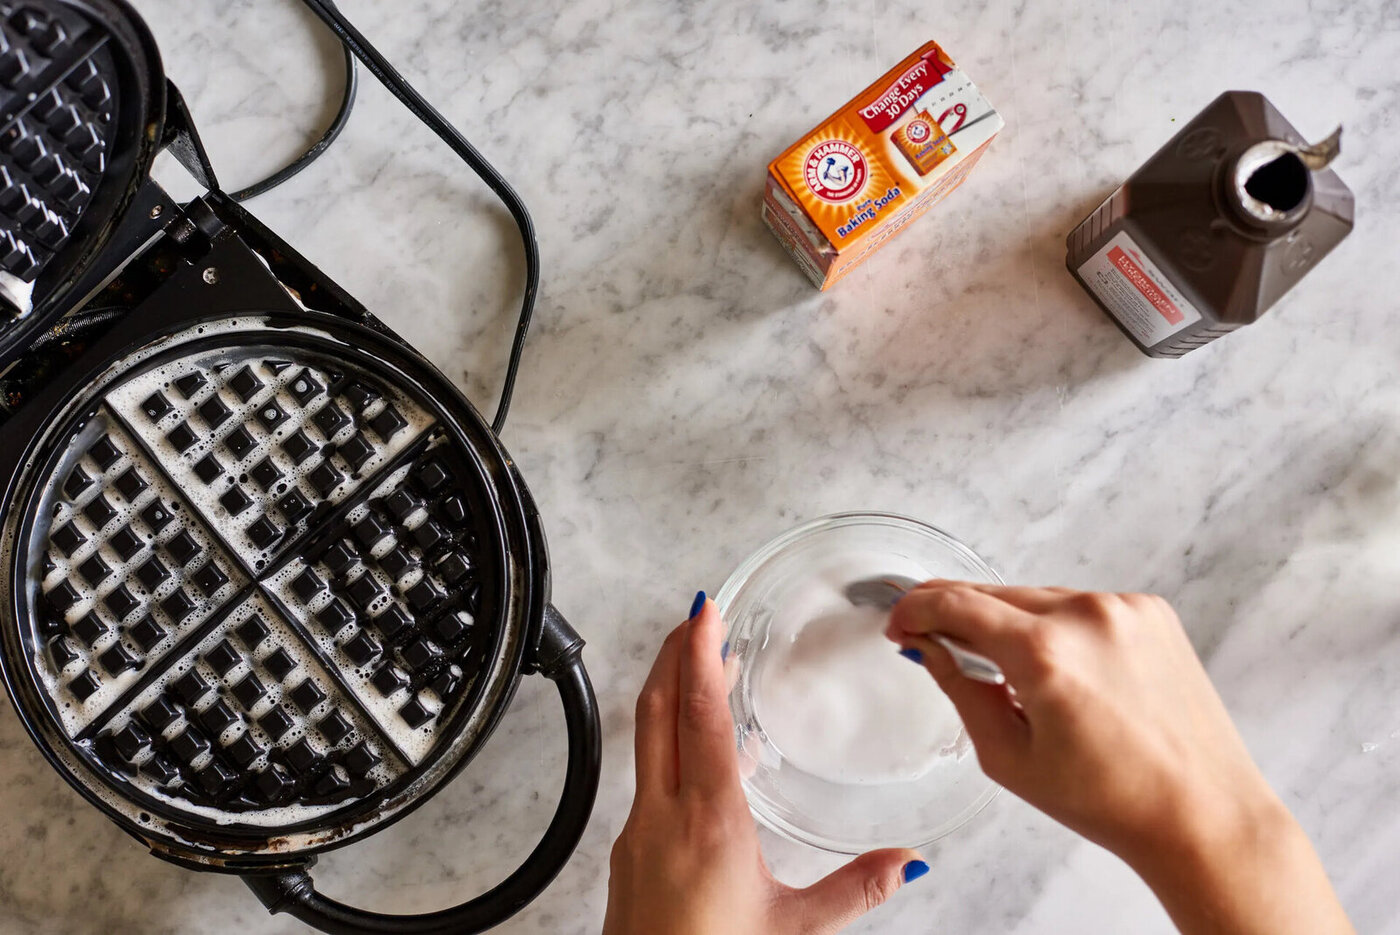
Start by preparing a mixture of warm water and mild dish soap. Fill a sink or a large bowl with warm water and add a few drops of dish soap. Mix it gently to create a soapy solution.
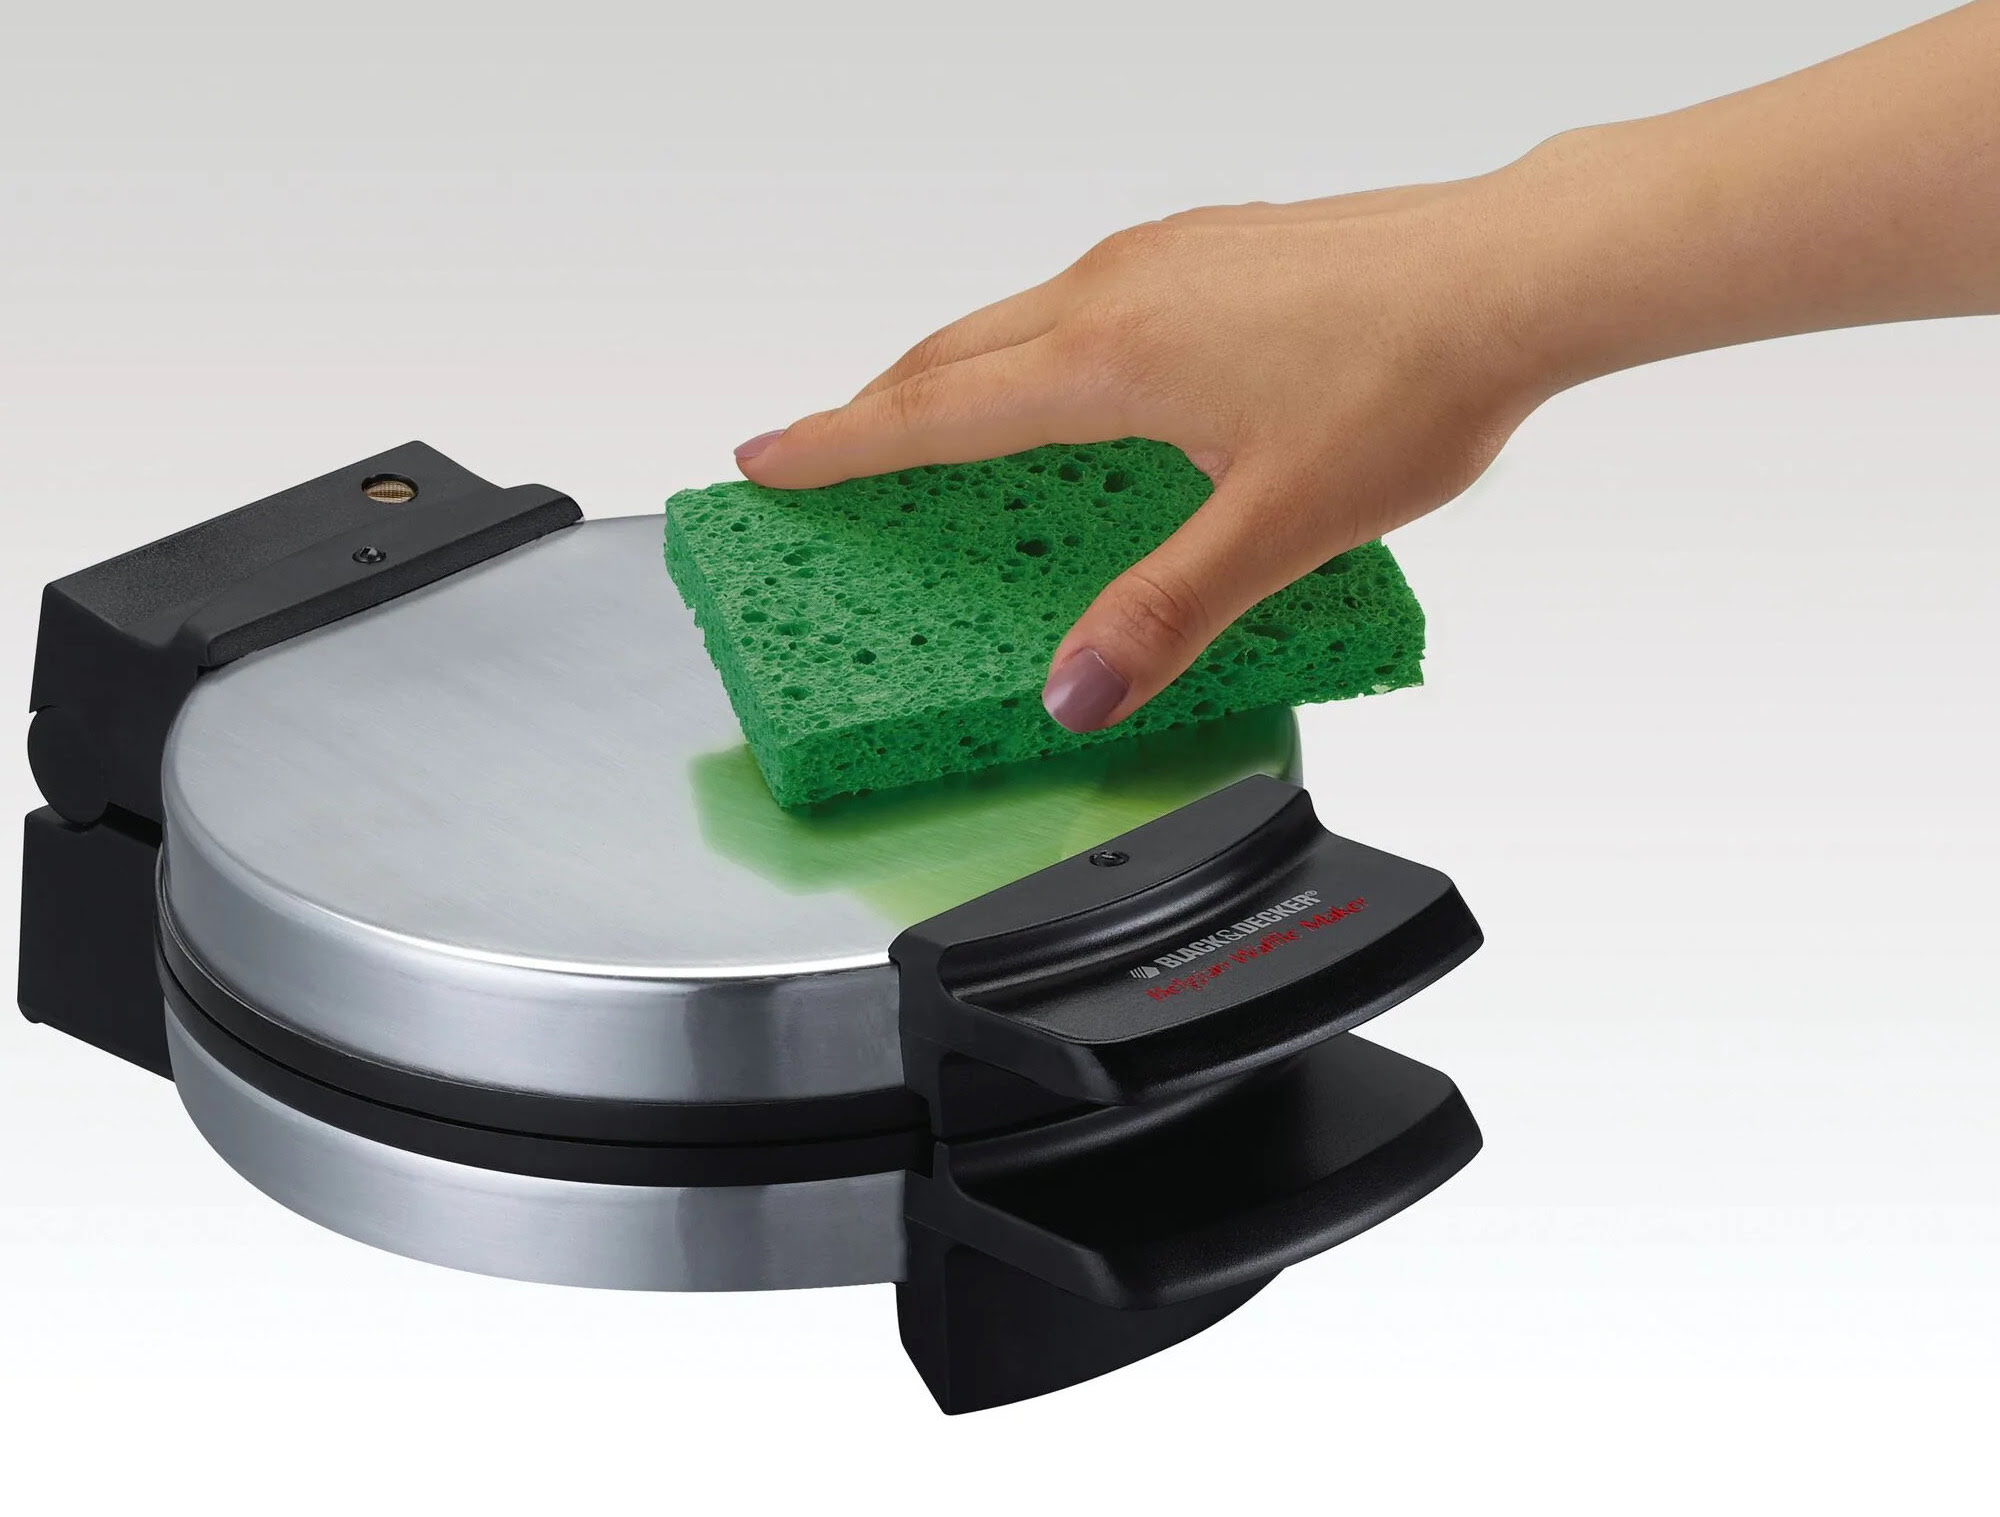
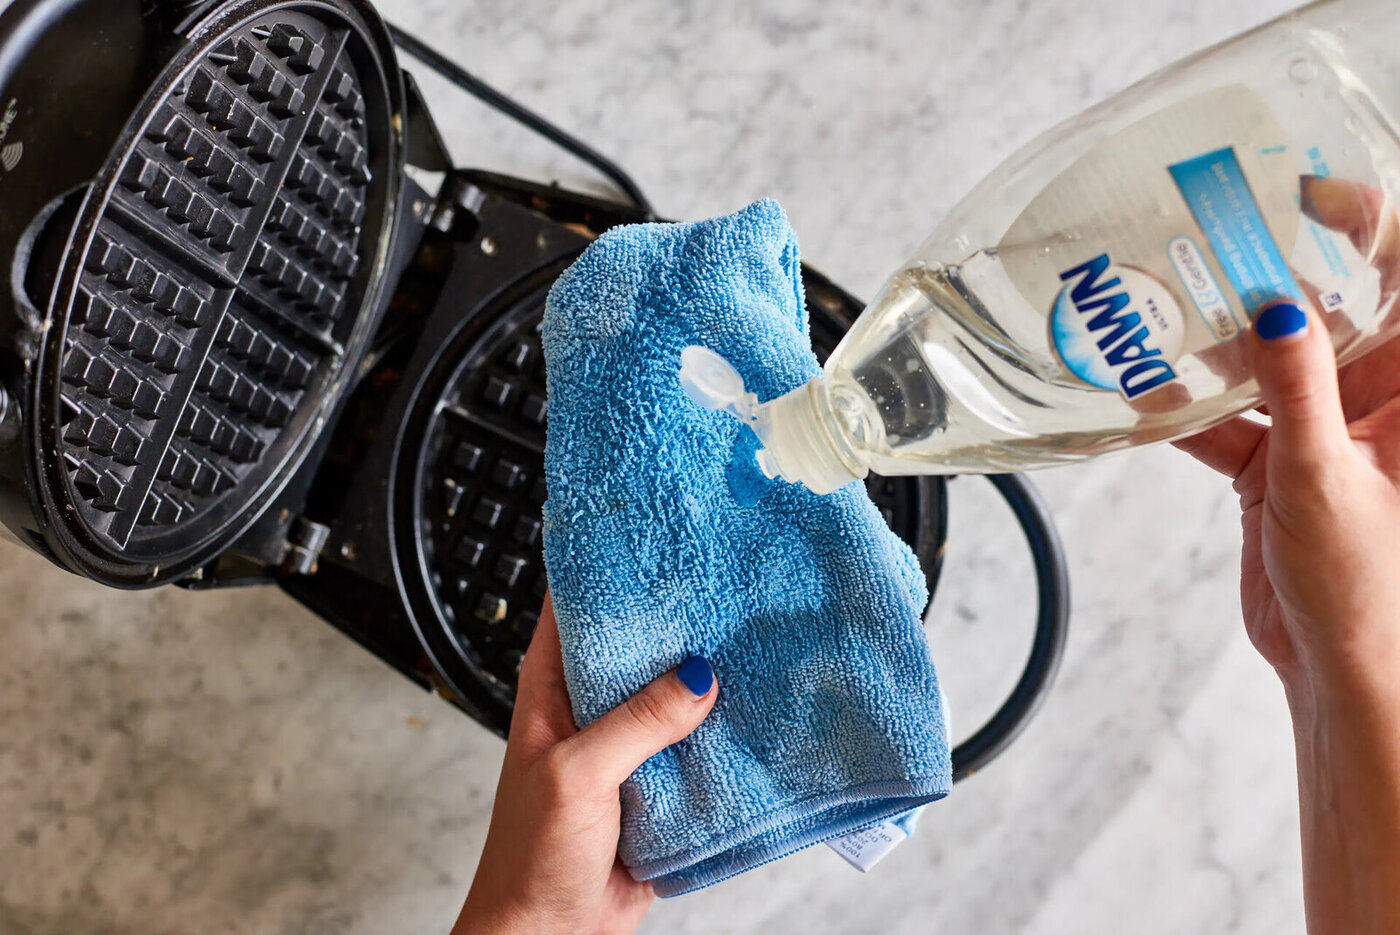
Take a soft sponge or cloth and dip it into the soapy water. Wring out any excess liquid, ensuring the sponge or cloth is damp, not dripping wet.
Gently wipe down the interior and exterior of the waffle iron, paying close attention to the areas where residue is present. Take care not to scrub too vigorously, as this can scratch the surface. Instead, use gentle circular motions to loosen and remove the residue.
If there are any stubborn spots or dried-on residue, dampen a non-abrasive scrub pad and gently rub the affected areas. Avoid using harsh abrasives or metal scrubbers, as these can damage the non-stick surface of the waffle iron.
Once you have thoroughly cleaned the waffle plates and removed the excess residue, rinse the sponge or cloth in clean water and wipe down the waffle iron to remove any soapy residue. Make sure to rinse the plates and the surrounding areas well to ensure all soap is removed.
Now that you’ve removed the excess residue, let’s move on to the next step of cleaning the waffle plates.
To clean a Black and Decker waffle iron, unplug it and let it cool. Wipe the plates with a damp cloth, then dry thoroughly. For stubborn residue, use a soft brush or sponge with mild soap and water. Avoid using abrasive cleaners or metal utensils to prevent damage.
Step 3: Cleaning the Waffle Plates
Now that you have removed the excess residue from your Black and Decker waffle iron, it’s time to focus on cleaning the waffle plates themselves. This step is crucial to ensure that your waffles cook evenly and don’t stick to the plates.
If the waffle plates are removable, carefully detach them from the waffle iron according to the manufacturer’s instructions. This will make the cleaning process easier and more thorough.
If the waffle plates are not removable, don’t worry. You can still clean them effectively. Make sure the waffle iron is cool and unplugged before proceeding.
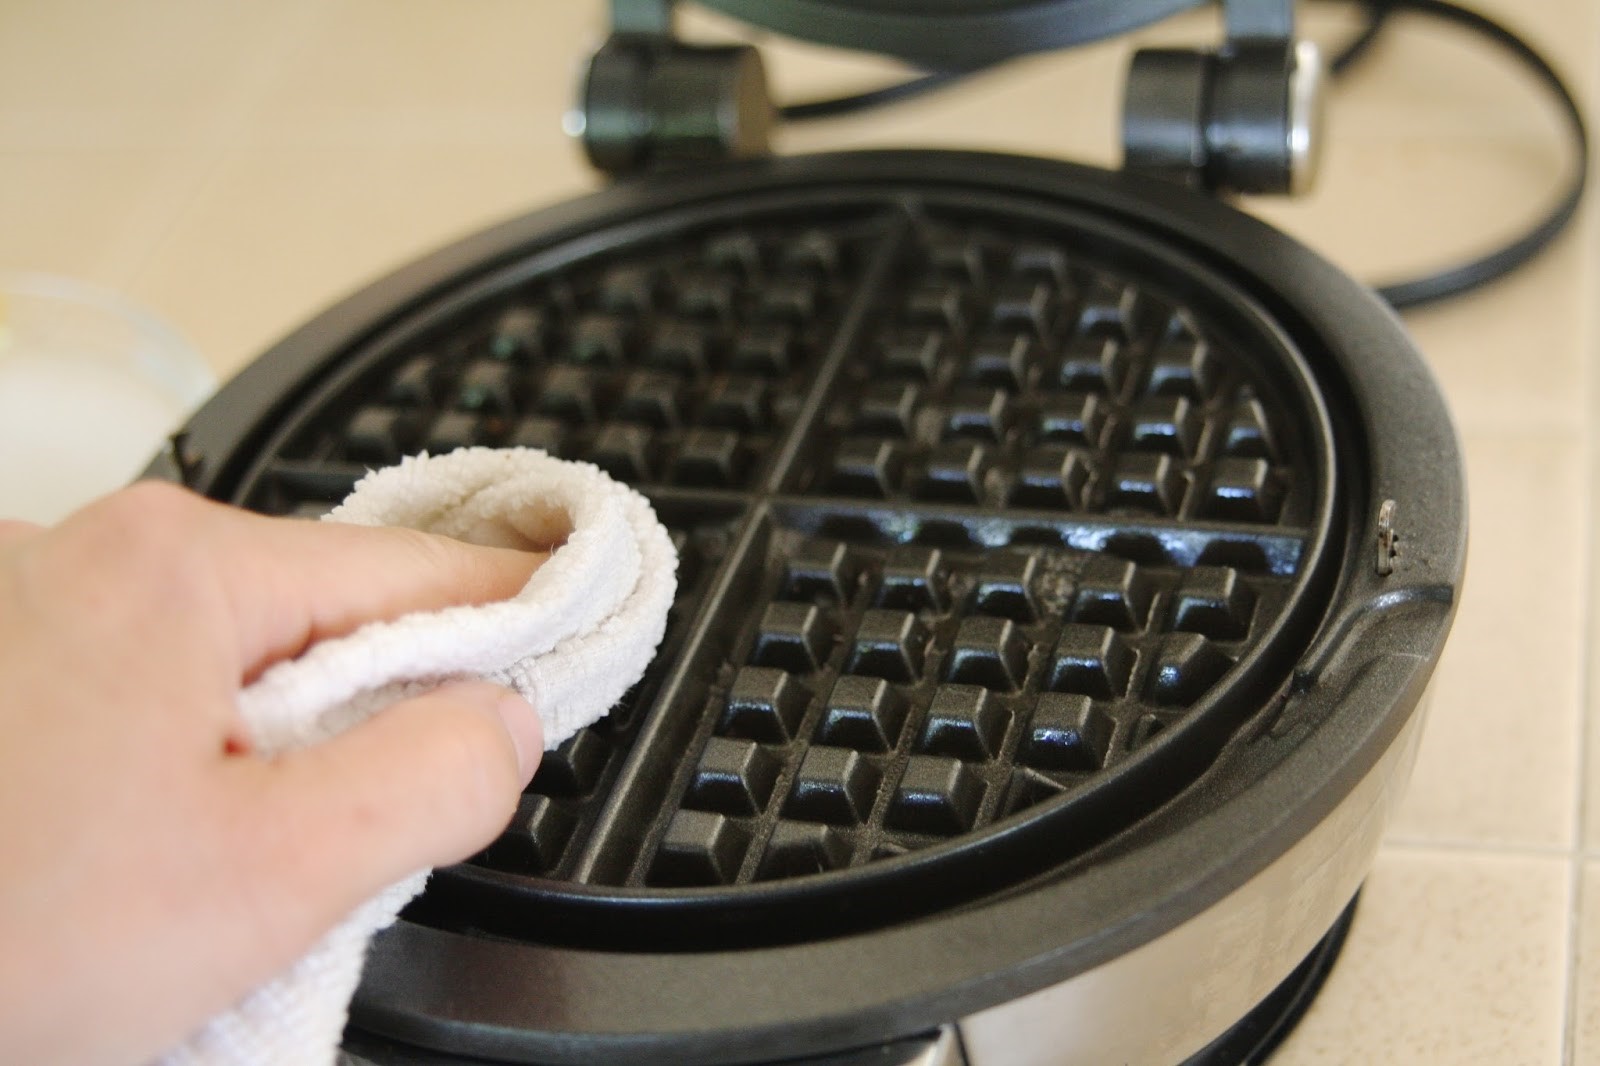
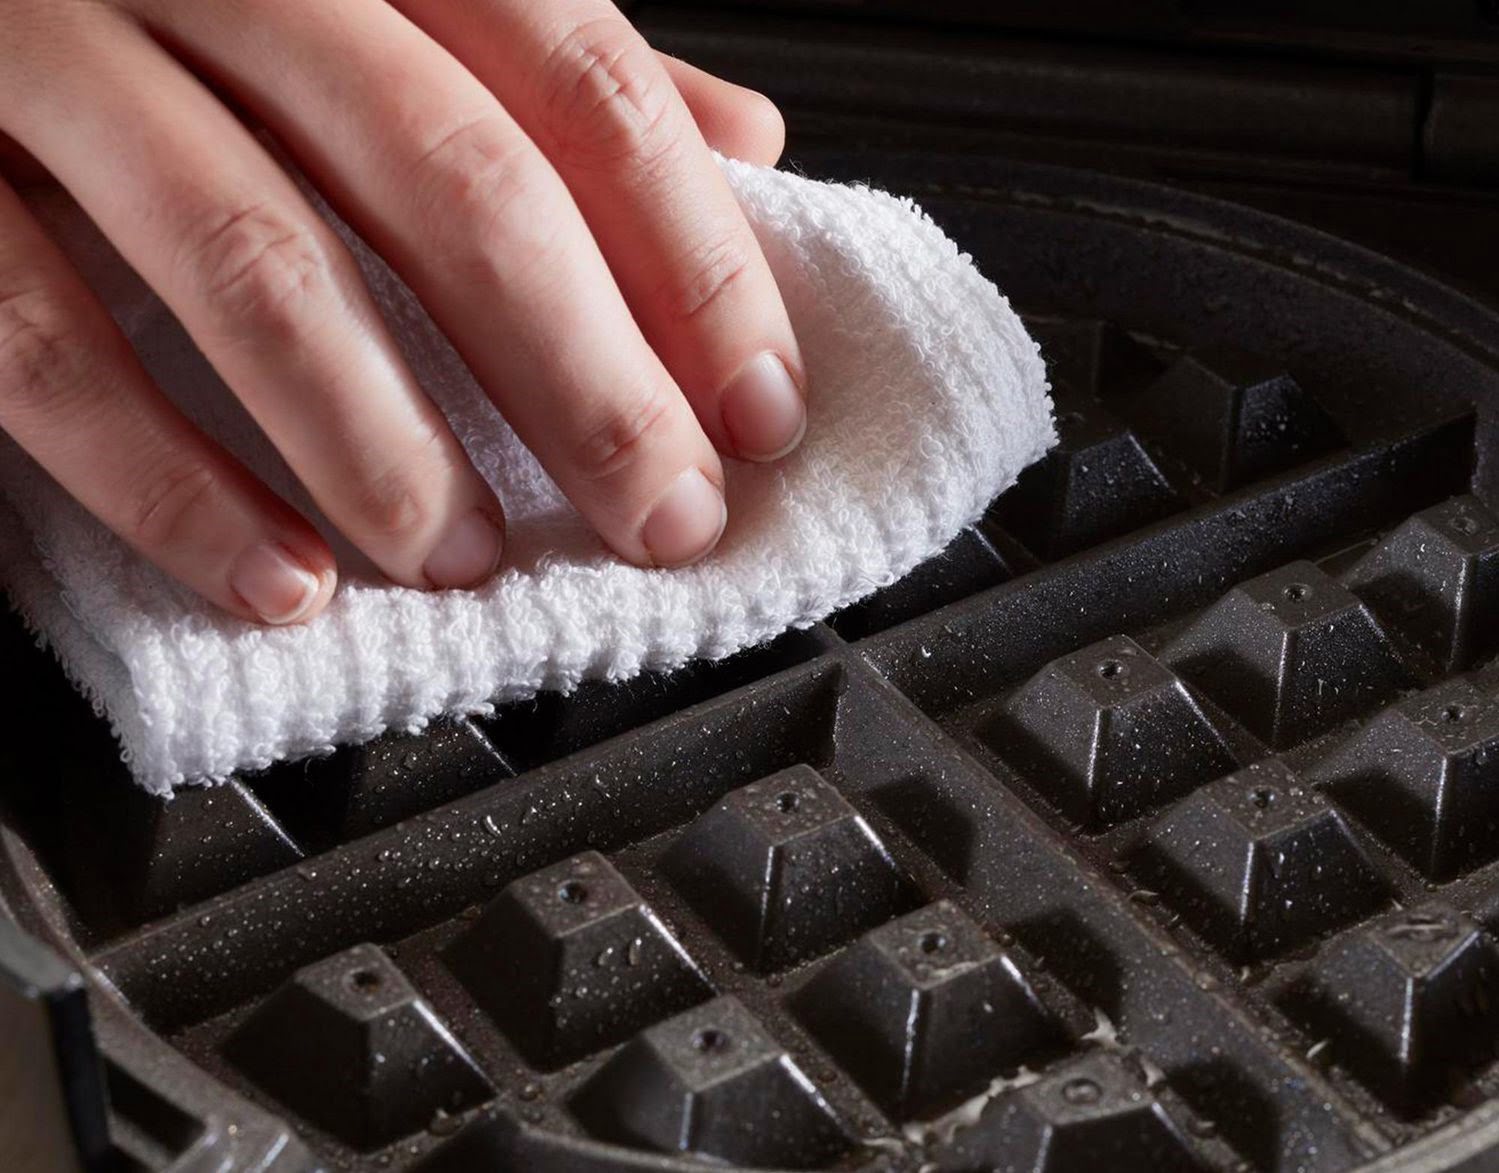
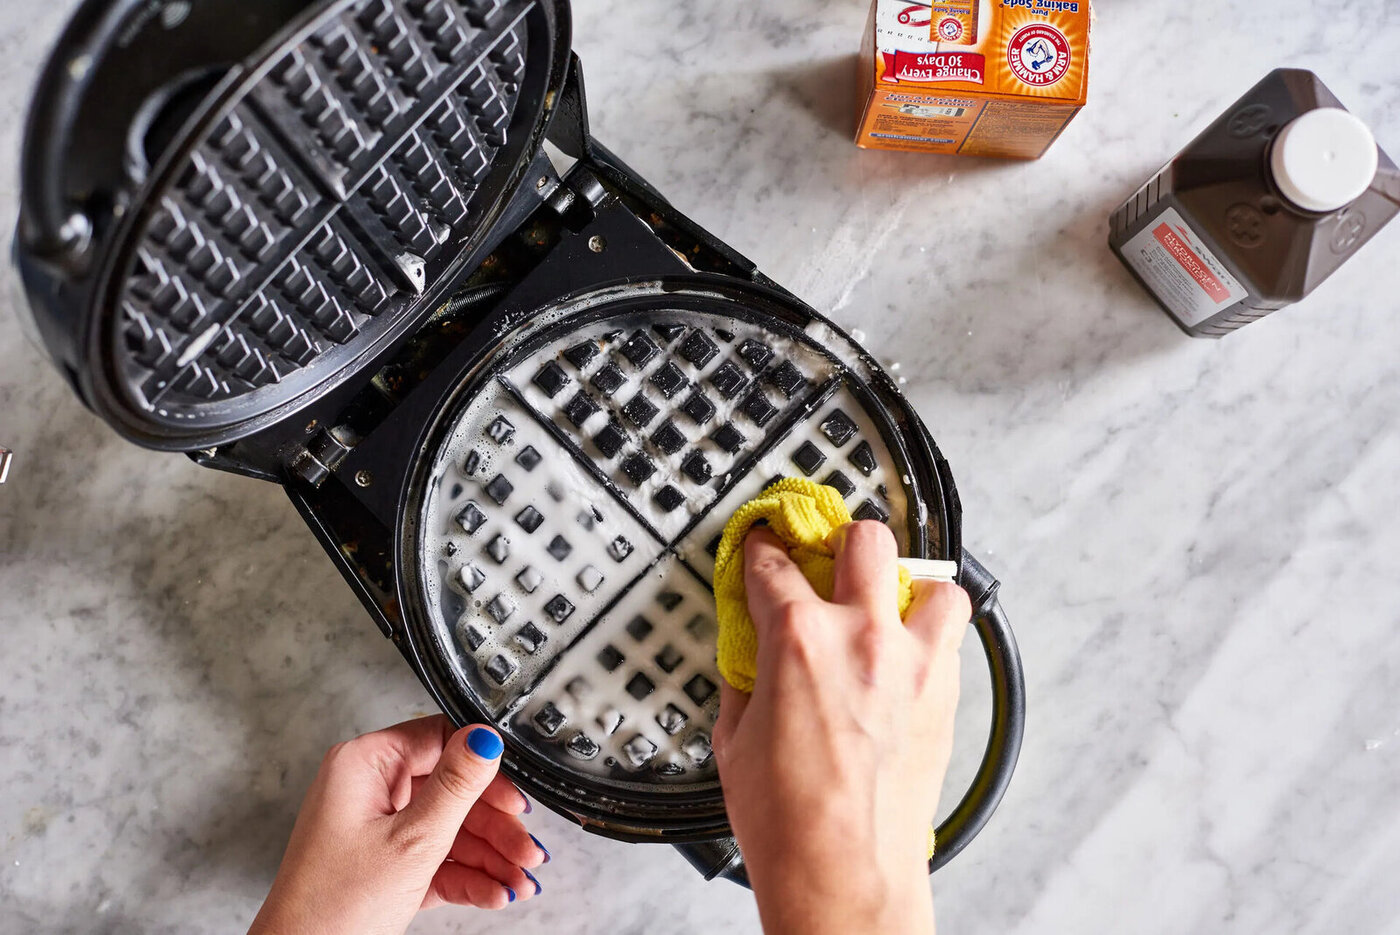
Start by dampening a soft sponge or cloth with warm water and mild dish soap. Gently scrub the waffle plates, paying extra attention to any areas where batter may have gotten trapped or stuck.
If there are any stubborn or dried-on batter residue, use a soft toothbrush or brush with gentle bristles to dislodge it. Be careful not to scratch the non-stick surface of the plates.
After thoroughly cleaning the waffle plates, rinse them well with clean water to remove any soap residue. Ensure that all remnants of soap are washed away.
If the waffle plates are removable, allow them to air dry completely before reattaching them to the waffle iron. If they are not removable, use a soft cloth or paper towels to carefully dry them. Make sure they are completely dry before proceeding to the next step.
With the waffle plates cleaned and dried, it’s time to address the exterior of the waffle iron in the next step.
Step 4: Cleaning the Exterior of the Waffle Iron
Now that you have cleaned the waffle plates of your Black and Decker waffle iron, it’s time to focus on the exterior of the appliance. While the main focus is on the waffle plates, it’s important to keep the exterior surface clean as well.
Start by dampening a soft sponge or cloth with warm water and mild dish soap. Gently wipe down the exterior of the waffle iron, paying attention to any areas that may have accumulated grease or other debris.
If there are any stubborn stains or grime, use a non-abrasive scrub pad and apply gentle pressure to remove them. Avoid using harsh abrasives or metal scrubbers, as they can scratch the surface of the waffle iron.
For areas with hard-to-reach residue, such as the corners and edges, use a toothbrush or a soft brush to gently scrub away the dirt.
Once you have thoroughly cleaned the exterior of the waffle iron, rinse the sponge or cloth with clean water and wipe down the appliance to remove any soapy residue. Ensure that all soap is thoroughly rinsed off.
Using a soft cloth or paper towels, carefully dry the exterior of the waffle iron. Make sure it is completely dry before moving on to the next step.
Now that you have cleaned both the interior and exterior of the waffle iron, it’s time to move on to the final step of the cleaning process.
Step 5: Drying and Storing the Waffle Iron
After thoroughly cleaning your Black and Decker waffle iron, it’s important to ensure that it is properly dried and stored to prevent any damage or rusting.
Start by using a soft cloth or paper towels to carefully dry the waffle plates, as well as the exterior of the waffle iron. Make sure there is no moisture left on any surfaces.
If you detached the waffle plates during the cleaning process and they are completely dry, reattach them to the waffle iron according to the manufacturer’s instructions.
Before storing the waffle iron, make sure it is completely cooled down. This will prevent any moisture from building up when stored.
Find a clean and dry space to store your waffle iron. Ideally, it should be in a location where it won’t be bumped or knocked over. Avoid storing it in a humid or damp environment, as this can lead to rust and other damage.
If your waffle iron has a cord, make sure to wrap it neatly and secure it with a twist tie or a rubber band. This will help keep the cord tidy and prevent it from getting tangled or damaged.
Lastly, if your waffle iron came with a storage bag or box, store it in that to provide an extra layer of protection from dust and potential scratches.
By properly drying and storing your Black and Decker waffle iron, you can prolong its lifespan and ensure that it’s ready to use whenever you crave delicious homemade waffles.
Remember, regular cleaning and maintenance will not only keep your waffle iron in excellent condition but also guarantee that your waffles are cooked to perfection.
Follow these steps whenever your waffle iron needs cleaning, and you’ll be able to enjoy consistently tasty waffles for years to come!
Conclusion
Cleaning your Black and Decker waffle iron is an essential task to ensure the longevity and optimal performance of your appliance. By following the step-by-step guide outlined in this article, you can effectively remove residue, keep the waffle plates clean, and maintain the exterior of your waffle iron.
Start by preparing the waffle iron for cleaning, making sure it is cooled down and unplugged. Remove any excess residue from the waffle plates and the appliance’s interior. Then, proceed to clean the waffle plates using a soft sponge or cloth with mild dish soap. Pay close attention to stubborn residue and rinse thoroughly.
Clean the exterior of the waffle iron by using a damp cloth with soapy water, paying attention to any areas with grime or stains. Rinse and dry the appliance carefully to remove any leftover soap residue.
Once the waffle iron is clean and dry, store it properly in a cool and dry place, ensuring that it is completely cooled down. Secure the cord and, if available, use a storage bag or box to protect it from dust and potential damage.
Regular cleaning of your Black and Decker waffle iron will not only improve its lifespan but also result in delicious, evenly cooked waffles. So, make it a habit to clean your waffle iron after each use or as needed.
Remember, always refer to the manufacturer’s instructions for specific cleaning guidelines. With proper care and maintenance, your Black and Decker waffle iron will continue to provide you with countless batches of tasty waffles for years to come!
Now that you've got the knack of sprucing up your Black and Decker waffle iron, why not tackle other common kitchen challenges? For instance, if you've ever dealt with stubborn, greasy build-up on your appliances, our next guide on how to efficiently remove built-up Pam from the exterior of your waffle iron will definitely come in handy. This guide offers straightforward, practical advice to ensure your kitchen gadgets not only work well but also look sparkling clean.
Frequently Asked Questions about How Do You Clean A Black And Decker Waffle Iron
Was this page helpful?
At Storables.com, we guarantee accurate and reliable information. Our content, validated by Expert Board Contributors, is crafted following stringent Editorial Policies. We're committed to providing you with well-researched, expert-backed insights for all your informational needs.



0 thoughts on “How Do You Clean A Black And Decker Waffle Iron”