
Articles
How Do You Know When Ryobi Battery Is Charged
Modified: August 16, 2024
Discover the signs to know when your Ryobi battery is fully charged. Read our informative articles to ensure optimal battery performance.
(Many of the links in this article redirect to a specific reviewed product. Your purchase of these products through affiliate links helps to generate commission for Storables.com, at no extra cost. Learn more)
Introduction
Welcome to the world of Ryobi batteries! Whether you’re a DIY enthusiast, a professional tradesperson, or someone who relies on power tools for your everyday tasks, understanding how to know when your Ryobi battery is charged is essential. In this article, we’ll explore the various types of Ryobi batteries, the charging methods, and most importantly, how to determine when your battery is fully charged.
Ryobi offers a wide range of power tools and accessories, and their batteries play a crucial role in powering these tools. Before we dive into the indicators of a fully charged battery, let’s take a moment to understand the different types of Ryobi batteries available.
Ryobi batteries come in two main categories: nickel-cadmium (Ni-Cd) and lithium-ion (Li-Ion). Ni-Cd batteries are known for their durability and ability to withstand extreme conditions, making them a popular choice for heavy-duty applications. On the other hand, Li-Ion batteries are lighter, more energy-efficient, and have a longer life cycle.
When it comes to determining the charge level of Ryobi batteries, it’s vital to consider both voltage and capacity. The voltage refers to the electrical potential of the battery, while the capacity represents the amount of energy the battery can store. Higher voltage and capacity generally indicate a longer runtime for your power tools.
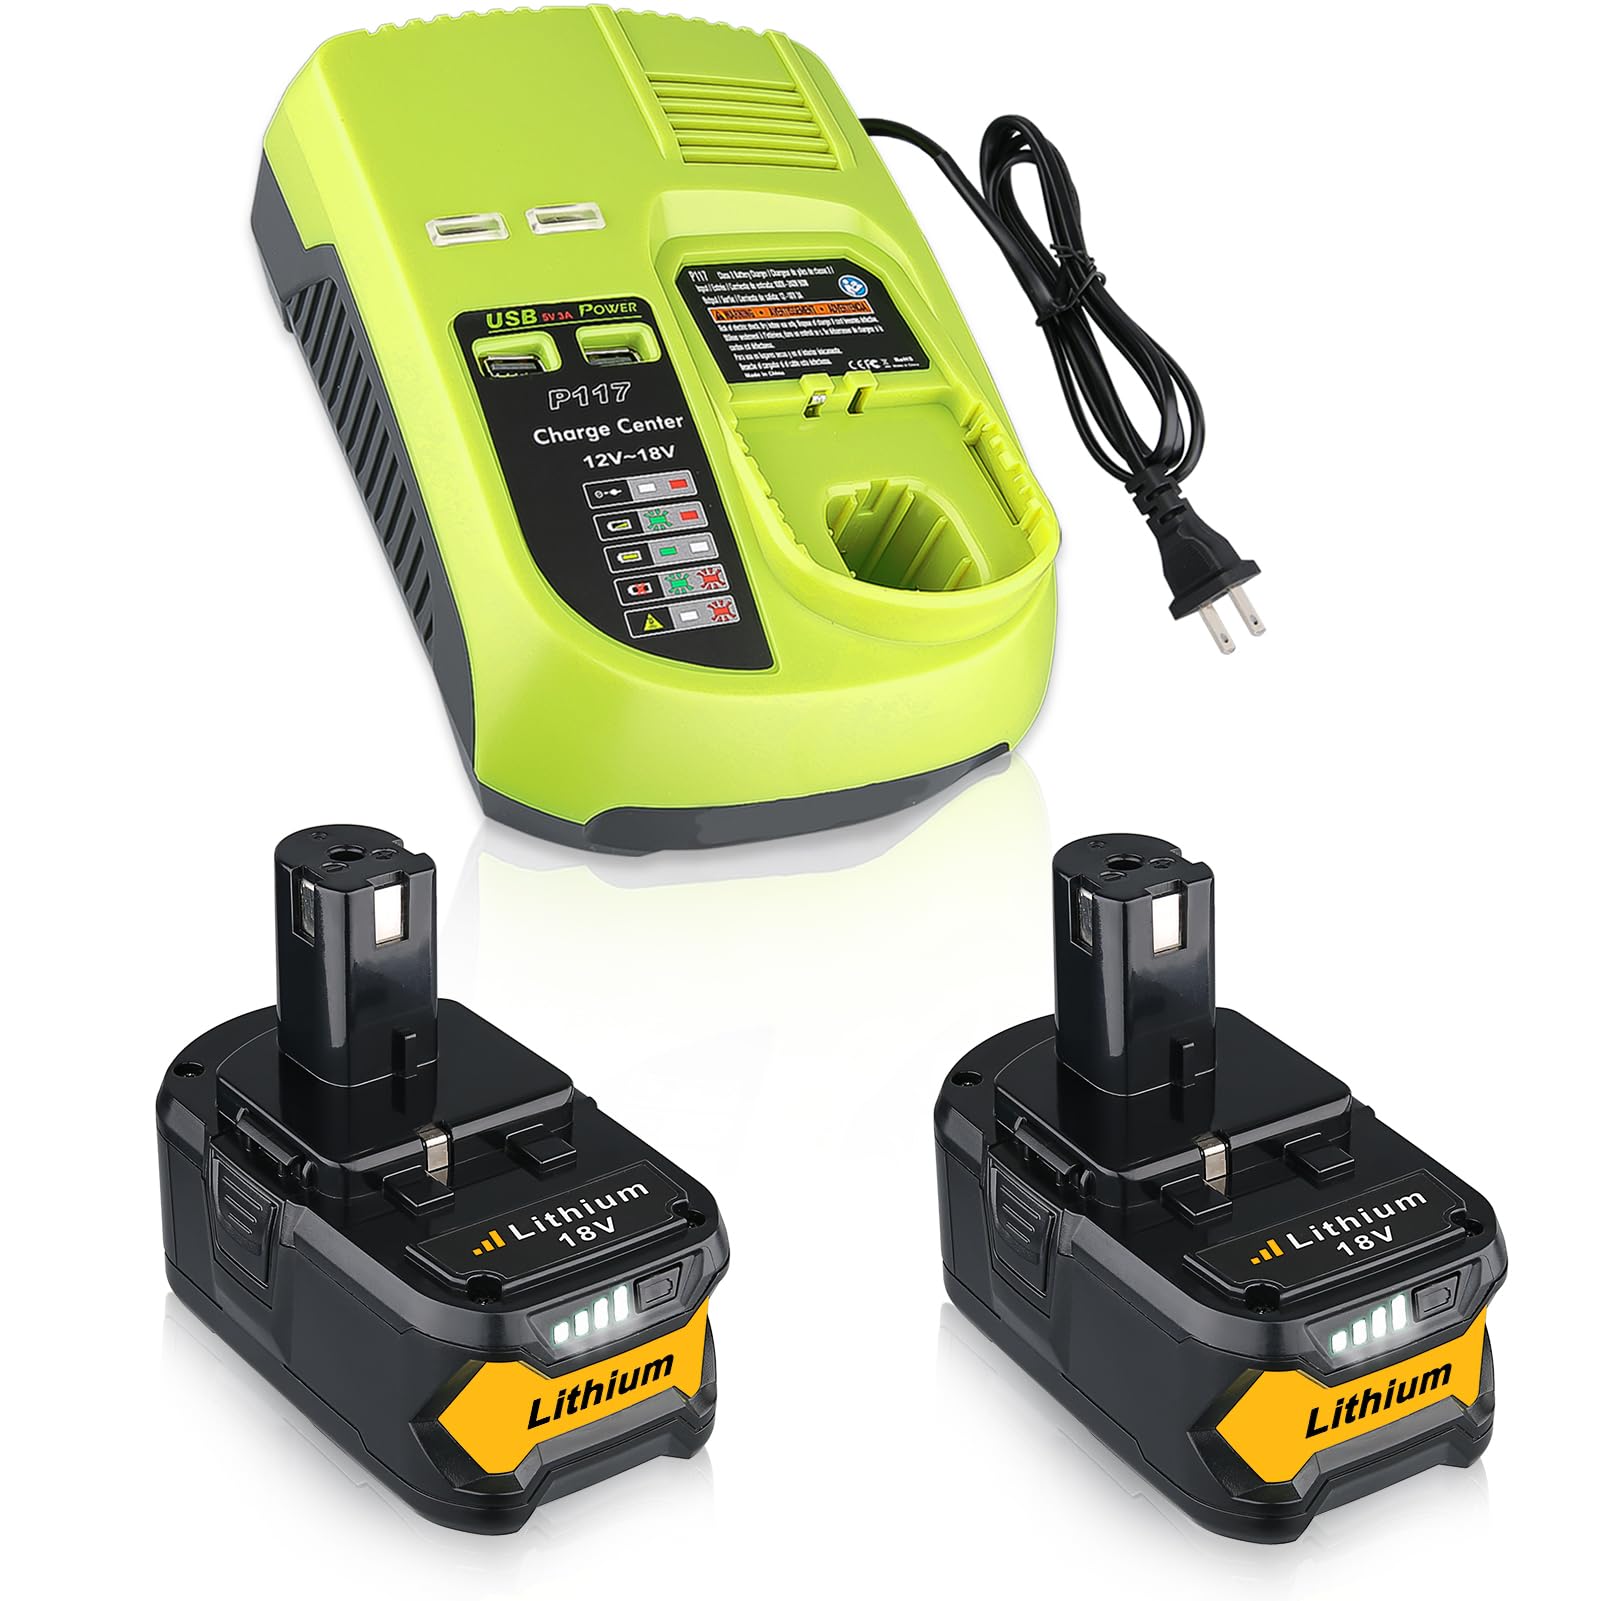
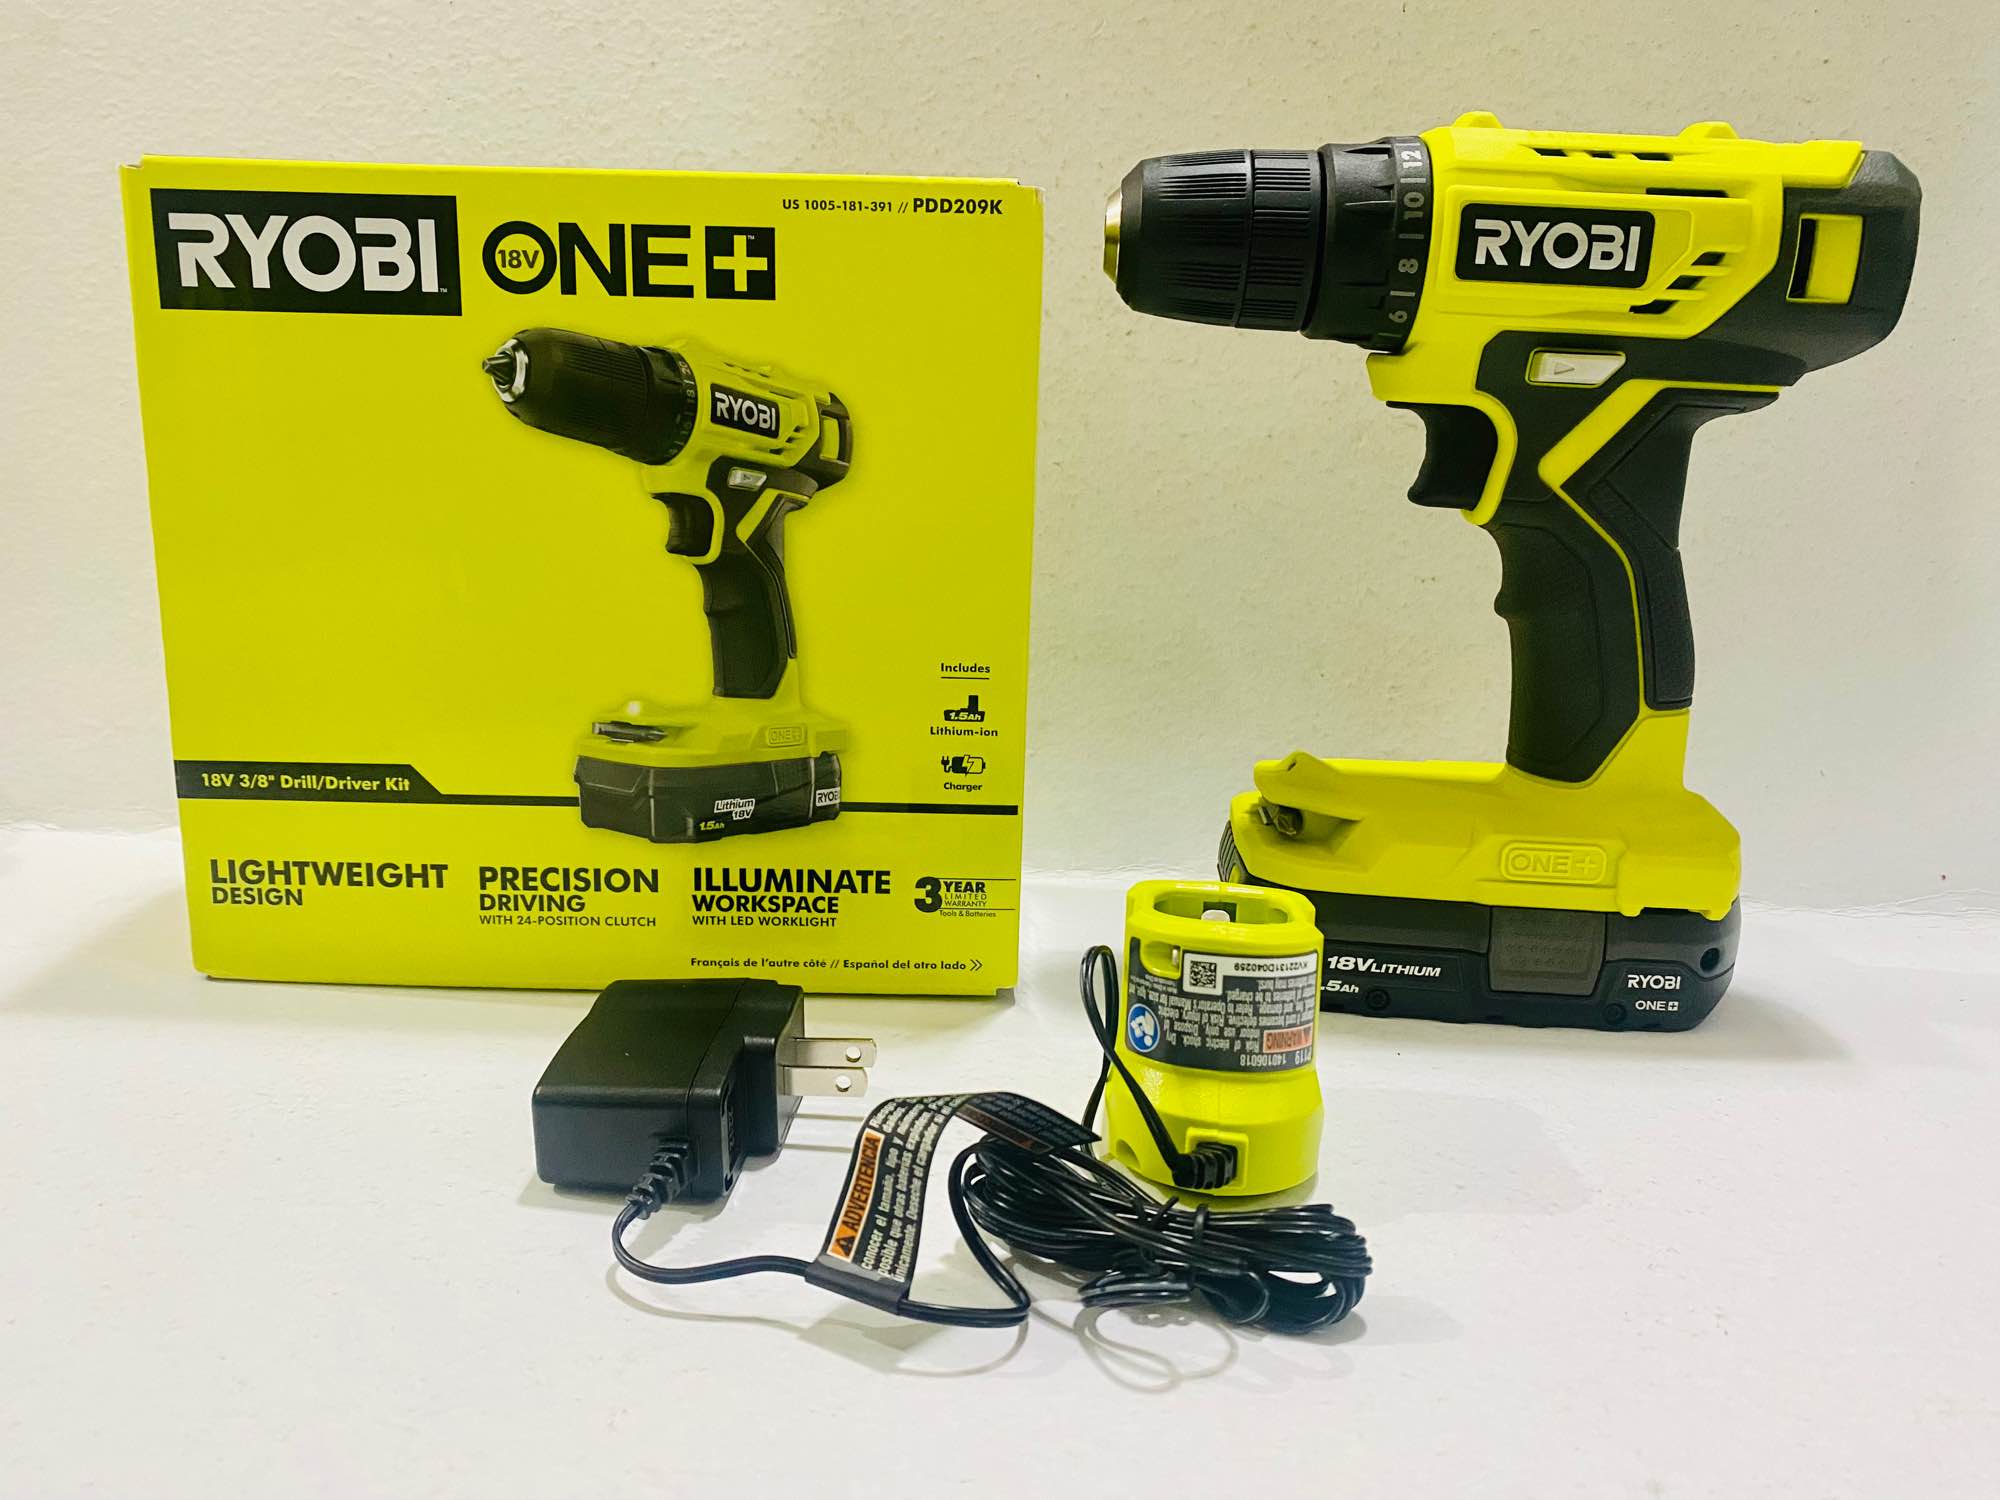
To charge your Ryobi batteries, you have two main options: the standard charger and the fast charger. The standard charger typically takes longer to fully charge a battery, but it is suitable for most applications. On the other hand, the fast charger can charge your battery in a fraction of the time, making it ideal for those who require quick turnarounds or have high power demands.
Now that we’ve covered the basics, let’s explore the signs that indicate your Ryobi battery is charging and how you can monitor the charging progress.
Key Takeaways:
- Understanding the signs of a fully charged Ryobi battery, such as LED fuel gauges and charger indicator lights, can help you confidently determine when your battery is ready for use, ensuring optimal performance for your power tools.
- Monitoring the charging time, checking the charge level, and following proper maintenance practices are essential for maximizing the efficiency and lifespan of your Ryobi battery, allowing you to tackle your projects with a fully charged and reliable power source.
Read more: How Do You Charge A Ryobi Battery
Understanding Ryobi Batteries
Before we dive into the indicators of a fully charged Ryobi battery, it’s important to understand the different types of batteries available and how they are charged.
Ryobi offers a range of batteries to accommodate various needs and applications. The two main types of Ryobi batteries are nickel-cadmium (Ni-Cd) and lithium-ion (Li-Ion) batteries.
- Nickel-Cadmium (Ni-Cd) Batteries: Ni-Cd batteries have been around for decades and are known for their durability and high discharge rates. They are able to handle extreme conditions, making them popular for heavy-duty applications. However, they are generally heavier and have a shorter lifespan compared to Li-Ion batteries.
- Lithium-Ion (Li-Ion) Batteries: Li-Ion batteries are lightweight, have a longer lifespan, and provide more energy efficiency compared to Ni-Cd batteries. They are known for their ability to hold a charge for longer periods and have a higher power output. Additionally, Li-Ion batteries do not suffer from the “memory effect” that is commonly seen in Ni-Cd batteries, meaning you can charge them at any time without compromising their overall capacity.
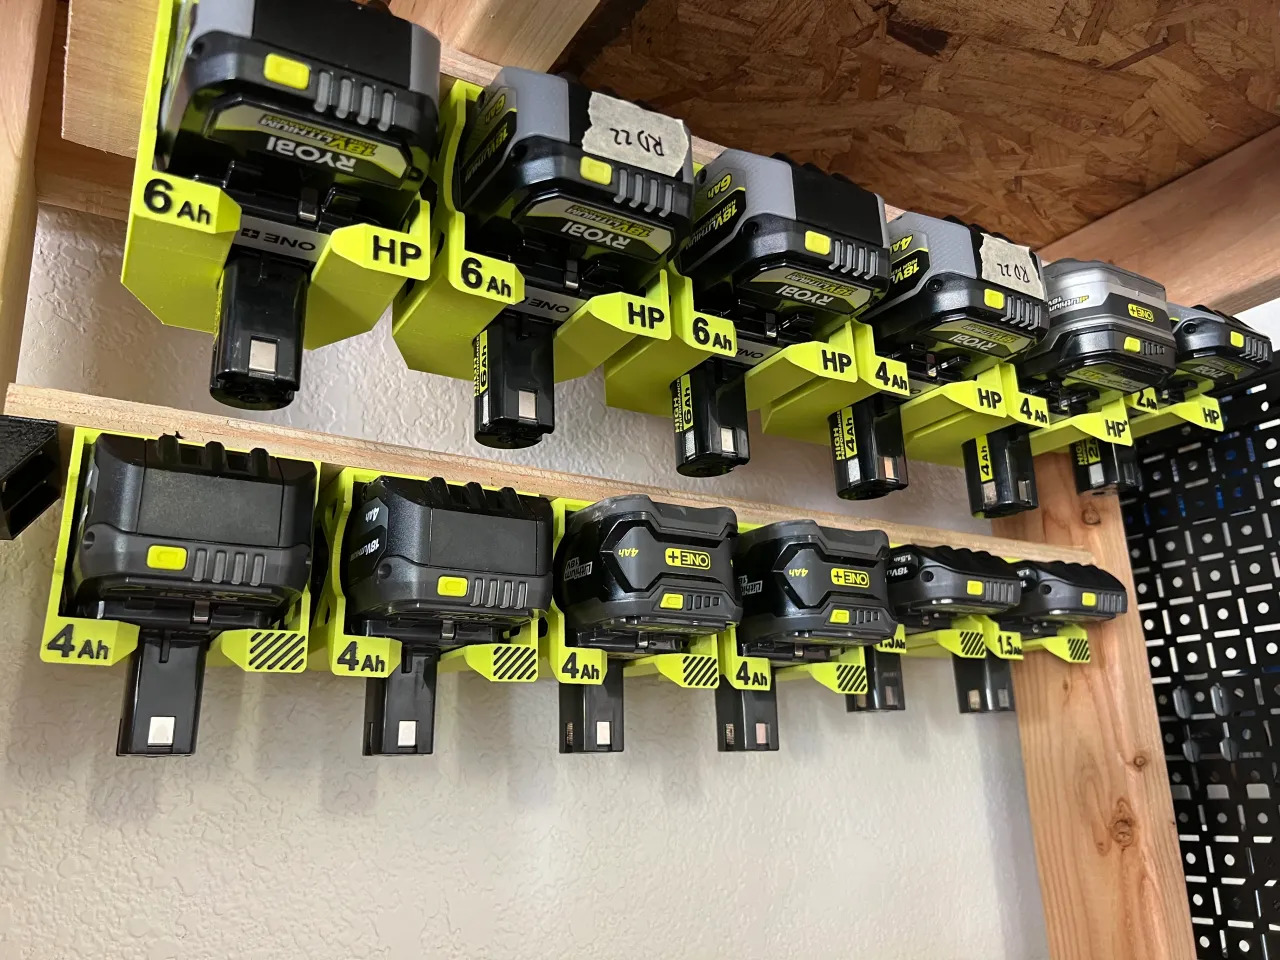
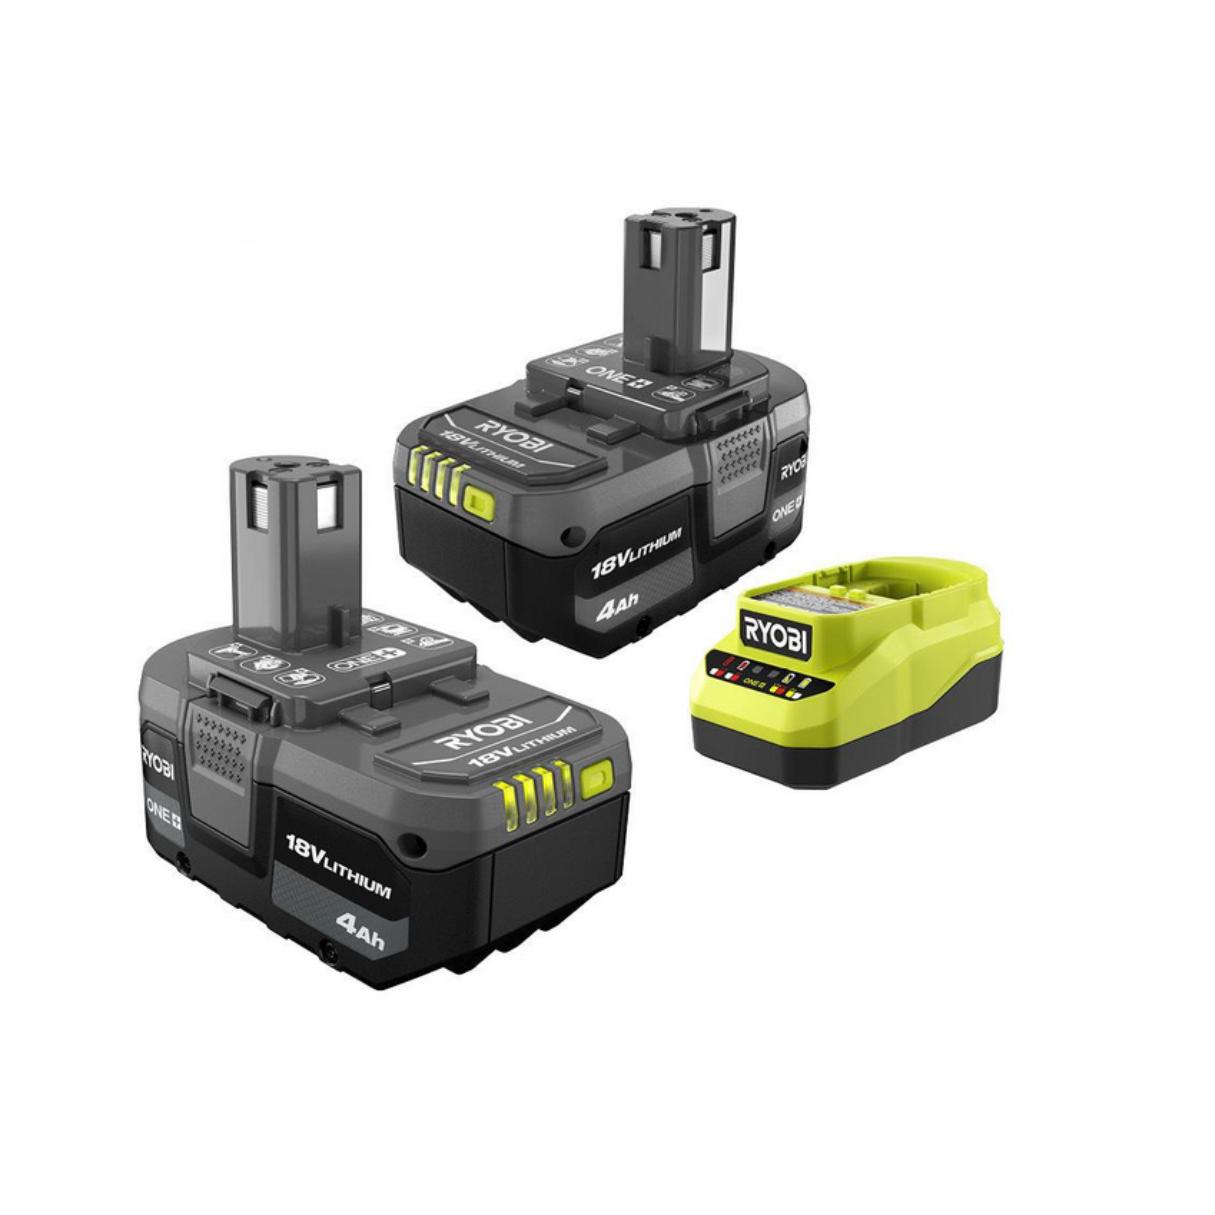
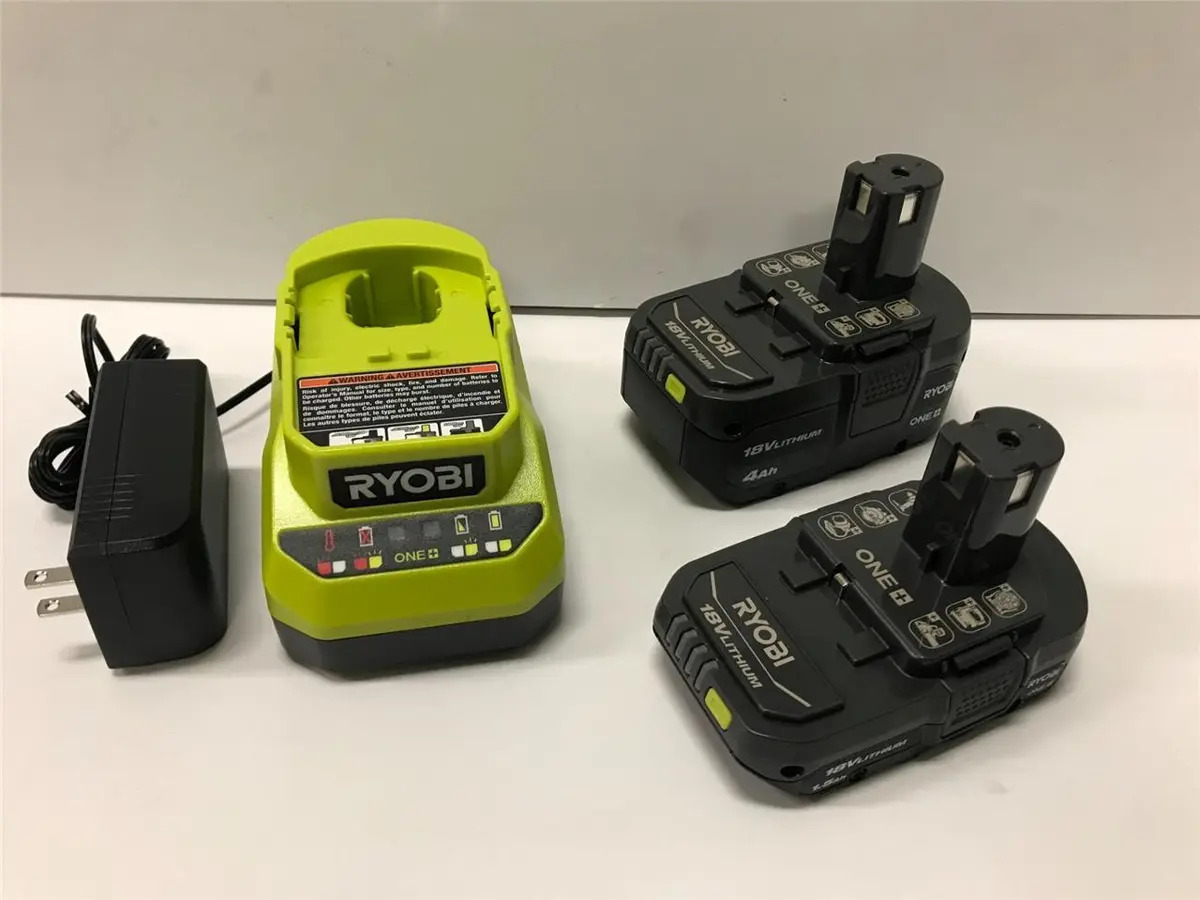
When it comes to battery voltage and capacity, Ryobi offers a variety of options. Battery voltage is typically measured in volts (V), and Ryobi batteries are available in different voltage ratings, including 18V, 36V, and even higher for certain commercial-grade applications. Higher voltage batteries generally provide more power and longer runtimes for your power tools.
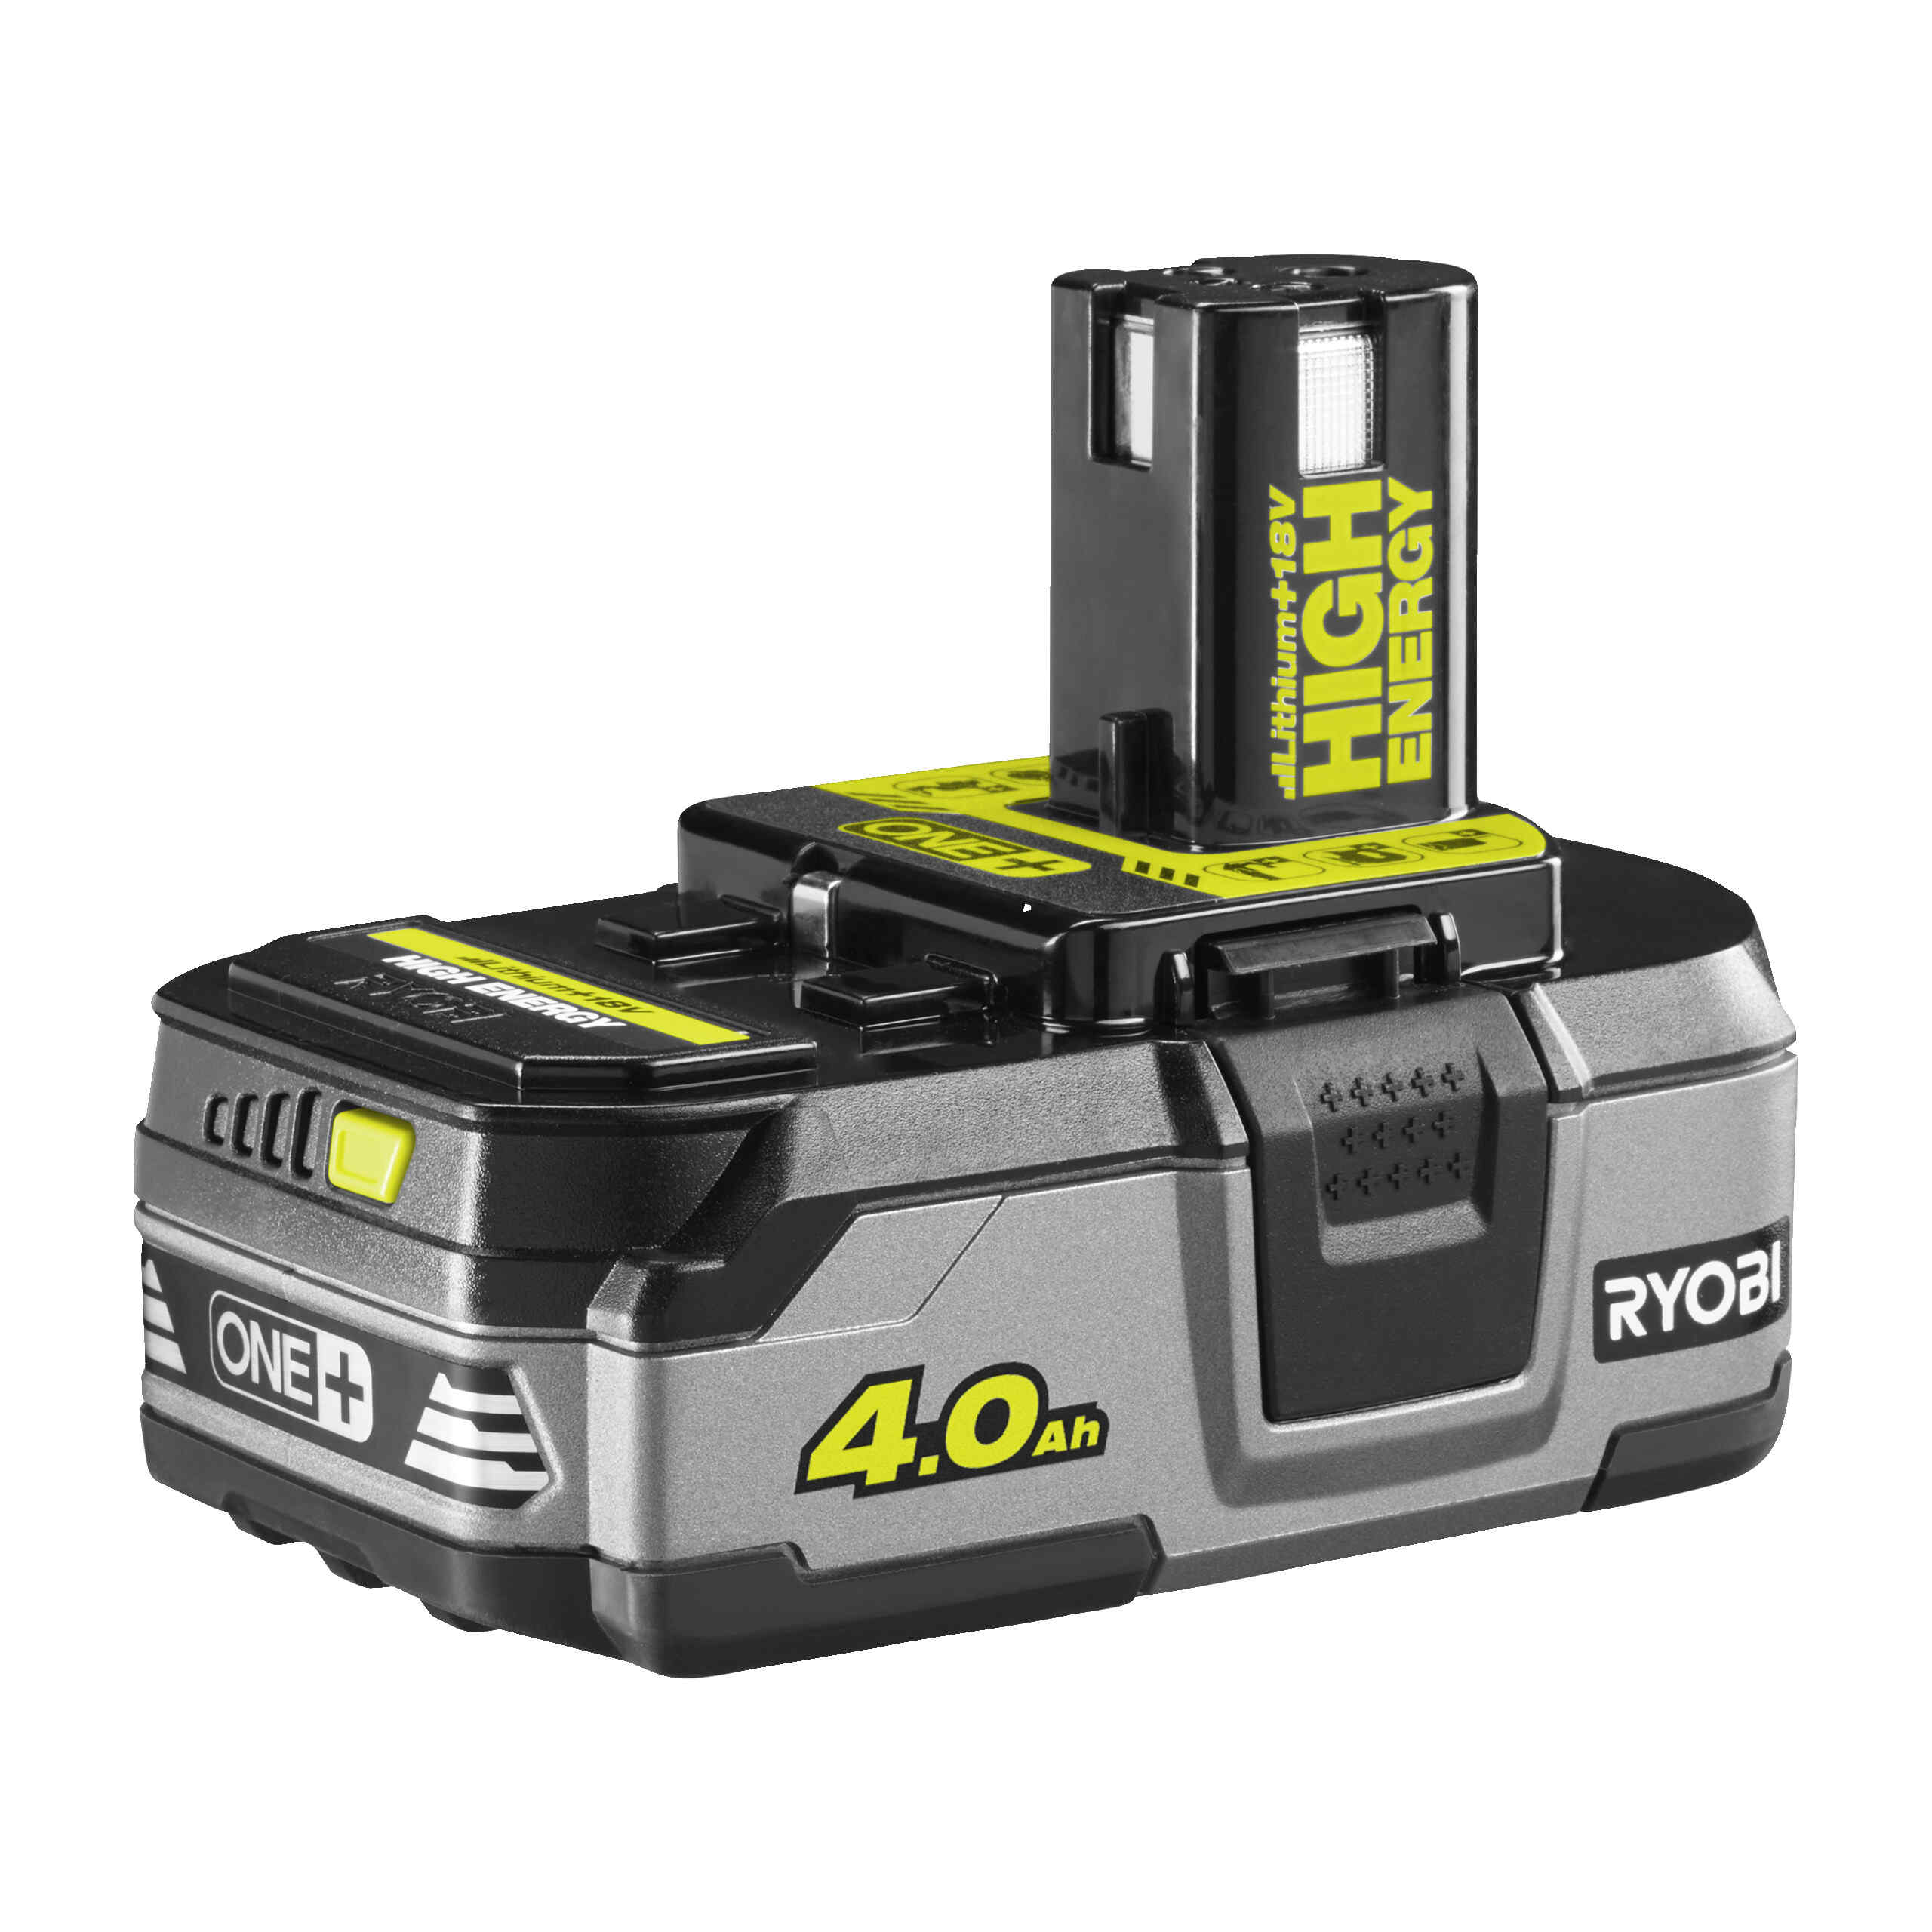
Battery capacity, measured in ampere-hours (Ah), indicates how much energy the battery can store. Ryobi batteries come in a range of capacities, such as 1.5Ah, 2.0Ah, 4.0Ah, and higher. Higher capacity batteries can provide extended runtime, allowing you to work for longer periods without needing to recharge.
Now that you’re familiar with the different types of Ryobi batteries and their voltage and capacity, let’s explore the various charging methods available for these batteries.
Ryobi provides both a standard charger and a fast charger to charge their batteries. The standard charger is suitable for most users and applications and typically takes several hours to fully charge a battery. On the other hand, the fast charger can charge your battery in a significantly shorter time, making it ideal for those who require quick turnarounds or have high power demands.
It’s important to note that the charging time may vary depending on the battery type and capacity, as well as the charging method used. Be sure to consult the user manual or Ryobi’s website for specific charging instructions for your battery model.
Now that you have a better understanding of Ryobi batteries, their types, voltage, capacity, and charging methods, let’s move on to the signs that indicate your battery is charging and how to monitor the charging progress.
Signs of Battery Charging
Now that you have a better understanding of Ryobi batteries, let’s explore the various signs that indicate your battery is charging.
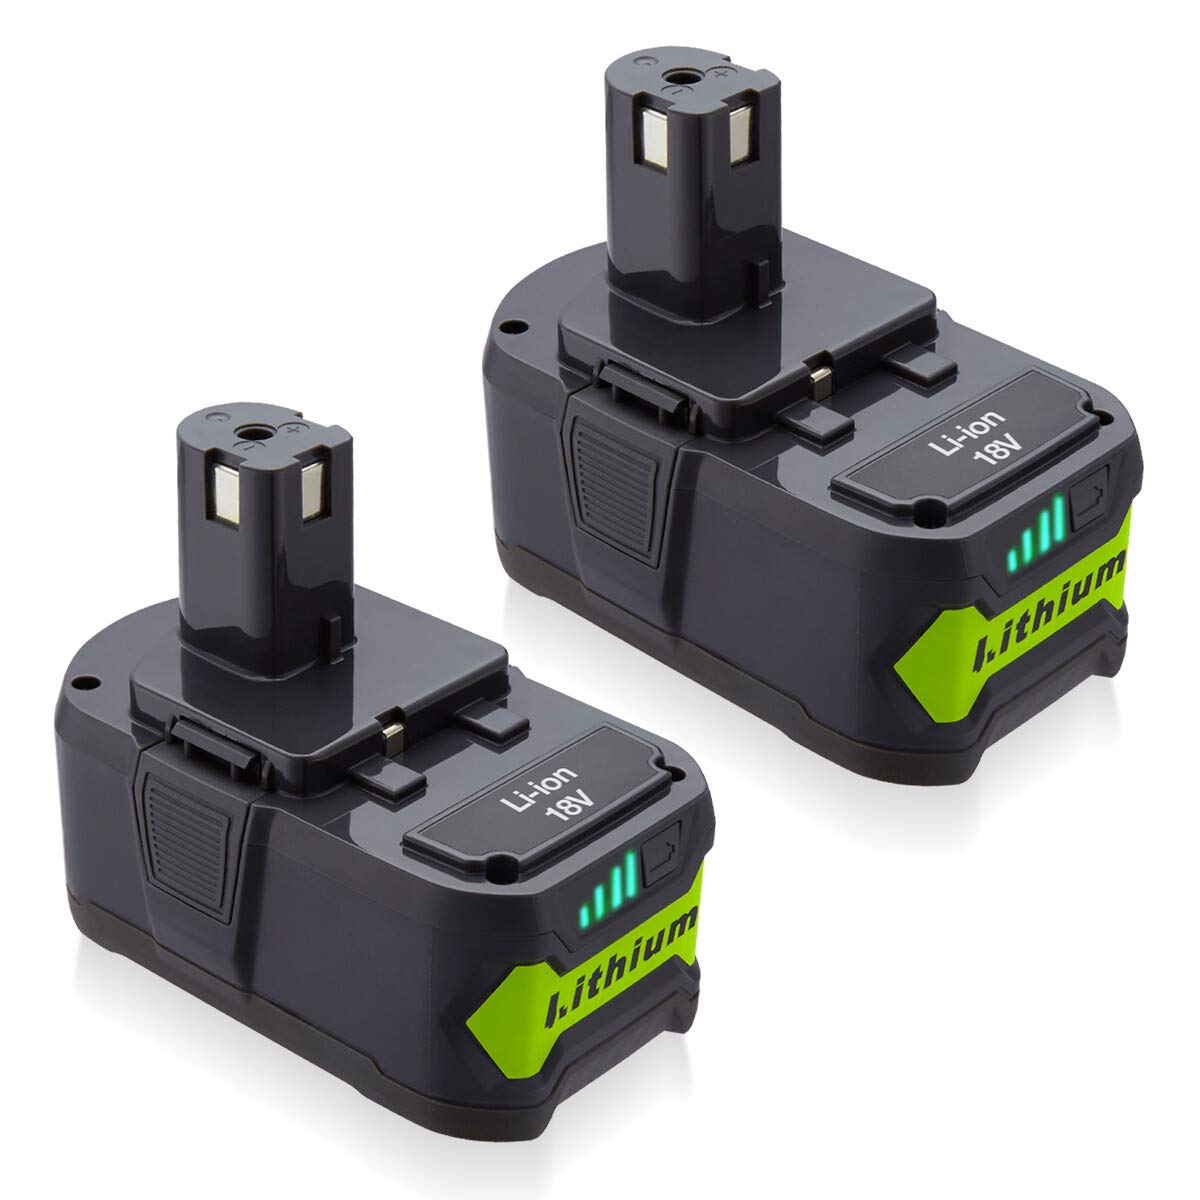
One of the most obvious indicators is the physical features on the battery itself. Many Ryobi batteries have a built-in LED fuel gauge that displays the charge level. These fuel gauges often consist of multiple bars or lights that light up sequentially as the battery charges. As the battery becomes fully charged, all the bars will be illuminated or display a solid light.
In addition to the physical indicators on the battery, the charger itself may have indicator lights to show the charging progress. The charger will typically have a light that turns on when the battery is inserted, indicating that it is connected and in the charging process. As the battery charges, the charger light may change color or turn off completely when the battery is fully charged.
While the physical indicators are useful, it’s also important to monitor the battery temperature during the charging process. If the battery feels excessively hot to the touch, it may indicate an issue. Although some warmth is normal during charging, extreme heat can be a sign of a malfunctioning or damaged battery. In such cases, it’s recommended to remove the battery from the charger and allow it to cool down before continuing to use or charge it.
If you want to be even more precise about monitoring the charging progress, you can use a battery voltage tester. These testers allow you to measure the voltage of the battery at any given time. As the battery charges, the voltage will increase. When the voltage reaches its maximum level for that specific battery, it indicates that the battery is fully charged and ready to use.
It’s worth noting that not all Ryobi batteries may have these specific features. Be sure to check the product manual or the Ryobi website to understand the charging indicators specific to your battery model.
Now that you know how to recognize the signs of battery charging, let’s move on to understanding how to monitor the charging time.
Monitoring Charging Time
Knowing the estimated charging time for your Ryobi battery is essential to plan your projects effectively. While actual charging times may vary depending on various factors, understanding the general guidelines can be helpful.
Ryobi provides estimated charging times for their batteries based on their voltage and capacity. For example, a standard 18V 2.0Ah Ryobi battery may take around 30 minutes to 1 hour to charge using a fast charger. On the other hand, a higher capacity battery, such as a 4.0Ah or 6.0Ah, may require 1 to 2 hours or more to fully charge.
It’s important to note that charging times can be affected by various factors. One significant factor is the charging method used. Using a fast charger will generally reduce the charging time compared to a standard charger. Additionally, the battery’s current charge level can also impact the charging time. If you’re recharging a partially charged battery, it will generally take less time compared to a fully depleted battery.
Temperature can also affect the charging time. Charging a battery in extreme temperatures, either too hot or too cold, may result in slower or less effective charging. It’s best to charge your batteries in a moderate temperature range to optimize the charging process.
To keep track of the charging progress, you can use a timer or stopwatch. This can be as simple as using the timer on your smartphone or a dedicated device. Start the timer as soon as you connect your battery to the charger and monitor the time until the estimated charging time is reached. This allows you to have a clear idea of how much longer it will take for your battery to be fully charged.
Remember that these estimated charging times are general guidelines provided by Ryobi and may vary depending on your specific circumstances. It’s always advisable to consult the user manual or refer to Ryobi’s official website for accurate and up-to-date information on charging times.
Now that you know how to monitor the charging time, let’s explore how to check the charge level of your battery.
When the green LED light on the charger stops flashing and stays solid, the Ryobi battery is fully charged and ready to use.
Checking Battery Charge Level
Once you’ve been charging your Ryobi battery for a while, you may want to check the charge level to see if it’s fully charged or if it needs more time. Here are a few ways to check the charge level of your battery:
1. Using a Battery Status Indicator: Many Ryobi batteries come equipped with a built-in status indicator. This indicator typically consists of LED lights or a fuel gauge that displays the charge level. When you press a button or activate the indicator, it will show you the remaining charge, often represented by bars or lights. If all of the bars or lights are lit up or display a solid light, it indicates that your battery is fully charged and ready to use.
2. Disengaging the Battery from the Charger: Another way to check the charge level is to disengage the battery from the charger briefly. When you remove the battery from the charger, the physical indicators on the battery itself, such as the LED fuel gauge, will show you the current charge level. If you see all bars illuminated or a solid light, it means the battery is fully charged.
3. Testing the Battery on a Ryobi Power Tool: If you want to ensure the charge level of your battery, you can test it on a Ryobi power tool. Attach the fully charged battery to the tool and power it on. If the tool operates at full power and functions without any performance issues, it indicates that your battery is fully charged. However, if the tool runs at a reduced capacity or shows signs of weakness, it’s an indication that your battery may need more charging time.
Remember to follow proper safety precautions when handling batteries and power tools. Always consult the user manual or refer to Ryobi’s official website for specific instructions on checking the charge level for your particular battery model.
Now that you know how to check the charge level of your Ryobi battery, let’s explore some tips for ensuring optimal battery performance.
Read more: How Do I Know If My Ryobi Battery Is Bad
Ensuring Optimal Battery Performance
To get the most out of your Ryobi battery and ensure its optimal performance, it’s important to follow proper maintenance practices and take steps to improve battery efficiency. Here are some tips:
1. Proper Battery Maintenance: Regular maintenance can help keep your Ryobi battery in good condition. Be sure to clean the battery contacts and terminals periodically to remove any dirt or debris that may affect the charging or discharging process. Additionally, store your batteries in a cool, dry place away from direct sunlight or extreme temperatures to prevent damage.
2. Improving Battery Efficiency: There are several ways to improve the efficiency of your Ryobi battery. One effective method is to fully discharge the battery before recharging it. This process, known as “deep cycling,” helps prevent the formation of memory effect and maximizes the battery’s overall capacity. Additionally, using the battery on a regular basis and avoiding long periods of inactivity will also contribute to better efficiency.
3. Extending Battery Lifespan: While all batteries have a limited lifespan, there are ways to extend the longevity of your Ryobi battery. Avoid exposing the battery to extreme temperatures, as it can degrade the battery’s performance and overall lifespan. Additionally, avoid overcharging or using incompatible chargers, as this can also cause premature battery failure. Finally, if you won’t be using your battery for an extended period, it’s advisable to partially charge it and store it in a cool, dry place.
By following these tips, you can ensure that your Ryobi battery performs optimally and has a longer lifespan. However, it’s important to note that batteries will eventually reach the end of their useful life and may need replacement.
Now that you know how to maximize your battery’s performance, let’s address some common issues that users may encounter during the battery charging process.
Troubleshooting Common Battery Charging Issues
While charging your Ryobi battery, you may come across some common issues. Here are a few troubleshooting tips for three common battery charging issues:
1. Battery not charging at all: If you find that your battery is not charging at all, the first thing to check is the charger’s power source. Ensure that the charger is properly plugged into a functioning outlet and that there is power supply available. If the power source is not the issue, try cleaning the battery contacts and charger terminals with a soft cloth or brush to remove any dirt or debris that may be interfering with the charging process. If the problem persists, it could indicate a faulty battery or charger, in which case, it may be necessary to contact Ryobi’s customer support for further assistance.
2. Battery charges slowly: If you notice that your battery is taking an unusually long time to charge, there are a few factors that could be causing this. First, ensure that you are using the correct charger recommended for your battery model, as using an incompatible charger can result in slower charging. Additionally, check the battery temperature during the charging process. If the battery becomes excessively hot, it may lead to slower charging. Allow the battery to cool down before attempting to charge it again. If the problem persists, it could be a sign of a worn-out battery that may need replacement.
3. Battery overheating during charging: Overheating during the charging process can be a cause for concern and can potentially damage your battery. If you notice that your battery is becoming excessively hot during charging, immediately disconnect it from the charger and allow it to cool down. Make sure the charging area is well-ventilated and away from any heat sources. Overheating can occur due to a faulty charger or a problem with the battery itself. If the issue persists, stop using the battery and contact Ryobi’s customer support for further guidance.
If you encounter any other issues or have concerns about your Ryobi battery, it’s always best to consult the user manual or contact Ryobi’s customer support for assistance. They will be able to provide you with specific troubleshooting steps and guidance.
Now that we’ve covered troubleshooting common battery charging issues, let’s conclude our article.
Conclusion
Knowing when your Ryobi battery is fully charged is essential for maximizing your productivity and ensuring optimal performance. By understanding the types of Ryobi batteries available, their voltage and capacity, and the different charging methods, you can make informed decisions about when and how to charge your batteries.
When it comes to determining if your battery is fully charged, you can rely on various signs. These include the physical indicators on the battery itself, such as LED fuel gauges or indicator lights, as well as the charger’s indicator lights. Monitoring the battery temperature during the charging process and using a battery voltage tester can also help you determine the charge level more accurately.
Monitoring the charging time is important for planning your projects effectively. While charging times may vary depending on factors like battery type, capacity, and charging method, knowing the estimated charging times provided by Ryobi can give you a general idea. Factors such as charging method, battery charge level, and temperature can affect the actual charging time, so it’s wise to use a timer or stopwatch to track the progress.
To check the charge level of your battery, you can rely on the built-in battery status indicator, disengage the battery from the charger momentarily to observe the physical indicators on the battery, or test the battery on a Ryobi power tool. These methods give you a clear indication of whether the battery is fully charged, partially charged, or requires more charging time.
To ensure optimal battery performance, it’s important to follow proper battery maintenance practices, improve battery efficiency through deep cycling and regular usage, and take steps to extend the battery lifespan. By adopting these practices, you can make the most out of your Ryobi battery and enjoy longer-lasting performance.
If you encounter common battery charging issues such as the battery not charging at all, slow charging, or overheating during charging, there are troubleshooting steps you can take. These include checking the charger’s power source, cleaning the battery contacts and charger terminals, using the correct charger, and monitoring the battery temperature. If the issue persists, it may indicate a faulty battery or charger and should be addressed with Ryobi’s customer support.
In conclusion, understanding how to know when your Ryobi battery is charged is crucial for efficient and effective use of your power tools. By familiarizing yourself with the signs of battery charging, monitoring the charging time, checking the charge level, and ensuring optimal battery performance, you can confidently tackle your projects with a fully charged and reliable Ryobi battery.
Frequently Asked Questions about How Do You Know When Ryobi Battery Is Charged
Was this page helpful?
At Storables.com, we guarantee accurate and reliable information. Our content, validated by Expert Board Contributors, is crafted following stringent Editorial Policies. We're committed to providing you with well-researched, expert-backed insights for all your informational needs.


0 thoughts on “How Do You Know When Ryobi Battery Is Charged”