Articles
How To Charge A Ryobi Drill
Modified: August 16, 2024
Learn how to charge your Ryobi drill with our informative articles. Find step-by-step guides and expert tips for efficient charging.
(Many of the links in this article redirect to a specific reviewed product. Your purchase of these products through affiliate links helps to generate commission for Storables.com, at no extra cost. Learn more)
Introduction
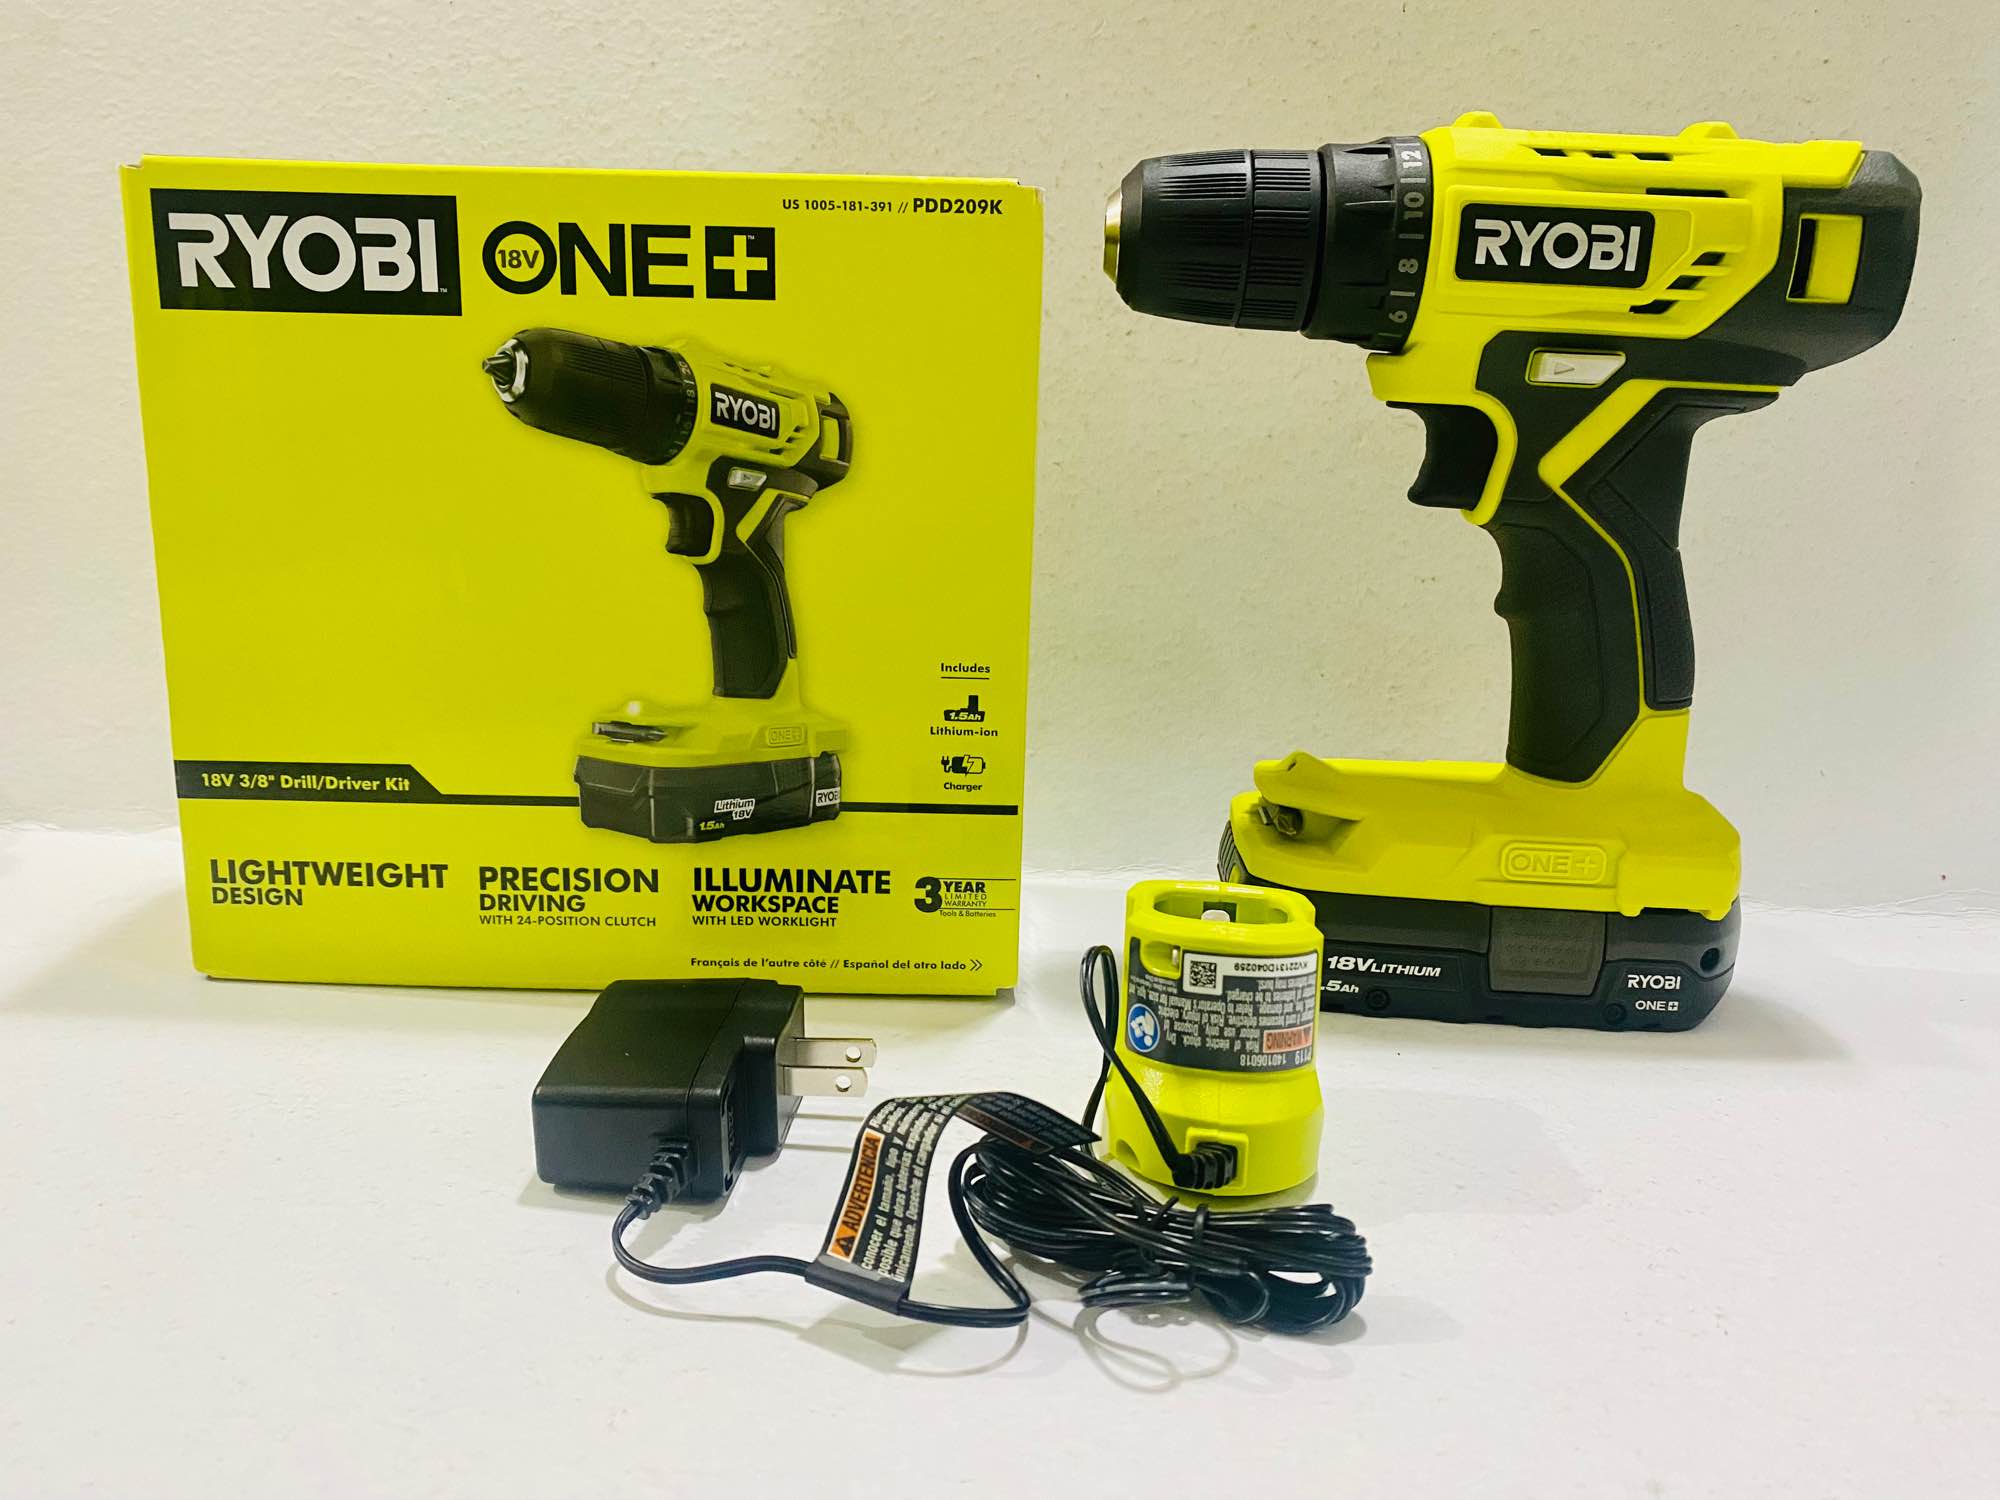
Welcome to the world of DIY enthusiasts! If you’re a proud owner of a Ryobi drill, you probably understand the importance of having a reliable power tool by your side. To ensure your Ryobi drill is always ready for action, it’s crucial to know how to properly charge its battery.
The battery is the lifeblood of your Ryobi drill, providing the necessary power to tackle various tasks from drilling holes to driving screws. Charging the battery correctly not only maximizes its lifespan but also ensures optimal performance when you need it the most.
In this article, we’ll guide you through the process of charging a Ryobi drill battery step-by-step. Whether you’re a beginner or an experienced DIYer, by the end of this guide, you’ll be well-equipped to keep your Ryobi drill battery charged and ready for all your projects.
Key Takeaways:
- Properly charging your Ryobi drill battery is crucial for maintaining its performance and safety. Understanding the battery, preparing the charging station, and monitoring the process are essential steps for effective charging.
- Following best practices, troubleshooting common issues, and handling the battery with care will help maximize its lifespan and ensure it’s always ready for your DIY projects.
Read more: How To Use Ryobi Drill
Understanding the Ryobi Drill Battery
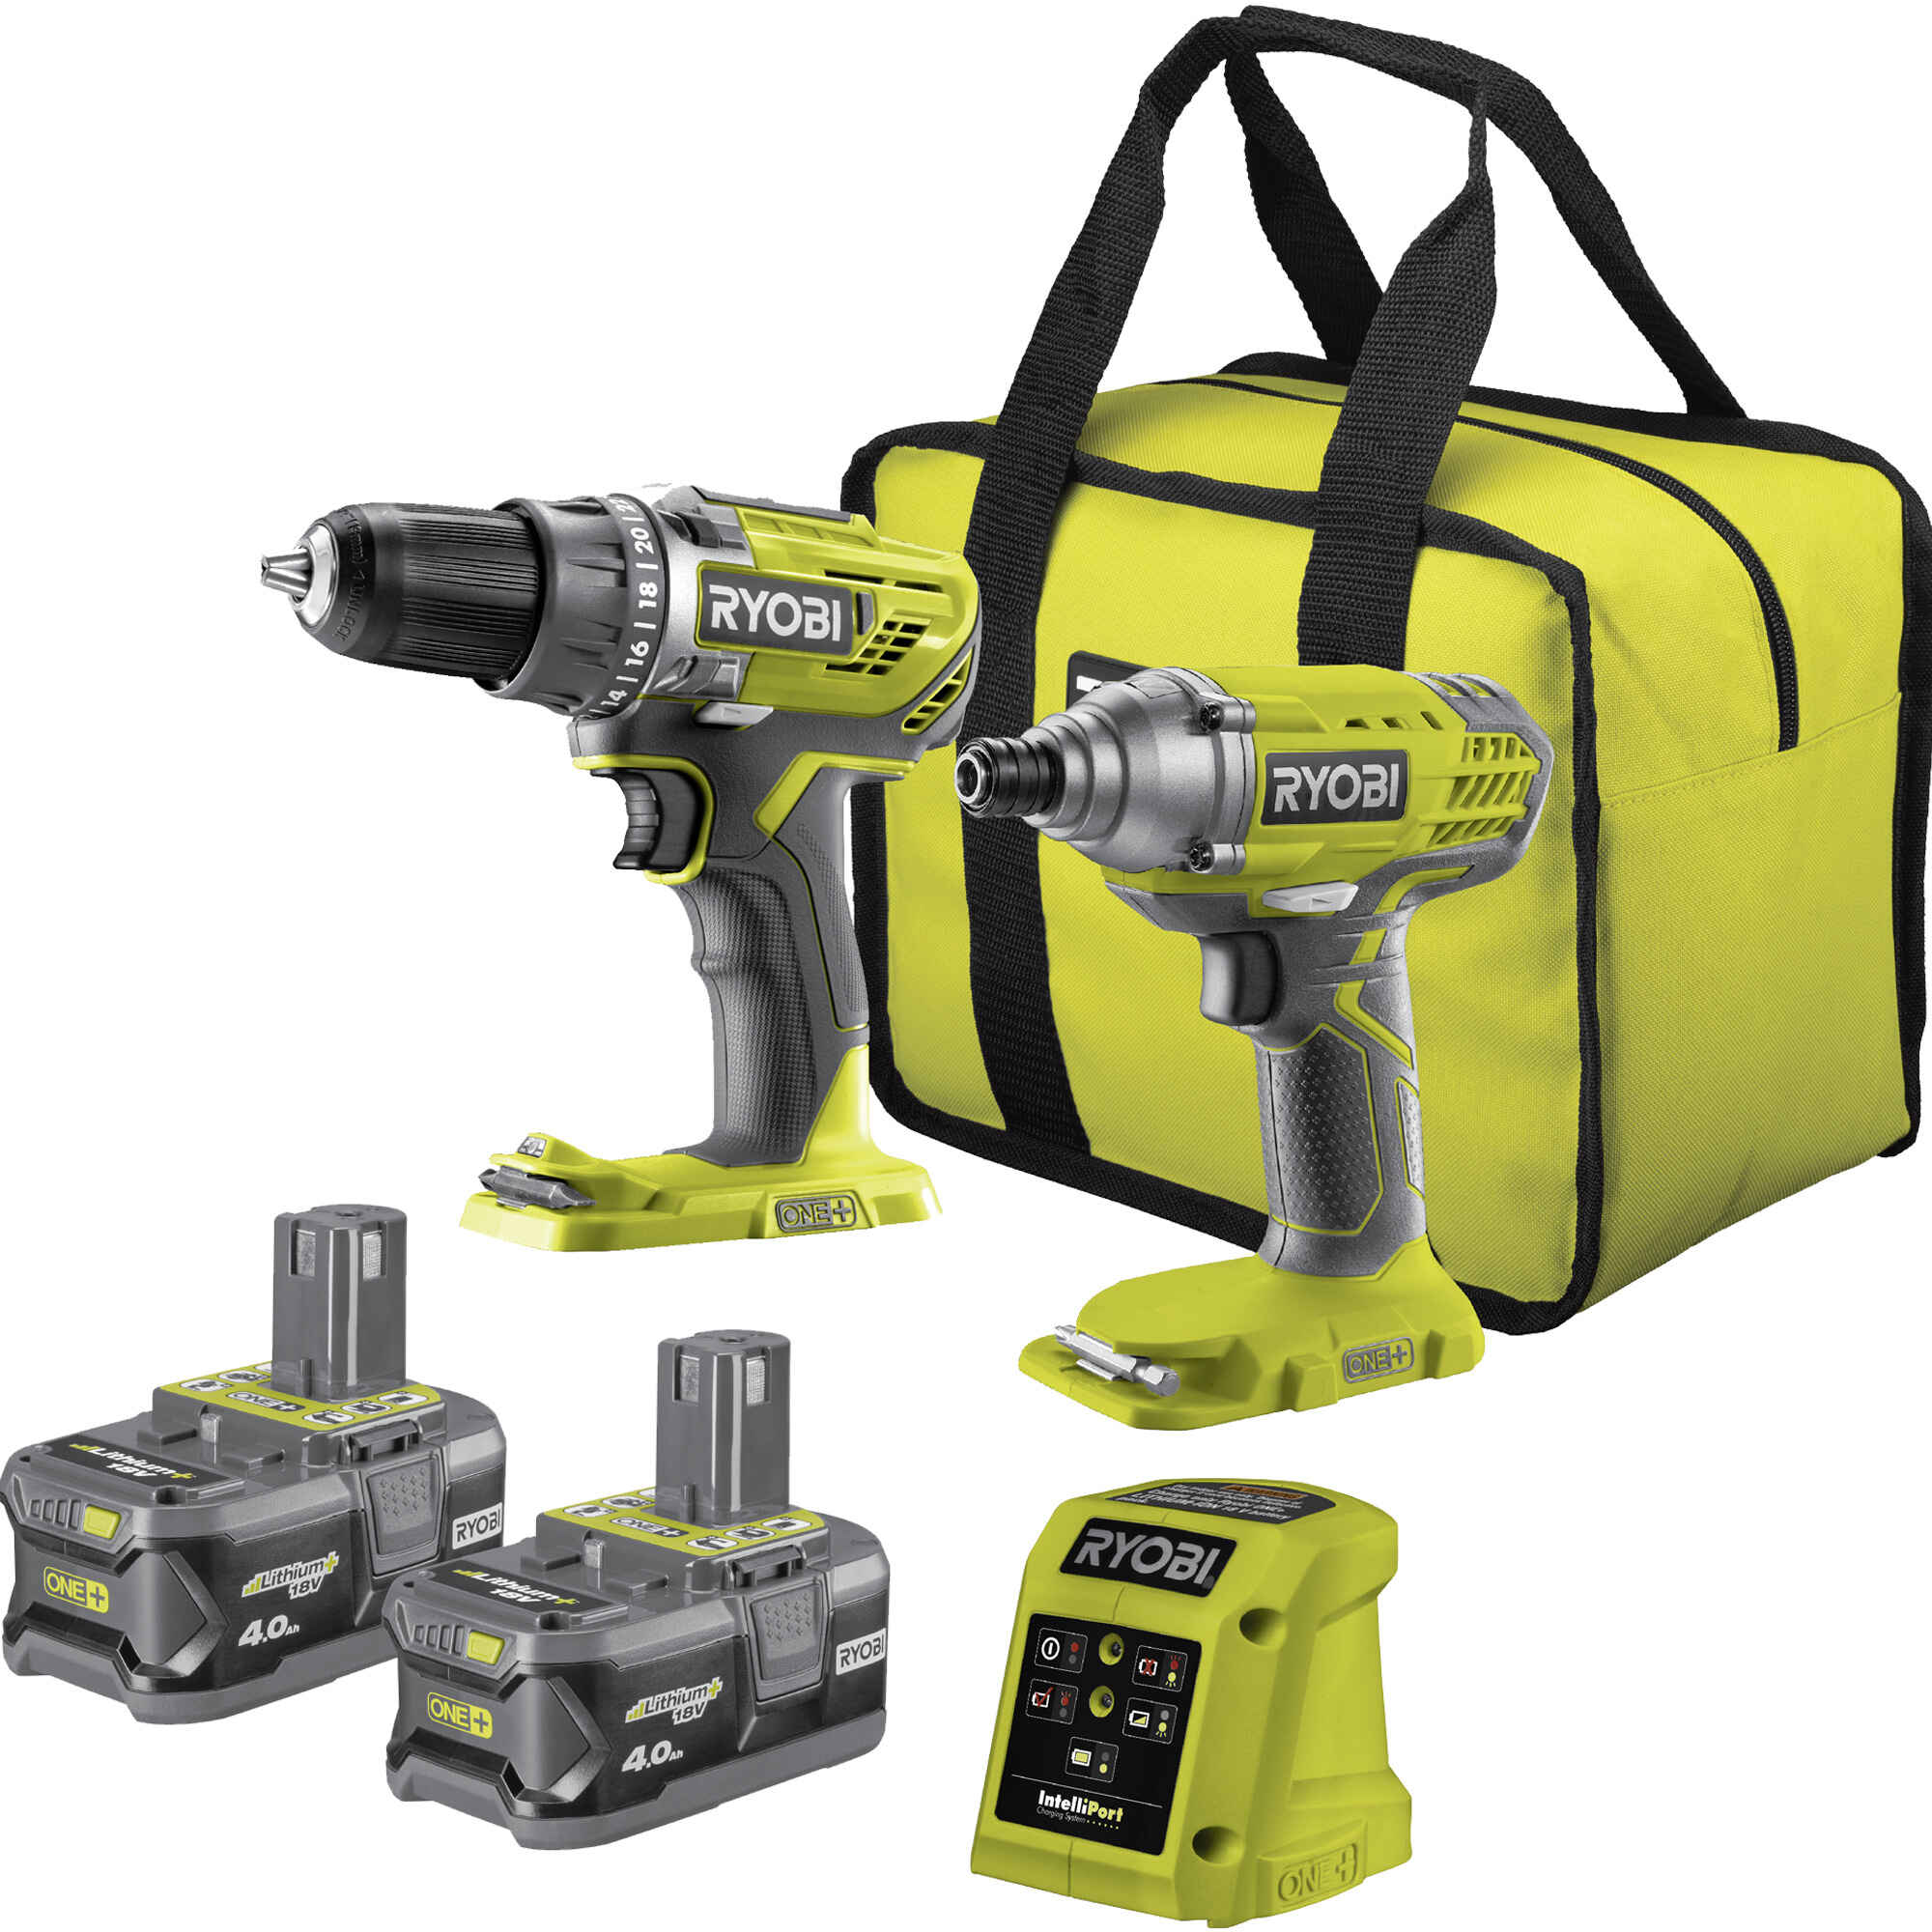
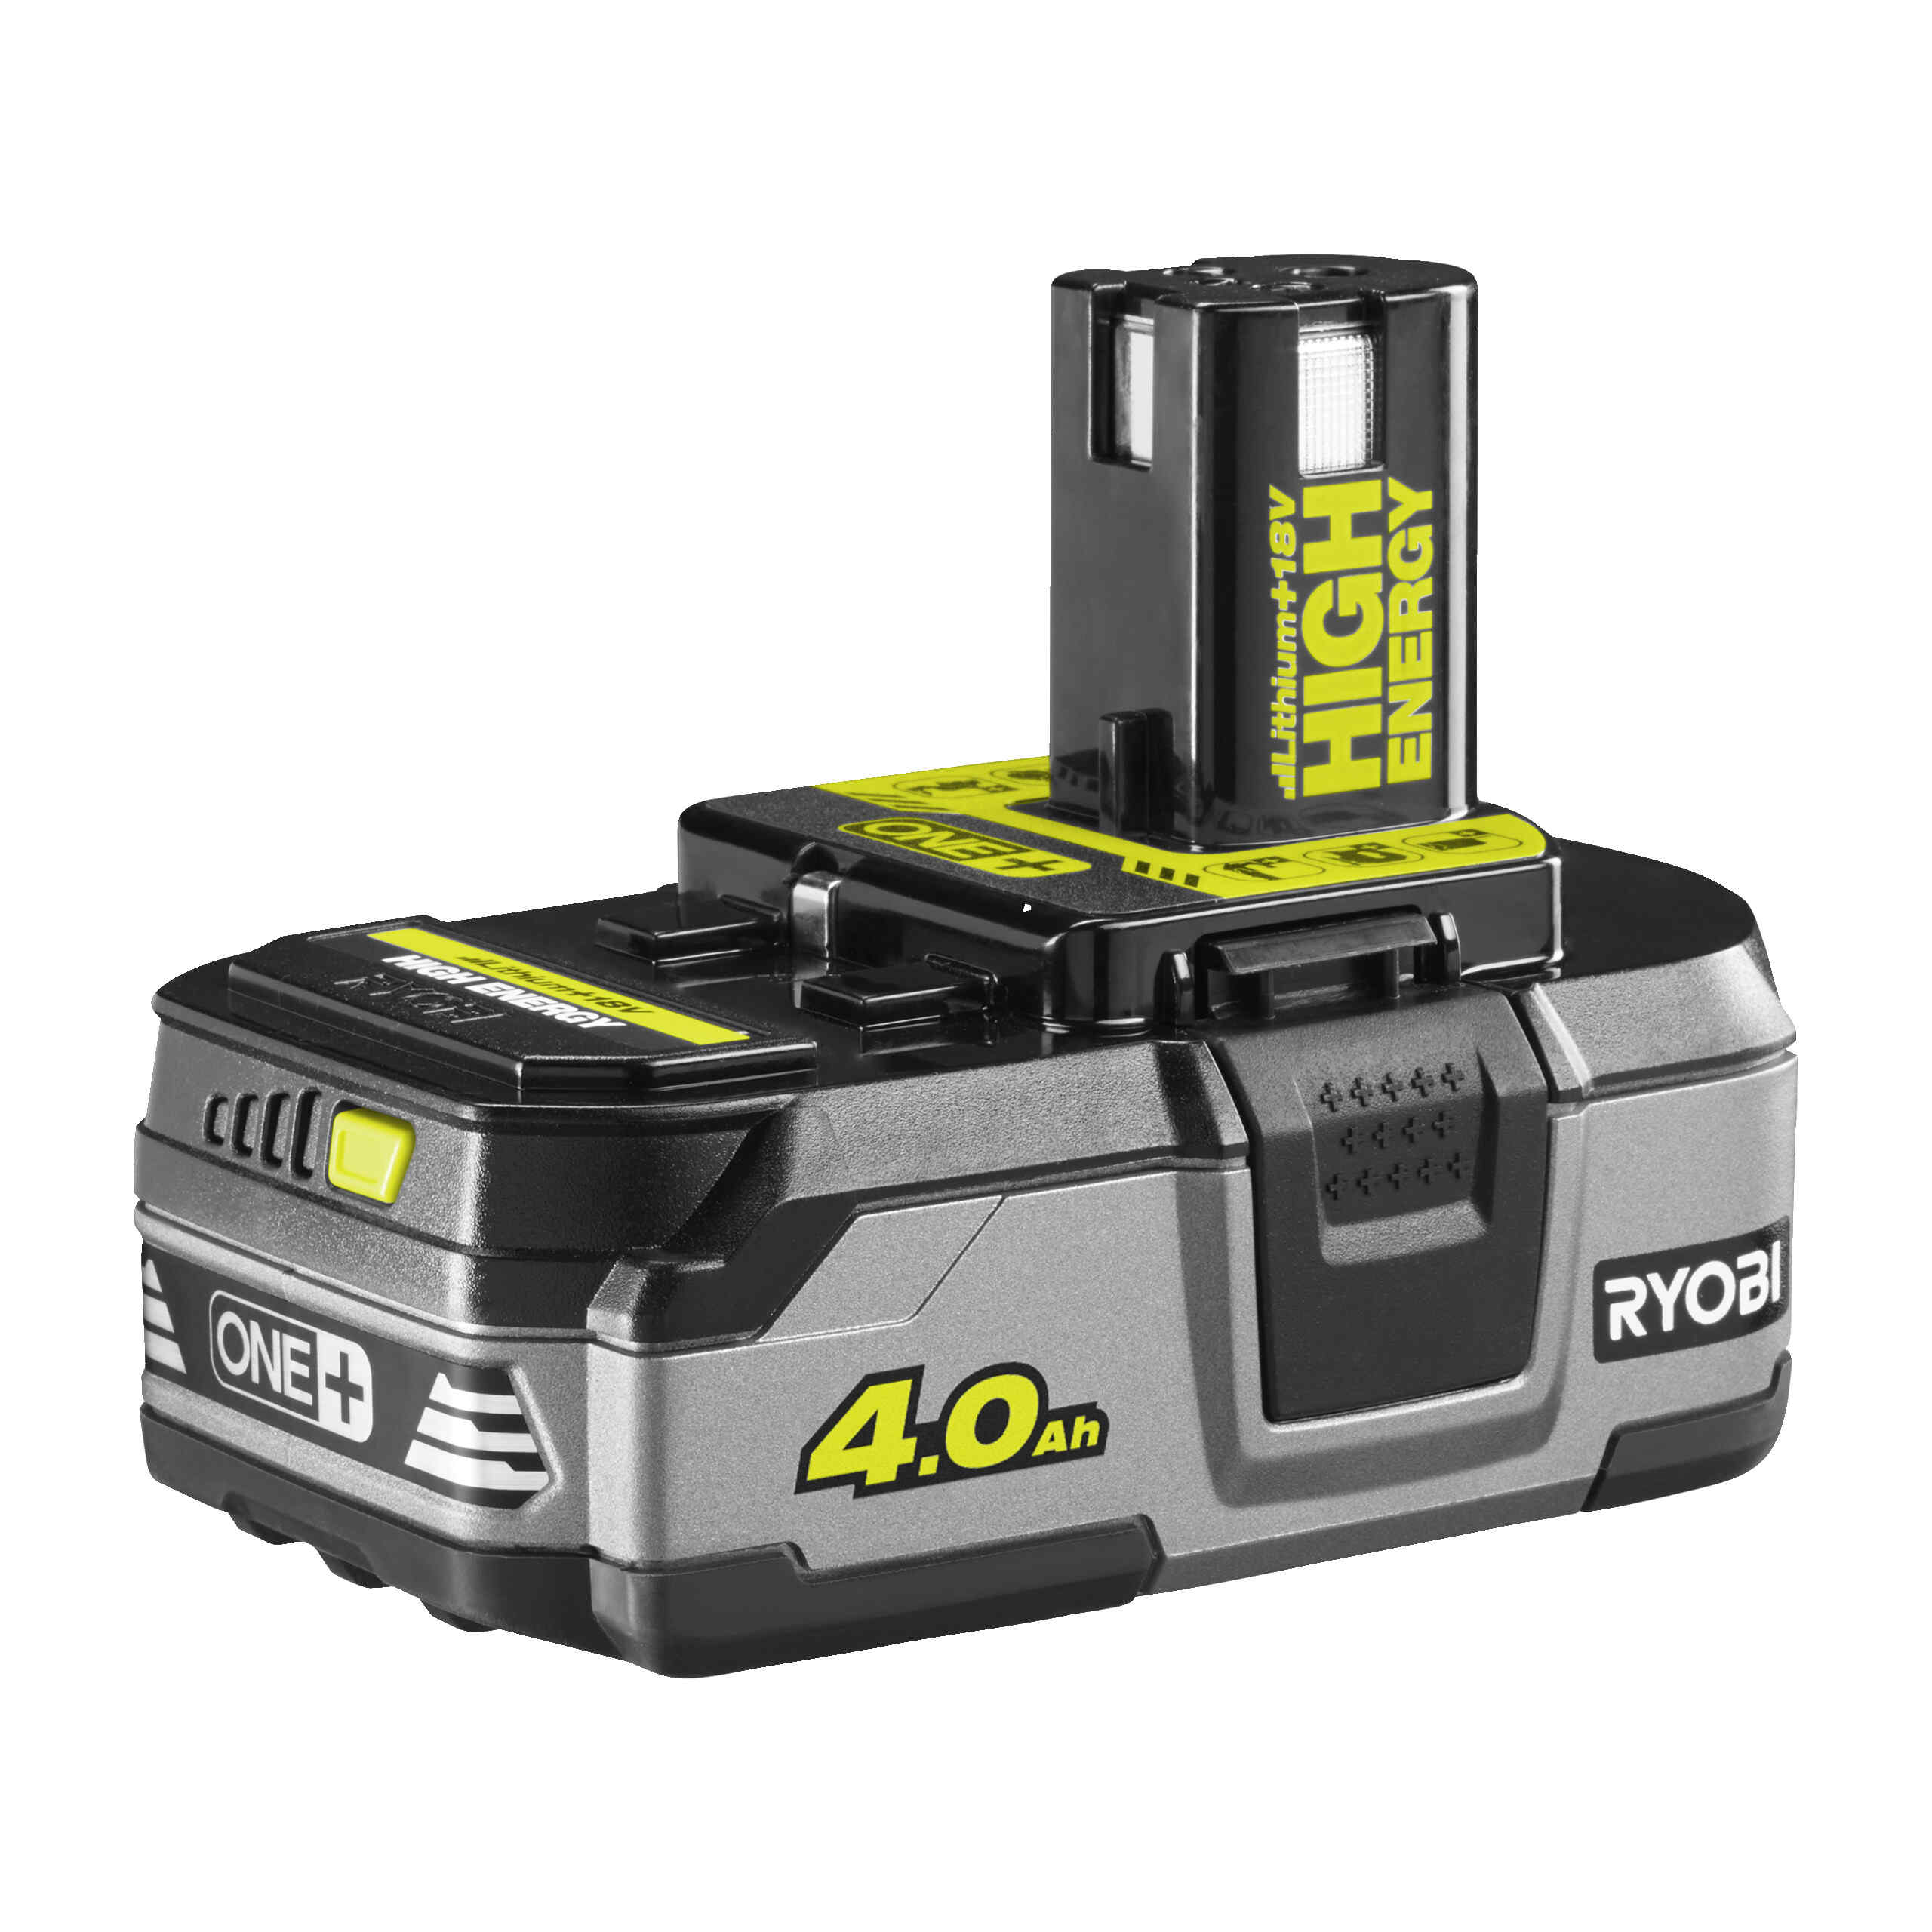
Before diving into the process of charging your Ryobi drill battery, it’s important to have a basic understanding of the battery itself. Ryobi drill batteries are typically lithium-ion (Li-ion) batteries, known for their high energy density, long-lasting performance, and ability to hold a charge for extended periods.
Li-ion batteries are preferred for power tools like the Ryobi drill due to their lightweight design and high power capacity. They offer a good balance between power output and lifespan, making them ideal for demanding tasks like drilling through tough materials.
One key advantage of Ryobi drill batteries is their interchangeable compatibility across multiple Ryobi tools. This means you can use the same battery for different Ryobi power tools, making it cost-effective and convenient.
Before charging your Ryobi drill battery, it’s important to check its condition. If you notice any physical damage or signs of wear, such as a swollen battery pack or exposed wires, it’s best to replace it with a new one. Using a damaged battery can be dangerous and may lead to reduced performance or even accidents.
Additionally, it’s helpful to familiarize yourself with the battery’s charging specifications. Each Ryobi drill battery has a specific voltage and ampere-hour (Ah) rating, which determines its capacity and charging requirements. You can find this information on the battery itself or in the user manual provided with your Ryobi drill.
Understanding these basic facts about your Ryobi drill battery will enable you to charge it safely and effectively, ensuring that it performs optimally throughout its lifespan.
Preparing the Charging Station
Now that you have a good understanding of your Ryobi drill battery, it’s time to prepare the charging station. Creating a suitable charging environment ensures efficient and safe charging of your battery.
First and foremost, find a well-ventilated area for your charging station. Lithium-ion batteries can generate heat during the charging process, so it’s important to avoid placing them in enclosed spaces or near flammable materials. An open and well-ventilated area will help dissipate heat and prevent any potential safety hazards.
Next, ensure that you have a stable and flat surface to place the charger. This will prevent accidental tipping or damage to the charging equipment or battery. A workbench or a dedicated charging station is an ideal option.
Check the charger for any visible damage or defects. Inspect the power cord for frayed wires or signs of wear. It’s crucial to use a charger that is in good condition to avoid any electrical mishaps.
If you’re using a corded charger, ensure that the outlet you’re plugging it into is suitable for the charger’s voltage requirements. Using an incompatible outlet can result in a faulty charging process or damage to the charger.
For cordless chargers, make sure they are adequately charged before beginning the charging process. Some chargers come with indicators to show their current charge level. If your charger isn’t fully charged, plug it into a power source and wait until it’s ready.
Gather all the necessary items for charging, including the Ryobi drill battery, the charger, and any additional accessories or tools required for the specific charging process. Having everything readily available will make the charging process more organized and efficient.
By taking these preparatory steps, you’ll ensure that your charging station is ready to go and provide a safe and reliable environment for charging your Ryobi drill battery.
Connecting the Charger to the Power Source
With your charging station prepared, it’s time to connect the charger to a power source. This step is essential to provide the necessary electrical current to charge your Ryobi drill battery.
Start by locating the power cord attached to your charger. Ensure that the cord is in good condition, without any frayed wires or visible damage. If you notice any issues, it’s best to replace the charger or seek professional assistance.
Next, find a suitable power outlet that matches the voltage requirements of your charger. Most Ryobi drill chargers operate on standard household voltage (110-120V or 220-240V, depending on your region). Make sure the outlet is accessible and provides a stable electrical connection.
Insert the charger’s plug into the power outlet firmly. Ensure that it is securely connected and doesn’t appear loose or wobbly. If the charger has an indicator light, it may illuminate to indicate that it is receiving power.
Double-check that the power source is switched on and providing a steady supply of electricity. If necessary, test the outlet with another electrical device to ensure it is functioning properly.
Once you have established a secure and reliable connection between the charger and the power source, you’re ready to proceed to the next step: attaching the battery to the charger.
It’s worth noting that some Ryobi chargers may have additional features or settings, such as a fast charging option or a maintenance mode. Refer to the user manual of your charger for specific instructions on how to utilize these features, if applicable.
By properly connecting the charger to the power source, you now have a stable and reliable electrical supply to initiate the charging process for your Ryobi drill battery.
Attaching the Battery to the Charger
With the charger connected to the power source, it’s time to attach your Ryobi drill battery to begin the charging process. Follow these steps to ensure a secure connection:
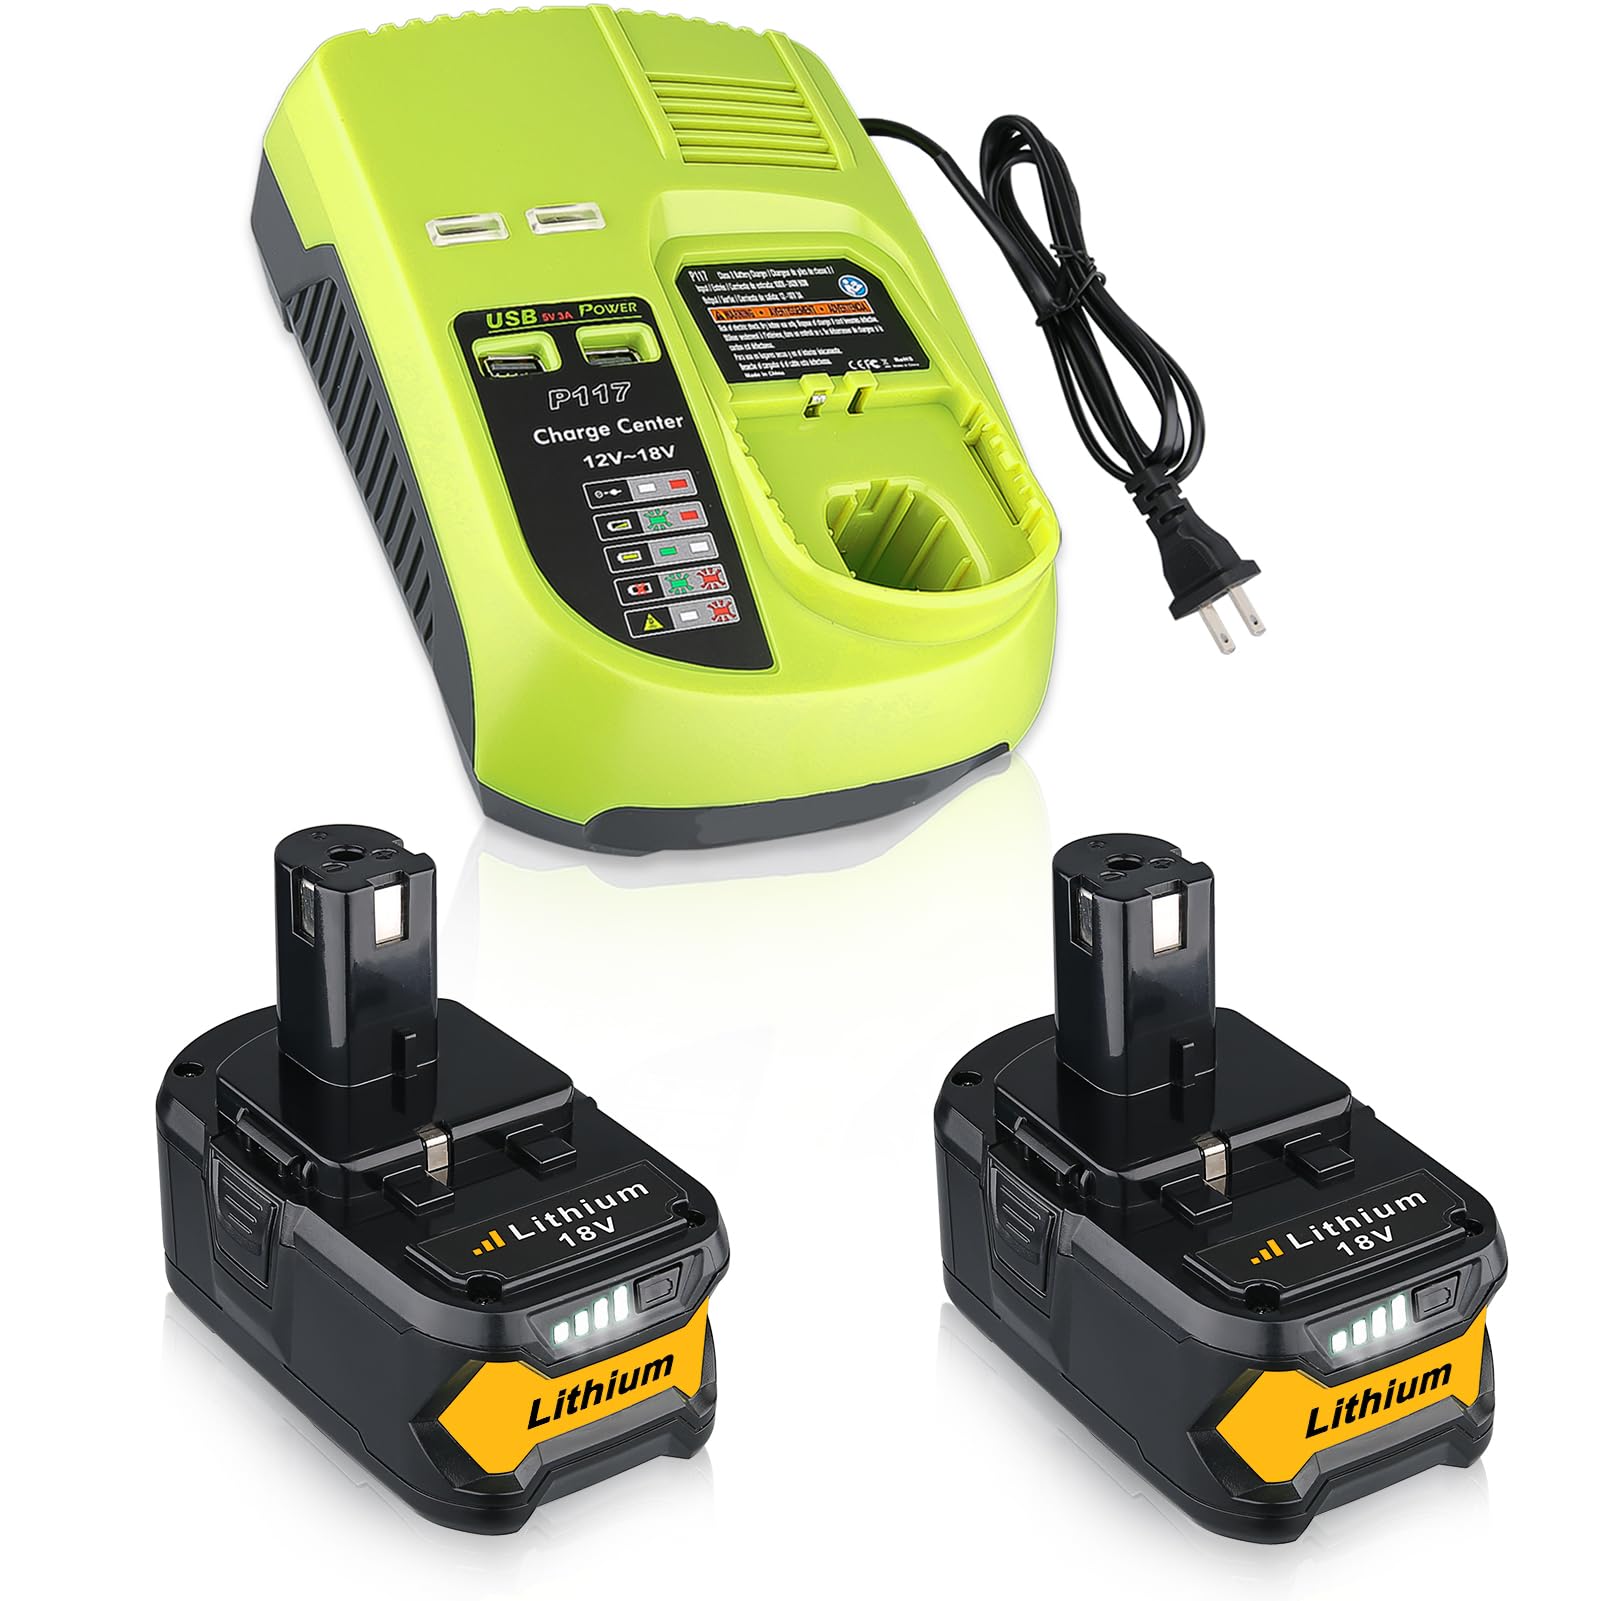
- Locate the battery slot on the charger. Depending on the charger model, this slot may be on the top, front, or side of the charger.
- Hold the battery securely and align the connectors on the battery with the corresponding connectors in the battery slot.
- Slide the battery into the slot, applying gentle pressure until it clicks into place. Ensure that the battery is inserted fully and seated correctly in the slot.
- Inspect the battery connection to confirm that it is secure and snug. There should be no visible gaps or looseness between the battery and the charger.
It’s important to note that Ryobi drill batteries are designed to fit snugly into the charger, which ensures proper contact and efficient charging. If you encounter any resistance or have difficulty inserting the battery, double-check to ensure you have the correct battery model for your charger.
During the battery attachment process, take note of any indicator lights on the charger or battery. Most Ryobi chargers feature LED indicator lights that display the charging status. These lights may vary depending on the charger model, with options such as solid colors, flashing patterns, or digital displays.
Once the battery is securely attached, it’s time to move on to the next step: monitoring the charging process.
Remember, always follow the manufacturer’s instructions and refer to the user manual for your specific charger model to ensure proper battery attachment.
When charging a Ryobi drill, always use the charger that came with the drill to ensure compatibility and safety. Make sure to fully insert the battery into the charger and wait for the indicator light to show that the battery is fully charged before removing it.
Read more: How To Put Bit In Ryobi Drill
Monitoring the Charging Process
Once you have attached the Ryobi drill battery to the charger, it’s important to monitor the charging process to ensure efficient and safe charging. Follow these guidelines to keep an eye on the progress:
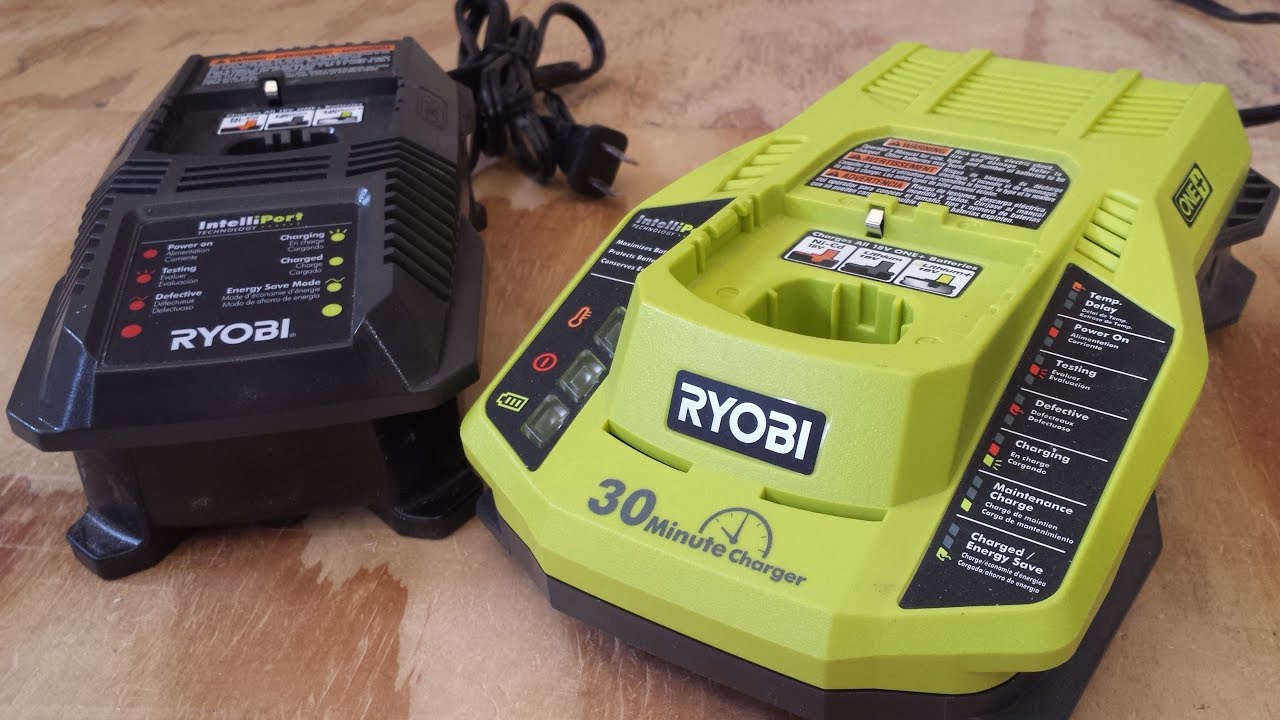
- Refer to the charger’s user manual or look for LED indicator lights on the charger. These indicators provide important information about the charging status of your battery. Common indicators include power-on notifications, charging in progress, and a fully charged notification.
- Observe the LED lights and their corresponding colors or patterns. Different chargers may have varying color codes or flashing patterns to convey specific charging stages. For example, a red light may indicate that the battery is still charging, while a green light may signify a fully charged battery.
- Keep an eye on the charging time. Typically, Ryobi drill batteries take a few hours to charge fully, depending on the battery capacity and the charger’s charging rate. It’s useful to have a rough estimate of the charging time to plan your work accordingly. Avoid leaving the battery on the charger for an extended period after it’s fully charged, as it can increase the risk of overcharging and reduce the lifespan of the battery.
- Periodically check the temperature of the battery during the charging process. While it’s normal for the battery to warm up slightly during charging, excessive heat can be a sign of a problem. If you notice the battery becoming unusually hot or emitting a burning smell, remove it from the charger immediately and allow it to cool down before investigating further. Continuing to charge a hot battery can lead to damage or even a safety hazard.
It’s important to note that some Ryobi chargers feature advanced charging algorithms that optimize the charging process for maximum battery performance and longevity. These chargers may include features such as temperature monitoring, trickle charging, or automatic shutoff when the battery is fully charged. Familiarize yourself with these features and their operation to ensure the best charging experience.
By monitoring the charging process closely, you can ensure that your Ryobi drill battery is charging effectively and safely, maximizing its performance and lifespan.
Removing the Fully Charged Battery
Once the charging process is complete and your Ryobi drill battery is fully charged, it’s time to remove the battery from the charger. Follow these steps to safely detach the battery:
- Check the charger’s LED indicator lights to confirm that the battery is fully charged. Depending on the charger model, the indicator may display a specific color or pattern indicating a full charge.
- Switch off the power source or unplug the charger from the outlet. This precautionary step ensures your safety and prevents any accidental electrical incidents while handling the battery.
- Hold the charger firmly with one hand and use your other hand to remove the battery. To do this, press the battery release button or slide the lever located on the charger, which will disengage the battery from the charger.
- Gently pull the battery away from the charger, making sure to keep a firm grip on it. Take care not to drop the battery or handle it roughly, as this can lead to damage or reduce its lifespan.
- Inspect the battery and charger connection points for any debris, dust, or corrosion. Wipe them clean using a soft cloth or brush if necessary, ensuring a clean and secure connection for future use.
Once the battery is removed from the charger, it’s a good practice to give it a brief cool-down period before using it. This allows any heat generated during the charging process to dissipate and ensures the battery is at a safe operating temperature.
Remember, always handle the battery with care, avoiding any unnecessary roughness or exposure to extreme temperatures. Additionally, store the fully charged battery in a cool, dry place away from direct sunlight or excessive heat to maintain its performance and lifespan.
By following these steps, you can safely remove the fully charged battery from the charger, ready to power your Ryobi drill for your next DIY project.
Best Practices for Charging a Ryobi Drill Battery
To ensure optimal performance and longevity of your Ryobi drill battery, it’s important to follow these best practices when charging:
- Charge in a suitable environment: Always charge your battery in a well-ventilated area away from flammable materials. Avoid charging in extreme temperatures or direct sunlight, as it can affect the battery’s performance and safety.
- Use the correct charger: Ensure you are using the charger specifically designed for your Ryobi drill battery model. Using an incorrect charger can damage the battery or pose a safety risk.
- Follow the charging specifications: Refer to the charging specifications outlined in your battery’s user manual. This includes the voltage requirements, charging duration, and any specific instructions on using the charger.
- Avoid overcharging: Once your battery is fully charged, remove it from the charger promptly. Overcharging can lead to decreased battery performance and shorten its lifespan.
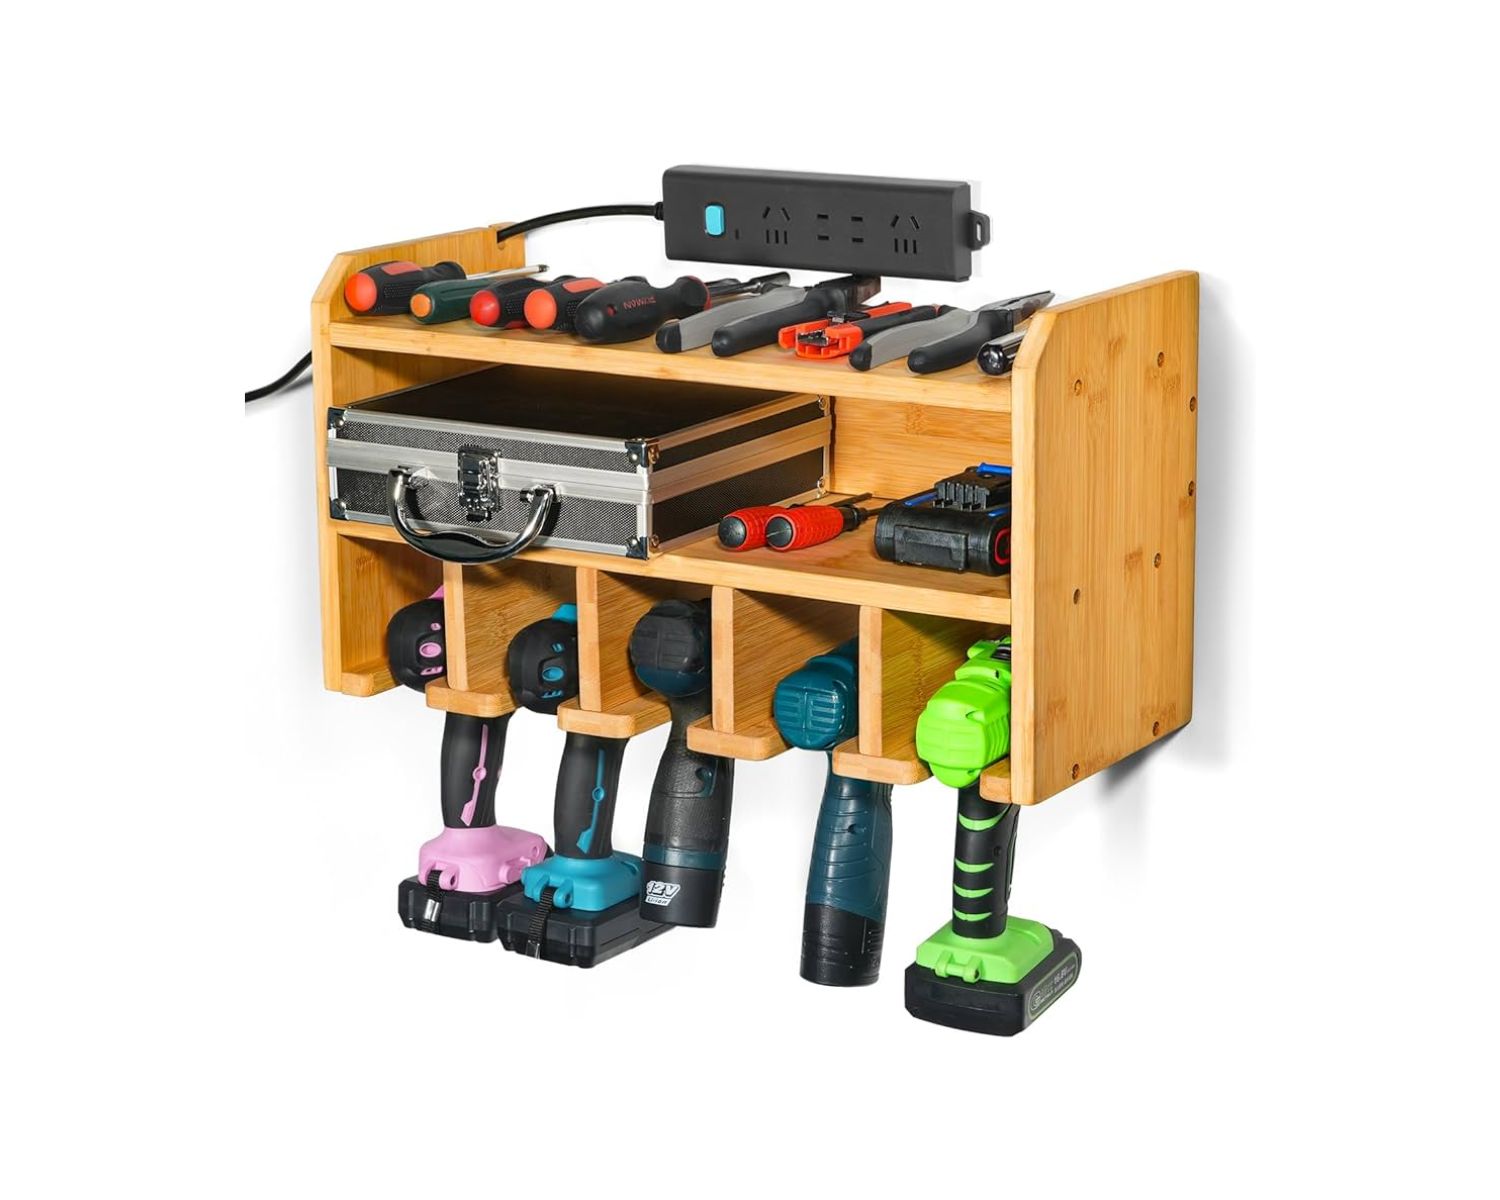
- Store the battery correctly: When not in use, store the battery in a cool and dry place. Make sure to keep it away from any metal objects or conductive materials that can cause a short circuit.
- Avoid deep discharge: It’s best to recharge your Ryobi drill battery before it completely drains. Regularly recharging the battery helps maintain its capacity and prolong its overall lifespan.
- Regularly inspect the battery: Check for any physical damage or signs of wear on the battery. If you notice any issues such as swelling, exposed wires, or significant damage, replace the battery immediately.
- Maintain a consistent charging routine: It’s recommended to charge your battery after each use, even if it’s not fully depleted. This ensures that the battery is always ready for your next project and helps maintain its performance.
- Avoid rapid charging: While some chargers may offer fast charging options, it’s generally advised to charge your battery at a slower rate. Fast charging can generate more heat and potentially affect the battery’s lifespan.
- Use genuine Ryobi batteries: To ensure compatibility and optimal performance, always use genuine Ryobi batteries. Generic or third-party batteries may not provide the same level of quality or reliability as the manufacturer’s batteries.
Following these best practices will help you maximize the performance, lifespan, and safety of your Ryobi drill battery, allowing you to complete your DIY projects with ease and confidence.
Troubleshooting Common Charging Issues
While charging your Ryobi drill battery, you may encounter some common issues. Here are a few troubleshooting tips to help you resolve them:
- Slow charging: If you find that your battery is charging much slower than usual, make sure you’re using the correct charger for your battery model. Additionally, check the power source to ensure it is functioning properly. If the issue persists, try using a different outlet or charger.
- Charger not working: If your charger isn’t turning on or showing any signs of power, check that it is securely connected to a functioning power source. Inspect the power cord for any damage, and if necessary, try a different power outlet. If the charger still doesn’t work, it may need to be replaced.
- Battery not charging: If you’ve connected the battery to the charger but it’s not charging, check the battery contacts for any dirt, debris, or corrosion. Clean the contacts using a soft cloth or brush. If the issue persists, there may be a problem with the battery or the charger, and you should contact Ryobi customer support for further assistance.
- Inconsistent charging or frequent disconnections: Ensure that the battery is properly seated in the charger and that it clicks into place securely. Loose connections can cause intermittent charging or frequent disconnections. If the problem continues, try cleaning the battery and charger contacts to ensure a clean and reliable connection.
- Battery not holding a charge: If your battery doesn’t hold a charge for long or drains quickly after being charged, it may be time to replace the battery. Over time, batteries can wear out and lose their capacity to hold a charge. Consider purchasing a new Ryobi battery for optimal performance.
If you are still experiencing charging issues after attempting these troubleshooting steps, it is recommended to reach out to Ryobi customer support or consult a professional for further assistance. They will be able to provide specific guidance tailored to your situation.
Remember, always prioritize safety when troubleshooting charging issues. If you suspect any electrical problems or encounter unusual smells or heat, discontinue charging immediately and seek professional help.
Read more: How To Change Ryobi Drill Bit
Conclusion
Properly charging your Ryobi drill battery is essential for maintaining its performance, longevity, and safety. By following the steps outlined in this guide and implementing the best practices, you can ensure that your battery is always ready for your DIY projects and performs optimally.
Understanding the basics of your Ryobi drill battery, preparing a suitable charging station, and connecting the charger to the power source are the initial steps to a successful charging process. Attaching the battery securely and monitoring the charging process allow you to keep track of its progress and ensure a proper recharge.
By carefully removing the fully charged battery, following the recommended charging practices, and troubleshooting any common issues that may arise, you can maintain the health and performance of your Ryobi drill battery over the long term.
Remember, always consult the user manual specific to your Ryobi drill and charger for detailed instructions and guidelines. Additionally, be mindful of safety precautions, such as charging in a well-ventilated area and avoiding overcharging or mishandling the battery.
Now that you have the knowledge and tools to charge your Ryobi drill battery effectively, you can confidently embark on your DIY projects, knowing you have a reliable and fully charged battery by your side.
Happy drilling!
Frequently Asked Questions about How To Charge A Ryobi Drill
Was this page helpful?
At Storables.com, we guarantee accurate and reliable information. Our content, validated by Expert Board Contributors, is crafted following stringent Editorial Policies. We're committed to providing you with well-researched, expert-backed insights for all your informational needs.


0 thoughts on “How To Charge A Ryobi Drill”