Articles
How To Organize My Craftsman Tool Chest
Modified: August 28, 2024
Learn how to organize your Craftsman tool chest with these helpful articles. Find tips and tricks to maximize storage and keep your tools easily accessible.
(Many of the links in this article redirect to a specific reviewed product. Your purchase of these products through affiliate links helps to generate commission for Storables.com, at no extra cost. Learn more)
Introduction
Having a well-organized tool chest is essential for any craftsman or DIY enthusiast. A cluttered and disorganized tool chest can make it difficult to find the right tools when you need them, leading to frustration and wasting valuable time. By implementing an effective organization system, you can ensure that your tools are easy to find and access, allowing you to work efficiently and effectively.
In this article, we will walk you through the process of organizing your Craftsman tool chest. Craftsman is a renowned brand known for its high-quality tools, and having a well-organized tool chest will not only save you time but also prolong the lifespan of your tools. Whether you are a professional carpenter, mechanic, or simply someone who enjoys DIY projects, organizing your tool chest is a worthwhile endeavor.
Throughout this article, we will provide you with step-by-step guidance on how to organize your Craftsman tool chest effectively. We will discuss the importance of assessing your tool storage needs, sorting and categorizing tools, choosing the right organizer and dividers, arranging tools in the chest, labeling and identifying tools, and maintaining and updating your tool chest.
By following these guidelines, you will be able to transform your chaotic tool chest into a well-ordered and efficient workspace. So, without further ado, let’s dive into the details and get your Craftsman tool chest organized!
Key Takeaways:
- Organizing your Craftsman tool chest involves assessing your needs, sorting tools, choosing the right organizers, and arranging tools thoughtfully. Labeling and maintaining your chest are crucial for an efficient and productive workspace.
- Regularly updating and maintaining your tool chest is essential for its longevity and effectiveness. Stay open to improvements and adapt to changes in your tool collection and workflow to ensure an efficient and reliable workspace.
Read more: How To Put Wheels On A Craftsman Tool Chest
Assessing your Tool Storage Needs
Before you start organizing your Craftsman tool chest, it is important to assess your tool storage needs. Take a moment to consider the types and quantity of tools you have, as well as your specific workflow and preferences. By understanding your needs, you can effectively plan the layout and organization of your tool chest.
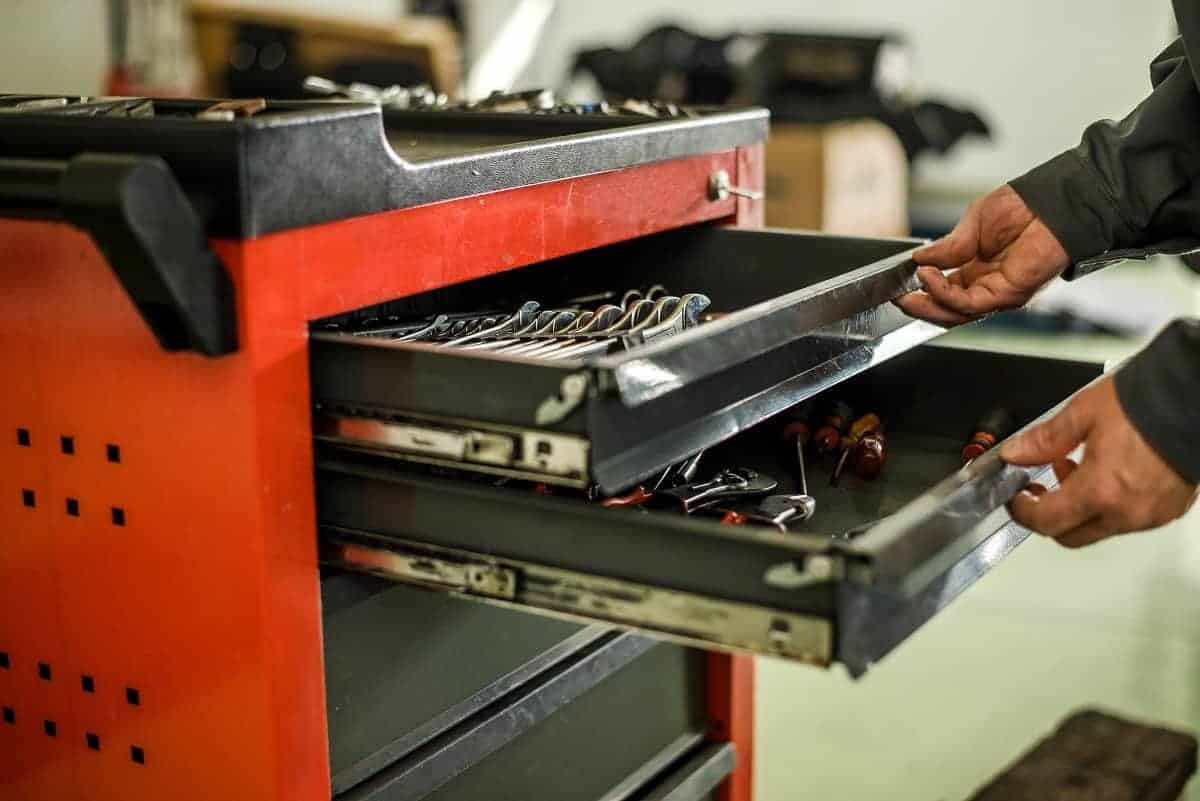
Start by taking an inventory of your tools. Identify the different types of tools you have, such as wrenches, screwdrivers, pliers, and power tools. Consider their sizes, shapes, and frequency of use. This will help you determine the appropriate storage solutions and ensure that you have enough space for all your tools.
Next, evaluate your workflow and how you use your tools. Think about which tools you use most frequently and need to access quickly, and which ones are used less often. This will help you prioritize the placement of tools and ensure that frequently used ones are easily reachable.
Take into account any specialized tools or equipment you may have, such as measurement tools, specialty wrenches, or precision instruments. These tools may require specific storage solutions to protect them and keep them easily accessible.
Consider any future tool acquisitions or expansion plans. If you anticipate adding more tools to your collection, make sure to allocate extra space for them in your tool chest.
Lastly, take into account any personal preferences or ergonomic considerations. Think about how you prefer to organize your tools and what would work best for you. Consider factors like ease of access, visibility, and the overall aesthetics of your tool chest.
By assessing your tool storage needs, you can create a customized organization system that caters to your specific requirements. It will save you time and frustration in the long run and ensure that your tools are readily available whenever you need them.
Sorting and Categorizing Tools
Once you have assessed your tool storage needs, the next step in organizing your Craftsman tool chest is to sort and categorize your tools. This process will help you group similar tools together and create a system that facilitates easy access and efficient organization.
Begin by laying out all your tools on a clean workspace. Take the time to inspect each tool and make any necessary repairs or maintenance before organizing them. This will ensure that your tools are in good working condition and ready to be stored.
Now, it’s time to sort your tools into categories. Start by identifying broad categories based on the type of tool, such as hand tools, power tools, measurement tools, and accessories. This will provide a general framework for organizing your tools.
Next, dive deeper into each category and sort the tools based on their function. For example, within the hand tools category, you can further categorize tools into subcategories like wrenches, screwdrivers, and pliers. Similarly, within the power tools category, you can sort tools by their specific purpose, such as drills, saws, and sanders.
Consider the frequency of use for each tool. Group together tools that you use regularly and need to access quickly. This will ensure that your most commonly used tools are easily reachable and minimize the time spent searching for them.
As you sort your tools, take note of any duplicates or tools that you no longer use. Consider donating or selling these excess tools to free up space in your tool chest and streamline your collection.
Once you have sorted your tools into categories, consider how these categories can be organized within your Craftsman tool chest. You may choose to allocate separate drawers or sections of your tool chest for each category, or you can use dividers or trays to further compartmentalize the tools within each category.
By sorting and categorizing your tools, you will create a logical and systematic organization system. This will make it easier to find specific tools when you need them and keep your tool chest clutter-free.
Choosing the Right Organizer and Dividers
Once you have sorted and categorized your tools, the next step in organizing your Craftsman tool chest is choosing the right organizers and dividers to maximize space utilization and keep your tools securely in place.
Begin by assessing the layout and design of your tool chest. Consider the number and size of drawers or compartments available, as well as any built-in dividers or organizers already in place. This will give you an idea of the space you have to work with and help you determine the types of organizers and dividers you need.
There are several options available when it comes to organizers and dividers for your tool chest:
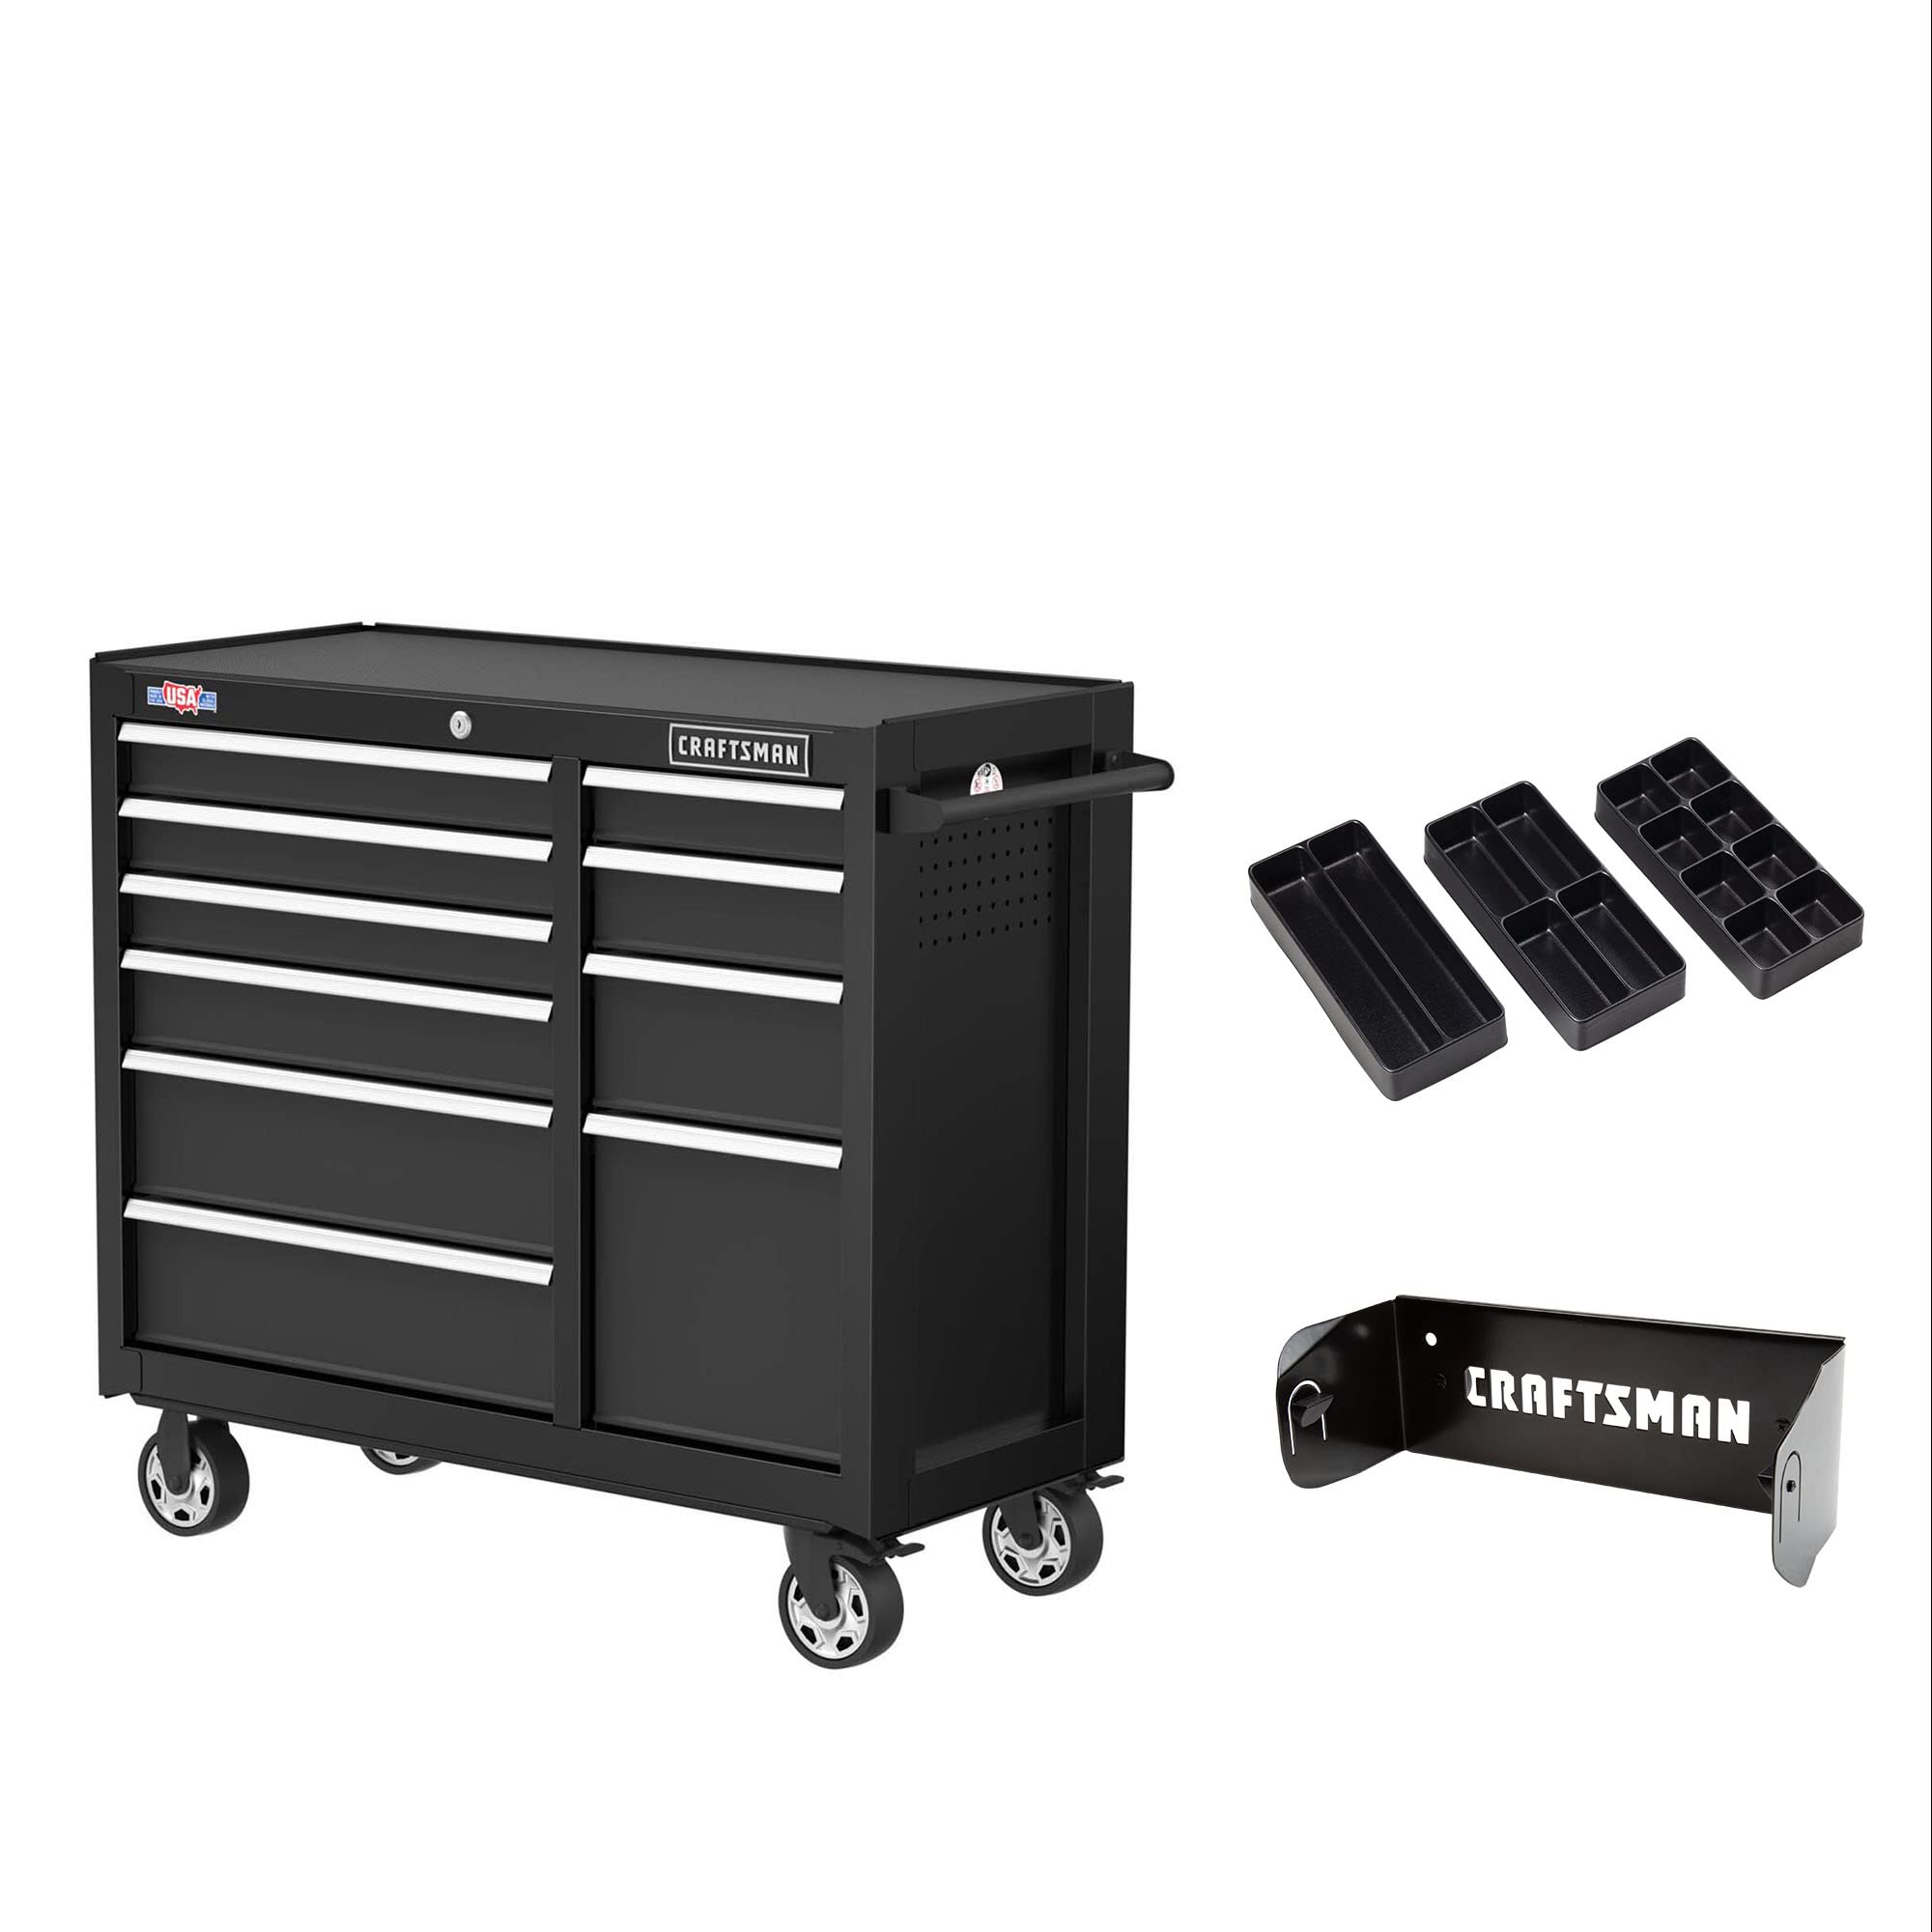
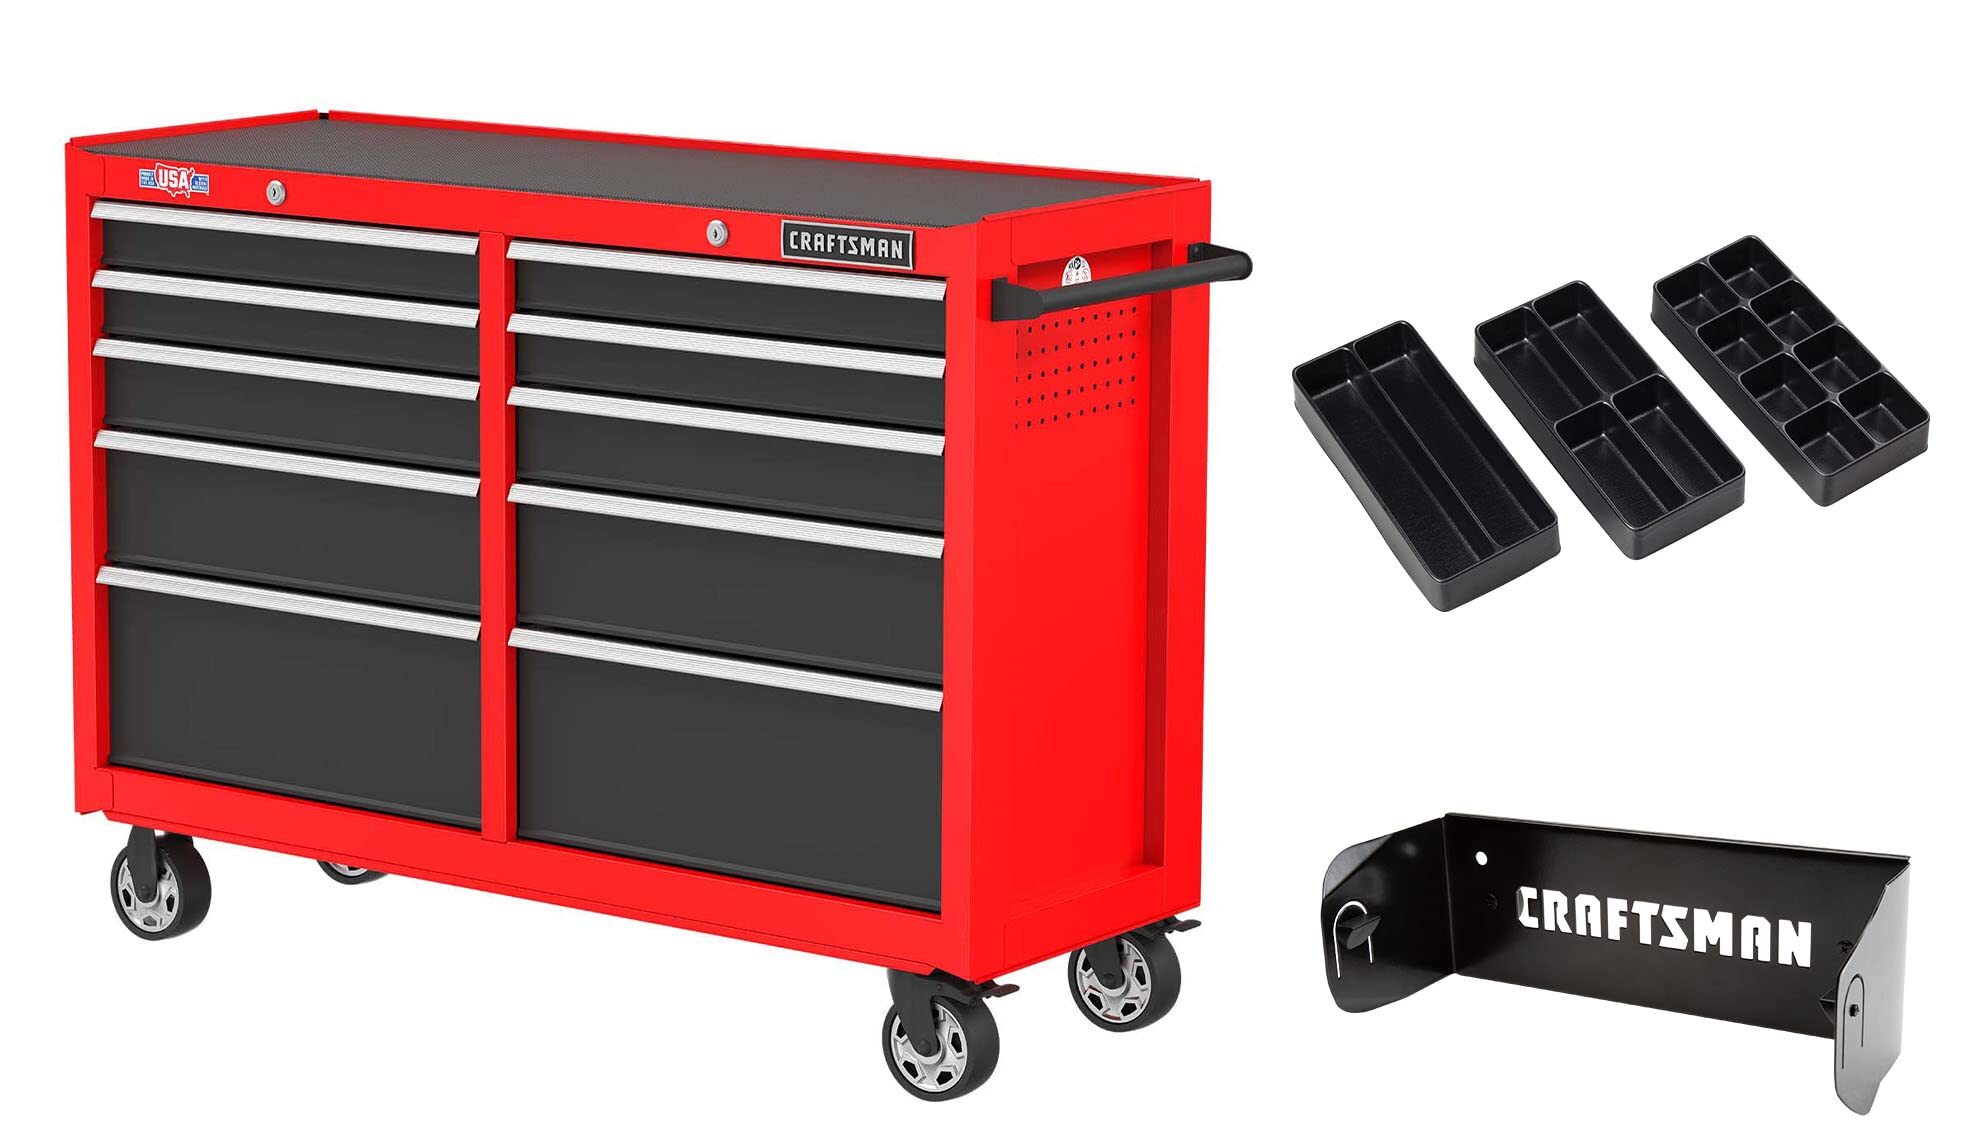
- Drawer Trays: Drawer trays are versatile and can be used to store a variety of tools. They are typically made of durable plastic or foam and come in different sizes and configurations. Drawer trays can be used to keep smaller hand tools, such as screwdrivers, wrenches, and pliers, well-organized and easily accessible.
- Foam Inserts: Foam inserts are custom-cut foam liners that fit into the drawers of your tool chest. They provide a snug and secure fit for each tool, preventing them from shifting during transport or when opening and closing the drawers. Foam inserts are ideal for delicate and precision tools, as they offer excellent cushioning and protection.
- Modular Organizers: Modular organizers are a popular choice for larger tools, power tools, and accessories. They typically consist of stackable or interlocking compartments that can be customized to fit your specific tools. Modular organizers are versatile and can be rearranged as your tool collection grows or changes.
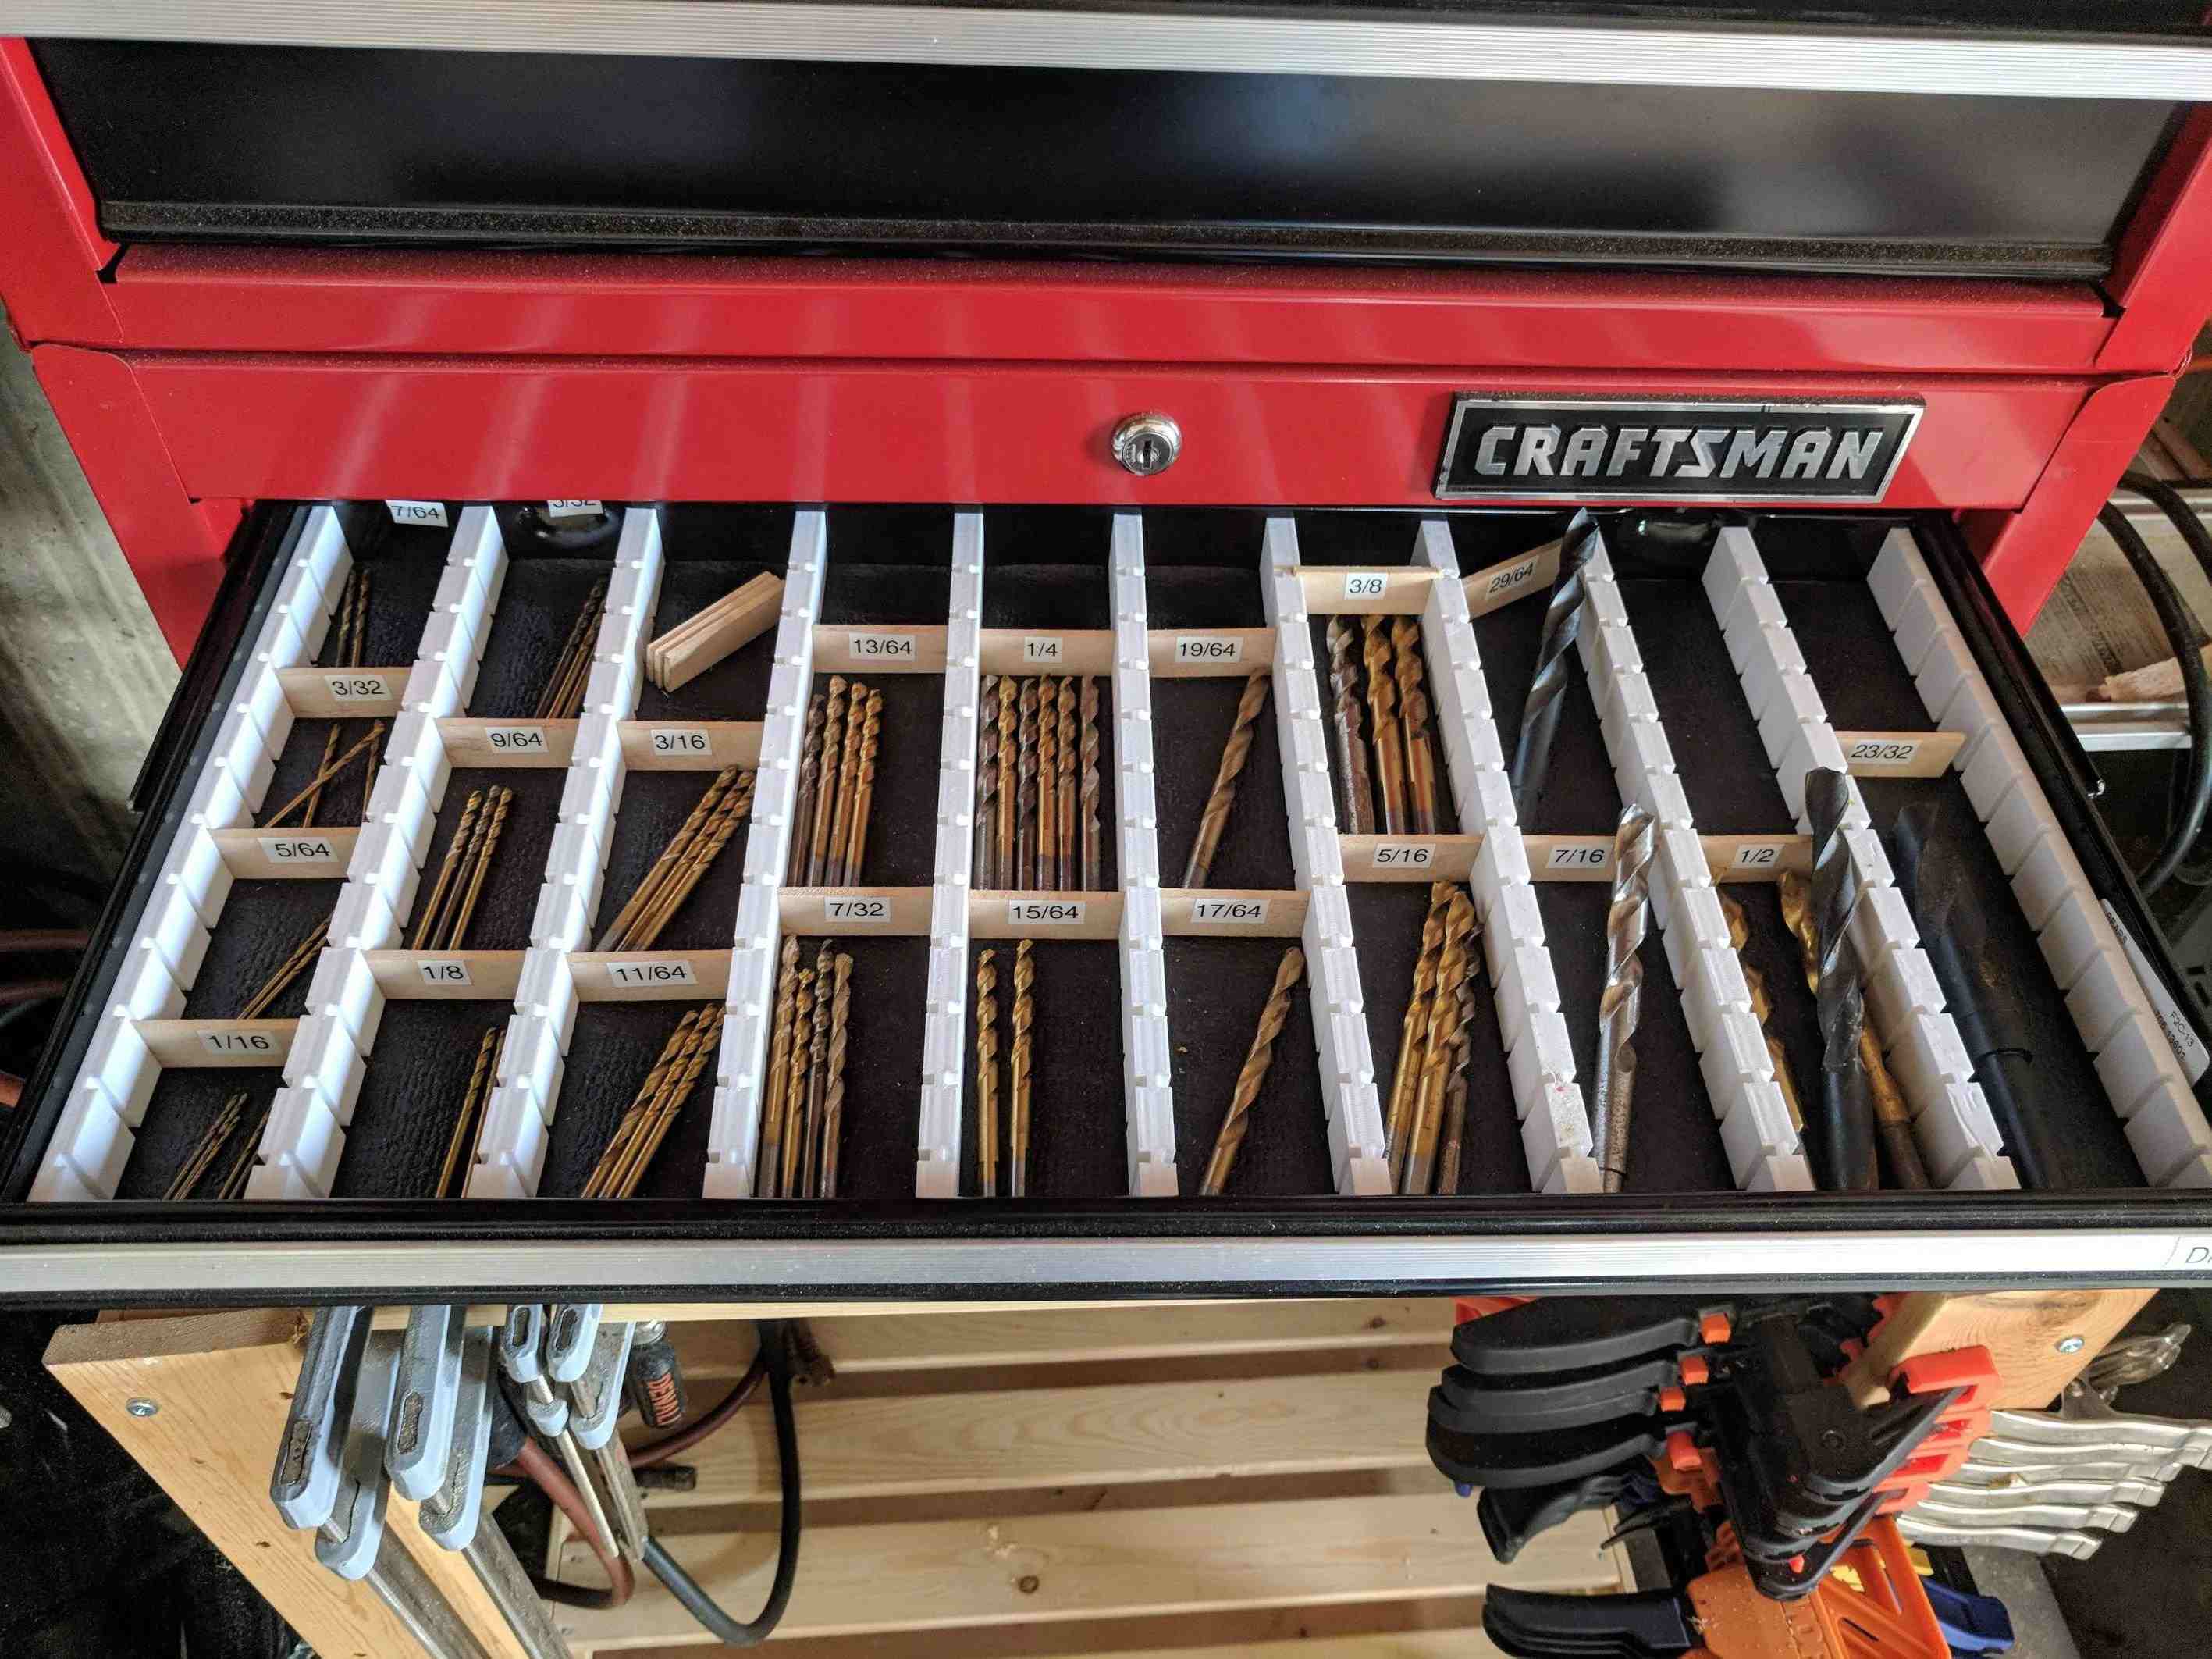
- Adjustable Dividers: Adjustable dividers are helpful for separating and organizing tools within a drawer or compartment. They can be easily moved and adjusted to accommodate different tool sizes. Adjustable dividers are a great option if you have a variety of tools with different shapes and sizes.
When choosing organizers and dividers, consider the durability, quality, and compatibility with your tool chest. Opt for organizers made of sturdy materials that can withstand the weight of your tools and frequent use. Additionally, ensure that the organizers and dividers fit properly within the drawers or compartments of your tool chest.
Experiment with different combinations of organizers and dividers to find the setup that works best for your tool collection and workflow. Remember that the goal is to create a system that keeps your tools organized, easily accessible, and well-protected.
By choosing the right organizers and dividers, you can optimize the storage space in your Craftsman tool chest and maintain a neat and efficient organization system.
Use foam drawer liners to keep your tools organized and prevent them from shifting during transport. Cut the foam to fit the shape of your tools for a custom fit.
Arranging Tools in the Chest
Once you have sorted your tools and chosen the right organizers and dividers, it’s time to arrange your tools in your Craftsman tool chest. Proper arrangement is key to maintaining an organized and efficient workspace, as it allows you to quickly locate and retrieve the tools you need.
Start by placing your most frequently used tools in the most accessible and easily reachable areas of your tool chest. These can include the top drawers or compartments. Having quick access to your commonly used tools will save you time and effort when working on projects.
Group tools of the same category together. For example, keep all your screwdrivers in one area, wrenches in another, and so on. This grouping makes it easier to find specific tools when you need them and helps maintain a neat and organized appearance.
Consider the size and shape of your tools when arranging them. Place larger tools in the larger drawers or compartments, ensuring they have enough space without being cramped. Smaller hand tools can be stored in smaller trays or drawers, using dividers to create separate compartments for each tool.
If your Craftsman tool chest has multiple drawers, consider organizing tools based on frequency of use or project type. For example, you can designate one drawer for woodworking tools, another for automotive tools, and so on. This allows you to quickly locate the tools you need based on the type of project you’re working on.
Arrange your tools in a way that makes sense to you and fits your workflow. Consider organizing tools in a logical order, such as by size, function, or alphabetical order. This will help you find tools more efficiently and maintain a well-organized system.
When placing tools in drawers or compartments, make sure they are securely held in place. Use organizers, dividers, or foam inserts to prevent tools from shifting or colliding with each other during transportation or when opening and closing the tool chest.
Regularly reassess and adjust the arrangement of your tools as needed. As your tool collection grows or changes, you may need to make adjustments to accommodate new tools or reorganize existing ones. Regular maintenance of your tool chest’s organization system ensures optimal functionality and efficiency.
By arranging your tools thoughtfully and strategically, you can create a well-organized and efficient workspace within your Craftsman tool chest. This will save you time, reduce frustration, and enhance your overall productivity.
Read more: How To Repair Craftsman Tool Chest Drawer
Labeling and Identifying Tools
In addition to organizing your tools physically within your Craftsman tool chest, labeling and identifying your tools can further enhance the efficiency and ease of use in your workspace. Proper labeling ensures that you can quickly identify and locate the specific tools you need, saving you time and frustration.
There are several ways to label and identify your tools:
- Tool Name Labels: Use adhesive labels to clearly mark the name or type of each tool. Place the labels directly on the tool or on the corresponding organizer or drawer to easily identify and locate the tool you need at a glance. This is particularly useful for tools that may have similar appearances or sizes.
- Color-Coding: Assign a specific color to each tool category or type. For example, you can use green labels for screwdrivers, red labels for wrenches, and so on. This creates visual cues that make it easier to quickly locate the desired tool based on its color, particularly if you have a large tool collection.
- Markers or Paint Pens: If labeling individual tools is not practical or desired, you can use markers or paint pens to add colored or coded marks on the handles or other visible parts of the tools. This allows you to quickly identify the tools without the need for separate labels.
- Etching or Engraving: For more permanent identification, consider etching or engraving your tools with your name, initials, or a unique identifier. This can help prevent loss or theft of your tools, particularly if you work in a shared or communal workspace.
When labeling tools, use clear and legible handwriting or printing. Ensure that the labels are securely attached and won’t easily come off. If using markers or paint pens, choose colors or symbols that are easily recognizable and distinct from each other.
Additionally, consider creating a master inventory or catalog of your tools. This can be a physical or digital list that includes the names, descriptions, and locations of each tool. This inventory can serve as a quick reference guide when searching for specific tools.
Regularly update your labels and inventory as you acquire new tools or make changes to your organization system. This helps maintain accuracy and ensures that your labeling system remains up to date and effective.
By labeling and identifying your tools, you can easily locate and retrieve the right tools when you need them. This streamlines your workflow, reduces downtime, and enhances the overall organization and functionality of your Craftsman tool chest.
Maintaining and Updating your Tool Chest
Maintaining and updating your Craftsman tool chest is essential to ensure its longevity and the effectiveness of your organization system. Regular maintenance and updates will keep your tools in good condition, maximize storage space, and adapt to any changes in your tool collection or workflow.
Here are some key practices to consider for maintaining and updating your tool chest:
- Clean and Inspect: Regularly clean your tool chest to remove any dust, debris, or grease that may accumulate. This will help prevent damage to your tools and maintain a clean and organized workspace. Inspect your tools for any signs of wear, damage, or missing parts, and make any necessary repairs or replacements.
- Organize Tool Storage: As you use your tools, ensure that you are putting them back in their designated places. Regularly take the time to reorganize and re-sort any tools that may have been misplaced or mixed up. This will help maintain the integrity of your organization system and ensure that your tools are always easily accessible.
- Update Dividers and Organizers: Periodically reevaluate your dividers and organizers to ensure that they are still meeting your needs. If you have acquired new tools or changed your workflow, you may need to adjust or add new dividers or organizers to accommodate these changes.
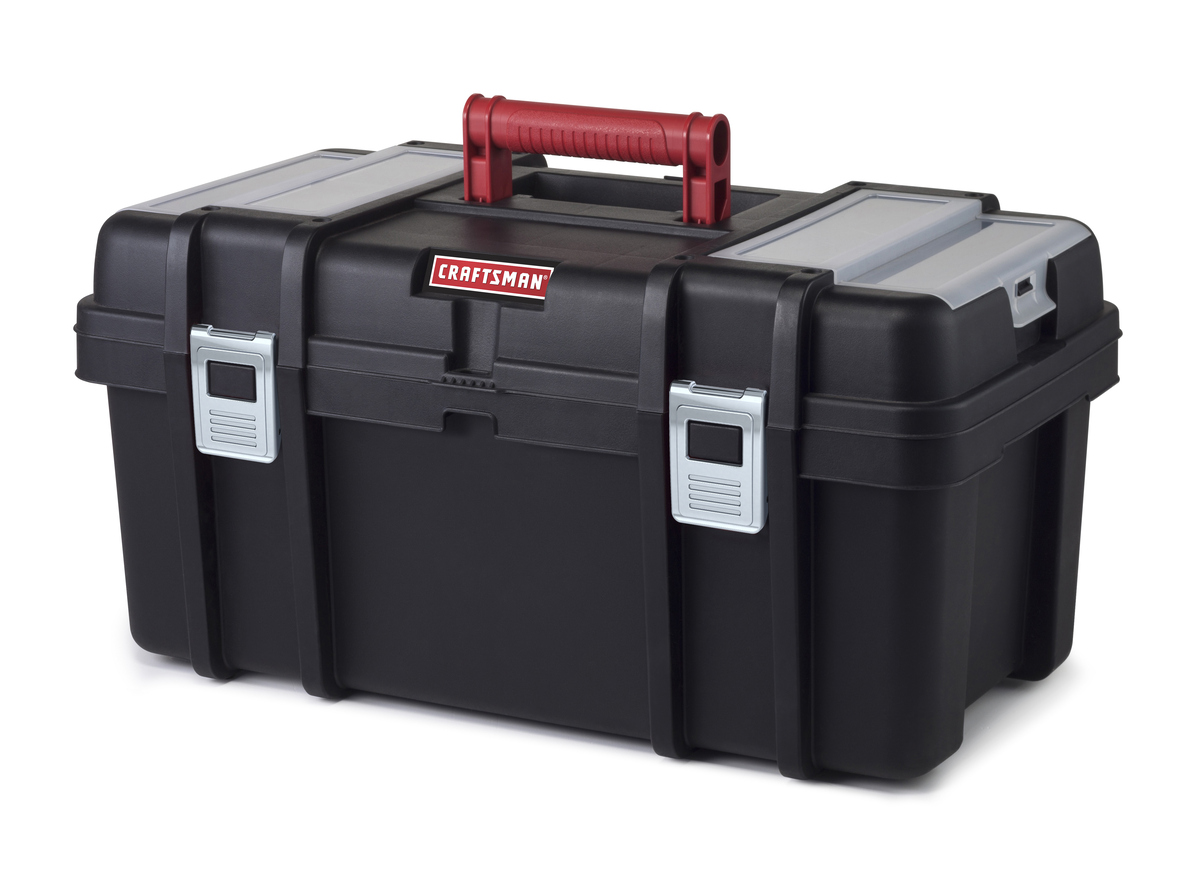
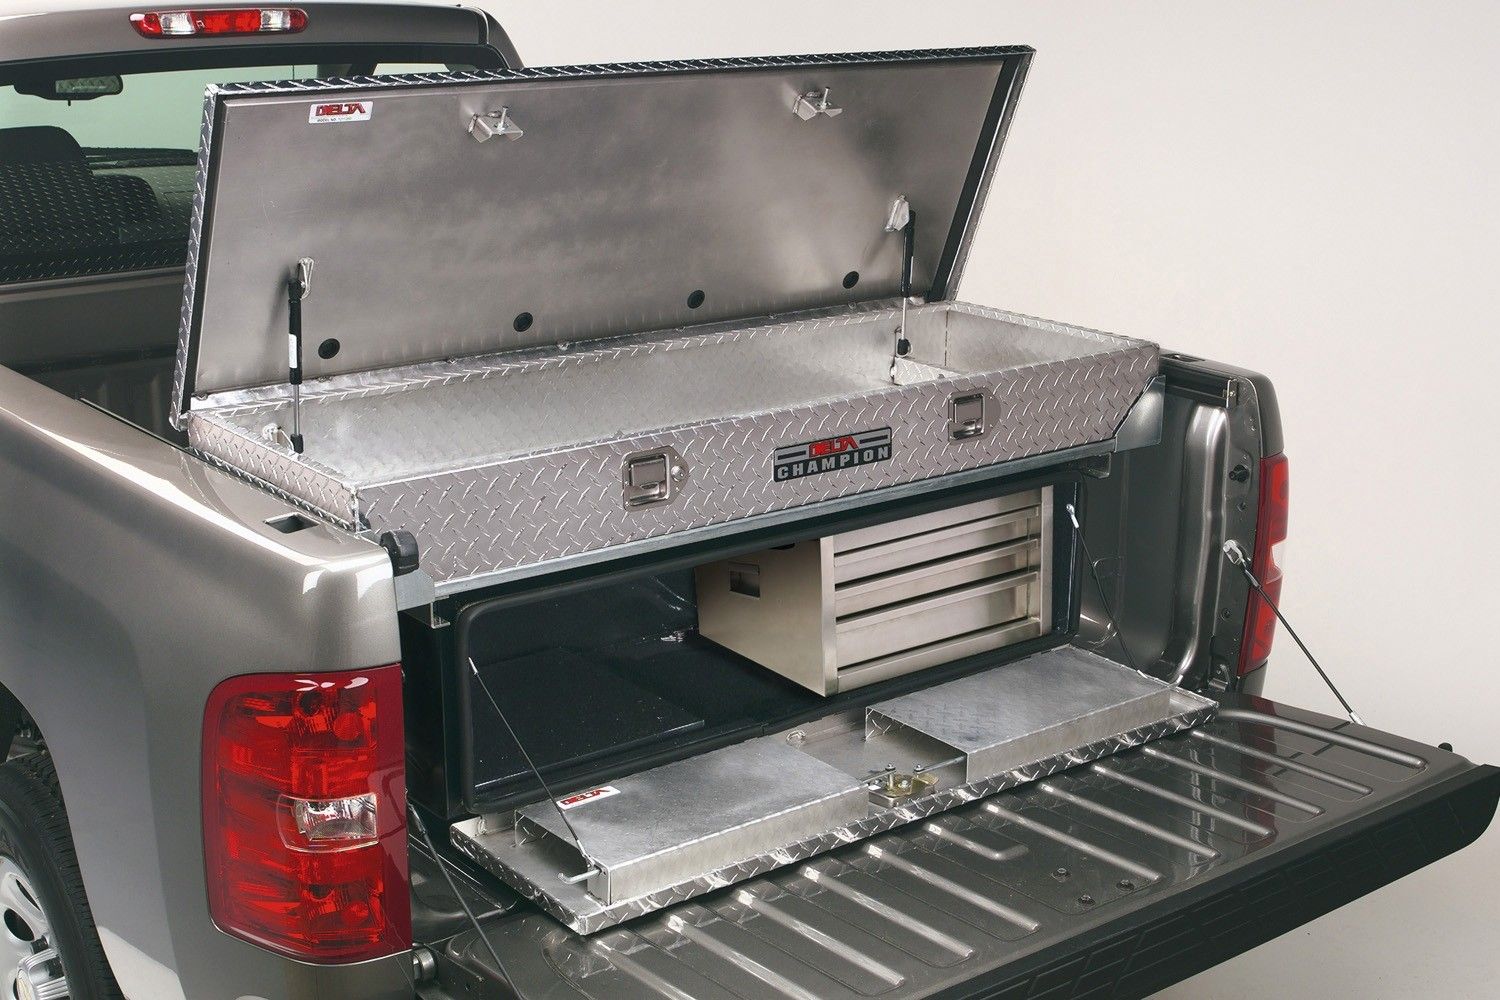
- Consider Additional Storage Solutions: If you find that your Craftsman tool chest is reaching its capacity, consider investing in additional storage solutions, such as tool cabinets, wall-mounted shelves, or portable tool boxes. These can provide extra space for storing tools and help you maintain an organized workspace.
- Review and Update Inventory: Regularly revisit and update your tool inventory or catalog. Add new tools and remove any that you no longer own. This will help you keep track of your tool collection and ensure that your inventory list remains accurate.
- Stay Organized: Stay disciplined in maintaining the organization of your tool chest. Continually reinforce the habit of returning tools to their assigned places after use. This will help prevent clutter and ensure that you can easily locate tools when you need them.
Regularly dedicating time to maintain and update your tool chest will not only keep your workspace clean and organized but also prolong the lifespan of your tools. It will save you time and frustration in the long run and enhance your overall efficiency and productivity.
Remember, organizing your tool chest is an ongoing process. As your needs and collection evolve, you may need to make changes and adjustments to your organization system. Stay open to improvements and remain adaptable to ensure that your tool chest continues to meet your needs effectively.
Conclusion
Organizing your Craftsman tool chest is a crucial step in creating a functional and efficient workspace. By taking the time to assess your tool storage needs, sort and categorize your tools, choose the right organizers and dividers, arrange your tools thoughtfully, and label and identify them appropriately, you can transform your tool chest into a well-organized and easily accessible storage solution.
Maintaining and updating your tool chest is equally important to ensure its longevity and effectiveness. Regularly cleaning, inspecting, and reorganizing your tools will help prevent damage, maintain the integrity of your organization system, and optimize your storage space. Additionally, staying disciplined in returning tools to their designated places and updating your inventory will support a clutter-free and efficient workspace.
A well-organized tool chest not only saves you time by allowing you to quickly locate and retrieve the right tools, but it also protects your tools and prolongs their lifespan. By implementing the strategies and practices outlined in this article, you can enhance your productivity, reduce frustration, and create an environment that promotes a seamless and enjoyable work experience.
Remember, organizing your tool chest is a continuous process. As your tool collection grows and changes, or as your workflow evolves, be open to making adjustments and improvements to your organization system. By maintaining a proactive and adaptable approach, you can ensure that your tool chest remains an efficient and reliable resource for your projects.
So, go ahead and apply these tips to organize your Craftsman tool chest. Enjoy the benefits of a well-organized workspace and streamline your work processes. With a neatly organized tool chest, you’ll be ready to tackle any project that comes your way with ease and efficiency.
Now that you've got the scoop on organizing your Craftsman tool chest, why stop there? Your garage might just be the next goldmine for space and efficiency. Dive into our article on unique garage organization ideas that transform cluttered spaces into well-oiled machines. You'll find smart, unexpected strategies for turning chaos into order, ensuring every tool and accessory has its place.
Frequently Asked Questions about How To Organize My Craftsman Tool Chest
Was this page helpful?
At Storables.com, we guarantee accurate and reliable information. Our content, validated by Expert Board Contributors, is crafted following stringent Editorial Policies. We're committed to providing you with well-researched, expert-backed insights for all your informational needs.


0 thoughts on “How To Organize My Craftsman Tool Chest”