Articles
How To Repair Craftsman Tool Chest Drawer
Modified: August 28, 2024
Looking for articles on how to repair your Craftsman tool chest drawer? Find step-by-step instructions and expert tips in this comprehensive guide.
(Many of the links in this article redirect to a specific reviewed product. Your purchase of these products through affiliate links helps to generate commission for Storables.com, at no extra cost. Learn more)
Introduction
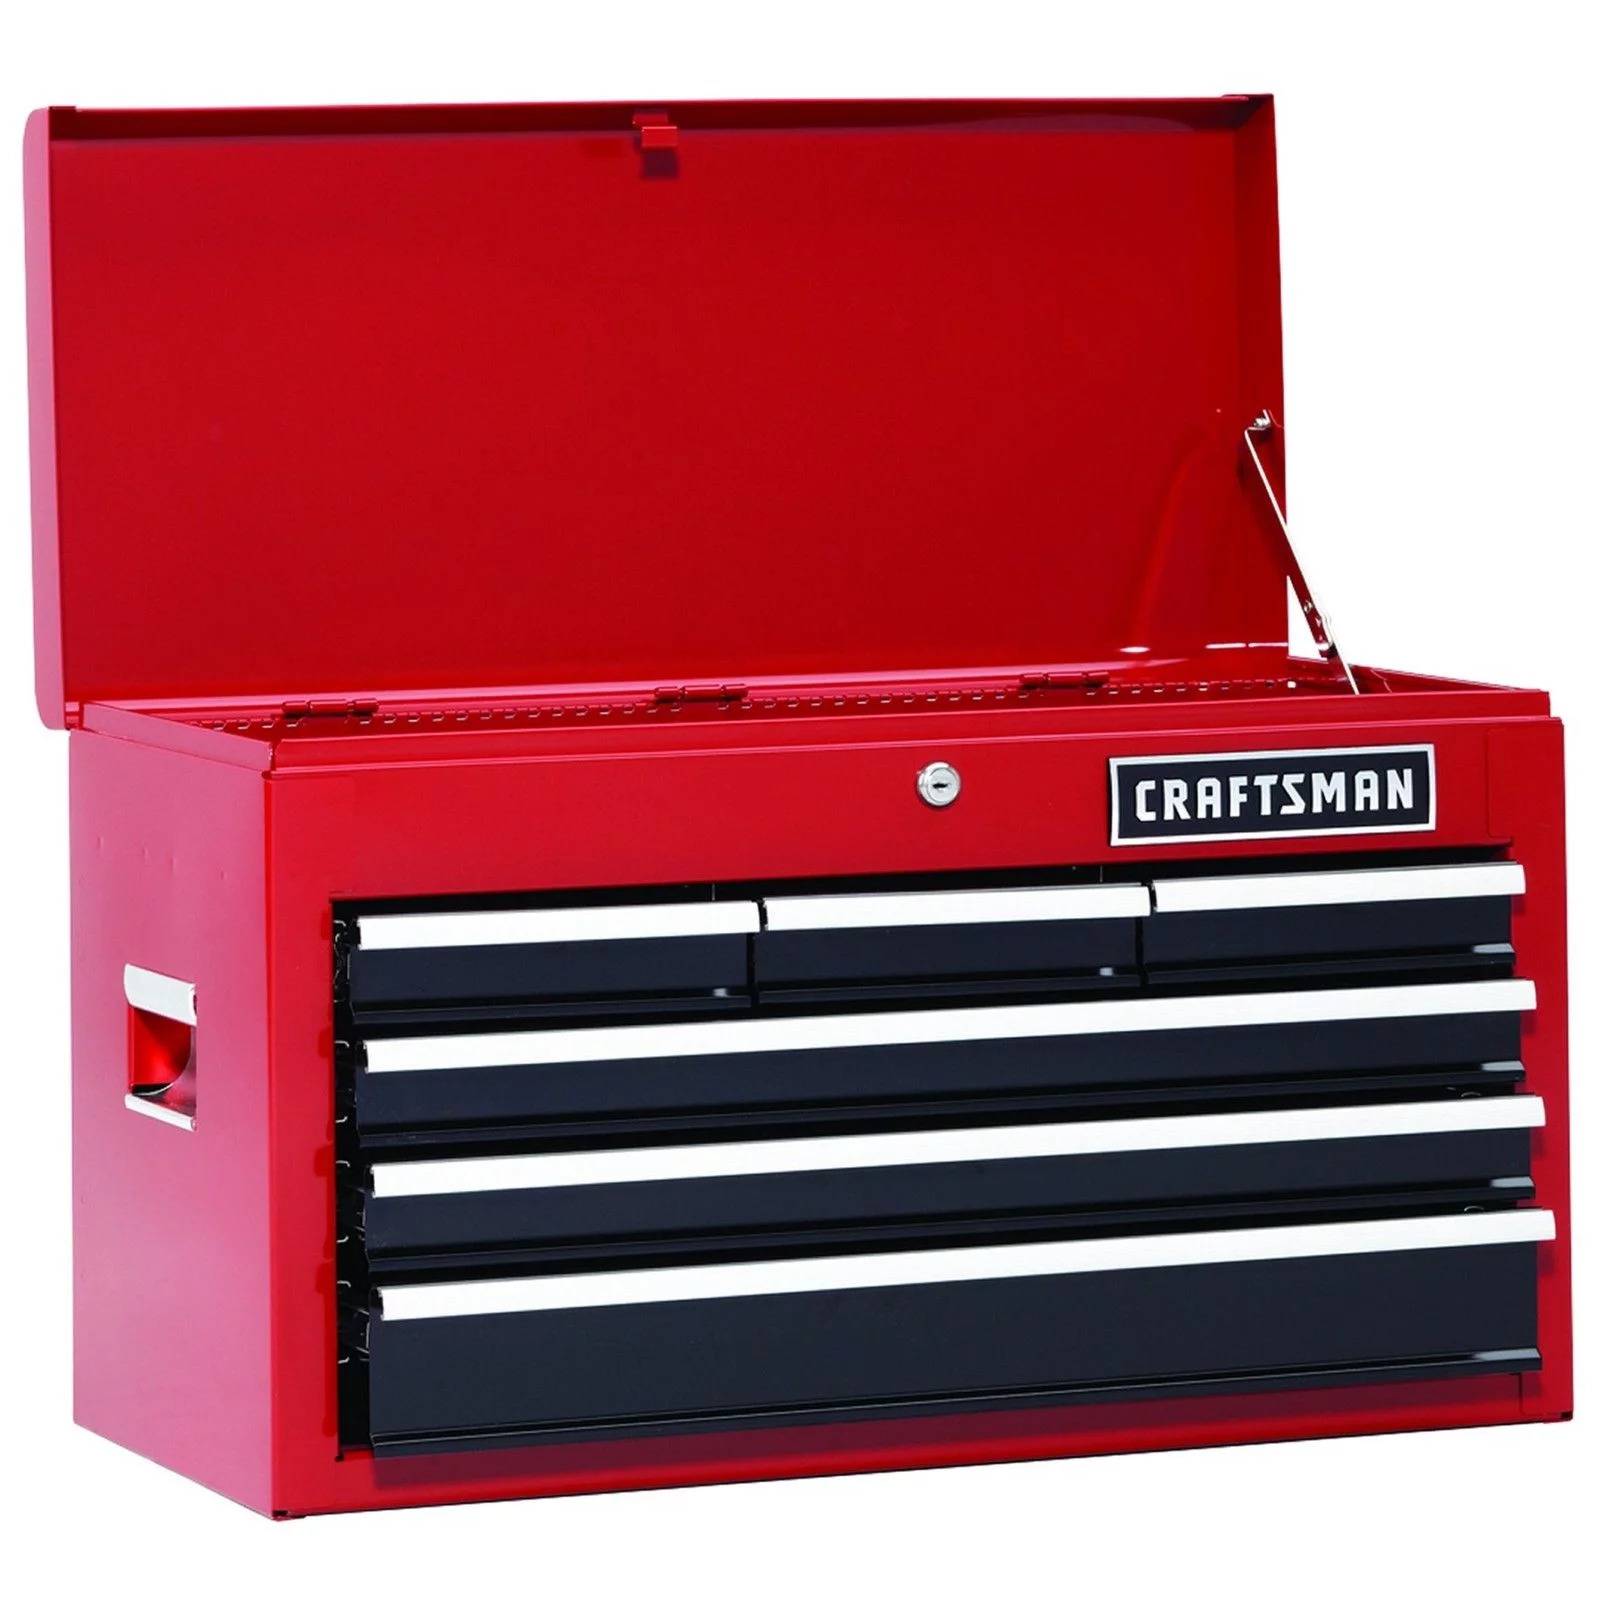
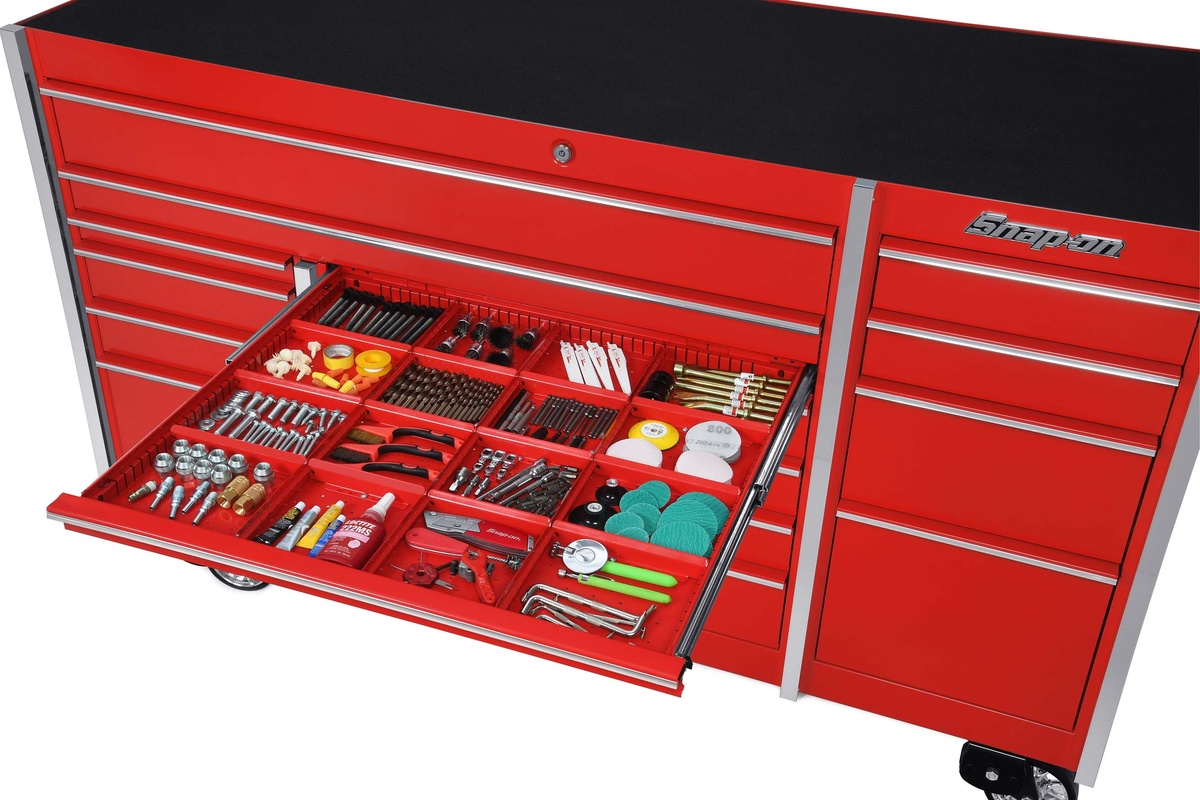
Welcome to our comprehensive guide on how to repair a Craftsman tool chest drawer. Craftsman tool chests are known for their durability and longevity, but over time, drawers may become damaged or dysfunctional. Whether it’s a broken slide, loose corners, or a damaged bottom, we’ll walk you through step-by-step instructions on how to restore your tool chest drawer to its original functionality.
Before we begin, it’s important to gather the necessary tools and materials to successfully complete the repair. Having the right equipment on hand will make the process smoother and more efficient. Let’s take a look at what you’ll need:
Key Takeaways:
- Repairing a Craftsman tool chest drawer involves assessing damage, replacing or repairing drawer slides, fixing broken corners, and reinforcing the drawer bottom. Proper maintenance ensures longevity and functionality of the drawer.
- Gathering the right tools and materials is crucial for a successful repair. Step-by-step instructions, from removing the drawer to reassembly, ensure a smooth and efficient repair process. Regular maintenance is essential for prolonged use.
Read more: How To Remove Drawer Craftsman Tool Chest
Tools and Materials Needed
- Phillips screwdriver
- Flathead screwdriver
- Hammer
- Pliers
- Replacement drawer slides (if needed)
- Wood glue
- Clamps
- Sandpaper
- Replacement screws or nails
Now that you have everything ready, let’s dive into the step-by-step process of repairing your Craftsman tool chest drawer.
Key Takeaways:
- Repairing a Craftsman tool chest drawer involves assessing damage, replacing or repairing drawer slides, fixing broken corners, and reinforcing the drawer bottom. Proper maintenance ensures longevity and functionality of the drawer.
- Gathering the right tools and materials is crucial for a successful repair. Step-by-step instructions, from removing the drawer to reassembly, ensure a smooth and efficient repair process. Regular maintenance is essential for prolonged use.
Read more: How To Remove Drawer Craftsman Tool Chest
Tools and Materials Needed
Before you begin the repair process, it’s important to gather all the necessary tools and materials. Having these on hand will ensure a smoother and more efficient repair job. Here’s a list of what you’ll need:
Tools:
- Phillips screwdriver: This will be used to remove screws and fasteners from the drawer.
- Flathead screwdriver: You may need this to pry open or remove certain components.
- Hammer: A hammer will come in handy for any repair work that requires pounding or tapping.
- Pliers: These will be useful for gripping and holding small parts.
- Utility knife: A utility knife can be used to cut and trim materials during the repair process.
- Power drill: If you need to replace any screws, a power drill will make the job quicker and easier.
- Clamps: Clamps are essential for holding parts together while the glue dries.
- Sandpaper: You’ll need sandpaper to smooth any rough surfaces and ensure a seamless finish.
Materials:
- Replacement drawer slides: If your drawer slides are broken or damaged, you’ll need to replace them. Make sure to choose slides that are compatible with your Craftsman tool chest.
- Wood glue: This will be necessary for repairing any broken or loose drawer corners.
- Wood filler: If there are any gaps or holes in the drawer, wood filler can be used to fill them in before sanding and painting.
- Touch-up paint: To restore the aesthetic appearance of the drawer, you may need touch-up paint that matches the original color.
- Replacement screws or nails: If any screws or nails are missing or damaged, you’ll need to have suitable replacements on hand.
Having all these tools and materials ready will save you time and hassle during the repair process. Now that you’re prepared, let’s move on to the step-by-step instructions for repairing your Craftsman tool chest drawer.
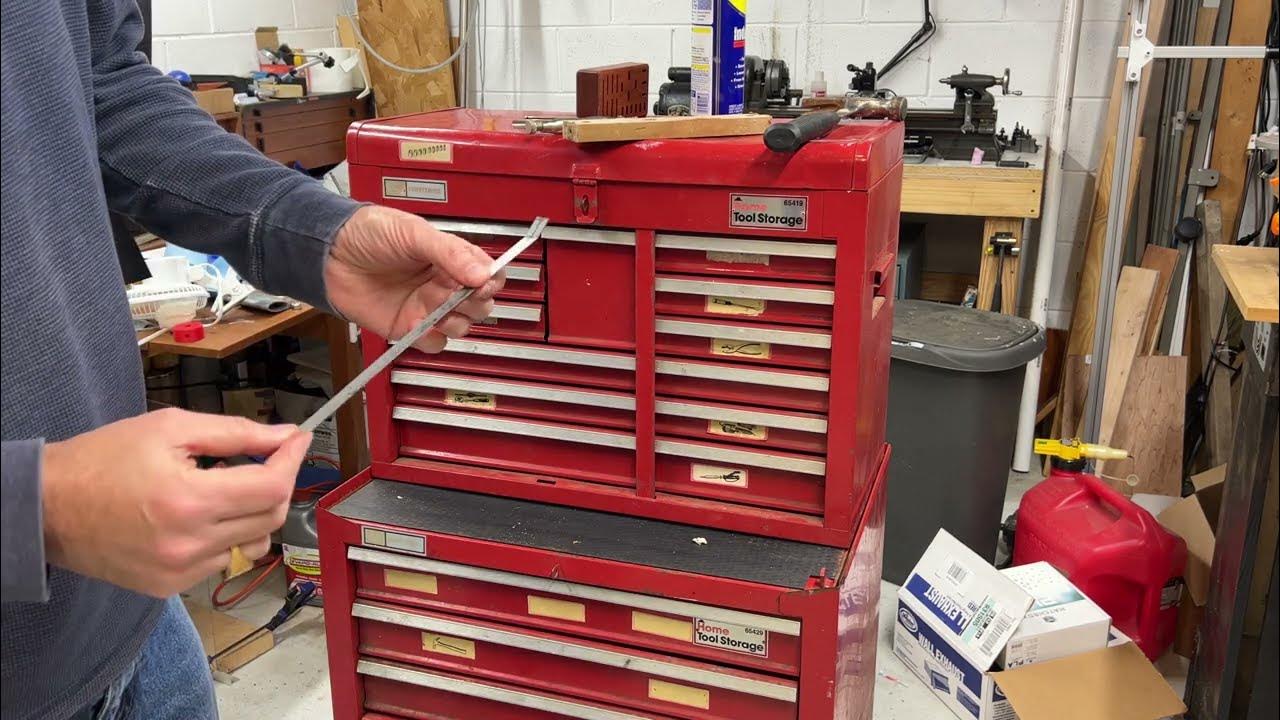
Step 1: Remove the Drawer
The first step in repairing your Craftsman tool chest drawer is to remove it from the chest. Follow these simple steps to safely and effectively remove the drawer:
- Empty the drawer: Before removing the drawer, make sure to empty it of all its contents. This will make it lighter and easier to work with.
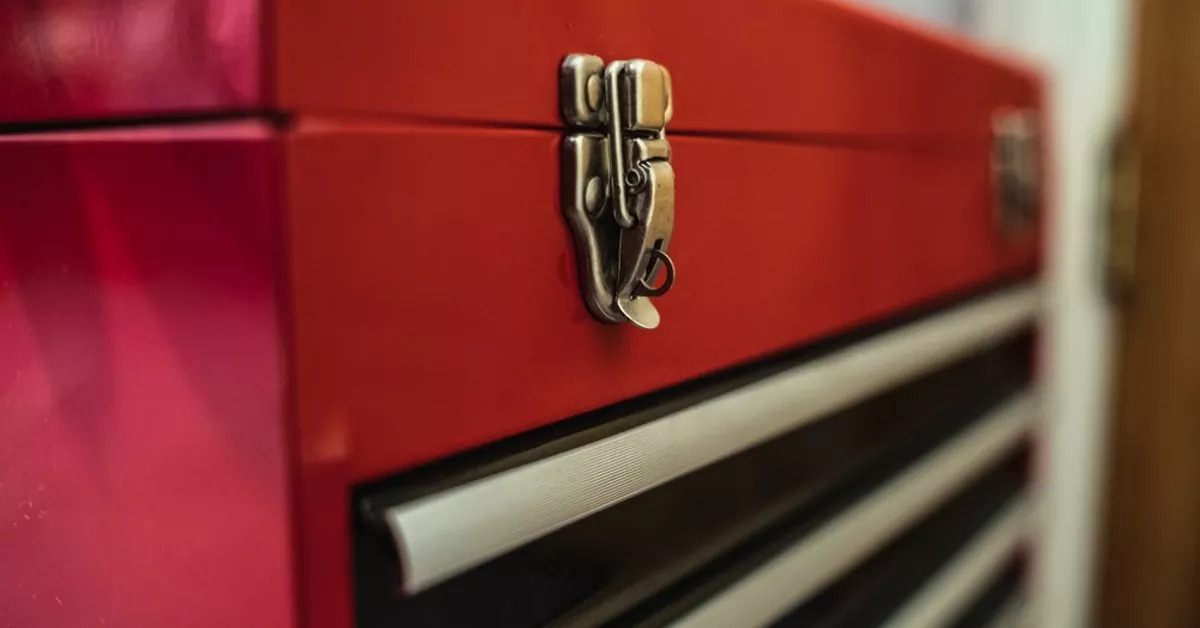
- Locate the release mechanism: Craftsman tool chest drawers are typically equipped with a release mechanism that allows for easy removal. Look for a small lever or button near the drawer slides or handles.
- Engage the release mechanism: Once you’ve located the release mechanism, engage it by pressing the lever or button. This will disengage the drawer from the slides and allow you to pull it out.
- Apply gentle pressure: With the release mechanism engaged, apply gentle pressure to the front of the drawer and pull it outwards. Be careful not to force it or yank it out too forcefully, as this can cause damage.
- Remove the drawer completely: Continue pulling the drawer out until it is fully removed from the chest. Set it aside in a safe and secure location.
By following these steps, you should be able to remove the drawer from your Craftsman tool chest without any issues. Once the drawer is removed, you can proceed to the next step of assessing the damage.
Step 2: Assess the Damage
After removing the drawer from your Craftsman tool chest, the next step is to assess the damage. This will help you determine the extent of the repair that is needed. Here are some common issues to look out for:
Broken or Damaged Drawer Slides:
Inspect the drawer slides to see if they are broken, bent, or no longer functioning properly. If the slides are damaged, they may need to be replaced with new ones.
Loose or Broken Drawer Corners:
Check the corners of the drawer to see if any are loose, cracked, or broken. This is a common issue that can be repaired with wood glue and clamps.
Worn or Damaged Drawer Bottom:
Examine the drawer bottom for any signs of wear, damage, or deterioration. If the bottom is weak or falling apart, it may need to be repaired or replaced.
Other Damage or Issues:
Inspect the drawer for any other visible damage, such as chipped edges, gaps, or missing hardware. Take note of any additional repairs that may be necessary.
By carefully assessing the damage, you’ll have a clear understanding of what needs to be repaired. This will guide you in the next steps of the repair process, whether it involves replacing drawer slides, fixing loose corners, repairing the drawer bottom, or addressing any other issues that were identified.
Once you have assessed the damage, you can move on to the specific repair steps required to restore your Craftsman tool chest drawer to its full functionality. Remember, take your time and be thorough in your assessment to ensure the best possible repair outcome.
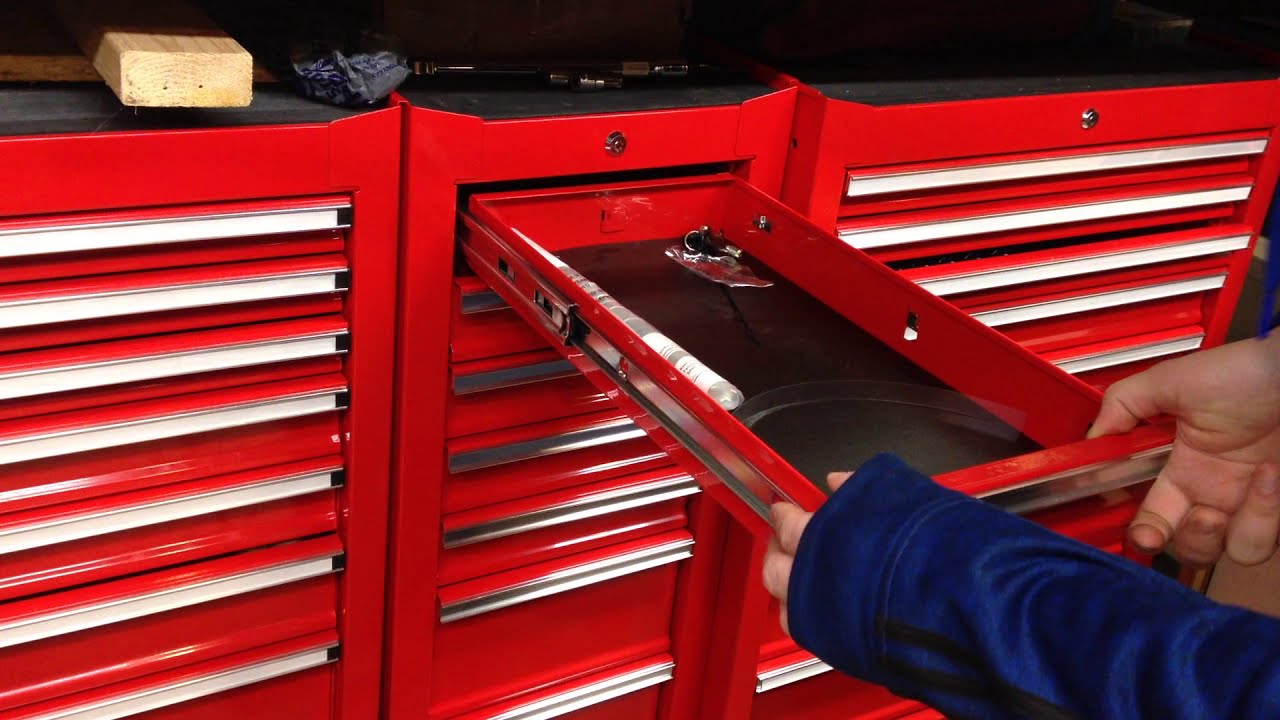
Step 3: Replace or Repair the Drawer Slides
The drawer slides are a crucial component of your Craftsman tool chest drawer, as they allow it to open and close smoothly. If the slides are broken, bent, or no longer functioning properly, they will need to be replaced. Here’s how you can replace or repair the drawer slides:
Replacing the Drawer Slides:
- Measure the existing slides: Start by measuring the length and width of the existing drawer slides. This will help you find suitable replacement slides that fit properly.
- Obtain replacement slides: Visit your local home improvement store or check online for replacement drawer slides that match the measurements you took. Ensure that they are compatible with Craftsman tool chests.
- Remove the old slides: Use a screwdriver to remove the screws that hold the old slides in place. Carefully detach them from the drawer and the chest.
- Install the new slides: Align the new slides with the existing holes in the drawer and the chest. Secure them in place using screws. Make sure they are securely attached and operate smoothly.
Read more: How To Put Wheels On A Craftsman Tool Chest
Repairing the Drawer Slides:
- Inspect the slides: If the slides are not completely broken but are just loose or misaligned, you may be able to repair them instead of replacing them. Examine them to identify the source of the issue.
- Tighten loose screws: If the slides are loose due to loose screws, use a screwdriver to tighten them. This may solve the problem and restore the functionality of the slides.
- Adjust slide alignment: If the slides are misaligned, you can try adjusting them to ensure they are properly aligned. Loosen the screws, adjust the slides, and then tighten the screws again.
- Apply lubrication: If the slides are sticking or not sliding smoothly, applying a silicone-based lubricant can help. Apply a small amount of lubricant to the slides and test the movement of the drawer.
Whether you choose to replace or repair the drawer slides will depend on the extent of the damage. Replacement is often the best solution for severely damaged or non-functional slides, while repair can be effective for minor issues. Assess the condition of your slides and proceed accordingly to restore the smooth operation of your Craftsman tool chest drawer.
Once the drawer slides are repaired or replaced, you can move on to the next steps in repairing your Craftsman tool chest drawer, addressing other potential issues such as broken or loose corners.
Step 4: Fixing Broken or Loose Drawer Corners
If you’ve noticed broken or loose corners on your Craftsman tool chest drawer, it’s important to address this issue promptly to ensure the structural integrity of the drawer. Here’s a step-by-step guide on how to fix broken or loose drawer corners:
- Remove the drawer front: Start by removing the drawer front to gain better access to the corners. Use a screwdriver to remove any screws or fasteners that hold the front in place.
- Clean the corners: Thoroughly clean the corners of the drawer to remove any dirt, dust, or debris. This will ensure a proper bond for the repair.
- Apply wood glue: Apply a generous amount of wood glue to the broken or loose corners. Make sure to spread the glue evenly and fully cover the damaged areas.
- Reposition the corners: Gently press the broken or loose corners back into their proper position. Hold them firmly together for a few minutes to allow the glue to set.
- Use clamps: If the corners are severely damaged or require extra support, you can use clamps to hold them together while the glue dries. Place the clamps at the corners and tighten them until a secure bond is achieved.
- Allow the glue to dry: Follow the manufacturer’s instructions for the wood glue regarding the drying time. Typically, it takes a few hours for the glue to fully dry and cure.
- Sand and touch up: Once the glue is completely dry, use sandpaper to smooth any rough edges or excess glue. Touch up the repaired area with matching paint or stain, if necessary, to restore the appearance of the drawer.
- Reattach the drawer front: Finally, reattach the drawer front using the screws or fasteners that were removed in the first step. Make sure it is securely attached and aligns properly with the rest of the drawer.
By following these steps, you can effectively fix any broken or loose corners on your Craftsman tool chest drawer. This repair will help maintain the stability and durability of the drawer, ensuring it can withstand the weight of your tools and resist further damage.
Once you have successfully fixed the corners, you can move on to addressing any other potential issues with the drawer, such as repairing the drawer bottom if needed.
Step 5: Repairing the Drawer Bottom
If you’ve noticed any damage or weakness in the drawer bottom of your Craftsman tool chest, it’s crucial to address it to maintain the functionality of the drawer. Here’s a step-by-step guide on how to repair the drawer bottom:
- Remove the drawer: Start by removing the drawer from the chest following the instructions provided in Step 1.
- Assess the damage: Examine the drawer bottom to identify the extent of the damage. Look for any cracks, splits, or weak areas.
- Repair small cracks or splits: For minor cracks or splits, you can use wood glue to repair them. Apply wood glue to the damaged areas, making sure to spread it evenly. Press the cracks or splits together and wipe off any excess glue. Use clamps to hold the pieces together while the glue dries.
- Replace damaged sections: If the damage to the drawer bottom is more severe or widespread, you may need to replace the entire section. Measure the dimensions of the damaged area and cut a new piece of sturdy plywood or MDF to fit. Remove the damaged section and attach the new piece using wood glue and screws.
- Reinforce weak areas: If the drawer bottom is weak or sagging, you can reinforce it by attaching additional support. Cut strips of wood or metal and secure them to the underside of the drawer bottom using screws or adhesive. This will provide extra strength and durability.
- Sand and finish: Once the repairs are complete, use sandpaper to smooth any rough edges or surfaces. Wipe away any dust and apply a finish or paint if desired, matching the rest of the drawer.
By following these steps, you can effectively repair the drawer bottom of your Craftsman tool chest. This will help ensure that the drawer can support the weight of your tools and withstand regular use without further damage or weakening.
Once the drawer bottom is repaired, you can proceed to reassembling the drawer, which we’ll cover in the next step.
Step 6: Reassemble the Drawer
Now that you have completed all the necessary repairs and fixes on your Craftsman tool chest drawer, it’s time to reassemble it. Follow these step-by-step instructions to ensure a smooth and successful reassembly:
- Clean the drawer: Before reassembling, take a moment to clean the drawer thoroughly. Remove any dirt, dust, or debris that may have accumulated during the repair process.
- Reattach the drawer bottom: If you had to replace or repair the drawer bottom, make sure it is securely attached to the rest of the drawer using screws, nails, or adhesive as needed.
- Insert the drawer slides: If you replaced the drawer slides, insert them into their respective slots on both sides of the drawer. Make sure they are aligned and sliding smoothly.
- Reinsert the drawer: Carefully slide the drawer back into the tool chest, aligning it with the slides. Push it in until it is fully seated and the release mechanism engages.
- Test the drawer: Open and close the drawer several times to ensure that it moves smoothly along the slides and the release mechanism functions properly. Make any necessary adjustments if needed.
- Reattach the drawer front: If you had to remove the drawer front, reattach it using the screws or fasteners. Ensure that it is aligned properly and securely attached to the front of the drawer.
- Organize and arrange the tools: Once the drawer is fully assembled, take the opportunity to organize and arrange your tools inside. This will ensure that everything is in its proper place for easy access.
By following these steps, you can successfully reassemble your Craftsman tool chest drawer after completing all the necessary repairs. Take the time to test the functionality of the drawer and make any final adjustments as needed. Once everything is in place, you can now enjoy a fully functional and restored tool chest drawer.
Remember, regular maintenance and care are important to ensure the longevity of your tool chest. Keep an eye out for any signs of wear or damage and address them promptly to prevent further issues. With proper care, your Craftsman tool chest can continue to serve you well for years to come.
Thank you for following our guide, and we hope it has been helpful in repairing your Craftsman tool chest drawer!
When repairing a Craftsman tool chest drawer, start by removing the drawer and inspecting the slides for any damage. Clean and lubricate the slides, and replace any damaged parts as needed.
Read more: How To Lock A Craftsman Tool Chest
Conclusion
Congratulations! You have successfully repaired your Craftsman tool chest drawer using our comprehensive guide. By following the step-by-step instructions, you were able to address common issues such as broken slides, loose corners, damaged drawer bottoms, and more. Your tool chest drawer is now restored to its original functionality, ready to hold and organize your valuable tools.
Remember, proper maintenance and care are essential to prolong the lifespan of your Craftsman tool chest drawer. Regularly inspecting for any signs of wear or damage and addressing them promptly will help prevent further issues and ensure that your drawer continues to serve you well.
We hope that this guide has provided you with the knowledge and confidence to tackle future repairs on your Craftsman tool chest and other similar projects. By following the recommended steps and using the right tools and materials, you can extend the lifespan of your tools and keep your workspace organized and efficient.
Thank you for using our guide and taking the time to repair your Craftsman tool chest drawer. We hope it has been a valuable resource for you. If you have any questions or need further assistance, do not hesitate to reach out to us. Happy repairing!
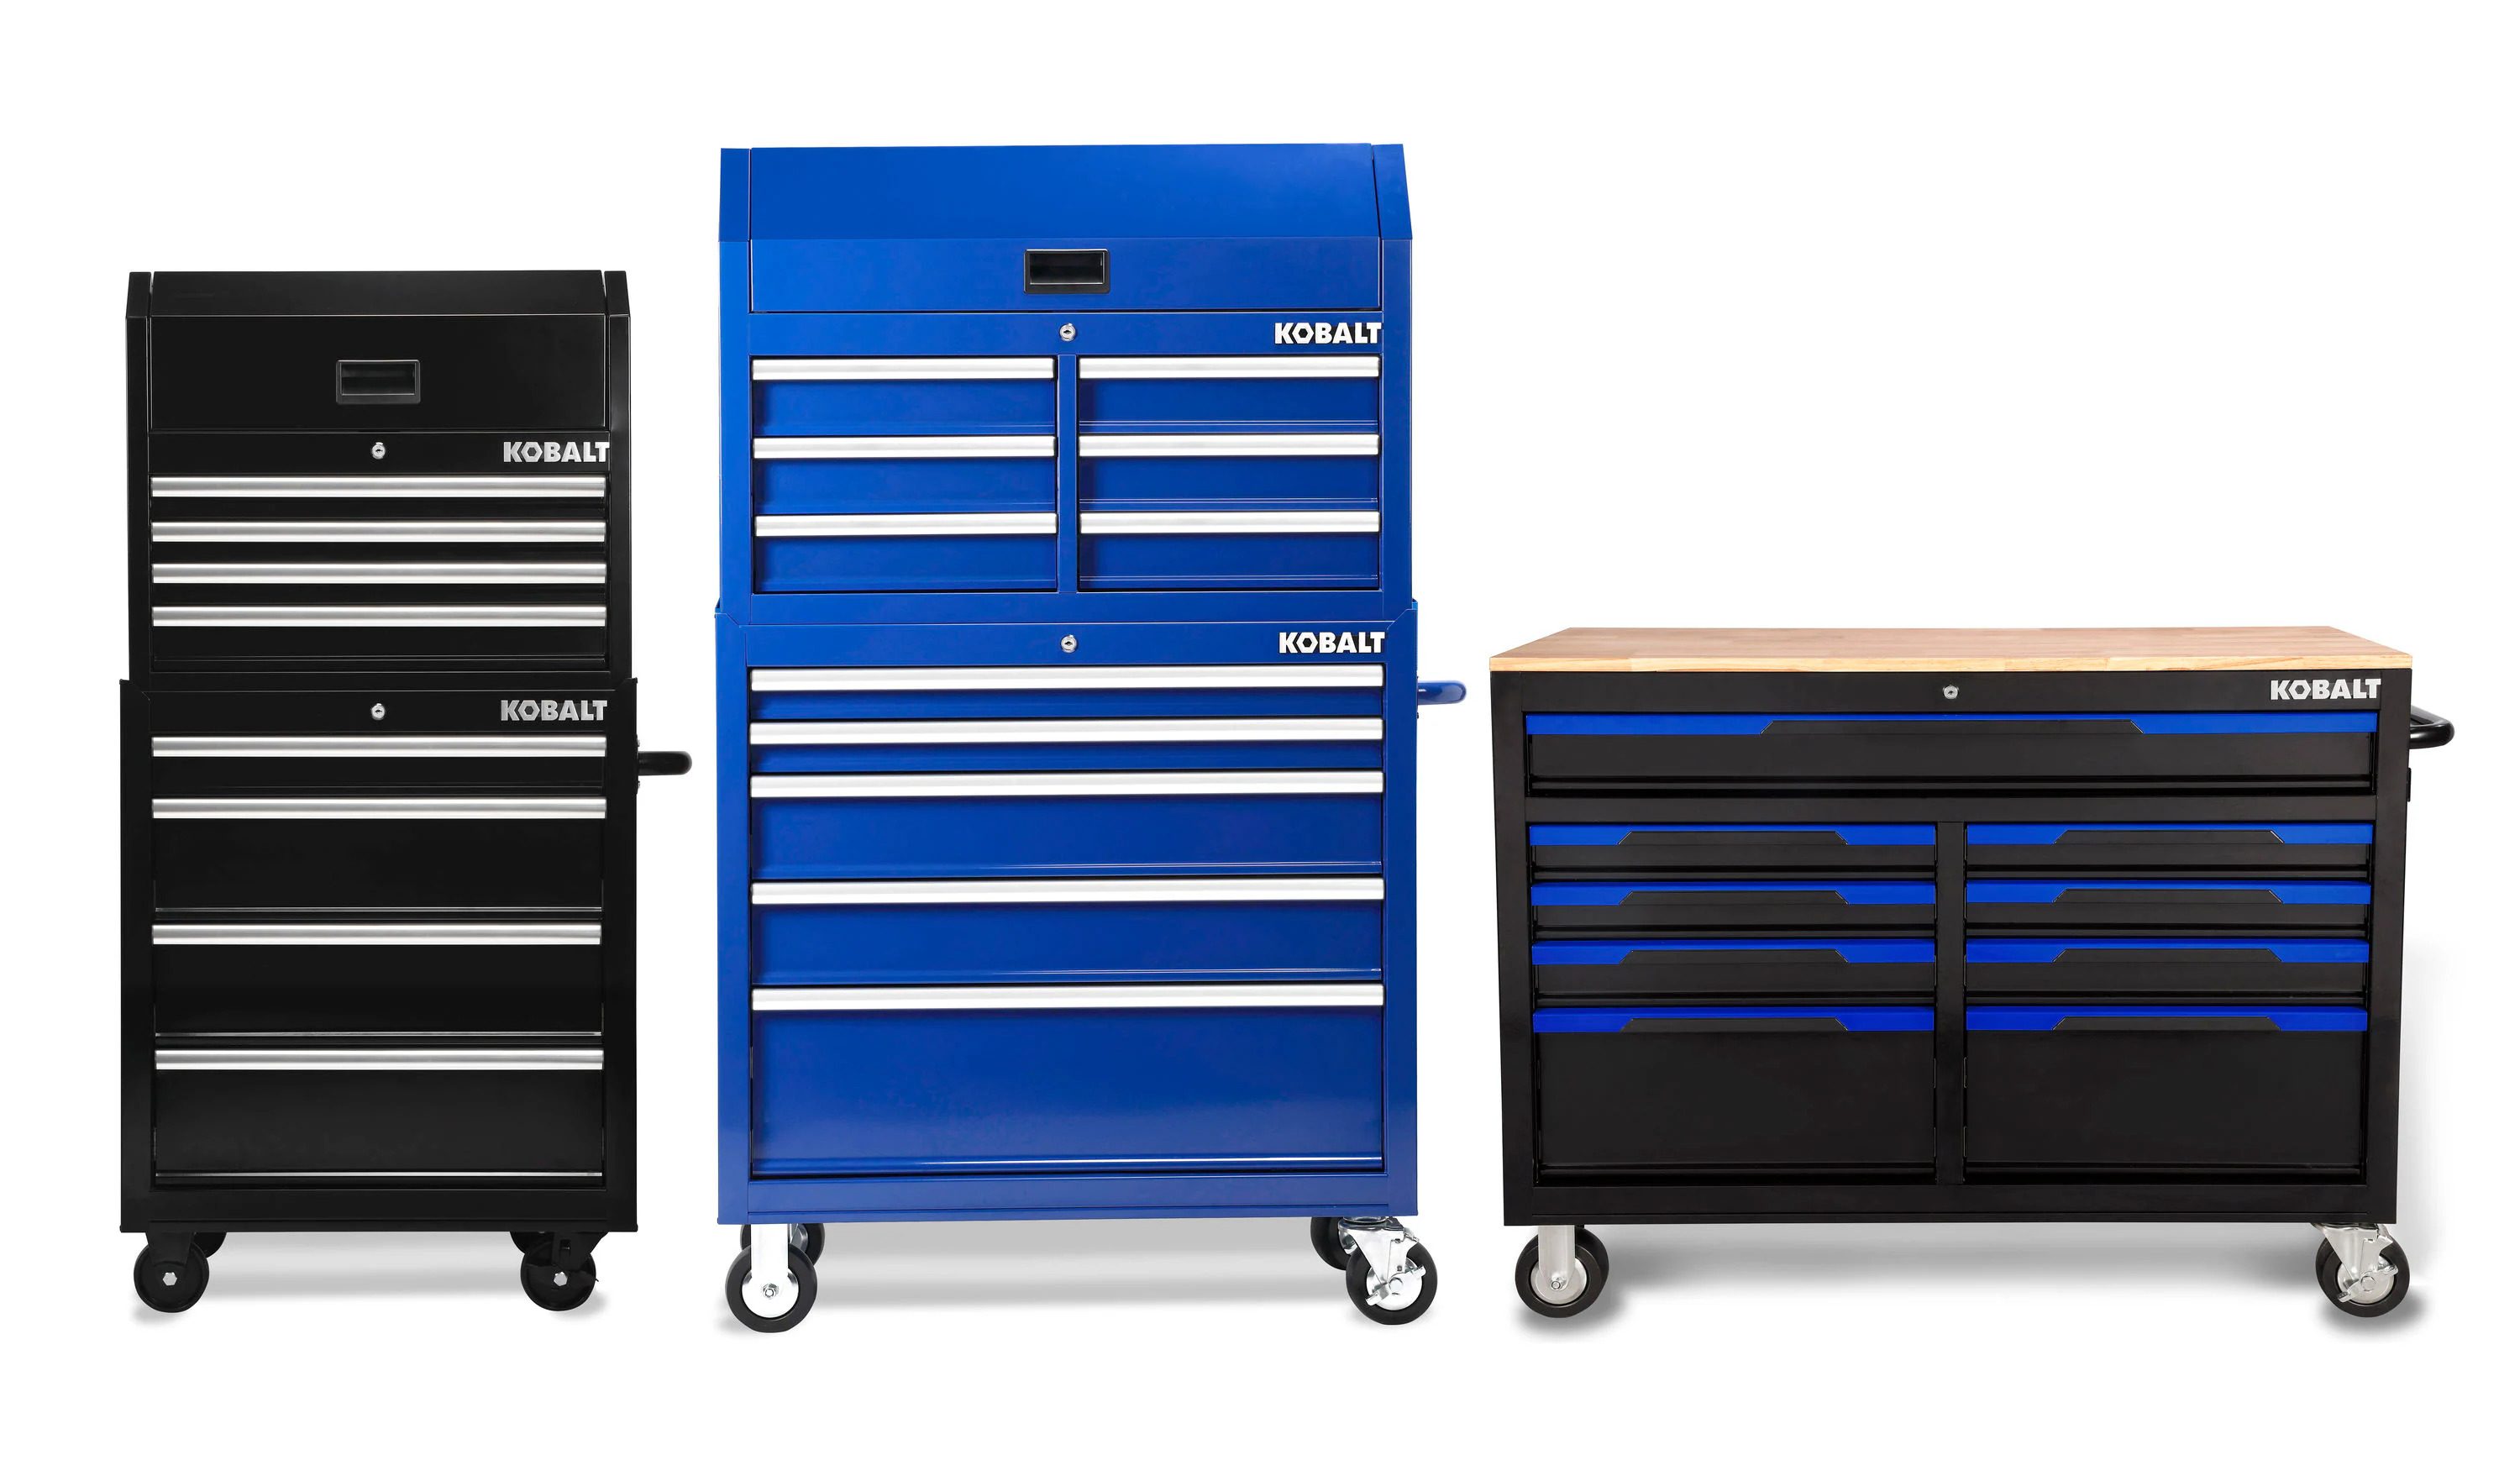
Now that you've mastered drawer repair, why not upgrade your entire tool organization system? Our detailed guide on tool storage solutions covers the latest and most efficient ways to keep your gear in perfect order. From portable cases to sturdy cabinets, find options that fit every craftsman's needs. Dive into our article on the best tool storage for a clutter-free workspace and streamline your projects like never before!
Frequently Asked Questions about How To Repair Craftsman Tool Chest Drawer
Was this page helpful?
At Storables.com, we guarantee accurate and reliable information. Our content, validated by Expert Board Contributors, is crafted following stringent Editorial Policies. We're committed to providing you with well-researched, expert-backed insights for all your informational needs.


0 thoughts on “How To Repair Craftsman Tool Chest Drawer”