Articles
How To Remove Drawer Craftsman Tool Chest
Modified: August 28, 2024
Learn the step-by-step process to remove the drawer from your Craftsman tool chest with this comprehensive article. Master the art of organizing your tools efficiently!
(Many of the links in this article redirect to a specific reviewed product. Your purchase of these products through affiliate links helps to generate commission for Storables.com, at no extra cost. Learn more)
Introduction
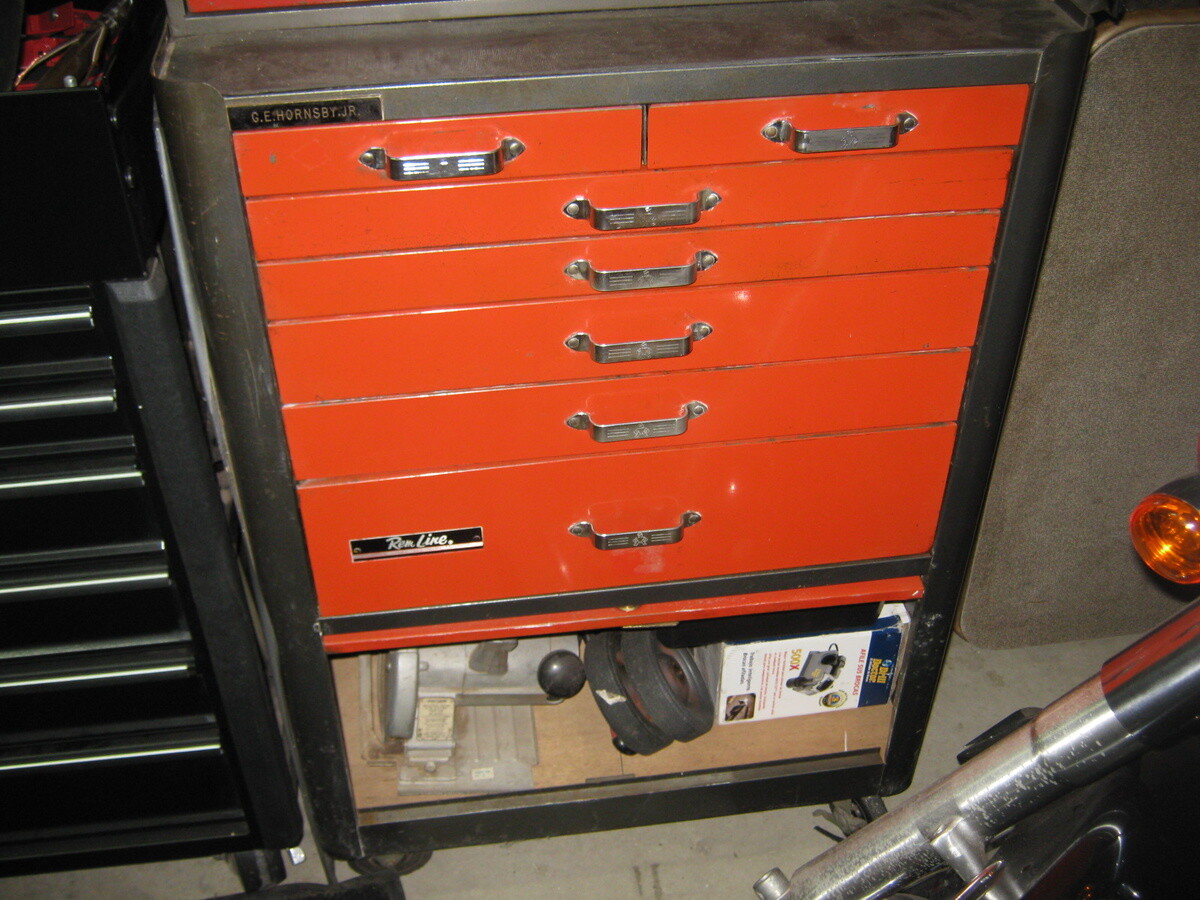
A Craftsman tool chest is a valuable storage solution for organizing and protecting your tools. Over time, however, you may find yourself needing to remove a drawer from your Craftsman tool chest for various reasons. Whether you need to repair a drawer slide, clean out debris, or simply reorganize your tools, knowing how to safely remove a drawer from your tool chest is essential.
In this article, we will guide you through the step-by-step process of removing a drawer from your Craftsman tool chest. We will also highlight important safety precautions to ensure that you carry out the task without any accidents or damage to your tool chest or tools.
Before we begin, please remember to wear appropriate safety gear, such as gloves and safety glasses, to protect yourself from any potential hazards. Now, let’s get started on removing the drawer from your Craftsman tool chest!
Key Takeaways:
- Safely removing a drawer from your Craftsman tool chest requires proper tools, safety precautions, and step-by-step guidance to prevent accidents and ensure efficient reassembly.
- Prioritize safety, gather necessary tools, and follow step-by-step instructions to successfully remove, repair, and reassemble drawers in your Craftsman tool chest for better tool management and accessibility.
Safety Precautions
When removing a drawer from your Craftsman tool chest, it’s important to prioritize safety. Here are some essential safety precautions to keep in mind:
- Wear protective gear: Before starting the process, make sure you have the appropriate protective gear, such as gloves and safety glasses. This will help protect your hands and eyes from any potential injuries.
- Clear the area: Remove any obstacles or debris from around the tool chest and the area where you’ll be working. This will provide you with a safe and clutter-free workspace.
- Use proper lifting techniques: Drawers in a tool chest can be heavy, especially when filled with tools. Avoid straining your back by using proper lifting techniques. Bend your knees and lift with your legs, keeping your back straight.
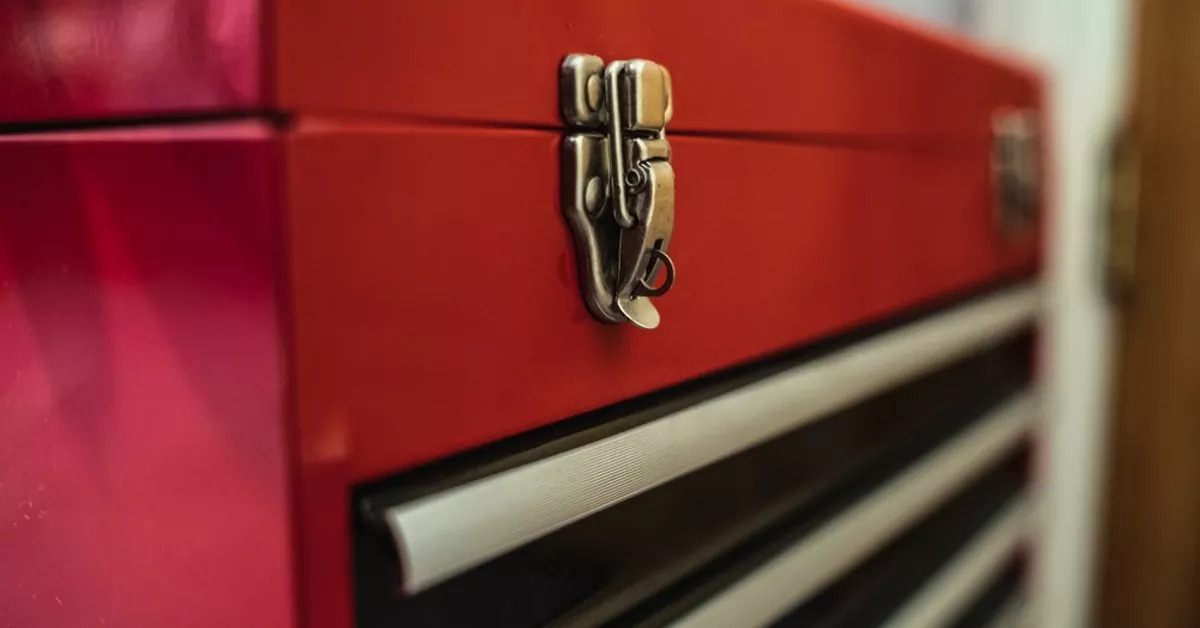
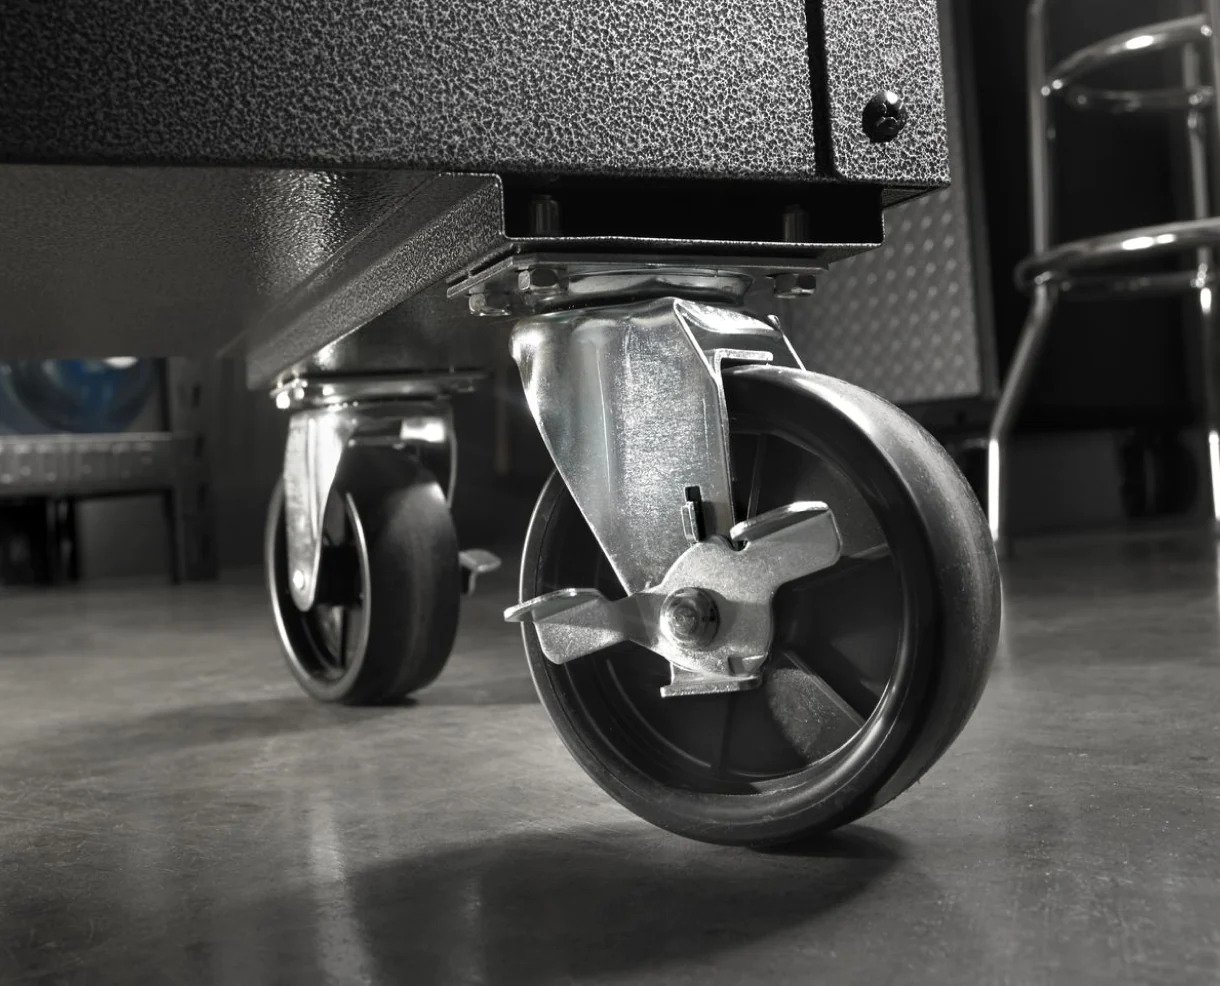
- Secure the tool chest: Before removing any drawer, ensure that the tool chest is stable and won’t tip over. If necessary, place the tool chest against a wall or use clamps to secure it in place.
- Work in a well-lit area: Adequate lighting is crucial to ensure that you can see what you’re doing. Make sure you have enough light to effectively remove the drawer without any accidents.
- Be mindful of fragile items: If your drawer contains delicate or sharp tools, exercise caution when handling them. Avoid dropping or mishandling them to prevent injuries or damage.
By following these safety precautions, you can minimize the risk of accidents and injuries while removing a drawer from your Craftsman tool chest. It’s always better to prioritize safety and take your time than to rush through the process and potentially get hurt. Now that we’ve covered the safety aspects, let’s move on to the tools you’ll need to complete this task effectively.
Required Tools
Before you start removing a drawer from your Craftsman tool chest, gather the following tools:
- Screwdriver: A screwdriver is essential for loosening any screws or fasteners that may be holding the drawer slides in place.
- Allen wrench: Depending on the model of your Craftsman tool chest, you may need an Allen wrench to remove certain screws or bolts.
- Adjustable wrench: An adjustable wrench may be required to loosen or tighten any nuts or bolts holding the drawer slides or front panel in place.
- Socket set: If your Craftsman tool chest is equipped with bolts or screws that require a socket, make sure to have the appropriate socket set on hand.
- Rubber mallet: A rubber mallet can be useful for gently tapping and loosening any stuck drawer slides or panels, without causing damage.
- Lint-free cloth: You may need a lint-free cloth to wipe down the drawer slides or remove any debris before reassembling the tool chest.
Having these tools readily available will ensure that you are prepared to remove the drawer from your Craftsman tool chest efficiently and safely. Once you have gathered all the necessary tools, proceed to the next steps to begin the removal process.
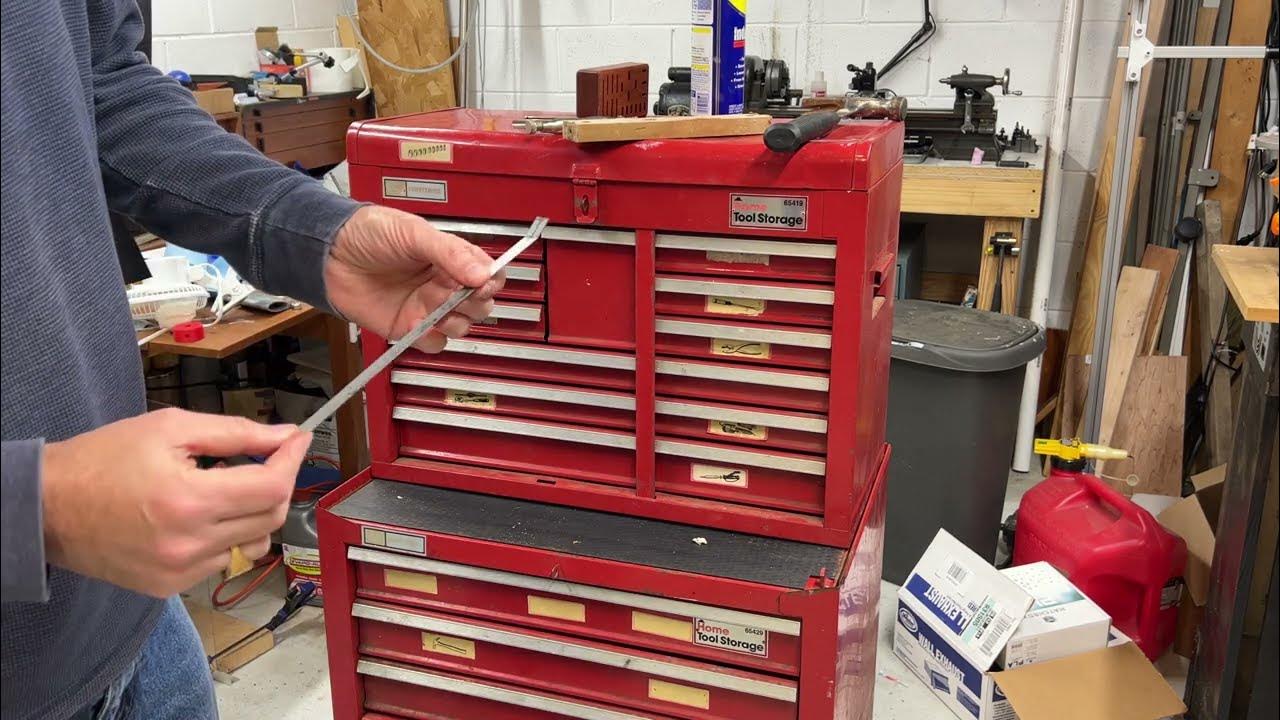
Step 1: Emptying the Drawer
Before you can remove a drawer from your Craftsman tool chest, it’s essential to empty its contents. Removing all tools and accessories from the drawer will make it lighter and easier to handle. It will also prevent any damage or accidents that may occur if tools were to fall out during the removal process.
Follow these steps to empty the drawer:
- Identify the drawer you want to remove: Take a moment to identify the specific drawer you wish to remove from your Craftsman tool chest. This will help you focus on the correct drawer during the emptying process.
- Remove all tools and accessories: Carefully lift each tool and accessory out of the drawer, placing them on a clean and safe surface. Take care to organize them in a way that will make it easy to put them back in the drawer when you are finished with the removal process.
- Check for loose items: While emptying the drawer, keep an eye out for any loose items that may have fallen to the bottom or behind the drawer. Remove these items and place them with the rest of your tools and accessories.
- Inspect the drawer for damage or debris: As you remove the contents, take a moment to inspect the drawer for any damage or debris. Clean out any dirt, dust, or debris using a lint-free cloth to ensure smooth operation when reinstalling the drawer later.
Once you have emptied the drawer and ensured the area is clean and free of loose items, you are ready to proceed to the next step: removing the drawer slides.
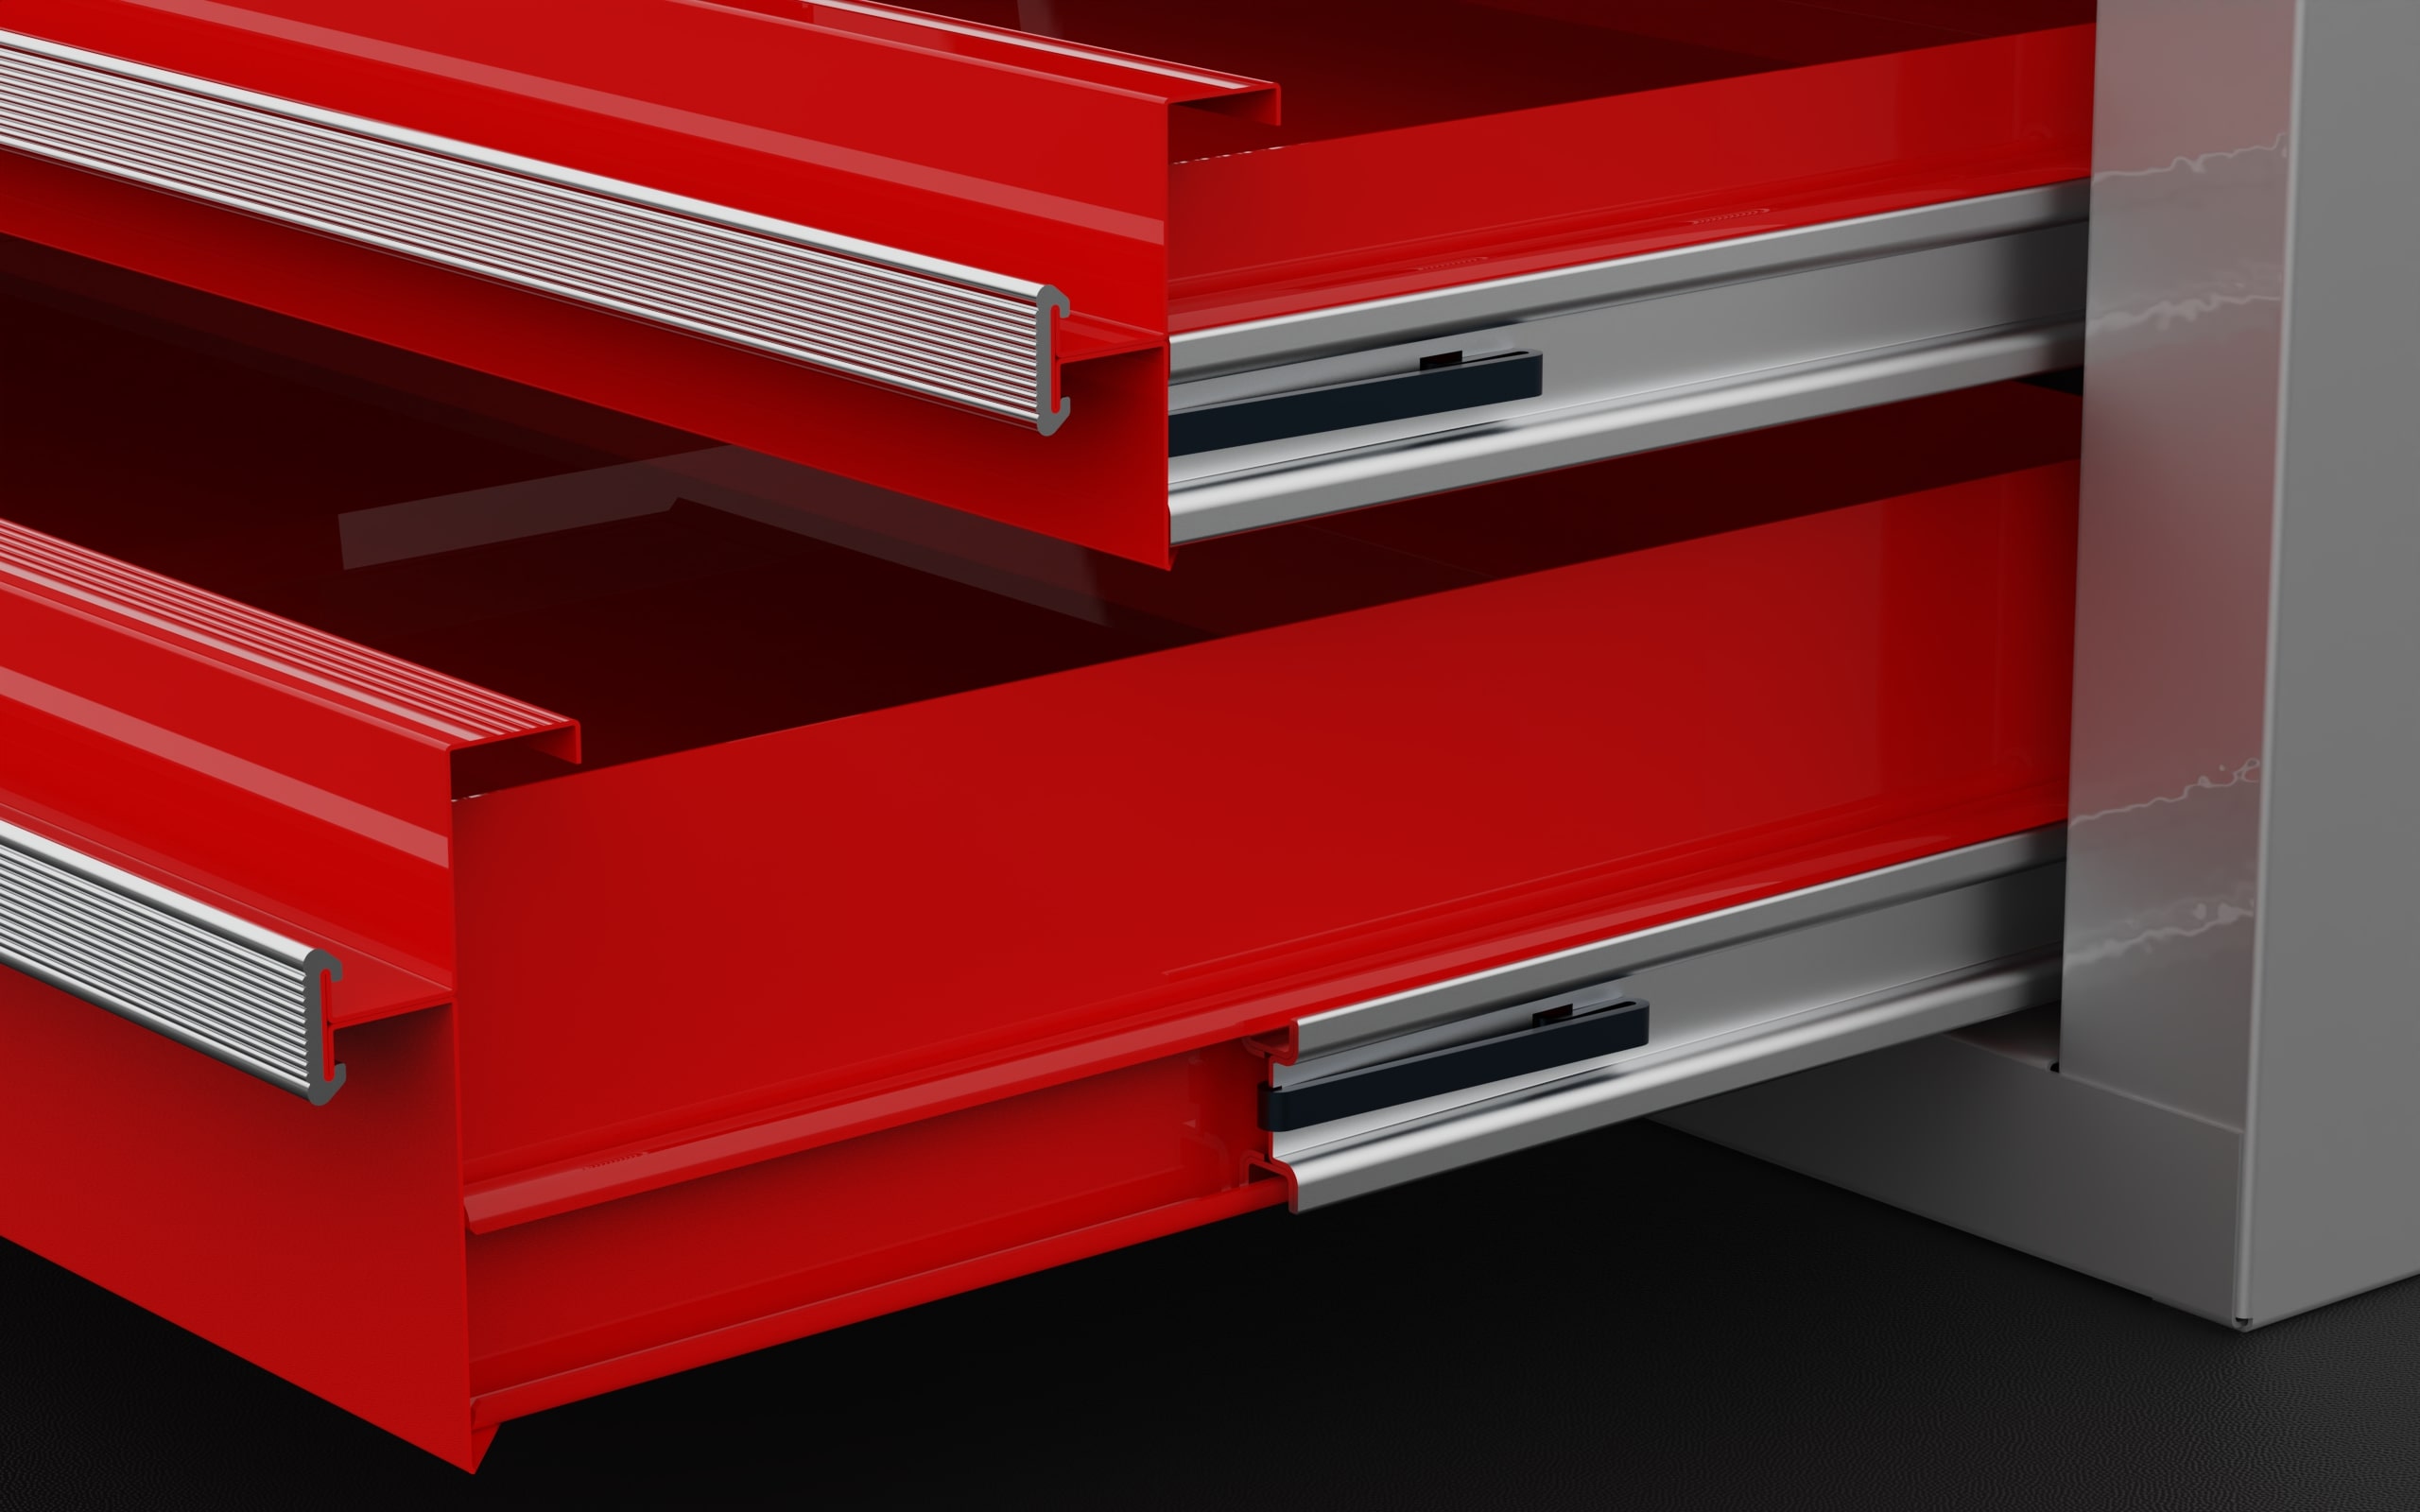
Step 2: Removing the Drawer Slides
After emptying the drawer, the next step is to remove the drawer slides. The drawer slides are the mechanisms that allow the drawer to slide in and out of the tool chest smoothly. Follow these steps to remove the drawer slides:
- Open the drawer fully: Pull the drawer out as far as it will go. This will give you better access to the drawer slides and make it easier to remove them.
- Locate the release levers or tabs: Look for the release levers or tabs on both sides of the drawer slides. These are usually located near the front or back ends of the slides.
- Depress the release levers or tabs: Press or depress the release levers or tabs simultaneously on both sides of the drawer slides. This action will release the slides from the drawer and allow them to be removed.
- Carefully remove the drawer slides: With the release levers or tabs depressed, gently lift the drawer slides out of their mounting brackets or tracks. Be cautious not to force or damage the slides in the process.
- Inspect the slides for damage: Take a moment to inspect the drawer slides for any signs of wear, damage, or debris. Clean the slides with a lint-free cloth and make any necessary repairs or replacements before reinstallation.
By following these steps, you will successfully remove the drawer slides from your Craftsman tool chest. Now that the slides are detached, you can proceed to the next step: detaching the drawer front.
When removing the drawer from a Craftsman tool chest, start by emptying the drawer and locating the release tabs or levers on the drawer slides. Depress these tabs or levers while pulling the drawer out to release it from the slides.
Step 3: Detaching the Drawer Front
Once you have removed the drawer slides, the next step is to detach the drawer front from the drawer itself. Detaching the drawer front will make it easier to remove the drawer from your Craftsman tool chest. Follow these steps to complete this task:
- Inspect the drawer front: Before proceeding, take a moment to examine the drawer front for any screws, bolts, or fasteners that may be holding it in place. These may vary depending on the model of your Craftsman tool chest.
- Locate and remove any screws or fasteners: Using a screwdriver or an appropriate tool, carefully remove any screws, bolts, or fasteners securing the drawer front. Pay attention to the positioning and number of screws to ensure the front is entirely detached.
- Gently separate the drawer front: Once the screws or fasteners are removed, gently separate the drawer front from the rest of the drawer. Take care not to apply too much force or twist the front, as it may cause damage.
- Set the drawer front aside: Place the detached drawer front in a safe and clean area where it won’t get scratched or damaged. You can wrap it in a cloth or set it on a soft surface.
With the drawer front detached, you’re ready to move on to the next step: removing the drawer from your Craftsman tool chest.
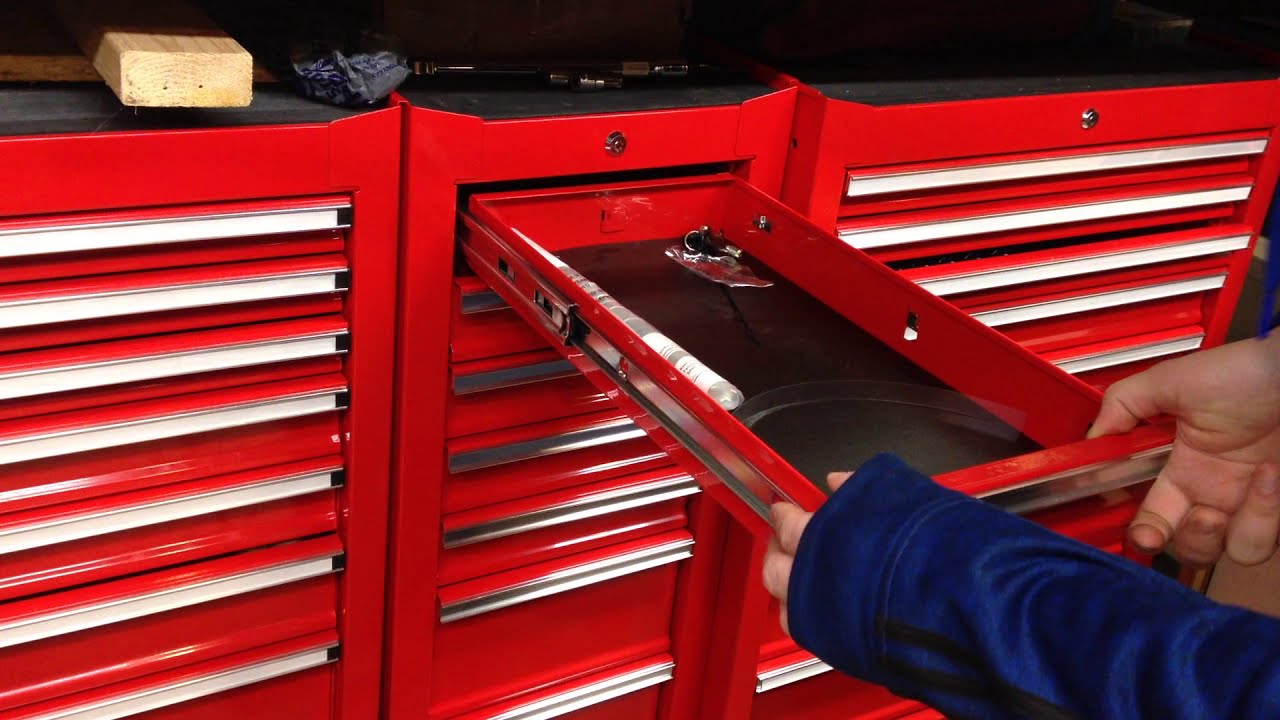
Step 4: Removing the Drawer from the Chest
Now that you have emptied the drawer, removed the drawer slides, and detached the drawer front, it’s time to remove the drawer itself from your Craftsman tool chest. Follow these steps to safely remove the drawer:
- Support the drawer: Place one hand underneath the front of the drawer and the other hand underneath the back to provide support and balance.
- Gently lift the drawer: Using both hands, lift the drawer slightly off the slides or tracks. Be careful not to tilt or twist the drawer as you lift it.
- Check for any obstructions: As you lift the drawer, check for any obstructions that may prevent it from fully clearing the tool chest. If you encounter any resistance, carefully inspect the area and remove any objects that may be blocking the way.
- Continue lifting the drawer: Once any obstructions are cleared, continue lifting the drawer straight up until it is completely out of the chest.
- Set the drawer aside: Carefully place the removed drawer in a safe and clean area where it won’t get damaged. Make sure to keep it upright to avoid any tools or accessories from falling out.
With the drawer successfully removed from your Craftsman tool chest, you can proceed to the final step: reassembling the tool chest.
Step 5: Reassembling the Tool Chest
After completing the necessary maintenance or reorganization tasks, it’s time to reassemble your Craftsman tool chest. Follow these steps to put everything back together:
- Position the drawer slides: Begin by positioning the drawer slides back into their respective mounting brackets or tracks inside the tool chest.
- Align the drawer front: Align the detached drawer front with the drawer, ensuring that it fits properly and lines up evenly.
- Secure the drawer front: Insert and tighten all the screws, bolts, or fasteners that you removed earlier to secure the drawer front in place. Use an appropriate tool to ensure a secure fit.
- Insert the drawer: Carefully slide the drawer back into the tool chest, ensuring that it glides smoothly and aligns with the drawer slides.
- Test the drawer: Open and close the drawer a few times to ensure that it operates smoothly and securely. Make any necessary adjustments if the drawer feels loose or misaligned.
- Reorganize your tools: Once the drawer is reassembled and functioning properly, you can start organizing your tools back into it. Take the opportunity to declutter, clean, and arrange your tools in a way that maximizes efficiency and accessibility.
By following these steps, you can successfully reassemble your Craftsman tool chest and have it ready for use again. Remember to take your time and ensure that all components are securely attached and aligned before placing your tools inside.
Conclusion
Removing a drawer from your Craftsman tool chest may seem like a daunting task, but with the right steps and tools, it can be done safely and efficiently. By following the step-by-step guide provided in this article, you can successfully remove a drawer from your tool chest, whether you need to repair a drawer slide, clean out debris, or reorganize your tools.
Before starting the process, always prioritize safety by wearing appropriate protective gear and ensuring a well-lit and clutter-free workspace. Take your time and be mindful of fragile items while emptying the drawer and removing the drawer slides.
Remember to inspect and clean the drawer front and slides before reassembling the tool chest. Securely attach the drawer slides and align the drawer front before inserting the drawer back into the chest. Then, take the opportunity to reorganize your tools in a way that maximizes efficiency.
By following these steps and taking the necessary precautions, you can successfully remove, repair, and reassemble drawers in your Craftsman tool chest, maintaining its functionality and organization. Whether you’re a professional tradesperson or a DIY enthusiast, knowing how to remove a drawer from your tool chest is a valuable skill that allows for better tool management and accessibility.
We hope this guide has been helpful in guiding you through the process of removing a drawer from your Craftsman tool chest. Remember to always prioritize safety and approach the task with patience and care. Now, go ahead and tackle your tool chest with confidence!
Now that you've mastered removing drawers from your Craftsman tool chest, why not elevate your workspace further? Discover our curated selection of tool storage solutions to keep every wrench and screwdriver in perfect order. For lovers of quality and durability, our review of Craftsman tool chests will guide you towards the best models to invest in for 2024. Both articles offer insights and tips to optimize your tool organization, ensuring you work smarter, not harder!
Frequently Asked Questions about How To Remove Drawer Craftsman Tool Chest
Was this page helpful?
At Storables.com, we guarantee accurate and reliable information. Our content, validated by Expert Board Contributors, is crafted following stringent Editorial Policies. We're committed to providing you with well-researched, expert-backed insights for all your informational needs.


0 thoughts on “How To Remove Drawer Craftsman Tool Chest”