Articles
How To Put Wheels On A Craftsman Tool Chest
Modified: August 28, 2024
Learn how to easily put wheels on your Craftsman tool chest with our step-by-step guide. Explore our collection of helpful articles and make your DIY projects even more convenient.
(Many of the links in this article redirect to a specific reviewed product. Your purchase of these products through affiliate links helps to generate commission for Storables.com, at no extra cost. Learn more)
Introduction
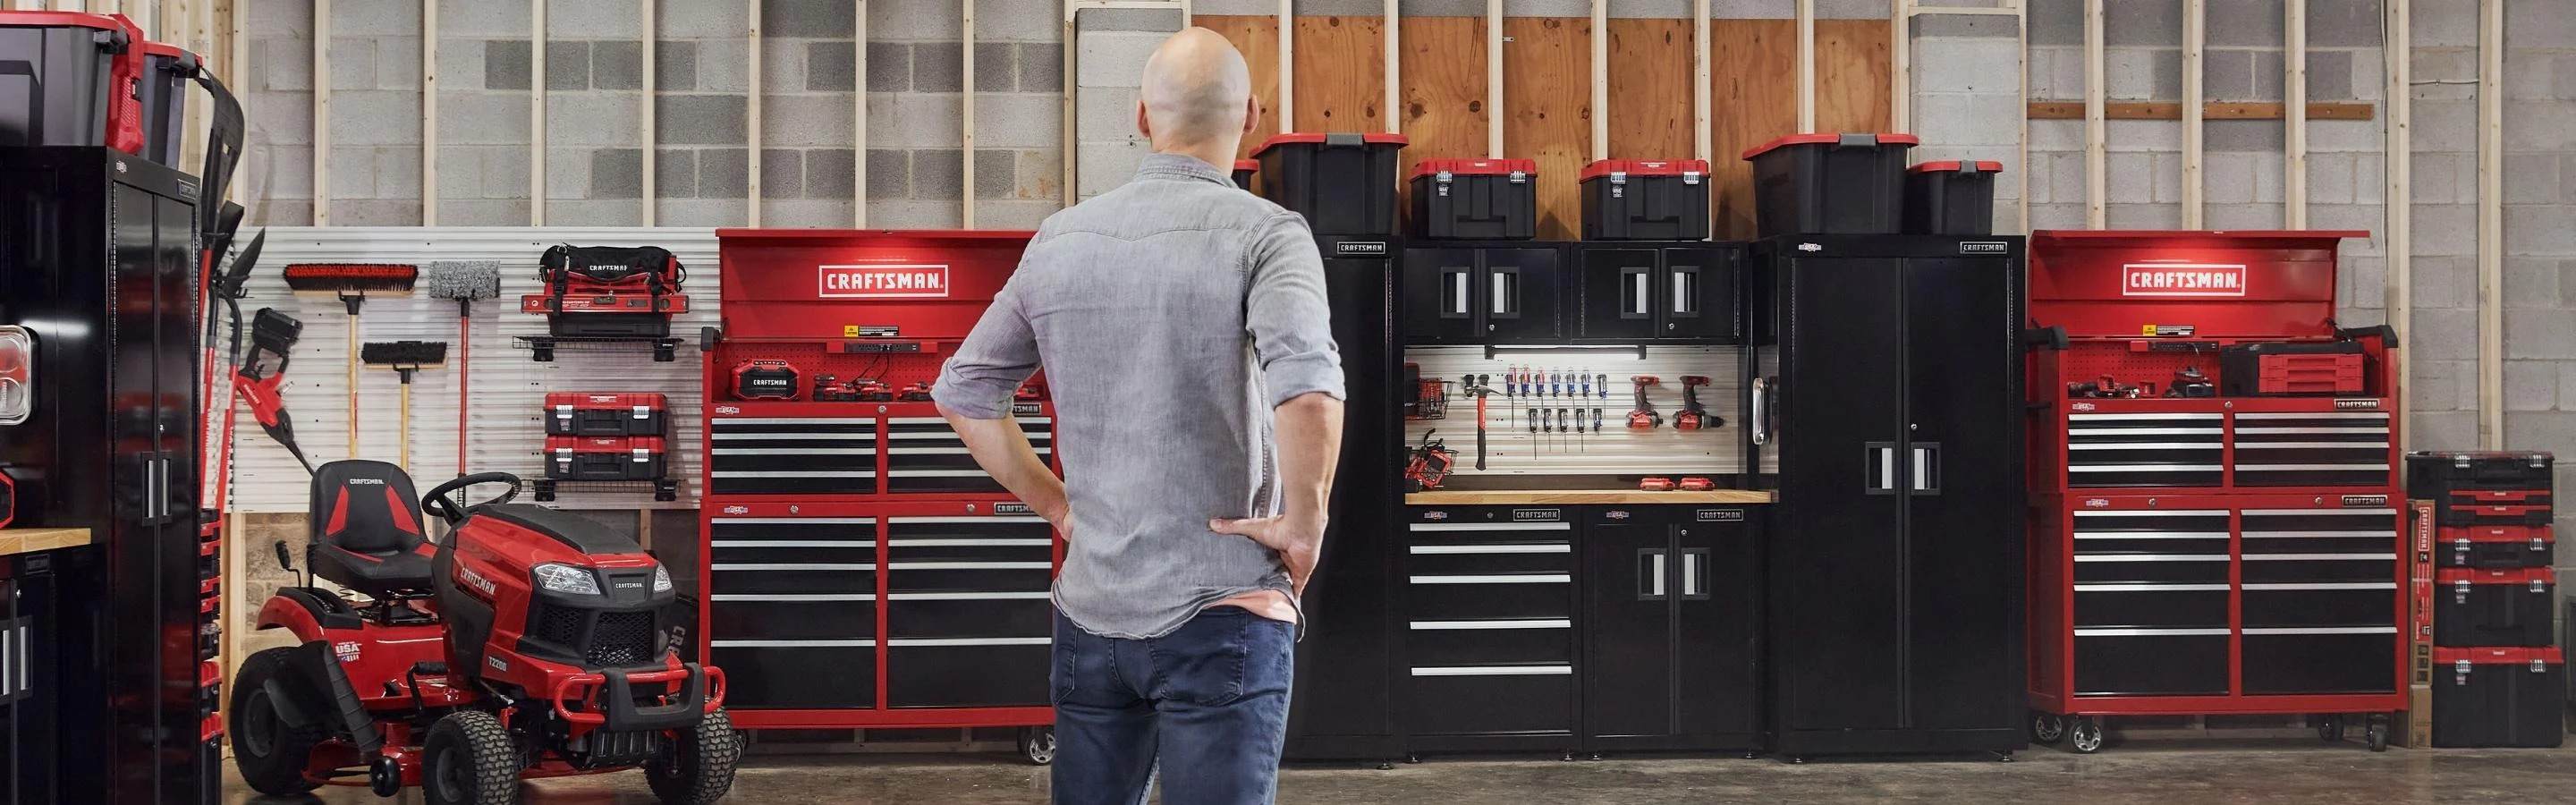
Adding wheels to a Craftsman tool chest can greatly enhance its versatility and mobility. Whether you need to move the tool chest around your workshop or transport it to different job sites, having wheels installed can make the task much easier. In this article, we will guide you through the process of putting wheels on a Craftsman tool chest, step by step.
Before we dive into the how-to, it’s important to gather all the necessary tools and materials. Having everything prepared will make the process smoother and more efficient. So, let’s take a look at what you’ll need:
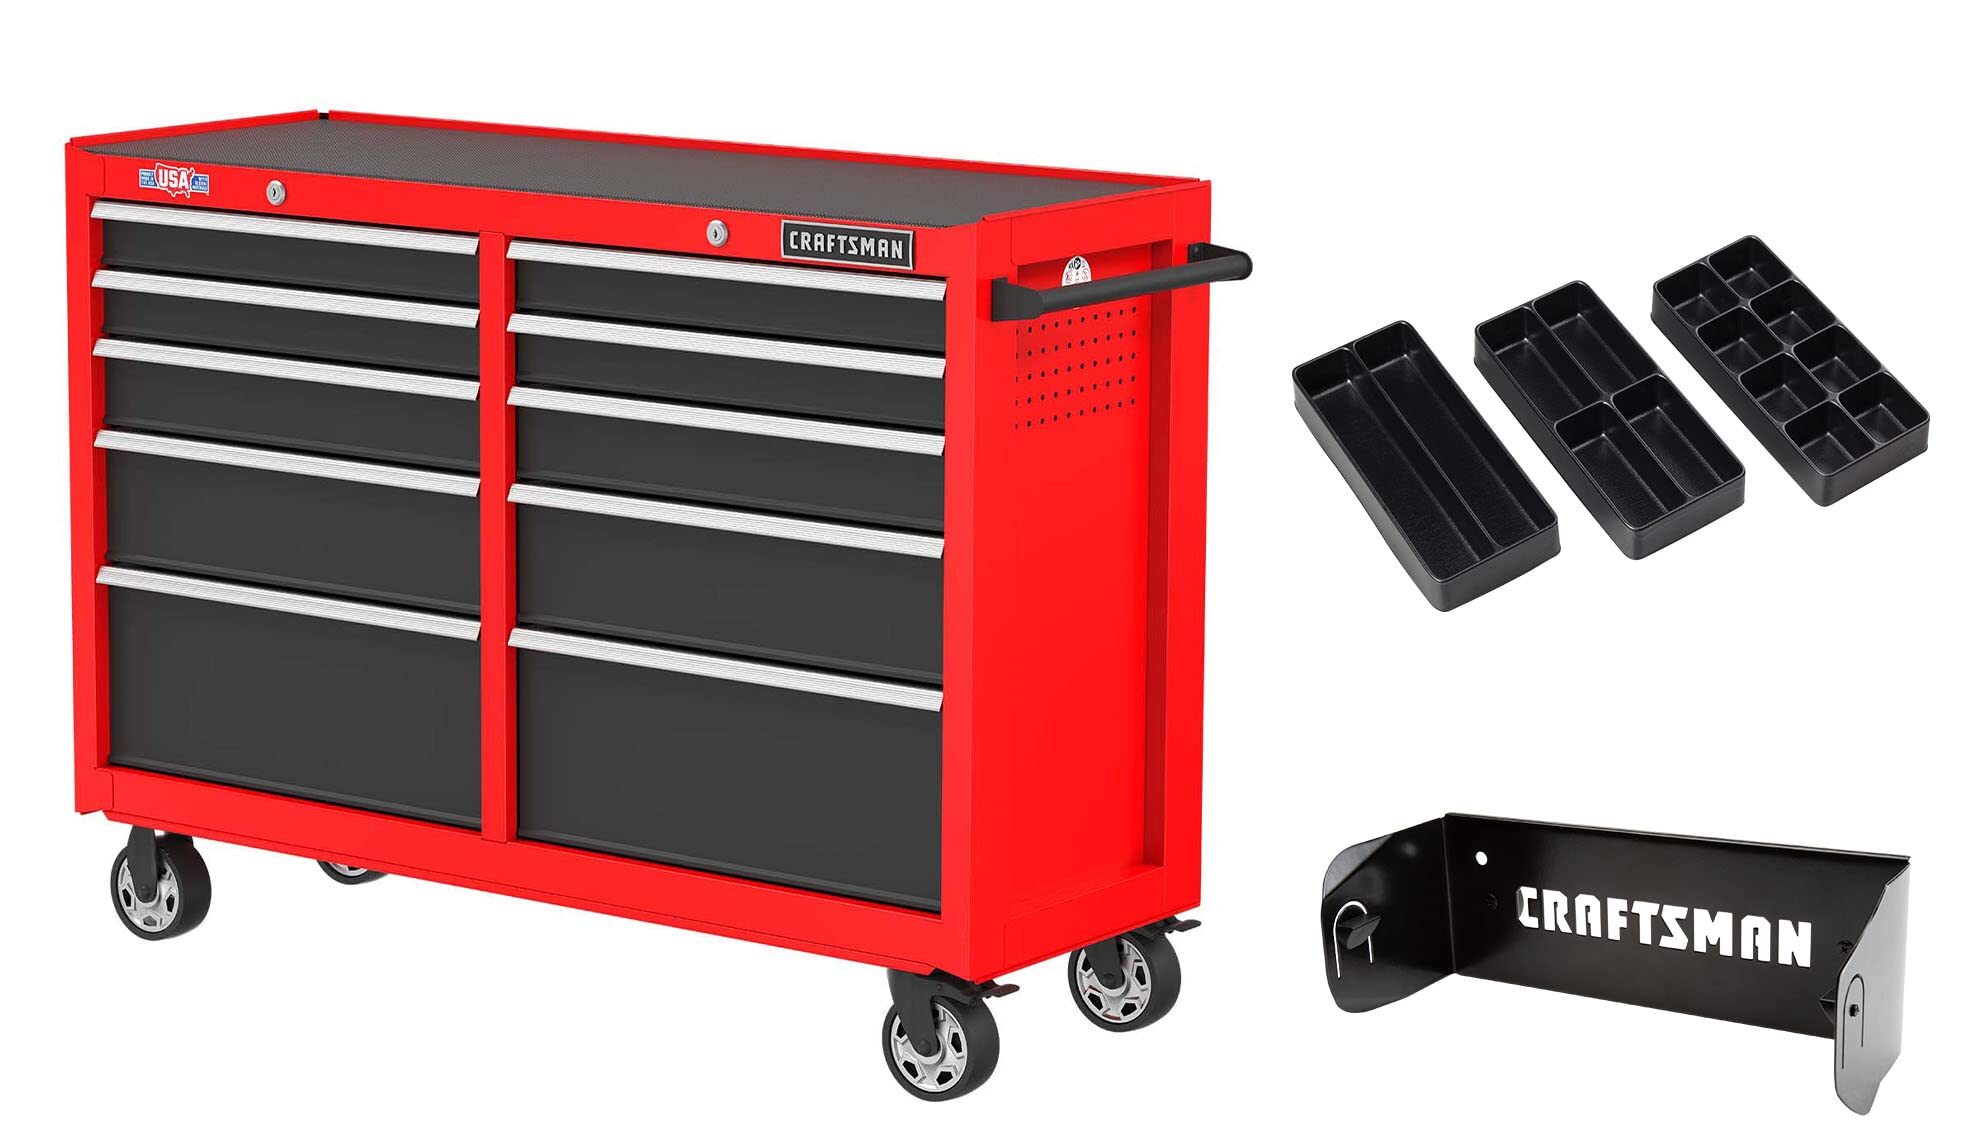
- Craftsman Tool Chest
- Wheels
- Wheel Brackets
- Power Drill
- Wrench
- Tape Measure
- Pencil
- Screwdriver
Now that you have everything ready, let’s get started on adding wheels to your Craftsman tool chest!
Key Takeaways:
- Transform your Craftsman tool chest into a mobile storage solution by adding wheels for enhanced portability and versatility. Follow the step-by-step guide for a successful installation process.
- Enjoy the convenience of a mobile tool chest, eliminating the need for heavy lifting and struggling to move your tools. With proper maintenance, the installed wheels will provide long-lasting functionality and support.
Read more: How To Lock A Craftsman Tool Chest
Tools and Materials Needed
Before you begin the process of installing wheels on your Craftsman tool chest, it’s important to gather all the necessary tools and materials. Having everything prepared will ensure a smoother and more efficient process. Here’s a list of what you’ll need:
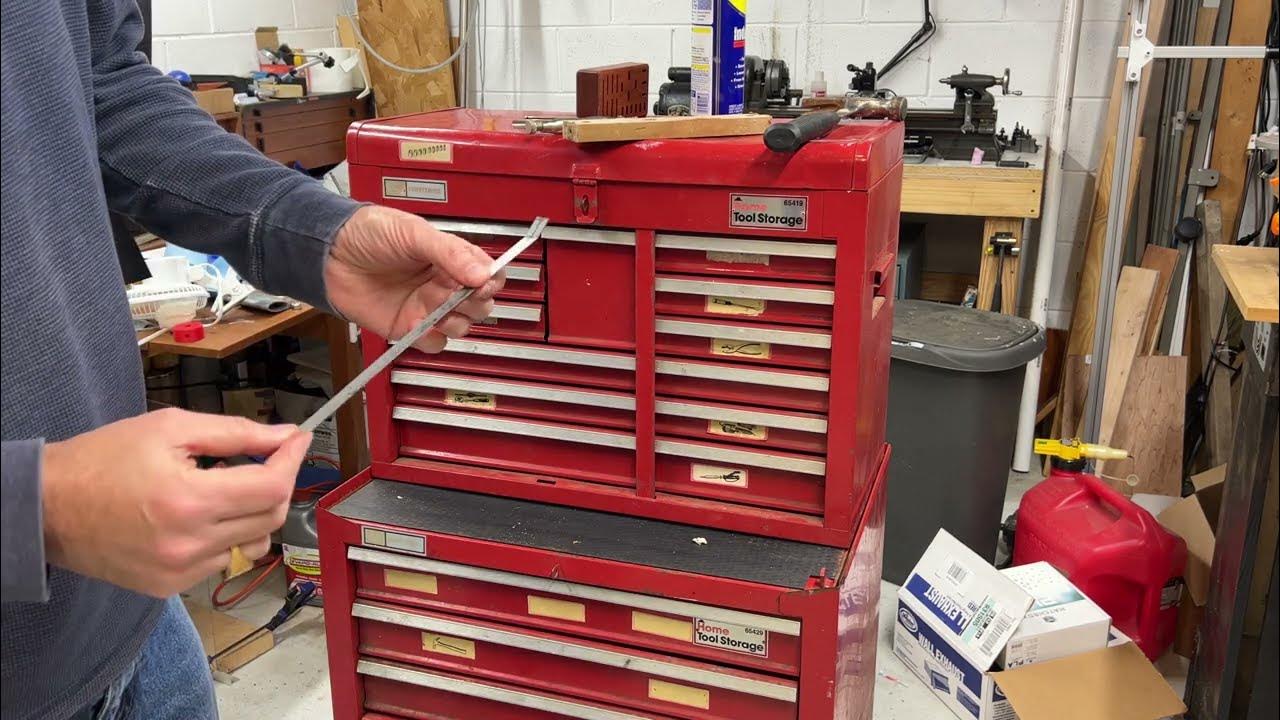
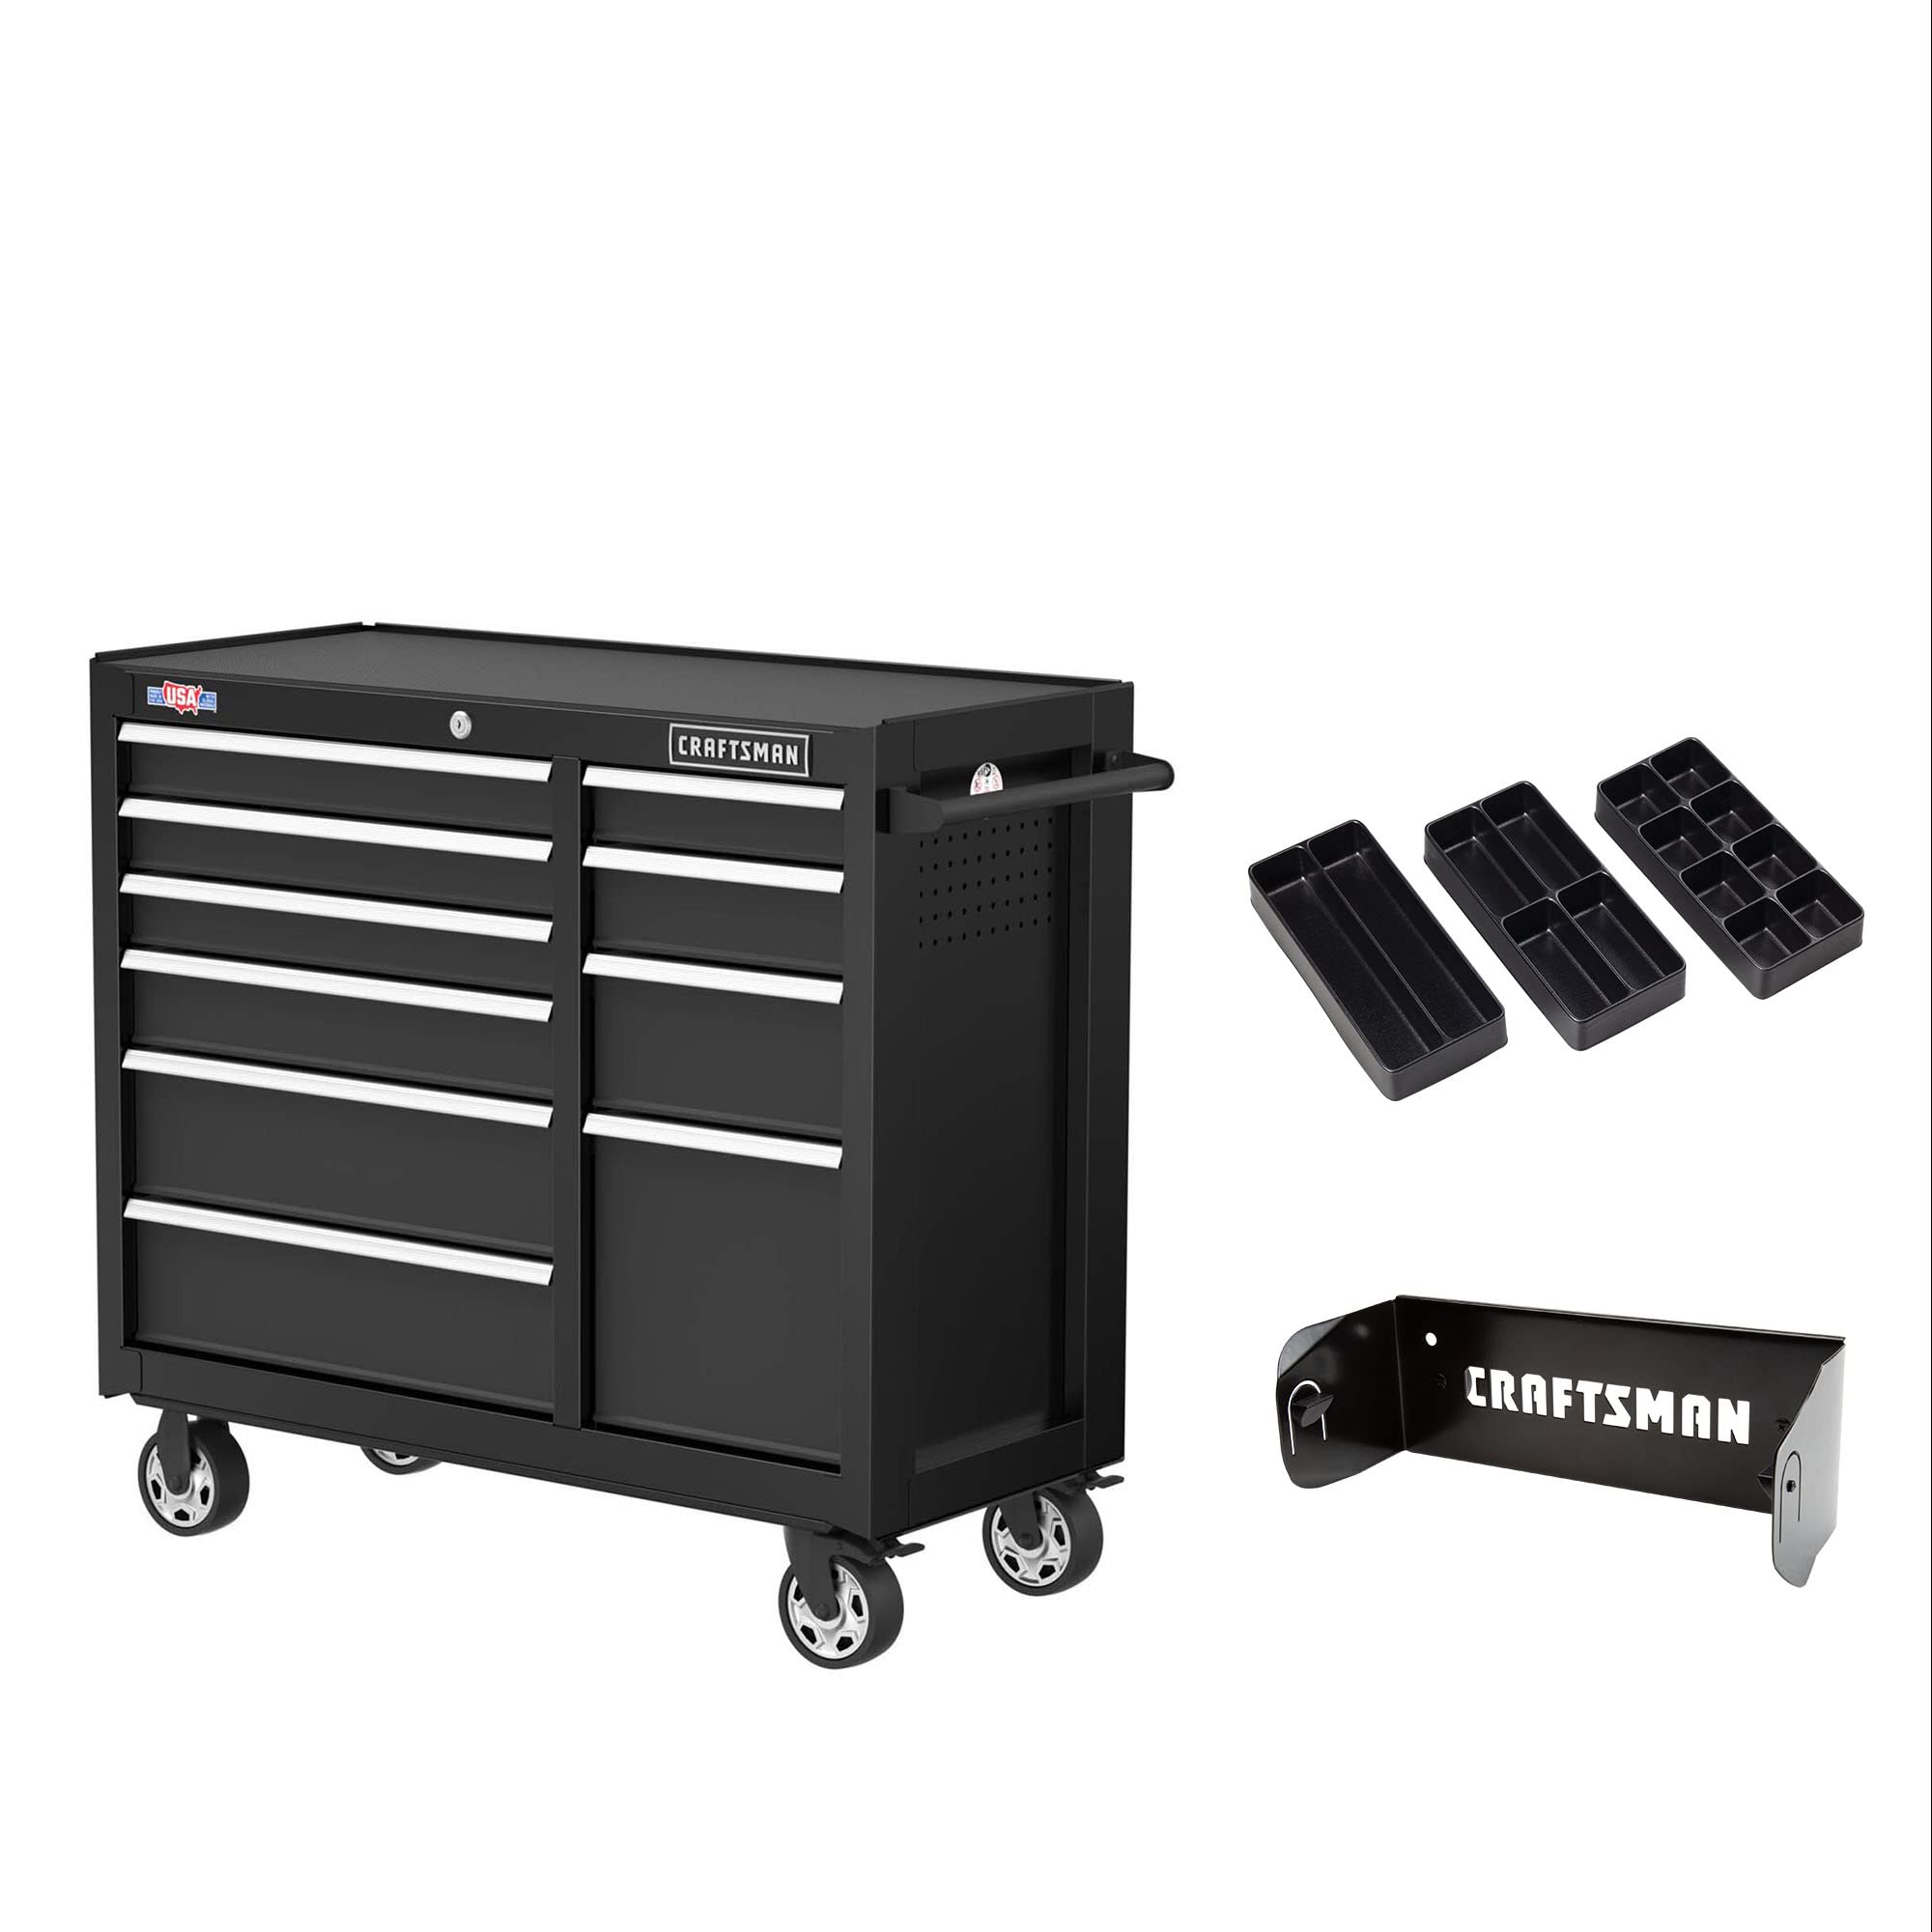
- Craftsman Tool Chest: Make sure you have the appropriate Craftsman tool chest model that is compatible with wheels.
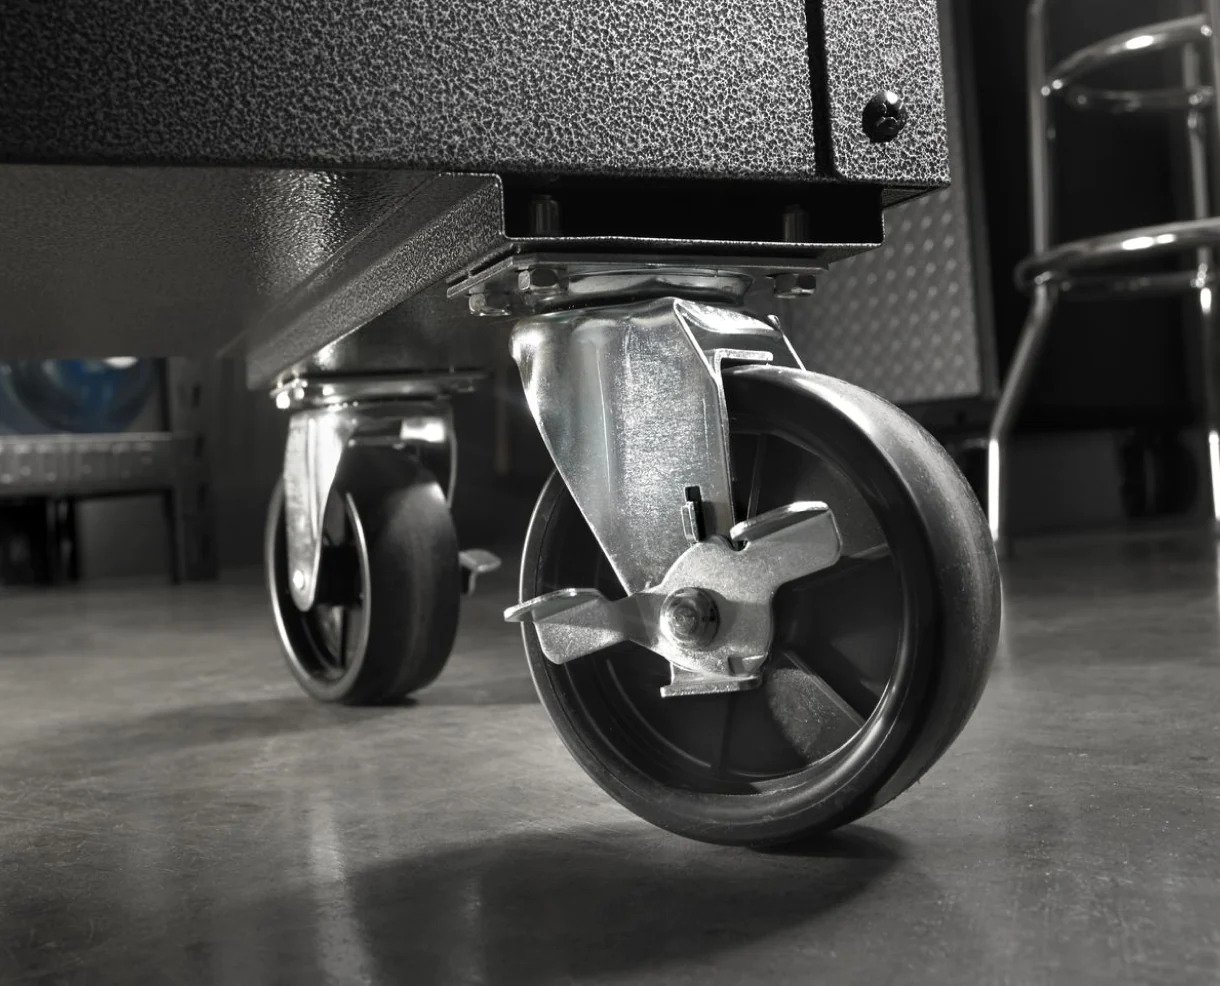
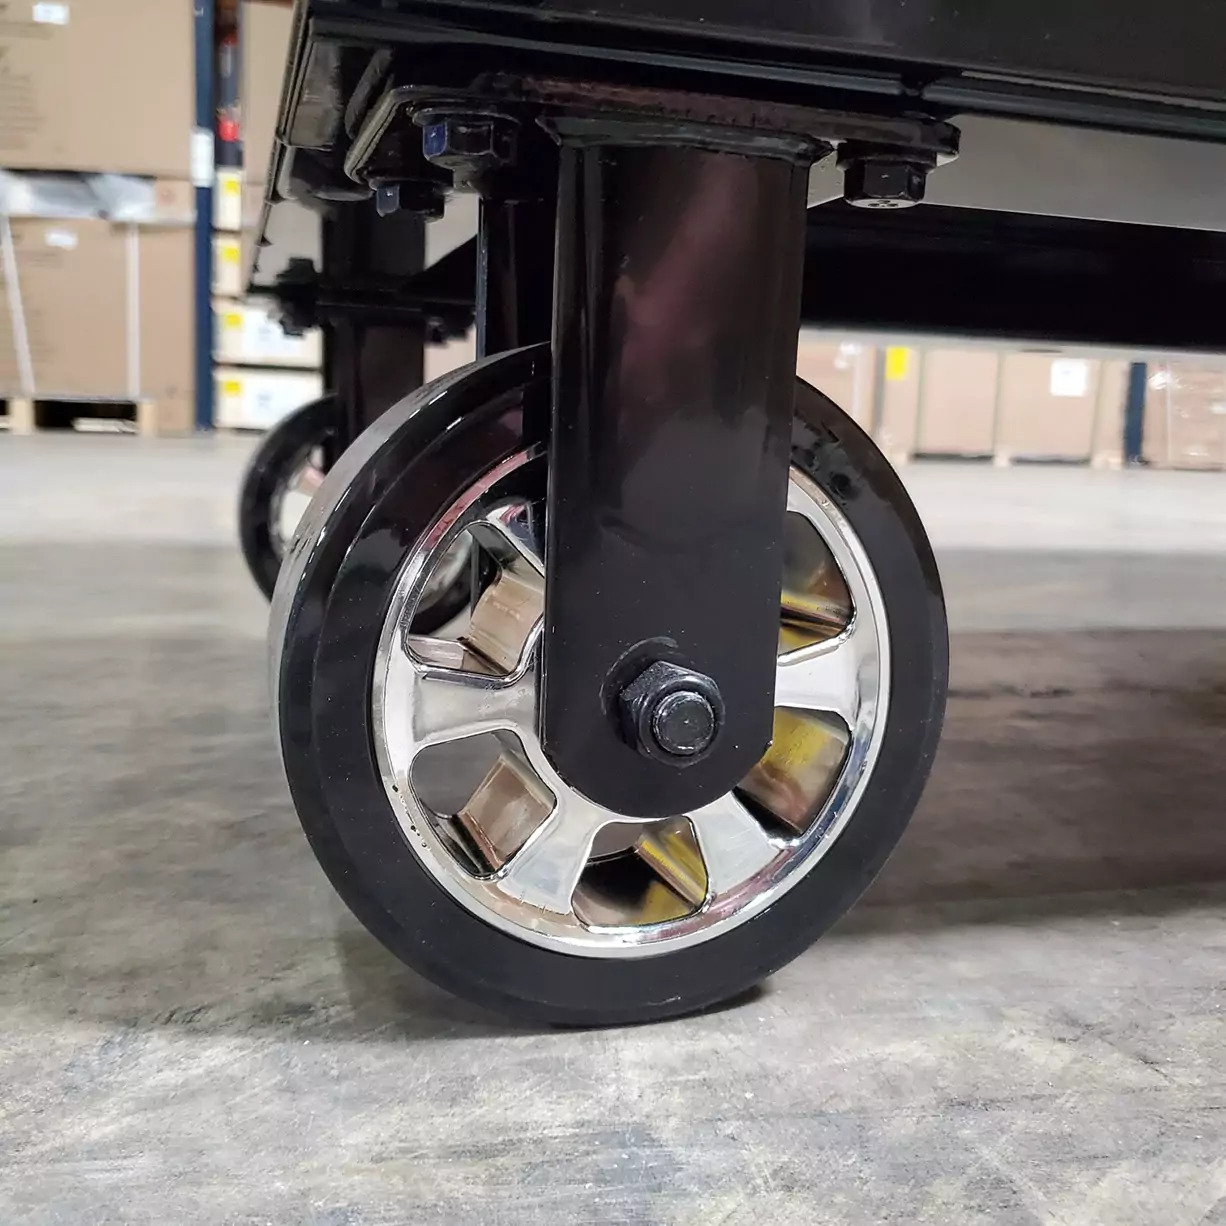
- Wheels: You’ll need a set of wheels specifically designed for tool chests. These wheels should be durable and capable of supporting the weight of your tool chest.
- Wheel Brackets: Depending on the type of Craftsman tool chest you have, you may need wheel brackets to attach the wheels securely.
- Power Drill: A power drill will be necessary for drilling holes and attaching the wheel brackets to the tool chest.
- Wrench: You’ll need a wrench to tighten bolts and secure the wheels and wheel brackets in place.
- Tape Measure: A tape measure will help you determine the exact placement of the wheel brackets on the tool chest.
- Pencil: You’ll need a pencil to mark the spots where the wheel brackets will be attached.
- Screwdriver: Depending on the type of screws or bolts used, you may need a screwdriver to secure the wheel brackets and wheels.
Ensure that you have all the tools and materials listed above before you begin the wheel installation process. This will save you time and ensure a successful installation.
Step 1: Preparation
Before you start installing wheels on your Craftsman tool chest, it’s essential to prepare the workspace and gather all the necessary tools and materials. Here’s what you need to do:
- Clear the Area: Find a clean, spacious area where you can work comfortably. Make sure there is enough room to move around and access all sides of the tool chest.
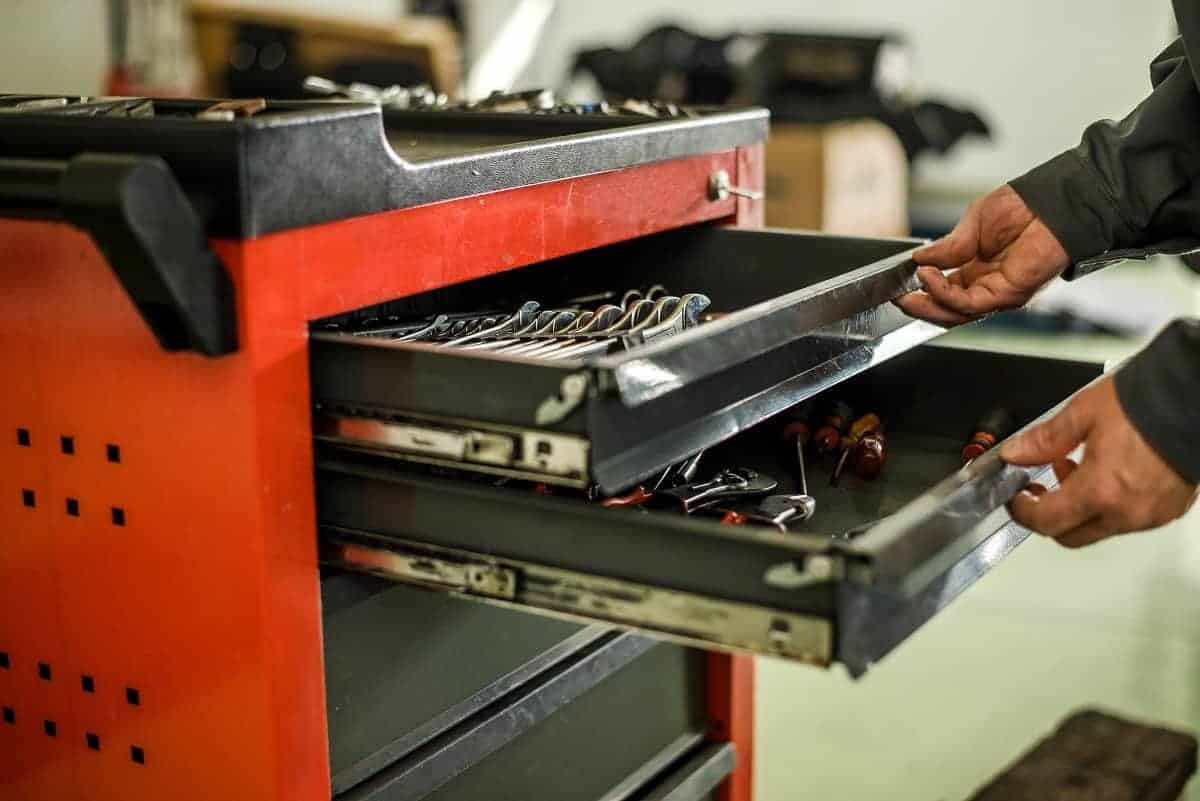
- Empty the Tool Chest: Remove all the tools, equipment, and other items from the tool chest. This will make it easier to work with and prevent any accidental damage to your belongings.
- Clean the Tool Chest: Take a moment to clean the tool chest, both inside and outside. Remove any dirt, dust, or debris that may have accumulated. A clean surface will ensure that the wheels and brackets can be securely attached.
- Prepare the Wheels: If needed, assemble the wheels according to the manufacturer’s instructions. Ensure they are in good working condition and can support the weight of the tool chest.
- Inspect the Wheel Brackets: Check the wheel brackets to ensure they are in good condition and are the correct size for your Craftsman tool chest. If they require assembly, follow the manufacturer’s instructions.
- Organize the Tools: Gather all the tools and materials you will need for the installation, including the power drill, wrench, tape measure, pencil, and screwdriver. Having everything within reach will save time and make the process more efficient.
By taking the time to prepare the workspace and gather the necessary tools and materials, you’ll be ready to move on to the next step with ease. This preparation will ensure that the wheel installation process goes smoothly and that your Craftsman tool chest is ready to roll.
Step 2: Measure and Mark
Once you have prepared the workspace and gathered all the necessary tools and materials, it’s time to measure and mark the spots where the wheel brackets will be attached to the tool chest. Follow these steps:
- Position the Tool Chest: Place the tool chest on a stable surface in the desired location. Make sure it is level and won’t tip over during the installation process.
- Locate the Mounting Points: Look for the pre-drilled holes or designated areas where the wheel brackets will be attached. These mounting points are usually located near the bottom corners of the tool chest.
- Measure and Mark: Use a tape measure to determine the exact placement of the wheel brackets. Measure the distance from the edge of the tool chest to ensure the brackets are evenly spaced and aligned. Mark these measurements lightly with a pencil.
- Double-Check: Once you have marked the spots for the wheel brackets, step back and double-check the alignment and spacing. Ensure that the markings are accurate and that the brackets will be positioned correctly.
Remember to take your time with this step to ensure precise measurements and markings. Accuracy is essential for the successful installation of the wheels and wheel brackets on your Craftsman tool chest.
When putting wheels on a Craftsman tool chest, make sure to use the correct size and type of wheels for the weight and size of the chest. Follow the manufacturer’s instructions carefully to ensure proper installation and stability.
Step 3: Attach the Wheel Brackets
With the measurements and markings in place, it’s time to attach the wheel brackets to your Craftsman tool chest. Follow these steps:
- Align the Brackets: Position the wheel brackets in line with the marked spots on the tool chest. Ensure that the brackets are aligned vertically and horizontally.
- Secure the Brackets: Using a power drill, attach the brackets to the tool chest using screws or bolts provided with the brackets. Start by securing one corner of each bracket and then move on to the opposite corner. This will help keep the brackets level and prevent any misalignment.
- Tighten the Screws or Bolts: Use a wrench or screwdriver to tighten the screws or bolts securely. Make sure the brackets are firmly attached to the tool chest and won’t come loose during use.
- Double-Check Alignment: Once the brackets are secured, step back and double-check their alignment. Ensure that they are straight and level, and make any necessary adjustments if needed.
Attaching the wheel brackets is a crucial step in the process, as they provide the foundation for the wheels. Take your time to ensure that the brackets are securely attached and properly aligned.
Read more: How Much Is Craftsman Tool Chest
Step 4: Secure the Wheels
Now that the wheel brackets are securely attached to your Craftsman tool chest, it’s time to secure the wheels. Follow these steps:
- Attach the Wheels to the Brackets: Place each wheel onto the corresponding bracket. Line up the holes on the wheel with the holes on the bracket.
- Insert Screws or Bolts: Insert screws or bolts through the holes on the wheel and into the bracket. Use a wrench or screwdriver to tighten the screws or bolts securely.
- Check the Wheel Movement: Once all the wheels are attached, give them a gentle spin to ensure they rotate smoothly. Check for any wobbling or misalignment. If necessary, loosen the screws or bolts slightly and make adjustments for proper wheel movement.
- Tighten the Screws or Bolts: Once you have checked the wheel movement, use a wrench or screwdriver to tighten all the screws or bolts securely. Ensure that the wheels are firmly attached and won’t come loose during use.
Securing the wheels is the final step in the installation process. Take your time to ensure that each wheel is attached properly and rotates smoothly. This will ensure the stability and functionality of your Craftsman tool chest when moving it around.
Step 5: Test and Adjust
With the wheels securely attached to your Craftsman tool chest, it’s time to test their functionality and make any necessary adjustments. Follow these steps:
- Clear the Workspace: Remove any obstacles or debris from the area surrounding the tool chest to ensure a safe and smooth test.
- Unlock the Wheels: If your wheels have a locking mechanism, ensure that it is in the unlocked position to allow for movement.
- Push and Pull: Gently push and pull the tool chest around the workspace, testing its mobility and maneuverability. Pay attention to how easily the wheels roll and if there are any unusual sounds or vibrations.
- Check for Stability: Stop the tool chest and give it a gentle shake. Ensure that the wheels stay securely in place and that there is no wobbling or instability.
- Make Adjustments: If you notice any issues during testing, such as wobbling wheels or difficulty maneuvering, take note of the problem area. Use a wrench or screwdriver to adjust the wheel brackets, screws, or bolts as needed to resolve the issue.
- Repeat the Test: After making adjustments, repeat the push and pull test to check if the issues have been resolved. Continue making adjustments until you are satisfied with the stability and mobility of the tool chest.
Testing and adjusting are important steps to ensure that the wheels are functioning properly and that your Craftsman tool chest is ready for use. Take the time to address any issues, and make the necessary adjustments for optimal performance.
Conclusion
Adding wheels to your Craftsman tool chest can transform it into a mobile and versatile storage solution. By following the step-by-step guide outlined in this article, you can successfully install wheels onto your tool chest and enhance its portability. Here’s a quick summary of the process:
- Prepare the workspace and gather all the necessary tools and materials
- Measure and mark the spots where the wheel brackets will be attached
- Attach the wheel brackets securely to the tool chest
- Secure the wheels onto the brackets
- Test the mobility and stability of the tool chest and make any necessary adjustments
Remember to take your time during each step, ensuring accuracy and precision for the best results. Adding wheels to your Craftsman tool chest will provide you with the flexibility to move and transport your tools with ease.
Now that you’ve completed the installation process, you can enjoy the convenience of a mobile tool chest. No more heavy lifting or struggling to move your tools around. Your Craftsman tool chest is now ready to roll!
With proper maintenance and care, the wheels will provide long-lasting functionality and support for your tool chest. Enjoy the convenience and mobility that comes with having wheels installed, and make the most of your workspace and projects.
Thank you for following along with this guide. We hope that the information provided has been helpful in assisting you with putting wheels on your Craftsman tool chest. Happy working and may your newly mobile tool chest make your projects a breeze!
Feeling inspired after adding wheels to your tool chest? Keep that DIY spirit alive with our guide on the latest Craftsman tool chests that are perfect for any workspace. For those who enjoy a tidy garage, we've also got clever garage organization ideas that'll transform your cluttered space into an orderly haven. Dive into these reads and turn your work area into a model of efficiency and convenience!
Frequently Asked Questions about How To Put Wheels On A Craftsman Tool Chest
Was this page helpful?
At Storables.com, we guarantee accurate and reliable information. Our content, validated by Expert Board Contributors, is crafted following stringent Editorial Policies. We're committed to providing you with well-researched, expert-backed insights for all your informational needs.


0 thoughts on “How To Put Wheels On A Craftsman Tool Chest”