Articles
How To Build A Tool Chest With Drawers
Modified: August 28, 2024
Learn how to build a tool chest with drawers and keep your articles organized. Step-by-step guide for creating a functional storage solution.
(Many of the links in this article redirect to a specific reviewed product. Your purchase of these products through affiliate links helps to generate commission for Storables.com, at no extra cost. Learn more)
Introduction
Welcome to the ultimate guide on how to build a tool chest with drawers. If you’re a DIY enthusiast or someone who loves working with tools, having a proper storage solution is crucial. A tool chest with drawers not only keeps your tools organized but also makes them easily accessible when you need them. In this comprehensive article, we’ll take you through the step-by-step process of planning, gathering materials, cutting, assembling, and adding the finishing touches to your very own tool chest.
Whether you’re a seasoned woodworker or just starting out, building a tool chest can be a rewarding and fulfilling project. Not only will you end up with a functional and customized storage solution, but you’ll also gain valuable experience and improve your woodworking skills along the way. Ready to get started? Let’s dive into the planning and gathering materials phase.
Key Takeaways:
- Building a tool chest with drawers is a rewarding woodworking project that combines functionality and craftsmanship. Careful planning, precise measurements, and attention to detail are essential for creating a customized storage solution.
- By following the step-by-step process of planning, gathering materials, cutting and assembling, and adding finishing touches, you can create a tool chest that not only organizes your tools but also showcases your woodworking skills.
Read more: How To Repair Craftsman Tool Chest Drawer
Step 1: Planning and Gathering Materials
In this crucial first step, you’ll need to carefully plan out your tool chest design and gather all the necessary materials. Start by determining the size and dimensions of your tool chest. Consider the space you have available in your workshop or garage and think about the types of tools you’ll be storing. Once you have a clear idea of what you want, make a detailed plan or sketch of your tool chest, including the number and size of drawers, the overall structure, and any additional features you want to incorporate.
With your plan in hand, it’s time to gather the materials. Here’s a list of the basic materials you’ll need:
- Wood: Choose a sturdy and durable wood species, such as oak or birch, for the main structure of the tool chest. You’ll also need plywood for the drawer panels.
- Hardware: Purchase high-quality hardware, including drawer slides, handles, hinges, and screws. Opt for durable and corrosion-resistant materials like stainless steel.
- Tools: Make sure you have all the necessary tools for the project, including a saw, drill, router, clamps, sandpaper, and measuring tools.
- Adhesives and Finishes: Depending on your preference, you may need wood glue, wood filler, and a finish such as varnish or paint.
Once you have gathered all the materials, take some time to review your plan and ensure that you have everything you need. Make any necessary adjustments or additions to your plan before moving on to the next step.
With your plan finalized and materials in hand, you are now ready to start building the tool chest. In the next step, we will guide you through cutting and sanding the panels.
Step 2: Cutting and Sanding the Panels
Now that you have your materials ready, it’s time to move on to cutting and sanding the panels for your tool chest. This step is crucial for ensuring precise and smooth-fitting panels that will contribute to the overall stability and visual appeal of the finished product.
Start by measuring and marking the dimensions on the plywood for the drawer panels. Use a straight edge or a carpenter’s square to ensure accurate measurements. Once marked, carefully cut the panels using a saw. Take your time and make smooth, precise cuts to achieve clean edges.
After cutting the panels, it’s important to sand them thoroughly. Use medium-grit sandpaper to remove any rough edges or splinters. Then, switch to a finer grit sandpaper to achieve a smooth finish. Sand both sides and the edges of each panel until they feel smooth to the touch. This step is crucial for not only the aesthetics of the tool chest but also for preventing any potential injuries while handling the panels.
Once all the panels are cut and sanded, double-check the measurements to ensure they are all the correct size. Lay out the panels according to your original plan to ensure they fit together properly. Make any necessary adjustments before moving on to the next step.
With the panels cut and sanded, you are now ready to start assembling the basic structure of your tool chest. In the next step, we’ll guide you through the process of assembling the main structure.
Step 3: Assembling the Basic Structure
Now that you have the panels cut and prepped, it’s time to assemble the basic structure of your tool chest. This step involves joining the panels together to form the main body of the tool chest.
Start by arranging the panels according to your plan. Apply wood glue to the edges of the panels that will be joined together. Use clamps to hold the panels in place while the glue dries. Make sure the panels are aligned properly and square. If necessary, use a square or measuring tools to check for accuracy.
Once the glue has dried and the panels are securely held together, it’s time to reinforce the joints with screws. Pre-drill holes in the panels to prevent splitting and then insert screws through the holes to secure the joints. Be sure to countersink the screws so that they sit flush with the surface of the panels.
Continue to assemble the remaining panels in the same manner, following your plan and ensuring that each joint is secure and properly aligned. Take your time during this process to ensure a strong and sturdy structure.
After assembling the basic structure, take a moment to inspect it for any glue squeeze-out or excess, as well as any visible screws. Use a damp cloth to carefully wipe away any glue residue, and use a putty knife or sandpaper to smooth out any rough spots or imperfections. This step will help prepare the tool chest for the next phase of the project.
With the basic structure assembled and cleaned up, it’s time to move on to the next step: building and installing the drawers for your tool chest.
When building a tool chest with drawers, make sure to use high-quality, durable materials to ensure the longevity and sturdiness of the chest. Additionally, carefully plan and measure the dimensions of the drawers to ensure they fit the tools properly.
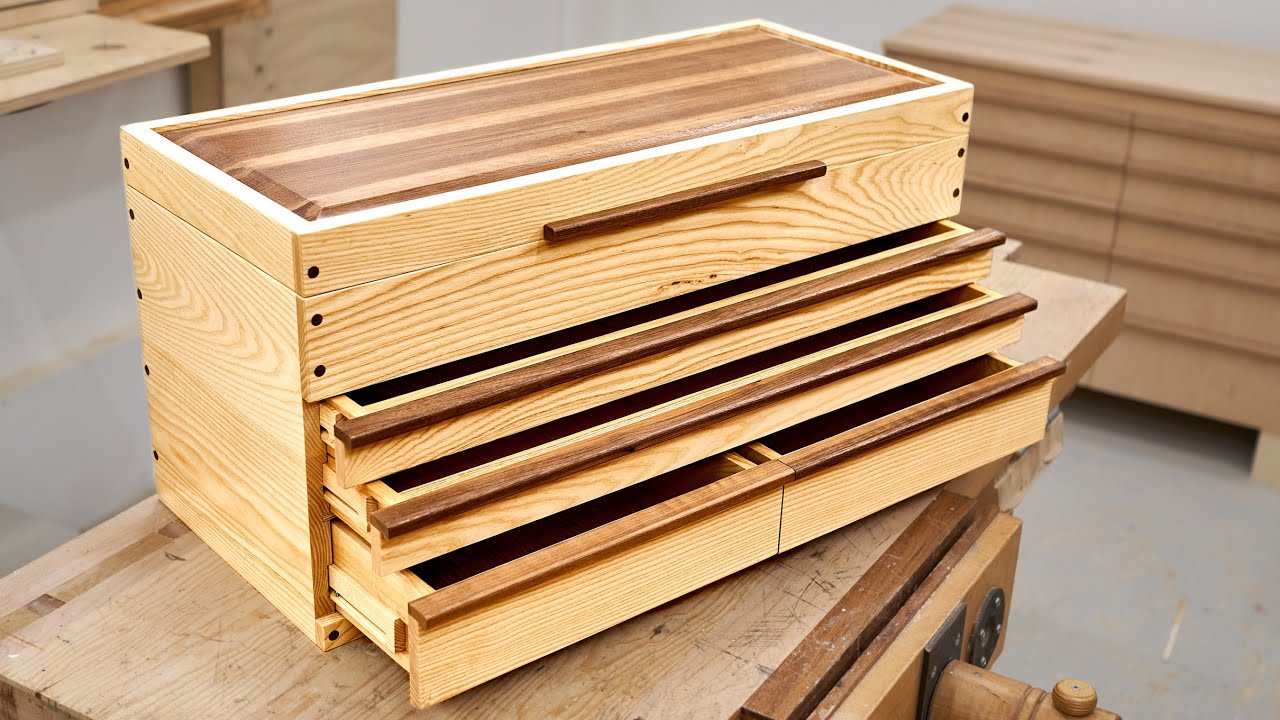
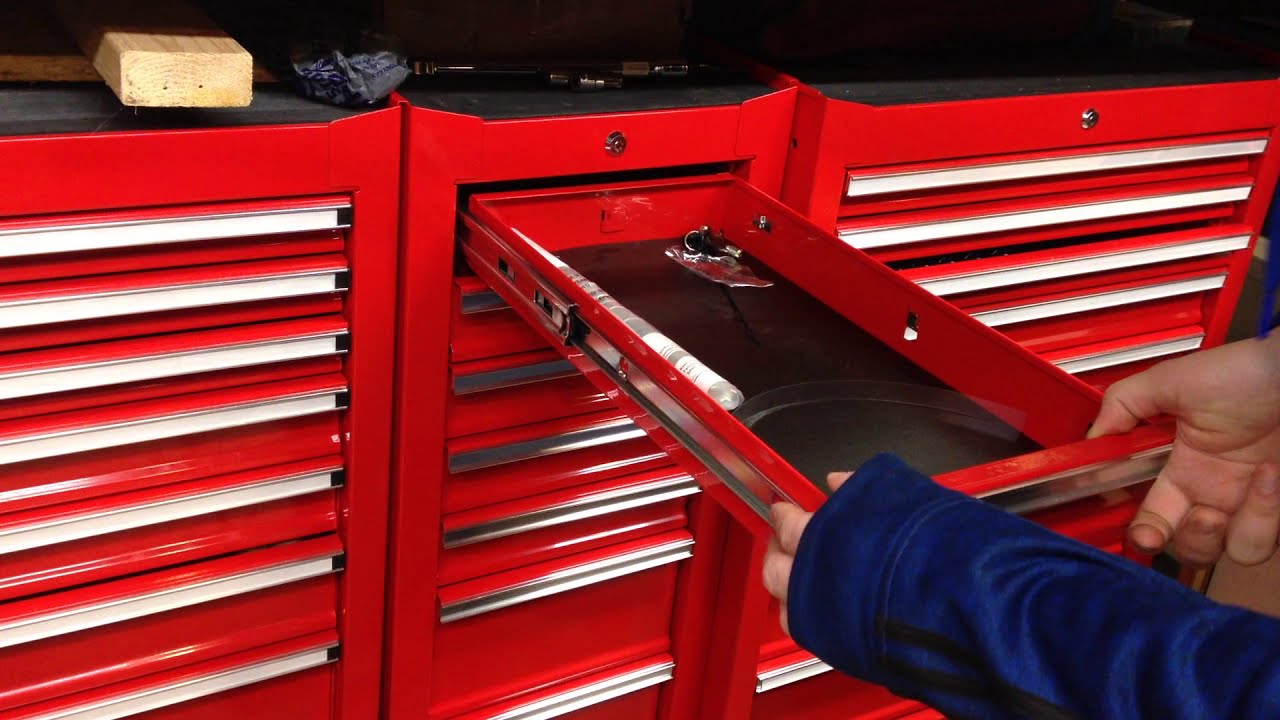
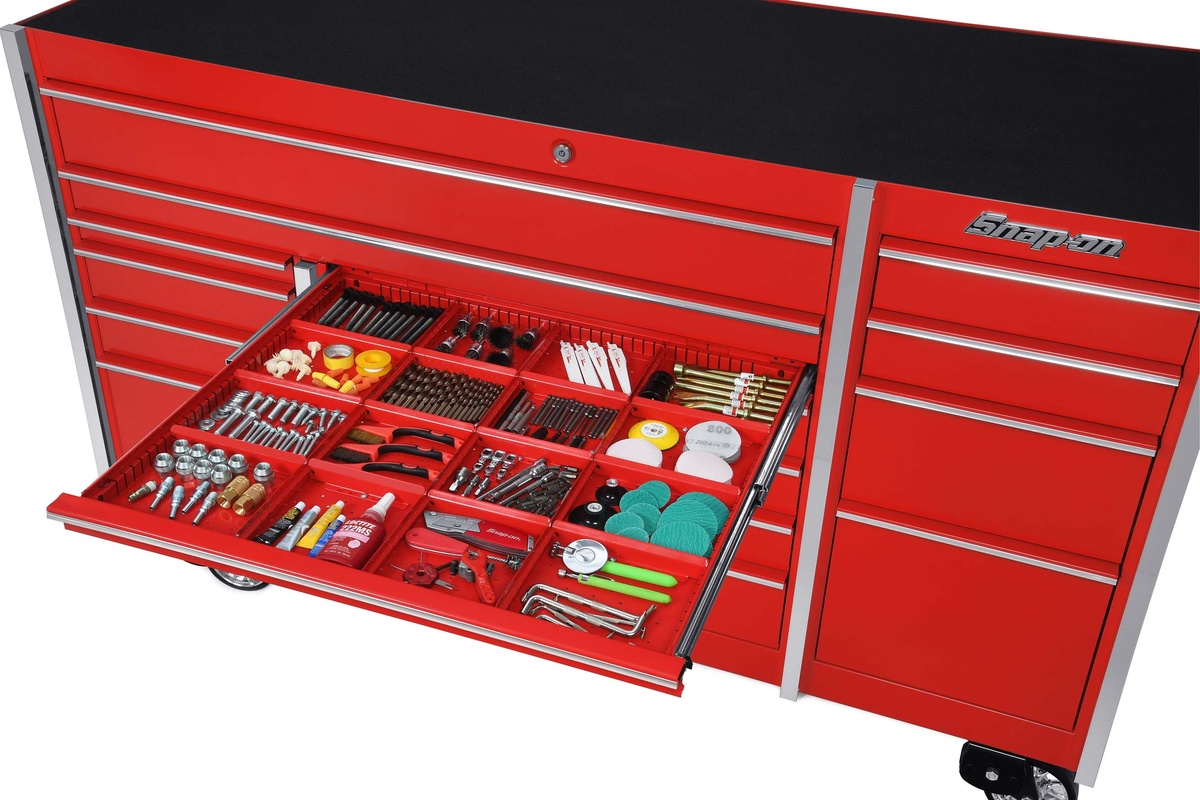
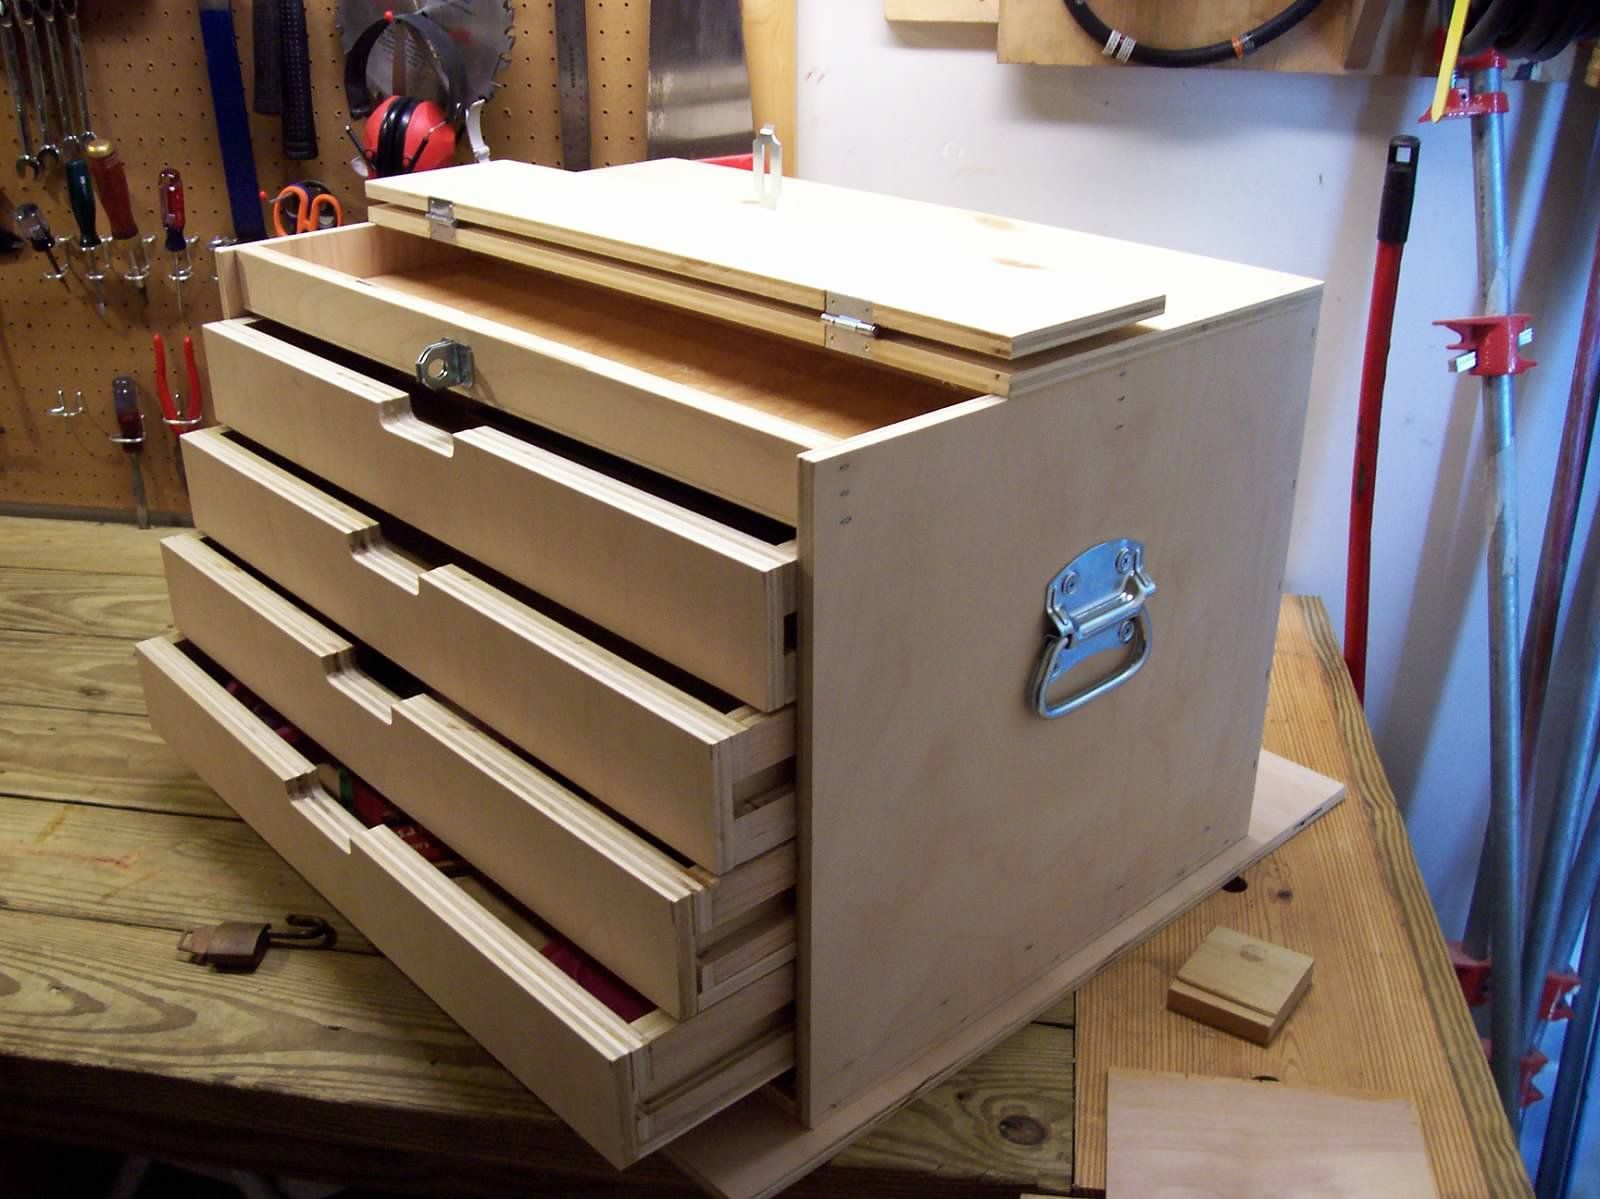
Step 4: Building and Installing the Drawers
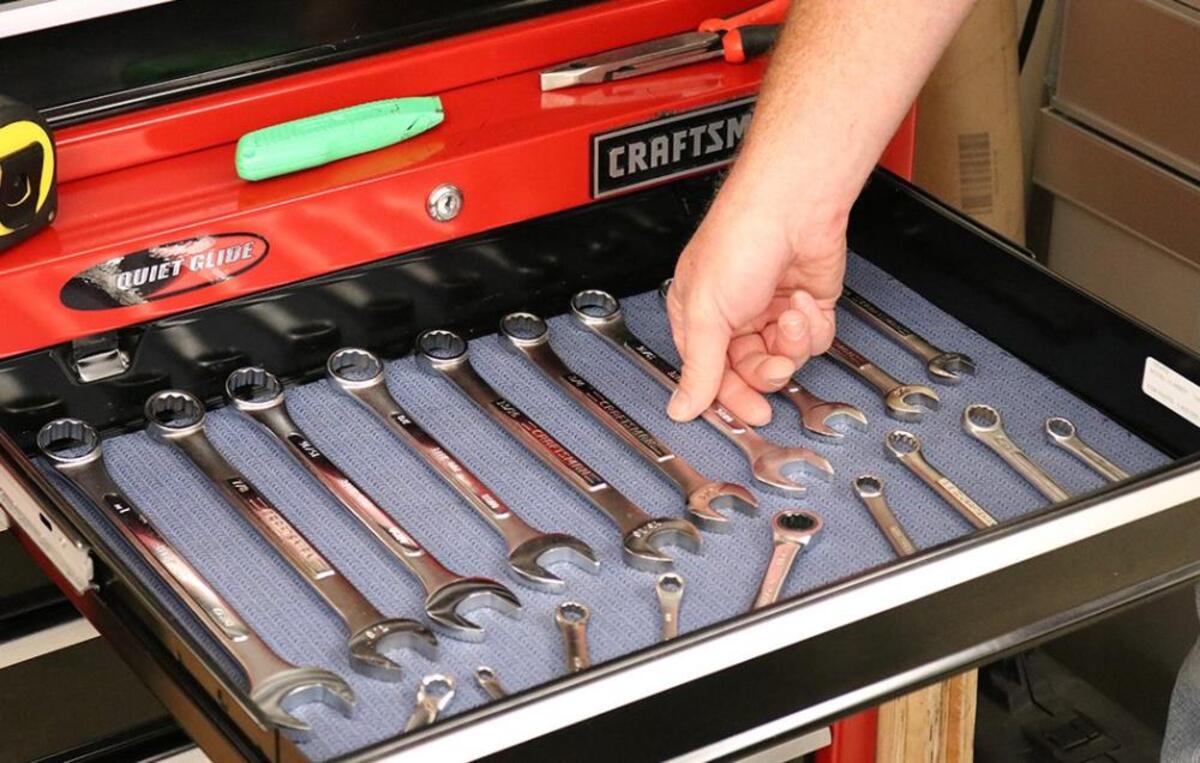
Now that the main structure of your tool chest is complete, it’s time to focus on building and installing the drawers. This step will provide you with the essential storage compartments for your tools, allowing for easy organization and retrieval.
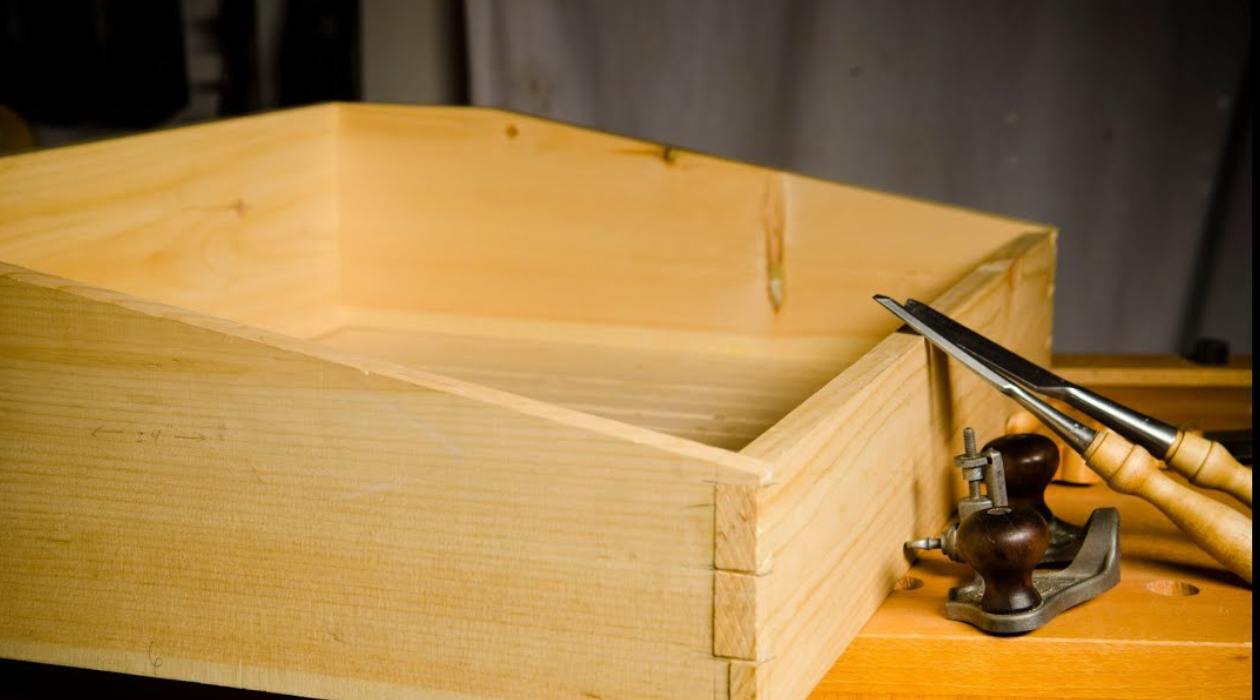
Start by measuring and cutting the plywood for the drawer fronts, backs, and sides. Take precise measurements and use a saw to cut the pieces accordingly. For added stability, consider adding plywood inserts to the bottom of the drawers.
Next, assemble the drawer pieces using wood glue and screws. Apply glue to the edges of the front and back panels, then attach the side panels to form the drawer box. Use clamps to hold the pieces together while the glue dries, and double-check for accurate alignment.
Once the glue has dried, reinforce the corners of the drawers with screws. Pre-drill holes and then insert screws to ensure a secure and long-lasting joint. Be sure to countersink the screws to ensure they are flush with the surface of the drawer.
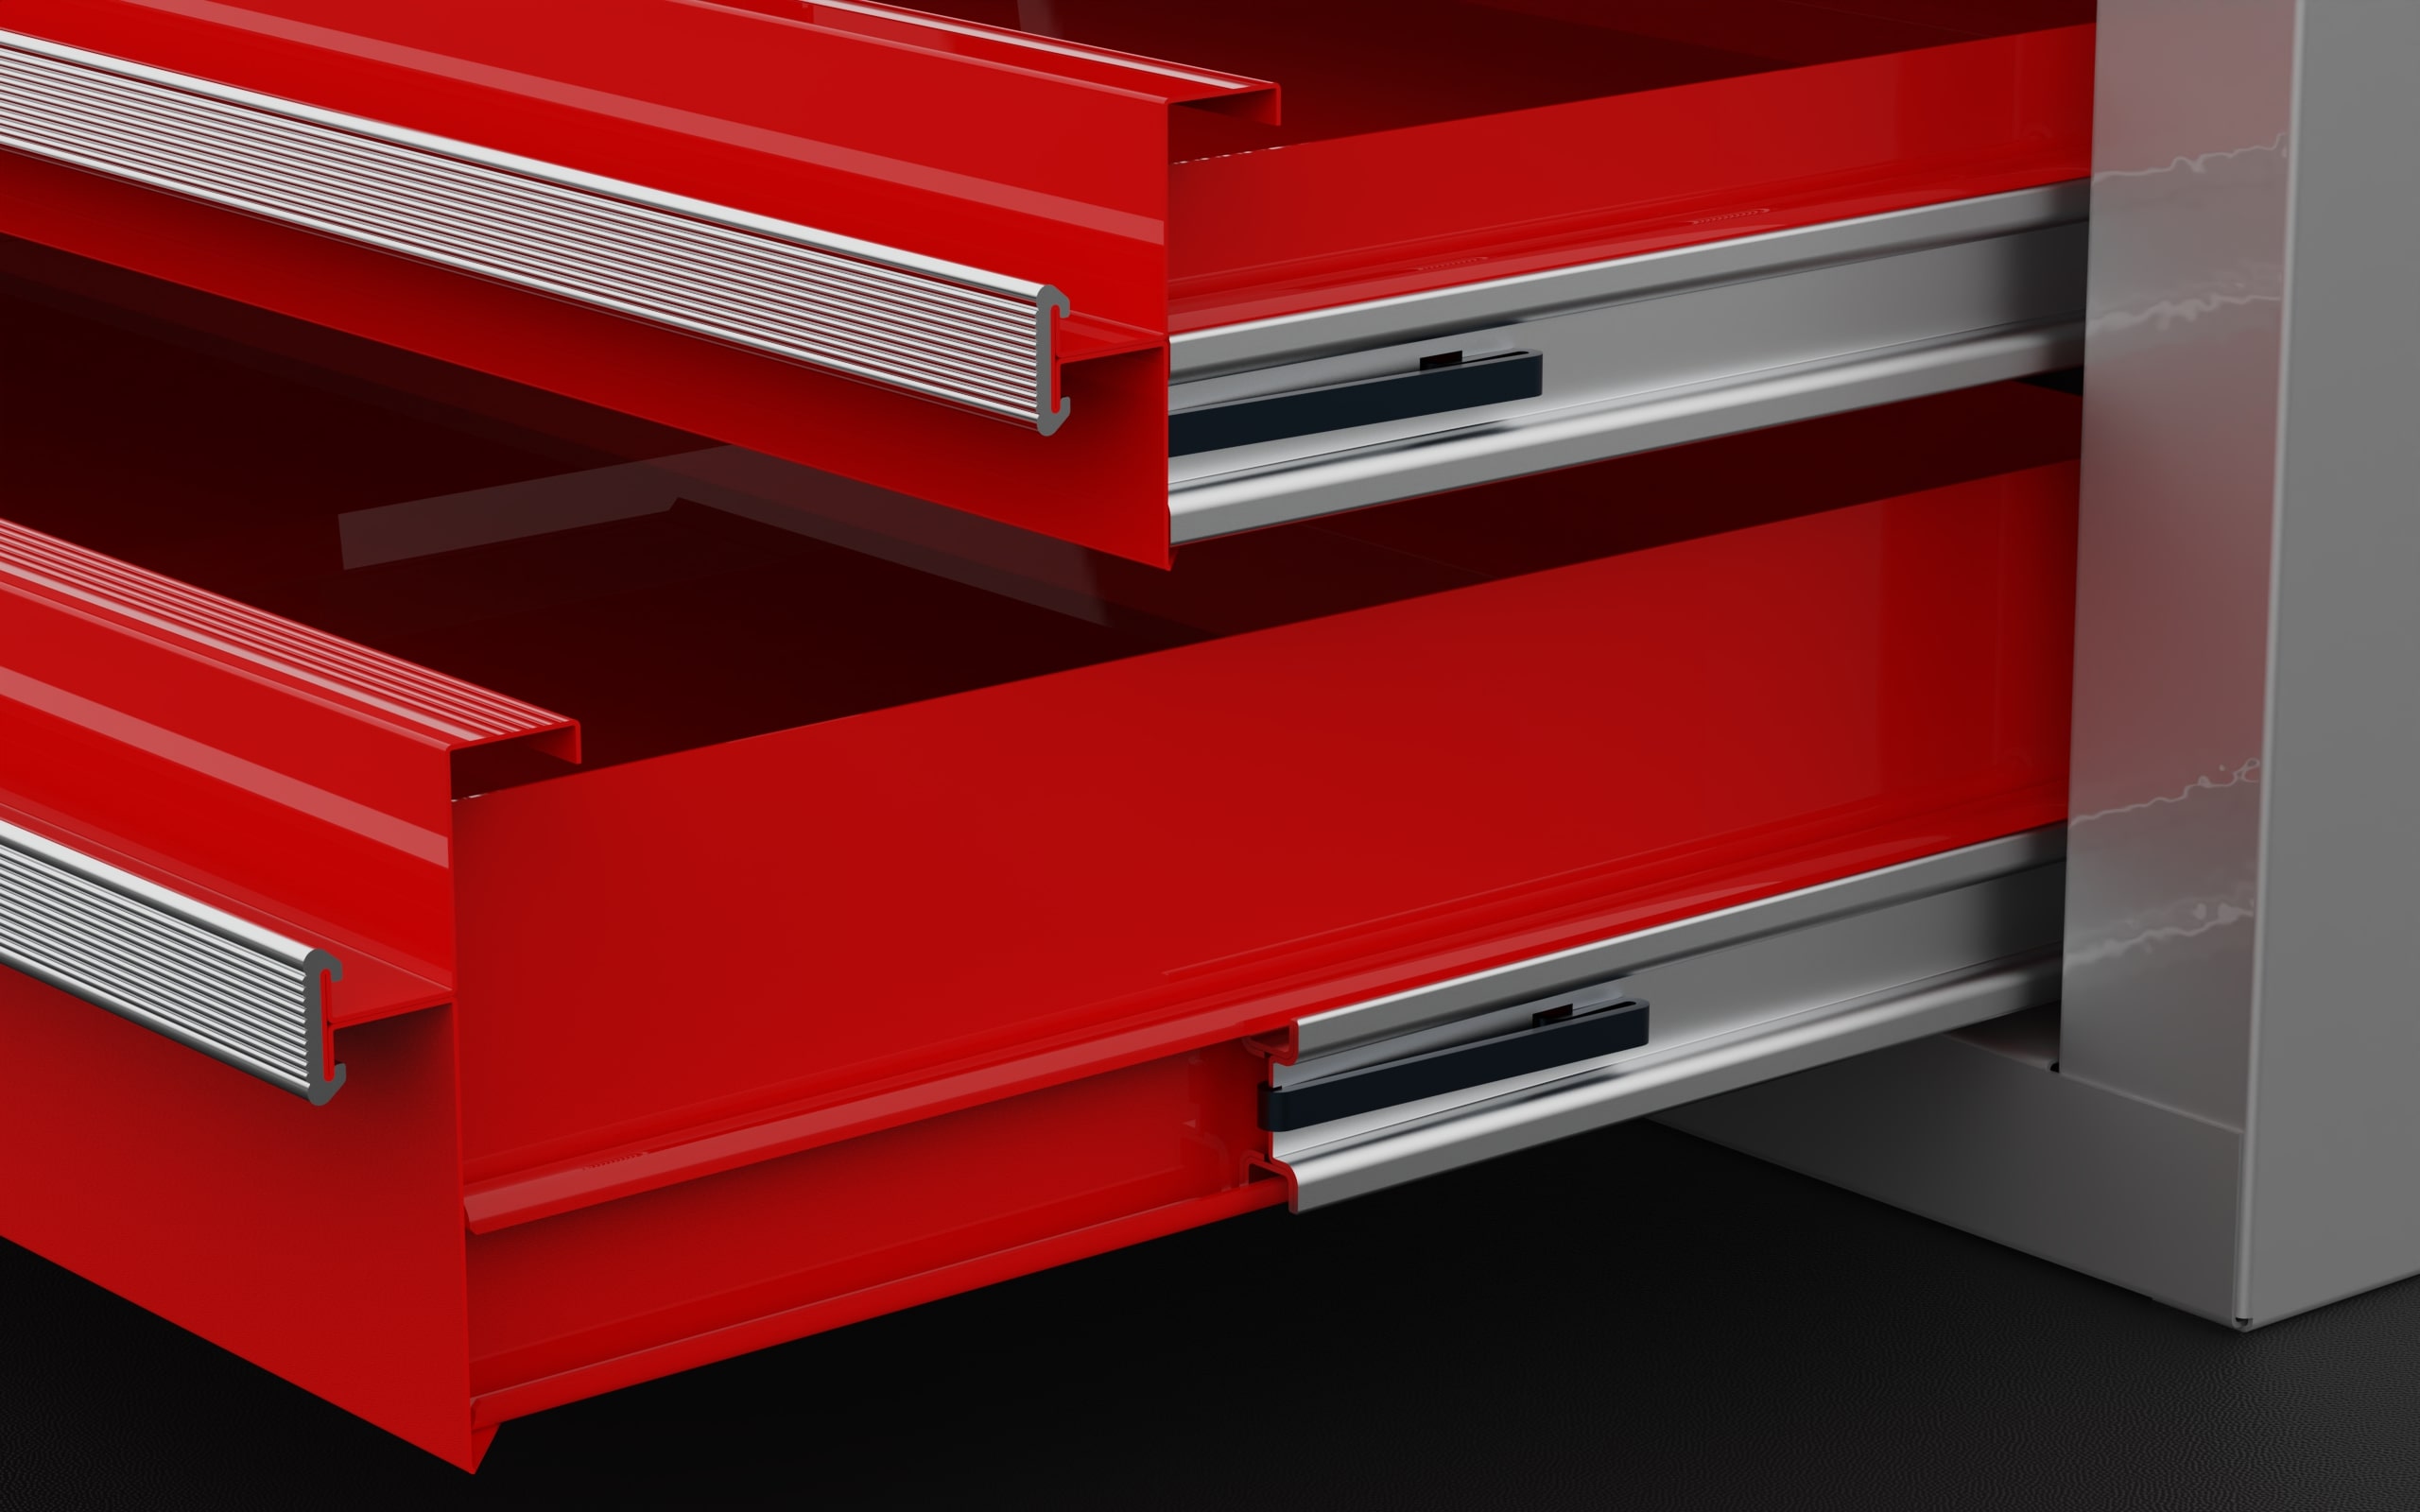
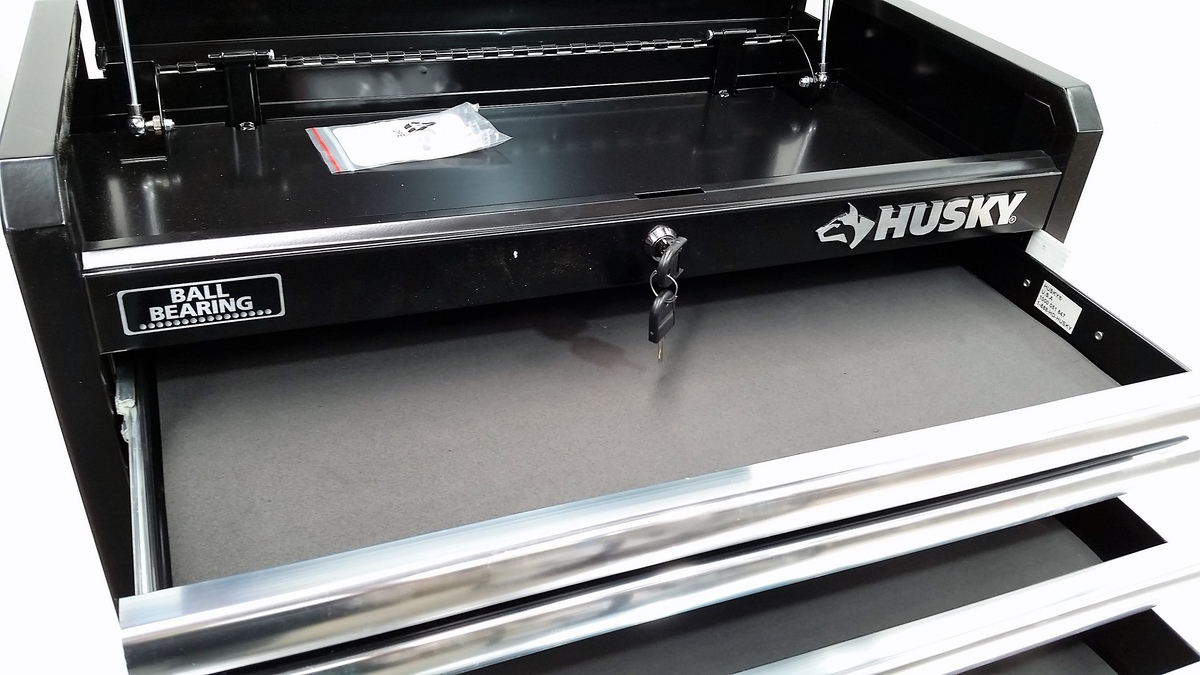
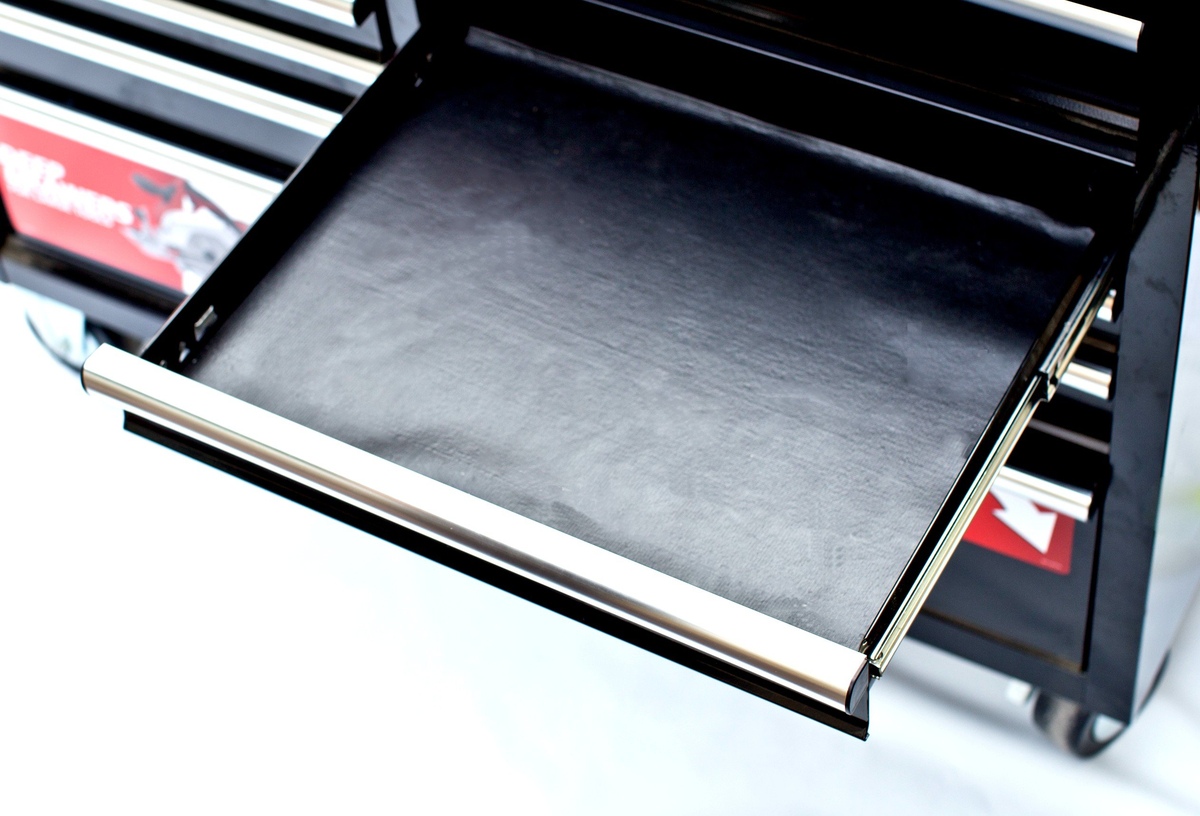
After building the drawers, it’s time to install the drawer slides. Measure and mark the placement of the slides on the inside of the tool chest. Attach the slides to both the tool chest and the drawer, following the manufacturer’s instructions. This step is crucial for ensuring smooth and seamless drawer operation.
Once the slides are installed, insert the drawers into place. Ensure that they glide smoothly on the slides and that they fit snugly within the tool chest. Make any necessary adjustments to ensure proper functionality and alignment.
With the drawers built and installed, you’re one step closer to completing your tool chest. The next and final step will guide you through adding hardware and applying finishing touches to enhance both the functionality and aesthetics of your tool chest.
Read more: How To Remove Stanley Tool Chest Drawers
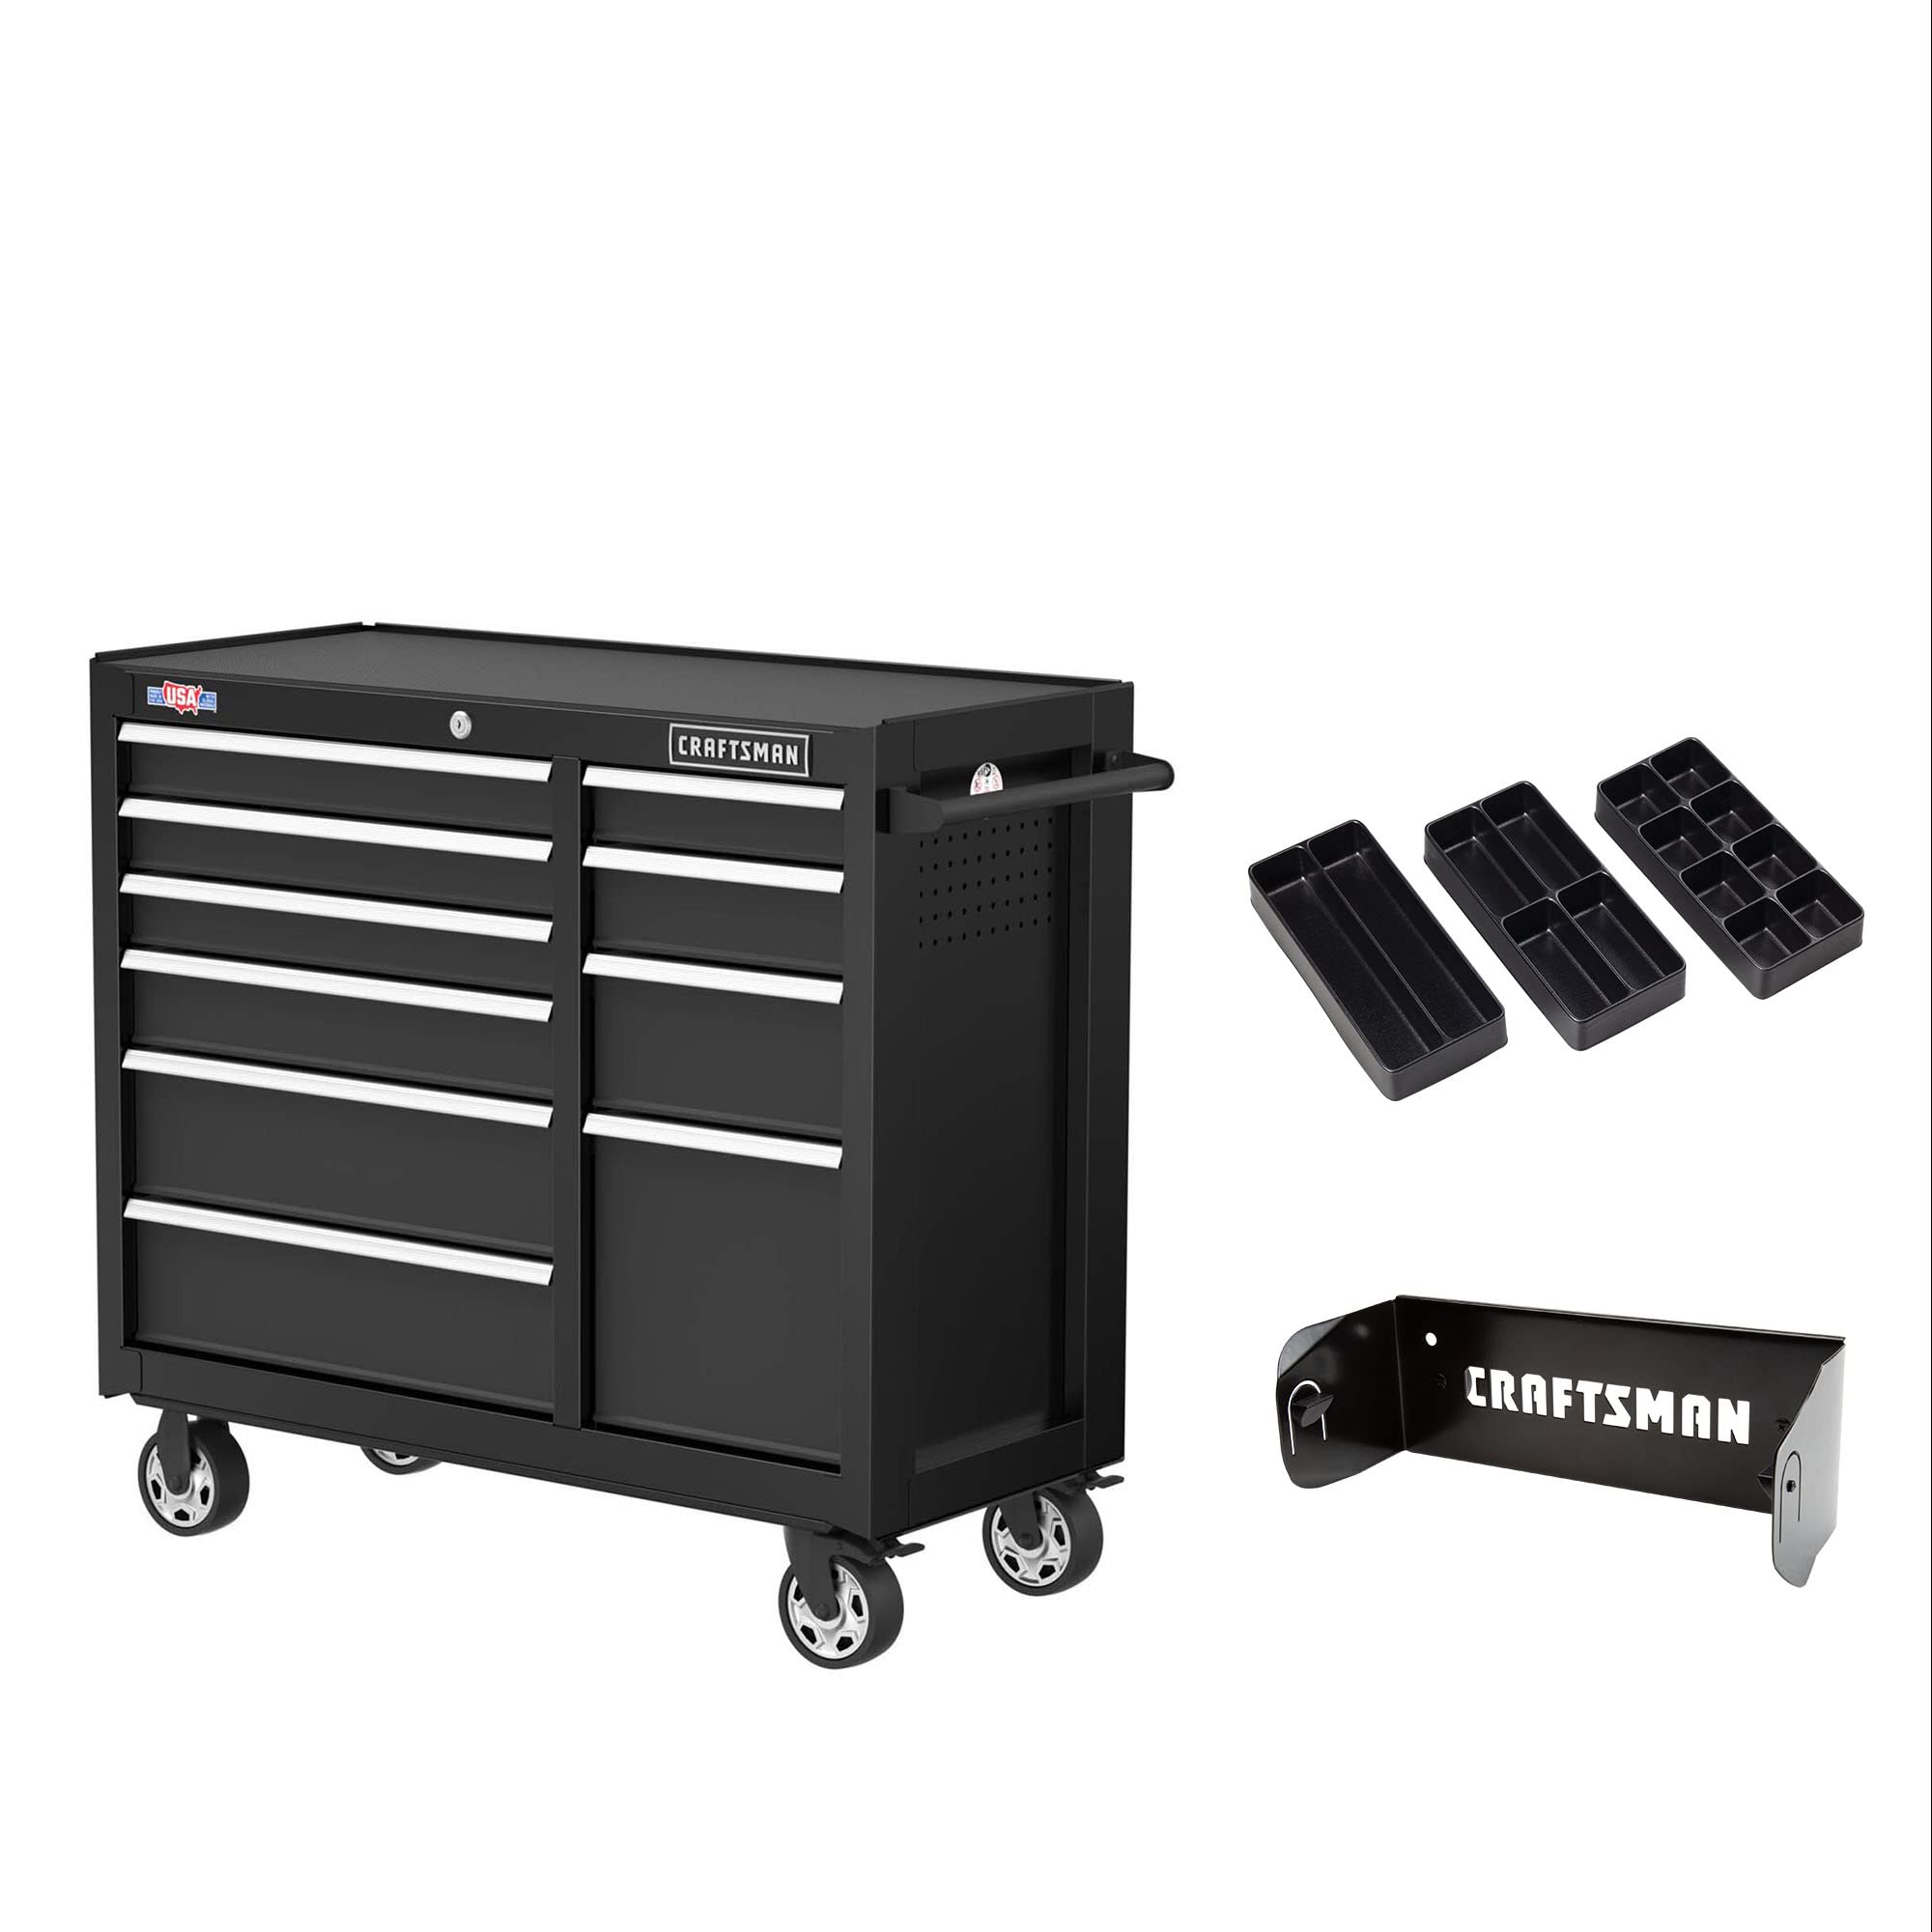
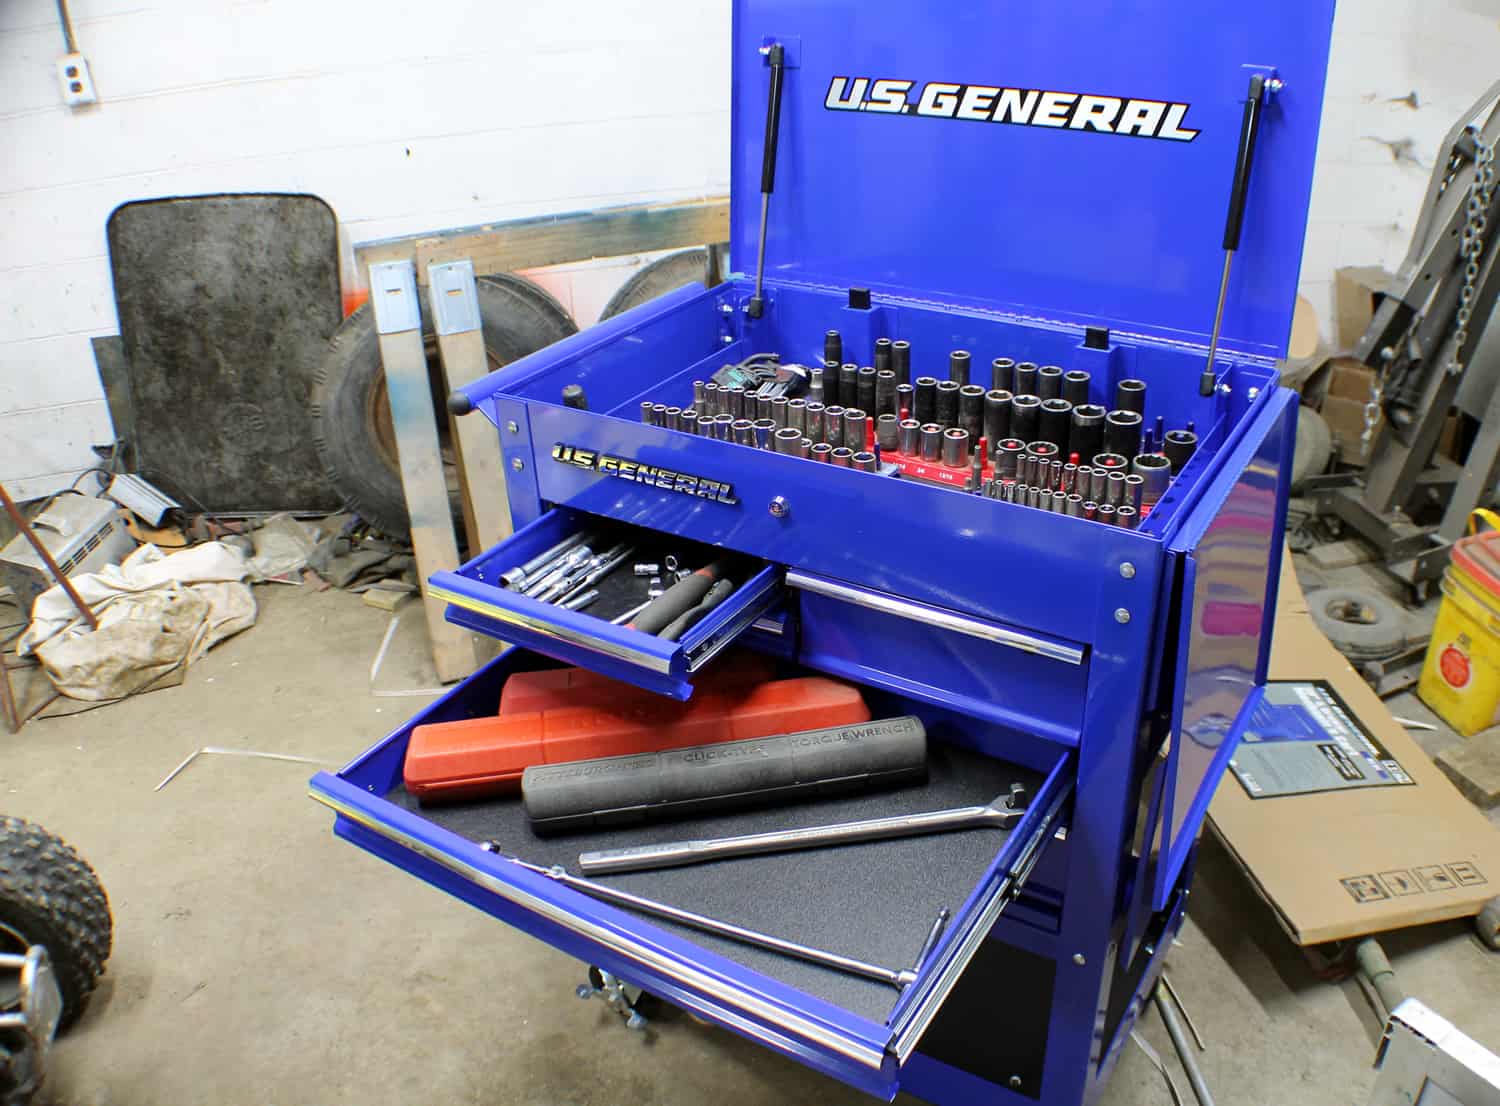
Step 5: Adding Hardware and Finishing Touches
Congratulations! You’re on the final step of building your tool chest with drawers. Now it’s time to add the hardware and apply the finishing touches to complete your project and make it fully functional and visually appealing.
Start by installing the drawer handles or pulls. Consider choosing handles that are durable, easy to grip, and complement the overall design of your tool chest. Measure and mark the desired location for the handles on each drawer front, then attach them securely using screws or bolts.
Next, add any additional hardware that you may have planned, such as lid hinges or corner brackets for added reinforcement. Make sure to carefully follow the manufacturer’s instructions for each piece of hardware to ensure proper installation.
Once the hardware is in place, it’s time to apply the finishing touches to your tool chest. Sand the entire surface of the chest, including the drawers, to ensure a smooth finish. Remove any dust or debris from the surface before proceeding.
If you prefer a natural wood look, you can apply a clear polyurethane finish to protect the wood and enhance its natural beauty. Alternatively, you can choose to paint the tool chest in a color of your choice, adding a personal touch and matching your workshop’s aesthetic.
Once the finish or paint has dried, carefully inspect your tool chest for any imperfections or touch-ups needed. Make any necessary adjustments, such as tightening screws or sanding down any rough spots, to ensure a professional-looking result.
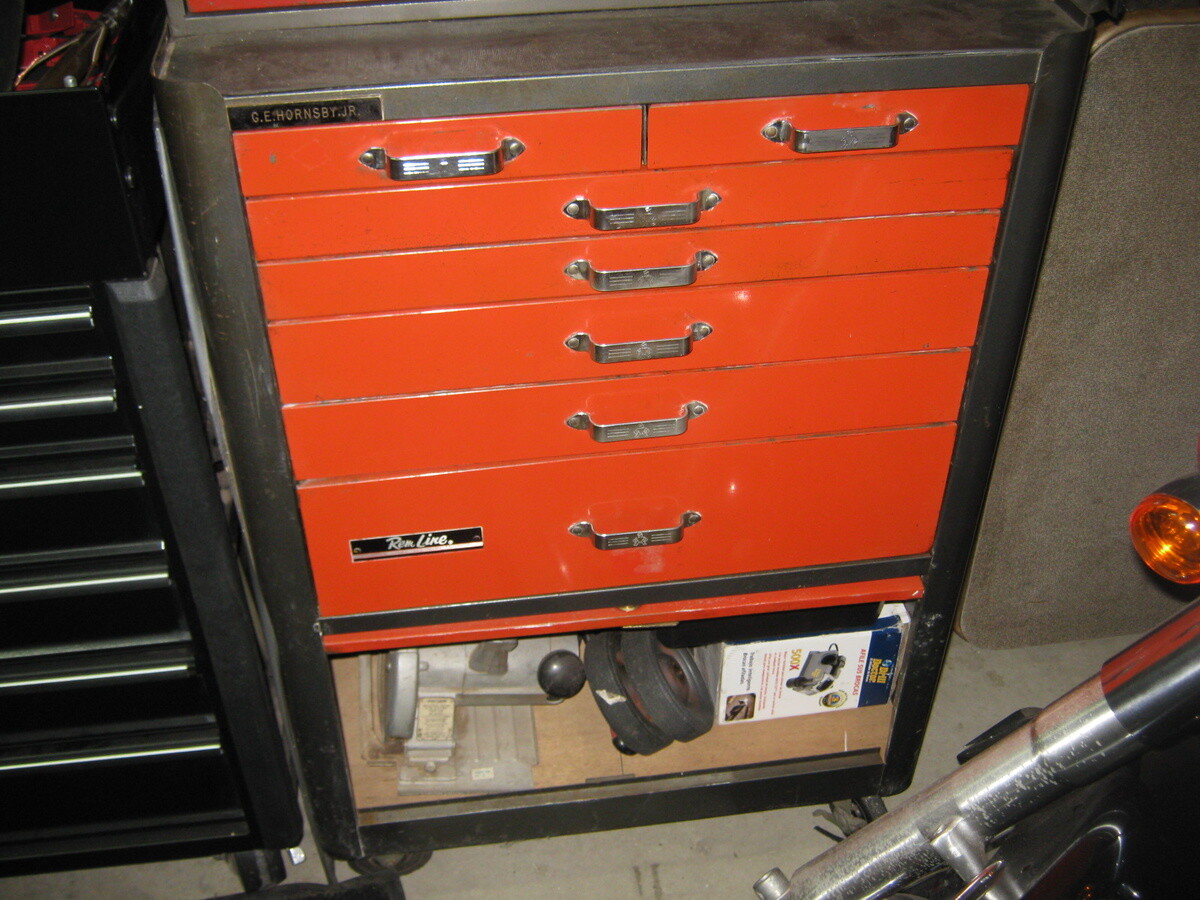
Finally, step back and admire your completed tool chest with drawers. You have now successfully built a functional and customized storage solution for your tools, providing easy access and organization for your projects.
With your tool chest completed, it’s time to fill it with your tools and enjoy the benefits of your hard work. Remember to keep your tool chest clean and well-maintained to ensure its longevity and continued functionality for years to come.
Thank you for following this guide on how to build a tool chest with drawers. We hope this article has provided you with valuable insights and guidance throughout the process. Happy woodworking!
Conclusion
Congratulations on successfully completing your tool chest with drawers! You have now created a customized storage solution that not only keeps your tools organized but also showcases your woodworking skills. Building a tool chest is a gratifying project that provides both functionality and aesthetic value to your workshop or garage.
Throughout this guide, we’ve walked you through the step-by-step process of planning, gathering materials, cutting and sanding panels, assembling the basic structure, building and installing drawers, and adding hardware and finishing touches. By following these steps, you’ve learned crucial woodworking techniques and acquired new skills along the way.
Remember, the key to a successful tool chest is careful planning, accurate measurements, and attention to detail. By taking the time to plan out your design, gather the necessary materials, and follow each step diligently, you’ve created a tool chest that suits your needs and preferences.
Not only does your tool chest provide a practical storage solution, but it also adds a touch of craftsmanship to your workshop. The smooth-operating drawers, sturdy construction, and well-chosen hardware showcase your dedication to quality and precision.
Now it’s time to put your tool chest to work. Organize your tools within the drawers, ensuring each item has its designated place. Enjoy the ease of access and the ability to quickly find the right tool for your project. With your tools neatly organized and protected in the drawers of your tool chest, you can focus more on your projects and less on searching for tools.
In conclusion, building a tool chest with drawers is an excellent woodworking project that combines functionality and craftsmanship. Through careful planning, precise measurements, and attention to detail, you’ve created a storage solution that reflects your skills and meets your needs. Take pride in your completed tool chest and enjoy the benefits it brings to your workshop or garage.
Thank you for following this guide, and we hope you found it informative and inspiring. Happy woodworking!
Frequently Asked Questions about How To Build A Tool Chest With Drawers
Was this page helpful?
At Storables.com, we guarantee accurate and reliable information. Our content, validated by Expert Board Contributors, is crafted following stringent Editorial Policies. We're committed to providing you with well-researched, expert-backed insights for all your informational needs.

0 thoughts on “How To Build A Tool Chest With Drawers”