Home>Articles>How To Remove Drawers From My Kennedy Tool Chest

Articles
How To Remove Drawers From My Kennedy Tool Chest
Modified: August 28, 2024
Learn how to easily remove drawers from your Kennedy Tool Chest with this step-by-step guide. Perfect for DIY enthusiasts and tool enthusiasts.
(Many of the links in this article redirect to a specific reviewed product. Your purchase of these products through affiliate links helps to generate commission for Storables.com, at no extra cost. Learn more)
Introduction
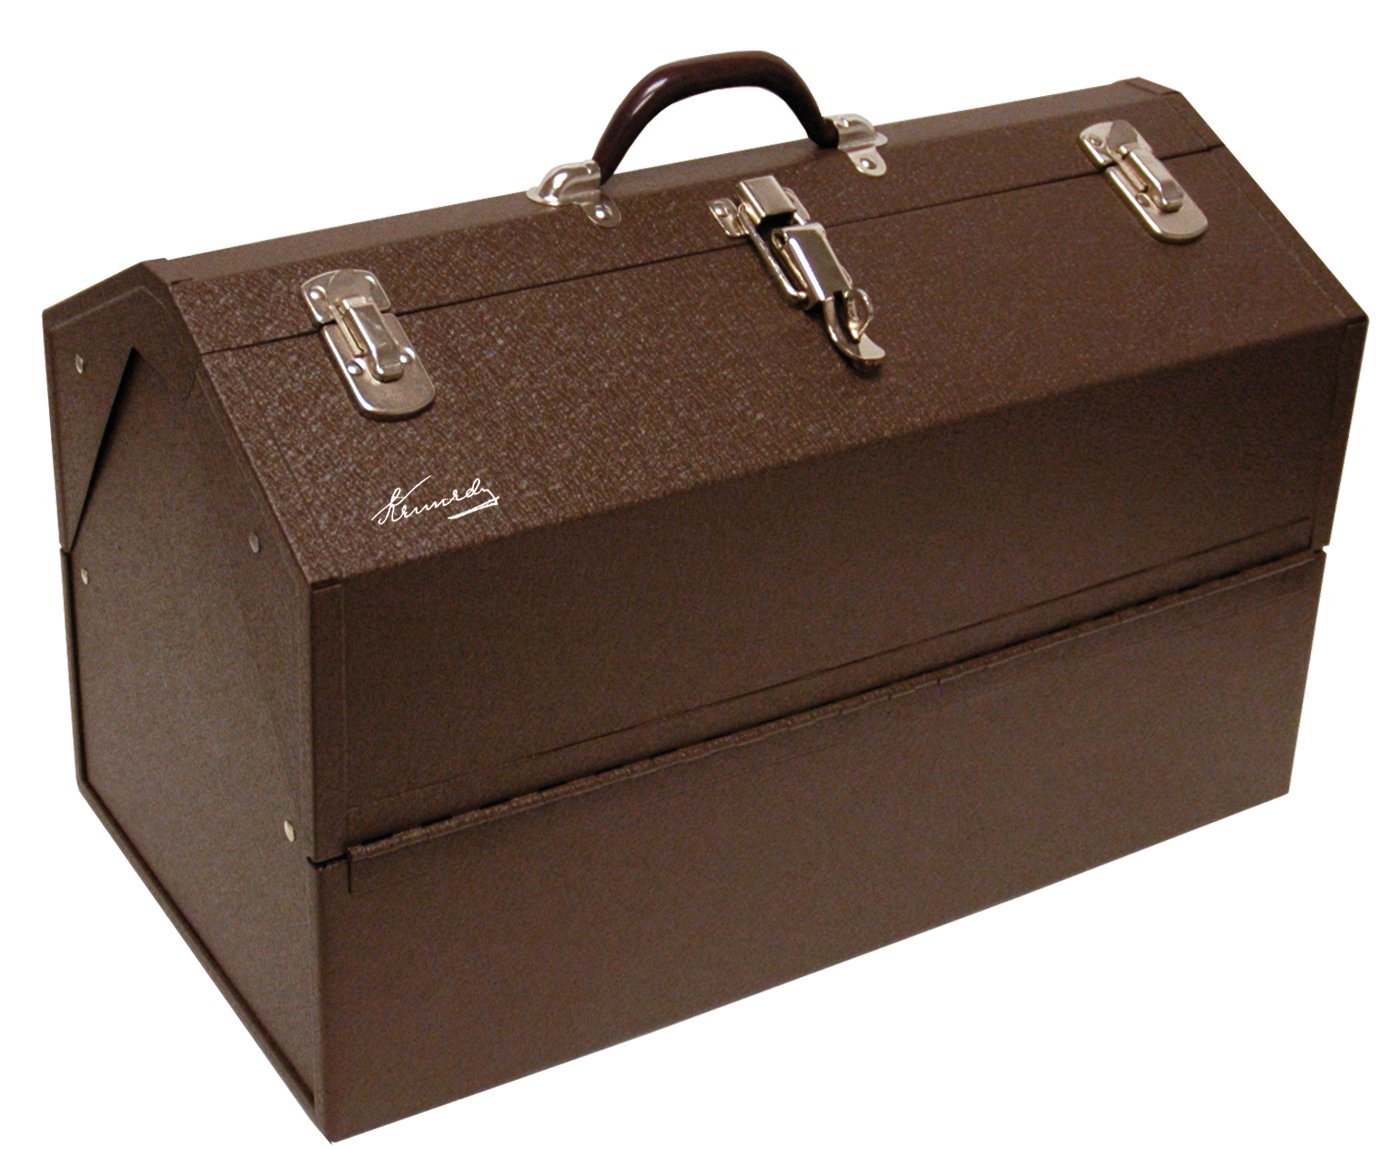
Welcome to this step-by-step guide on how to remove drawers from your Kennedy tool chest. Kennedy tool chests are renowned for their sturdy construction and high-quality design, making them a popular choice for both professional and DIY enthusiasts. However, there may come a time when you need to remove a drawer for maintenance, cleaning, or reorganization purposes.
In this article, we will walk you through the process of safely and efficiently removing drawers from your Kennedy tool chest. By following our guide, you will be able to complete this task with ease and ensure that your tool chest remains in optimal condition.
Before we dive into the steps, it’s important to note that Kennedy tool chests come in various models and designs. While the overall process of removing drawers is similar, there may be slight variations depending on the specific model you have. Hence, it is always recommended to consult your tool chest’s user manual for any specific instructions that may apply.
Are you ready to get started? Let’s begin by ensuring that you have a suitable workspace and the necessary tools at hand!
Key Takeaways:
- Safely and efficiently remove drawers from your Kennedy tool chest by preparing the workspace, unlocking the drawer, and carefully inspecting and cleaning the drawer to maintain optimal functionality and cleanliness.
- Reinstall drawers with ease by aligning, engaging, and testing the drawer to ensure smooth operation. Enjoy the convenience and versatility of your Kennedy tool chest for years to come.
Step 1: Prepare the Workspace
Before you begin removing the drawers from your Kennedy tool chest, it’s crucial to prepare the workspace to ensure a smooth and safe process. Follow these steps to get your workspace ready:
- Clear the area: Remove any obstructions or other tools around your tool chest. Creating a clutter-free workspace will give you ample room to maneuver and prevent any accidental damage or accidents.
- Gather the necessary tools: You will need a few basic tools to safely remove the drawers. These may include a screwdriver, a pair of pliers, or an Allen wrench, depending on the specific model of your Kennedy tool chest.
- Ensure proper lighting: Adequate lighting is essential for you to see clearly and avoid any mistakes during the process. If the workspace is poorly lit, consider using a portable light source or positioning your tool chest near a well-lit area.
By following these steps and preparing your workspace properly, you are setting the stage for a smooth and hassle-free experience while removing the drawers from your Kennedy tool chest. Now that your workspace is ready, let’s move on to the next step: unlocking the drawer!
Step 2: Unlock the Drawer
Before you can remove a drawer from your Kennedy tool chest, you need to ensure that it is unlocked. Most Kennedy tool chests come with a locking mechanism that secures the drawers in place. Follow these steps to unlock the drawer:
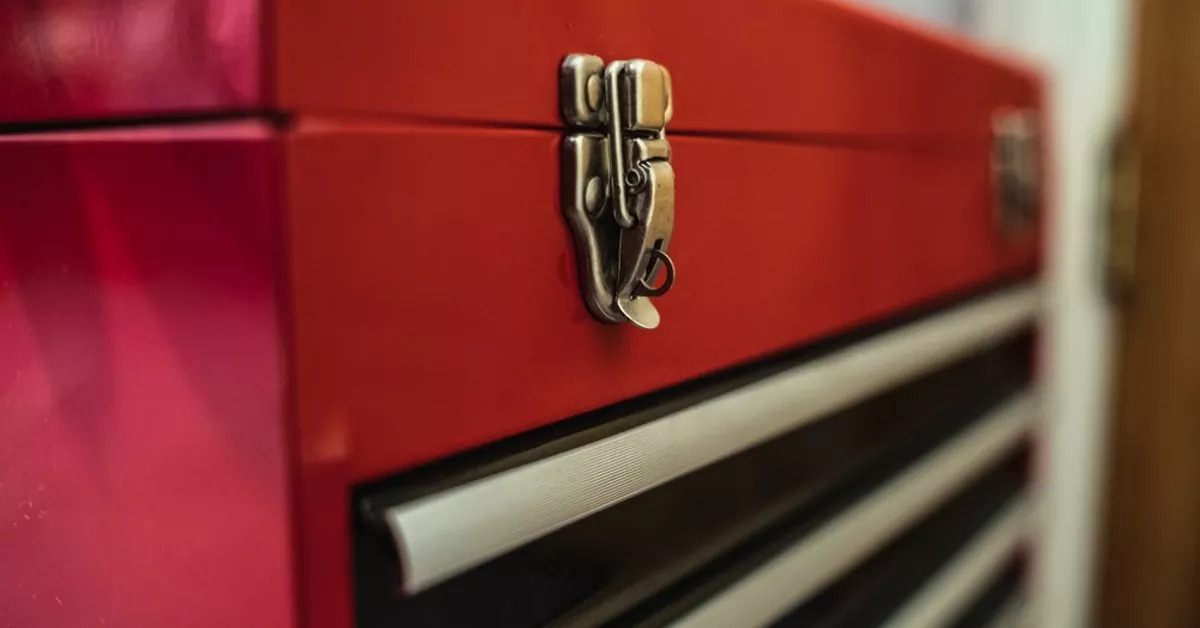
- Locate the drawer lock: Depending on the model of your tool chest, the drawer lock may be located on the front, back, or sides of the drawer. Look for a small lock or latch near the handle or on the inner side of the drawer.
- Identify the lock type: Kennedy tool chests may have different types of drawer locks, including key locks, push-button locks, or combination locks. Determine the specific type of lock present on your drawer.
- Unlock the drawer: If your drawer has a key lock, use the corresponding key to unlock it. Insert the key into the lock and turn it clockwise or counterclockwise to release the lock mechanism. For push-button locks, locate the button or release mechanism and press or hold it to unlock the drawer. If you have a combination lock, enter the correct combination to unlock the drawer.
- Test the lock release: Once you have followed the appropriate unlocking method, gently pull the drawer to check if it is properly unlocked. If it still feels stuck or refuses to budge, double-check the lock to ensure it is fully released.
By successfully unlocking the drawer, you have completed the second step in removing the drawers from your Kennedy tool chest. Now, it’s time to move on to the next step: removing the drawer from the tool chest!
Step 3: Remove the Drawer
Now that you have unlocked the drawer, it’s time to remove it from your Kennedy tool chest. Follow these steps to safely and properly remove the drawer:
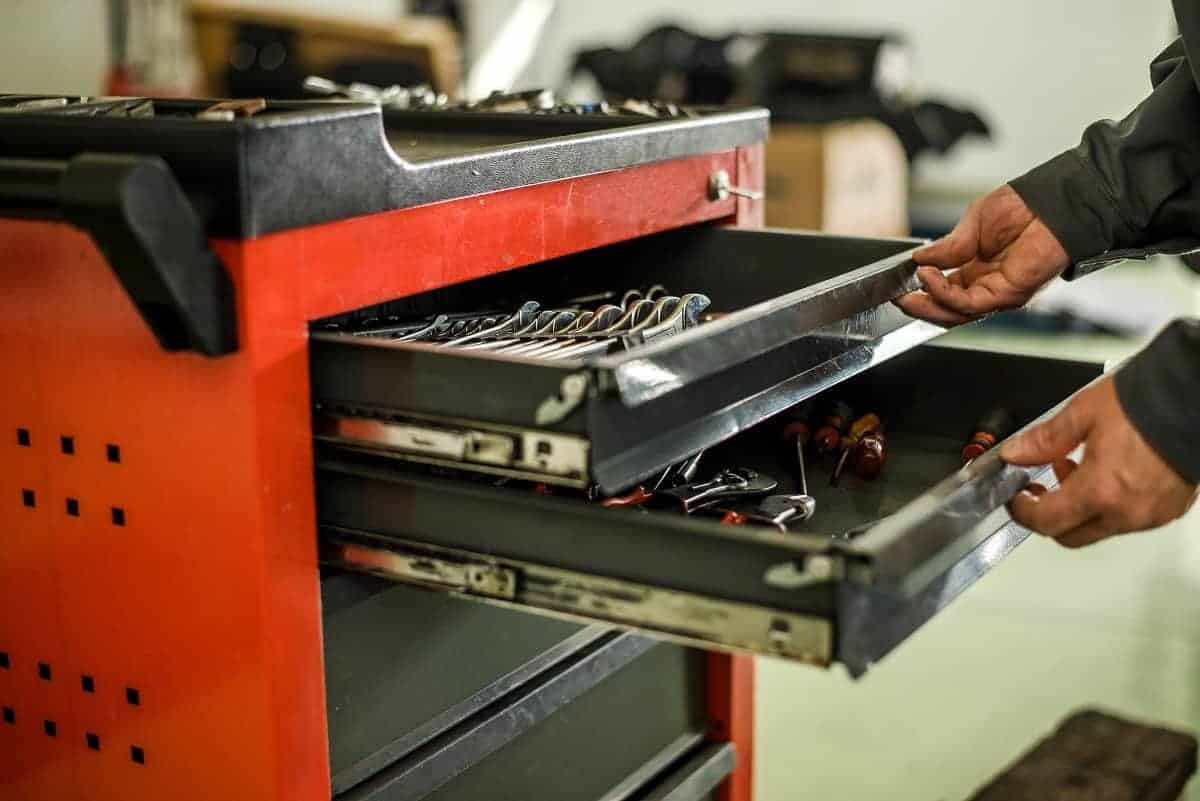
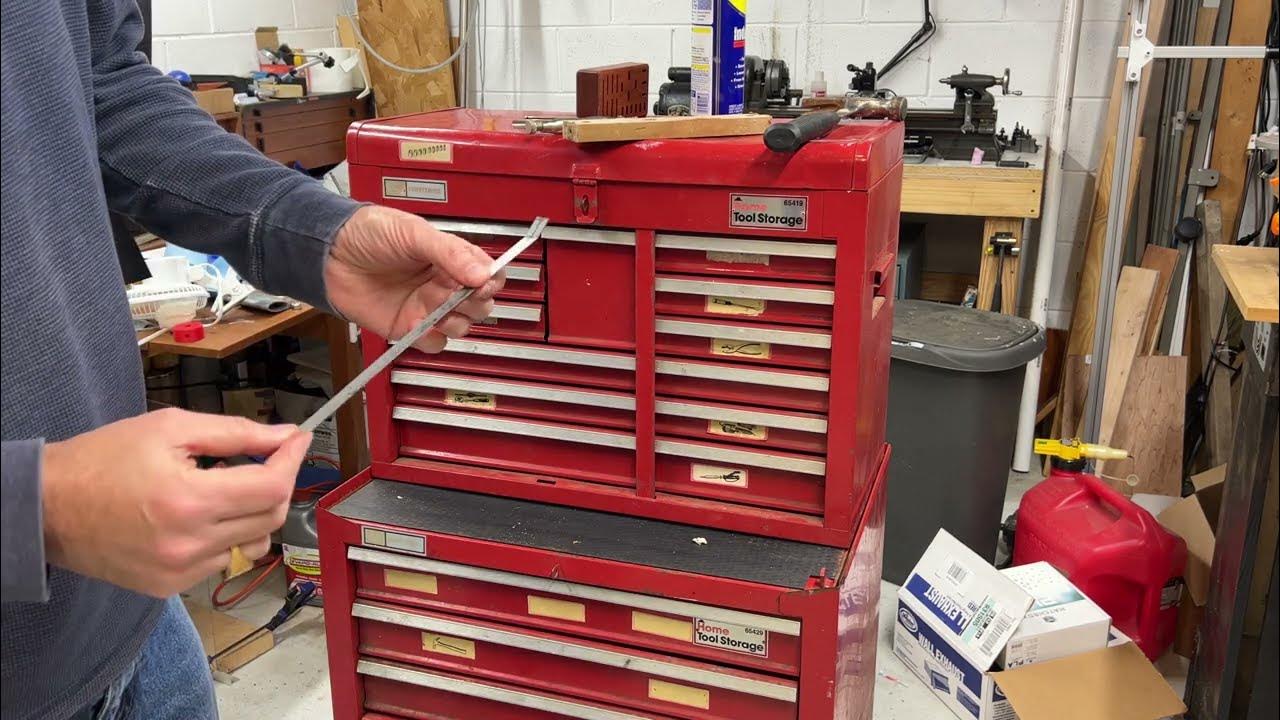
- Extend the drawer: Pull the drawer out as far as it will go, allowing you easy access to the inside of the drawer and the mechanism that connects it to the chest.
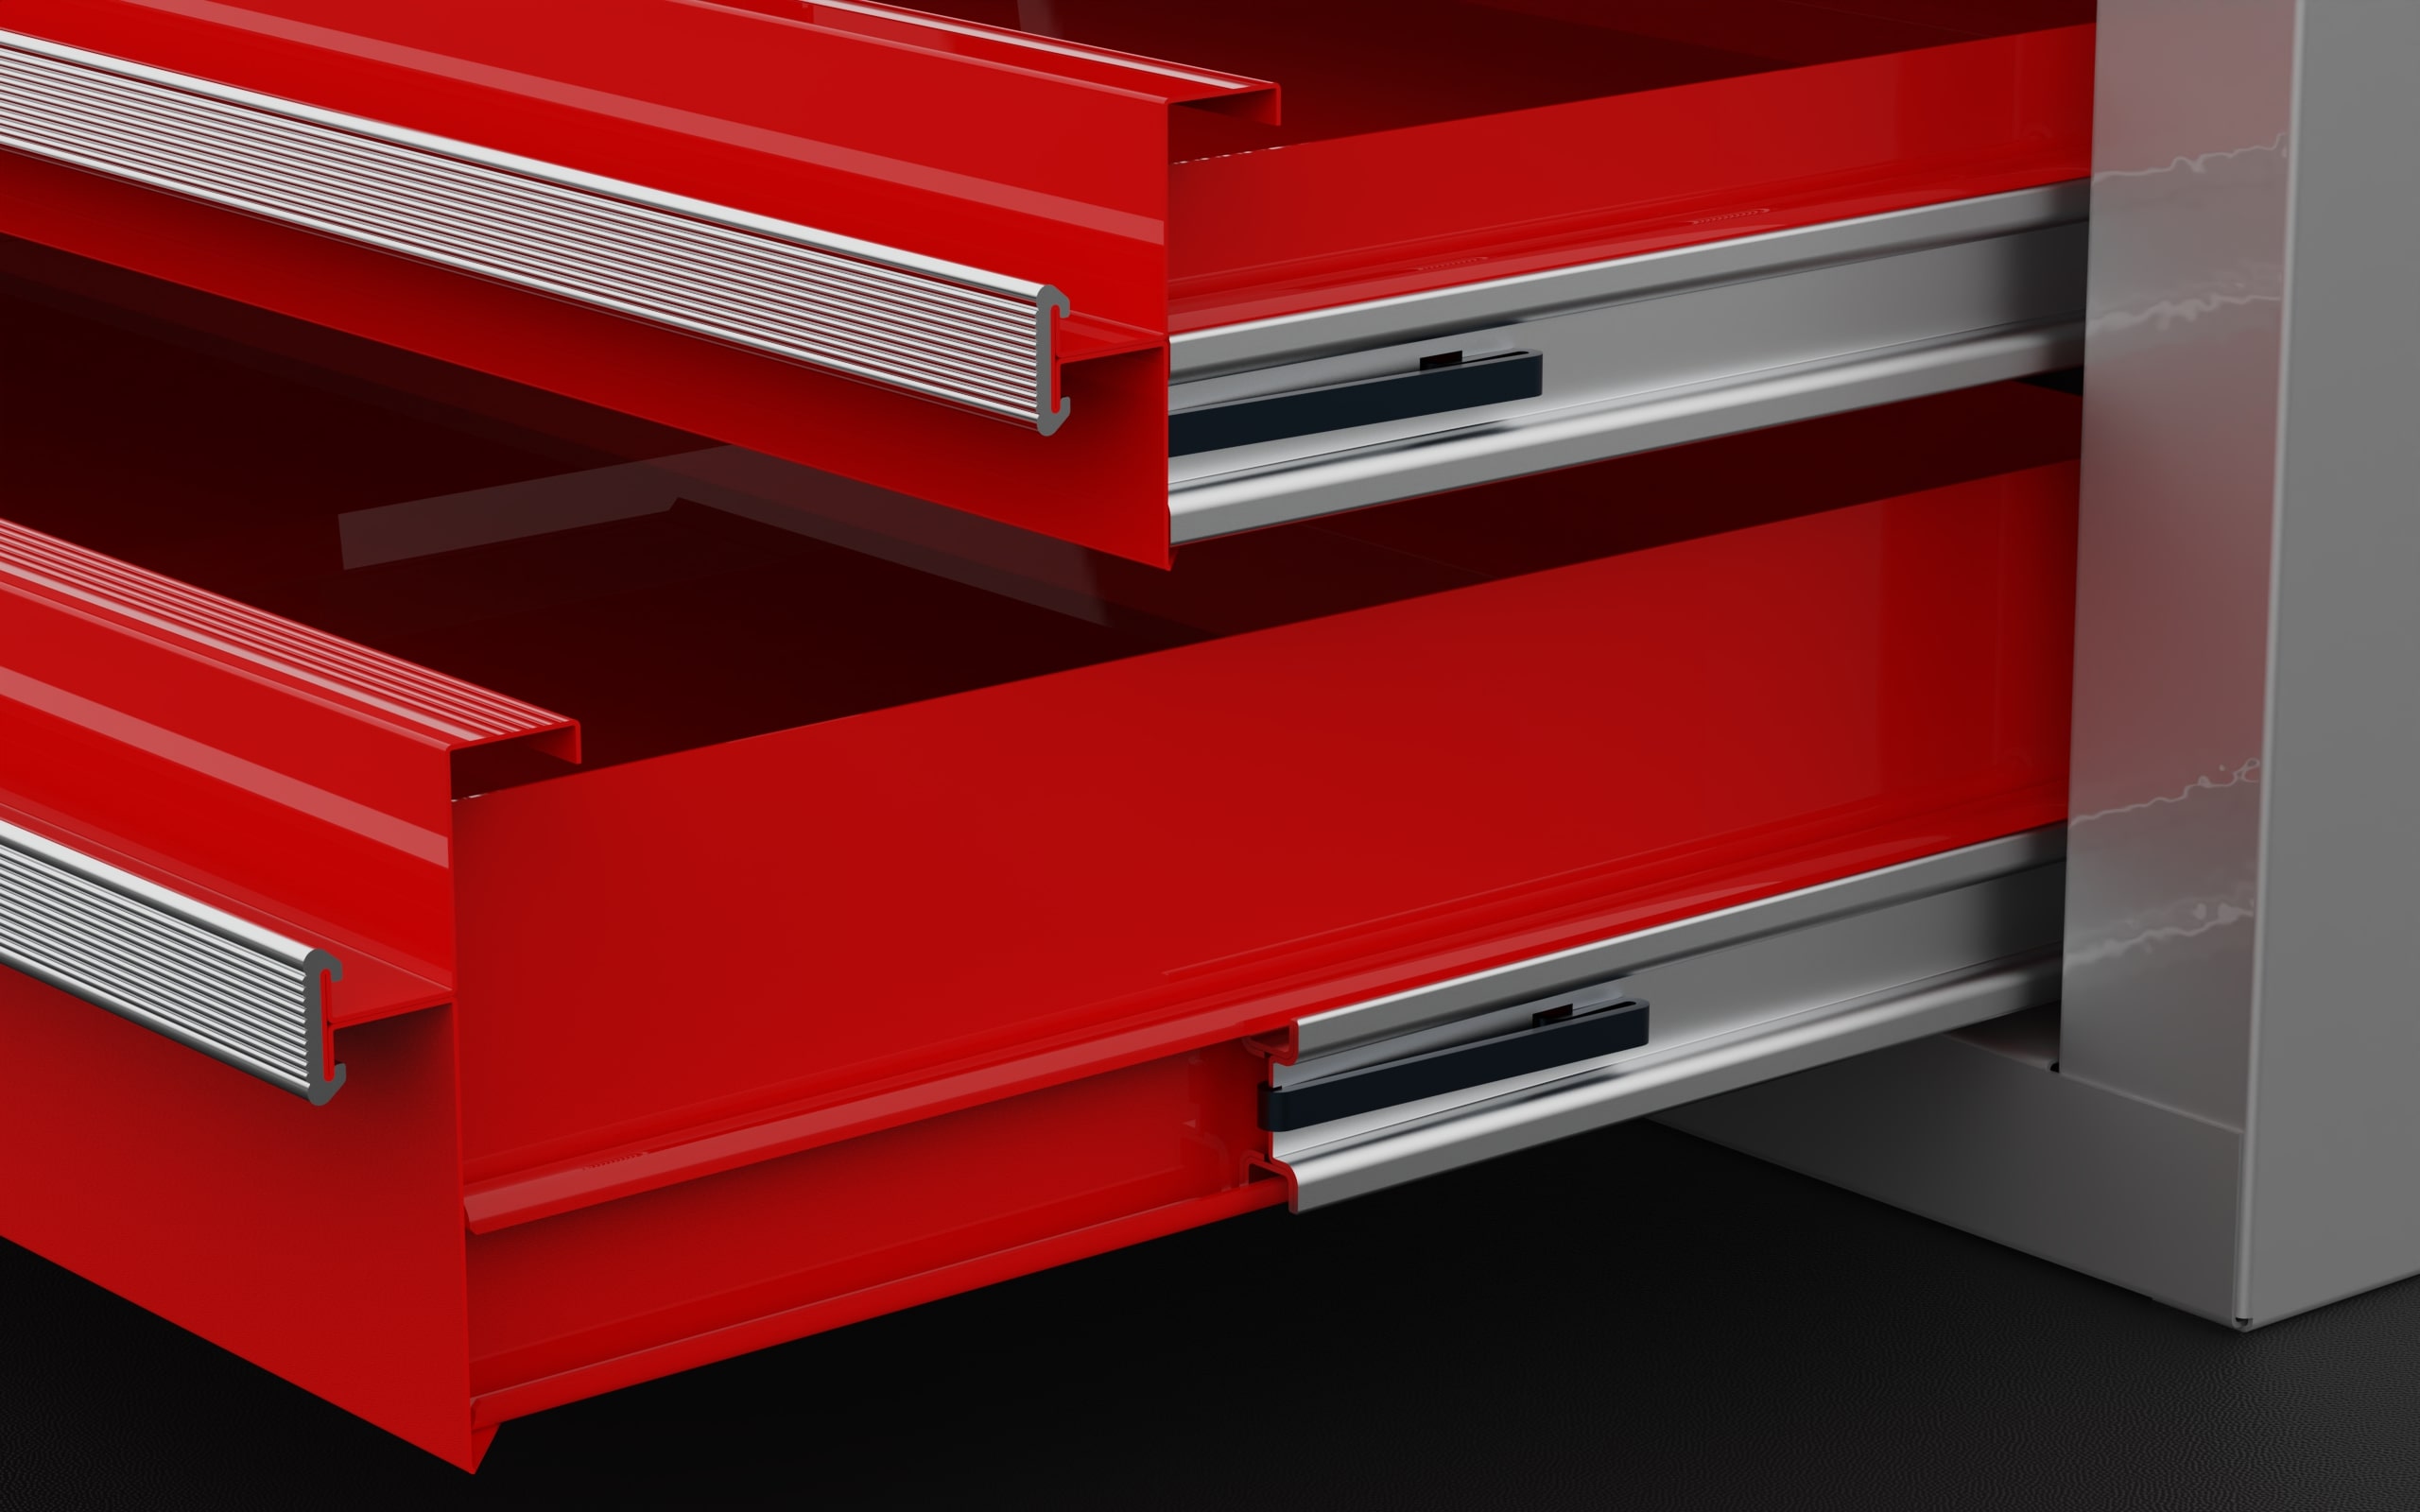
- Locate the release mechanism: Look for the release mechanism on the drawer slides or the side of the drawer. This mechanism may be in the form of a lever, a button, or a latch.
- Activate the release mechanism: Depending on the design of your tool chest, you will need to activate the release mechanism to disengage the drawer from the slides. This may involve pushing a lever, pressing a button, or releasing a latch. Follow the manufacturer’s instructions or consult your tool chest’s user manual for specific guidance.
- Gently lift the front of the drawer: With the release mechanism engaged, lift the front of the drawer slightly off the slides. Be cautious not to lift it too high or at an angle, as this can damage the slides or the drawer itself.
- Lower the drawer and pull it out: Once the front of the drawer is lifted, lower it back down and pull it out towards you. The drawer should come out smoothly and easily if the release mechanism is properly activated.
- Set the drawer aside: Place the removed drawer in a safe and designated area, ensuring it is stable and won’t accidentally slide or tip over.
By following these steps, you can safely and effectively remove the drawer from your Kennedy tool chest without causing any damage. Properly handling and setting aside the drawer allows you to proceed to the next step: inspecting and cleaning the drawer.
To remove drawers from a Kennedy tool chest, start by fully extending the drawer. Then, locate the release tabs on each side of the drawer slides and push them in while pulling the drawer out.
Step 4: Inspect and Clean the Drawer
With the drawer now removed from your Kennedy tool chest, it’s time to inspect and clean it. This step is essential to ensure the longevity and functionality of your tool chest. Here’s how to inspect and clean the drawer:
- Inspect for damage: Carefully examine the interior and exterior of the drawer for any signs of damage, such as cracks, dents, or loose parts. If you notice any issues, take note and assess if any repairs or replacements are necessary.
- Remove debris and dirt: Use a soft cloth or brush to remove any dirt, dust, or debris that may have accumulated inside the drawer. Pay attention to corners, crevices, and the bottom of the drawer where small particles tend to accumulate.
- Clean the drawer: Use a mild cleaning solution or a mixture of warm water and mild detergent to wipe down the interior and exterior surfaces of the drawer. Avoid using harsh chemicals or abrasive cleaners as they may cause damage to the finish.
- Dry the drawer: After cleaning, ensure that the drawer is completely dry before reinserting it into the tool chest. You can use a clean cloth or allow it to air dry naturally.
- Check the drawer slides: Inspect the drawer slides for any signs of wear or damage. If you notice any issues, such as bent or misaligned slides, consider replacing them to ensure smooth drawer operation.
By carefully inspecting and cleaning the drawer, you are maintaining the overall functionality and cleanliness of your Kennedy tool chest. This step not only keeps your tools in good condition but also ensures that your tool chest operates smoothly. Now that you have completed this step, it’s time to move on to the final step: reinstalling the drawer.
Step 5: Reinstall the Drawer
After inspecting, cleaning, and ensuring that the drawer is in good condition, it’s time to reinstall it back into your Kennedy tool chest. Follow these steps to properly reinstall the drawer:
- Align the drawer: Position the drawer in front of the empty slot where it will be reinserted. Ensure that it is properly aligned with the slides or rails.
- Angle the drawer: Tilt the front of the drawer slightly upward, aligning it with the slides or rails.
- Engage the slides or rails: Slowly push the drawer back into the tool chest, making sure that the slides or rails on both sides of the drawer engage properly.
- Test the drawer: Once the drawer is fully inserted, gently slide it in and out to ensure that it moves smoothly and without any obstructions. If you encounter any difficulties or if the drawer feels misaligned, remove it and repeat the installation process, ensuring proper alignment.
- Lock the drawer (if applicable): If your Kennedy tool chest has a lock mechanism, make sure to lock the drawer using the appropriate method. This will secure the drawer in place and prevent it from accidentally sliding open.
By carefully reinstalling the drawer, you are ensuring that it fits securely and functions properly within your tool chest. This step completes the process of removing and reinstalling a drawer from your Kennedy tool chest. Congratulations!
Remember, it’s important to repeat this process for each drawer you want to remove and reinstall. Following these steps will help you maintain the functionality and organization of your Kennedy tool chest.
Now that you are familiar with the process, you can confidently remove and reinstall drawers as needed for maintenance, cleaning, or reorganization purposes. Enjoy the convenience and versatility of your Kennedy tool chest!
Conclusion
Removing drawers from your Kennedy tool chest doesn’t have to be a daunting task. By following the steps outlined in this guide, you can safely and effectively remove and reinstall drawers as needed. Whether you’re performing maintenance, organizing your tools, or cleaning the drawers, these steps will help you navigate the process with ease.
Remember to always prepare your workspace and gather the necessary tools before starting. Unlock the drawer using the appropriate method, ensuring that it is fully released. Carefully remove the drawer from the tool chest by activating the release mechanism and lifting it off the slides. Once removed, take the time to inspect, clean, and dry the drawer thoroughly.
When you are ready to reinsert the drawer, align it with the slides or rails and gently push it back into place. Test the drawer to ensure it moves smoothly and securely. If your Kennedy tool chest has a lock mechanism, make sure to lock the drawer for added security.
By following these steps, you can maintain the functionality, cleanliness, and organization of your Kennedy tool chest. Regularly removing and reinstalling drawers also allows you to reorganize your tools and optimize the use of your tool chest. Take advantage of the durability and quality construction of Kennedy tool chests, and enjoy the convenience they provide in your work environment.
Remember, always consult your tool chest’s user manual for any specific instructions that may apply to your particular model. With proper care and maintenance, your Kennedy tool chest will continue to serve you well for years to come.
Frequently Asked Questions about How To Remove Drawers From My Kennedy Tool Chest
Was this page helpful?
At Storables.com, we guarantee accurate and reliable information. Our content, validated by Expert Board Contributors, is crafted following stringent Editorial Policies. We're committed to providing you with well-researched, expert-backed insights for all your informational needs.


0 thoughts on “How To Remove Drawers From My Kennedy Tool Chest”