Articles
How To Stiffen Up A Rolling Tool Chest
Modified: September 1, 2024
Learn the best tips and techniques on how to stiffen up your rolling tool chest with these helpful articles. Transform your storage solution into a sturdy and reliable asset for your tools.
(Many of the links in this article redirect to a specific reviewed product. Your purchase of these products through affiliate links helps to generate commission for Storables.com, at no extra cost. Learn more)
Introduction
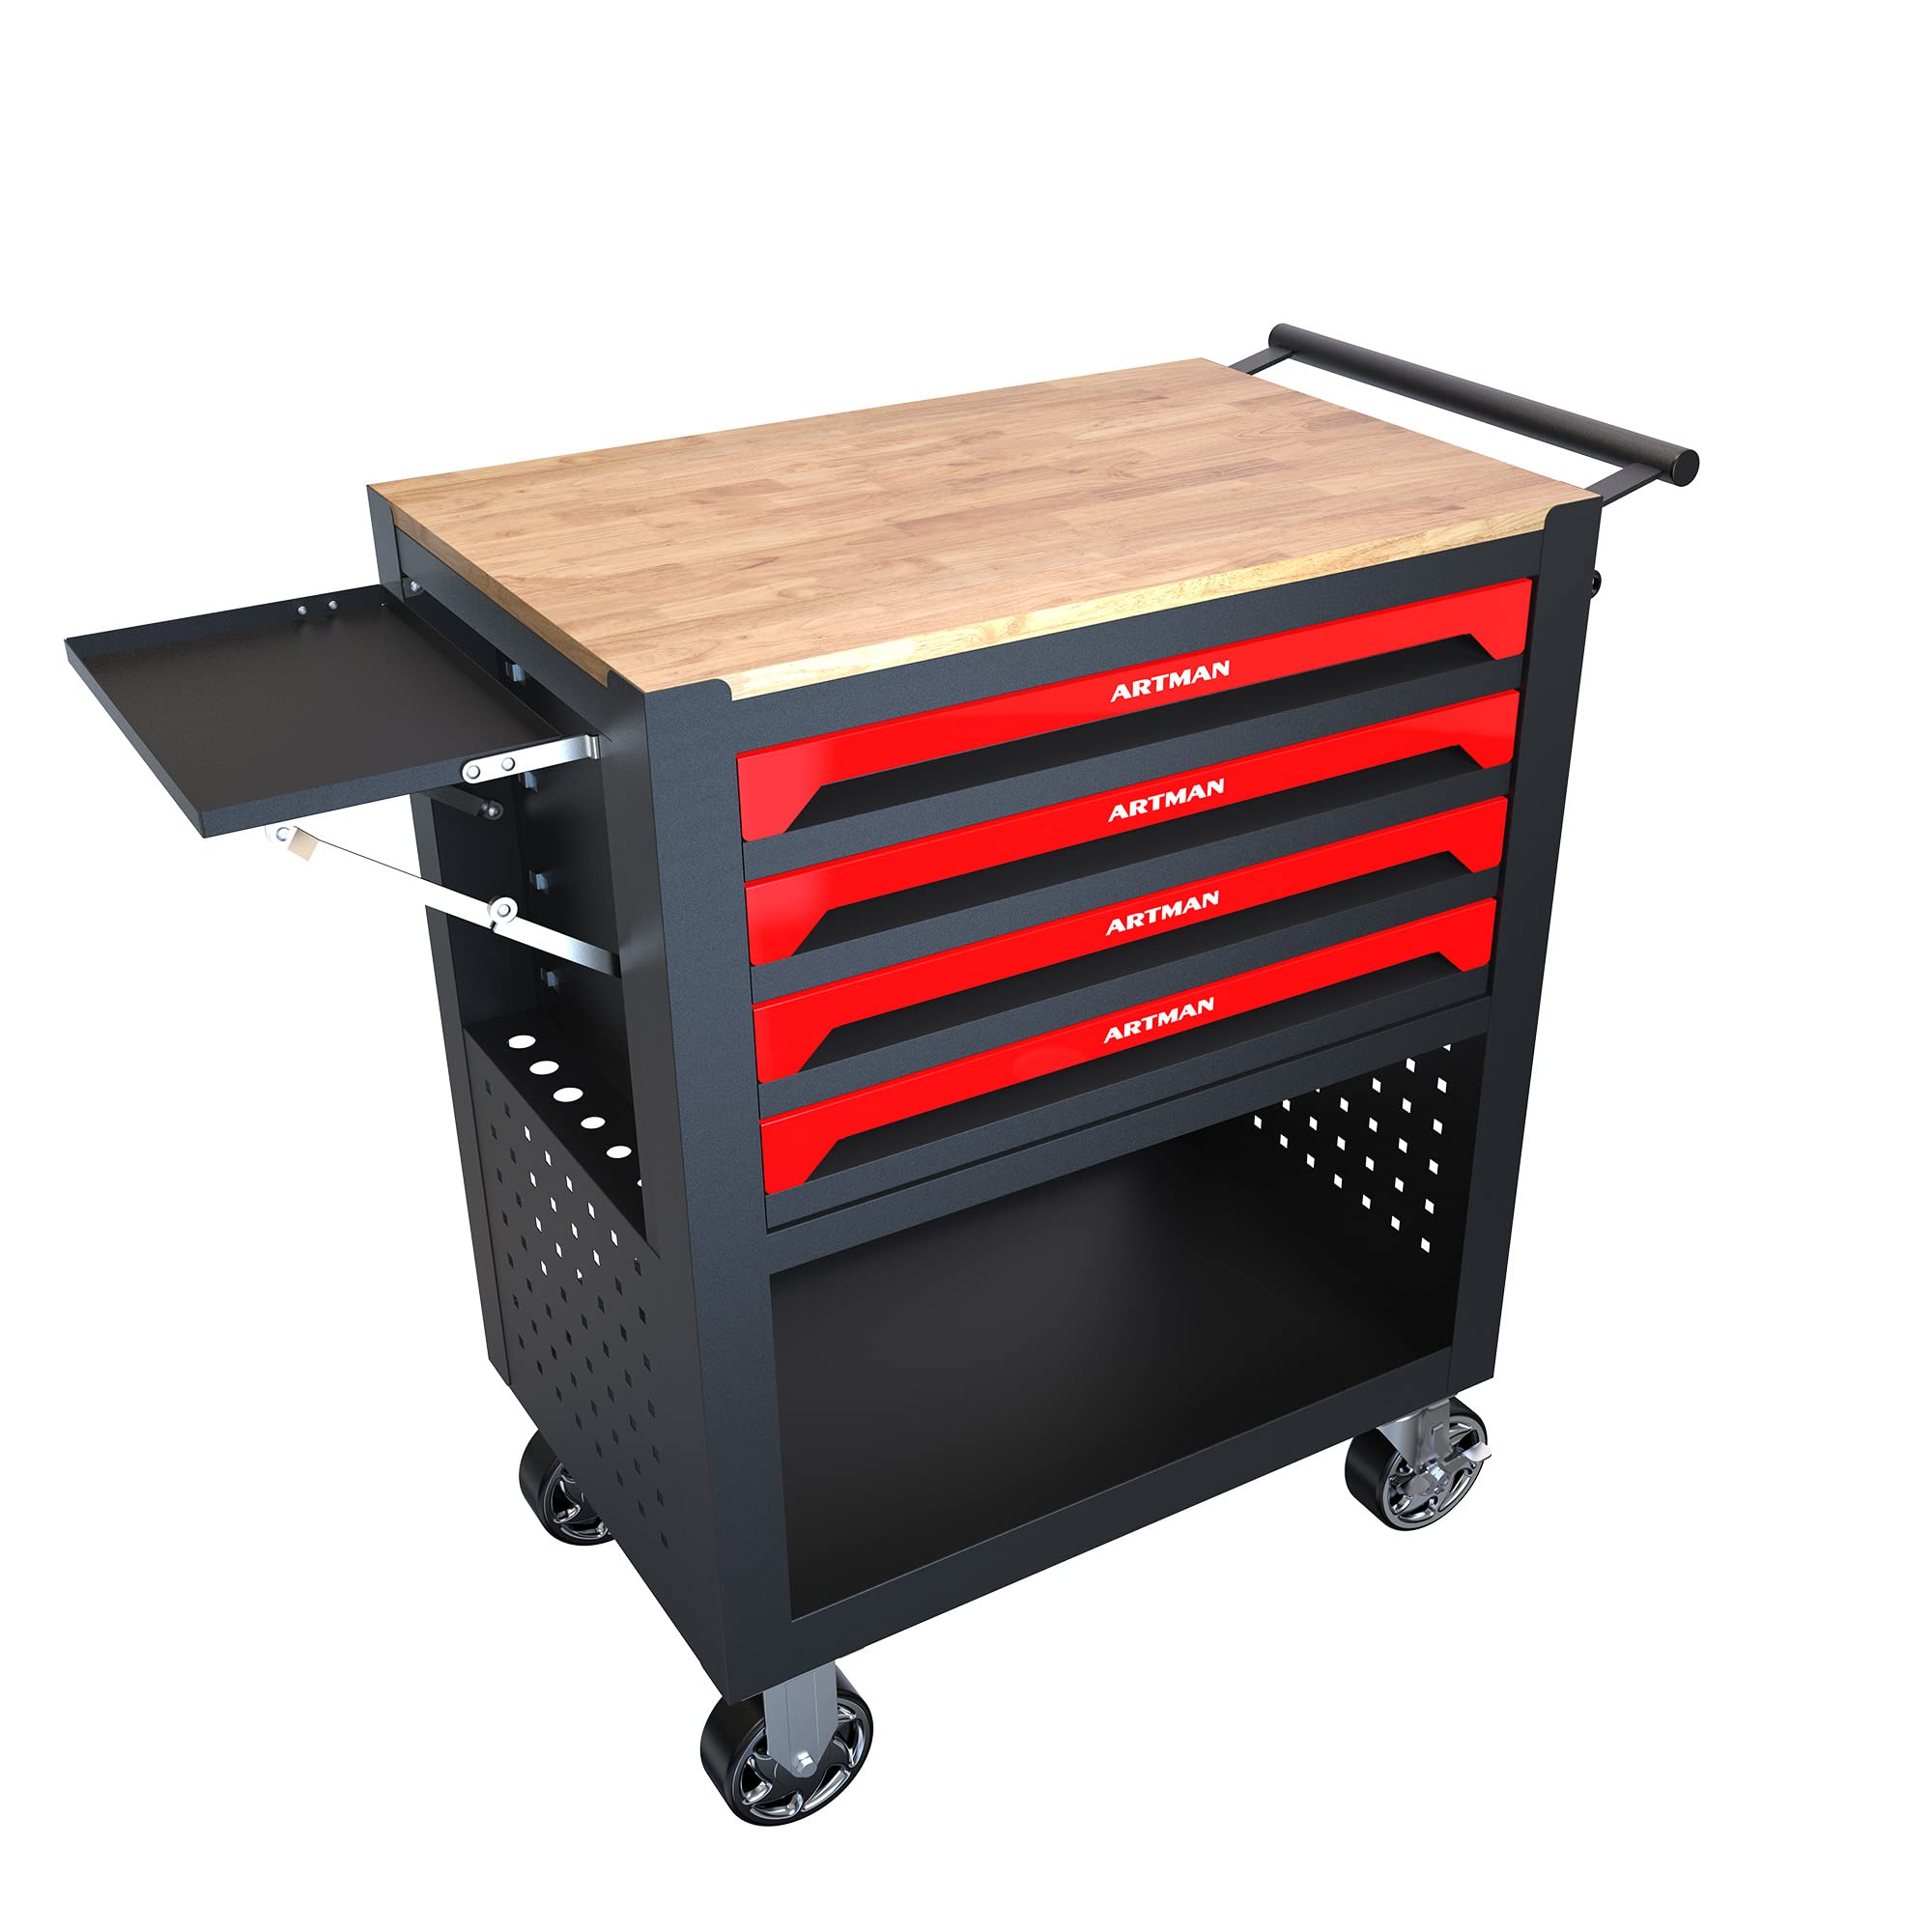
A rolling tool chest is an essential piece of equipment for anyone who regularly works with tools. It provides a convenient and organized space to store and transport your tools to different locations. However, over time, a rolling tool chest may start to lose its sturdiness and stability, making it difficult to maneuver or causing tools to shift and fall inside.
In this article, we will explore various steps and techniques to stiffen up a rolling tool chest, ensuring that it regains its strength and stability. By following these simple steps, you can extend the lifespan of your tool chest and improve your overall work experience.
Before we delve into the steps, let’s gather the tools and materials you’ll need for this project:
- Adjustable wrench
- Screwdriver set
- Wood glue
- Corner braces
- Drill
- Screws
- Measuring tape
- Level
- Floor anchors (optional)
Once you have these items ready, we can begin the process of stiffening up your rolling tool chest.
Key Takeaways:
- Strengthen your rolling tool chest by emptying, inspecting, and reinforcing it. Tighten loose fasteners, reinforce weak joints, and add corner braces for stability. Secure it to the floor for extra support.
- Ensure the longevity and reliability of your rolling tool chest by reinforcing weak joints, adding corner braces, and securing it to the floor. Regular maintenance and reinforcement enhance durability and provide a safer working environment.
Tools and Materials Needed
Before you start stiffening up your rolling tool chest, make sure you have the necessary tools and materials on hand. Here’s a list of what you’ll need:
- Adjustable wrench: This will be used to tighten any loose fasteners.
- Screwdriver set: Different size screwdrivers will be needed to remove and tighten screws.
- Wood glue: This will be used to reinforce weak joints and strengthen the overall structure of the tool chest.
- Corner braces: Metal corner braces will provide additional support to the corners of the tool chest.
- Drill: You’ll need a drill to create pilot holes for screws or anchor points.
- Screws: Screws will be used to secure various elements of the tool chest together.
- Measuring tape: This will help you accurately measure and align components.
- Level: A level will ensure that the tool chest is properly aligned and balanced.
- Floor anchors (optional): If you want to secure the tool chest to the floor, you’ll need floor anchors.
Having these tools and materials readily available will ensure a smooth and efficient process when it comes to stiffening up your rolling tool chest. Now, let’s move on to the step-by-step instructions.
Step 1: Emptying the Tool Chest
The first step to stiffening up a rolling tool chest is to empty its contents. Remove all the tools, accessories, and any other items stored inside the tool chest. This will make it easier to access all the areas that need to be reinforced and ensure that you have ample space to work.
Once you have emptied the tool chest, take some time to clean it out. Remove any debris, dust, or dirt that may have accumulated over time. Wipe down the surfaces inside the chest to create a clean working environment.
Additionally, this is a good opportunity to declutter and organize your tools. Take a moment to assess the tools you have and determine if there are any that you no longer use or need. Consider donating or properly disposing of these tools to free up space in your tool chest and make it more efficient.
With the tool chest empty and clean, you are now ready to move on to the next step: inspecting the casters.
Step 2: Inspecting the Casters
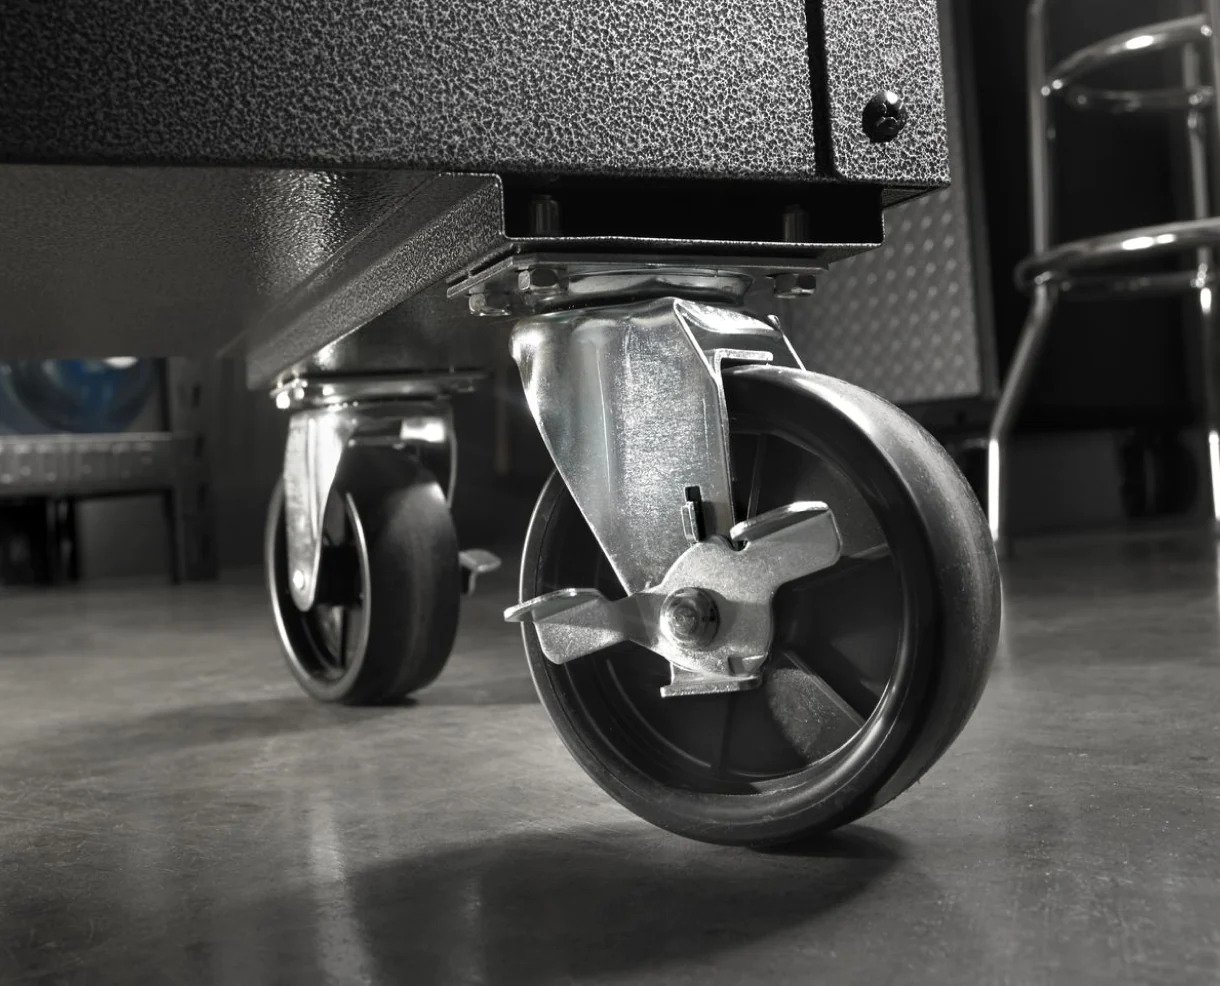
Once you have emptied and cleaned the tool chest, it’s time to inspect the casters. The casters are the wheels that allow the tool chest to roll and maneuver easily. Over time, these casters can become loose or worn out, compromising the stability of the tool chest.
Start by examining each caster individually. Look for any signs of damage, such as cracks, breaks, or bent parts. If you notice any significant damage, it’s best to replace the caster with a new one to ensure safe and smooth rolling.
Next, check the tightness of the caster attachments. Use an adjustable wrench to tighten any loose bolts or nuts that secure the casters to the tool chest. This will help eliminate any wobbling or instability caused by loose attachments.
It’s also a good idea to lubricate the caster wheels to ensure smooth, friction-free rolling. Apply a small amount of lubricant, such as silicone spray or oil, to the wheel bearings. Rotate the wheels to distribute the lubricant evenly.
After inspecting and addressing any issues with the casters, test the tool chest by pushing and moving it around. Make sure that all the casters are rolling smoothly and that there are no noticeable wobbles or uneven movements.
By inspecting and maintaining the casters, you are ensuring that your tool chest remains stable and easy to maneuver. Now, let’s move on to Step 3: tightening loose fasteners.
Step 3: Tightening Loose Fasteners
One common issue that can contribute to the instability of a rolling tool chest is the presence of loose fasteners. Over time, the vibrations and movements of the tool chest can cause screws, bolts, and other fasteners to become loose, compromising the overall structural integrity. In this step, we will address these loose fasteners to ensure a sturdy tool chest.
Start by carefully inspecting each corner and joint of the tool chest. Use a screwdriver or an adjustable wrench to tighten any loose screws or bolts that you come across. It’s important to make sure that all fasteners are tightened securely, but be careful not to overtighten and strip the threads.
Pay special attention to areas where you may find loose fasteners, such as the handle, lock mechanisms, drawer slides, and any other components attached to the tool chest. Make sure to examine both the exterior and interior of the chest.
If you encounter a stripped screw or bolt that cannot be securely tightened, consider replacing it with a new one of the same size and type. This will ensure that the connection is strong and stable.
Once you have tightened all the loose fasteners, test the stability of the tool chest by applying gentle pressure and shaking it lightly. If you notice any remaining wobbling or instability, double-check all the fasteners to make sure they are tightened properly.
By addressing and tightening any loose fasteners, you are restoring the structural integrity of your rolling tool chest. Now, let’s move on to Step 4: reinforcing weak joints.
Consider adding a sheet of plywood to the bottom of the tool chest to provide extra support and prevent it from flexing or bending when loaded with heavy tools.
Step 4: Reinforcing Weak Joints
In this step, we will focus on reinforcing any weak joints in your rolling tool chest. Over time, the constant use and movement of the chest can cause joints to weaken, leading to instability and potential damage.
Start by inspecting all the joints of the tool chest, including corners and where different panels meet. Look for any signs of separation, cracks, or looseness in the joints. These weak spots can compromise the overall strength and stability of the chest.
If you come across any weak joints, use wood glue to reinforce them. Apply a generous amount of wood glue along the joint and use clamps to hold the pieces together tightly while the glue dries. Follow the instructions on the wood glue bottle for the recommended drying time.
If the joint is severely weakened or damaged, you may need to use additional reinforcement techniques, such as applying metal brackets or using screws to secure the joint. Consult a hardware store or a professional for guidance on the best approach for your specific situation.
As you reinforce the weak joints, make sure to wipe away any excess glue with a damp cloth to maintain a clean appearance. Allow the glue to fully dry and cure before moving on to the next step.
By reinforcing the weak joints, you are strengthening the overall structure of your tool chest, making it more durable and reliable. Now, let’s proceed to Step 5: adding corner braces.
Step 5: Adding Corner Braces
In this step, we will add corner braces to provide extra support and reinforcement to the corners of your rolling tool chest. Corner braces are metal brackets that can help stabilize and strengthen the overall structure of the chest.
To begin, measure the height and width of each corner where you plan to install the corner braces. Use a measuring tape to ensure accurate measurements.
Next, select corner braces that are suitable for the size and style of your tool chest. These braces can be found at hardware stores or online, and they typically come in various sizes and finishes.
Position one corner brace on the inside of a corner, aligning it with the edges of the top and side panels. Mark the screw hole locations on both the chest and the brace using a pencil or marker.
Using a drill, create pilot holes at the marked locations. The size of the pilot holes should be slightly smaller than the screws you are using with the corner braces.
Once the pilot holes are drilled, align the corner brace again with the marks on the chest and secure it in place using screws. Repeat this process for each corner brace, making sure to install them on all corners of the tool chest.
Check the stability of the chest after adding the corner braces. The braces should provide additional support and reinforcement, reducing any wobbling or movement in the corners.
By adding corner braces, you are reinforcing the corners of your rolling tool chest, ensuring that it remains sturdy and stable. Now, let’s move on to Step 6: reinforcing the bottom panel.
Step 6: Reinforcing Bottom Panel
In this step, we will focus on reinforcing the bottom panel of your rolling tool chest. The bottom panel often bears the weight of the tools and equipment stored inside, and over time, it can become weakened or sagged.
Start by emptying the tool chest once again to access the bottom panel more easily. Flip the chest upside down and inspect the condition of the bottom panel.
If you notice any signs of sagging or weakness in the bottom panel, you can reinforce it by adding additional support. One effective method is to cut a piece of plywood or a similar sturdy material to fit the dimensions of the bottom panel.
Place the cut piece of plywood on top of the existing bottom panel, ensuring that it aligns properly with the edges. If necessary, use a measuring tape and a saw to trim the plywood to the correct size.
Secure the plywood to the bottom panel by using wood glue and screws. Apply wood glue along the edges of the plywood and press it firmly onto the existing bottom panel. Then, drive screws through the plywood and into the bottom panel at regular intervals to create a secure bond.
Allow the wood glue to dry according to the instructions provided with the product. Once the glue is completely dry, flip the tool chest back over, and check the stability of the bottom panel. It should feel reinforced and able to support the weight of your tools without sagging.
By reinforcing the bottom panel, you are ensuring that your rolling tool chest remains structurally sound and capable of withstanding the weight of your tools. Now, let’s move on to the final step: securing the tool chest to the floor.
Step 7: Securing Tool Chest to the Floor
In the final step, we will discuss how to secure your rolling tool chest to the floor. This is an optional step but can provide additional stability and prevent the chest from tipping or shifting during use.
Before you begin, consider the layout of your workspace and determine the most suitable location for your tool chest. Make sure there is enough space for easy access and maneuverability.
If you have decided to secure the tool chest to the floor, start by marking the desired position on the floor. Use a measuring tape to ensure accurate placement.
Next, determine which type of anchors or fasteners will work best for your particular floor type. Concrete floors will require concrete anchors, while wooden floors may require wood screws or other appropriate fasteners.
Once you have selected the appropriate anchors or fasteners, use a drill to create pilot holes at the marked locations on the floor. Ensure that the pilot holes are slightly smaller than the size of the anchors or fasteners you are using.
Position the tool chest over the pilot holes and align it with the marked positions. Insert the anchors or fasteners through the holes in the tool chest and into the pilot holes on the floor.
Tighten the anchors or fasteners securely, being careful not to overtighten and cause damage. Use a level to ensure that the tool chest is balanced and properly aligned.
By securing the tool chest to the floor, you are adding an extra layer of stability and safety. It prevents the chest from tipping over or moving unexpectedly while you are working with your tools.
With that, you have successfully followed the steps to stiffen up your rolling tool chest. By emptying the chest, inspecting and tightening fasteners, reinforcing weak joints, adding corner braces, reinforcing the bottom panel, and securing it to the floor, you have ensured that your tool chest is sturdy and durable.
Remember to regularly inspect and maintain your tool chest to keep it in optimal condition. This will improve its longevity and provide a reliable storage solution for your valuable tools.
Now, go ahead and enjoy your newly reinforced rolling tool chest, knowing that it will provide you with a secure and efficient way to organize and transport your tools!
Read also: 14 Best Rolling Tool Chest for 2025
Conclusion
Stiffening up a rolling tool chest is a simple yet important process to ensure its longevity, stability, and reliability. By following the steps outlined in this article – emptying the chest, inspecting and tightening fasteners, reinforcing weak joints, adding corner braces, reinforcing the bottom panel, and securing it to the floor – you can significantly improve the strength and functionality of your tool chest.
Regularly maintaining and reinforcing your tool chest not only enhances its durability but also provides a safer working environment. A sturdy tool chest ensures that your tools are stored securely and prevents them from shifting or falling during transportation.
Remember to gather the necessary tools and materials before starting the process. This includes an adjustable wrench, screwdriver set, wood glue, corner braces, drill, screws, measuring tape, level, and floor anchors if necessary.
Throughout the process, pay attention to any signs of wear and tear, such as loose fasteners, weak joints, or sagging panels. Address these issues promptly to prevent further damage and potential accidents.
By implementing the steps outlined in this article, you can reclaim the stability and dependability of your rolling tool chest, ensuring that it serves you well for years to come. Take pride in your organized and secure tool storage, and enjoy the convenience and efficiency it brings to your work process.
Always remember to periodically inspect and maintain your tool chest to keep it in optimal condition. This includes checking and tightening fasteners, lubricating casters, and keeping it clean and free of debris.
Now that you have the knowledge and know-how, grab your tools and get to work on stiffening up your rolling tool chest. Your improved storage solution will make your work easier and more enjoyable, providing a solid foundation for all your projects.
Frequently Asked Questions about How To Stiffen Up A Rolling Tool Chest
Was this page helpful?
At Storables.com, we guarantee accurate and reliable information. Our content, validated by Expert Board Contributors, is crafted following stringent Editorial Policies. We're committed to providing you with well-researched, expert-backed insights for all your informational needs.


0 thoughts on “How To Stiffen Up A Rolling Tool Chest”