Articles
How Does A Rv Toilet Work
Modified: October 19, 2024
Discover how an RV toilet works and learn essential tips and tricks in our informative articles. Explore the inner workings of RV toilets and ensure optimal functionality for your next adventure.
(Many of the links in this article redirect to a specific reviewed product. Your purchase of these products through affiliate links helps to generate commission for Storables.com, at no extra cost. Learn more)
Introduction
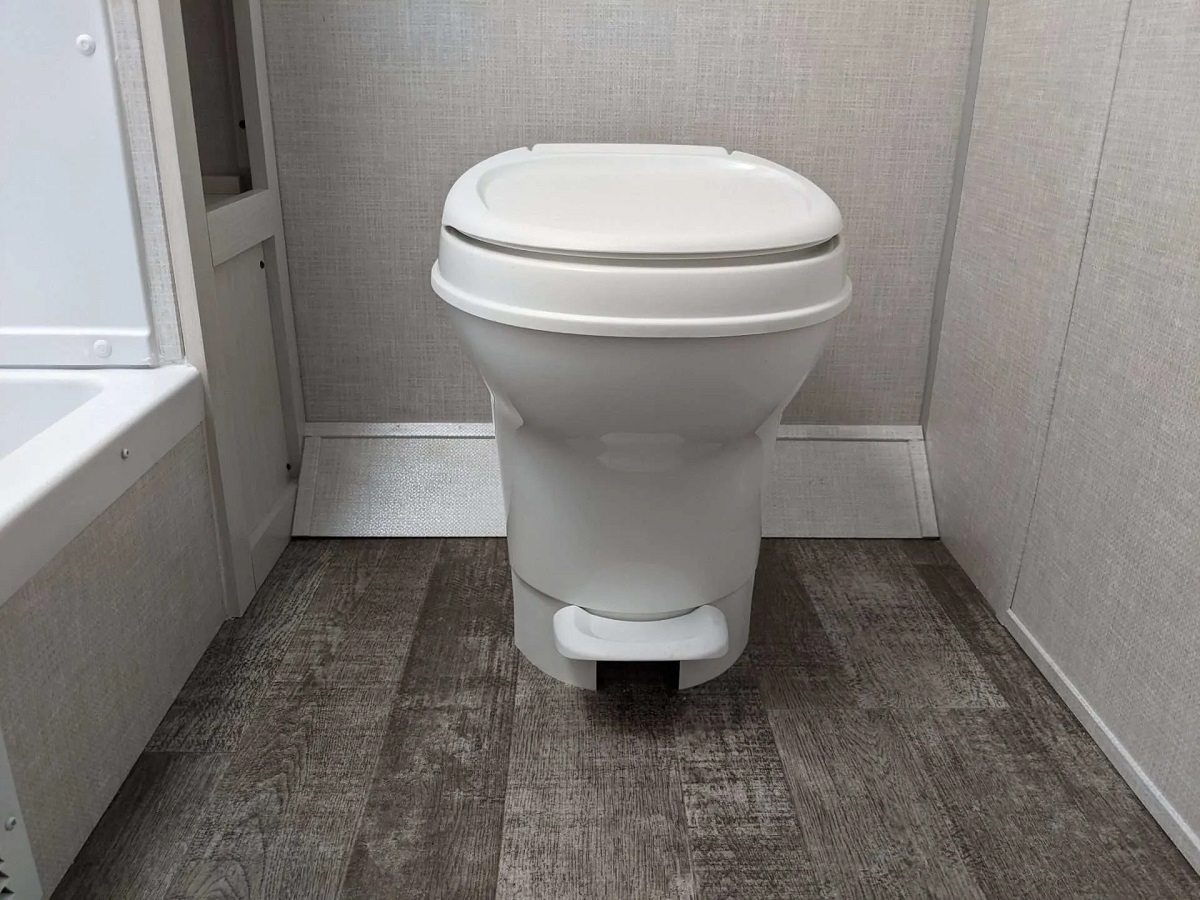
RV toilets play a crucial role in ensuring a comfortable and convenient experience while traveling or camping in a recreational vehicle (RV). These specially designed toilets are compact, efficient, and capable of handling waste disposal in a self-contained system. Understanding how an RV toilet works can help RV owners properly maintain and operate their toilets, ensuring a hassle-free experience on the road.
In this article, we will explore the inner workings of an RV toilet, including its components, flushing mechanism, holding tank, water supply and plumbing, waste removal, and maintenance. By the end, you’ll have a comprehensive understanding of how this essential piece of equipment operates.
So let’s dive in and take a closer look at the fascinating world of RV toilets.
Key Takeaways:
- Proper maintenance and understanding of RV toilet components ensure a hassle-free and sanitary experience on the road, promoting convenience and comfort for RV travelers.
- Regular inspection, use of RV-friendly products, and proper waste disposal at designated dump stations are essential for maintaining the functionality and hygiene of RV toilets, ensuring a pleasant and odor-free experience.
Read more: How Does Plumbing Work In An RV
Components of an RV Toilet
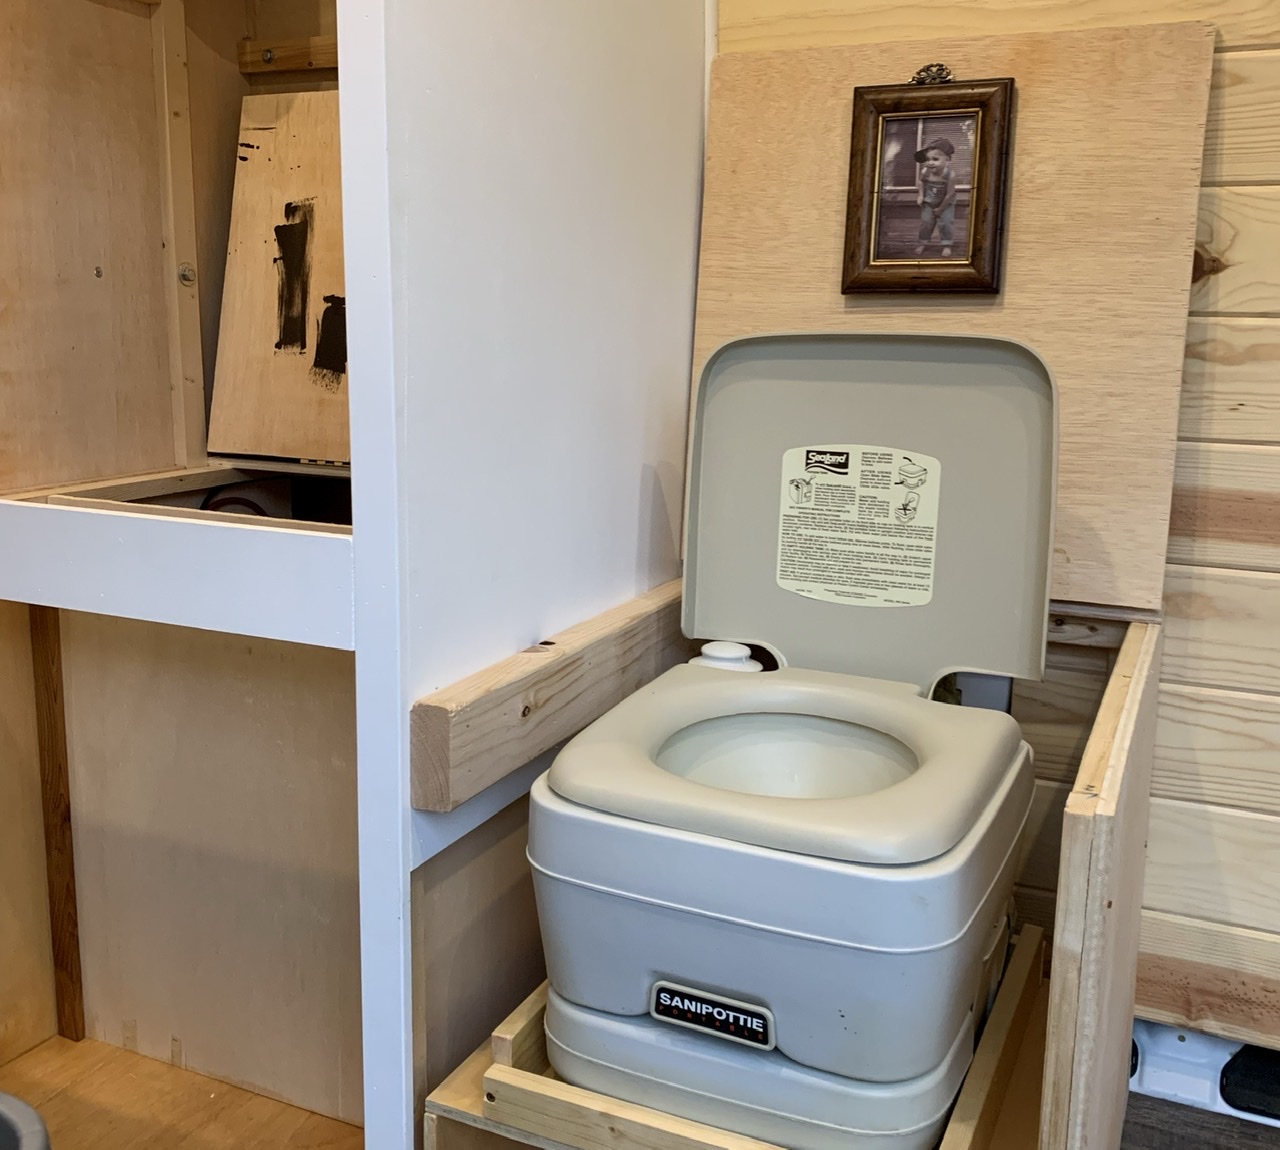
An RV toilet consists of several key components that work together to facilitate waste disposal in a compact and efficient manner. These components include:
- Toilet Bowl: The toilet bowl is the main receptacle for waste. It is typically made of durable plastic or porcelain and is designed to be water-efficient.
- Flush Control: The flush control is a mechanism that allows you to flush water into the toilet bowl. It can be operated manually or electronically, depending on the model of the RV toilet.
- Flush Valve: The flush valve is responsible for controlling the flow of water into the toilet bowl when the flush control is activated. It opens and closes to allow water to enter and then seals the bowl, preventing any backflow.
- Sealing Gasket: The sealing gasket ensures a watertight connection between the toilet bowl and the waste holding tank. It prevents leaks and odors from escaping.
- Holding Tank Vent: The holding tank vent is a small pipe or vent located on the roof of the RV. It allows the release of odors and gases from the waste holding tank, ensuring proper ventilation.
- Flapper Valve: The flapper valve is located at the bottom of the toilet bowl and serves as the opening through which waste enters the holding tank. It opens when the flush control is activated, allowing waste to pass through and then closes tightly to prevent any odors or leaks.
- Water Pump: In some RV toilets, a water pump is used to provide water pressure for flushing. The pump draws water from the RV’s freshwater tank or a separate water source.
These components work harmoniously to allow waste to be flushed, collected, and stored in the holding tank for later disposal.
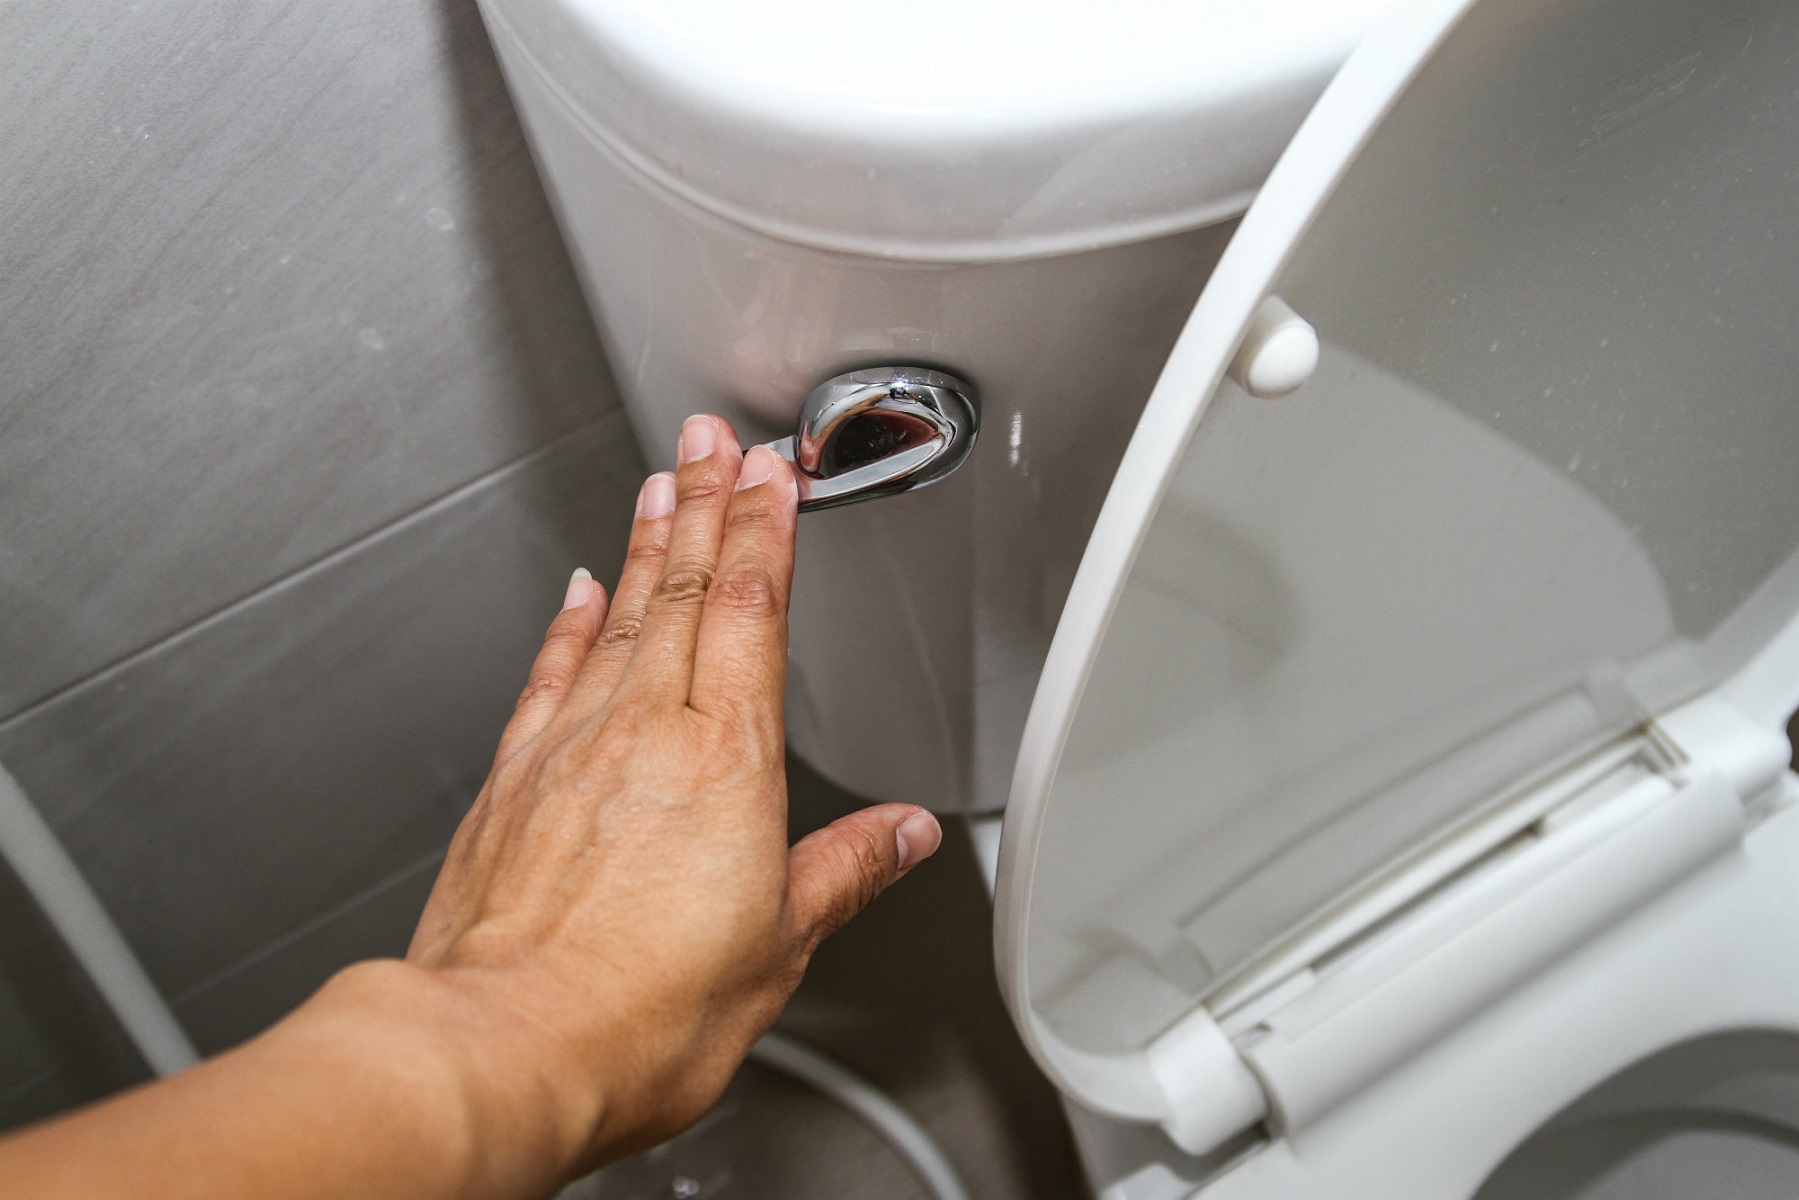
Flushing Mechanism
The flushing mechanism of an RV toilet is designed to efficiently remove waste from the toilet bowl and transport it into the holding tank. There are different types of flushing mechanisms used in RV toilets, including gravity flush and pedal flush systems.
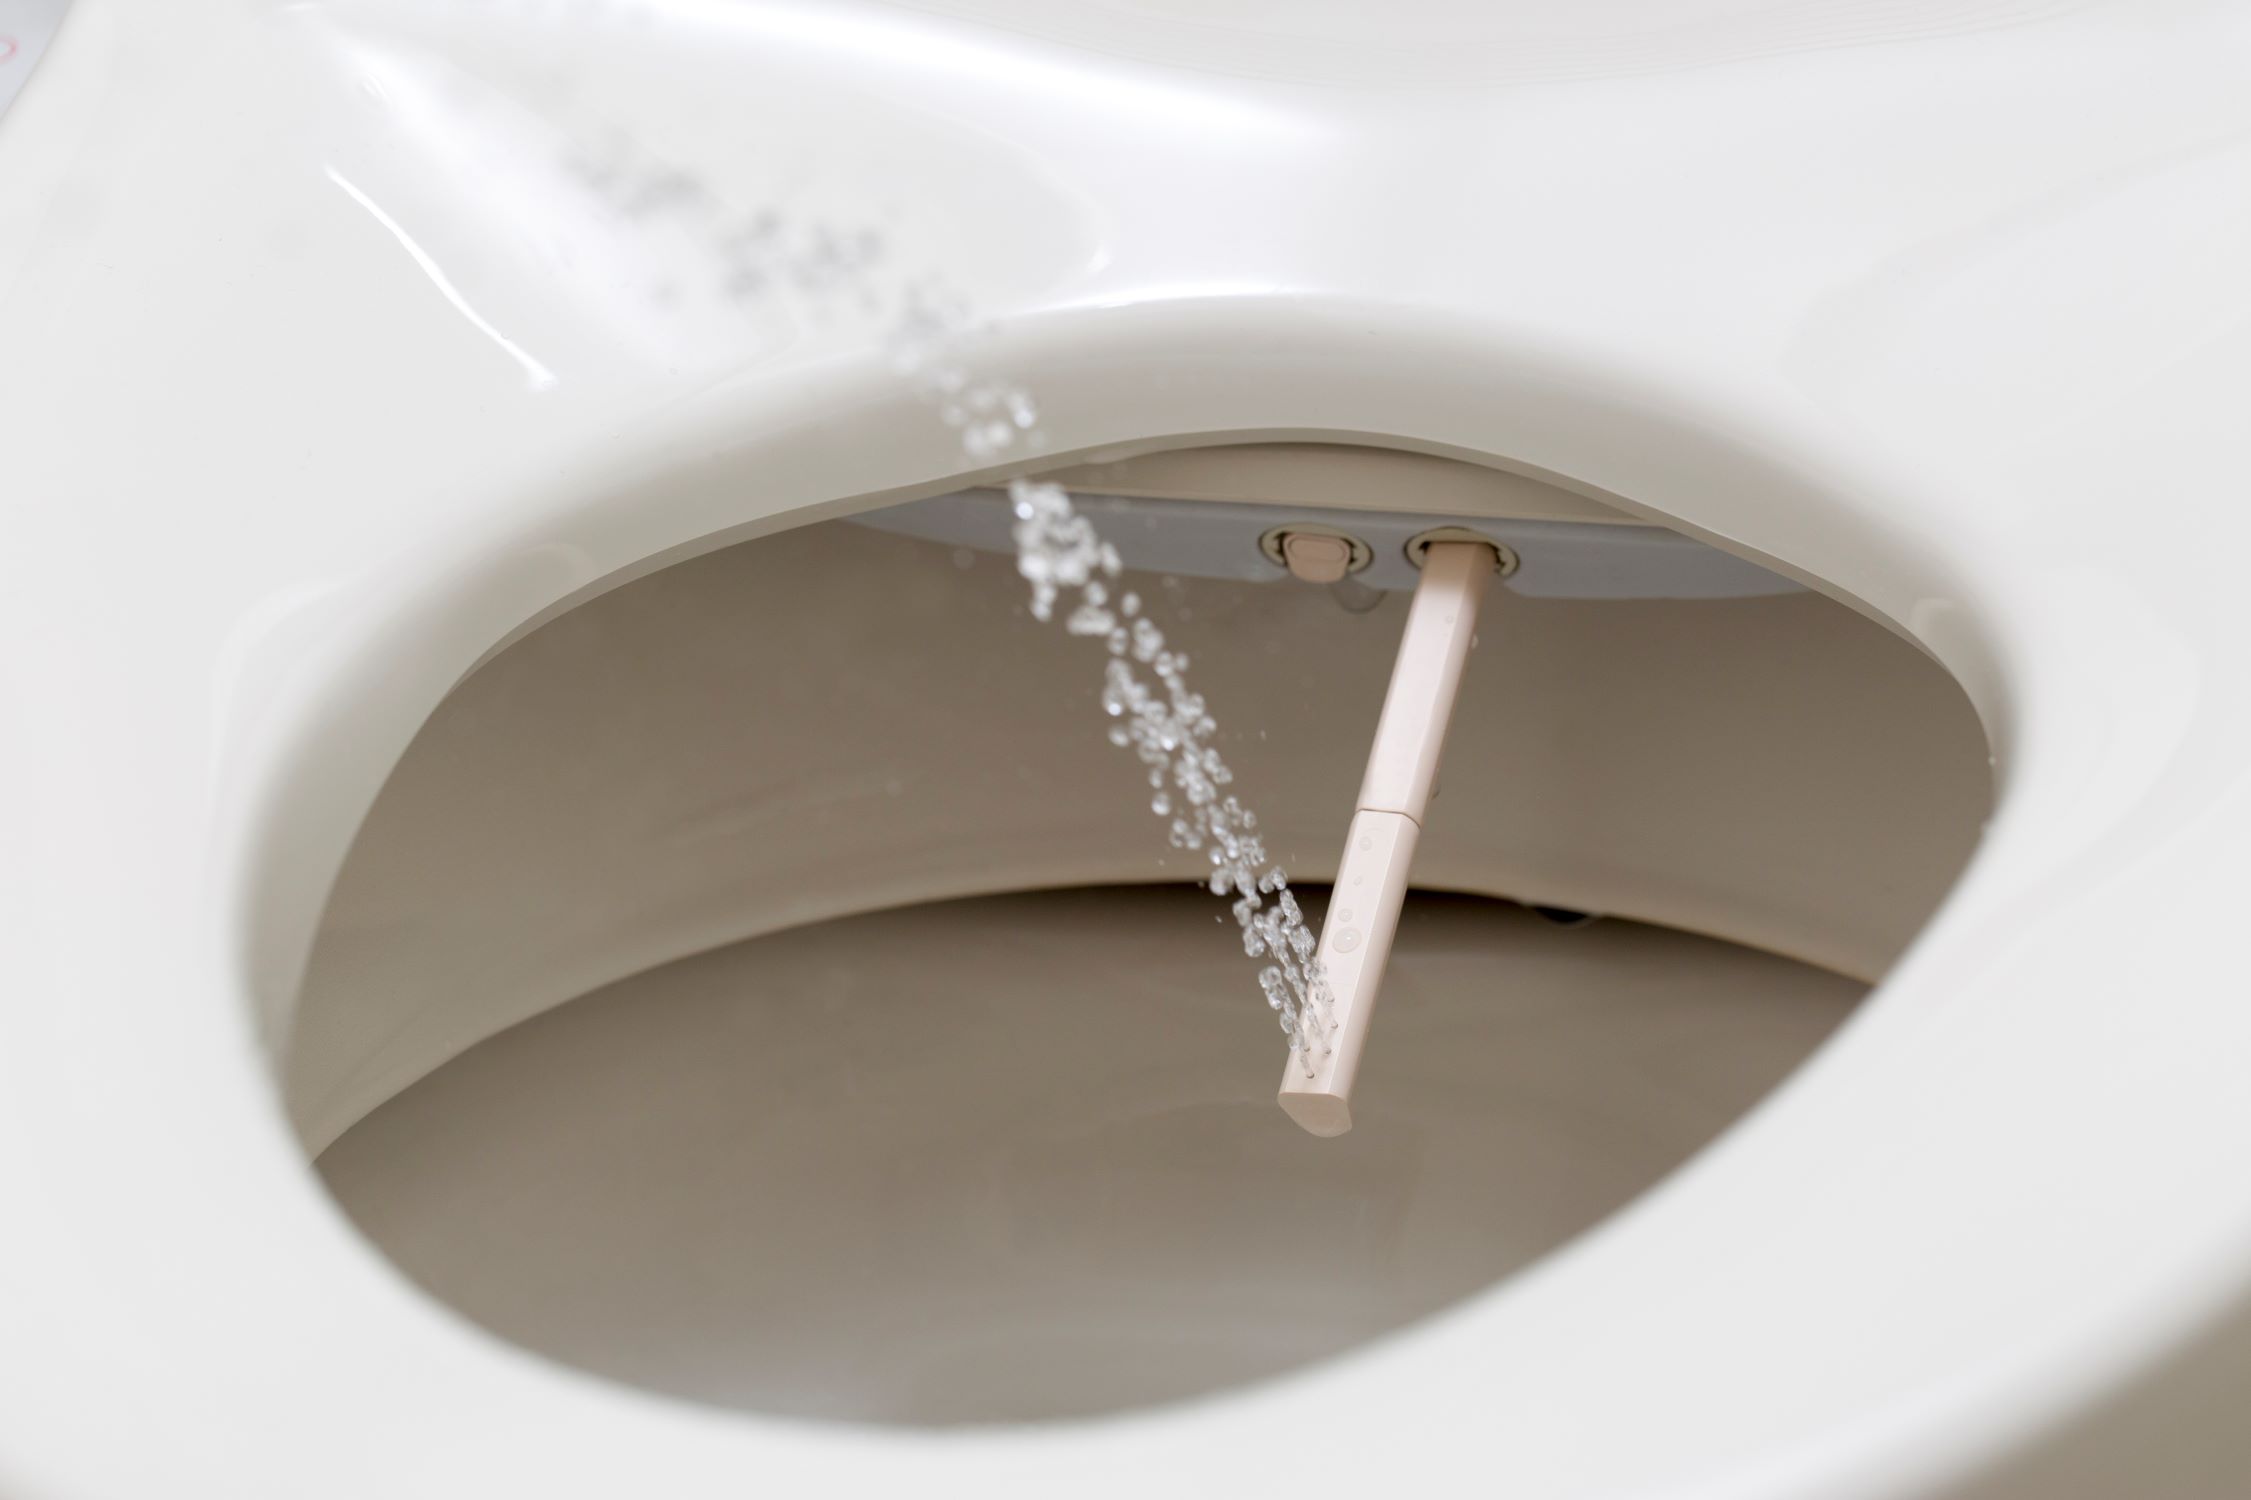
Gravity Flush: This is the most common type of flushing mechanism found in RV toilets. When the flush control is activated, water from the RV’s water supply flows into the toilet bowl under gravity. The force of the water creates a siphon effect, which efficiently flushes waste down into the holding tank. Gravity flush systems are simple, reliable, and require minimal maintenance.
Pedal Flush: Some RV toilets feature a pedal flush system, which operates similarly to a regular household toilet. When the pedal is pressed, water is released into the toilet bowl, flushing waste down into the holding tank. Releasing the pedal then seals the toilet bowl, preventing any odors or leaks. Pedal flush systems offer more control over the flushing process and can provide a more powerful flush if desired.
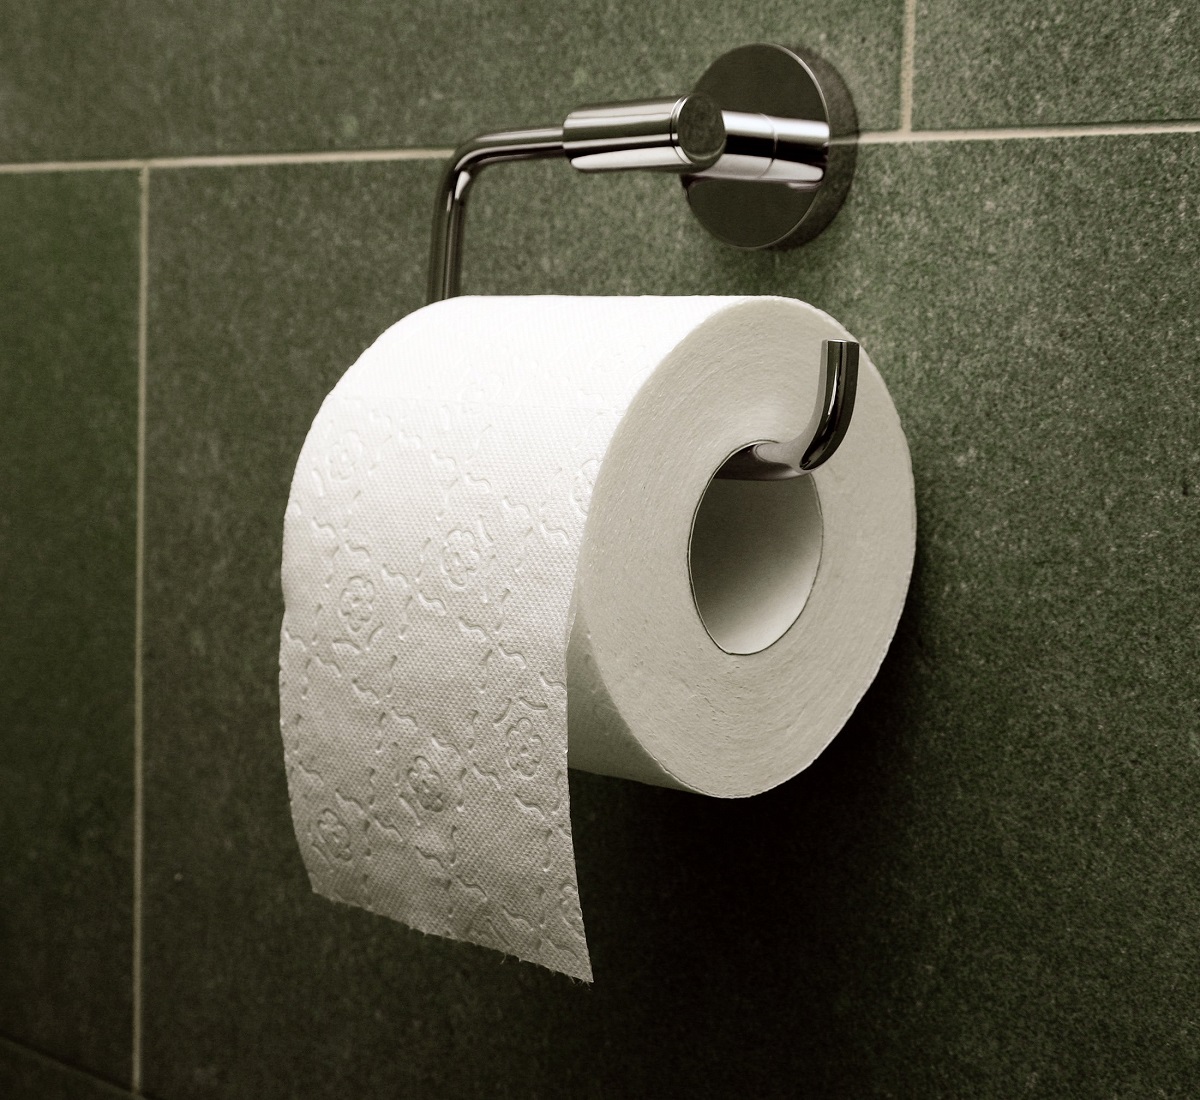
Regardless of the type of flushing mechanism, it is important to use sufficient water when flushing to ensure effective waste removal and prevent clogs. Additionally, using RV-friendly toilet paper that readily dissolves in water can help maintain the functionality of the flushing mechanism and prevent unnecessary issues.
It’s worth noting that some newer RV toilets may also include features such as water-saving options or pulsating flushes to further enhance water efficiency and waste removal.
Understanding the flushing mechanism of your RV toilet is essential for proper operation and maintenance. By following the manufacturer’s instructions and using the designated flushing method, you can ensure that waste is effectively transported into the holding tank, keeping your RV toilet clean and functional.
Holding Tank
The holding tank is a crucial component of an RV toilet system. It is responsible for collecting and storing the waste flushed from the toilet bowl until it can be properly disposed of at a designated dump station.
The holding tank is typically made of sturdy plastic and is designed to be leak-proof and odor-resistant. It is equipped with various features to facilitate waste management, including:
- Inlet Pipe: The inlet pipe connects the toilet bowl to the holding tank, allowing waste and water to flow into the tank.
- Waste Level Indicator: Some RV toilets have a waste level indicator on the holding tank, which provides an estimate of how full the tank is. This helps RV owners know when it’s time to empty the tank.
- Vent Pipe: The vent pipe allows the release of gases and odors from the holding tank, ensuring proper ventilation and preventing any buildup of pressure.
- Drain Valve: The drain valve is located at the bottom of the holding tank and is used to empty the tank when necessary. It should be tightly closed when the tank is in use to prevent any spills or leaks.
- Cleaning Port: Some holding tanks come with a cleaning port or flush connection, which allows for easier cleaning and maintenance of the tank.
It is important to regularly monitor the waste level in the holding tank to prevent overfilling, which can lead to complications such as leaks or unpleasant odors. Emptying the holding tank at designated dump stations or RV parks is the recommended method of waste disposal.
Understanding the capacity and capabilities of your RV’s holding tank is essential for planning and managing your waste disposal needs while on the road. By following proper maintenance and emptying procedures, you can ensure the longevity and functionality of your holding tank, providing a clean and hygienic toilet experience throughout your RV adventures.
When using an RV toilet, always remember to use RV-friendly toilet paper to prevent clogs and damage to the system. Regular toilet paper can cause blockages in the holding tank.
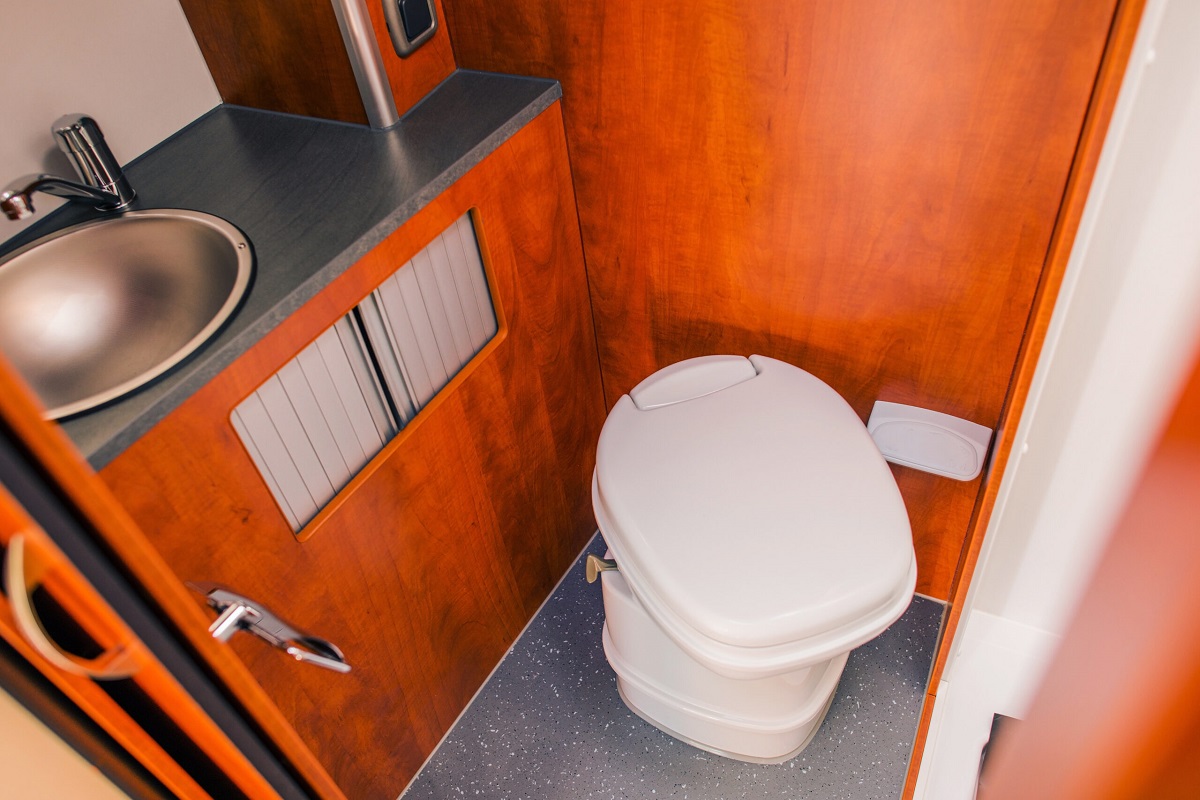
Water Supply and Plumbing
A reliable water supply and a well-designed plumbing system are crucial for the proper functioning of an RV toilet. Let’s take a closer look at these components:
Water Supply: RV toilets require water for flushing waste and maintaining cleanliness. The water supply can come from several sources, including the RV’s onboard freshwater tank or a campground’s water hookup. Some RV toilets may also have the option to use water from an external source, such as a portable storage container. It’s important to ensure a steady supply of freshwater to prevent any issues with flushing or cleaning the toilet bowl.
Water Pump: In RVs that do not rely on a gravity-fed water system, a water pump is used to provide the necessary pressure for flushing. The pump draws water from the freshwater tank and distributes it to the toilet and other fixtures throughout the RV. Proper maintenance and regular inspection of the water pump are essential to ensure its optimal performance.
Water Lines: The water lines in an RV connect the water supply to the toilet, allowing the flow of water for flushing. These lines need to be properly installed, leak-free, and insulated to prevent freezing during cold weather. Regular inspection and maintenance of the water lines are necessary to address any leaks or blockages that may occur.
Water Pressure Regulator: To protect the RV’s plumbing system and fixtures, including the toilet, from excessive water pressure, it is recommended to install a water pressure regulator. This device helps maintain a consistent and safe water pressure, extending the lifespan of the plumbing components.
Proper maintenance of the water supply and plumbing system is essential to ensure the smooth and efficient operation of the RV toilet. Regularly checking for leaks, addressing any issues promptly, and using RV-friendly plumbing products can help prevent costly repairs and ensure a reliable toilet experience during your travels.
Read more: How Does RV Refrigerator Work
Waste Removal
Waste removal is a crucial aspect of maintaining cleanliness and hygiene in an RV toilet. Here’s a breakdown of the waste removal process:
Dump Station: RV owners need to locate a designated dump station for proper waste disposal. Dump stations are commonly found in RV parks, campgrounds, and some rest areas. These stations are equipped with sewer connections and facilities to safely dispose of waste and ensure proper sanitation.
Emptying the Holding Tank: When it’s time to empty the holding tank, follow these steps:
- Ensure that your RV is parked in a designated area at the dump station, properly aligned with the sewer connection.
- Using gloves, remove the cap or cover from the sewer connection on your RV.
- Attach a sewer hose securely to the sewer connection, making sure it is tightly connected to prevent any leaks or spills.
- Place the other end of the sewer hose into the dump station’s sewer opening.
- Open the drain valve on the holding tank, allowing the waste to flow through the sewer hose into the dump station.
- Monitor the waste level indicator or visually inspect the tank to ensure it has completely emptied.
- Once the tank is empty, close the drain valve and detach the sewer hose, ensuring it is properly stored and secured.
- Thoroughly clean and sanitize the sewer hose before storing it away.
Flushing the Holding Tank: After emptying the waste, it is important to flush the holding tank to remove any remaining residue. Some RV toilets offer a built-in flushing mechanism or cleaning port on the tank that can be used for this purpose. Follow the manufacturer’s instructions to properly flush and clean the holding tank.
Proper Disposal: It is essential to follow proper waste disposal practices and consider the environment when emptying the holding tank. Avoid dumping waste in unauthorized locations, such as storm drains or public restrooms. Always use designated dump stations or other approved facilities for waste disposal.
By adhering to these waste removal guidelines and maintaining a regular schedule for emptying and cleaning the holding tank, you can promote a sanitary and odor-free environment in your RV toilet.
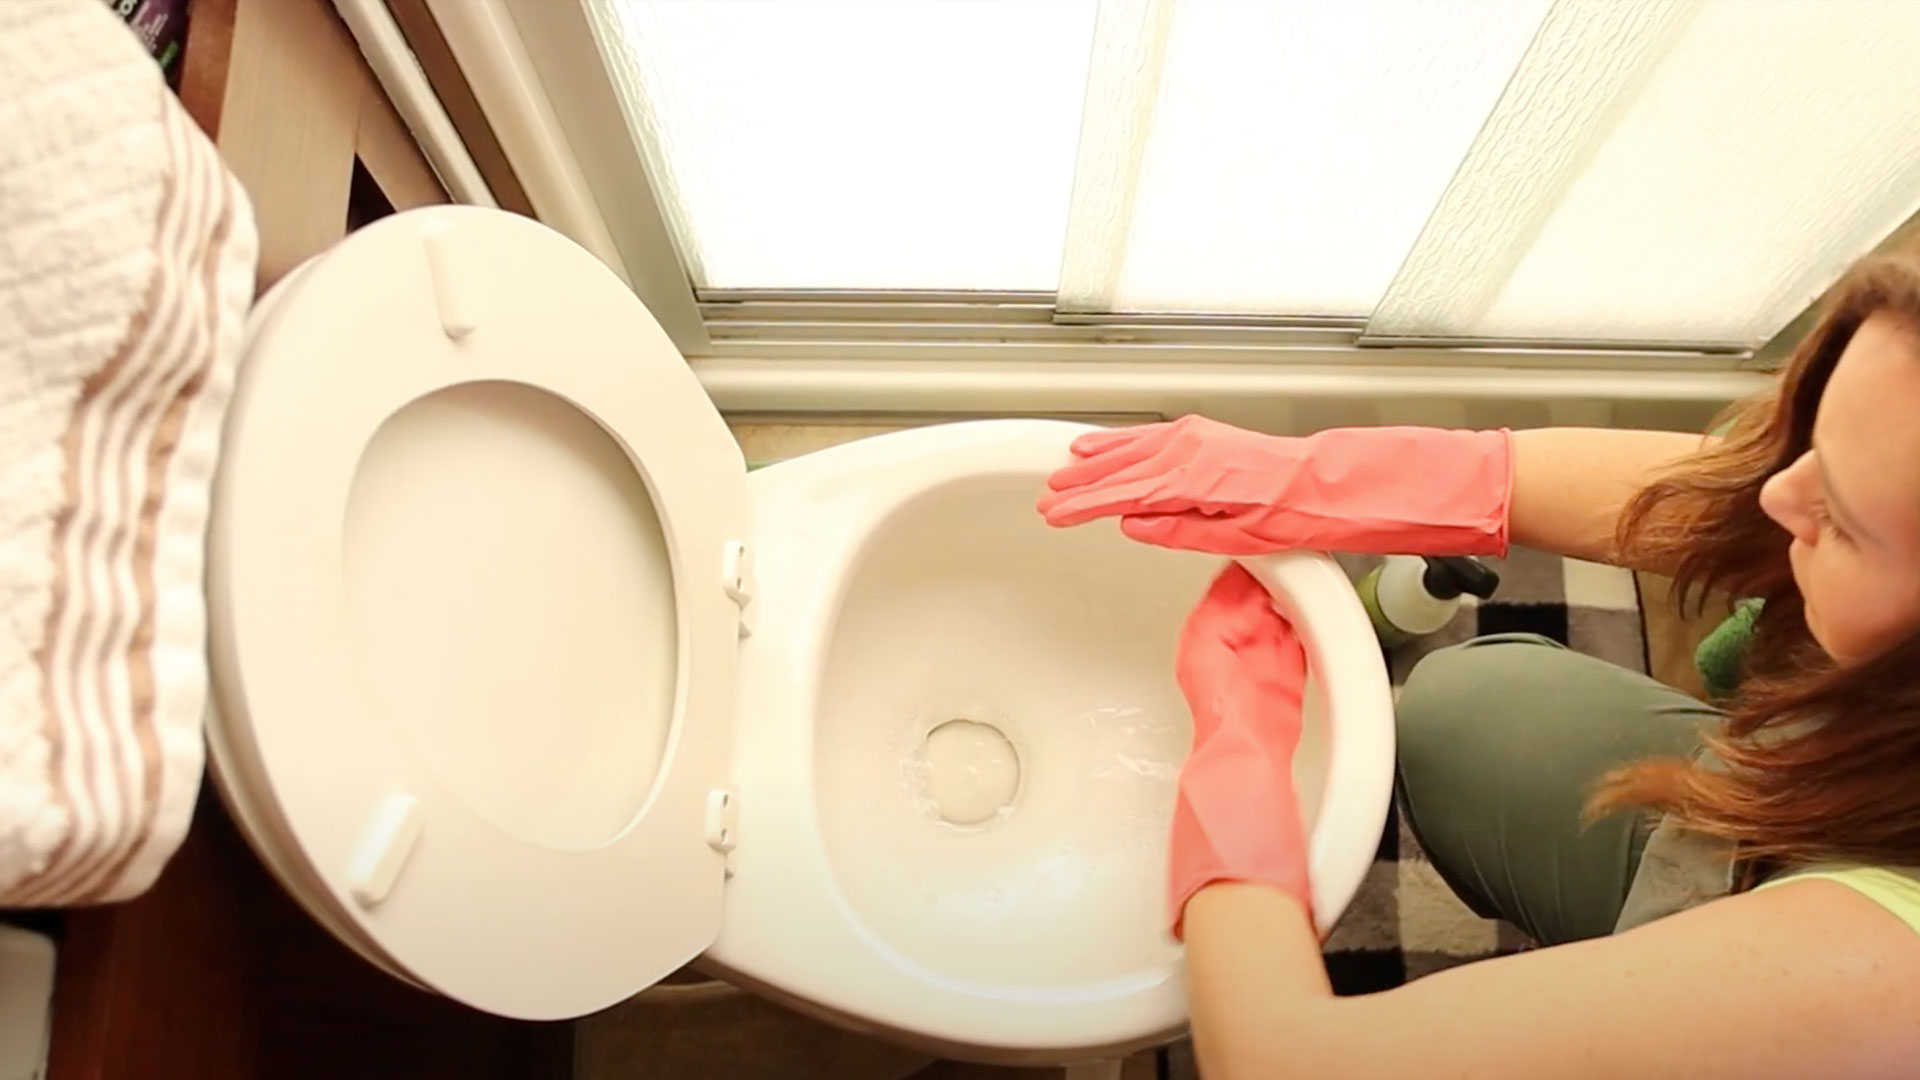
Maintenance and Cleaning
Proper maintenance and regular cleaning are essential to keep your RV toilet in optimal working condition and ensure a pleasant experience on the road. Here are some maintenance and cleaning tips:
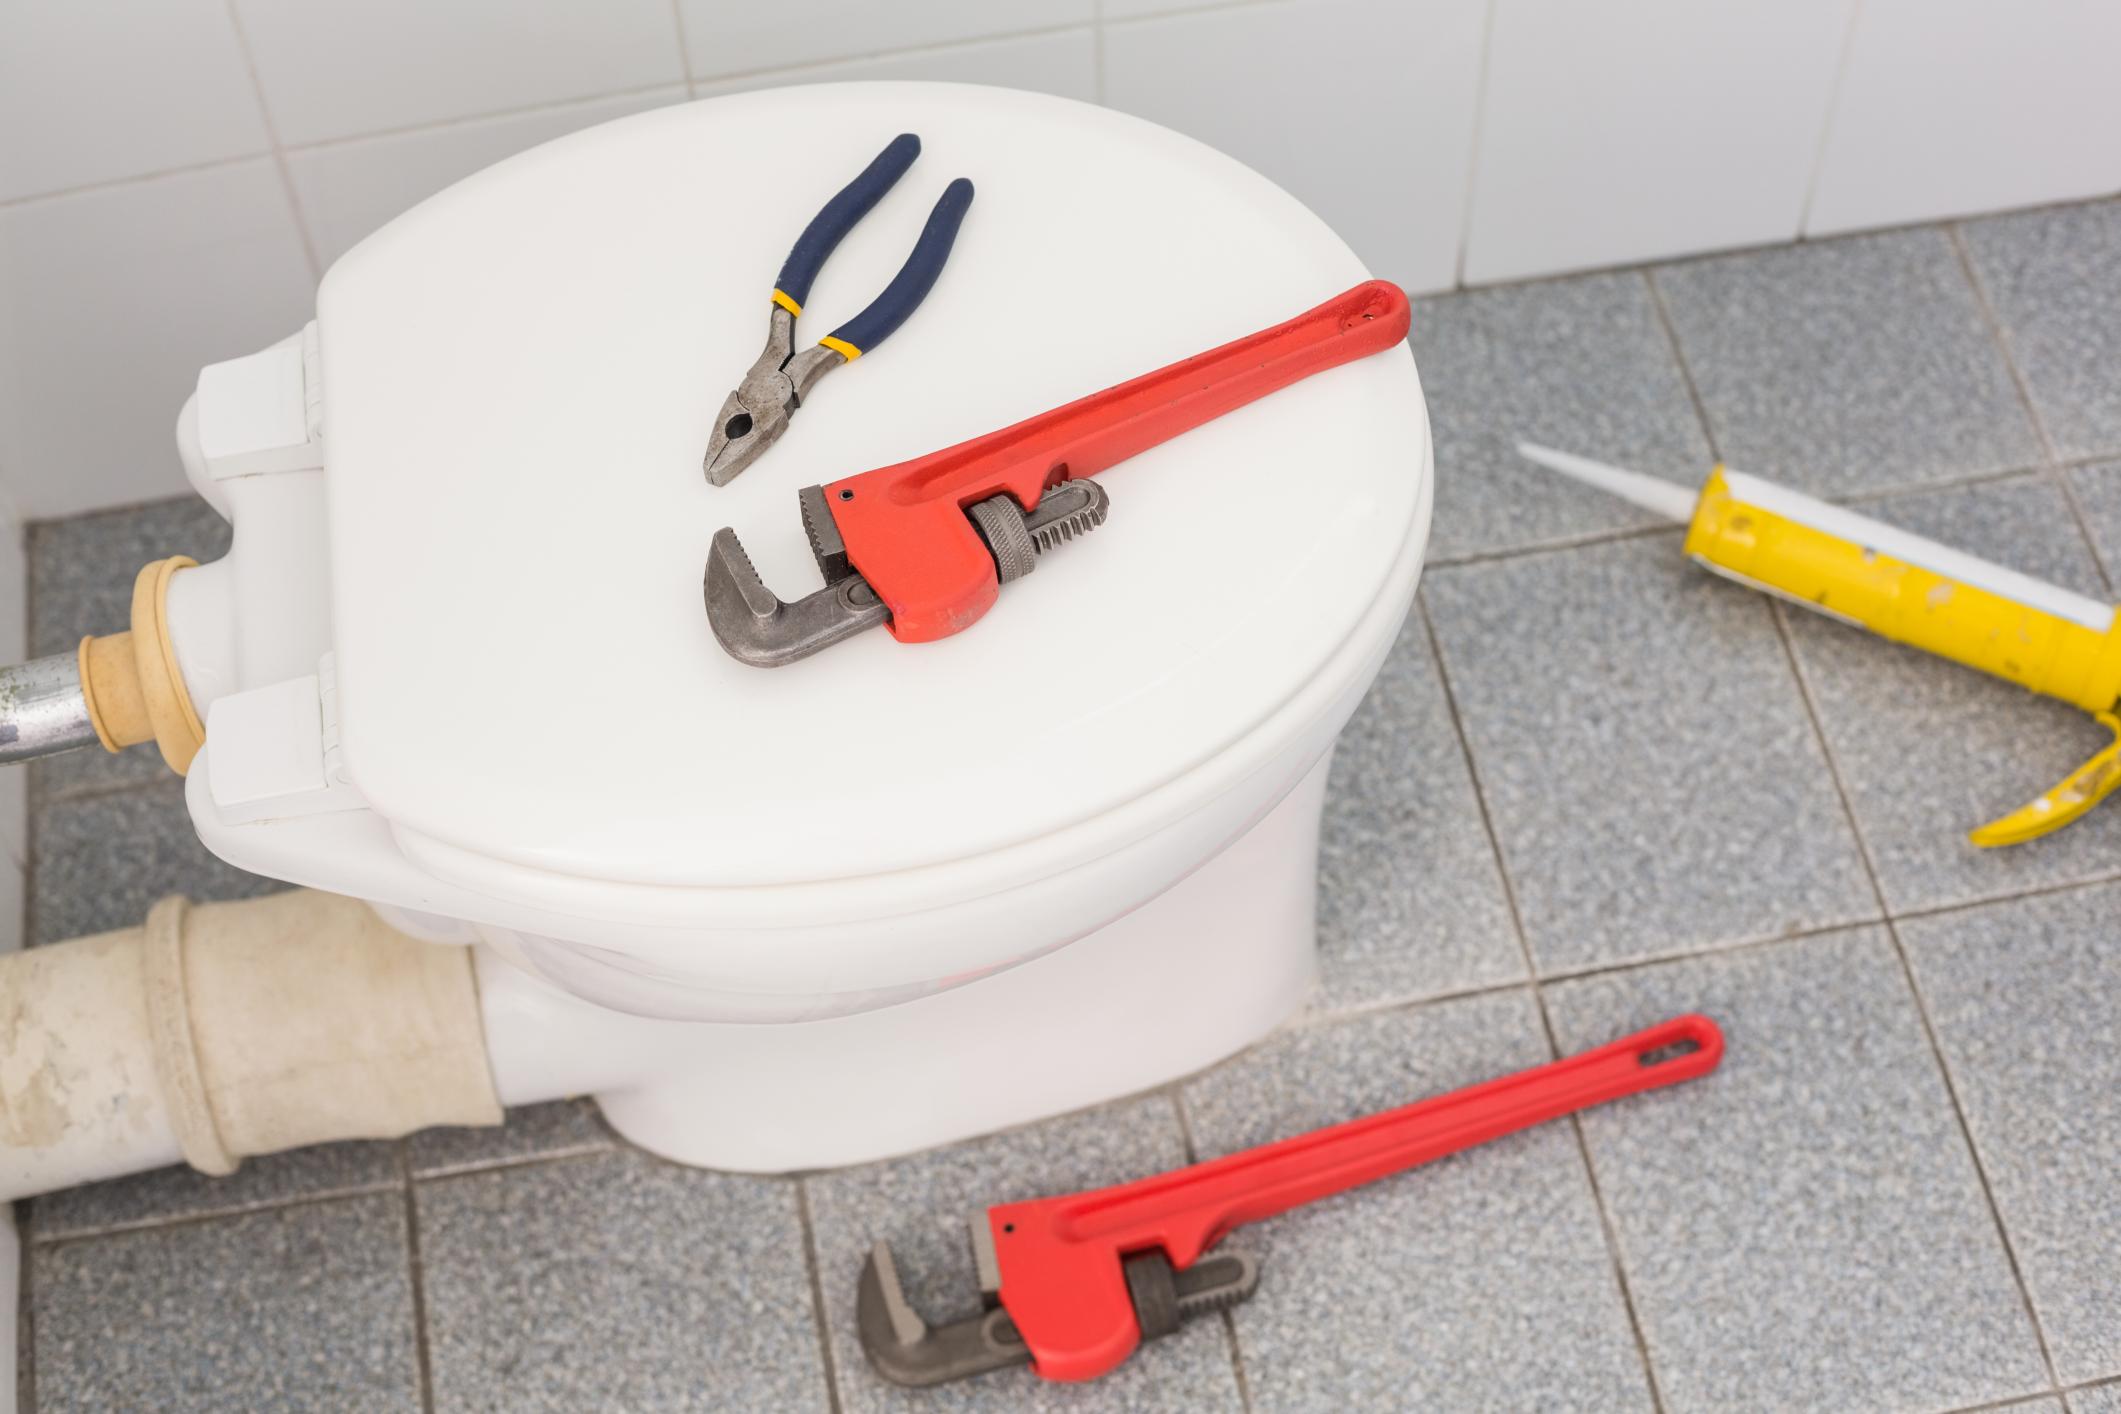
Regular Inspection: Periodically inspect the various components of your RV toilet, including the flush control, seal gasket, flapper valve, and water lines, for any signs of wear, leaks, or damage. Address any issues promptly to prevent further damage and maintain the functionality of the toilet.
Use RV-Friendly Products: When cleaning your RV toilet, use cleaning products that are specifically labeled as safe for RV toilets and holding tanks. Avoid using harsh chemicals, bleach, or abrasive cleaners, as these can damage the toilet’s components and disrupt the balance of bacteria in the holding tank.
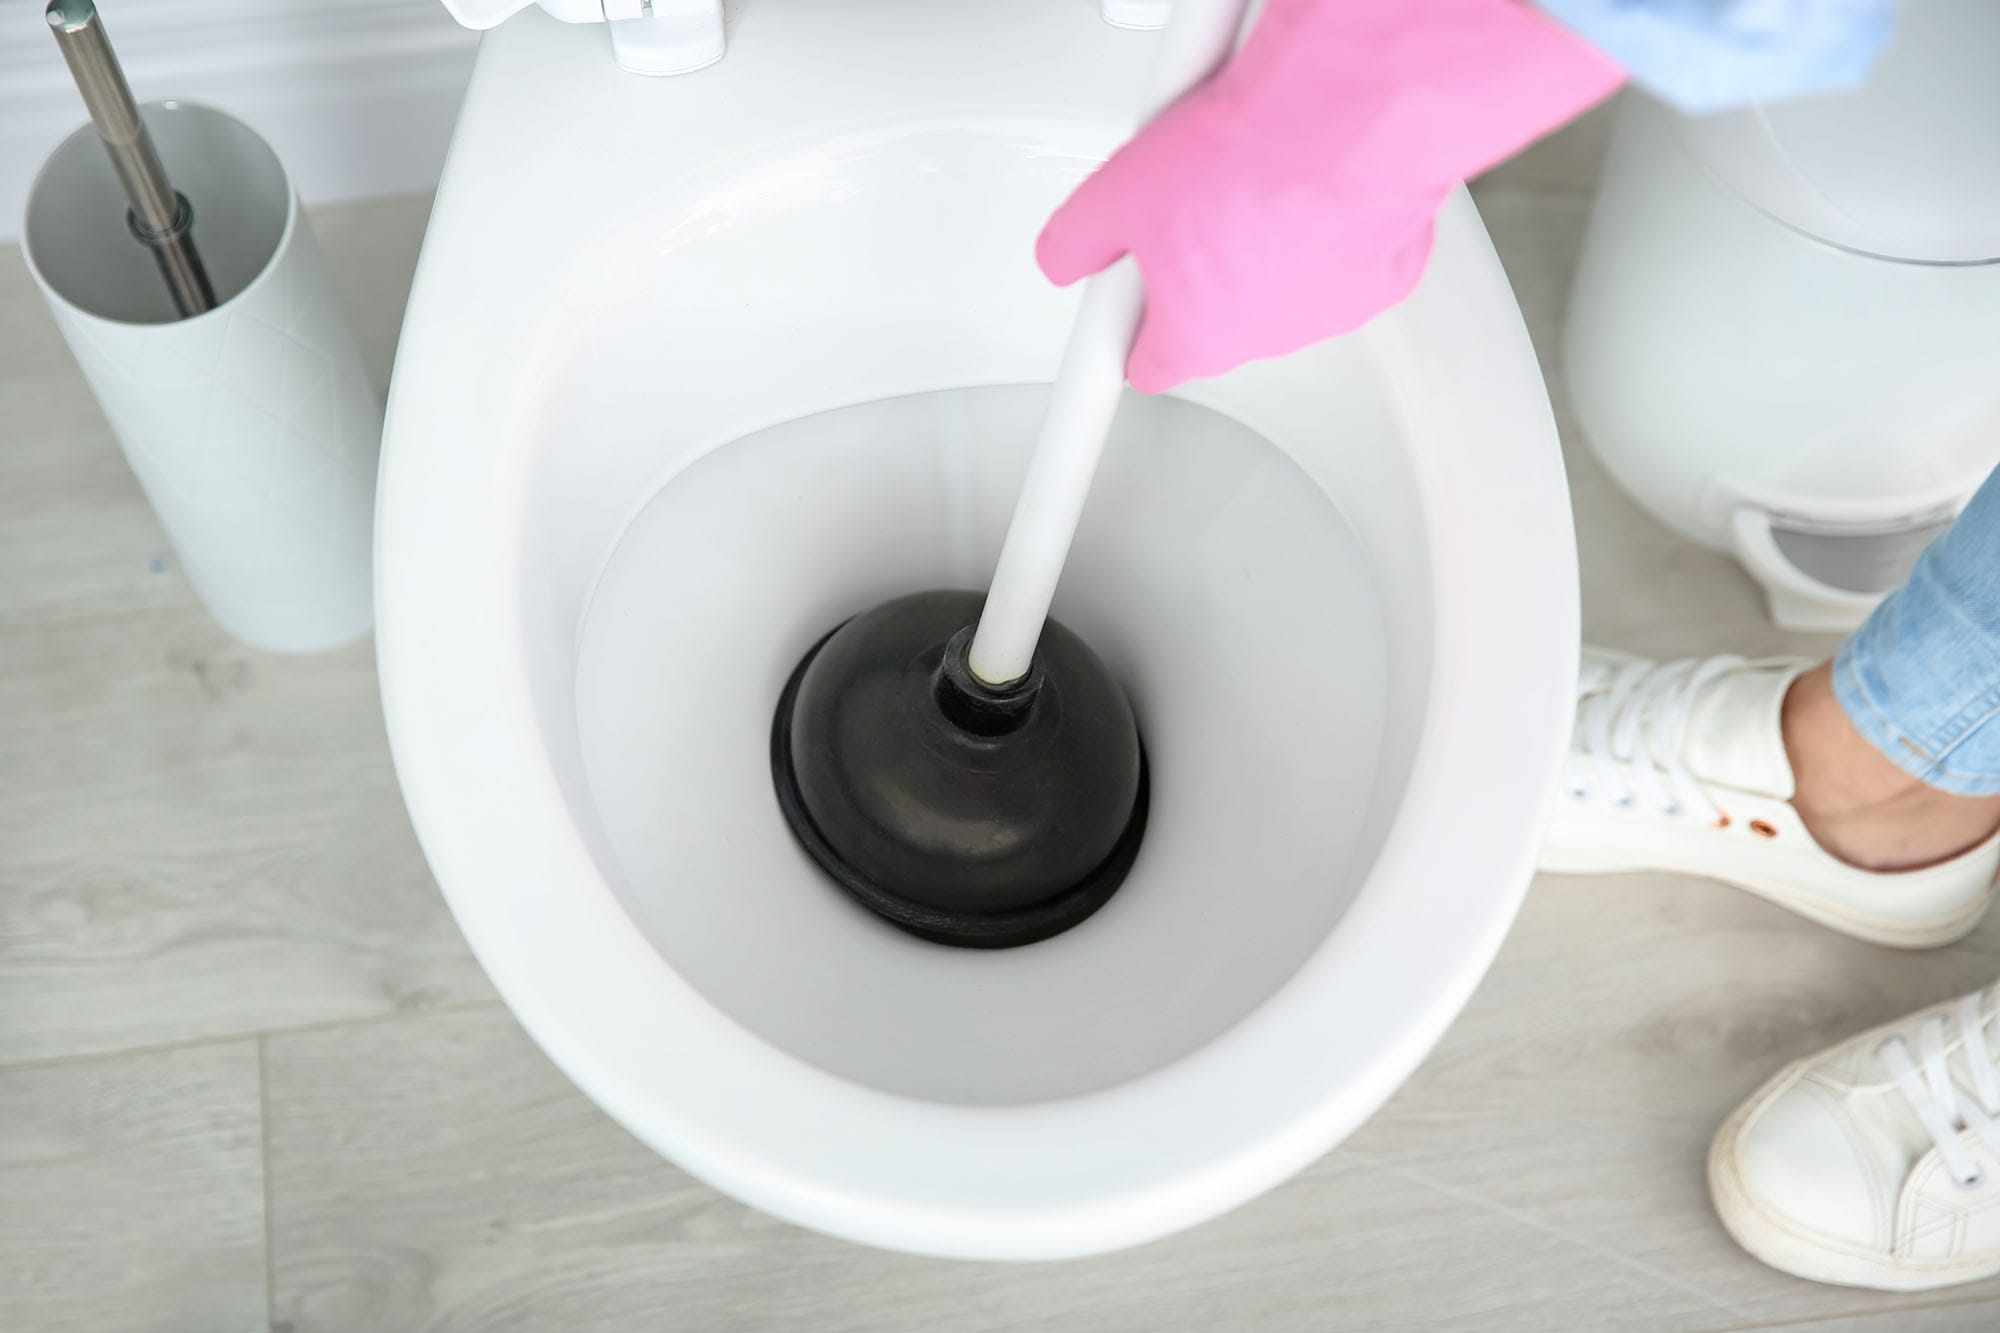
Regular Cleaning: Clean the toilet bowl regularly using an RV toilet bowl cleaner or a mixture of water and vinegar. Scrub the bowl gently with a toilet brush to remove any stains or residue. Pay attention to the underside of the bowl rim and around the flapper valve where deposits may accumulate.
Odor Control: To prevent unpleasant odors from developing in your RV toilet, consider using holding tank treatments or deodorizers. These products can help break down waste, control odors, and maintain the overall freshness of the toilet and holding tank. Always follow the manufacturer’s instructions when using these products.
Proper Ventilation: Ensure that the holding tank vent remains unobstructed to allow for proper ventilation and the release of any odors or gases. Regularly inspect the vent pipe and remove any debris or obstructions that may hinder its functionality.
Winterization: If you plan to store your RV during the winter months, it is crucial to winterize the toilet and plumbing system to prevent freezing and potential damage. Follow the manufacturer’s instructions or consult an RV professional for guidance on properly winterizing your specific toilet model.
By following these maintenance and cleaning practices, you can extend the lifespan of your RV toilet, maintain its functionality, and ensure a clean and pleasant toilet experience throughout your travels.
Conclusion
Understanding how your RV toilet works is essential for ensuring a comfortable and convenient experience while on the road. From the components of the toilet to the flushing mechanism, holding tank, water supply, waste removal, and maintenance and cleaning, each aspect plays a vital role in maintaining the functionality and hygiene of your RV toilet.
By regularly inspecting the various components, following proper maintenance procedures, and taking the necessary steps to keep your toilet clean and odor-free, you can enjoy a hassle-free toilet experience during your RV adventures.
Remember to use RV-friendly products, avoid using harsh chemicals, and follow the manufacturer’s instructions for maintaining and cleaning your specific RV toilet model. Proper waste disposal at designated dump stations is crucial for the environment and maintaining the cleanliness of your RV’s holding tank.
Whether you have a gravity flush or pedal flush system, it’s important to use sufficient water for flushing and consider using RV-friendly toilet paper that readily dissolves in water. By doing so, you can prevent clogs and ensure the optimal functioning of your RV toilet.
Overall, by understanding the inner workings of your RV toilet and implementing proper maintenance and cleaning practices, you can enjoy a sanitary, odor-free, and convenient toilet experience on your RV journeys and create lasting memories without any toilet-related concerns.
So, go ahead and hit the road with confidence, knowing that you have the knowledge to properly operate and maintain your RV toilet along the way.
Frequently Asked Questions about How Does A Rv Toilet Work
Was this page helpful?
At Storables.com, we guarantee accurate and reliable information. Our content, validated by Expert Board Contributors, is crafted following stringent Editorial Policies. We're committed to providing you with well-researched, expert-backed insights for all your informational needs.
0 thoughts on “How Does A Rv Toilet Work”