Home>Furniture & Design>Bathroom Accessories>How To Replace Rv Toilet Bowl Seals
Bathroom Accessories
How To Replace Rv Toilet Bowl Seals
Modified: April 22, 2024
Learn how to replace RV toilet bowl seals with our step-by-step guide. Keep your bathroom accessories in top condition with our expert tips.
(Many of the links in this article redirect to a specific reviewed product. Your purchase of these products through affiliate links helps to generate commission for Storables.com, at no extra cost. Learn more)
Introduction
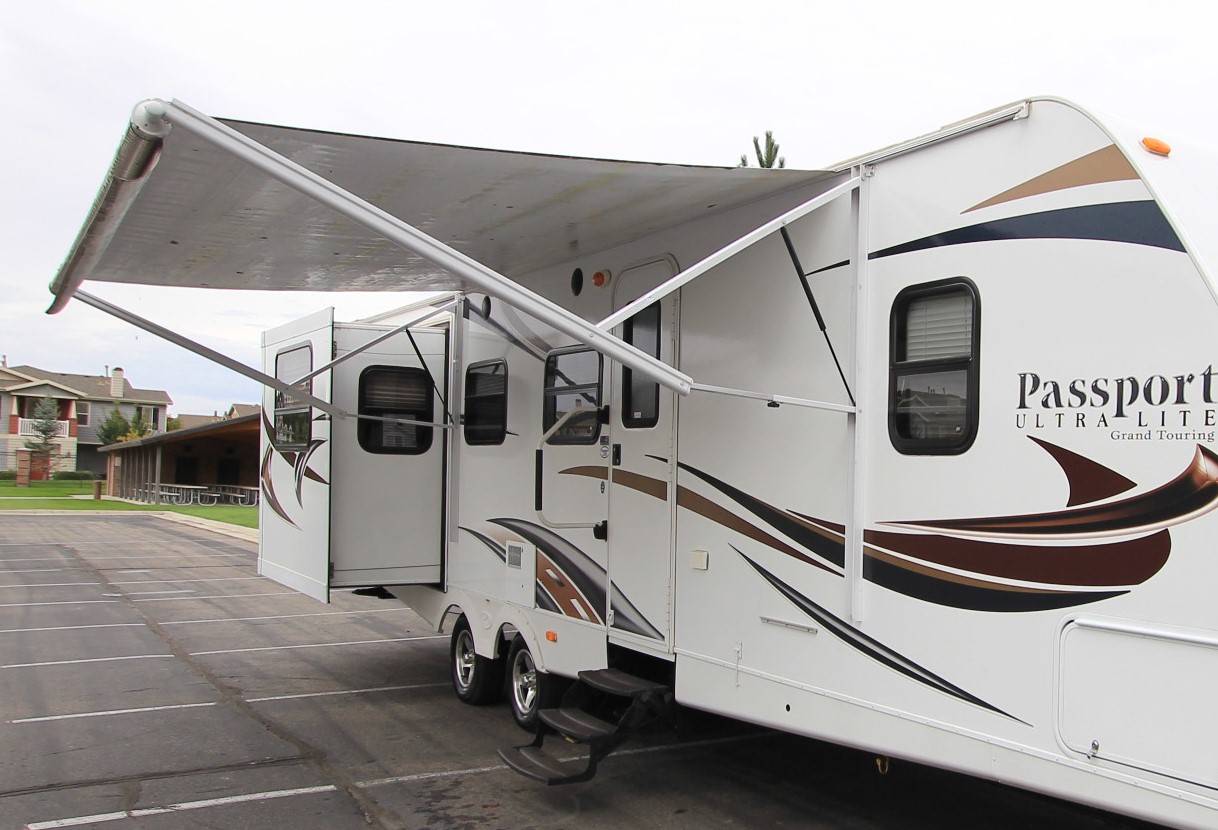
Maintaining a fully functional RV toilet is essential for a comfortable and convenient travel experience. Over time, the seals in the toilet bowl may wear out, leading to leaks and unpleasant odors. Fortunately, replacing the RV toilet bowl seals is a manageable task that can be accomplished with the right tools and a systematic approach. By following the steps outlined in this guide, you can restore the integrity of your RV toilet and ensure a leak-free and hygienic environment during your travels.
Proper maintenance of the RV toilet bowl seals is crucial for preventing water leaks and maintaining a sanitary bathroom environment. Whether you're a seasoned RV enthusiast or a novice traveler, understanding the process of replacing these seals is a valuable skill that can save you time and money in the long run. With the right guidance and a willingness to tackle DIY projects, you can effectively address seal-related issues and prolong the lifespan of your RV toilet system.
In the following sections, we will delve into the step-by-step process of replacing RV toilet bowl seals, providing detailed instructions and insights to help you navigate this task with confidence. From gathering the necessary tools and materials to re-installing the toilet bowl and conducting thorough testing, each stage of the process will be thoroughly explained to ensure a comprehensive understanding of the task at hand. By the end of this guide, you will be equipped with the knowledge and expertise to successfully replace the seals in your RV toilet bowl, allowing you to enjoy worry-free travels and a well-maintained bathroom facility in your recreational vehicle.
Key Takeaways:
- Replacing RV toilet bowl seals is a manageable DIY task that ensures a leak-free and hygienic bathroom. With the right tools and materials, you can restore your RV toilet’s integrity and enjoy worry-free travels.
- After replacing the seals, thorough testing is crucial to ensure they effectively prevent leaks. By conducting visual and tactile inspections, you can confirm a watertight and hygienic bathroom environment for your RV travels.
Read more: How To Replace An Rv Toilet
Tools and Materials Needed
Before embarking on the task of replacing the RV toilet bowl seals, it is essential to gather the necessary tools and materials to ensure a smooth and efficient process. Here's a comprehensive list of items you will need:
Tools:
- Adjustable Wrench: This versatile tool will be used to loosen and tighten nuts and bolts during the removal and installation of the toilet bowl.
- Screwdriver Set: A set of screwdrivers, including both flathead and Phillips head varieties, will be required for removing screws and accessing various components of the toilet.
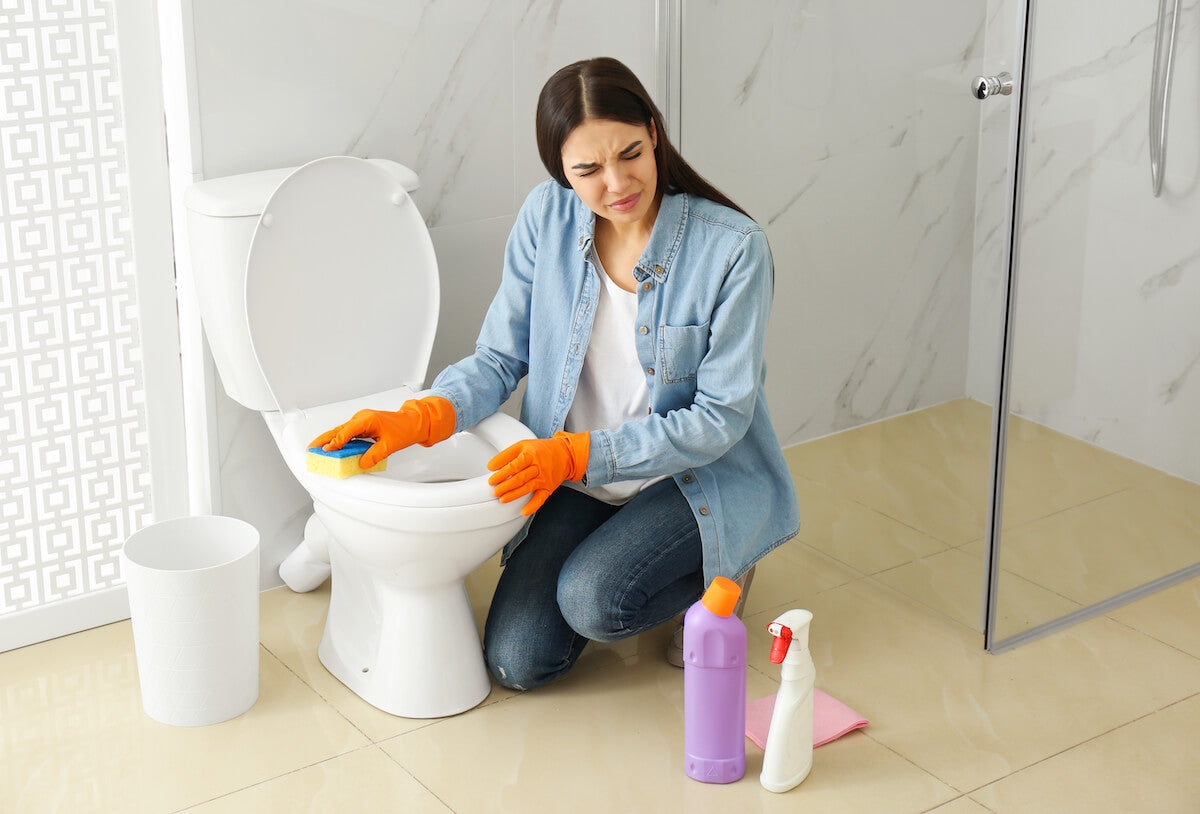
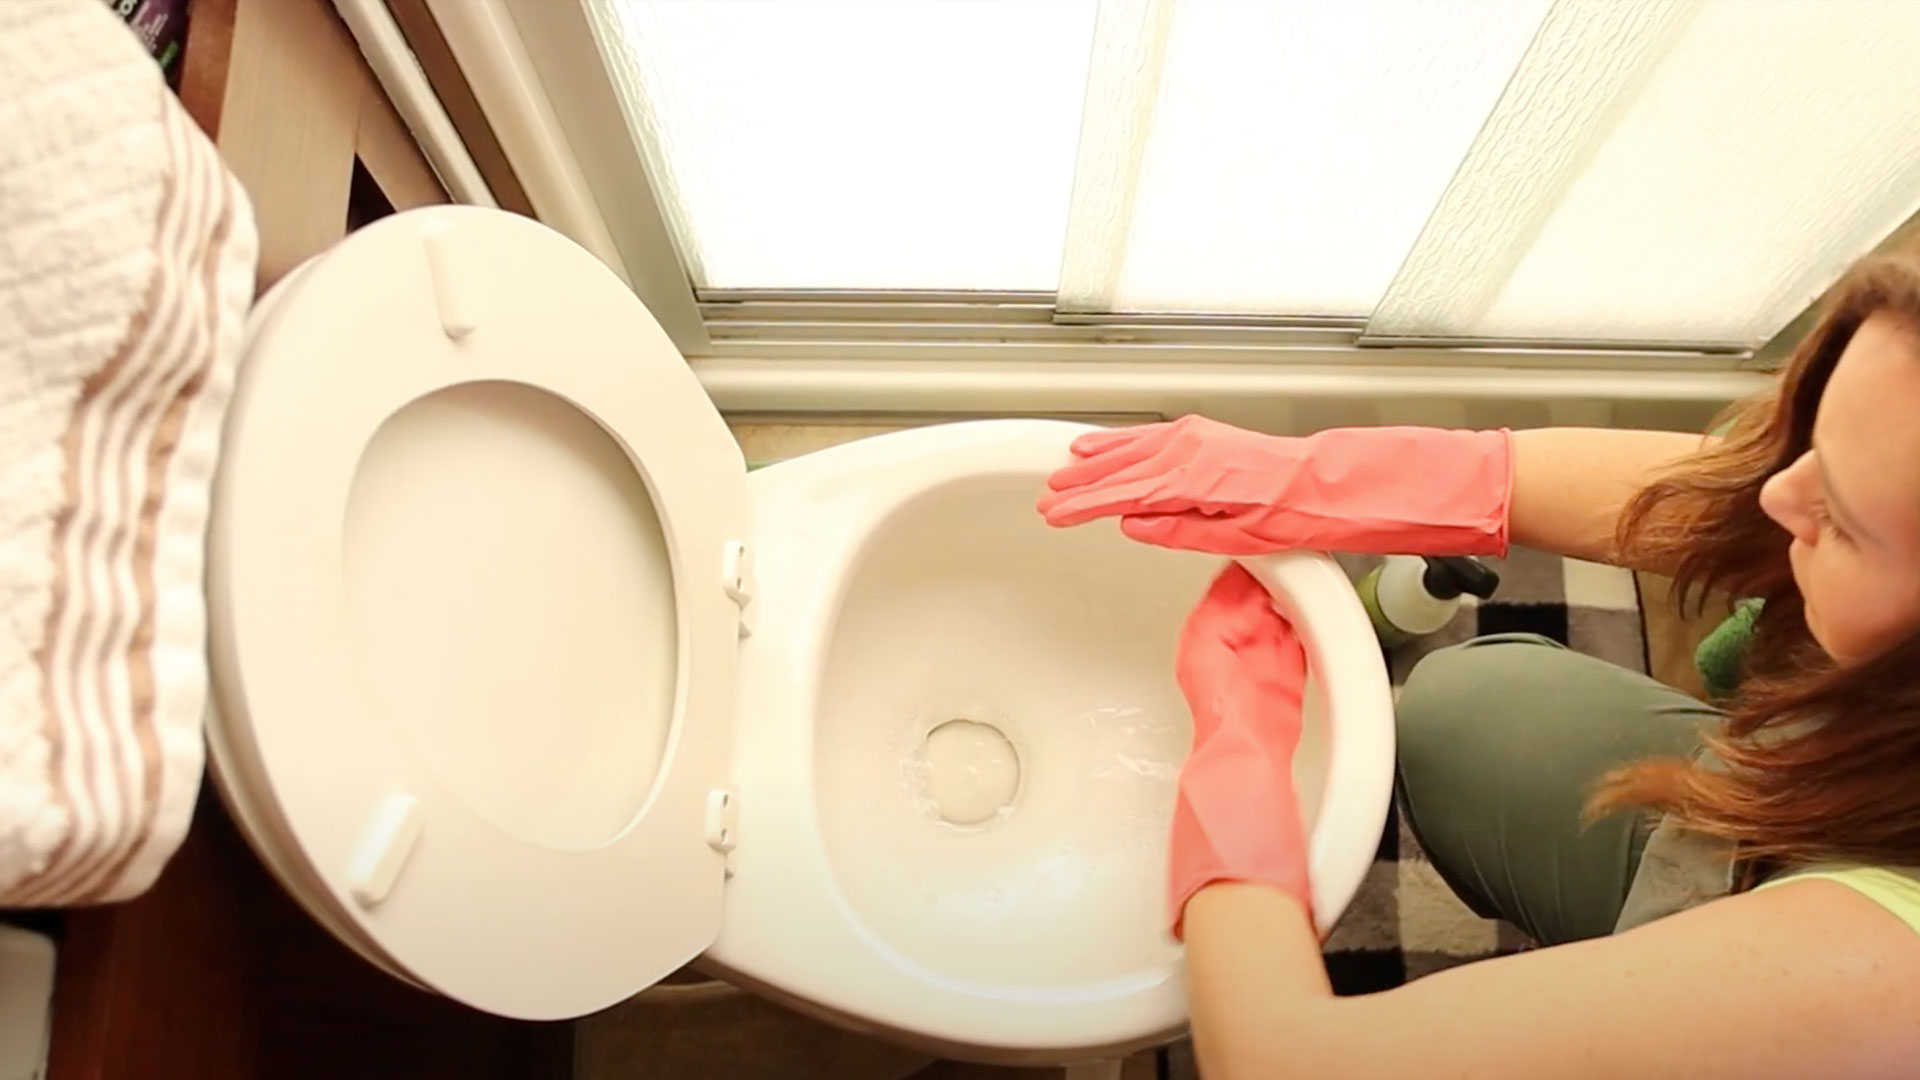
- Rubber Gloves: It's important to protect your hands during the maintenance process, and rubber gloves provide a barrier against dirt, grime, and potential exposure to chemicals.
- Putty Knife: This tool will come in handy for gently prying and scraping off old seals and adhesives without causing damage to the toilet or surrounding surfaces.
- Plumber's Putty: A small amount of plumber's putty will be needed to create a watertight seal during the reinstallation of the toilet bowl.
- Cleaning Supplies: Have a supply of cleaning rags, a mild cleaning solution, and a bucket of water on hand to clean the toilet and surrounding area before and after the maintenance process.
Materials:
- RV Toilet Bowl Seal Kit: This kit typically includes new seals, gaskets, and hardware necessary for replacing the worn-out components in the toilet bowl.
- Replacement Bolts and Nuts: In some cases, it may be necessary to replace the existing bolts and nuts securing the toilet to the floor, so having replacements on hand is advisable.
- Disposable Towels: Keep a supply of disposable towels or paper towels nearby to clean up any spills or excess water that may occur during the maintenance process.
- Safety Goggles: While working on the toilet, it's important to protect your eyes from any potential splashes or debris, making safety goggles an essential safety precaution.
By ensuring that you have all the required tools and materials readily available, you can streamline the process of replacing the RV toilet bowl seals and minimize interruptions during the maintenance procedure. With these items at your disposal, you'll be well-prepared to tackle the task with confidence and precision, ultimately contributing to the efficient and successful completion of the project.
Removing the Toilet Bowl
Before initiating the process of replacing the RV toilet bowl seals, the first step is to remove the toilet bowl from its current position. This task requires careful attention to detail and a systematic approach to ensure the safe and efficient removal of the toilet. Here's a detailed breakdown of the steps involved in removing the toilet bowl:
-
Turn off the Water Supply: Begin by shutting off the water supply to the toilet. Locate the water shut-off valve near the base of the toilet and turn it clockwise to stop the flow of water.
-
Empty the Tank: To prevent any potential spills or leaks, flush the toilet to empty the tank and remove as much water as possible from the bowl.
-
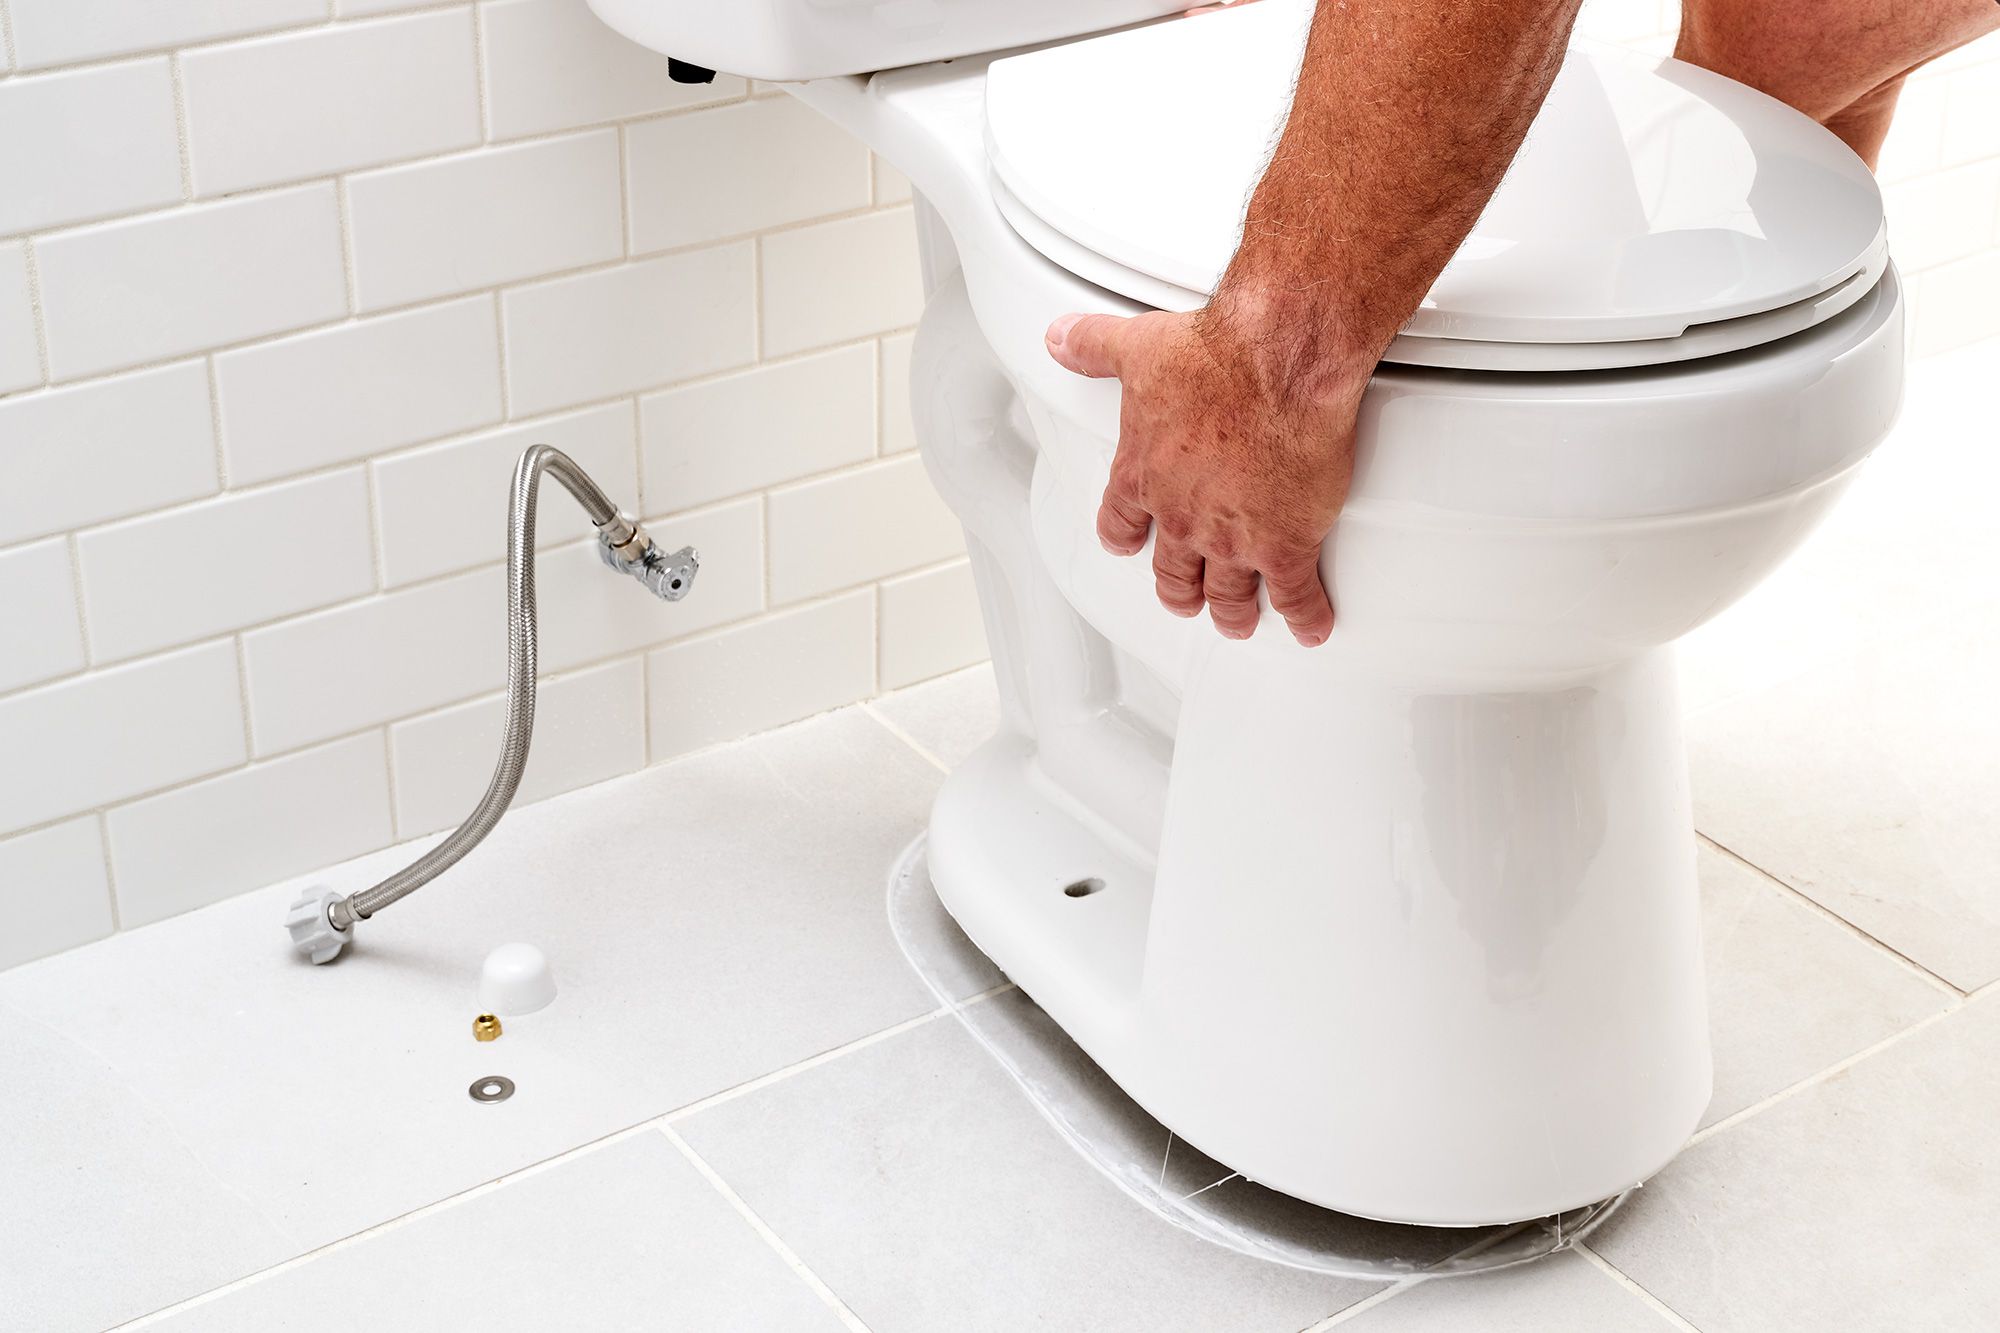
Disconnect the Water Supply Line: Using an adjustable wrench, carefully disconnect the water supply line from the toilet tank. Place a bucket or towel beneath the connection to catch any residual water that may drain out.
-
Remove the Caps and Nuts: Locate the caps covering the bolts securing the toilet to the floor. Pry off the caps and use the wrench to loosen and remove the nuts from the bolts.
-
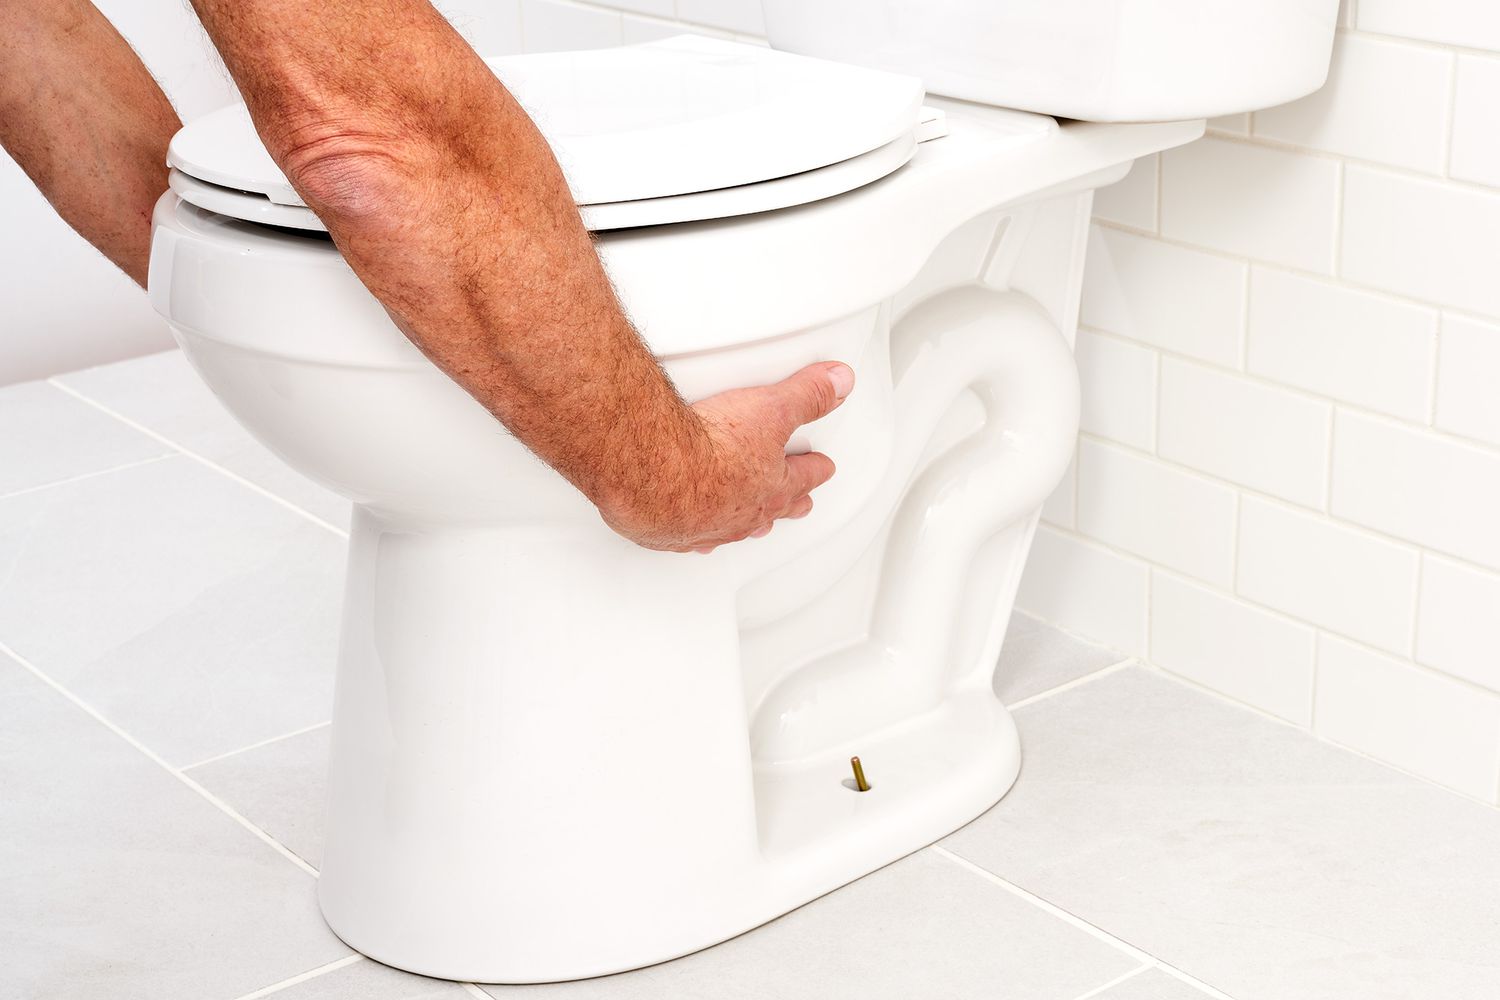
Lift and Remove the Toilet: With the assistance of another person if needed, carefully lift the toilet straight up from its position on the floor. Be mindful of the weight and balance of the toilet to avoid any strain or potential damage.
-
Cap the Drain Hole: Once the toilet is removed, promptly cap the exposed drain hole with a suitable cover or rag to prevent any unpleasant odors from escaping and to ensure a safe and clean working environment.
By following these steps, you can effectively remove the toilet bowl from its place, setting the stage for the subsequent task of replacing the worn-out seals. It's important to handle the toilet with care and attention to detail during this process to avoid any damage to the unit or the surrounding area. With the toilet successfully removed, you are now ready to proceed to the next phase of replacing the RV toilet bowl seals.
Read more: How To Replace A Toilet Bowl
Replacing the Seals
With the RV toilet bowl successfully removed, the next crucial step is to replace the worn-out seals with new, reliable components. This phase of the maintenance process requires precision and attention to detail to ensure the effective restoration of the toilet's integrity. Here's a comprehensive guide to replacing the seals in the RV toilet bowl:
-
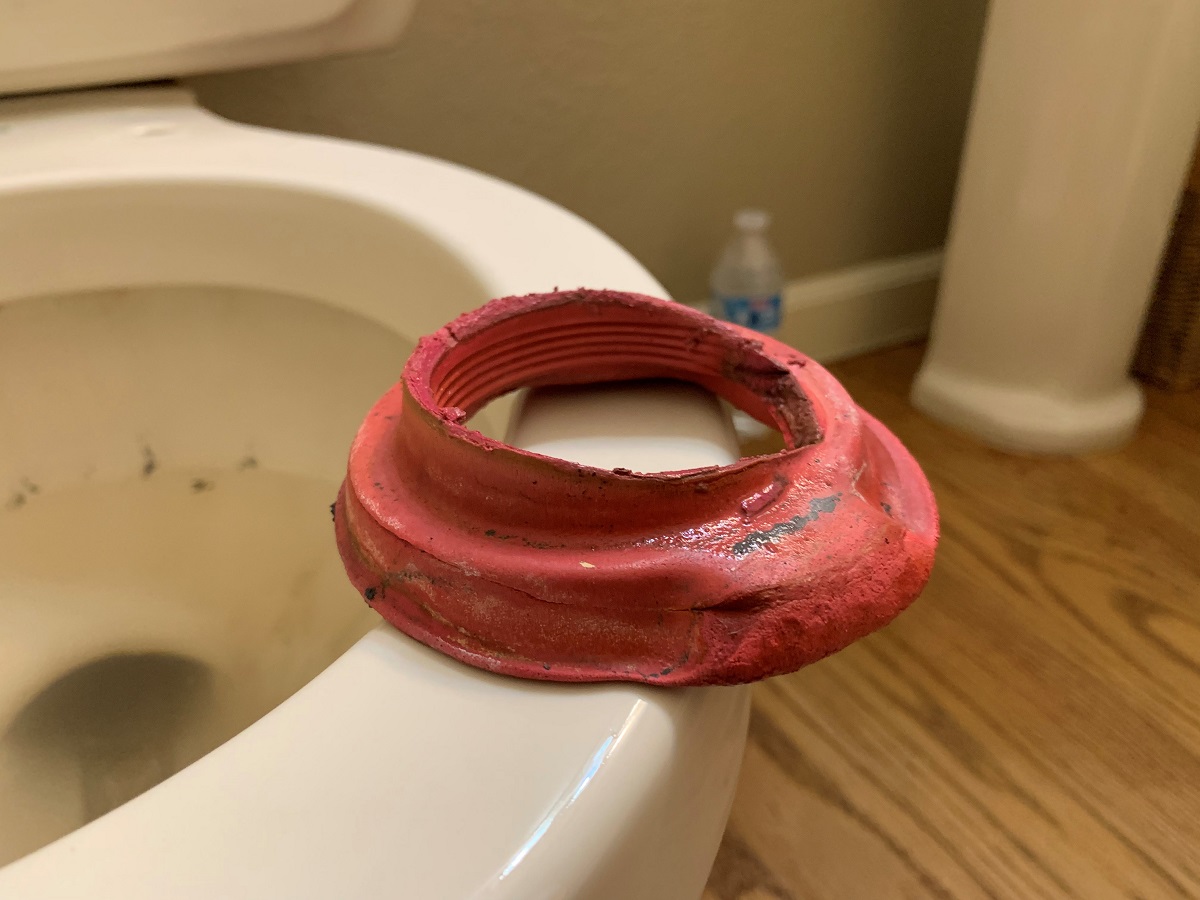
Inspect the Seals: Before proceeding with the replacement, carefully inspect the existing seals for signs of wear, damage, or deterioration. Remove the old seals and thoroughly clean the sealing surfaces to prepare them for the installation of the new components.
-
Install the New Seals: Begin by placing the new seals in their designated positions within the toilet bowl. Ensure that the seals are properly aligned and securely seated to guarantee a watertight and airtight seal once the toilet is reinstalled.
-
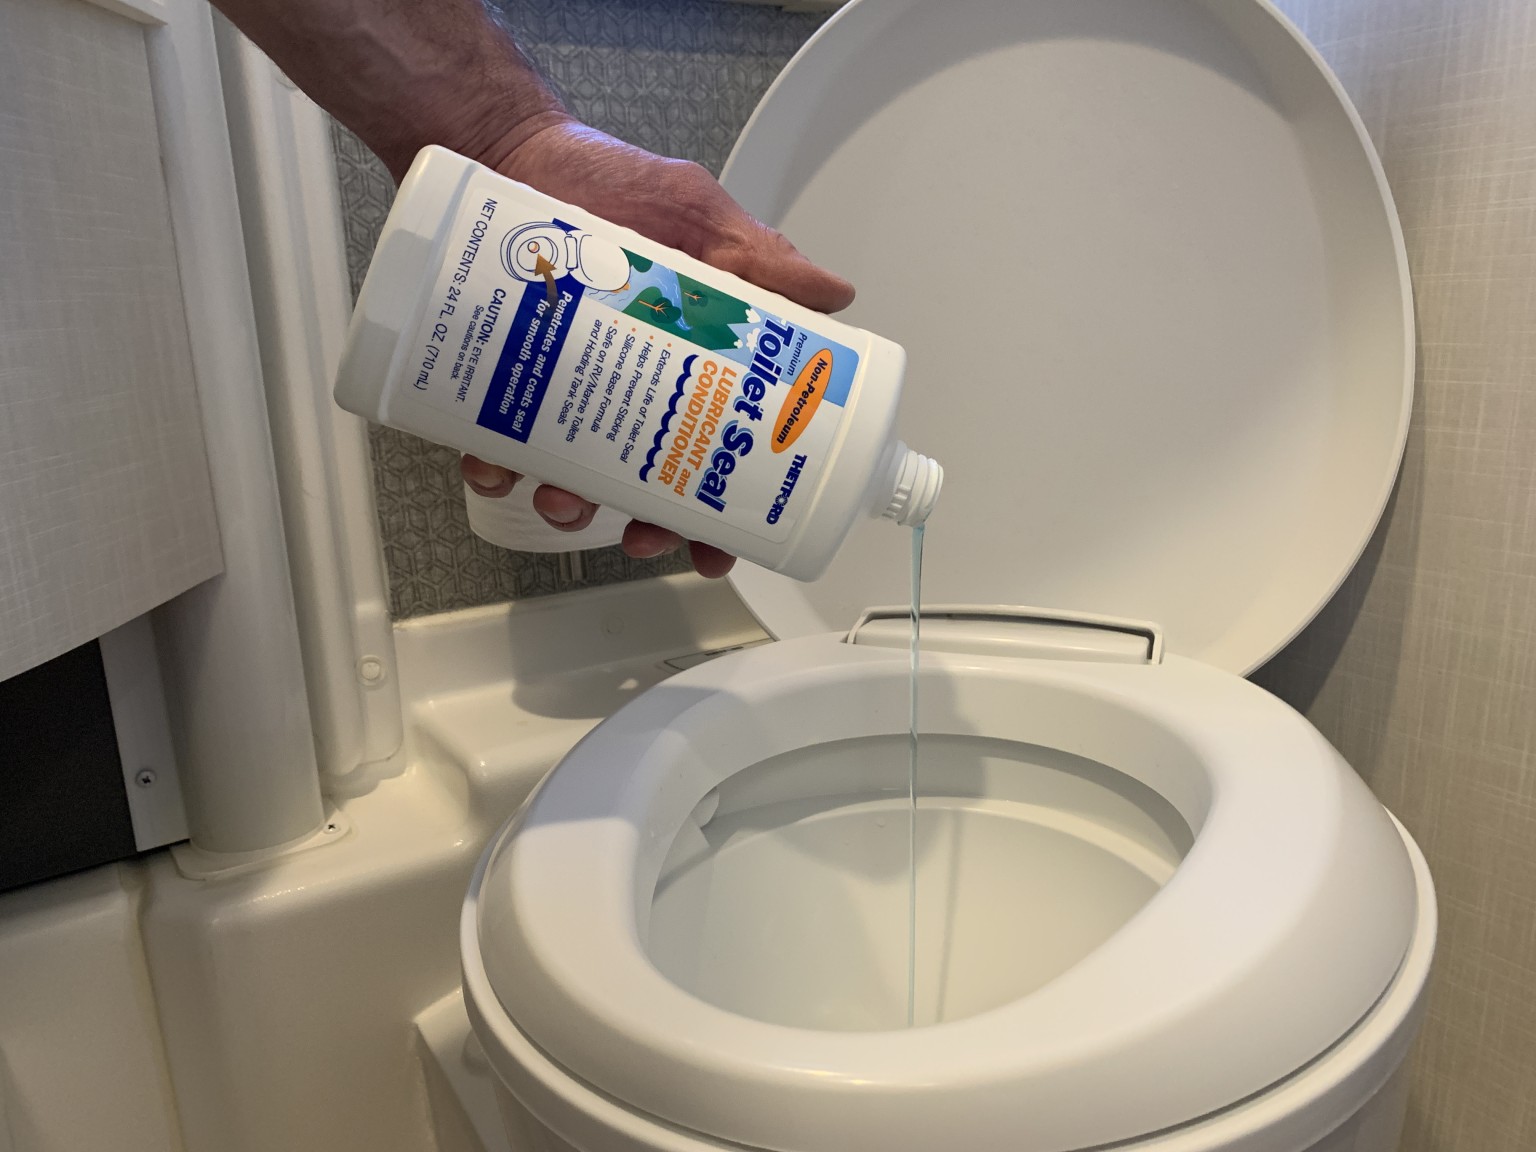
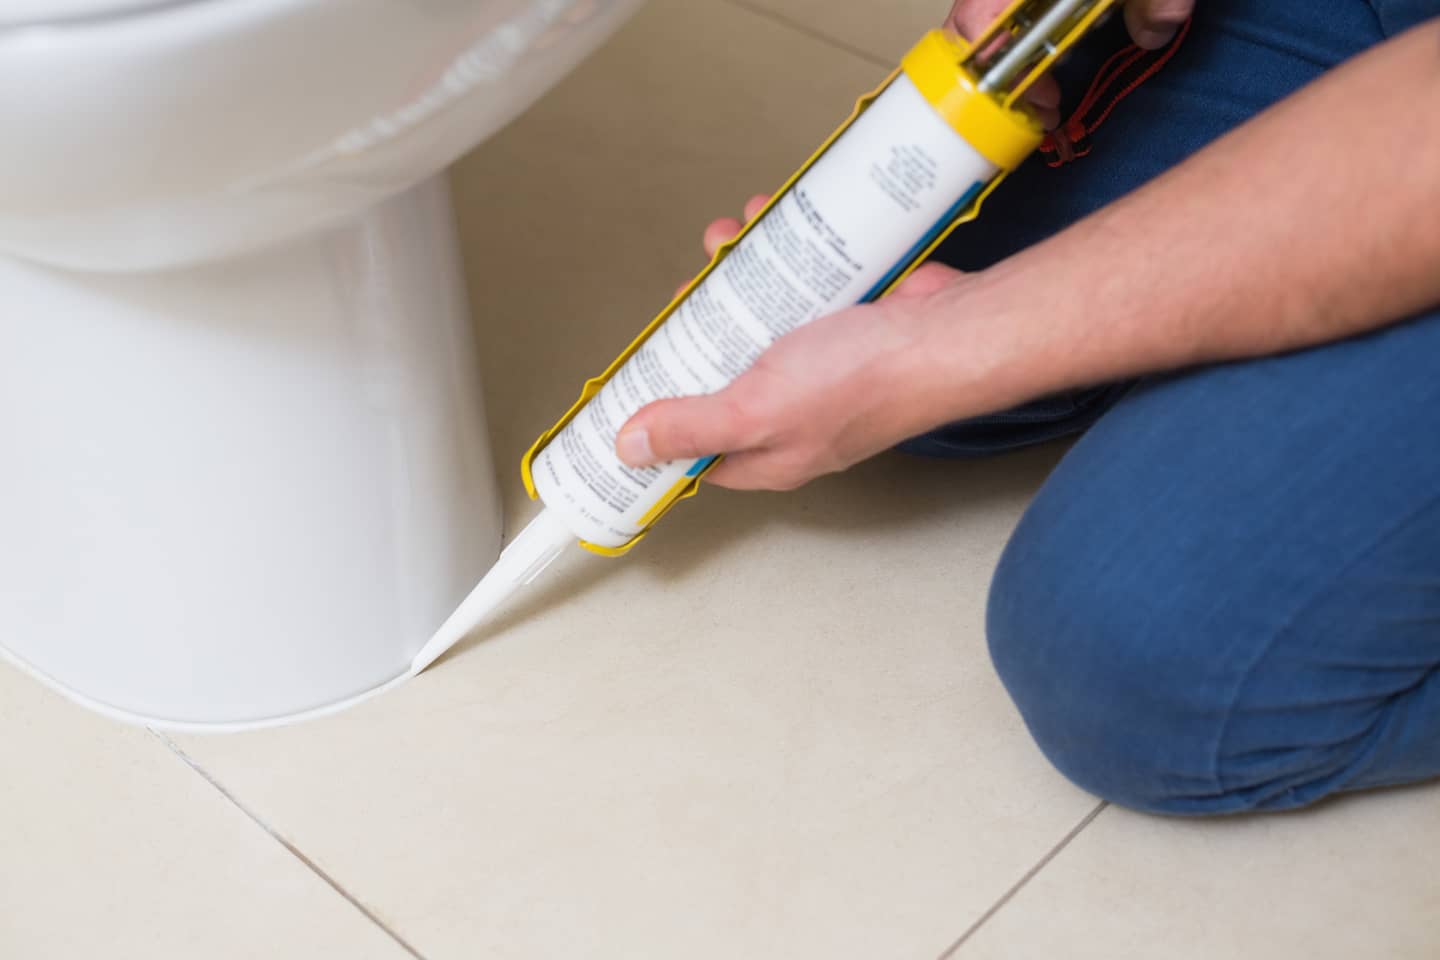
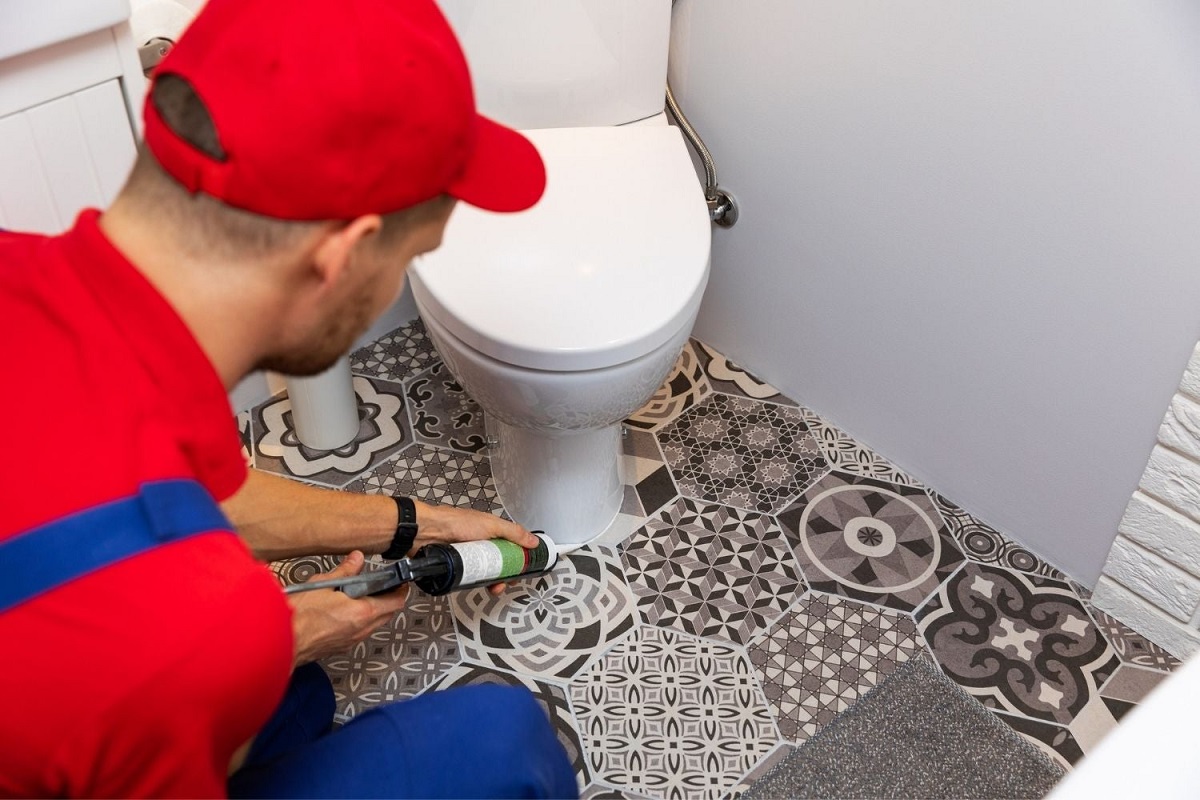
Apply Plumber's Putty: To further enhance the sealing capabilities, apply a thin layer of plumber's putty around the base of the toilet bowl before reattaching it to the floor. The putty will help create a secure and leak-resistant seal, contributing to the overall effectiveness of the replacement process.
-
Reattach the Toilet Bowl: Carefully position the toilet bowl over the floor bolts, ensuring that the wax ring and new seals align with the drain opening. Gently press the toilet bowl down to compress the wax ring and create a secure connection with the new seals.
-
Secure the Nuts and Bolts: Once the toilet bowl is properly positioned, reattach and tighten the nuts and bolts to secure the unit in place. Use an adjustable wrench to ensure that the toilet is firmly anchored to the floor, providing stability and preventing any potential movement or instability.
-
Reconnect the Water Supply: Reconnect the water supply line to the toilet tank, ensuring a tight and secure connection. Turn on the water supply and check for any leaks around the newly installed seals, addressing any issues promptly to guarantee a reliable and watertight seal.
-
Test the Seals: With the toilet reinstalled and the water supply restored, conduct a thorough test to ensure that the new seals effectively prevent leaks and maintain the integrity of the toilet bowl. Flush the toilet and inspect the base for any signs of water leakage, confirming the successful replacement of the seals.
By meticulously following these steps, you can successfully replace the worn-out seals in the RV toilet bowl, restoring its functionality and preventing potential leaks and odors. This meticulous approach ensures that the toilet is equipped with reliable seals, contributing to a hygienic and hassle-free bathroom experience during your travels.
Before replacing the RV toilet bowl seals, make sure to turn off the water supply and flush the toilet to empty the bowl. This will make the process cleaner and easier.
Reinstalling the Toilet Bowl
After successfully replacing the worn-out seals in the RV toilet bowl, the next critical step is to reinstall the toilet bowl in its designated position. This phase of the maintenance process demands careful attention to detail and a methodical approach to ensure the secure and stable reinstallation of the toilet. Here's a comprehensive guide to the meticulous process of reinstalling the toilet bowl:
-
Positioning the Toilet Bowl: Carefully lift the toilet bowl and align it with the floor bolts and the drain opening. Ensure that the wax ring and the new seals are properly aligned with the drain to facilitate a secure and watertight connection.
-
Securing the Toilet Bowl: Gently lower the toilet bowl onto the floor bolts, allowing the wax ring and the new seals to make contact with the drain opening. Apply downward pressure to compress the wax ring and create a firm connection with the new seals.
-
Attaching the Nuts and Bolts: Once the toilet bowl is properly positioned, reattach the nuts and bolts to secure the unit in place. Use an adjustable wrench to tighten the nuts, ensuring that the toilet is firmly anchored to the floor and remains stable during use.
-
Applying Plumber's Putty: To further enhance the sealing capabilities and prevent potential leaks, apply a thin layer of plumber's putty around the base of the toilet bowl. This additional measure contributes to creating a secure and leak-resistant seal, reinforcing the effectiveness of the replacement process.
-
Reconnecting the Water Supply: Reconnect the water supply line to the toilet tank, ensuring a tight and secure connection. Turn on the water supply and check for any leaks around the newly installed seals, addressing any issues promptly to guarantee a reliable and watertight seal.
-
Testing the Reinstalled Toilet: With the toilet securely reinstalled and the water supply restored, conduct a thorough test to ensure that the new seals effectively prevent leaks and maintain the integrity of the toilet bowl. Flush the toilet and inspect the base for any signs of water leakage, confirming the successful reinstallation of the toilet bowl.
By meticulously following these steps, you can ensure the secure and stable reinstallation of the toilet bowl, complementing the earlier replacement of the worn-out seals. This meticulous approach guarantees that the toilet is equipped with reliable seals, contributing to a hygienic and hassle-free bathroom experience during your travels.
Testing the Seals
After completing the meticulous process of replacing and reinstalling the RV toilet bowl seals, it is imperative to conduct a comprehensive test to ensure the effectiveness of the newly installed components. Testing the seals is a critical step that validates the integrity of the maintenance work and provides assurance that the toilet is equipped with reliable seals to prevent leaks and maintain a hygienic bathroom environment.
To initiate the testing process, begin by turning on the water supply and allowing the toilet tank to fill to its normal operating level. Once the tank is adequately filled, proceed to flush the toilet, observing the base of the toilet bowl closely for any signs of water leakage. It is essential to conduct this test with a keen eye for detail, carefully examining the area around the base of the toilet for any indications of moisture or seepage.
As the toilet is flushed, pay close attention to the newly installed seals and the surrounding sealing surfaces, ensuring that they effectively contain the water within the bowl without any signs of leakage. It is advisable to conduct multiple flushes during the testing process to thoroughly assess the performance of the seals under varying water pressure and usage scenarios.
In addition to visual inspection, it is recommended to run a hand around the base of the toilet to detect any subtle moisture that may indicate a potential leak. This tactile assessment provides an additional layer of assurance, allowing you to identify any irregularities or weaknesses in the seal's performance.
Furthermore, it is essential to monitor the area around the toilet for an extended period after the testing process to detect any delayed signs of leakage or seepage. By maintaining a vigilant watch over the toilet and its surroundings, you can confirm the sustained effectiveness of the newly installed seals and address any potential issues promptly.
By meticulously conducting these tests, you can ascertain the successful replacement and installation of the RV toilet bowl seals, ensuring that they effectively prevent leaks and maintain a watertight and hygienic bathroom environment. This thorough testing process provides the peace of mind and confidence that the toilet is equipped with reliable seals, ready to withstand the demands of travel and usage without compromising its functionality or cleanliness.
Frequently Asked Questions about How To Replace Rv Toilet Bowl Seals
Was this page helpful?
At Storables.com, we guarantee accurate and reliable information. Our content, validated by Expert Board Contributors, is crafted following stringent Editorial Policies. We're committed to providing you with well-researched, expert-backed insights for all your informational needs.
0 thoughts on “How To Replace Rv Toilet Bowl Seals”