Articles
How To Replace An Rv Toilet
Modified: October 19, 2024
Looking for articles on how to replace an RV toilet? Find step-by-step instructions and expert tips in this comprehensive guide.
(Many of the links in this article redirect to a specific reviewed product. Your purchase of these products through affiliate links helps to generate commission for Storables.com, at no extra cost. Learn more)
Introduction
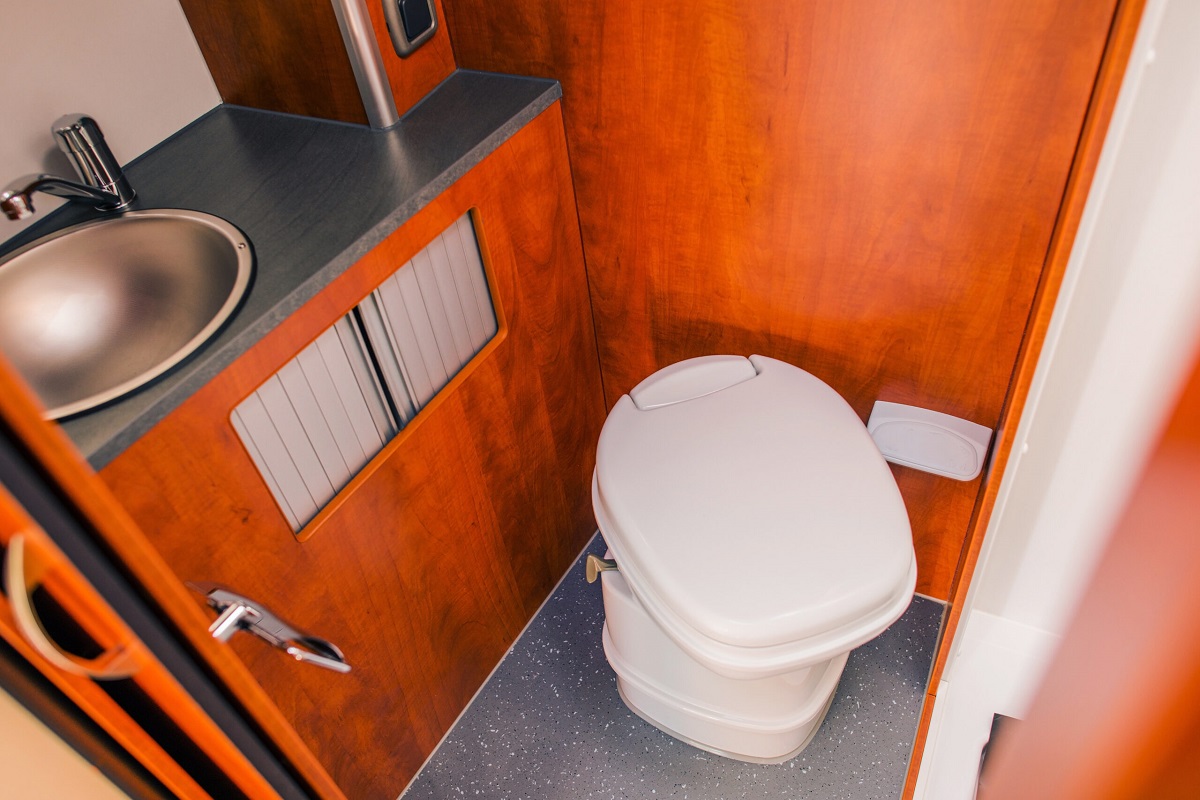
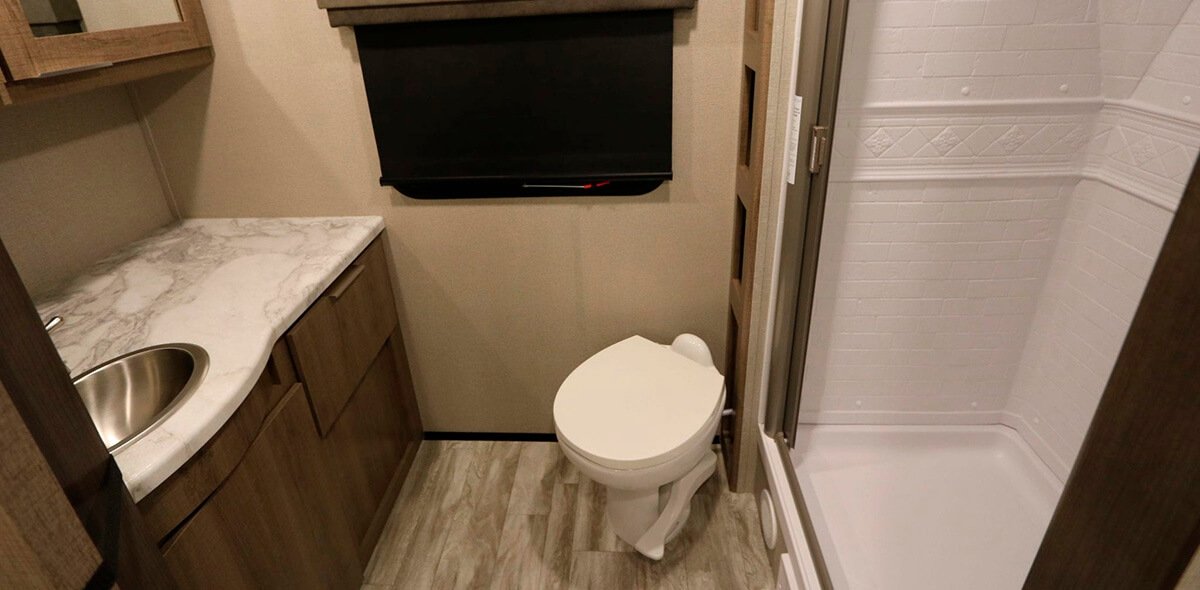
Welcome to our comprehensive guide on how to replace an RV toilet. If you’re an avid traveler or live in your RV full-time, you know the importance of a properly functioning and comfortable toilet. Over time, RV toilets can become worn out or damaged, requiring replacement.
While the idea of replacing an RV toilet may seem daunting, fear not! With the right tools, supplies, and a little patience, you can easily tackle this project yourself and have a brand new toilet in no time.
In this guide, we will walk you through a step-by-step process to replace your RV toilet. We will cover everything from gathering the necessary tools and supplies to connecting the water supply and testing the new toilet. So, let’s get started!
Key Takeaways:
- Replacing an RV toilet is a manageable DIY project with the right tools and guidance. Follow the step-by-step process to ensure a smooth installation and enjoy enhanced comfort during your RV adventures.
- Properly preparing, installing, and testing the new RV toilet is crucial for functionality and performance. Take necessary precautions and enjoy a reliable and comfortable toilet experience in your recreational vehicle.
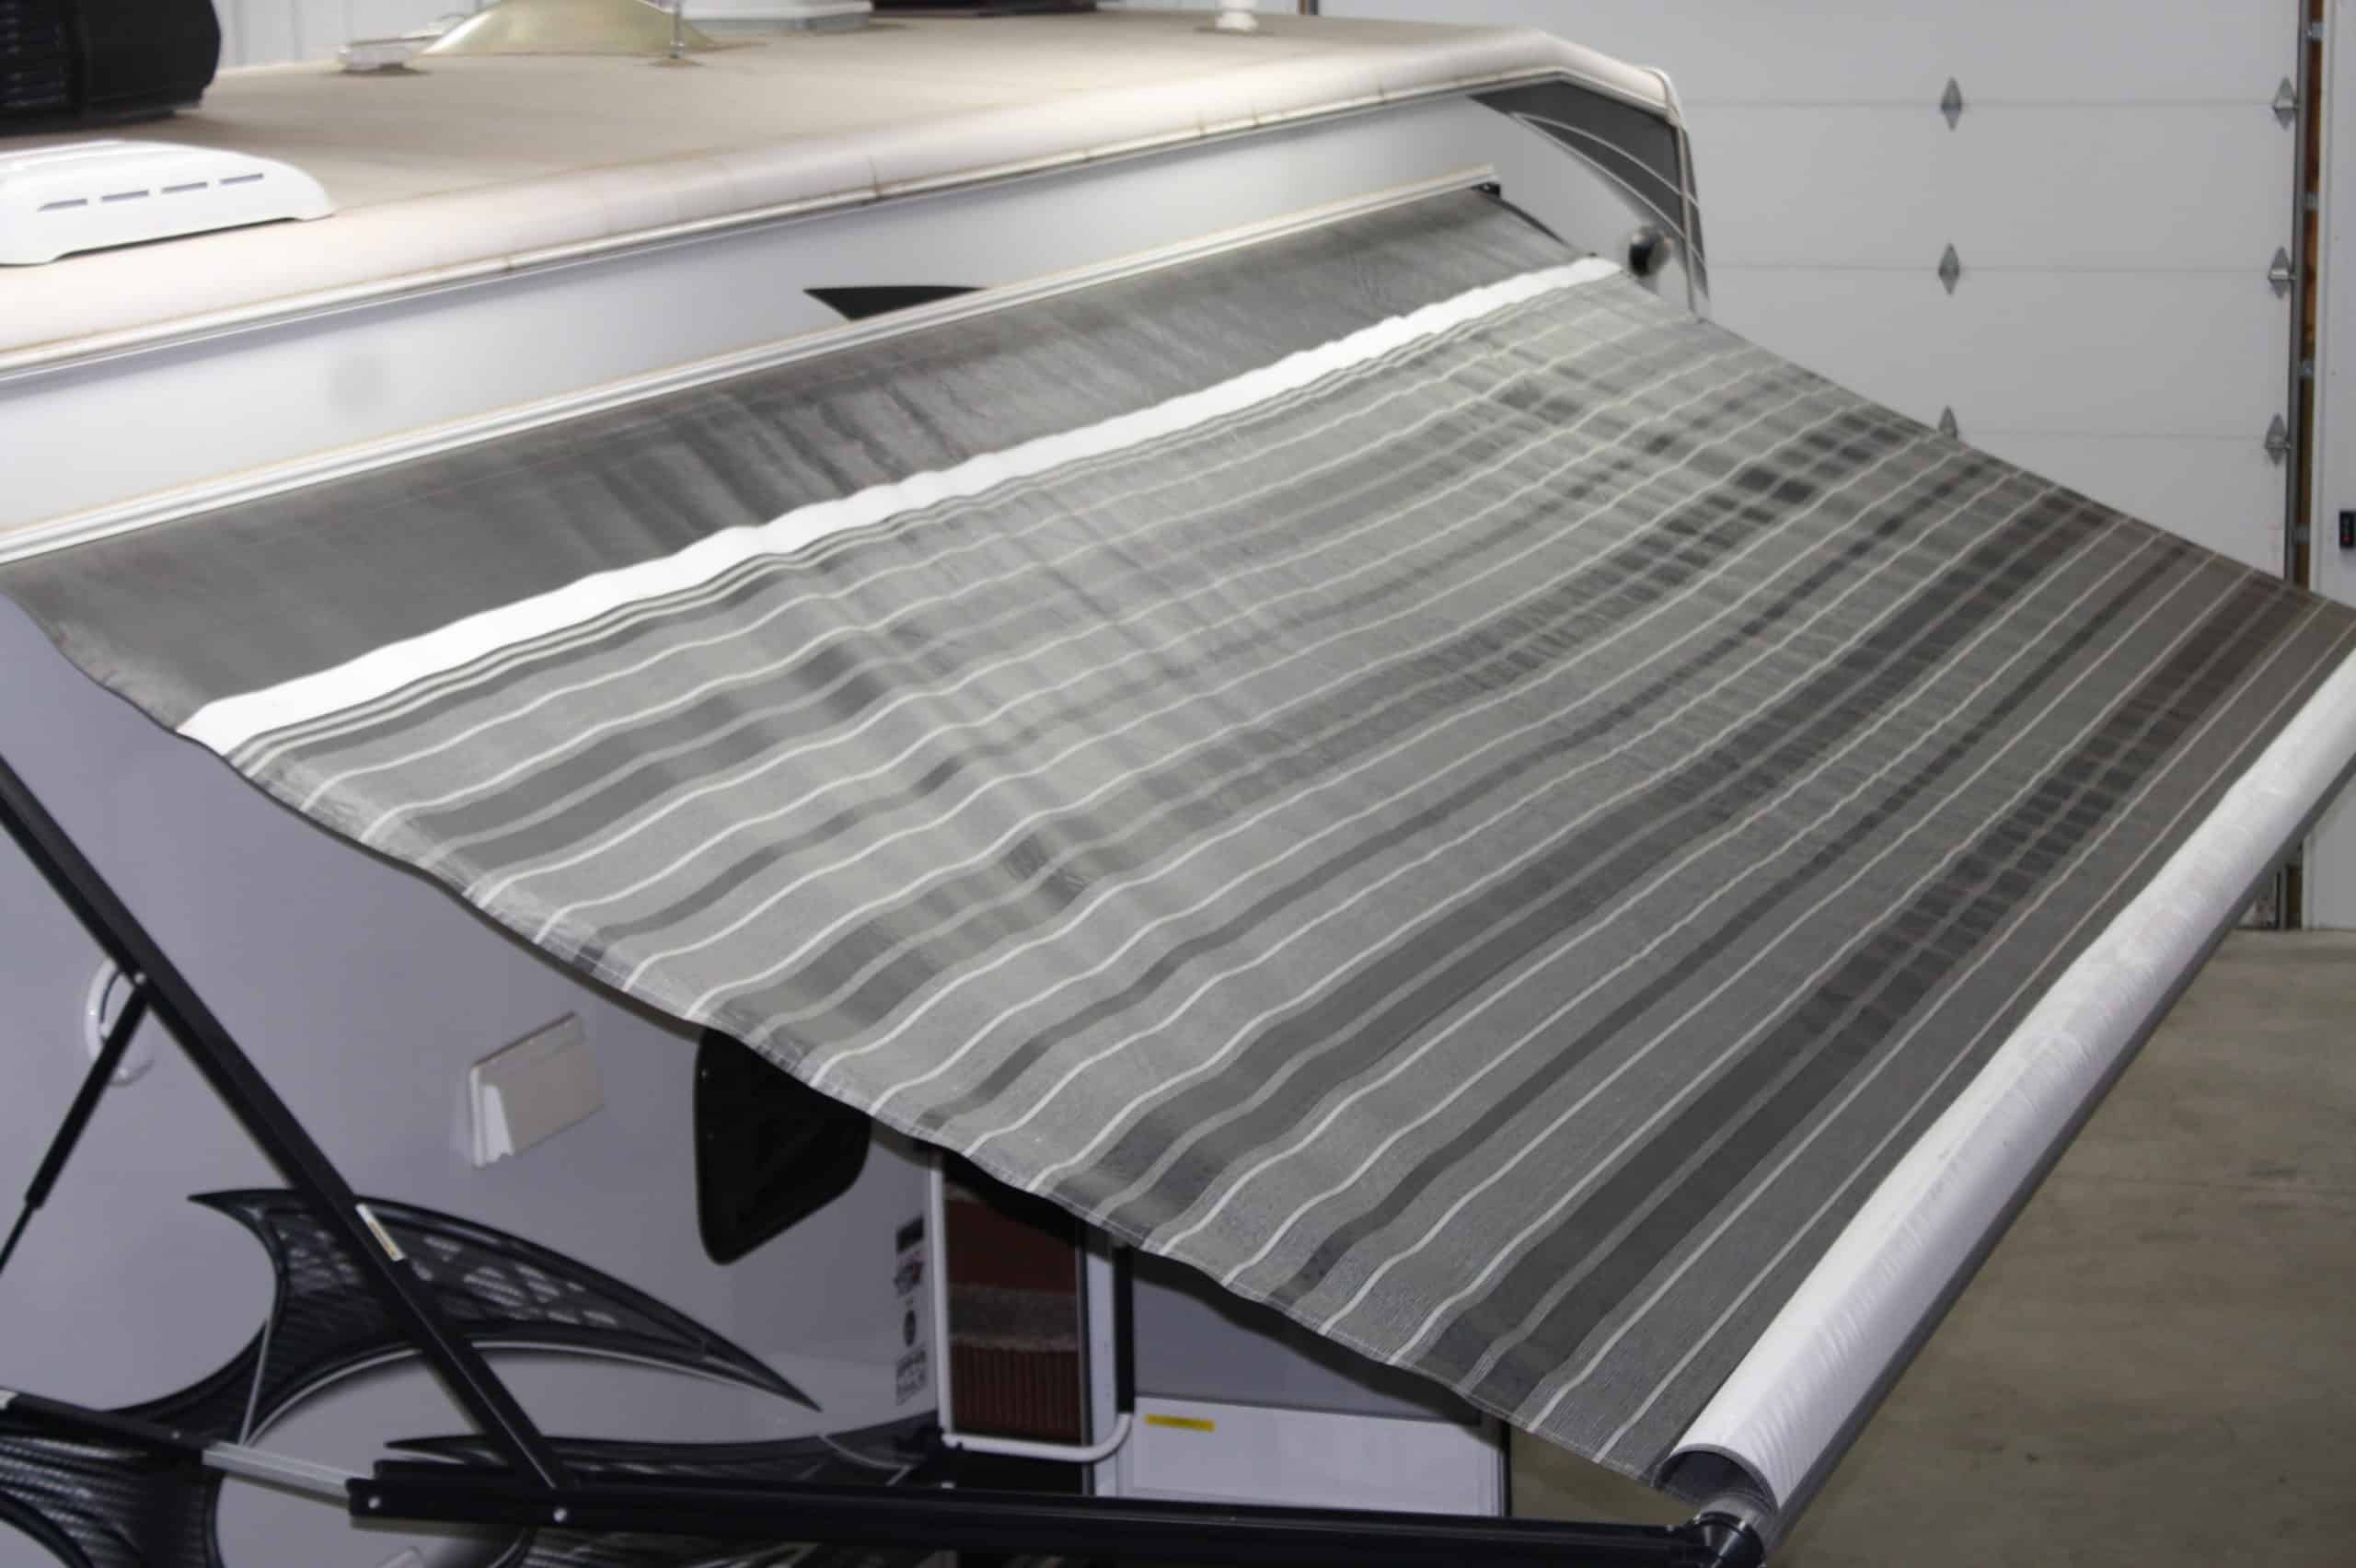
Read more: How To Replace RV Skylight
Step 1: Gather Necessary Tools and Supplies
Before you begin the process of replacing your RV toilet, it’s important to gather all the necessary tools and supplies. This will ensure a smooth and efficient installation process. Here’s a list of the items you will need:
- New RV toilet
- Adjustable wrench
- Screwdriver (flathead and Phillips)
- Bucket or towel
- Rag or sponge
- Gloves
- Plastic bags for waste disposal
- Plumber’s tape
- Replacement seals (if not included with new toilet)
It’s important to note that the specific tools and supplies required may vary depending on the type and model of your RV toilet. Consult the manufacturer’s instructions or do some research beforehand to ensure you have everything you need.
Once you have gathered all the necessary tools and supplies, you’re ready to move on to the next steps of the installation process. But before we dive in, make sure to turn off the water supply to the toilet. This will prevent any leaks or water damage during the replacement process.
Now that you’re equipped with the right tools and supplies, let’s move on to step 2: turning off the water supply.
Step 2: Turn Off Water Supply
Before you begin removing the old RV toilet, it’s crucial to turn off the water supply to prevent any water leakage or accidents. Here’s how to do it:
- Locate the water shut-off valve. In most RVs, this valve is typically located behind or underneath the toilet. It is usually a small lever or knob.
- Once you’ve located the shut-off valve, turn it to the “off” position. This will stop the flow of water to the toilet.
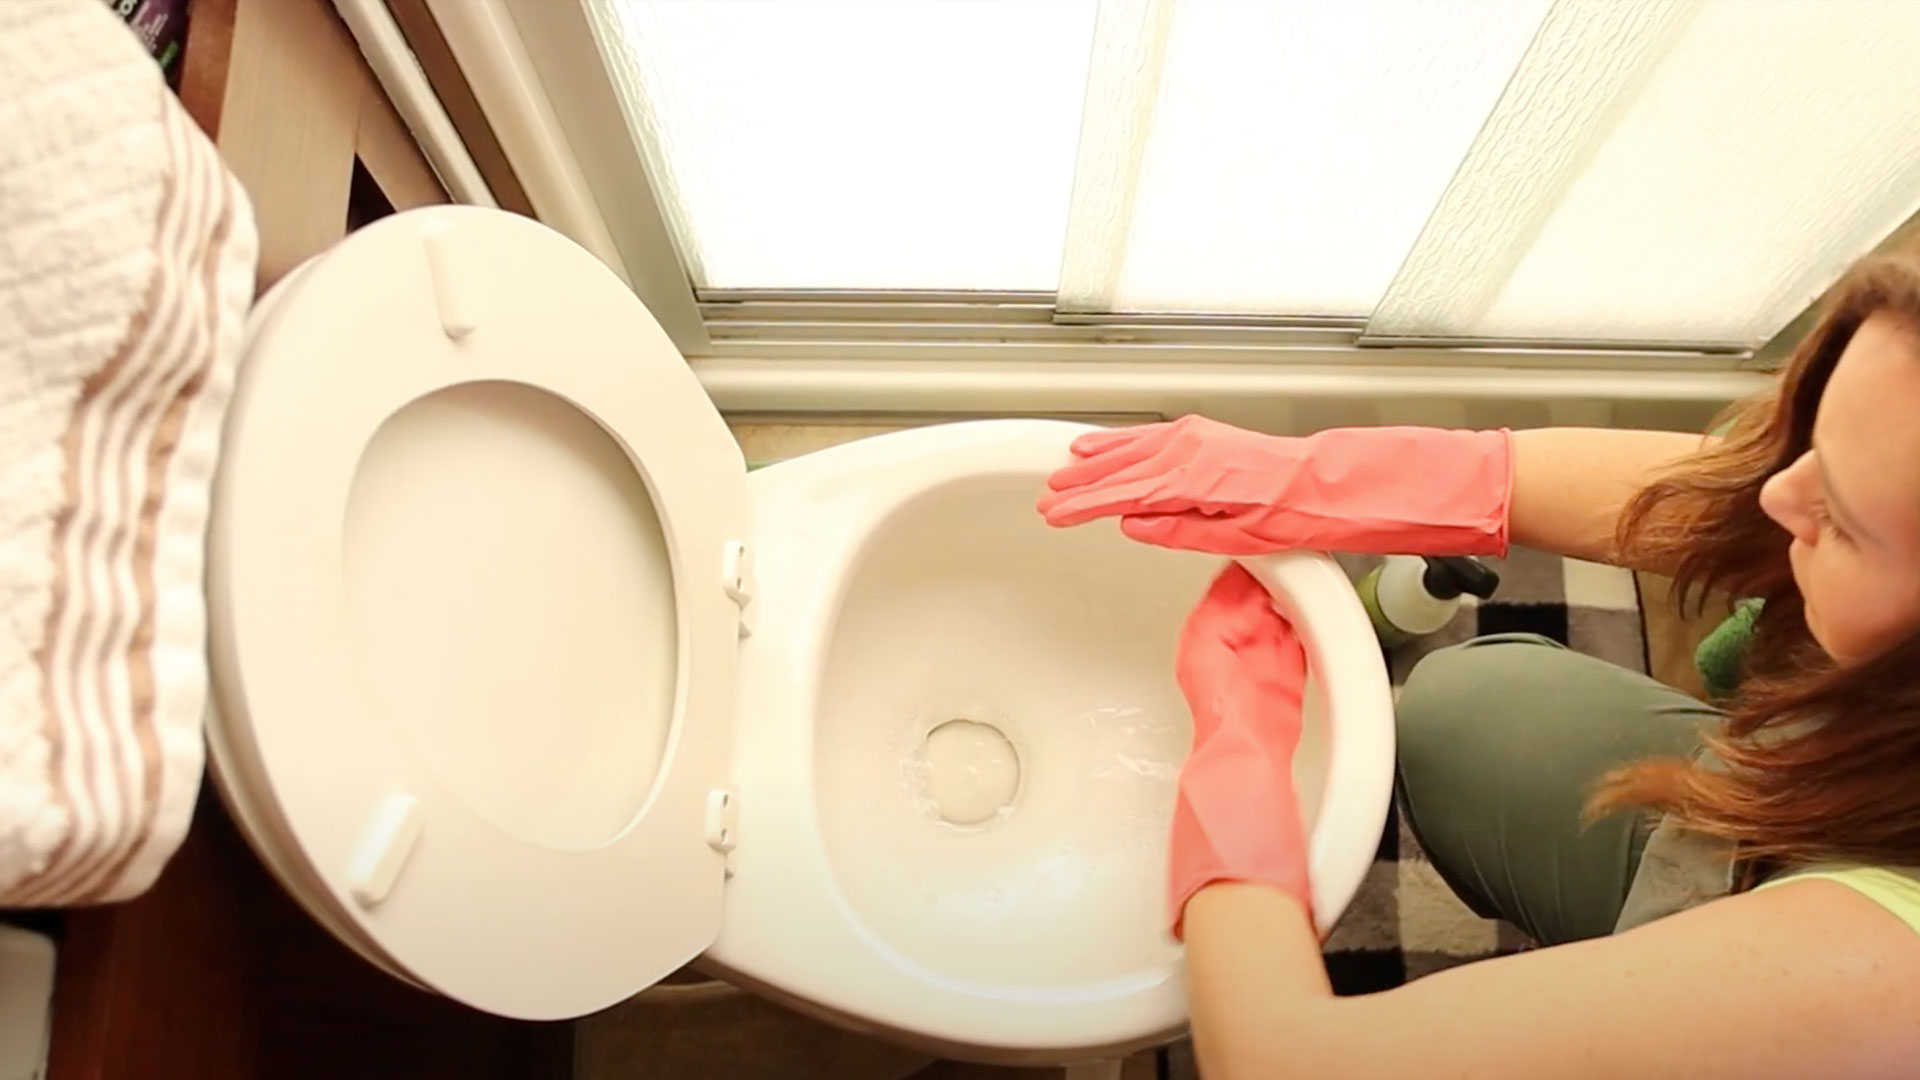
- Flush the toilet a few times to drain any remaining water in the tank and bowl.
- You may still have some residual water in the lines, so it’s a good idea to place a bucket or towel near the toilet to catch any drips or spills.
It’s important to note that if you are unsure about the location of the shut-off valve or how to turn it off, consult your RV’s owner’s manual or reach out to the manufacturer for guidance.
By turning off the water supply, you are ensuring a safe and dry environment for the replacement process. Now that the water supply is cut off, we can move on to step 3: removing the old RV toilet.
Step 3: Remove the Old RV Toilet
Now that the water supply is turned off, it’s time to remove the old RV toilet. Follow these steps carefully to ensure a smooth removal process:
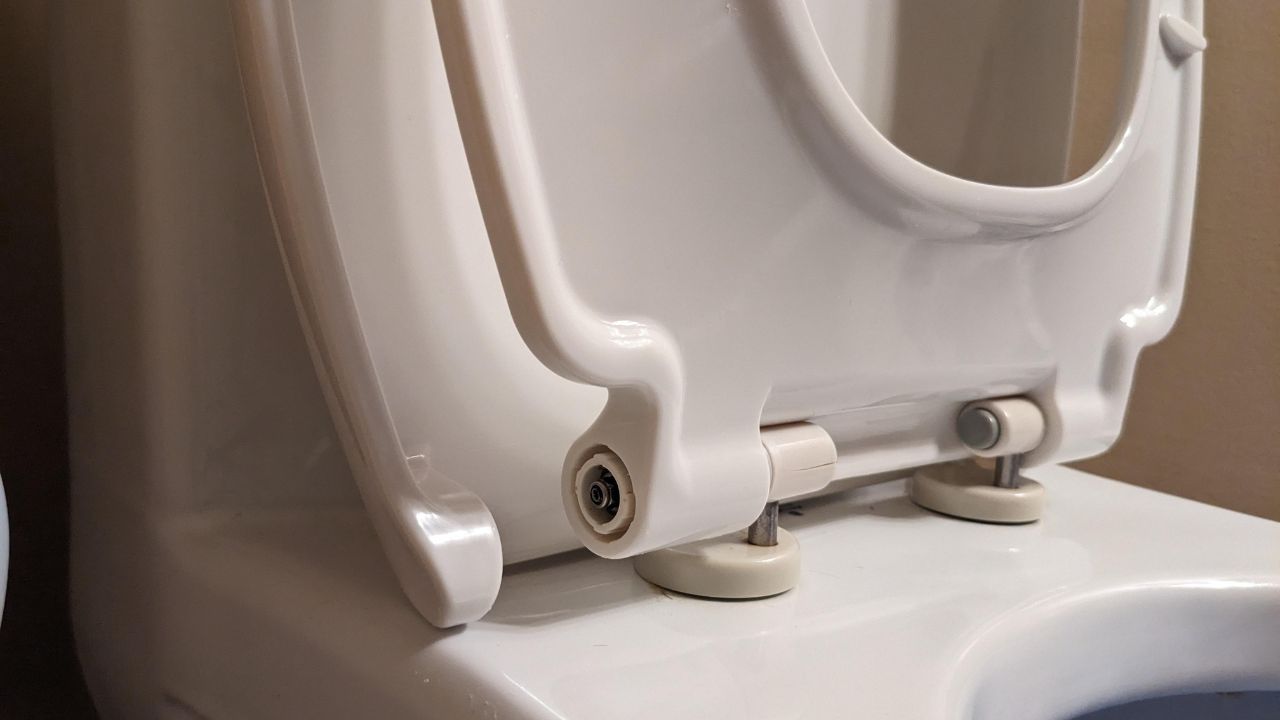
- Start by locating the bolts or screws that secure the toilet to the floor. These are usually found at the base of the toilet.
- Using a screwdriver or an adjustable wrench, carefully loosen and remove the bolts/screws. Keep in mind that some toilets may have plastic covers that need to be removed first.
- Once the bolts/screws are removed, you can gently lift the toilet off the floor. Be cautious as the toilet may still have some weight to it.
- Place the old toilet on a towel or in a plastic bag to catch any remaining water or waste.
- Inspect the flange (the opening in the floor where the toilet was attached) and the wax ring. If the wax ring is damaged or worn out, it should be replaced.
- Clean the area around the flange and remove any old wax residue or debris.
It’s crucial to handle the old toilet with care during the removal process. Make sure to wear gloves and take precautions to avoid any spills or messes. Dispose of any waste or water in accordance with proper disposal regulations.
With the old RV toilet successfully removed, we can now move on to step 4: preparing the new RV toilet for installation.
Step 4: Prepare the New RV Toilet
With the old RV toilet removed, it’s time to prepare the new toilet for installation. Follow these steps to ensure the proper preparation and placement of the new toilet:
- Inspect the new RV toilet to ensure all the necessary components are included. This may include the toilet bowl, seat, bolts, seals, and any additional attachments.
- If the new toilet did not come with a wax ring or seals, you will need to purchase them separately.
- Check the manufacturer’s instructions for any specific assembly or installation steps. Some toilets may require you to attach the seat or other components before moving forward.
- Apply plumber’s tape to the threads of the bolts that will secure the toilet to the flange. This helps provide a watertight seal.
- Place a new wax ring on the flange, ensuring it is centered properly.
- Optional: If your RV has a built-in holding tank for waste, make sure it is properly connected and sealed before installing the new toilet.
Preparing the new RV toilet is an important step in the installation process. Take your time to ensure that all components are present and in good condition. Following the manufacturer’s instructions and using plumber’s tape and a new wax ring will help ensure a proper and leak-free installation.
Now that the new RV toilet is ready, let’s move on to step 5: installing the new toilet.
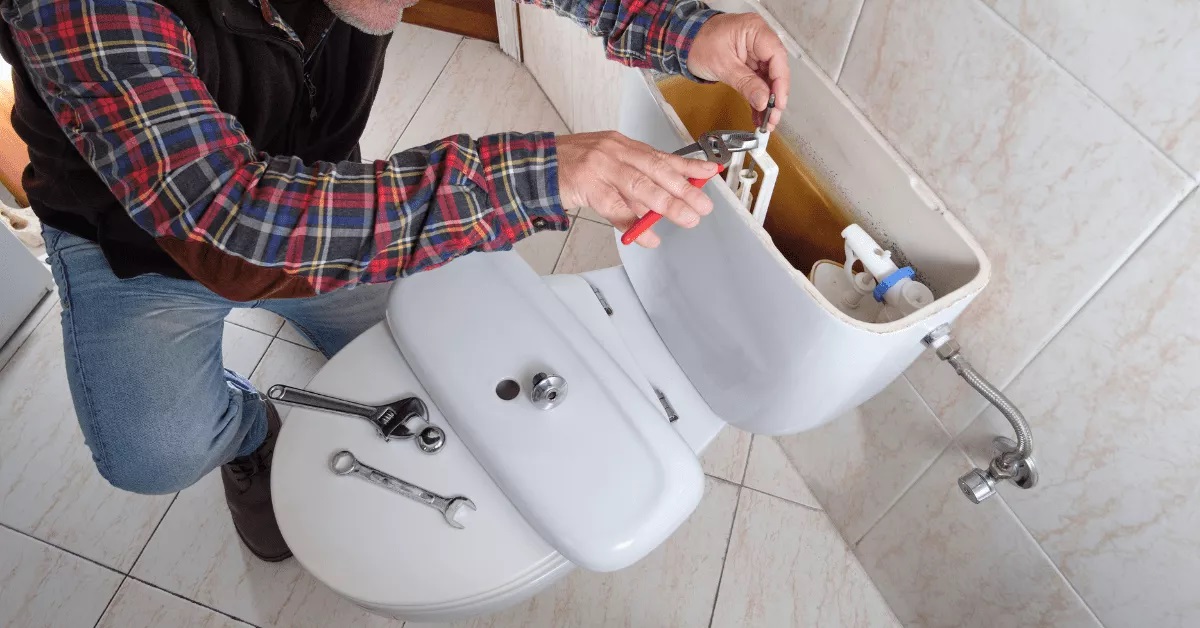
When replacing an RV toilet, make sure to turn off the water supply and disconnect the water line before removing the old toilet. This will prevent any water from leaking and make the process much easier.
Read more: How To Replace Carpet In An RV
Step 5: Install the New RV Toilet
Now that you have prepared the new RV toilet, it’s time to install it in your recreational vehicle. Follow these steps carefully to ensure a successful installation:
- Lift the new toilet and carefully align the bolt holes on the toilet with the flange bolts on the floor.
- Gently lower the toilet onto the flange, making sure the bolts go through the bolt holes.
- Apply downward pressure on the toilet to compress the wax ring and create a tight seal.
- Place a washer and a nut on each flange bolt and tighten them securely. Be careful not to overtighten, as it can damage the toilet or the flange.
- Double-check that the toilet is level and aligned properly. Adjust the position if necessary.
- Attach the toilet seat according to the manufacturer’s instructions.
- Ensure all connections are secure and tight.
It’s important to pay attention to the manufacturer’s instructions when installing the new RV toilet. Some toilets may have specific requirements or unique features that need to be addressed during installation.
Take your time during the installation process to ensure that the toilet is securely fastened, level, and aligned properly. This will help prevent any issues and ensure a comfortable and functional toilet in your RV.
Once the new RV toilet is installed, we can move on to step 6: connecting the water supply.
Step 6: Connect Water Supply
After successfully installing the new RV toilet, the next step is to connect the water supply. Follow these steps to ensure a proper connection:
- Locate the water supply line near the toilet. In most RVs, this is a flexible hose connected to a valve or fitting.
- If there is an existing water supply line, you can attach it to the water inlet valve on the new toilet. Make sure to apply plumber’s tape to the threaded ends of the supply line for a secure and leak-free connection.
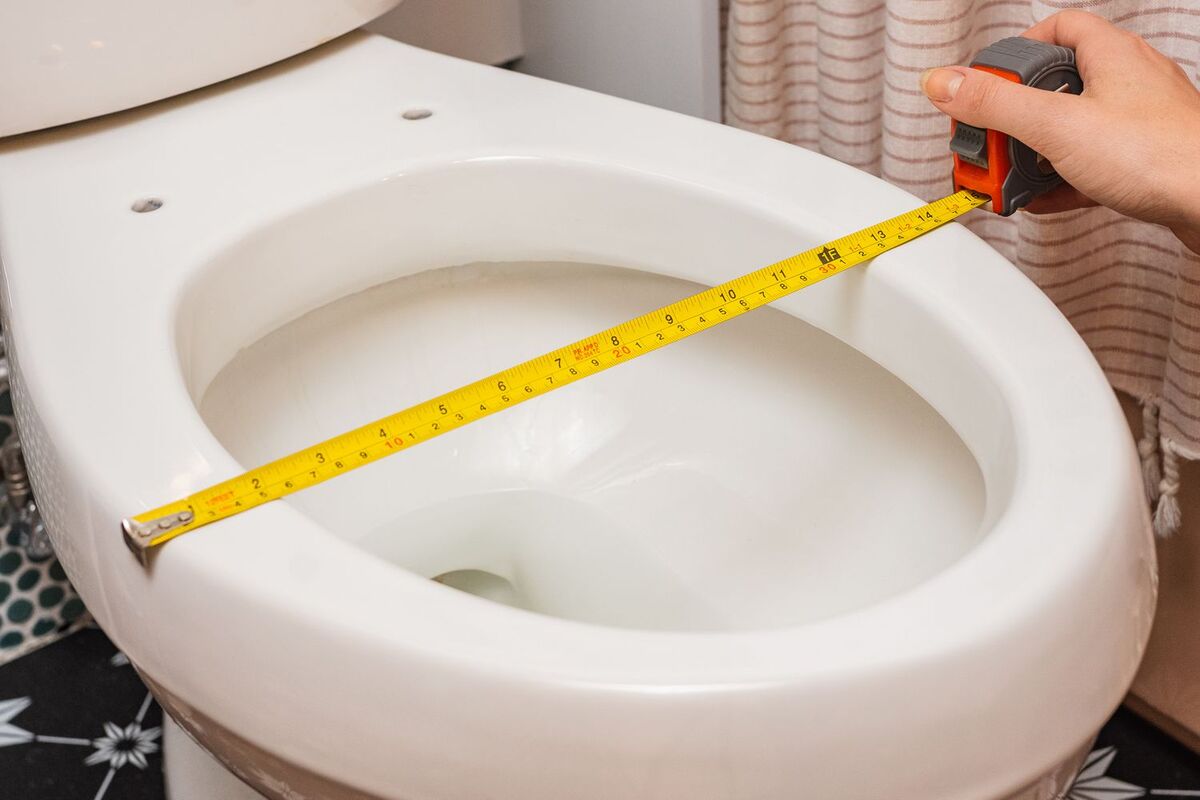
- If you need to install a new water supply line, measure the required length and cut the line accordingly. Attach one end to the water inlet valve on the toilet and the other end to the water source.
- Tighten the connections using an adjustable wrench or pliers. Be careful not to overtighten, as it can damage the fittings or cause leaks.
- Turn on the water supply and check for any leaks. If you notice any leaks, tighten the connections further or replace any faulty fittings or seals.
It’s crucial to ensure a proper and secure connection between the water supply and the new RV toilet. This will prevent any water leaks and ensure a steady flow of water for flushing.
Once the water supply is connected and there are no leaks, it’s time to move on to the final step: testing the new RV toilet.
Step 7: Test the New RV Toilet
After completing the installation and connecting the water supply, it’s important to test the new RV toilet to ensure it is functioning properly. Follow these steps to conduct a thorough test:
- Turn on the water supply to the toilet and let the tank fill with water.
- Flush the toilet multiple times to ensure it flushes smoothly and effectively.
- Check for any leaking water around the base of the toilet or at the connections. If you notice any leaks, tighten the connections or replace any faulty seals or fittings.
- Observe the water level in the bowl after flushing. It should return to its normal level within a reasonable amount of time.
- Ensure the toilet seat is properly attached and comfortable to use.
- If your RV has a built-in holding tank for waste, monitor the connections and make sure there are no leaks or odors.
- Take note of any issues or abnormal behavior and address them promptly.
Testing the new RV toilet is a crucial step to ensure its functionality and performance. By conducting a thorough test, you can identify and address any potential issues early on.
If you notice any problems during the testing phase, consult the manufacturer’s instructions or seek professional assistance if needed. It’s important to resolve any issues to guarantee a reliable and comfortable toilet experience in your RV.
With the new RV toilet successfully installed, tested, and functioning properly, you’ve accomplished the task of replacing your RV toilet! Enjoy the enhanced comfort and convenience of your new toilet during your RV adventures.
To conclude, by following these outlined steps and taking necessary precautions, you can confidently replace your RV toilet and ensure a smooth and successful installation process.
Conclusion
Replacing an RV toilet may seem like a daunting task, but with the right tools, supplies, and guidance, it can be a manageable project for any RV owner. In this comprehensive guide, we have walked you through the step-by-step process of replacing your RV toilet.
We started by gathering all the necessary tools and supplies to ensure a smooth installation process. Turning off the water supply was the next crucial step to prevent any leaks or water damage during the replacement process. We then moved on to removing the old RV toilet, being careful to handle it properly and dispose of waste and water in a responsible manner.
Preparing the new RV toilet for installation is an important step that involves inspecting the components, applying plumber’s tape, and ensuring the proper alignment of the wax ring. Installing the new toilet requires careful positioning and securely fastening it to the flange.
Once the new toilet is properly installed, connecting the water supply is the next step. This involves attaching the water supply line and checking for any leaks or faulty connections. Finally, we tested the new RV toilet to ensure its proper functioning, flushing capability, and absence of leaks or issues.
By following these step-by-step instructions and taking necessary precautions, you can successfully replace your RV toilet and enjoy a comfortable and functional bathroom in your recreational vehicle.
Remember to consult your RV’s owner’s manual and follow the manufacturer’s instructions specific to your RV toilet model. If you encounter any difficulties or have concerns, it’s always wise to seek professional assistance for guidance.
With your new RV toilet installed and tested, you can now embark on your future RV adventures with confidence and peace of mind knowing that you have a reliable and comfortable toilet on board.
Frequently Asked Questions about How To Replace An Rv Toilet
Was this page helpful?
At Storables.com, we guarantee accurate and reliable information. Our content, validated by Expert Board Contributors, is crafted following stringent Editorial Policies. We're committed to providing you with well-researched, expert-backed insights for all your informational needs.
0 thoughts on “How To Replace An Rv Toilet”