Articles
How To Clean An Rv Toilet
Modified: October 20, 2024
Learn effective tips and techniques for cleaning an RV toilet with our informative articles. Keep your RV sanitary and odor-free!
(Many of the links in this article redirect to a specific reviewed product. Your purchase of these products through affiliate links helps to generate commission for Storables.com, at no extra cost. Learn more)
Introduction
Welcome to our comprehensive guide on how to clean an RV toilet. Keeping your RV toilet clean and well-maintained is essential for a comfortable and sanitary camping experience. Whether you’re a seasoned RV enthusiast or a first-time camper, knowing how to properly clean and maintain your RV toilet is a valuable skill to have.
Understanding the RV toilet system and following the correct cleaning procedures will not only help minimize odors and prevent clogs, but it will also extend the lifespan of your RV toilet. In this article, we will walk you through the step-by-step process of cleaning your RV toilet, from gathering the necessary supplies to troubleshooting common issues.
Before we dive into the cleaning process, it’s important to note that different RV toilets may have slightly different features and components. It’s always a good idea to consult your RV owner’s manual or the manufacturer’s instructions specific to your RV toilet for any model-specific cleaning guidelines or recommendations.
Now, let’s get started on how to effectively clean your RV toilet and maintain its optimal performance!
Key Takeaways:
- Properly maintaining an RV toilet is crucial for a comfortable camping experience. Understanding the system, gathering supplies, and regular cleaning and maintenance are essential steps to prevent issues and ensure a fresh and hygienic bathroom environment.
- Troubleshooting common RV toilet issues, such as clogs, weak flush, leaky seals, and ongoing odors, is important for restoring functionality. Seeking professional help for complex problems ensures a hassle-free and enjoyable camping experience.
Read more: How To Replace An Rv Toilet
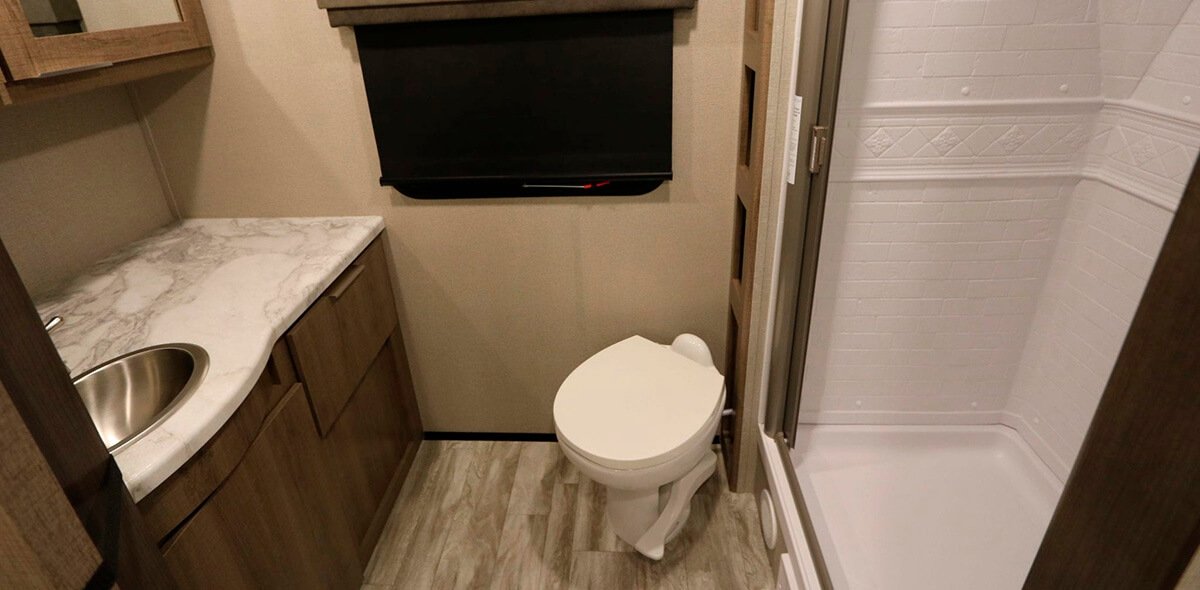
Understanding the RV Toilet System
Before you begin cleaning your RV toilet, it’s important to have a basic understanding of how the RV toilet system works. Unlike traditional toilets in residential homes, RV toilets are specifically designed for use in recreational vehicles. They have unique features and mechanisms that allow for efficient water usage and waste disposal.
RV toilets typically consist of three main components: the toilet bowl, the toilet tank, and the water flush mechanism. The toilet bowl is where waste is deposited and stored before it is flushed into the holding tank. The toilet tank is responsible for holding the water needed for flushing and also acts as a temporary storage space for waste before it is emptied.
The water flush mechanism in an RV toilet can vary depending on the model. Some RV toilets use a foot pedal flush, while others may have a lever or button flush. Understanding how your specific toilet flush mechanism works is crucial for proper cleaning and maintenance.
One key difference between RV toilets and residential toilets is the absence of a direct connection to a municipal wastewater system. Instead, RV toilets are connected to a holding tank, also known as a black water tank, which collects all the waste from the toilet. This holding tank needs to be periodically emptied at designated dump stations or campsites with proper facilities.
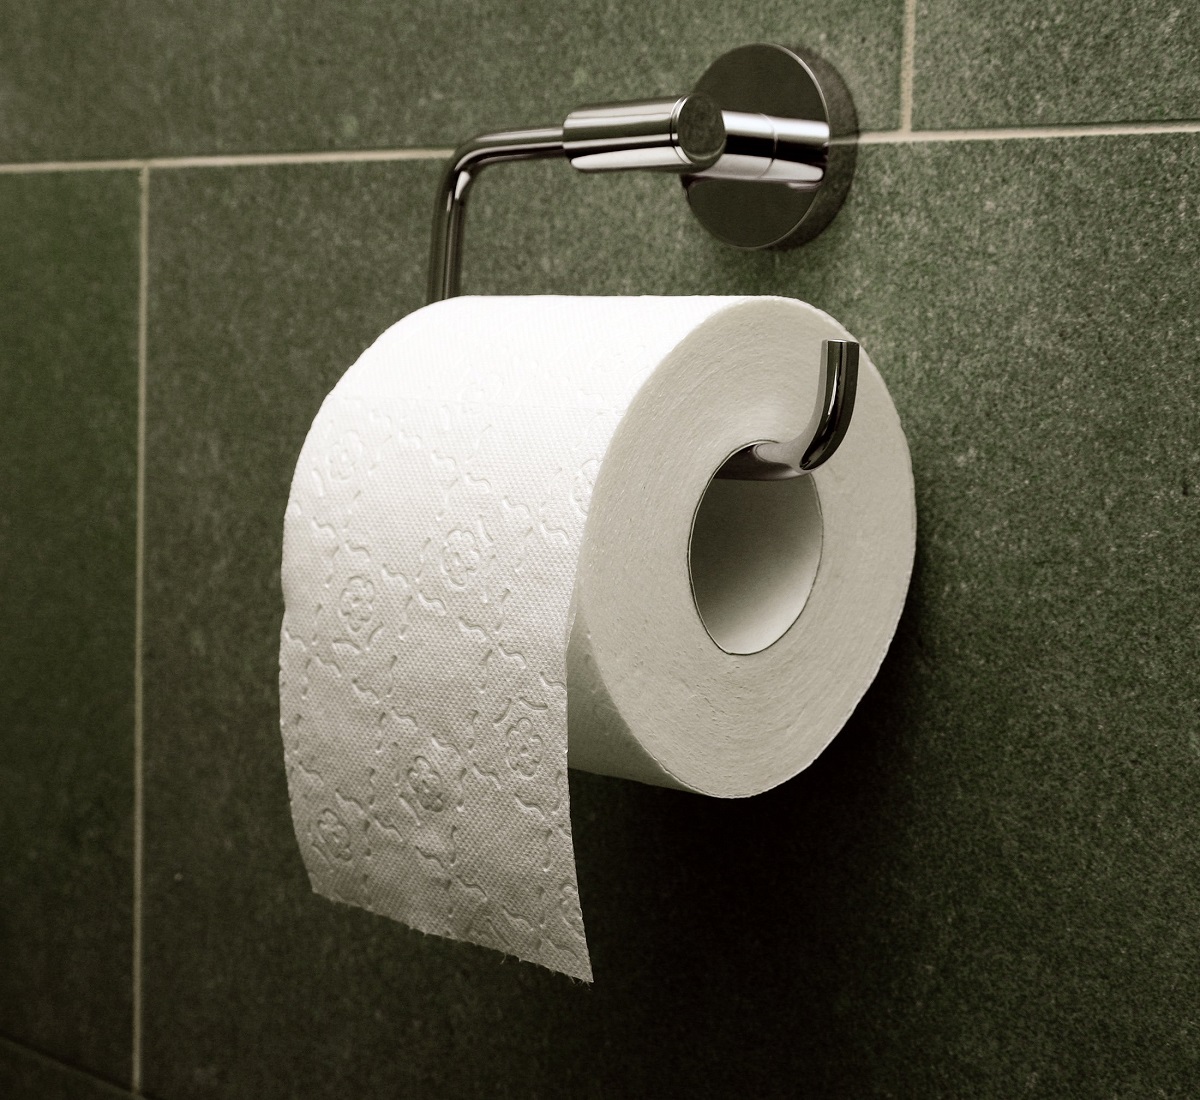
It’s important to keep in mind that RV toilets require the use of specially-formulated toilet paper that is designed to break down more easily in the holding tank. Using regular household toilet paper can increase the risk of clogs and make it more difficult to empty the tank properly.
Now that you have a better understanding of the RV toilet system, let’s move on to the next step: gathering the necessary supplies for cleaning.
Gathering the Necessary Supplies
Before you start cleaning your RV toilet, it’s important to gather all the necessary supplies. Having everything you need on hand will ensure a smooth and efficient cleaning process. Here are the essential supplies you’ll need:
- Rubber gloves: It’s important to wear rubber gloves to protect your hands from any potential bacteria or chemicals during the cleaning process.
- Bucket of water: Having a bucket of water nearby will make it easier to rinse off any cleaning solutions and debris from the toilet.
- Toilet brush: A toilet brush with stiff bristles is essential for scrubbing the inside of the toilet bowl and removing any stains or buildup.
- RV-safe toilet cleaner: It’s important to use a toilet cleaner that is specifically formulated for use in RV toilets. Avoid using harsh chemicals or household cleaners, as they can damage the toilet’s seals and components.
- White vinegar: White vinegar is an excellent natural cleaner that can help remove stains and eliminate odors. It’s a safe and effective alternative to chemical cleaners.
- Soft cloth or sponge: A soft cloth or sponge can be used to clean the exterior of the RV toilet, as well as any other surfaces in the bathroom area.
- Pipe cleaner or small brush: You may need a pipe cleaner or a small brush to clean the flush mechanism and other hard-to-reach areas of the toilet.
- Plastic bag or trash bin: Once you have finished cleaning, you’ll need a plastic bag or a designated trash bin to dispose of any waste or used cleaning materials properly.
Having these supplies readily available will make the cleaning process more convenient and effective. It’s a good idea to store these items in a designated cleaning kit or caddy that you can easily access whenever needed.
Now that you have gathered all the necessary supplies, let’s move on to the next step: preparing the RV toilet for cleaning.
Preparing the RV Toilet for Cleaning
Before you start cleaning the RV toilet, it’s important to take a few steps to prepare the toilet for the cleaning process. Follow these steps to ensure a thorough and effective cleaning:
- Put on rubber gloves: Remember to wear rubber gloves before you begin the cleaning process. This will protect your hands from any potentially harmful chemicals or bacteria.
- Turn off the water supply: Locate the water valve near the base of the toilet or under the sink and turn it off. This will prevent water from flowing into the toilet bowl during the cleaning process.
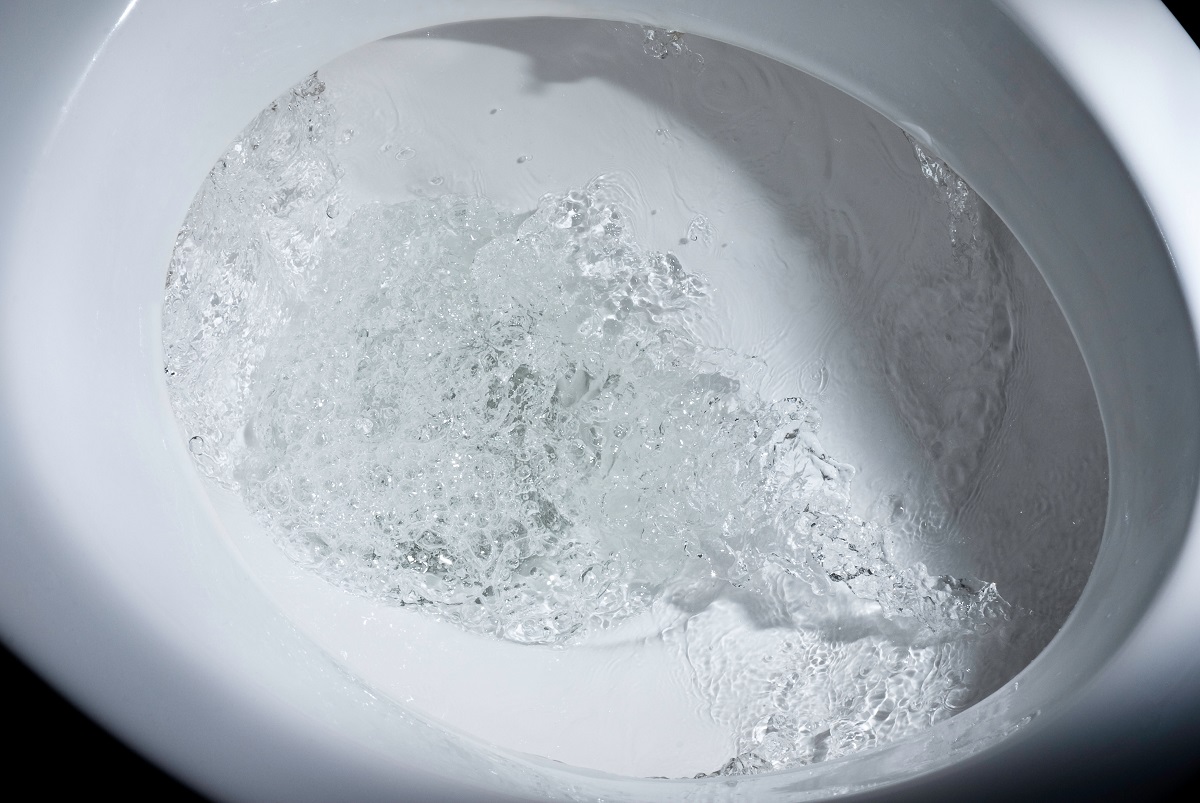
- Flush the toilet: Flush the toilet to drain as much water as possible from the bowl. Hold down the flush lever, pedal, or button until all the water has been emptied from the toilet bowl.
- Remove any excess water: Use a sponge or towel to soak up any remaining water in the bowl. Wring out the sponge or towel into a bucket or sink.
- Remove the toilet seat (if necessary): Some RV toilets have removable seats that can be easily detached for deep cleaning. Check your RV toilet’s manual for instructions on how to remove the seat if necessary.
By following these steps, you will ensure that the RV toilet is properly prepared for the cleaning process. This will make it easier to clean and prevent any water leakage or unnecessary mess during the cleaning process.
Now that the RV toilet is ready, it’s time to move on to the next step: cleaning the RV toilet bowl.
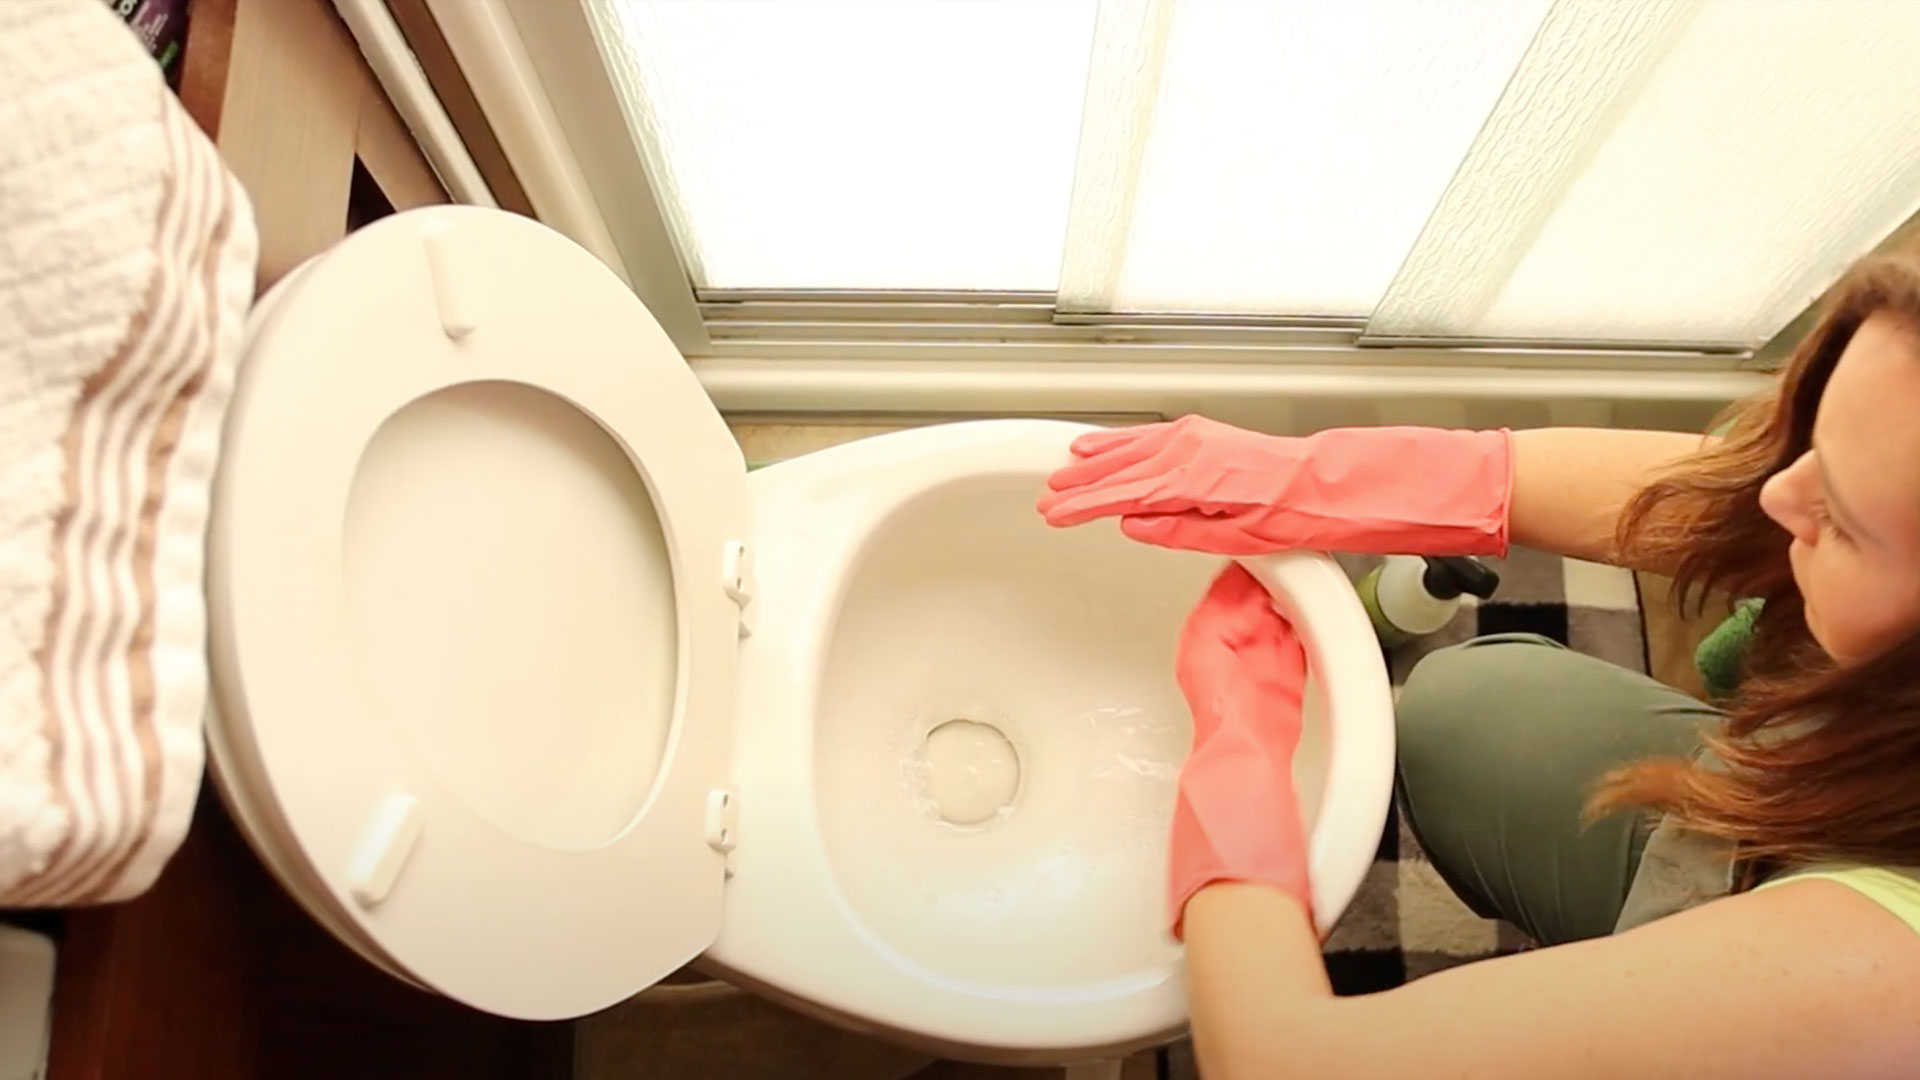
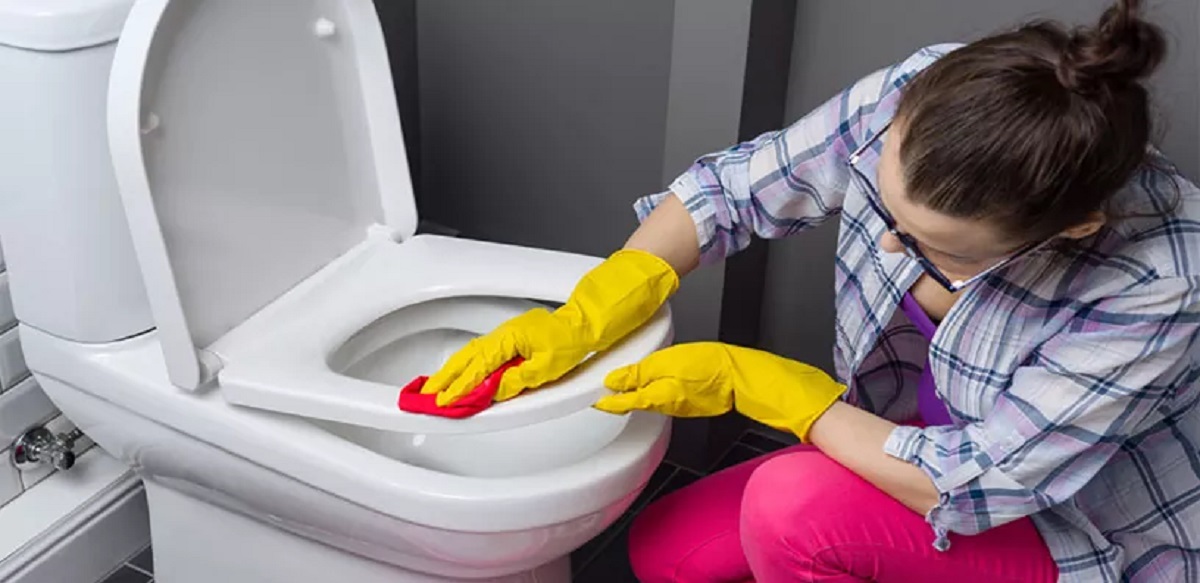
Cleaning the RV Toilet Bowl
Now that the RV toilet is prepared, it’s time to focus on cleaning the toilet bowl. Follow these steps to effectively clean the RV toilet bowl:
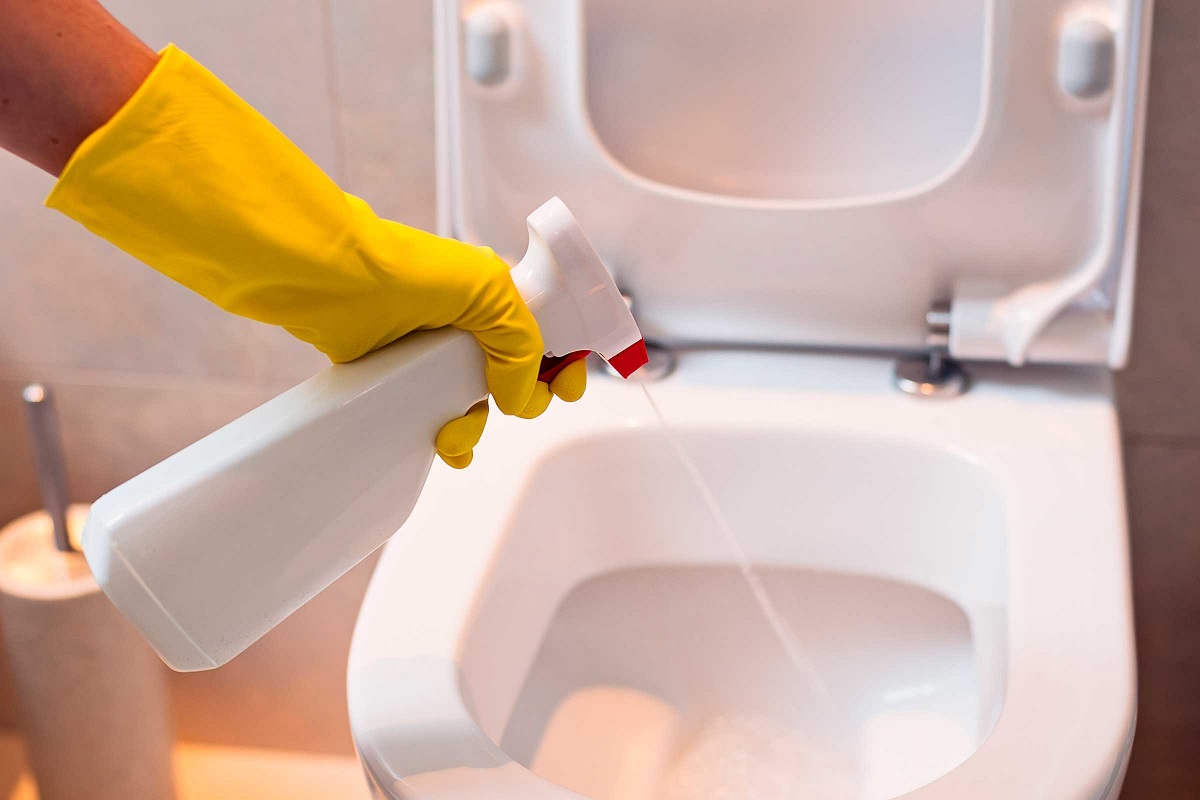
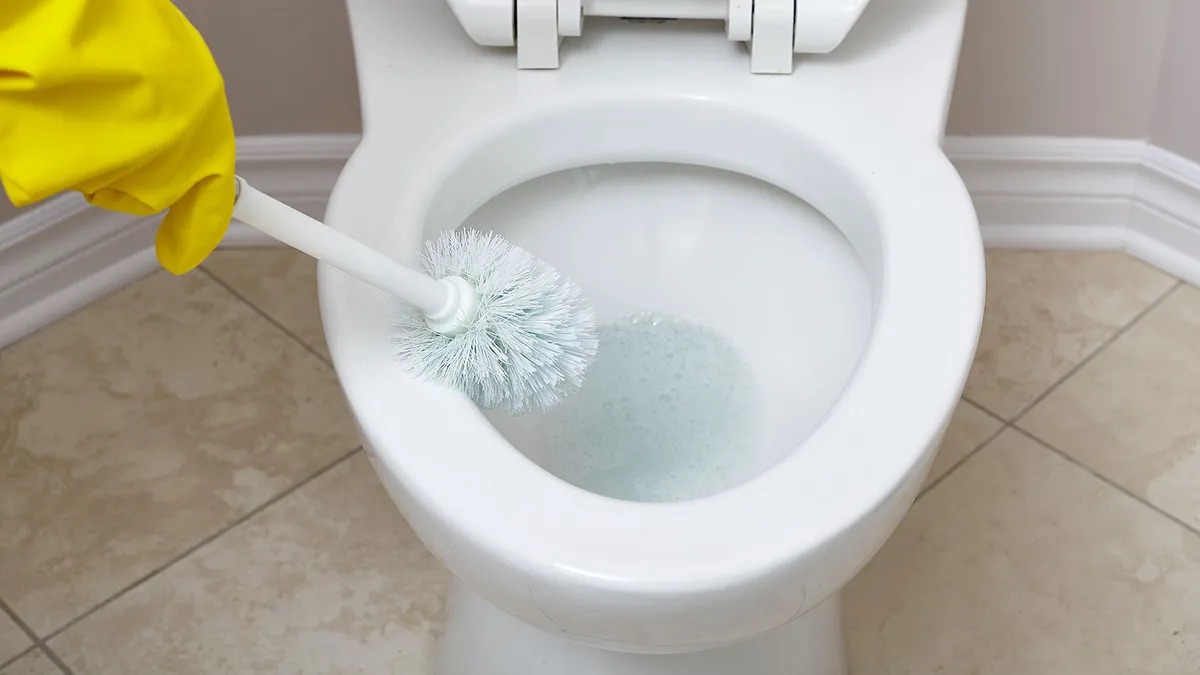
- Apply toilet cleaner: Start by applying an RV-safe toilet cleaner to the inside of the toilet bowl. Follow the instructions on the cleaner’s label for the recommended amount to use.
- Scrub the bowl: Use a toilet brush with stiff bristles to scrub the inside of the toilet bowl. Start from the top of the bowl and work your way downward, focusing on areas with stains or buildup.
- Pour vinegar if needed: If there are stubborn stains or mineral deposits in the toilet bowl, pour some white vinegar into the bowl and let it sit for a few minutes. The natural acidity of vinegar helps break down stains and eliminate odors.
- Scrub again and flush: After letting the vinegar sit for a few minutes, scrub the bowl again with the toilet brush. Then, flush the toilet to remove any residue and clean the bowl thoroughly.
It’s important to pay attention to the rim, under the rim, and around the toilet bowl’s water holes, as these are areas where deposits and bacteria tend to accumulate. Take your time and ensure you thoroughly scrub all surfaces.
Once you’re satisfied with the cleanliness of the toilet bowl, it’s time to move on to the next step: cleaning the RV toilet tank.
To clean an RV toilet, use a specialized RV toilet cleaner and a toilet brush to scrub the bowl. Make sure to also clean the exterior and handle with disinfectant wipes. Regular maintenance will help prevent odors and keep the toilet in good condition.
Read more: How to Unclog RV Toilet
Cleaning the RV Toilet Tank
Cleaning the RV toilet tank is an important step in maintaining the overall hygiene and functionality of your RV toilet. Here’s how to clean the RV toilet tank effectively:
- Empty the tank: Start by emptying the RV toilet tank at a designated dump station or campground facility. Follow the instructions provided by the facility for proper waste disposal.
- Rinse the tank: Once the tank is empty, rinse it thoroughly with clean water. Use a hose or a bucket of water to flush out any remaining waste particles and debris inside the tank.
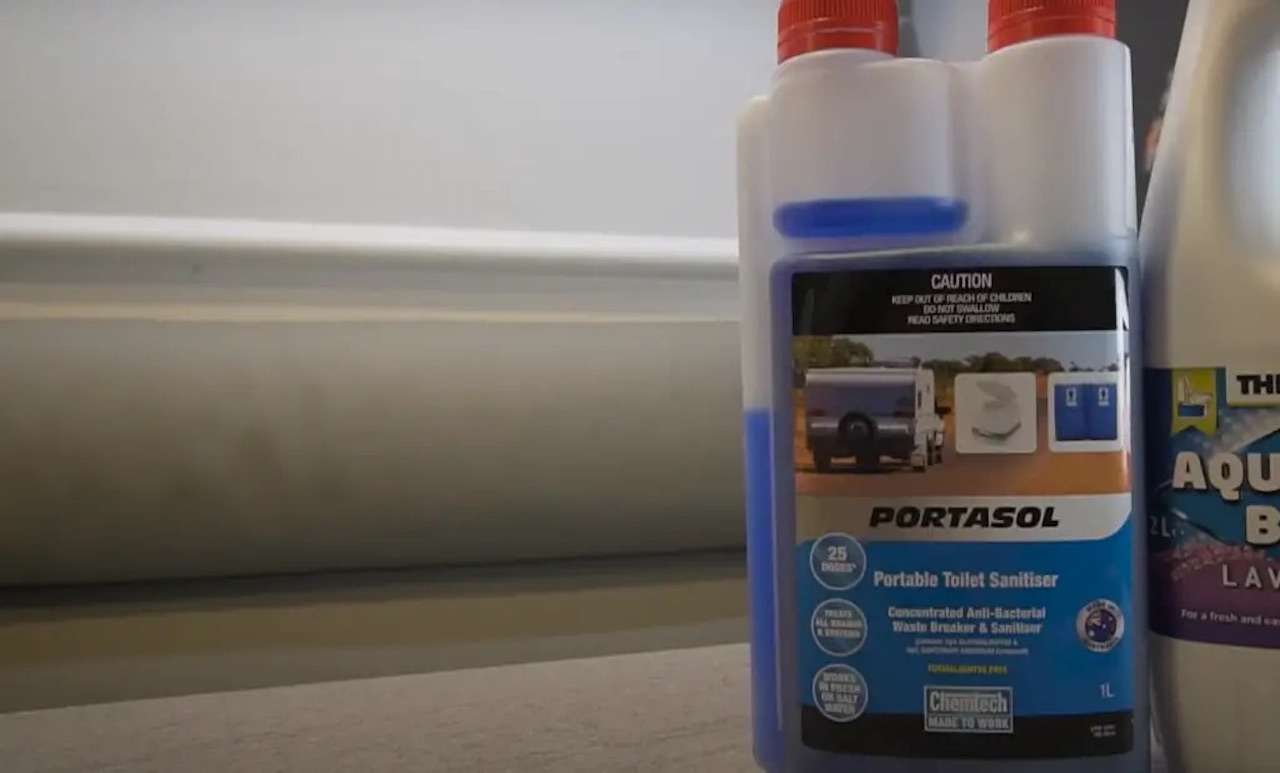
- Add tank cleaner: After rinsing, add an RV tank cleaner to the toilet tank. Choose a tank cleaner specifically designed for RVs, as it will effectively break down waste and control odors.
- Fill the tank: Fill the toilet tank with water, following the recommended water level specified for your RV toilet. This typically ranges from one-third to one-half full.
- Let it sit: Allow the tank cleaner to sit inside the tank for the recommended amount of time, as indicated on the product label. This will allow the cleaner to work effectively in breaking down waste and removing any stubborn residue.
- Flush the tank: After the recommended time has passed, flush the toilet several times to empty the tank and flush out any remaining residue or cleaner. This will ensure a clean and odor-free toilet tank.
Regularly cleaning the RV toilet tank is crucial to prevent clogs, control odors, and maintain the overall performance of your RV toilet system. By following these steps, you can effectively clean and maintain the RV toilet tank.
Now that the toilet tank is clean, let’s move on to the next step: cleaning the exterior of the RV toilet.
Cleaning the Exterior of the RV Toilet
Ensuring the cleanliness of the exterior of your RV toilet not only promotes a sanitary environment but also enhances the overall appearance of your bathroom area. Here’s how you can clean the exterior of your RV toilet:
- Prepare a cleaning solution: Mix a solution of mild soap and warm water in a bucket or spray bottle. Avoid using abrasive cleaners or harsh chemicals, as they can damage the toilet’s surfaces.
- Dampen a cloth or sponge: Dip a soft cloth or sponge into the cleaning solution, making sure it is just damp, not saturated.
- Clean the exterior: Gently wipe the exterior surfaces of the RV toilet with the damp cloth or sponge. Pay attention to areas that are frequently touched, such as the flush lever, seat hinges, and any other visible parts.
- Rinse and dry: After cleaning, rinse the cloth or sponge thoroughly and wipe down the toilet again to remove any soap residue. Then, use a dry cloth or towel to dry the surfaces to prevent water spots or streaks.
- Finishing touches: Once the exterior of the RV toilet is clean and dry, you can apply a small amount of RV-safe conditioner or protector to the toilet seat or any other plastic components. This will help maintain their appearance and prolong their lifespan.
Regularly cleaning the exterior of your RV toilet will not only keep it looking fresh and clean but also help prevent the buildup of dirt, bacteria, and grime. It’s a simple yet important step in maintaining a hygienic bathroom environment in your RV.
Now that the RV toilet’s exterior is sparkling clean, let’s move on to the next step: maintaining the RV toilet regularly.
Maintaining the RV Toilet Regularly
In order to keep your RV toilet in optimal condition, it’s important to establish a regular maintenance routine. Regular maintenance will help prevent clogs, minimize odors, and extend the lifespan of your RV toilet. Here are some essential maintenance tips:
- Monitor water usage: Be conscious of the amount of water you use when flushing the toilet. RV toilets are designed to be water-efficient, so avoid excessive flushing, which can put strain on the toilet and lead to potential problems.
- Use RV-friendly toilet paper: Use only RV-approved toilet paper, which is designed to break down easily in the holding tank. Avoid using regular household toilet paper, as it can cause clogs and make it more difficult to empty the tank.
- Empty the tank regularly: Regularly emptying the RV toilet tank is essential for maintaining a healthy and odor-free bathroom environment. Follow the guidelines provided by the dump stations or campground facilities for proper waste disposal.
- Keep the toilet seals lubricated: Periodically check the seals around the toilet bowl and tank. Apply a small amount of silicone lubricant to the seals to keep them pliable and prevent leaks.
- Inspect and clean the flush mechanism: Check the flush mechanism regularly to ensure it’s functioning properly. Use a pipe cleaner or small brush to clean any debris or buildup around the flush lever, pedal, or button.
- Prevent freezing: If you’ll be using your RV in colder climates, take precautions to prevent the toilet and water lines from freezing. Use antifreeze specifically designed for RV toilets and consider insulating the toilet tank and water lines.
- Regularly clean the toilet bowl and exterior: Incorporate regular cleaning of the toilet bowl and exterior into your RV cleaning routine. This will help maintain cleanliness and prevent stains or odors from developing.
By implementing these maintenance practices, you can ensure that your RV toilet stays in good working condition and provides a clean and comfortable bathroom experience during your travels.
Now that you have a solid understanding of how to maintain your RV toilet, let’s address some common RV toilet issues and how to troubleshoot them.
Troubleshooting Common RV Toilet Issues
While proper maintenance can help prevent many RV toilet issues, occasionally problems may arise. Here are some common RV toilet issues and tips for troubleshooting:
- Clogs: If you experience a clog, start by using a plunger to try and dislodge the blockage. If the clog persists, you may need to use a plumber’s snake or seek professional assistance. Avoid using harsh chemical drain cleaners, as they can damage the RV toilet system.
- Weak flush: If your toilet has a weak flush, it may be due to a buildup of sediment or debris in the flush mechanism. Clean the flush mechanism using a pipe cleaner or small brush to remove any obstructions.
- Leaky seals: Leaks around the toilet seals can lead to unpleasant odors and water damage. Check for any signs of leakage and apply silicone lubricant to the seals to maintain their integrity. If the leakage persists, consult a professional to replace the seals.
- Ongoing odors: If you notice persistent odors, it may be a sign of a problem within the RV toilet system. Check the vent pipe for any blockages or damage, and ensure that the toilet bowl is properly sealed. Using waste tank treatments or odor control products can also help eliminate odors.
- Continuous running water: If your toilet’s water continues to run even after flushing, it may indicate a problem with the flush valve or float. Inspect these components and adjust or replace them as needed.
- Faulty flush mechanism: If the flush mechanism is not functioning correctly, it may need to be repaired or replaced. Consult the RV toilet’s manual for guidance or seek assistance from a professional if necessary.
If you encounter any persistent or complex issues with your RV toilet that you’re unable to resolve on your own, it’s best to consult a professional RV technician or a plumber specializing in RV systems. They will have the expertise to diagnose and address the problem effectively.
By troubleshooting and addressing these common RV toilet issues promptly, you’ll be able to restore the functionality and comfort of your RV bathroom.
Now that we’ve covered common troubleshooting tips, let’s conclude our guide on cleaning and maintaining an RV toilet.
Read more: How Does A Rv Toilet Work
Conclusion
Properly cleaning and maintaining your RV toilet is essential for a comfortable and sanitary camping experience. By following the steps and tips outlined in this guide, you can keep your RV toilet in optimal condition, prevent clogs and odors, and prolong its lifespan.
Understanding the RV toilet system and gathering the necessary supplies are the first steps in cleaning your RV toilet effectively. Preparing the toilet, cleaning the bowl and tank, and maintaining the exterior are crucial aspects of the cleaning process. Regularly maintaining your RV toilet by monitoring water usage, using RV-approved toilet paper, and emptying the tank will help prevent issues and keep your bathroom environment clean and fresh.
In the event of common RV toilet issues, troubleshooting can be done by unclogging, cleaning the flush mechanism, addressing leaky seals, eliminating odors, and fixing faulty components. Seeking professional help is advisable for complex problems or if troubleshooting efforts are unsuccessful.
Remember, a well-maintained RV toilet is a key component of a comfortable and enjoyable camping experience. By incorporating these cleaning and maintenance practices into your RV routine, you’ll be able to enhance the functionality, hygiene, and longevity of your RV toilet.
We hope this comprehensive article has provided you with valuable insights and practical guidance on how to clean and maintain your RV toilet. Now, it’s time to put this knowledge into action and enjoy a hassle-free and sanitary RV camping experience!
Keeping your RV toilet clean is just the start; maintaining it is equally vital. For those ready to step up their maintenance game, our detailed guide on the best RV toilet chemicals will ensure your system runs smoothly and smells fresh. These products are crucial for a hassle-free and sanitary RV experience, so don't miss out on learning which options will work best for your travel needs.
Frequently Asked Questions about How To Clean An Rv Toilet
Was this page helpful?
At Storables.com, we guarantee accurate and reliable information. Our content, validated by Expert Board Contributors, is crafted following stringent Editorial Policies. We're committed to providing you with well-researched, expert-backed insights for all your informational needs.


0 thoughts on “How To Clean An Rv Toilet”