Home>Articles>How Long Do You Cook Corn On The Cob On The Stove Top
Articles
How Long Do You Cook Corn On The Cob On The Stove Top
Modified: December 7, 2023
Learn how to cook corn on the cob on the stove top with our informative articles. Find out the perfect cooking time and enjoy a delicious meal.
(Many of the links in this article redirect to a specific reviewed product. Your purchase of these products through affiliate links helps to generate commission for Storables.com, at no extra cost. Learn more)
Introduction
There is something undeniably delicious about sinking your teeth into a perfectly cooked ear of sweet corn on the cob. Whether it’s a summer barbecue, a cozy family dinner, or a casual gathering with friends, corn on the cob is a staple that adds a burst of flavor and vibrancy to any meal.
While there are several ways to cook corn on the cob, one of the most popular and simplest methods is on the stove top. This classic cooking technique allows you to achieve tender, juicy corn kernels without the need for any fancy equipment or extensive preparation.
In this article, we will guide you through the process of cooking corn on the cob on the stove top. From choosing and preparing the corn to determining the cooking time and testing for doneness, we’ll cover everything you need to know to ensure your corn on the cob turns out perfectly every time.
So, roll up your sleeves and let’s get started on this culinary adventure of cooking corn on the cob on the stove top!
Key Takeaways:
- Cooking corn on the cob on the stove top is a simple and versatile process, allowing you to achieve tender, juicy kernels bursting with natural sweetness. Whether you prefer it classic, herbed, or spicy, there’s a perfect way to savor this summer staple!
- The key to perfecting corn on the cob lies in choosing fresh, vibrant ears, boiling them in seasoned water, and testing for doneness to ensure a crisp, juicy texture. With a variety of serving options, you can elevate this timeless dish to suit any palate.
Read more: How Long Do You Cook Tamales On Stove Top
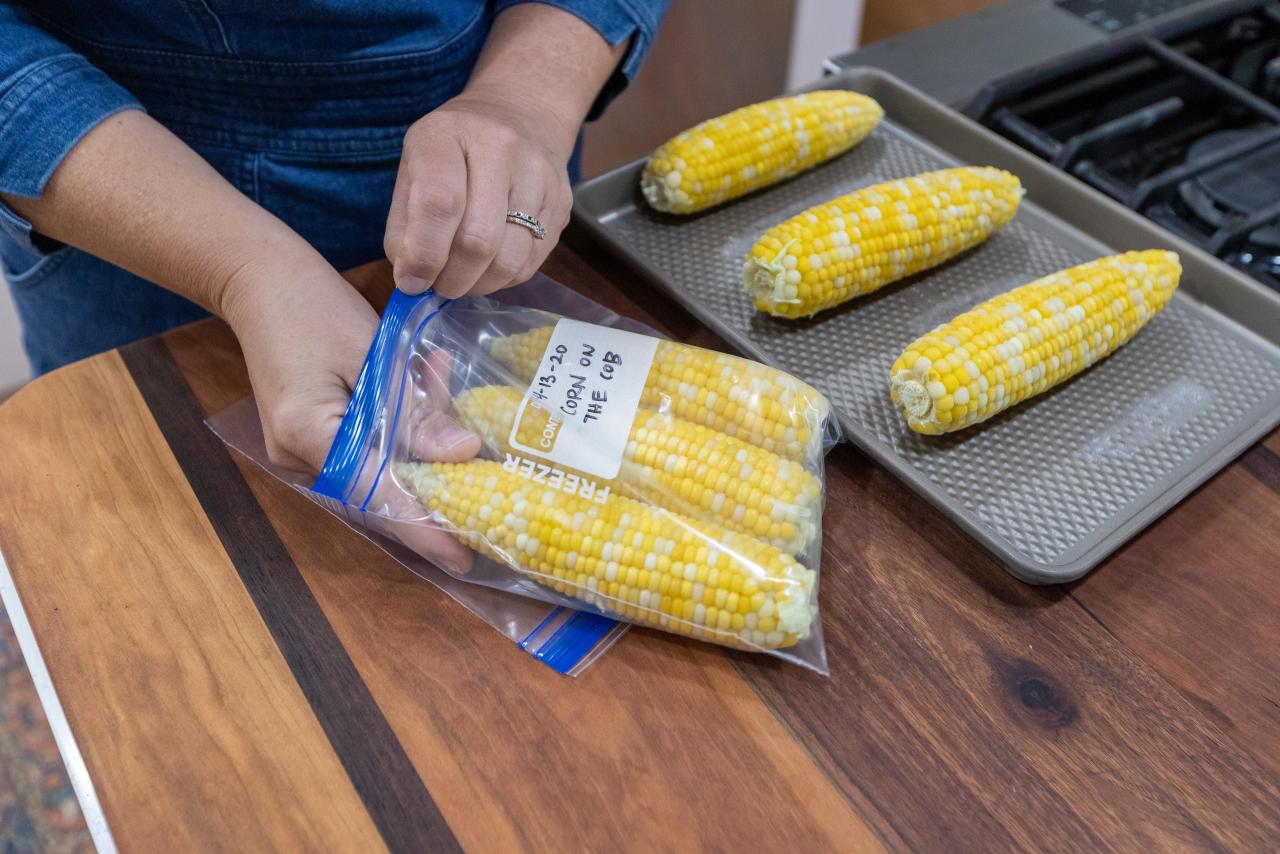
Choosing and Preparing the Corn
When it comes to cooking corn on the cob, freshness is key. Look for corn that has bright green husks and plump, juicy kernels. Avoid ears with dry or discolored husks, as this may indicate that the corn is past its prime.
Before you start cooking, take a moment to prepare the corn by removing the husks and silks. To do this, simply peel back the outer husks and carefully remove the silky threads that cover the kernels. Rinse the corn under cool water to remove any remaining silks.
Some people prefer to keep the husks intact while cooking, as it can help trap steam and enhance the flavor of the corn. If you choose to leave the husks on, make sure to remove the silks as thoroughly as possible.
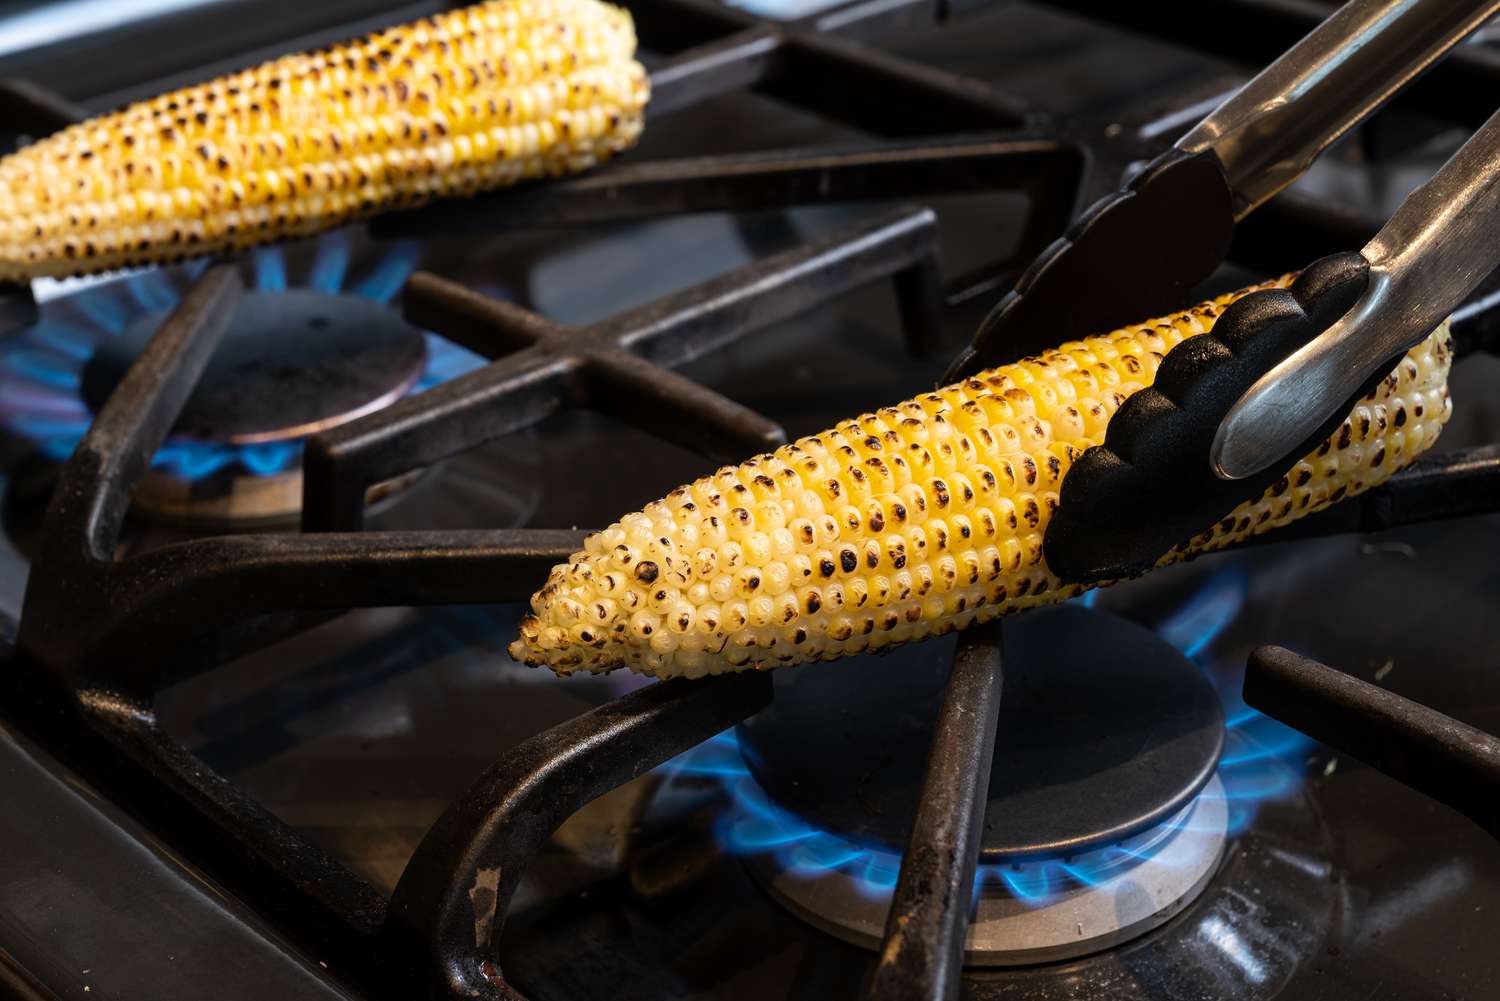
Alternatively, you can remove the husks entirely, exposing the kernels for direct cooking. This method allows the corn to develop a slightly charred and caramelized flavor, making it a popular choice for grilling or roasting.
No matter which method you choose, be sure to pat the corn dry with a clean kitchen towel before moving on to the next step. This will help prevent any excess moisture from affecting the cooking process.
Now that you have your corn prepared, it’s time to move on to the next step—boiling the water!
Boiling the Water
Boiling the water is a crucial step in cooking corn on the cob on the stove top. It ensures that the corn cooks evenly and retains its natural sweetness and juiciness.
Start by filling a large pot with enough water to completely submerge the corn. The pot should be big enough to hold all the ears of corn without overcrowding. Using a pot with a lid is ideal, as it helps to retain the heat and speed up the cooking process.
For added flavor, you can also add a pinch of salt or a tablespoon of sugar to the water. This helps to enhance the natural sweetness of the corn. However, this step is optional, and you can omit it if you prefer a simpler taste.
Place the pot on the stove over high heat and bring the water to a rolling boil. This will take a few minutes, depending on the size of the pot and the amount of water used.
Once the water is boiling vigorously, it’s time to move on to the next step—adding the corn to the pot!
Adding the Corn to the Pot
With the water boiling, it’s time to add the prepared corn to the pot. Carefully lower each ear of corn into the boiling water, making sure they are fully submerged.
If you kept the husks on, arrange the ears of corn in a single layer to ensure even cooking. If you removed the husks, you can add the corn directly into the pot without worrying about arranging them.
Be cautious when adding the corn to the boiling water, as it can cause splattering. Use tongs or a long-handled utensil to avoid any potential burns or accidents. Allow the water to return to a boil after adding the corn before reducing the heat to a simmer.
Simmering the corn instead of boiling it at a high heat helps to cook it gently and prevents the kernels from becoming mushy. Maintain a steady simmer throughout the cooking process.
Now that the corn is in the pot and simmering away, it’s time to move on to the next step—determining the cooking time!
To cook corn on the cob on the stove top, bring a large pot of water to a boil, add the corn and cook for 7-10 minutes. Remove and serve with butter and salt.
Cooking Time for Corn on the Cob
The cooking time for corn on the cob can vary depending on the size and freshness of the corn. As a general rule, most ears of corn will take around 8-10 minutes to cook through.
However, it’s essential to keep in mind that cooking time is not an exact science. The best way to determine if the corn is cooked to perfection is by checking the kernels’ tenderness. You want them to be crisp, juicy, and slightly firm, not mushy or overcooked.
For younger, tender corn, it might be sufficient to cook it for only 5-7 minutes. On the other hand, if you prefer a slightly softer texture or have older corn, you might want to extend the cooking time to 10-12 minutes.
It’s crucial to avoid overcooking the corn, as it can result in a loss of flavor and texture. If in doubt, it’s better to slightly undercook the corn and let residual heat finish the cooking process than to overcook it.
While the corn is cooking, you can prepare for the next step—testing for doneness!
Read more: How Do You Cook Scallops On The Stove Top
Testing for Doneness
To ensure your corn on the cob is perfectly cooked, it’s essential to test for doneness before removing it from the stove.
Start by carefully removing one ear of corn from the pot using tongs or a slotted spoon. Allow it to cool slightly before proceeding.
Gently press your fingernail or the tip of a knife against a kernel. It should yield a slight resistance but still be tender and juicy. If the kernel feels hard or uncooked, return the corn to the pot and continue simmering for a few more minutes.
It’s important not to overcook the corn, as it can result in a mushy texture and loss of flavor. Remember that residual heat will continue to cook the corn slightly once it’s removed from the boiling water.
If you’re cooking multiple ears of corn, you can test one ear first and then continue cooking the remaining ones as needed. This way, you can ensure each ear reaches the desired level of doneness.
Once the corn is cooked to your liking, it’s time to move on to the next step—draining the corn!
Draining the Corn
After determining that the corn on the cob is cooked to perfection, it’s time to drain the excess water before serving.
Place a colander or a large strainer in the sink or over a bowl. Carefully pour the contents of the pot, including the cooked corn, into the colander. Allow the water to drain completely, ensuring that the corn is free of excess moisture.
Gently shake the colander to remove any remaining water, being careful not to damage or break the kernels. You can also pat the corn dry with a clean kitchen towel or paper towel to absorb any remaining moisture.
This step is essential to prevent the corn from becoming waterlogged or diluted in flavor. By draining the corn thoroughly, you ensure that the natural sweetness and juiciness are preserved.
Now that the excess water is removed, it’s time to move on to the final step—serving and enjoying your delicious corn on the cob!
Serving and Enjoying
With the corn on the cob cooked to perfection and the excess moisture drained, it’s time to serve and savor this delightful treat!
There are countless ways to enjoy corn on the cob, depending on personal preferences and cultural influences. Here are a few serving suggestions to get you started:
- Classic: Spread some butter over the hot corn on the cob and sprinkle it with salt and pepper. The creamy butter adds richness, while the salt and pepper enhance the natural flavors.
- Mexican-inspired: Squeeze some lime juice over the corn, sprinkle it with chili powder or Tajín seasoning, and crumble some cotija cheese on top. This combination adds a zesty and spicy kick to the corn.
- Herbed: Brush the corn with melted garlic butter and sprinkle it with fresh herbs like cilantro, parsley, or basil. The aromatic herbs infuse the corn with a delightful fragrance and added flavor.
- Cheesy: Spread a layer of mayonnaise or sour cream over the corn and sprinkle it with grated Parmesan or cheddar cheese. This indulgent combination creates a creamy and cheesy coating.
- Spicy: Mix together melted butter, hot sauce, and a pinch of cayenne pepper. Brush the spicy butter mixture onto the corn for a fiery and flavorful experience.
Regardless of how you choose to serve your corn on the cob, remember to serve it hot for the best taste and texture. Place the corn on a platter or individual plates, and use corn holders or skewers to make it easier to handle.
So grab a napkin and get ready to indulge in the juicy, sweet, and deliciousness of your perfectly cooked corn on the cob. Enjoy it as a side dish, as part of a main course, or even on its own!
Now that you know how to cook corn on the cob on the stove top, you can confidently whip up this delightful dish whenever the craving strikes. So go ahead, embrace the joy of seasonal produce, and savor the taste of summer with every bite!
Frequently Asked Questions about How Long Do You Cook Corn On The Cob On The Stove Top
Was this page helpful?
At Storables.com, we guarantee accurate and reliable information. Our content, validated by Expert Board Contributors, is crafted following stringent Editorial Policies. We're committed to providing you with well-researched, expert-backed insights for all your informational needs.

0 thoughts on “How Long Do You Cook Corn On The Cob On The Stove Top”