Home>Articles>How To Make Corn On The Cob In An Electric Pressure Cooker

Articles
How To Make Corn On The Cob In An Electric Pressure Cooker
Modified: August 24, 2024
Learn how to make delicious corn on the cob in an electric pressure cooker with this step-by-step guide. Get the best corn recipes and cooking tips in this helpful article.
(Many of the links in this article redirect to a specific reviewed product. Your purchase of these products through affiliate links helps to generate commission for Storables.com, at no extra cost. Learn more)
Introduction
There’s nothing quite like the sweet, juicy goodness of corn on the cob. It’s a classic summer staple that brings back memories of backyard barbecues and family gatherings. Traditionally, corn on the cob has been prepared by boiling it in a pot of water. However, with the advent of electric pressure cookers, making this delicious treat has never been easier.
In this article, we will guide you through the steps of making corn on the cob in an electric pressure cooker. Whether you’re a seasoned cook or a novice in the kitchen, this method will simplify the process and ensure that your corn turns out perfectly cooked every time.
Before we dive into the specifics, it’s worth mentioning the advantages of using an electric pressure cooker. These appliances are designed to cook food quickly and efficiently, while also locking in the flavors and nutrients. Compared to traditional methods, pressure cooking reduces cooking time significantly, making it a convenient option for busy individuals and families.
Now that we understand the benefits of using an electric pressure cooker let’s get started with the step-by-step process of making corn on the cob.
Key Takeaways:
- Enjoy perfectly cooked corn on the cob with minimal effort using an electric pressure cooker. Retain natural flavors and nutrients while creating a convenient and foolproof summer staple.
- Elevate the classic corn on the cob by experimenting with seasonings and toppings. Impress your loved ones with tender, juicy kernels bursting with flavor.
Read more: How To Store Corn On Cob
Step 1: Gathering the Ingredients
Before you begin cooking your corn on the cob, it’s important to gather all the necessary ingredients. Fortunately, making corn on the cob in an electric pressure cooker requires just a few simple ingredients that you probably already have in your kitchen.
Here’s what you’ll need:
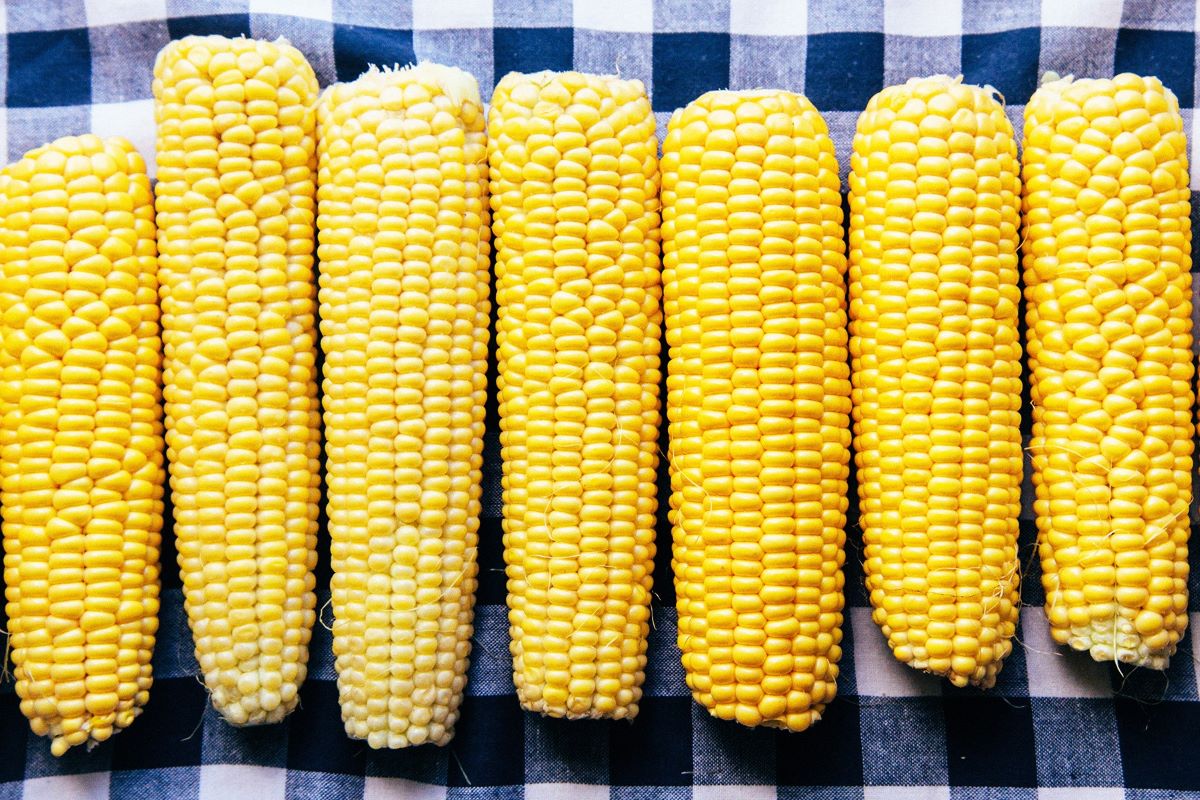
- 4 ears of fresh corn
- 1 cup of water
- Salt and butter (optional)
For the best results, choose fresh ears of corn that are still in their husks. The husk helps to retain moisture and enhances the flavor of the corn. If you don’t have fresh corn, you can still use pre-shucked corn, but the taste and texture may be slightly different.
Next, you’ll need water to create the steam that will cook the corn. You can use tap water, filtered water, or even vegetable stock for added flavor. It’s important to note that the amount of water may vary depending on the size and capacity of your electric pressure cooker, so be sure to follow the manufacturer’s instructions for the correct water measurement.
Lastly, salt and butter are optional but highly recommended. Adding a pinch of salt to the water can enhance the natural sweetness of the corn, while butter adds richness and indulgence. If you prefer a healthier option, you can omit the butter or use a plant-based alternative.
With these simple ingredients on hand, you’re ready to move on to the next step: prepping the corn.
Step 2: Prepping the Corn
Now that you have gathered all the necessary ingredients, it’s time to prepare the corn for cooking. Prepping the corn involves removing the outer layers of the husk, but leaving the inner layers intact to help lock in moisture and flavor.
Here’s how to prep the corn:
- Start by removing any loose or damaged husks from the corn. Gently peel away the outer layers, discarding any husks that are discolored or dried out.
- Once you have removed the loose husks, rinse the corn under cold water to remove any dirt or debris. Pat dry with a paper towel.
- Next, carefully peel back the inner layers of the husk, but do not remove them completely. You should expose the corn kernels, but keep the husks attached at the base.
- If desired, you can remove the silk strands by hand or using a soft-bristle brush. The silk is the thin strands that run along the length of the corn and can be a bit tedious to remove, but it’s worth the effort to ensure a clean and enjoyable eating experience.
Once you have prepped the corn, it’s time to move on to the next step: adding water and corn to the pressure cooker.
Step 3: Adding Water and Corn to the Pressure Cooker
With the corn prepped and ready, it’s time to get your electric pressure cooker set up for cooking. This step involves adding water to the pressure cooker and placing the corn inside for the cooking process.
Follow these steps to add water and corn to the pressure cooker:
- First, pour the desired amount of water into the inner pot of your electric pressure cooker. The amount of water needed may vary depending on the size and capacity of your cooker. It’s generally recommended to add about 1 cup of water for the cooking process.
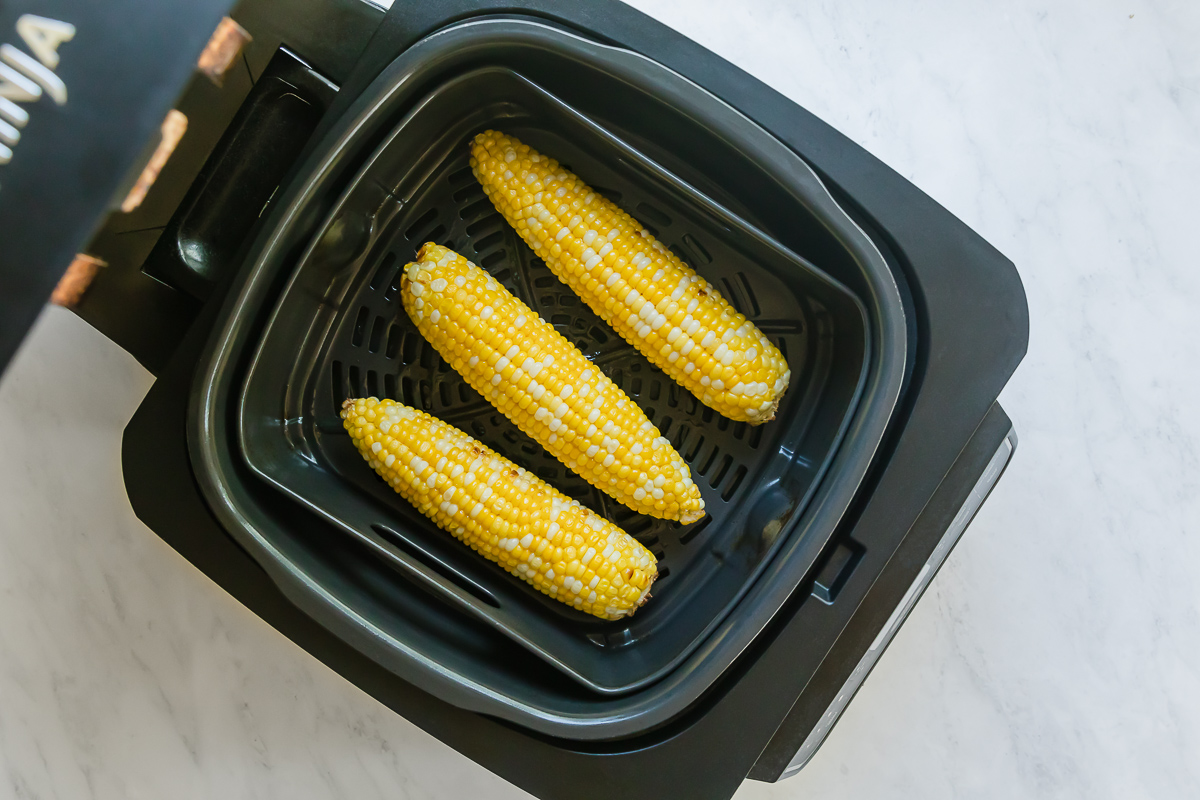
- Next, carefully place the prepped corn into the pressure cooker, standing them upright if possible. The corn should be immersed in the water, but not completely submerged.
- Ensure that the corn is evenly distributed inside the cooker and not overcrowded. If you’re cooking a large quantity of corn, you may need to cook it in batches to prevent overcrowding.
Once you have added the water and corn to the pressure cooker, it’s time to move on to the next step: setting the pressure cooker.
Step 4: Setting the Pressure Cooker
Setting the pressure cooker correctly is crucial for achieving perfectly cooked corn on the cob. The cooking time and pressure settings may vary depending on your specific model of electric pressure cooker. However, most pressure cookers have similar options and settings.
Follow these steps to set your pressure cooker:
- Start by placing the lid on the pressure cooker, ensuring that it is securely locked in place.
- Check the manual or instructions for your pressure cooker to determine the appropriate pressure cooking setting. Most pressure cookers have a “Manual” or “Pressure Cook” function, which allows you to manually set the cooking time and pressure.
- Select the desired pressure level (typically high pressure) and adjust the cooking time. As a general guideline, cooking corn on the cob in an electric pressure cooker usually takes around 2-3 minutes at high pressure.
- Once you have set the pressure and cooking time, start the cooking process by pressing the necessary buttons or following the instructions for your specific pressure cooker model.
It’s important to note that the cooking time may vary depending on the size and quantity of corn, as well as personal preference for tenderness. Experiment with different cooking times to find the perfect balance between crispness and softness.
With the pressure cooker set, it’s time to move on to the next step: cooking the corn to perfection.
After cooking the corn in the electric pressure cooker, let it naturally release for a few minutes before manually releasing the remaining pressure to ensure the corn is perfectly cooked and tender.
Step 5: Cooking the Corn
Now that the pressure cooker is set, it’s time to start the cooking process and allow the magic to happen. The high pressure and steam generated inside the cooker will work its wonders to cook the corn to perfection.
Follow these steps to cook the corn in your electric pressure cooker:
- Once you have set the pressure cooker, it will start building up pressure and the cooking process will begin. You may notice that the pressure indicator on your cooker rises as it builds up pressure.
- After the cooker has reached the desired pressure, the cooking time will begin. Typically, corn on the cob needs to be cooked for about 2-3 minutes under high pressure.
- During the cooking process, you may hear hissing or steam escaping from the pressure release valve. This is completely normal and an indication that the cooker is functioning properly.
- As the corn cooks, the steam inside the pressure cooker will penetrate the husks and cook the kernels. This steam cooking method helps to retain the natural sweetness and flavor of the corn.
It’s important to note that the cooking time may vary depending on the size and quantity of corn, as well as personal preference for tenderness. Experiment with different cooking times to find the perfect texture for your corn.
Once the cooking time is up, it’s time to release the pressure from the cooker and prepare to enjoy your perfectly cooked corn on the cob.
Step 6: Releasing the Pressure
After the corn has finished cooking in the pressure cooker, it’s important to release the pressure before opening the lid. Releasing the pressure ensures that it’s safe to open the cooker and prevents any potential accidents from the steam inside.
Follow these steps to release the pressure from your electric pressure cooker:
- There are two primary methods for releasing the pressure from a pressure cooker: natural release and quick release.
- Natural Release: This method involves allowing the pressure to naturally dissipate over time. Depending on the size and quantity of corn, as well as the pressure cooker model, natural release can take anywhere from 5 to 15 minutes. Simply let the pressure cooker sit undisturbed until the pressure indicator drops and it’s safe to open.
- Quick Release: This method involves manually venting the pressure from the cooker. It’s important to follow the manufacturer’s instructions for your specific model to avoid any accidents. Typically, this involves turning the pressure release valve to the “venting” position. Be cautious as the steam will release forcefully, so keep your hands and face away from the valve.
- Once the pressure has been fully released, it’s safe to open the lid of the pressure cooker.
After releasing the pressure, you can proceed to the next step: buttering the corn to add an extra layer of flavor.
Step 7: Buttering the Corn
Now that your corn on the cob is perfectly cooked and the pressure has been released from the cooker, it’s time to add a delicious finishing touch: butter. Buttering the corn adds a creamy richness and enhances the flavor of this classic summer treat.
Follow these steps to butter your corn on the cob:
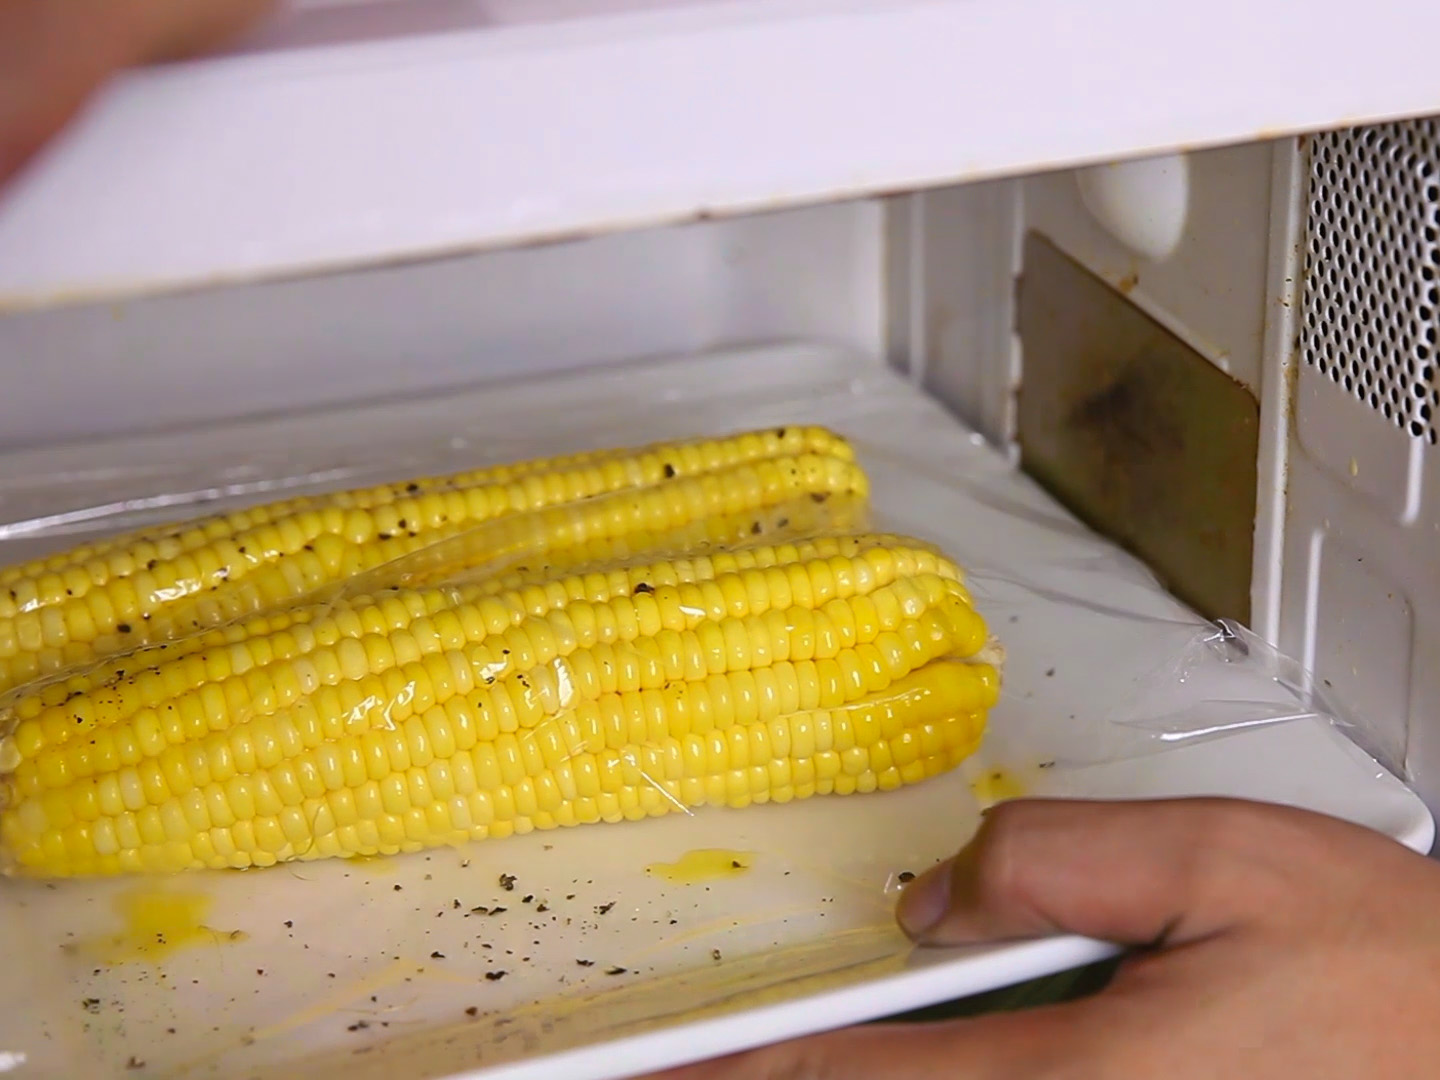
- Start by peeling back the husks of the cooked corn. Be careful as the corn will still be hot.
- Once the husks are peeled back, you’ll have easy access to the corn kernels. Use a brush, knife, or your fingers to spread a generous amount of softened butter over the surface of the corn.
- Make sure to coat the entire cob with the butter, ensuring that each kernel is covered.
- If desired, sprinkle a pinch of salt and any additional seasonings such as black pepper, garlic powder, or paprika for extra flavor.
Buttering the corn while it’s still warm allows the butter to melt and blend with the natural juices, creating a mouthwatering experience. The butter adds a lusciousness to the tender kernels, making each bite truly delightful.
Once the corn is buttered to your liking, you’re almost ready to dig in. Let’s move on to the final step: serving and enjoying your delicious corn on the cob.
Step 8: Serving and Enjoying your Corn on the Cob
Congratulations! You have successfully cooked, buttered, and prepared your corn on the cob in the electric pressure cooker. Now it’s time to serve it up and savor every delicious bite.
Follow these steps to serve and enjoy your corn on the cob:
- Transfer the buttered corn on the cob to a serving platter or individual plates.
- Garnish with fresh herbs, such as chopped parsley or cilantro, for an added burst of freshness.
- Place napkins or corn holders nearby to make it easier for everyone to enjoy their corn without getting their hands messy.
- Invite your family or guests to join you in the pleasure of eating freshly cooked corn on the cob. Encourage them to top their corn with additional seasonings, such as grated cheese, chili powder, or lime juice, to customize their flavors.
- Take your first bite and savor the sweetness and tenderness of the corn. Enjoy the buttery richness and the burst of flavors.
- As you continue to enjoy your corn on the cob, feel free to share stories, laughs, and enjoy the company of your loved ones.
Remember, eating corn on the cob can be a slightly messy affair, so be prepared and embrace the joy of indulging in this summertime classic. The sweet crunch of the corn kernels, combined with the creamy butter and flavorful seasonings, will transport you to a place of pure culinary bliss.
Now that you know how to make corn on the cob in an electric pressure cooker, you can enjoy this delicious treat anytime you want. Whether it’s a backyard barbecue, a family dinner, or just a quick snack, corn on the cob is always a crowd-pleaser.
So go ahead, gather your ingredients, fire up your electric pressure cooker, and let the magic unfold as you create the perfect corn on the cob. Happy cooking and even happier eating!
Read more: How To Store Corn On The Cob After Cooking
Conclusion
Corn on the cob is a beloved summer staple, and making it in an electric pressure cooker is a game-changer. With the convenience and efficiency of pressure cooking, you can enjoy perfectly cooked corn with minimal effort. In this article, we have outlined the step-by-step process of making corn on the cob in an electric pressure cooker.
From gathering the ingredients to prepping the corn, adding water and corn to the pressure cooker, setting the pressure cooker, cooking the corn, releasing the pressure, buttering the corn, and finally, serving and enjoying your delicious corn on the cob, we have covered all the essential steps to ensure a mouthwatering result.
By using an electric pressure cooker, you can reduce cooking time and retain the natural flavors and nutrients of the corn. The pressure cooker creates a perfect steamy environment that cooks the corn thoroughly and enhances its natural sweetness.
Whether you’re hosting a backyard barbecue, planning a family dinner, or simply craving a snack, making corn on the cob in an electric pressure cooker is a convenient and foolproof method. The tender, juicy kernels combined with the rich and buttery taste will leave you wanting more.
Feel free to experiment with seasonings and toppings to customize your corn on the cob. From adding a sprinkle of salt and pepper to jazzing it up with grated cheese and spices, the possibilities are endless. Don’t forget to savor each bite and enjoy the experience with your loved ones.
So, the next time you have fresh corn on hand and an electric pressure cooker at your disposal, give this method a try. Impress your family and friends with perfectly cooked corn on the cob that bursts with flavor. Whether it’s a summer gathering or a casual weeknight meal, corn on the cob will always bring smiles and fond memories.
Now, armed with the knowledge of how to make corn on the cob in an electric pressure cooker, you can create a delicious and satisfying dish that will become a highlight of your meals. Enjoy the sweet summer goodness and the simplicity of cooking with an electric pressure cooker. Bon appétit!
Frequently Asked Questions about How To Make Corn On The Cob In An Electric Pressure Cooker
Was this page helpful?
At Storables.com, we guarantee accurate and reliable information. Our content, validated by Expert Board Contributors, is crafted following stringent Editorial Policies. We're committed to providing you with well-researched, expert-backed insights for all your informational needs.


0 thoughts on “How To Make Corn On The Cob In An Electric Pressure Cooker”