Home>Articles>How Much Fabric Do I Need For A Baby Rag Quilt
Articles
How Much Fabric Do I Need For A Baby Rag Quilt
Modified: February 24, 2024
Find out how much fabric you'll need for your baby rag quilt with our helpful article. Get the right measurements and start sewing today!
(Many of the links in this article redirect to a specific reviewed product. Your purchase of these products through affiliate links helps to generate commission for Storables.com, at no extra cost. Learn more)
Introduction
Welcome to the exciting world of quilting! If you have a little bundle of joy on the way or just want to create a cozy and sentimental gift for a loved one, a baby rag quilt is a perfect choice. Not only are they adorable and soft, but they also provide a DIY touch that will be cherished for years to come.
In this article, we will guide you through the process of making a baby rag quilt, including determining the quilt size, choosing the right fabric, calculating fabric requirements, and step-by-step instructions for assembling and finishing the quilt. Whether you’re a seasoned quilter or a complete beginner, we’ve got you covered.
So, let’s dive in and discover how much fabric you will need to create your very own baby rag quilt!
Key Takeaways:
- Create a cozy and sentimental baby rag quilt by carefully choosing soft fabrics, calculating fabric requirements, and following step-by-step instructions for a personalized and cherished gift.
- Enjoy the fulfilling journey of quilting as you prepare fabric, cut squares, assemble the quilt sandwich, add binding, and finish with care to create a unique and professional-looking baby rag quilt.
Read more: How Much Fabric Is Needed For A Baby Quilt
Materials Needed
Before you start your baby rag quilt project, it’s essential to gather all the necessary materials. Here’s a list of what you’ll need:
- Fabric: Choose soft, cozy fabrics such as flannel or cotton to ensure maximum comfort for the baby. You’ll need fabric for the quilt top, backing, and binding.
- Scissors or a Rotary Cutter: These tools will come in handy for cutting fabric squares and trimming threads.
- Quilting Ruler: A clear, acrylic quilting ruler with marked measurements will make it easier to cut precise fabric squares.
- Cutting Mat: You’ll need a self-healing cutting mat to protect your working surface when using a rotary cutter.
- Sewing Machine: A sewing machine with basic sewing capabilities will be required for stitching the quilt layers together.
- Pins or Clips: These will help hold the fabric layers in place while sewing.
- Iron and Ironing Board: An iron and ironing board are essential for pressing the fabric before and after sewing.
- Thread: Choose a thread color that coordinates with your fabric choices.
- Quilt Batting: This is the layer of material that provides insulation and loft to your quilt. Select batting designed specifically for baby quilts.
- Binding: Pick binding fabric that complements your quilt design.
- Quilting Needles: These needles have a sharper point, making it easier to sew through multiple layers of fabric.
- Thimble (optional): A thimble can protect your fingers while pushing the needle through the fabric layers.
- Fabric Marker or Chalk: These tools are useful for marking fabric squares or guidelines for sewing.
Now that you have all the necessary materials ready, it’s time to move on to the next step: determining the size of your baby rag quilt.
Step 1: Determining Quilt Size
The first step in creating a baby rag quilt is determining the size you want the finished quilt to be. Consider the purpose of the quilt and who will be using it. If it’s meant for a newborn, a smaller size of around 36 inches by 36 inches is ideal. If you’d like the quilt to be used as the baby grows, you can opt for a larger size, such as 40 inches by 40 inches or 42 inches by 42 inches.
Keep in mind that the size of the quilt will also determine how much fabric you will need. Measure the space where the quilt will be used or consult standard quilt sizes if you’re unsure.
In addition to the size, think about the overall design of the quilt. Are you planning a simple patchwork design, or will you incorporate appliqué or other decorative elements? Consider these factors when deciding the size to ensure the quilt showcases the design elements effectively.
Once you have determined the dimensions for your baby rag quilt, you can proceed to the next step: choosing the perfect fabric.
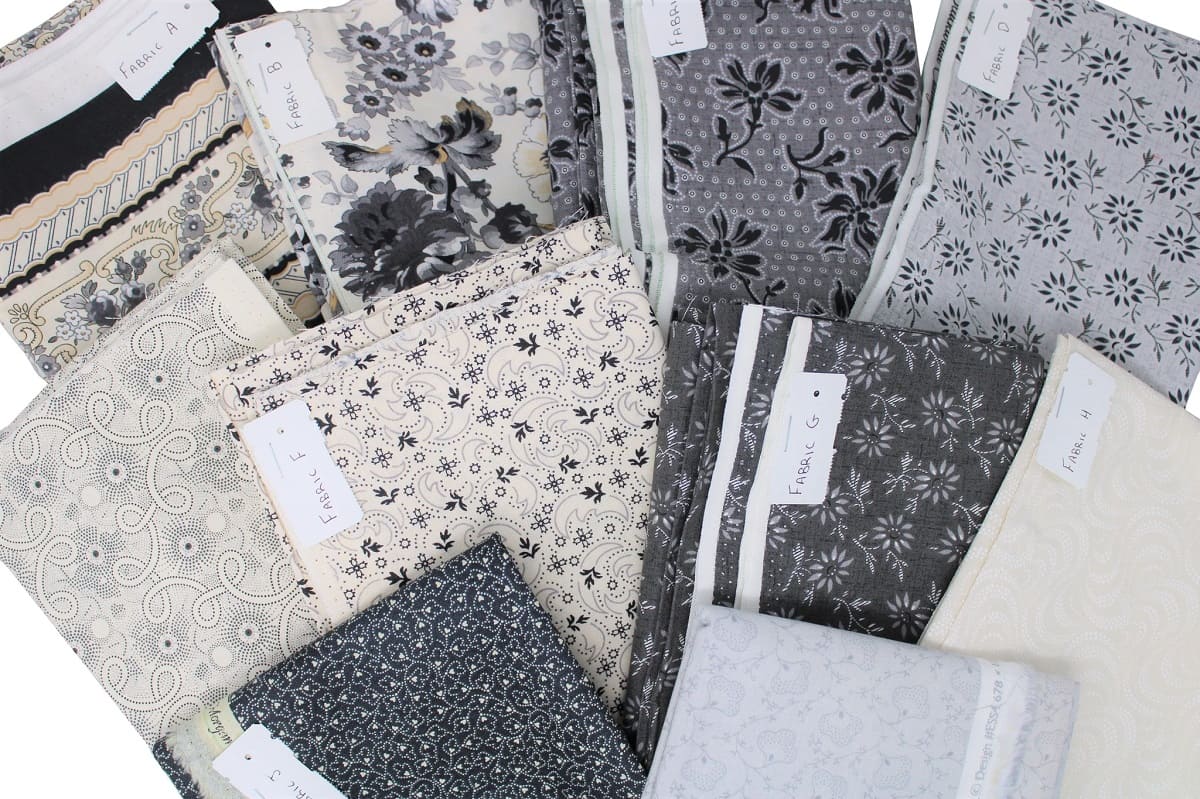
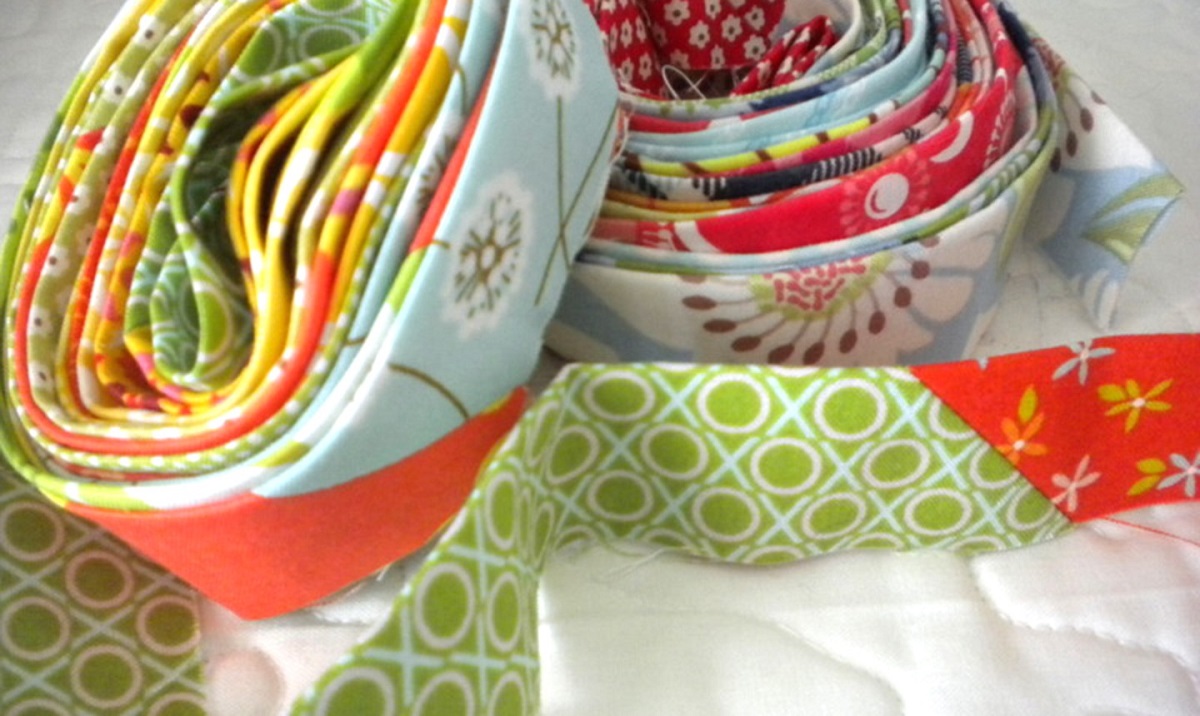
Step 2: Choosing Fabric
Choosing the right fabric is essential in creating a beautiful and comfortable baby rag quilt. When selecting fabrics, consider their softness, durability, and washability. Here are a few tips to help you choose the perfect fabric:
- Flannel: Flannel is a popular choice for baby quilts due to its soft and cozy texture. It is warm, breathable, and gentle on the baby’s delicate skin. Look for high-quality flannel that will withstand frequent washes.
- Cotton: Cotton is another excellent option for baby quilts. It is soft, lightweight, and easy to work with. Choose cotton fabrics that are specifically designed for quilting, as they provide the perfect balance of durability and softness.
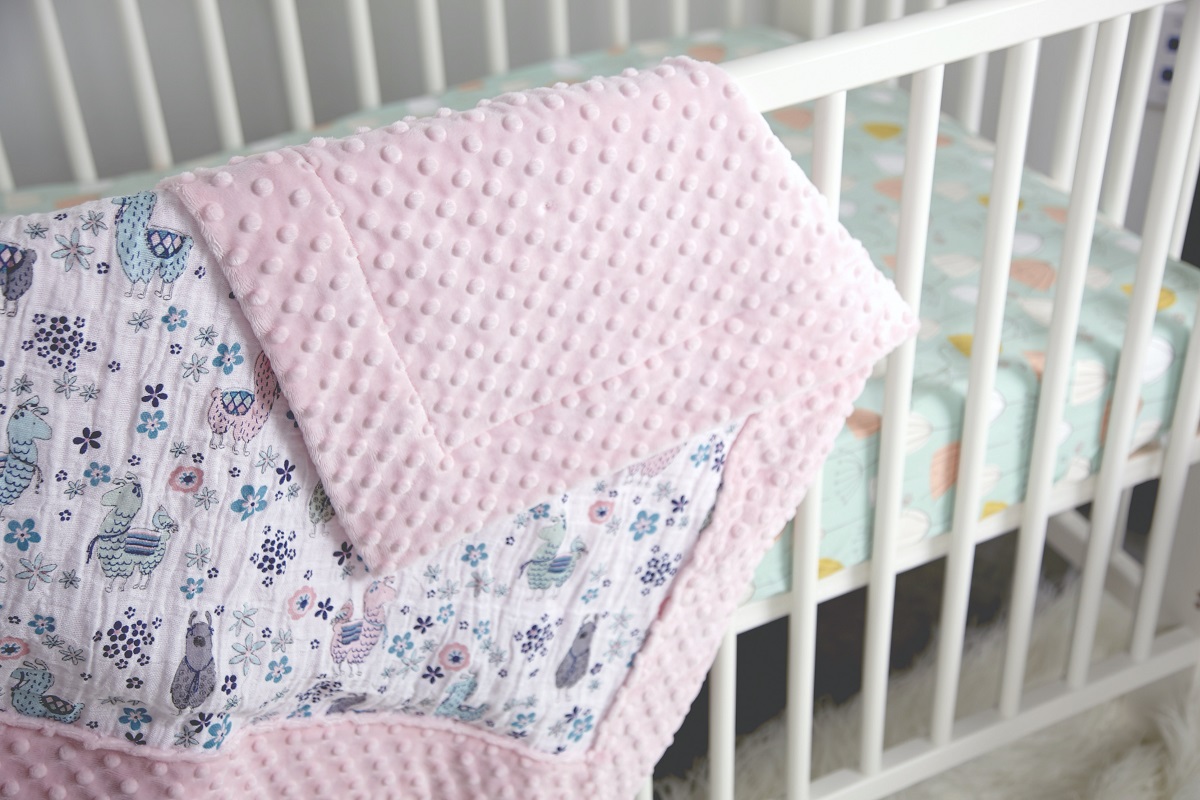
- Minky: Minky is a plush and luxurious fabric that adds a touch of luxury to your baby rag quilt. It is incredibly soft and cuddly, making it perfect for the quilt’s backing or as a backing for individual fabric squares.
- Prints and Colors: Consider the color scheme and theme of the nursery or the baby’s room when selecting fabric prints and colors. You can opt for fun and playful prints or go for more traditional designs. Make sure the fabrics you choose coordinate well with each other.
- Texture: Adding texture to your quilt can make it more visually appealing and interesting. Consider incorporating fabrics with different textures, such as flannel, cotton, or even chenille.
Remember, it’s best to pre-wash your fabrics before starting the project to prevent any shrinking or bleeding of colors in future washes.
Now that you have selected the perfect fabric, it’s time to move on to the next step: calculating the fabric requirements for your baby rag quilt.
Step 3: Calculating Fabric Requirements
Calculating the fabric requirements for your baby rag quilt is essential to ensure you have enough fabric for your project. The amount of fabric you’ll need will depend on the size of your quilt and the number of squares you plan to include in your design. Here’s how you can calculate the fabric requirements:
- Determining the Number of Squares: Decide on the number of fabric squares you want to include in your quilt design. This will depend on the desired quilt size and the overall aesthetic you want to achieve.
- Calculating Square Size: Determine the desired finished size of each fabric square. A common size for baby rag quilts is 6 inches by 6 inches, but you can adjust this based on your preference.
- Calculating Fabric Yardage: To calculate the fabric yardage needed, divide the width of your desired fabric square (including seam allowances) by 36 to get the number of squares that can fit in a yard of fabric. Then, divide the total number of squares by the number of squares per yard to determine the total yardage required.
- Adding for Seam Allowances: Don’t forget to account for seam allowances when calculating fabric requirements. Typically, a 1/4 inch seam allowance is used in quilting, so make sure to add that extra measurement when determining the square size.
- Consider Border and Binding: If you plan to add a border or binding to your quilt, you’ll need to calculate the additional fabric needed for those components as well.
It’s always a good idea to add a little extra fabric to your calculations to account for any mistakes or changes in your design. Having a bit of extra fabric ensures you won’t run out during the quilting process.
Once you have calculated your fabric requirements, you’re ready to move on to the next step: preparing the fabric for your baby rag quilt.
Read more: How Much Fabric Is Needed For A Quilt
Step 4: Preparing the Fabric
Before you start cutting and sewing your fabric, it’s important to properly prepare it to ensure the best results for your baby rag quilt. Follow these steps to prepare your fabric:
- Pre-Wash: If you haven’t already done so, pre-wash your fabric to remove any excess dyes, shrinkage, or stiffness. This will prevent any unwanted surprises after the quilt is complete. Follow the fabric manufacturer’s instructions for washing and drying.
- Iron: After washing, iron your fabric to remove any wrinkles or creases. This will make it easier to cut and sew later on.
- Square up the Ends: Trim off any uneven or frayed edges from your fabric to ensure that you have neat and aligned squares to work with.
- Consider Directional Prints: Pay attention to any directional prints in your fabric. If your fabric has a specific pattern or design that needs to be oriented in a particular direction, make sure all your fabric squares align correctly.
- Optional: Backing and Batting Preparation: If you’re planning to use batting and/or backing for your quilt, make sure to prepare them as well. Trim the batting and backing to match the size of your quilt top, leaving a little extra around the edges to allow for any shifting during the assembly process.
By taking the time to properly prepare your fabric, you’ll ensure a smoother and more enjoyable quilting experience. Now that your fabric is ready, it’s time to move on to the next step: cutting the fabric squares for your baby rag quilt.
When calculating fabric for a baby rag quilt, plan for 1 to 1.5 yards of fabric for the quilt top, 1 to 1.5 yards for the backing, and 1/2 yard for the binding. This will allow for some extra fabric for mistakes or adjustments.
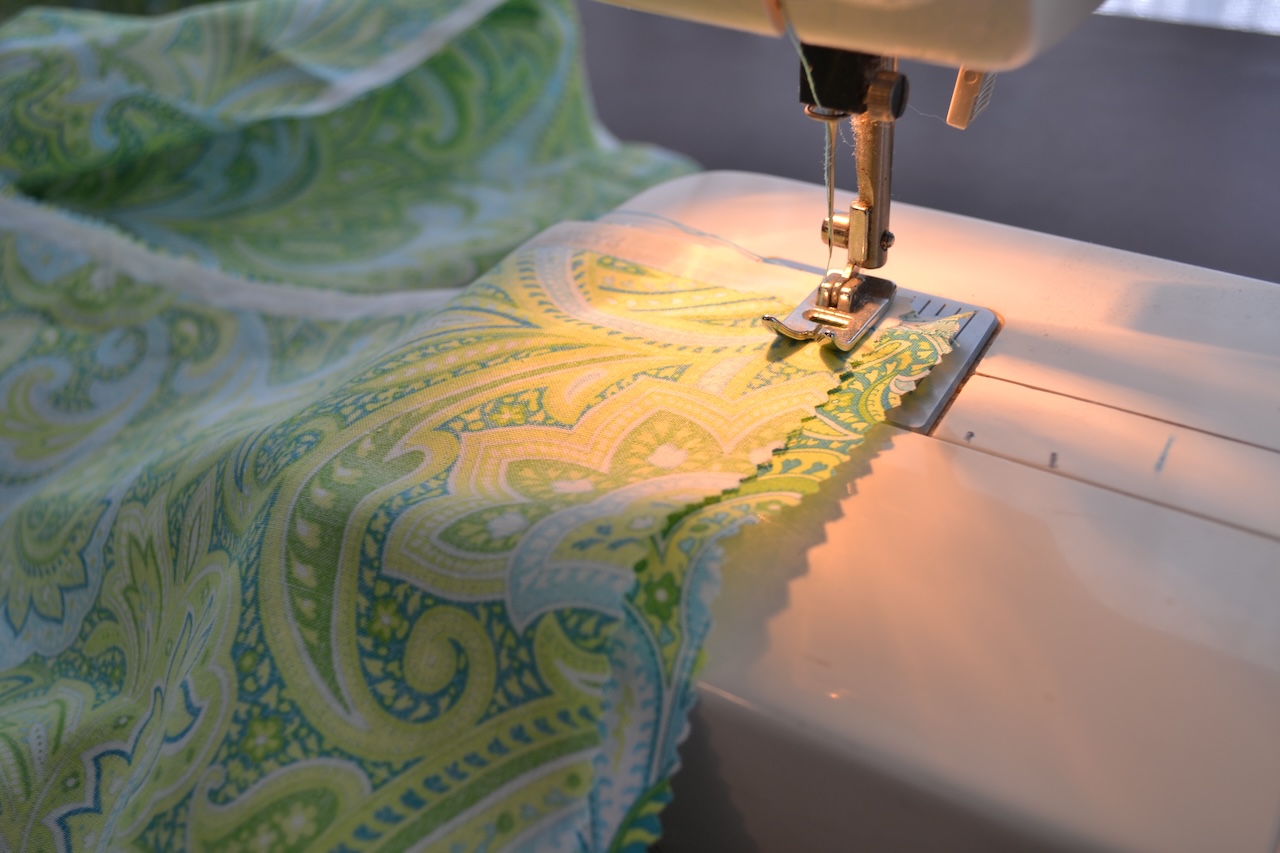
Step 5: Cutting the Fabric Squares
Now that you have prepared your fabric, it’s time to start cutting the fabric squares for your baby rag quilt. Follow these steps to ensure accurate and precise cuts:
- Measure and Mark: Measure and mark the desired size of your fabric squares on the wrong side of your fabric using a fabric marker or chalk. Make sure to include the designated seam allowance in your measurements.
- Cut with a Rotary Cutter: Use a rotary cutter along with a quilting ruler to cut along the marked lines. A rotary cutter will provide you with clean and straight edges.
- Repeat: Repeat the cutting process to create the desired number of fabric squares. Take your time and double-check your measurements to ensure uniform squares.
- Keep the Squares Organized: As you cut the fabric squares, consider organizing them into piles or using storage containers to keep them sorted and easily accessible throughout the quilting process.
Remember to handle sharp tools, such as rotary cutters, with caution and keep them out of reach of children. Take breaks regularly, and always cut on a safe and stable surface, such as a cutting mat.
Once you have cut all your fabric squares, you’re ready to move on to the next step: creating the quilt sandwich.
Step 6: Creating the Quilt Sandwich
Creating the quilt sandwich is an important step in the construction of your baby rag quilt. The quilt sandwich consists of the quilt top, batting, and backing fabric. Follow these steps to assemble your quilt sandwich:
- Lay the Backing Fabric: Start by laying the backing fabric right side down on a clean and flat surface. Smooth out any wrinkles or folds to ensure it lies flat.
- Add the Batting: Place the batting on top of the backing fabric, aligning the edges. Smooth out any wrinkles or creases from the batting.
- Position the Quilt Top: Carefully lay the quilt top right side up on top of the batting, aligning all the edges. Smooth out any wrinkles or puckers.
- Secure the Layers: Pin or clip the layers of the quilt sandwich together to keep them in place during the sewing process. Space the pins or clips evenly throughout the quilt top to prevent shifting.
Ensure that all three layers of the quilt sandwich are smooth and taut, with no loose or puckered areas. Take your time to adjust and arrange the layers, as this will provide a solid foundation for the next steps.
Now that you have created the quilt sandwich, you’re ready to move on to the next step: assembling the rag quilt.
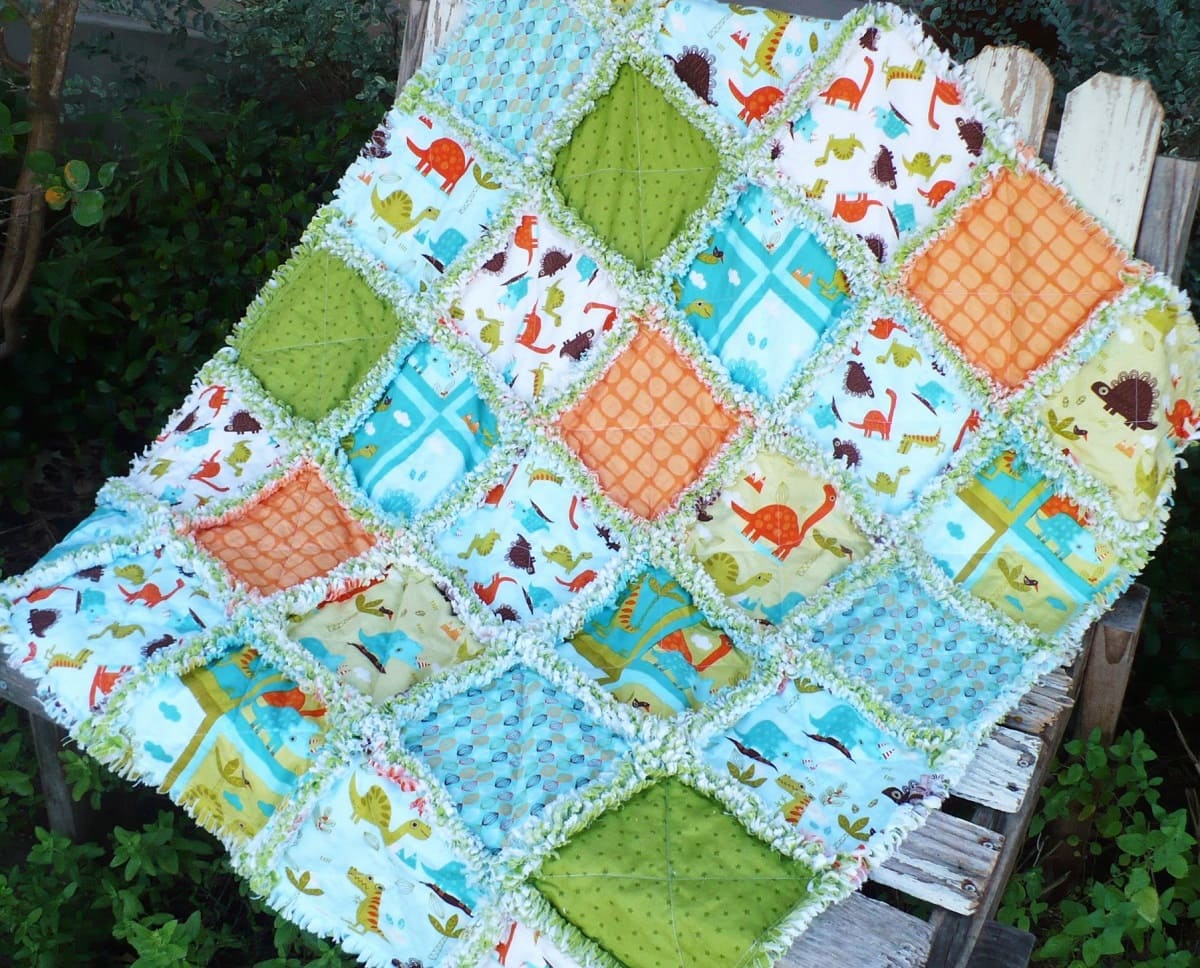
Step 7: Assembling the Rag Quilt
Assembling the rag quilt is where your baby quilt really starts to take shape. Follow these steps to sew the fabric squares together and create the ragged edges:
- Arrange the Squares: Lay out your cut fabric squares in the desired pattern and arrangement. This will help you see how the quilt will look once it’s sewn together.
- Start Sewing: Take two fabric squares and place them right sides together, aligning the edges. Use a ¼ inch seam allowance and sew along one side.
- Continue Sewing: Add more fabric squares one by one, sewing them together until you have completed the desired row.
- Repeat for Rows: Repeat the sewing process for each row of squares until all the rows are sewn together.
- Join the Rows: Align and sew the rows together, matching the seams, until the entire quilt top is assembled.
- Clip the Rag Edges: Using scissors or a rotary cutter, make small snips along the raw edges of the fabric squares, being careful not to cut through the seam. These snips will create the ragged edges once the quilt is washed.
As you sew the squares together, take care to backstitch at the beginning and end of each seam to secure the stitches. This will help prevent the fabric squares from coming undone during the washing process.
Once you have assembled the rag quilt, you’re ready to move on to the next step: adding the binding.
Read more: How Much Fabric Do I Need For A Blanket
Step 8: Adding the Binding
Adding the binding to your baby rag quilt will give it a polished and finished look. Follow these steps to attach the binding:
- Cut the Binding Strips: Cut fabric strips for the binding, making sure they are wide enough to cover the raw edges of the quilt. The length of the strips will depend on the size of your quilt. You can either sew multiple strips together to achieve the desired length or cut one continuous strip.
- Prepare the Binding Strips: Sew the binding strips together, right sides facing, at a 45-degree angle to create a continuous binding strip. Trim the excess fabric and press the seams open.
- Attach the Binding to the Quilt: Starting in the middle of one side of the quilt, align the raw edges of the binding strip with the raw edges of the quilt top. Leave a tail of binding for finishing later. Use pins or clips to hold the binding in place.
- Sew the Binding: Using a ¼ inch seam allowance, sew along the edge, removing pins or clips as you go. Take your time and sew slowly to ensure the binding is securely attached.
- Miter the Corners: When you approach a corner, stop sewing a ¼ inch away from the corner edge. Fold the binding strip up to create a 45-degree angle and then fold it down to continue sewing along the next side.
- Completing the Binding: Continue sewing all the way around the quilt, mitering the corners as you go. When you reach the starting point, overlap the binding ends and trim the excess. Fold the binding over and sew it down to create a neat, finished edge.
Once the binding is securely attached, press it flat using an iron, and make any necessary adjustments to ensure it lays evenly along the edges of the quilt.
Now that the binding is in place, you’re ready for the final step: finishing the quilt.
Step 9: Finishing the Quilt
Congratulations! You’re in the final step of completing your baby rag quilt. Follow these steps to finish your quilt:
- Press and Trim: Before adding the finishing touches, press the entire quilt to ensure all the seams are flat and the quilt is neat and tidy. Trim any loose threads or excess fabric.
- Secure the Layers: To secure the layers of the quilt together, you can choose from different quilting methods. Options include hand-quilting, machine quilting, or tying the quilt at regular intervals using embroidery floss or yarn. Select a method that suits your style and preferences.
- Hand Quilting: Hand quilting involves stitching through all three layers of the quilt using a needle and thread. You can create beautiful patterns and designs by hand quilting. Take your time and enjoy the process.
- Machine Quilting: For machine quilting, use a walking foot or a quilting foot on your sewing machine. This will help feed the quilt layers smoothly through the machine. Choose a quilting design and stitch pattern that complements your quilt.
- Tying the Quilt: Tying the quilt is a popular option, especially for a rag quilt. Use embroidery floss or yarn to tie knots at regular intervals across the quilt to hold the layers together. Trim the ends of the floss or yarn after tying the knots.
- Creating a Puffy Look: For a puffier appearance, you can add additional batting or fluff up the existing batting by washing and drying the quilt before the final step. This will create a cozy and textured effect.
Once you’re satisfied with the quilting or tying, give the quilt a final press to set the stitches and make it look crisp and professional.
Congratulations! You have successfully finished creating your baby rag quilt. Now it’s time to admire your handmade masterpiece and gift it to your little one or someone special.
Remember, each quilt is unique, and the finishing touches you add will make it truly special and one-of-a-kind. Happy quilting!
Conclusion
Creating a baby rag quilt is a fulfilling and rewarding project that allows you to showcase your creativity while providing a cozy and sentimental gift for a little one. Throughout this article, we have explored the step-by-step process of making a baby rag quilt, from determining the quilt size to finishing the quilt with care and precision.
By carefully choosing the right fabrics, calculating the fabric requirements, and following the sewing instructions, you can create a beautiful and personalized baby rag quilt that will be treasured for years to come. Whether you’re an experienced quilter or a beginner, this project offers an opportunity to express your creativity and provide comfort to a little one.
Remember to take your time throughout the process, enjoying each step and paying attention to detail. The preparation of the fabric, cutting the fabric squares, assembling the quilt sandwich, adding the binding, and finishing the quilt are all crucial steps in creating a professional-looking and cozy baby rag quilt.
Once your baby rag quilt is complete, it’s time to admire your handiwork and celebrate your accomplishment. Whether the quilt is for your own child, a grandchild, or a special gift for a friend or loved one, it will undoubtedly be cherished for its handmade touch and the love put into its creation.
So, gather your materials, unleash your creativity, and embark on the journey of creating a beautiful baby rag quilt. Enjoy the process, embrace the satisfaction of completing each step, and relish the joy of gifting a unique and handmade creation to a precious little one.
Happy quilting!
Frequently Asked Questions about How Much Fabric Do I Need For A Baby Rag Quilt
Was this page helpful?
At Storables.com, we guarantee accurate and reliable information. Our content, validated by Expert Board Contributors, is crafted following stringent Editorial Policies. We're committed to providing you with well-researched, expert-backed insights for all your informational needs.


0 thoughts on “How Much Fabric Do I Need For A Baby Rag Quilt”