Articles
How To Make A Baby Quilt Using Minky Fabric
Modified: February 24, 2024
Learn how to create a cozy baby quilt using soft and luxurious minky fabric. Our articles provide step-by-step instructions and helpful tips for all skill levels.
(Many of the links in this article redirect to a specific reviewed product. Your purchase of these products through affiliate links helps to generate commission for Storables.com, at no extra cost. Learn more)
Introduction
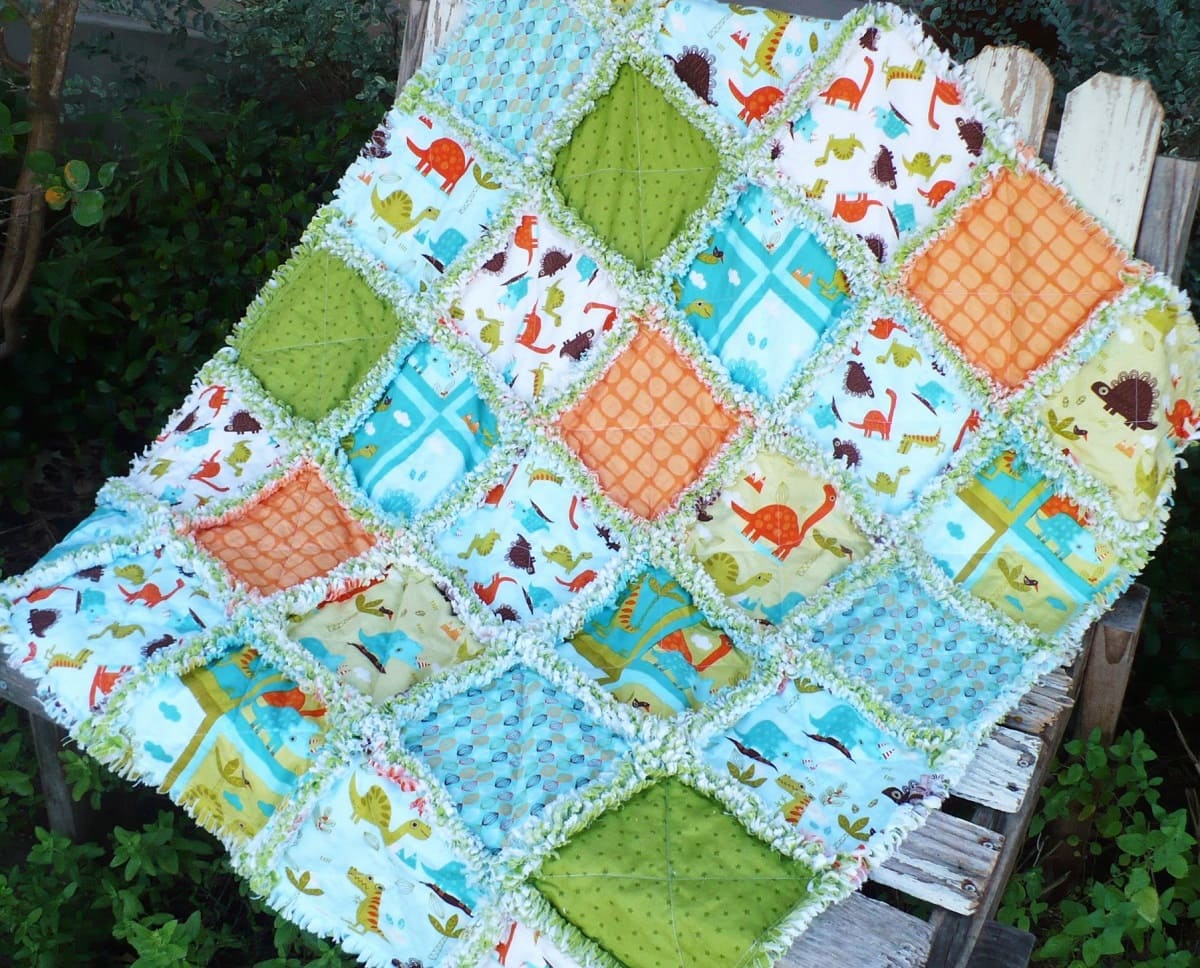
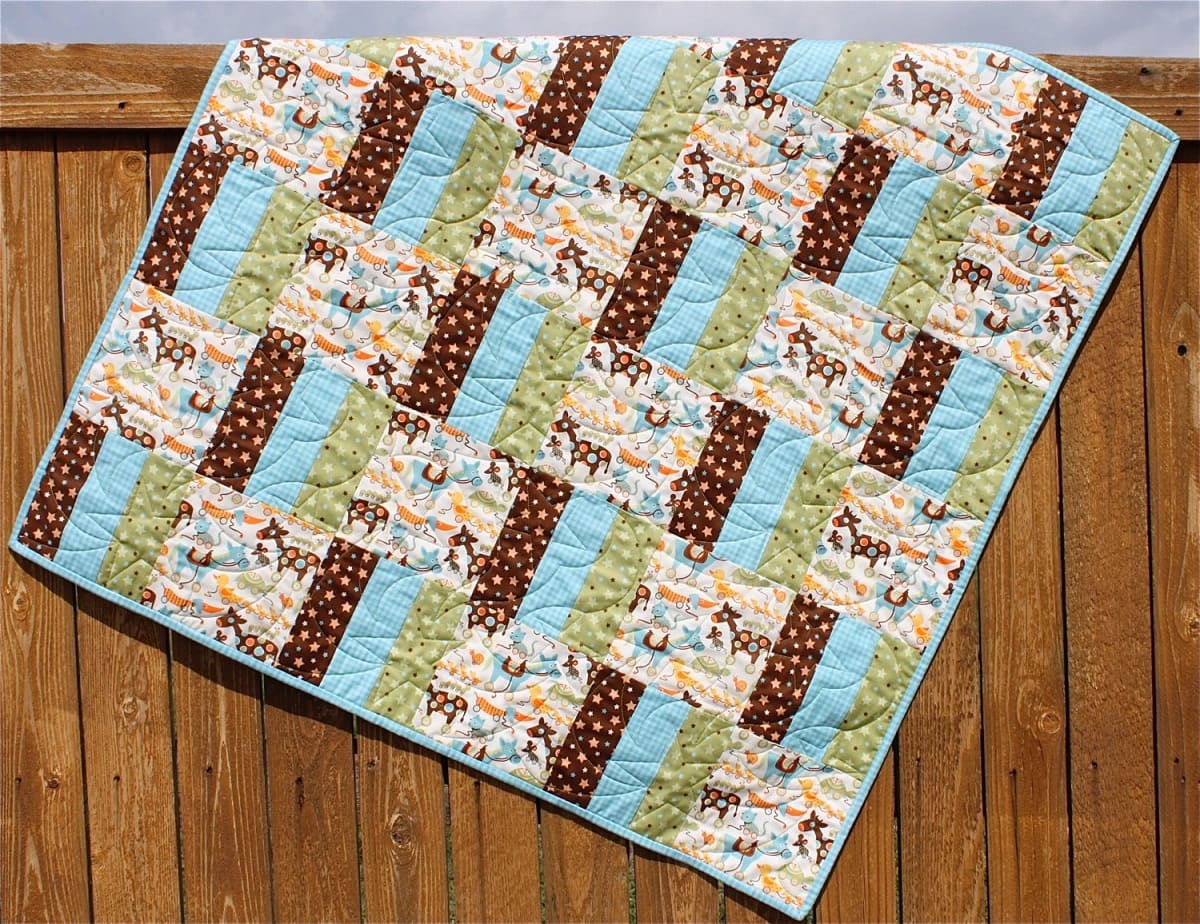
Making a baby quilt is not only a labor of love, but it also creates a cherished heirloom that can be passed down through generations. When it comes to choosing the fabric for your baby quilt, one material that stands out is Minky fabric. Minky fabric is a popular choice for baby quilts due to its softness, durability, and versatility. In this article, we will guide you through the process of making a beautiful baby quilt using Minky fabric.
Whether you’re a beginner or an experienced quilter, this step-by-step guide will help you create a cozy and adorable quilt that will keep your little one warm and snug. From selecting the right Minky fabric to adding the finishing touches, we’ve got you covered. So, let’s dive right in and learn how to make a baby quilt using Minky fabric!
Key Takeaways:
- Create a cherished heirloom by making a cozy baby quilt using Minky fabric. From choosing the perfect fabric to adding personal touches, this comprehensive guide ensures a rewarding quilting journey.
- Infuse your baby quilt with creativity and love, from selecting the softest Minky fabric to adding decorative quilting elements. Each step contributes to a cherished heirloom for your little one.
Read more: How To Quilt With Minky Fabric
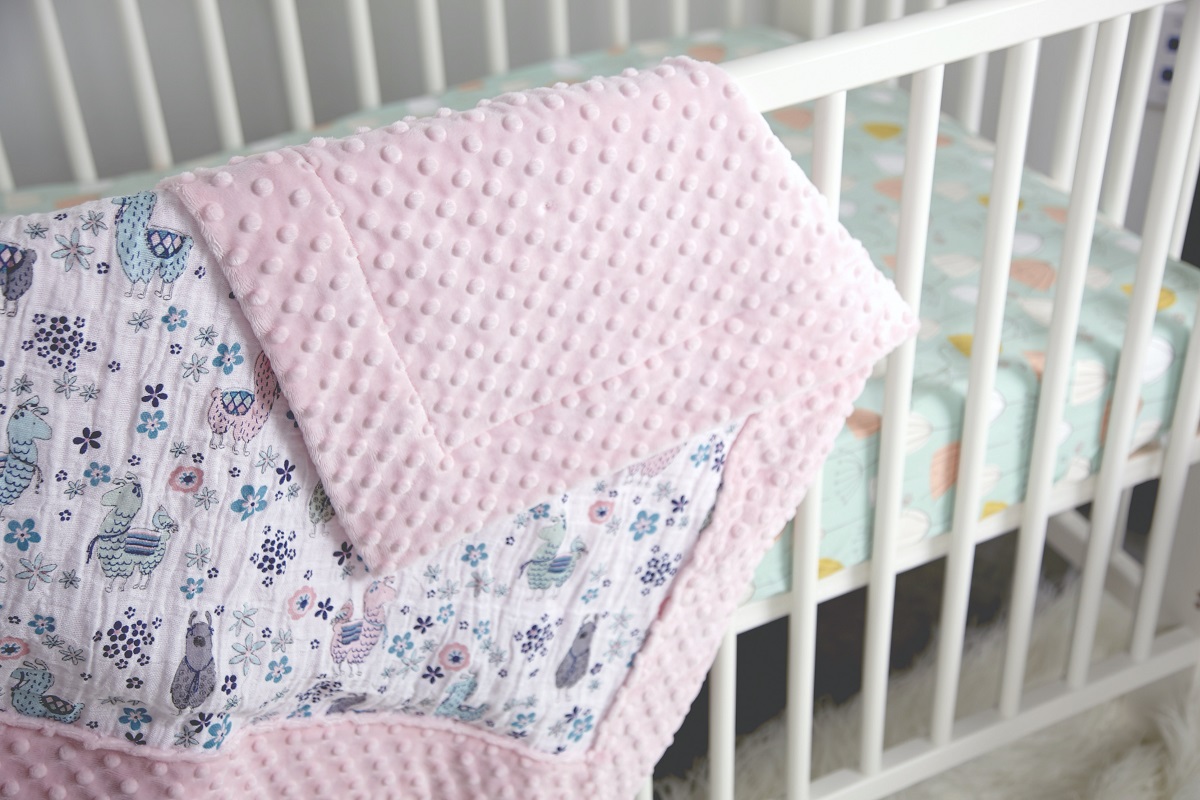
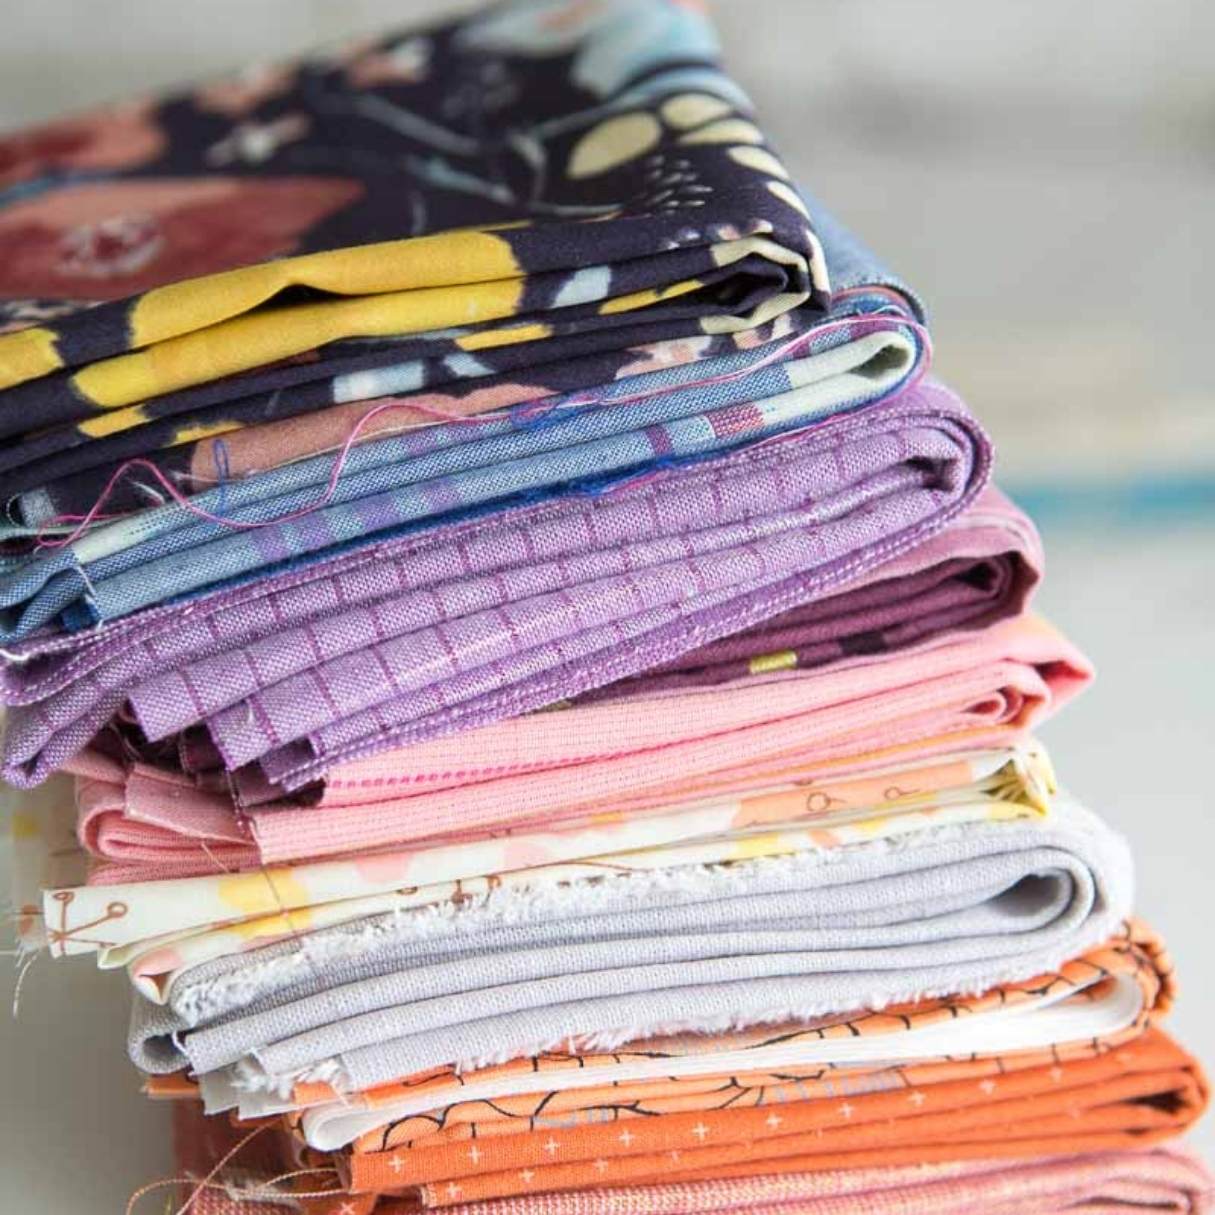
Choosing the Right Minky Fabric
When it comes to selecting the perfect Minky fabric for your baby quilt, there are a few factors to consider. Here are some tips to help you choose the right Minky fabric:
- Softness: The primary reason why Minky fabric is so beloved for baby quilts is its incredible softness. Look for Minky fabric that is plush, velvety, and gentle against your baby’s delicate skin. Give it a touch to ensure it has the desired softness.
- Quality: It’s important to choose high-quality Minky fabric that will withstand multiple washes and maintain its softness over time. Look for fabric labeled as “premium” or “luxury” to ensure you’re getting the best quality.
- Colors and Patterns: Minky fabric comes in a wide array of colors and patterns, allowing you to get creative with your baby quilt. Consider the color scheme of the nursery or the baby’s room and choose Minky fabric that complements the existing decor. You can opt for solid colors, fun prints, or even combine different patterns for a unique look.
- Texture: Minky fabric comes in various textures such as smooth, dimple, or rosebud. Consider the texture you prefer for your baby quilt. Smooth Minky is classic and versatile, while dimple or rosebud Minky adds an extra tactile sensation for your baby to explore.
- Size: Take into account the size of your baby quilt project when selecting Minky fabric. Measure the dimensions you desire for your quilt and make sure to purchase enough fabric to accommodate for backing and binding as well.
Remember, the Minky fabric you choose will contribute to the overall look, feel, and durability of your baby quilt. Take your time exploring different options and select the Minky fabric that resonates with you and your little one. Once you’ve chosen the perfect Minky fabric, it’s time to gather the necessary supplies to start your quilting journey.
Gathering the Necessary Supplies
Before you dive into making your baby quilt, it’s important to have all the necessary supplies at hand. Here is a list of essential items you’ll need:
- Minky Fabric: Purchase the desired amount of Minky fabric based on the size of your baby quilt. Remember to account for backing and binding as well.
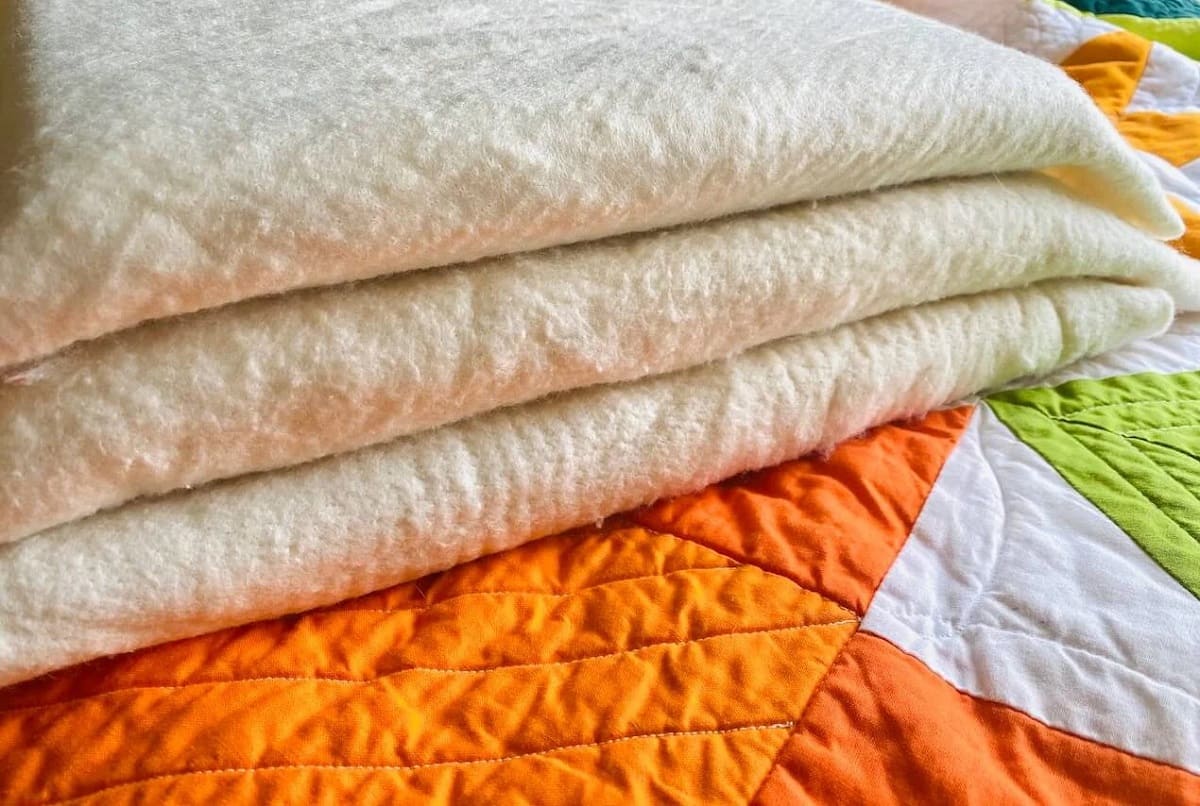
- Quilt Batting: Quilt batting, also known as wadding, is the material placed between the quilt top and backing to add warmth and thickness. Choose a batting suitable for baby quilts, such as cotton or polyester batting, which is lightweight and easy to care for.
- Fabric Scissors: Invest in a good pair of fabric scissors for cutting the fabric accurately. Sharp, quality scissors will make the cutting process much easier and ensure clean, precise cuts.
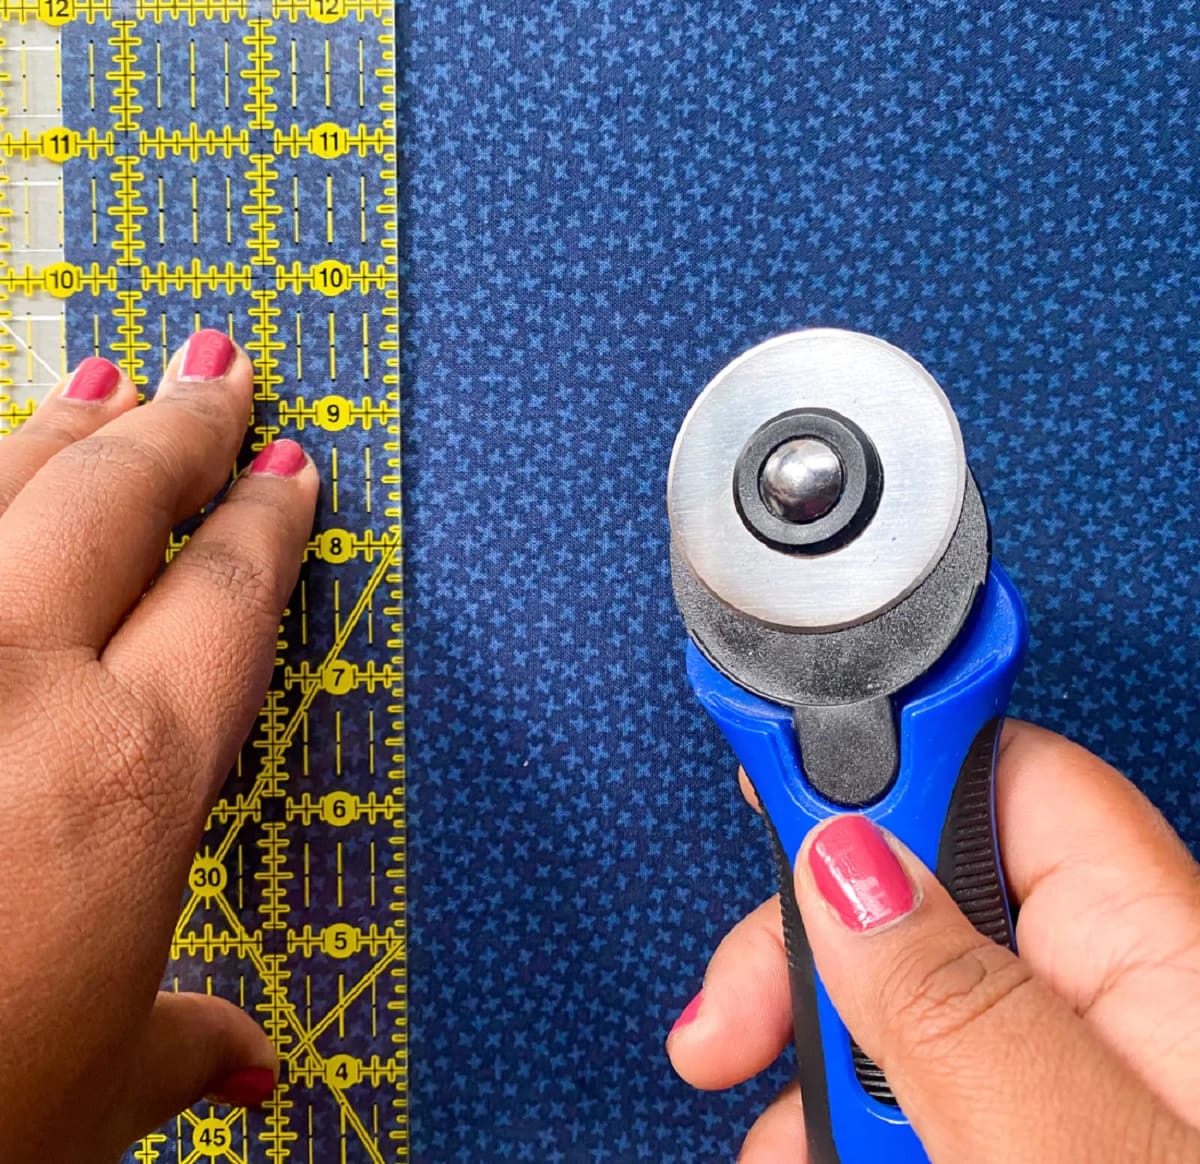
- Rotary Cutter and Cutting Mat: A rotary cutter and cutting mat are essential tools for quilters. They enable you to cut straight lines and precise measurements. Make sure to choose a rotary cutter with a comfortable grip and a self-healing cutting mat to protect your work surface.
- Quilting Ruler: A quilting ruler is used for measuring and cutting fabric accurately. Look for a clear, transparent ruler with both inches and centimeters marked for ease of use.
- Pins or Quilting Clips: Pins or quilting clips are necessary for holding the quilt layers together during the quilting process. Choose either straight pins or quilting clips, whichever you prefer, to secure the layers without damaging the fabric.
- Sewing Machine and Thread: A sewing machine will make the piecing and quilting process faster and more efficient. Ensure your machine is in good working condition and choose a thread color that complements your Minky fabric and quilt design.
- Binding Fabric: Binding fabric is used to finish the edges of the quilt. Select a fabric that coordinates with your Minky fabric for a polished and professional finish.
- Quilting Needles: Quilting needles have a sharp point and a larger eye, making them suitable for hand quilting. Choose needles specifically designed for quilting to ensure smooth stitching.
- Iron and Ironing Board: An iron and ironing board are essential for pressing seams and achieving crisp, professional-looking quilt blocks.
- Quilting Marking Tools: Depending on your quilting design, you may need marking tools such as a fabric pen or washable fabric marker to transfer your quilting pattern onto the fabric.
Gathering these supplies before you start will make the quilting process smoother and more enjoyable. Once you have all your supplies ready, it’s time to prepare the Minky fabric for quilting.
Preparing the Minky Fabric
Before you start cutting and piecing your baby quilt, it’s important to properly prepare the Minky fabric. Minky fabric has a nap, which refers to the raised fibers on the surface. Here are the steps to prepare your Minky fabric:
- Wash the Minky Fabric: It’s recommended to wash the Minky fabric before you begin working with it. This will remove any excess dye or chemicals and ensure that it is clean and ready for use. Follow the fabric’s care instructions for washing and drying.
- Trim the Selvage Edges: After washing and drying the Minky fabric, trim off the selvage edges. The selvage edges are the tightly woven finished edges of the fabric. Trimming them will ensure that the edges of your quilt are clean and free from any stiffness.
- Press the Minky Fabric: Despite being soft and plush, Minky fabric can be prone to wrinkling. Use a low heat setting on your iron and press the fabric gently to remove any creases or wrinkles. Avoid using high heat or steam, as it can damage the fabric.
- Secure the Edges: Minky fabric has a tendency to stretch and curl at the edges. To prevent this, you can use sewing clips or pins to secure the edges of the fabric before cutting and handling. This will help keep the fabric stable and prevent any distortion during the quilting process.
By taking the time to properly prepare your Minky fabric, you’ll ensure a smooth and hassle-free quilting experience. The next step is to cut and piece the quilt top, where your creative vision will come to life. But first, make sure you have the necessary measurements and a clear plan in mind. Let’s dive into the exciting process of cutting and piecing your baby quilt!
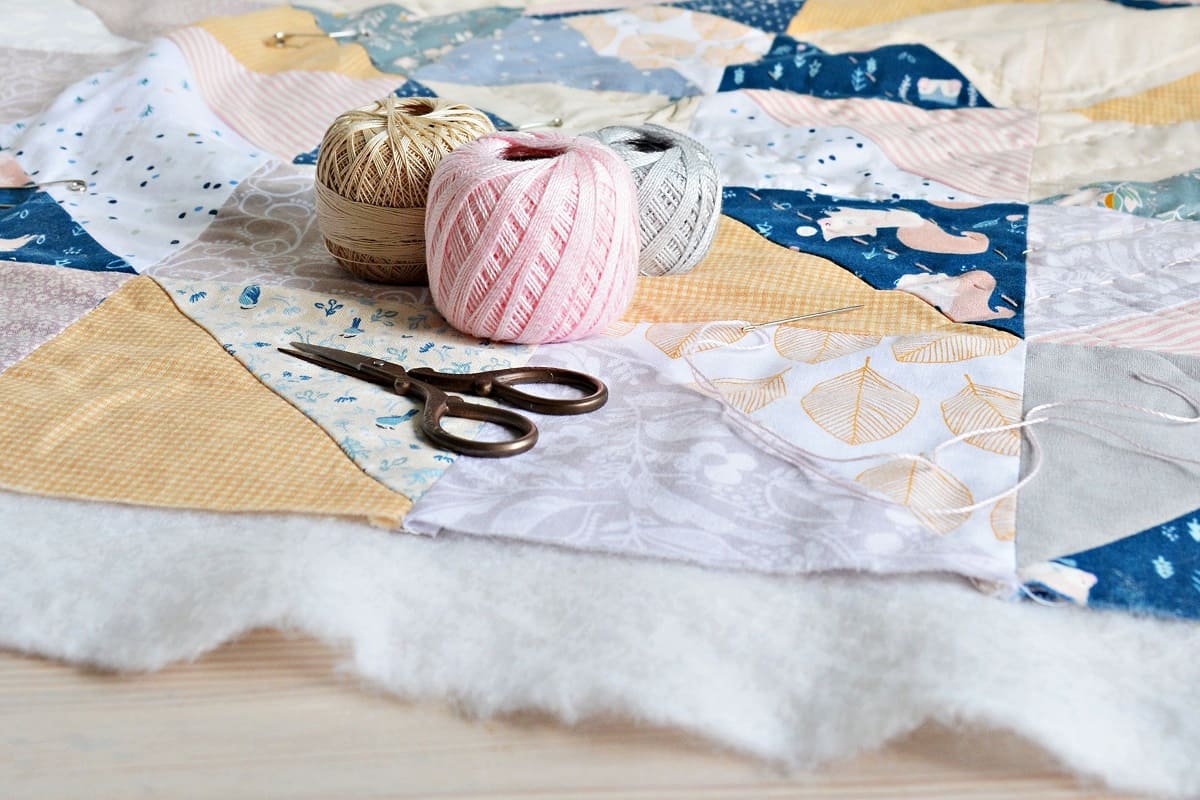
Cutting and Piecing the Quilt Top
Now that you have prepared the Minky fabric, it’s time to cut and piece the quilt top. The quilt top is the focal point of your baby quilt and is made up of different fabric pieces sewn together. Here’s how to cut and piece your quilt top:
- Measure and Plan: Determine the size of your quilt top based on your desired dimensions. Use a quilting ruler and rotary cutter to cut out the required fabric pieces. It’s helpful to sketch a diagram or use a quilt pattern to guide you through the piecing process.
- Cut the Fabric: Lay your Minky fabric on a flat surface, ensuring it is smooth and free from any wrinkles. Use your quilting ruler and rotary cutter to cut the fabric pieces according to your measurements. Take your time to cut accurately and remember to account for seam allowances.
- Piece the Fabric: Lay out your fabric pieces according to your design or pattern. Sew the pieces together using a 1/4-inch seam allowance. Press the seams open or to the side, depending on your preference. Continue piecing the fabric until your quilt top is complete. Take your time to ensure precise alignment and accurate seams.
- Square Up the Quilt Top: Once your quilt top is fully pieced, use your quilting ruler to square up the edges. Trim any excess fabric to ensure straight edges and a neat finish.
When working with Minky fabric, it’s important to handle it with care as it can be stretchy and bulkier than other fabrics. Take your time when sewing and use pins or quilting clips to hold the fabric pieces together securely. Remember to stitch slowly and gently to avoid any stretching or distortion.
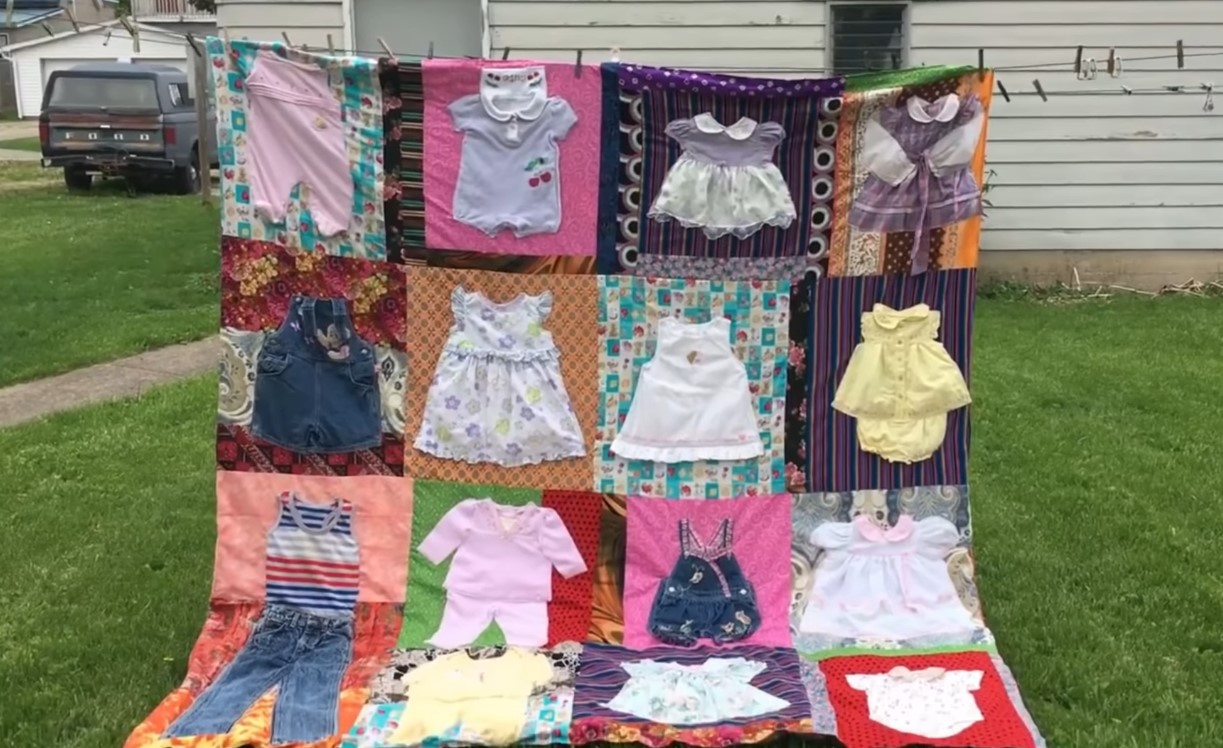
While piecing the quilt top, feel free to add personal touches such as applique designs, embroidery, or decorative stitches. Let your creativity shine through and make the quilt top uniquely yours!
Now that your quilt top is complete, it’s time to move on to the next step: adding the batting and backing.
When sewing with minky fabric for a baby quilt, use a walking foot to prevent the fabric from stretching and slipping. This will help you achieve more accurate and professional-looking results.
Read more: How To Make A Quilt For A Baby
Adding Batting and Backing
After you’ve finished piecing the quilt top, the next step in the baby quilt-making process is adding the batting and backing. The batting provides warmth and thickness to the quilt, while the backing covers the raw edges and gives the quilt a finished look. Here’s how to add the batting and backing to your baby quilt:
- Choose the Right Batting: Select a batting that suits your preferences and the desired level of warmth for your baby quilt. Popular choices for baby quilts include cotton and polyester batting. Consider the loft, weight, and washability of the batting when making your selection.
- Prepare the Batting: If your batting is larger than the quilt top, trim it down to the desired size using scissors or a rotary cutter. Make sure the edges of the batting are smooth and even.
- Prepare the Backing Fabric: Lay your backing fabric on a flat surface, right side down. Place the trimmed batting on top of the backing fabric, aligning the edges. Smooth out any wrinkles or creases in the fabric.
- Layer the Quilt: Place your quilt top on top of the batting, right side up. Ensure that all layers—quilt top, batting, and backing—are aligned and centered. Smooth out any wrinkles or ripples in the layers.
- Secure the Layers: Once the layers are aligned and smooth, you can use quilt pins or quilting clips to hold them together. Start in the center and work your way towards the edges, spacing the pins or clips a few inches apart. This will prevent the layers from shifting during the quilting process.
- Baste the Quilt: Basting is the process of temporarily securing the layers together. There are several methods of basting, including hand basting or using temporary adhesive sprays or fusible batting tape. Choose the method that works best for you and baste the layers together.
When working with Minky fabric, remember that it has a nap, so ensure that the nap is all facing in the same direction when layering the quilt. This will ensure a consistent and cohesive look to your finished quilt.
Adding the batting and backing is a crucial step that ensures the quilt remains stable and durable. Once you’ve successfully completed this step, you’re ready to move on to quilting the layers together and giving your baby quilt its unique texture and design.
Quilting the Layers Together
Quilting is the process of stitching the layers of the quilt together and adding texture and design. It not only secures the batting and backing to the quilt top but also enhances the overall aesthetic of the baby quilt. Here’s how to quilt the layers together:
- Select a Quilting Method: Decide on the quilting method you want to use for your baby quilt. Popular options include hand quilting, machine quilting, or a combination of both. Consider your skill level, time constraints, and desired quilt design when making your choice.
- Plan Your Quilting Design: Before you start quilting, plan out the design you want to create on your quilt. This could be simple straight or wavy lines, free-motion quilting, or intricate patterns. Use a fabric pen or marking tool to transfer the design onto the quilt top.
- Prepare Your Machine: If you’re using a sewing machine for quilting, ensure that it is set up properly. Install a walking foot or quilting foot, and choose the appropriate thread and needle for quilting. Adjust the tension and stitch length according to your fabric and desired effect.
- Start Quilting: Begin quilting from the center of the quilt and work your way outward. Take your time and stitch along the marked lines or follow your quilting design. Backstitch at the beginning and end of each line of stitching to secure the thread. If hand quilting, use a quilting needle and quilting thread and make small, even stitches.
- Continue Quilting: Keep quilting the layers together, moving from section to section. Take breaks as needed and check the tension of your stitches periodically. Ensure that the layers remain wrinkle-free and smooth as you quilt.
- Explore Decorative Quilting: If desired, add decorative quilting elements to your baby quilt. This could include stippling, meandering, or quilting motifs such as hearts, stars, or animals. Let your creativity shine and make your quilt unique!
Quilting can be a time-consuming process, but it’s also an opportunity to infuse your baby quilt with your personal style and creativity. Take your time, enjoy the process, and remember that practice makes perfect. Once you’ve finished quilting, it’s time to move on to the final step: binding the quilt.
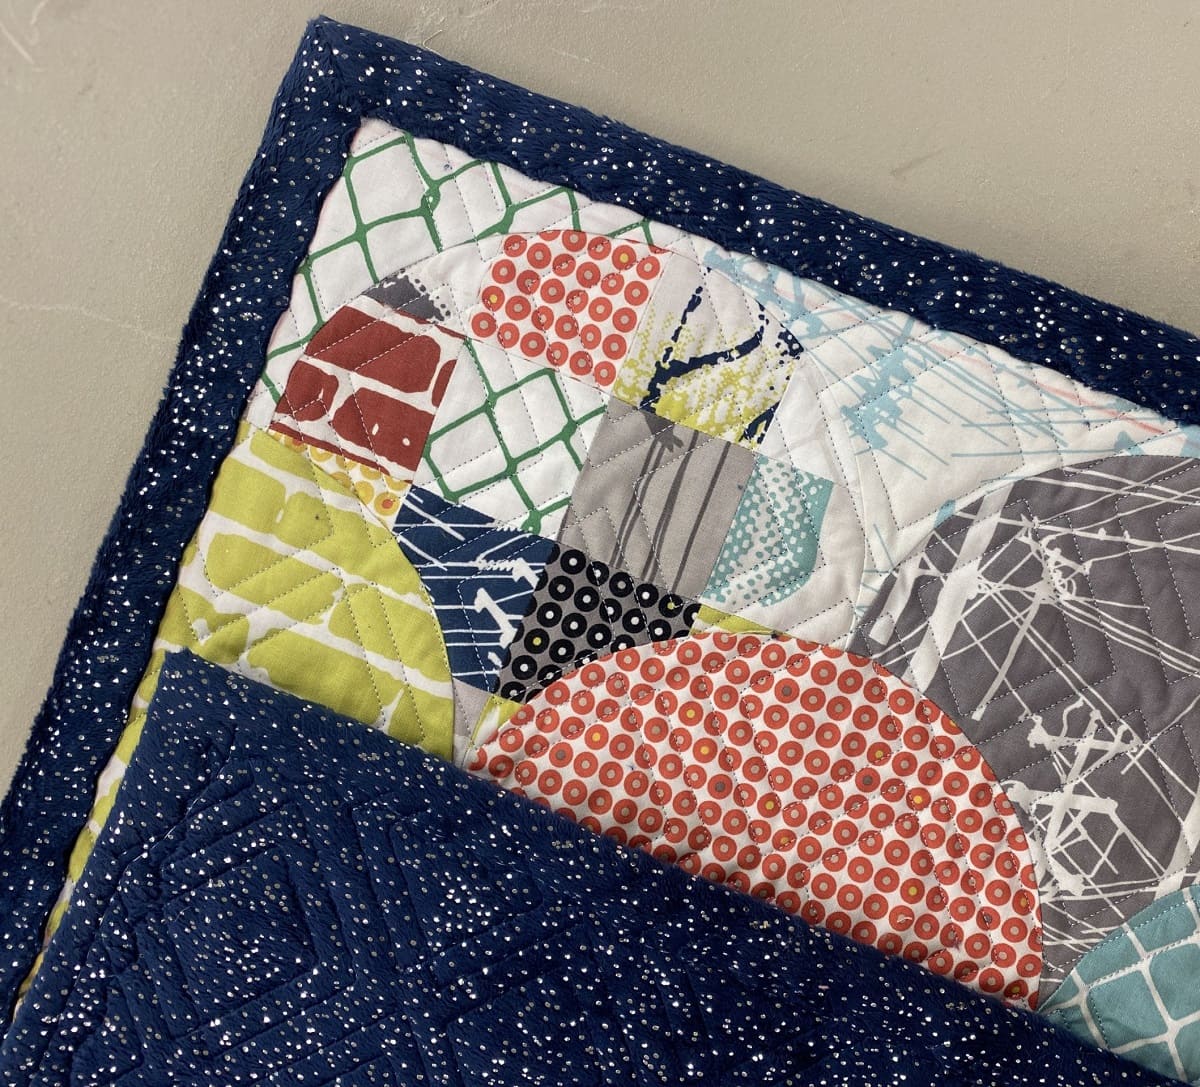
Binding the Quilt
The binding is the finishing touch that adds a clean and professional edge to your baby quilt. It not only secures the quilt layers together but also provides a frame for your beautiful creation. Here’s how to bind your baby quilt:
- Prepare the Binding Fabric: Cut strips of fabric for the binding. The width of the strips usually ranges from 2.5 to 3 inches, depending on your preference. Sew the strips together at a 45-degree angle to create a continuous binding strip. Press the seams open or to one side.
- Measure and Prepare the Quilt: Measure the perimeter of your baby quilt to determine the length of binding needed. Add a few extra inches to ensure you have enough. Trim any excess batting and backing along the edges of the quilt to make them even with the quilt top.
- Attach the Binding: Starting in the middle of one side of the quilt, align the raw edges of the binding strip with the raw edges of the quilt. Leave a tail of a few inches unstitched. Sew the binding to the quilt using a 1/4-inch seam allowance, stopping a few inches away from the corner.
- Miter the Corners: To create mitered corners, fold the binding strip up at a 45-degree angle, creating a diagonal edge. Then, fold the binding strip back down to align with the next side of the quilt. Continue sewing along the next side, repeating this process for each corner.
- Finish Sewing the Binding: Sew the binding all the way around the quilt, mitring the corners as you go. When you reach the starting point, overlap the tails of the binding and trim any excess. Fold the tails under and sew them down to create a clean finish.
- Secure the Binding: Flip the binding over to the back of the quilt, wrapping it around the raw edges. Hand stitch the binding in place using a blind stitch or slip stitch. Ensure that your stitches are invisible on the front and secure the binding firmly to the back.
Binding your quilt may take some time and patience, but it’s worth the effort for a polished and professional finish. The binding not only provides a decorative edge but also adds durability to your baby quilt. Once you’ve completed binding, your baby quilt is almost ready for use!
Before your little one snuggles up with their cozy quilt, there are a few final touches and care instructions to consider.
Final Touches and Care Instructions
With the binding in place, your baby quilt is almost complete! There are just a few final touches and care instructions to consider before your little one can enjoy their new quilt:
- Add Labels or Personalization: Consider adding a label to your baby quilt with your name, date, or a special message. This can be done by hand-stitching or using fabric pens. Personalizing the quilt adds a sentimental touch and makes it even more special.
- Check for Loose Threads and Snip Them: Carefully examine the quilt for any loose threads and snip them with sharp scissors. This will ensure that the quilt remains in good condition and prevent threads from unraveling.
- Give the Quilt a Final Press: Use a low heat setting on your iron and press the quilt gently once more. This will help to smooth out any wrinkles or creases and give the quilt a neat and polished appearance.
- Provide Care Instructions: It’s important to include care instructions with the quilt, especially if you’re gifting it to someone. Recommend gentle machine washing with a mild detergent, followed by air-drying or low heat tumble drying to preserve the softness and integrity of the Minky fabric.
- Store the Quilt appropriately: If the quilt is not in use, store it in a clean and dry place. Avoid exposure to direct sunlight or damp conditions, as they can cause fading or mildew. Consider using a breathable storage bag or wrapping the quilt in acid-free tissue paper to protect it.
By adding these final touches and providing care instructions, you’re ensuring that the baby quilt remains beautiful and functional for years to come. Your little one will enjoy the warmth and comfort provided by their handmade Minky quilt.
Congratulations on completing your baby quilt! The time and effort you put into making this special item will be cherished by both you and your little one. Enjoy the process of creating more beautiful quilts and continue to explore the world of quilting!
Now, wrap up your baby quilt and see the joy on the face of the precious baby who will receive it.
Read more: How Much Fabric Is Needed For A Baby Quilt
Conclusion
Creating a baby quilt using Minky fabric is a fulfilling and rewarding endeavor. From choosing the right Minky fabric to adding the final touches, each step in the process contributes to the creation of a cozy and cherished heirloom. By following this comprehensive guide, you can confidently embark on your quilting journey and create a beautiful quilt that will be treasured for years to come.
Through careful selection of Minky fabric, gathering the necessary supplies, preparing the fabric, and cutting and piecing the quilt top, you have laid the foundation for a stunning baby quilt. Adding the batting and backing, quilting the layers together, binding the quilt, and attending to the final touches ensure a polished and professional finish.
As you complete your baby quilt, remember to infuse it with your creativity and personal touch. Explore different quilting designs, experiment with decorative elements, and embrace the joy of bringing your vision to life. Whether you choose simple and elegant quilting or opt for intricate and whimsical patterns, the end result will be a one-of-a-kind masterpiece.
When sharing your baby quilt with its lucky recipient, don’t forget to provide care instructions and consider adding a personalized label. These small details add a sentimental touch and make the quilt even more special for the recipient.
As you continue on your quilting journey, you may find yourself inspired to create more baby quilts, explore different fabrics and patterns, and hone your quilting skills. Whether making quilts for your own little ones or as gifts for others, know that your handcrafted creations will be cherished and become treasured keepsakes.
So, gather your supplies, select your Minky fabric, and let your creativity soar as you embark on the journey of making a baby quilt. The softness, warmth, and love stitched into each seam will create a lasting symbol of comfort and security for the precious baby who receives it.
Enjoy the process, and happy quilting!
Frequently Asked Questions about How To Make A Baby Quilt Using Minky Fabric
Was this page helpful?
At Storables.com, we guarantee accurate and reliable information. Our content, validated by Expert Board Contributors, is crafted following stringent Editorial Policies. We're committed to providing you with well-researched, expert-backed insights for all your informational needs.

0 thoughts on “How To Make A Baby Quilt Using Minky Fabric”