Articles
How To Add Crystals To Candles
Modified: October 18, 2024
Learn how to easily add crystals to your candles with our step-by-step articles. Enhance the beauty and positive energy of your home decor.
(Many of the links in this article redirect to a specific reviewed product. Your purchase of these products through affiliate links helps to generate commission for Storables.com, at no extra cost. Learn more)
Introduction
Welcome to the wonderful world of crystal-infused candles! This unique combination brings together the beauty and energy of crystals with the soothing ambiance of candlelight. Adding crystals to candles not only enhances their visual appeal but also infuses them with the energy and properties of the chosen crystals.
Crystals have been used for centuries for their healing and spiritual properties. They are believed to possess unique energies that can influence our well-being and surroundings. Combining crystals with candles creates a powerful synergy, allowing us to benefit from the positive vibrations of both elements.
In this article, we will guide you through the process of adding crystals to candles, from choosing the right crystals to securing them in place. Whether you are a beginner or an experienced candle enthusiast, this step-by-step guide will help you create beautiful and energetically charged crystal candles.
Before we dive into the process, let’s gather the materials you will need to get started.
Key Takeaways:
- Transform ordinary candles into powerful energy tools by adding crystals. Choose, cleanse, and secure crystals to create visually appealing and energetically charged crystal candles for relaxation and manifestation.
- Infuse your space with positive energy and beauty by creating crystal-infused candles. Select crystals, set intentions, and enjoy the soothing ambiance and uplifting vibrations they bring to your home.
Materials Needed
Before you begin adding crystals to your candles, make sure you have the following materials:
- Candles: Choose candles that are suitable for the size and style of crystals you plan to use. You can opt for pillar candles, jar candles, or even tea lights.
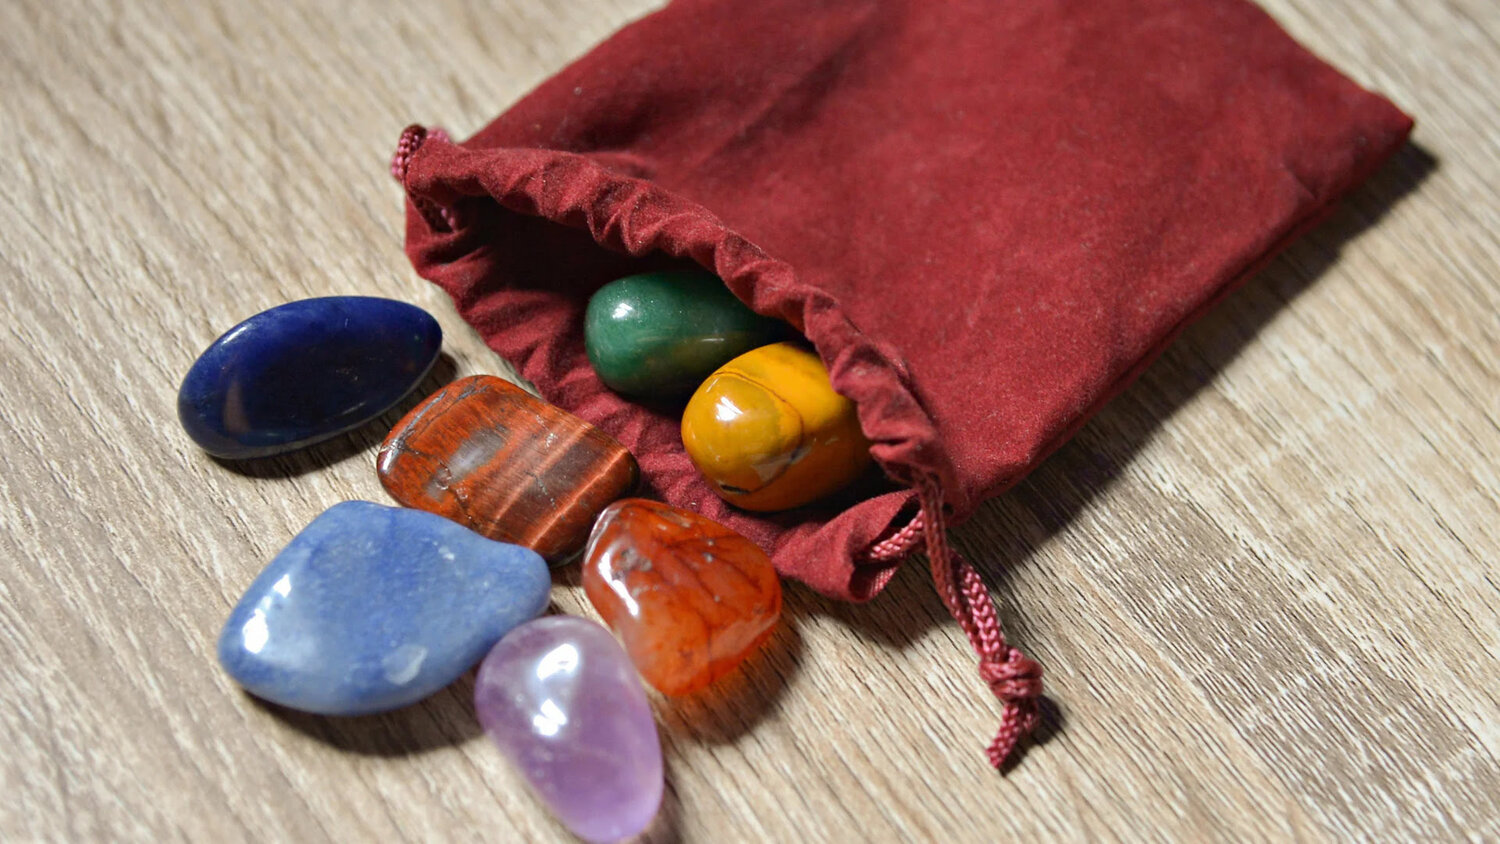
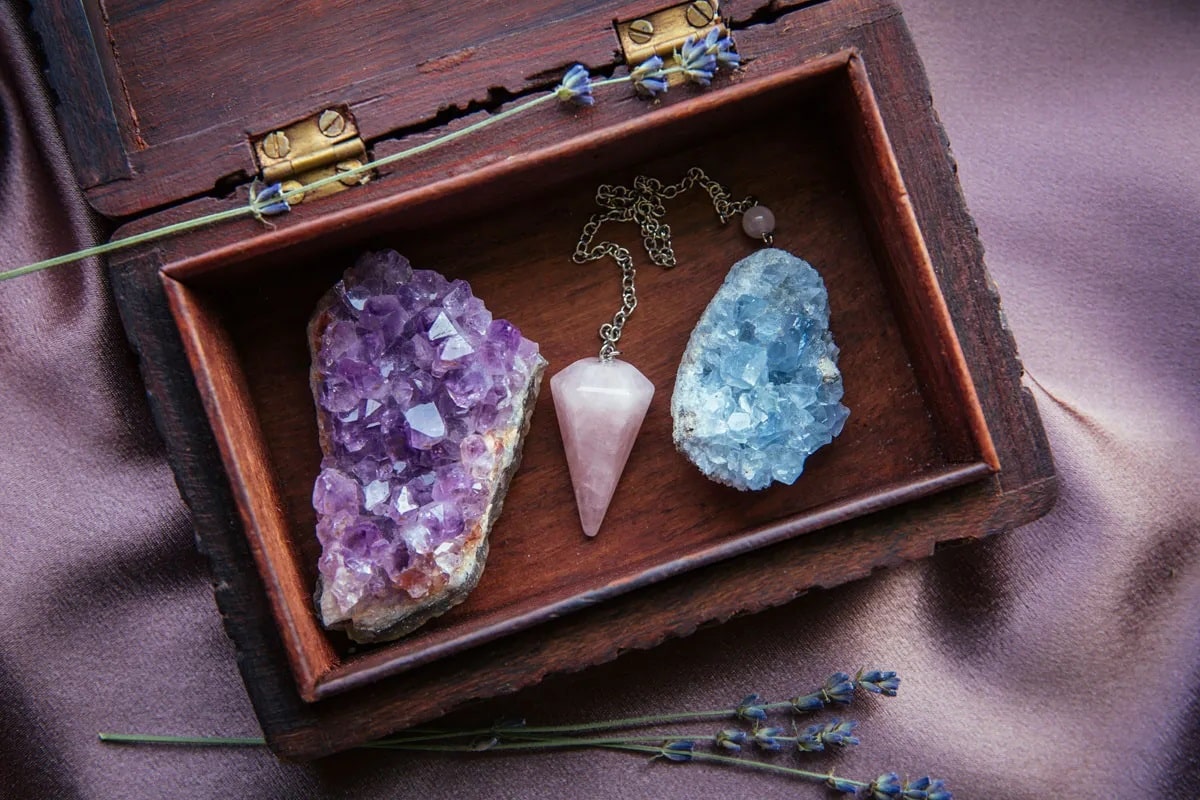
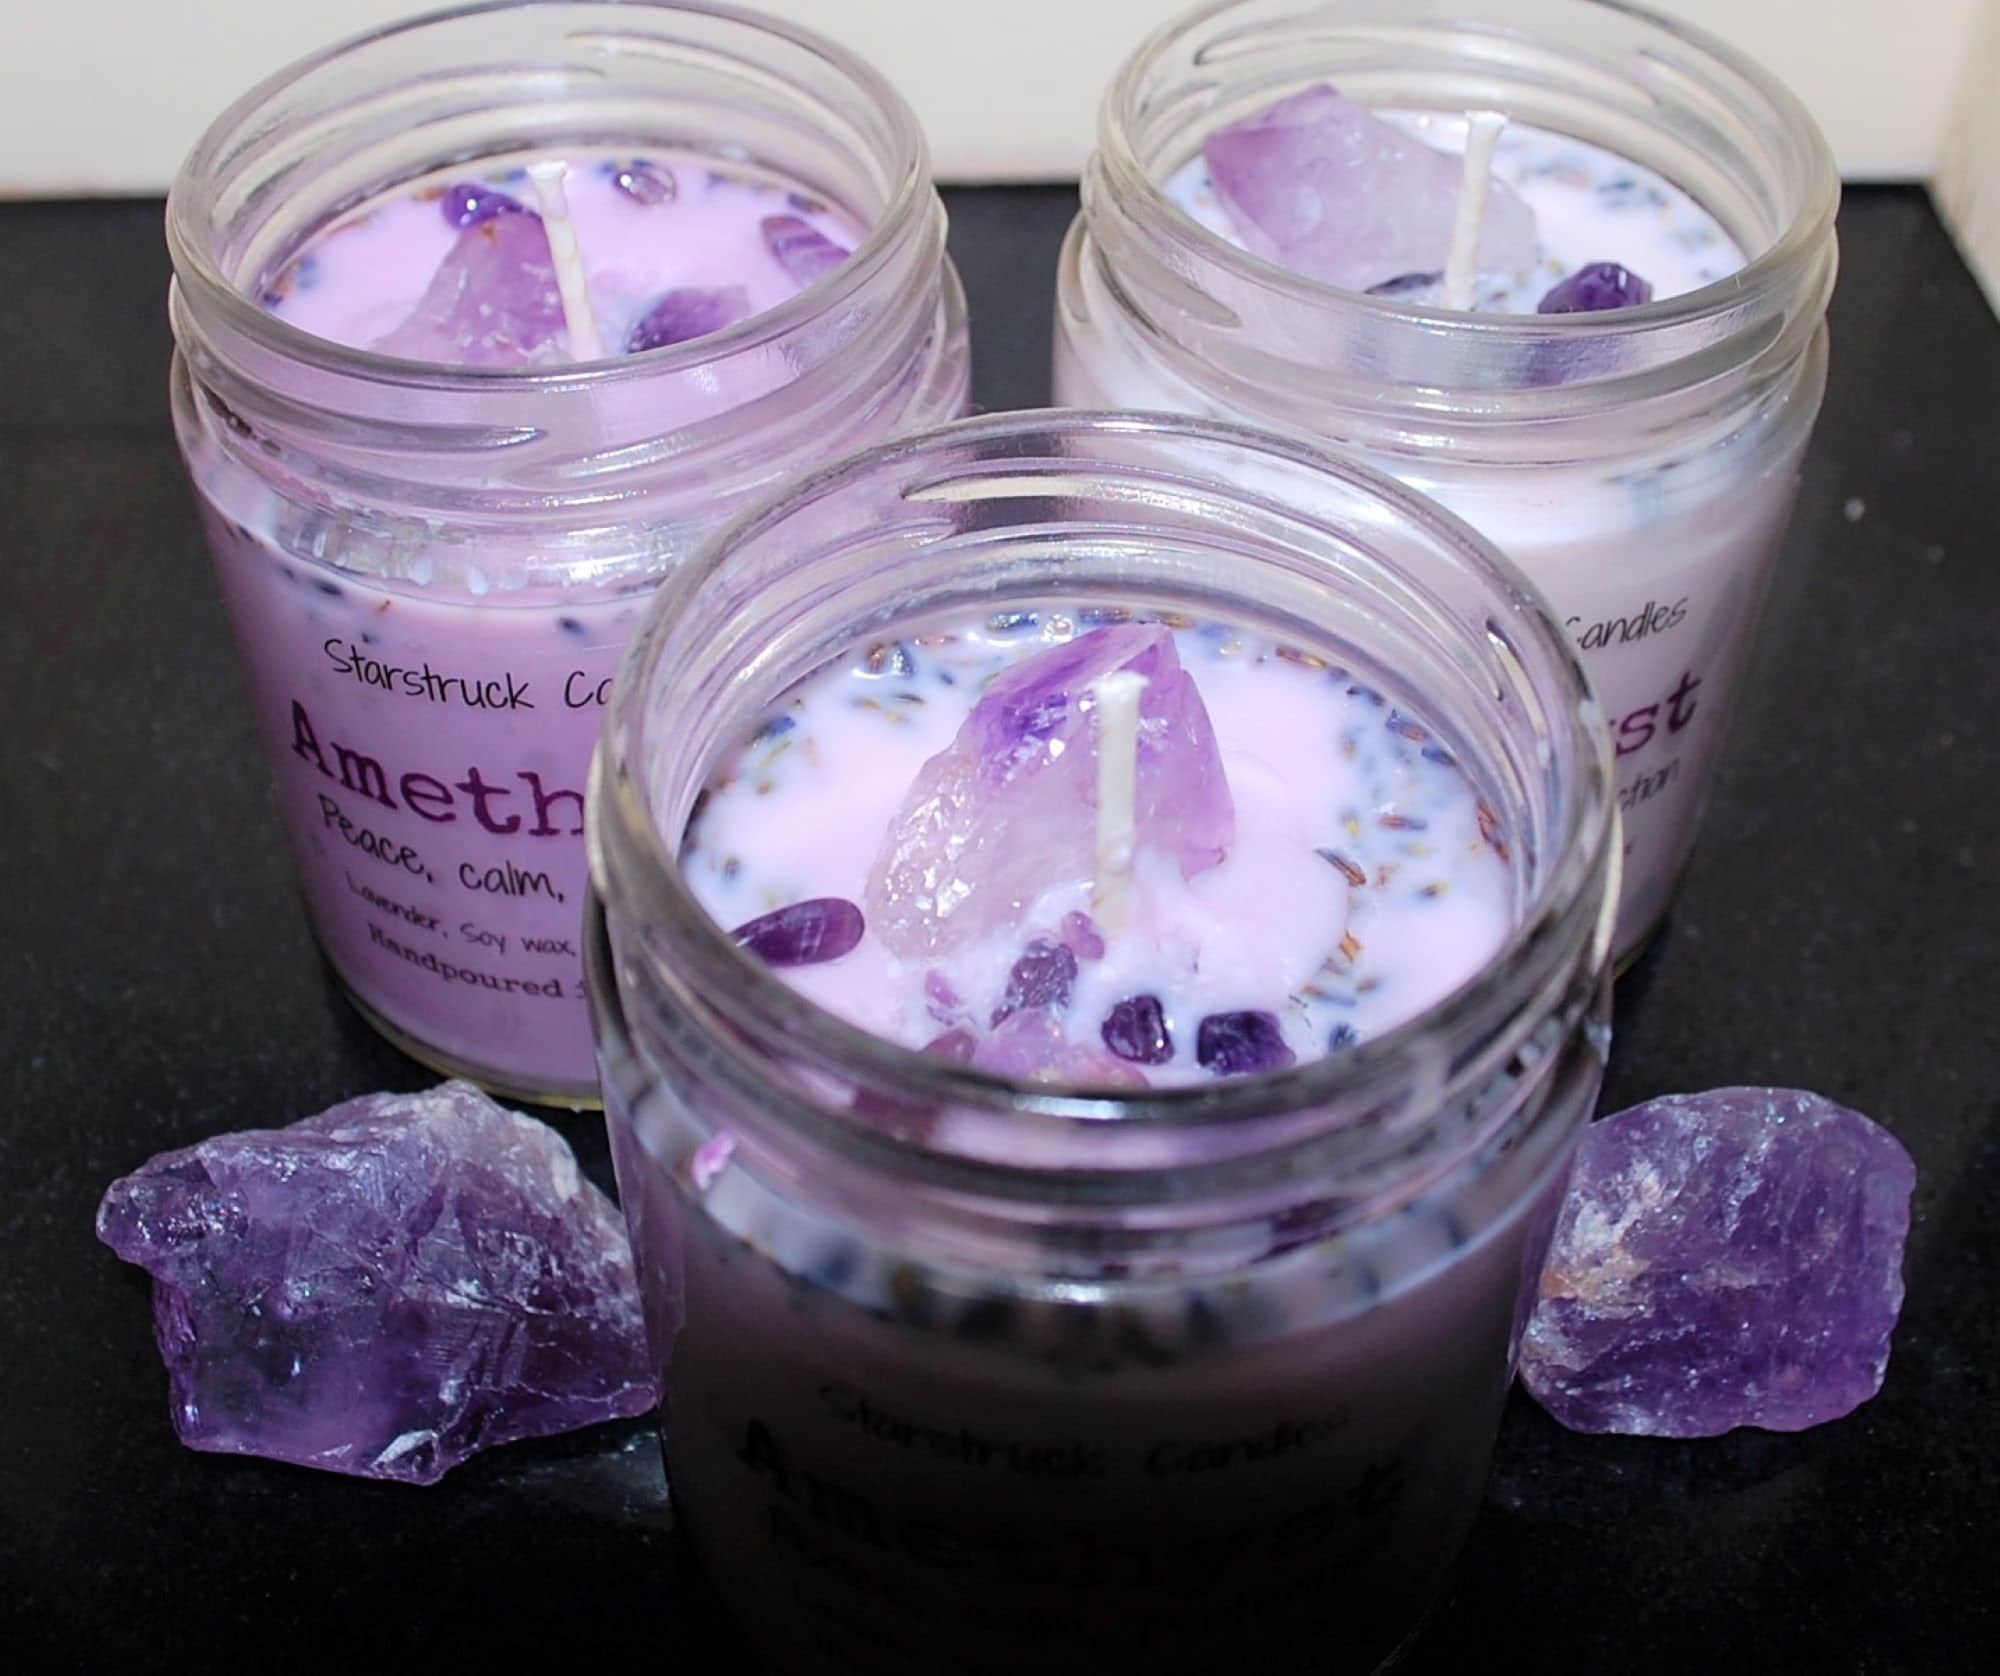
- Crystals: Select crystals that resonate with your intention or desired energy. Popular choices include clear quartz for amplifying energy, amethyst for relaxation and spirituality, and rose quartz for love and harmony.
- Candle adhesive: You will need a suitable adhesive to secure the crystals to the candles. Wax adhesive, transparent glue dots, or a hot glue gun can all work well.
- Tweezers or tongs: These tools will help you handle the crystals safely and precisely without burning your fingers.
- Clean cloth: Use a soft cloth to clean and polish the crystals before attaching them to the candles.
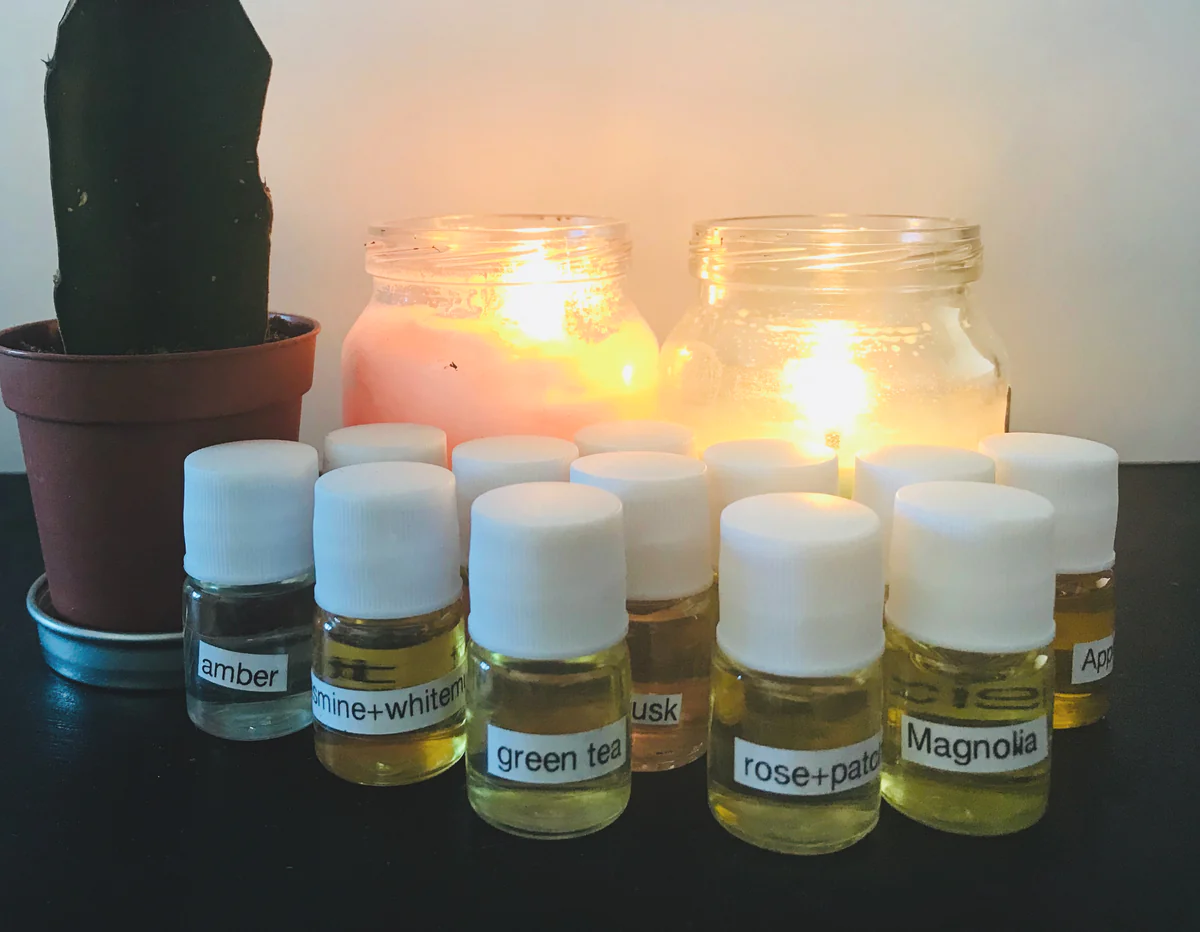
- Optional: Essential oils or fragrance: If you want to add scent to your crystal candles, choose essential oils or fragrance that complements the energy of your chosen crystals.
Once you have gathered all the materials, you are ready to begin the process of creating your crystal-infused candles. Follow the steps below to transform your ordinary candles into captivating pieces of energy-enhancing art.
Step 1: Prepare Your Candles
Before you start adding crystals to your candles, it’s important to ensure that your candles are clean and ready for customization. Follow these steps to prepare your candles:
- Clean the candles: If you are using pre-existing candles, wipe them down with a clean cloth to remove any dust or debris. This will provide a smooth surface for attaching the crystals.
- Trim the wicks: Trim the wicks of your candles to approximately a quarter of an inch in length. This will help prevent excessive smoke and uneven burning.
- If desired, color the candles: If you want to add a pop of color to your candles, you can use candle dye or colored wax chips. Follow the instructions provided with the coloring agent to achieve your desired hue.
- Optional: Scent the candles: If you prefer scented candles, now is the time to add your chosen fragrance. You can either opt for essential oils or fragrance oils specifically designed for candle-making. Follow the recommended dosage for the size of your candles and mix well.
Once your candles are clean, trimmed, and optionally customized with color and scent, they are now ready to be adorned with beautiful crystals. Let’s move on to the next step of the process: choosing the right crystals.
Step 2: Choosing the Right Crystals
Choosing the right crystals for your candle can make all the difference in creating a harmonious and energetically aligned piece. Here are some tips to help you select the perfect crystals:
- Set your intention: Determine the purpose or intention behind your crystal-infused candle. Are you looking for relaxation, love, protection, or abundance? Understanding your desired energy will guide you in selecting the appropriate crystals.
- Research crystal properties: Each crystal possesses unique properties and energies. Take some time to research different crystals and their corresponding attributes. For example, amethyst is known for its calming and spiritual properties, while citrine is associated with prosperity and abundance.
- Follow your intuition: Trust your intuition when choosing crystals. You may feel drawn to a particular crystal, even if it doesn’t necessarily align with your initial intention. Your intuition knows what you need at a deeper level.
- Consider aesthetics: While the energetic properties of the crystals are important, don’t forget to consider their appearance. Choose crystals that complement the color and style of your candles, creating a visually appealing combination.
- Size and shape: Consider the size and shape of the crystals in relation to your candles. Smaller crystals or crystal chips work well for smaller candles, while larger crystals can be used for larger surfaces such as pillar candles.
Remember, there are no strict rules when it comes to crystal selection. Trust your intuition, research their properties, and choose crystals that resonate with you personally. Once you have chosen your crystals, it’s time to move on to the next step: cleaning and energizing them.
Step 3: Cleaning and Energizing the Crystals
Before incorporating the crystals into your candles, it’s essential to clean and energize them. Crystals can absorb energy from their surroundings, and it’s important to start with a clean slate to maximize their energetic potential. Follow these steps to clean and energize your crystals:
- Cleanse the crystals: There are various methods you can use to cleanse your crystals. One common method is to rinse them under running water, visualizing any negative or stagnant energy being washed away. Alternatively, you can cleanse them by smudging with sage, placing them in sunlight or moonlight, or using sound vibrations such as a singing bowl.
- Charge the crystals: Once your crystals are cleansed, you can charge them with your desired energy. You can place them on a window sill to soak up the energy of the sun or under the light of a full moon. You can also use other charging methods like burying them in the earth or using a crystal charging plate.
- Set your intention: While charging the crystals, it’s beneficial to set your intention. Hold each crystal in your hand and visualize the energy and intention you wish to infuse into them. Speak your intention aloud or silently in your mind.
By cleansing and energizing your crystals, you are clearing away any previous energy and programming them with your desired intention. They are now ready to be placed on your candles and contribute their positive energy to your space. Let’s move on to the next step: placing the crystals on the candles.
When adding crystals to candles, ensure they are heat-resistant and won’t release harmful chemicals when heated. Place them on the surface of the candle before it solidifies for best results.
Read more: How To Add Dry Flowers To Candles
Step 4: Placing the Crystals on the Candles
Now comes the fun part – adding the cleansed and energized crystals to your candles. Follow these steps to effectively place the crystals on your candles:
- Prepare your workspace: Find a clean and clutter-free area to work on. This will ensure that you have enough space to handle the crystals and candles without any obstructions.
- Apply adhesive: Depending on the type of adhesive you are using, follow the instructions to apply a small amount onto the back of each crystal. Make sure to use an appropriate adhesive that will securely attach the crystals to the candles.
- Place the crystals: Using tweezers or tongs, carefully place the crystals onto the desired locations on the candles. Take your time and arrange them in a way that looks visually appealing to you. You can create patterns, clusters, or simply scatter them across the surface.
- Press gently: Once the crystals are in position, press them gently into the candle’s surface to ensure they adhere securely. Be careful not to apply too much pressure, as it may damage the shape or surface of the crystals.
As you place each crystal, you can take a moment to connect with its energy and intention. Visualize the candles being infused with the energies of the crystals, amplifying the intention you have set for your candle.
Once all the crystals are securely attached, we move on to the next step: securing the crystals.
Step 5: Securing the Crystals
Securing the crystals on your candles is an important step to ensure that they stay in place and maintain their beautiful arrangement. Follow these steps to secure the crystals:
- Inspect the adhesive: Once the crystals are in place, examine the adhesive to ensure it is securely holding the crystals. If you notice any loose crystals or weak adhesive, carefully reapply the adhesive as needed.
- Avoid excessive heat: If you plan to light the candles, be mindful of the heat generated. Avoid placing heat-sensitive crystals directly in the path of the flame, as it can cause them to crack or discolor. Instead, position them on the sides or around the base of the candle.
- Consider a sealant (optional): If you want added security, you can consider applying a sealant over the crystals. Be cautious to choose a sealant that is safe for candles and will not affect the appearance or energy of the crystals.
- Handle with care: When moving or storing your crystal candles, handle them with care to prevent any damage to the crystals. Avoid dropping or knocking them against hard surfaces.
By securely attaching the crystals to the candles, you can enjoy the beauty and energy they bring without the worry of them falling off or getting displaced. Now, your crystal candles are ready to be admired and enjoyed. Let’s move on to the final step: enjoying and displaying your crystal candles.
Step 6: Enjoy and Display Your Crystal Candles
Congratulations! You have successfully added crystals to your candles, creating beautiful and energetically charged pieces. Now it’s time to enjoy and display your crystal candles. Follow these tips to make the most out of your creations:
- Create a sacred space: Find a special place in your home to display your crystal candles. It could be an altar, a meditation corner, or simply a prominent spot where you spend a lot of time. This will allow you to fully appreciate their beauty and immerse yourself in their positive energy.
- Set the mood: Light your crystal candles during moments of relaxation, meditation, or when you want to create a soothing ambiance. As the candles burn, the crystals will emit their vibrations, bringing peace, harmony, and the desired intention into your space.
- Blend scents: If you have scented your candles, experiment with mixing different essential oils or fragrances to create unique aromas that complement the energy of the crystals. Be mindful of any allergies or sensitivities when using scents.
- Rotate and recharge: Over time, the energy of the crystals may diminish. To keep their vibrations strong, periodically cleanse and recharge them using the same methods mentioned in Step 3. This will ensure that your crystal candles continue to radiate positive energy.
- Share the magic: If you feel inspired, gift a crystal candle to a loved one or share the joy of crystal-infused candles with others. The positive energy and intention behind the creation of these candles can bring delight and upliftment to those around you.
Remember, crystal candles are not only visually appealing but also serve as powerful tools for manifestation and spiritual practice. Take the time to connect with their energy, set intentions, and allow the crystals to guide and support you on your journey.
With these final steps, you have completed the process of adding crystals to your candles. Enjoy the enchantment and positive energy they bring into your space, and let your crystal-infused candles illuminate your life with their beauty and vibrancy.
Conclusion
Adding crystals to candles is a creative and spiritually uplifting way to enhance the ambiance of your space and infuse it with positive energy. By following the steps outlined in this guide, you can create beautiful crystal-infused candles that not only add a touch of elegance to your decor but also harness the energetic properties of the crystals.
From preparing your candles to selecting the right crystals, cleaning and energizing the crystals, and finally placing and securing them onto the candles, each step contributes to the overall outcome of your crystal candles. Take the time to choose crystals that resonate with your intentions and aesthetic preferences, and make sure to cleanse and charge them for maximum energetic impact.
Once your crystals are securely affixed to the candles, you can enjoy the mesmerizing beauty and soothing energy that they exude. Find a special place to display your crystal candles and incorporate them into your meditation, relaxation, or self-care rituals. As they burn, the crystals will release their vibrations, creating a harmonious and uplifting environment.
Remember to give your crystal candles the care they deserve. Handle them gently, avoid exposing them to excessive heat, and periodically recharge the crystals to maintain their energetic potency. By nurturing your crystal-infused candles, you can continue to benefit from their positive energy and keep them as a centerpiece of positive vibes in your home.
So go ahead, unleash your creativity, and embark on the journey of creating your very own crystal-infused candles. Discover the joy of combining the beauty of crystals and the warm glow of candles, and experience the transformational power they bring into your life and space.
Enjoy the process, embrace the magic, and let your crystal candles illuminate your path with love, healing, and positive energy.
Frequently Asked Questions about How To Add Crystals To Candles
Was this page helpful?
At Storables.com, we guarantee accurate and reliable information. Our content, validated by Expert Board Contributors, is crafted following stringent Editorial Policies. We're committed to providing you with well-researched, expert-backed insights for all your informational needs.