Articles
How To Add Glitter To Candles
Modified: January 6, 2024
Learn how to add a touch of sparkle to your candles with our informative articles. Discover different techniques and tips for incorporating glitter into your candle making process.
(Many of the links in this article redirect to a specific reviewed product. Your purchase of these products through affiliate links helps to generate commission for Storables.com, at no extra cost. Learn more)
Introduction
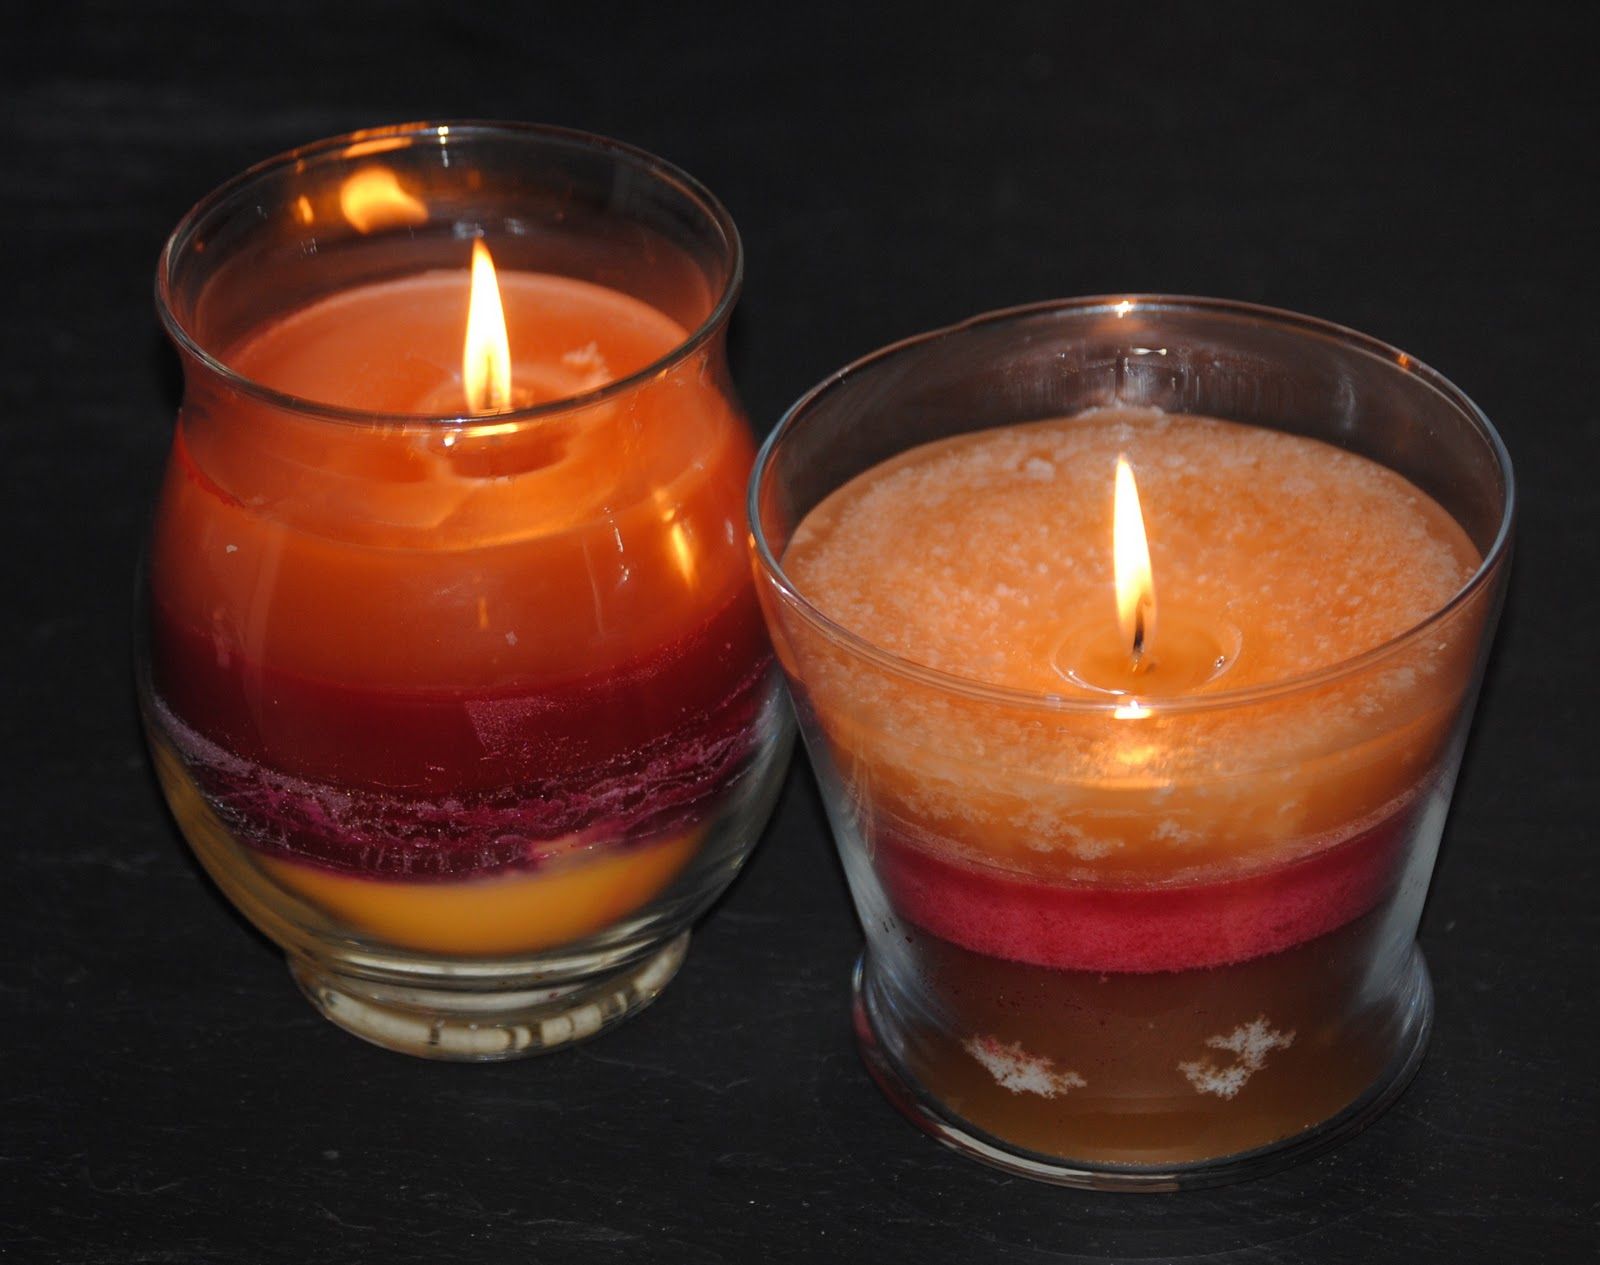
Adding a touch of sparkle and shine to ordinary candles can transform them into beautiful decorative pieces that catch the eye and create a cozy ambiance. Whether you’re planning a special event, a romantic dinner, or simply want to add some pizzazz to your home decor, adding glitter to candles is a fun and easy DIY project that anyone can do.
In this article, we will guide you through the step-by-step process of how to add glitter to candles. With just a few materials and a little bit of time, you can create dazzling candles that will become the centerpiece of any room.
Before we begin, let’s gather the materials you will need for this project.
Key Takeaways:
- Elevate the ambiance of any space by transforming plain candles into stunning decorative pieces with a touch of sparkle and shine using this easy DIY glitter application process.
- Create captivating glittered candles for special events or home decor with simple steps like preparing the surface, applying glue evenly, sprinkling glitter, and sealing to prevent shedding. Enjoy the enchanting sparkle and cozy atmosphere they bring!
Read more: How To Add Crystals To Candles
Materials Needed
Before you start adding glitter to your candles, make sure you have the following materials ready:
- Plain candles: Choose candles in any shape or size that you want to add glitter to. Taper candles, pillar candles, or even votive candles can all work well for this project.
- Craft glue or adhesive spray: You will need a secure adhesive that will hold the glitter in place. Look for a glue that dries clear and is safe to use on candles.
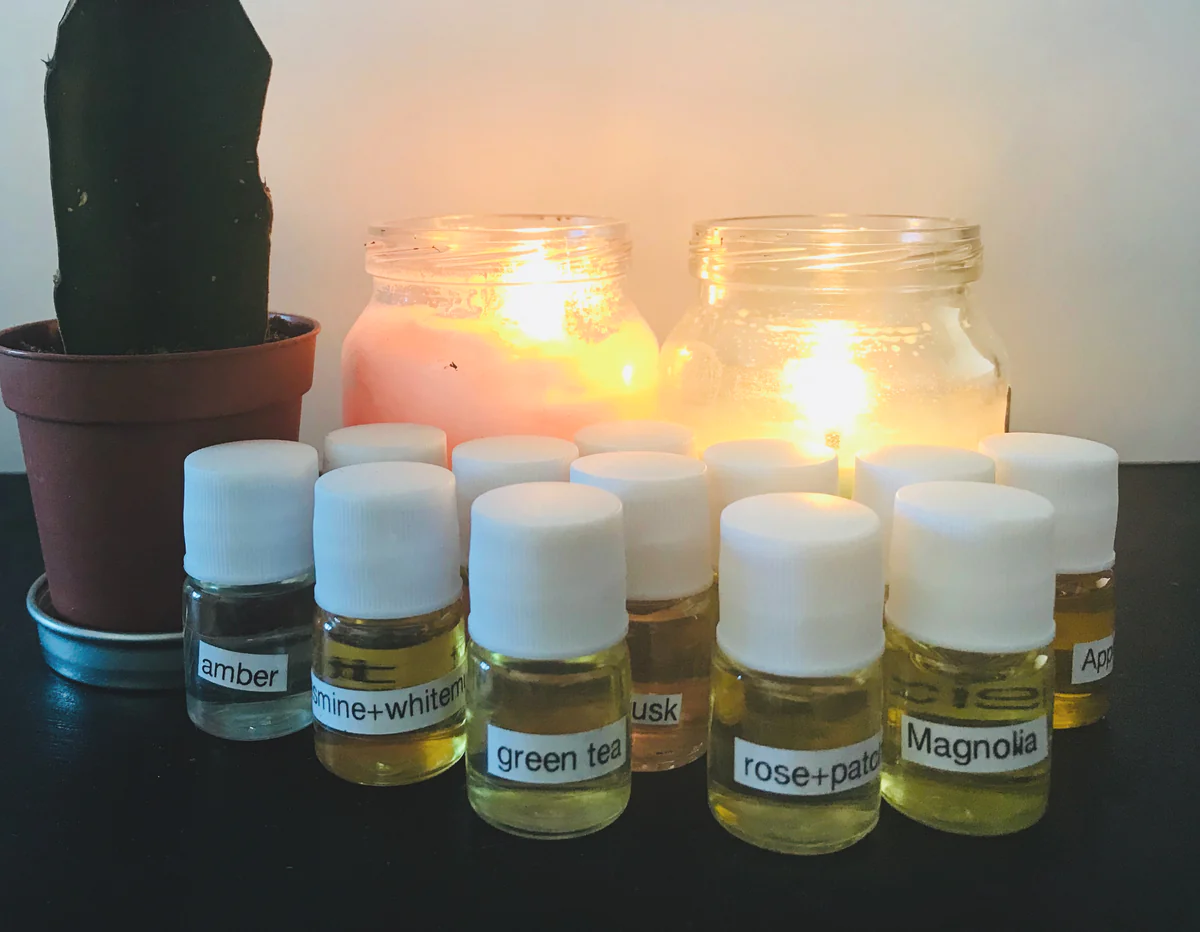
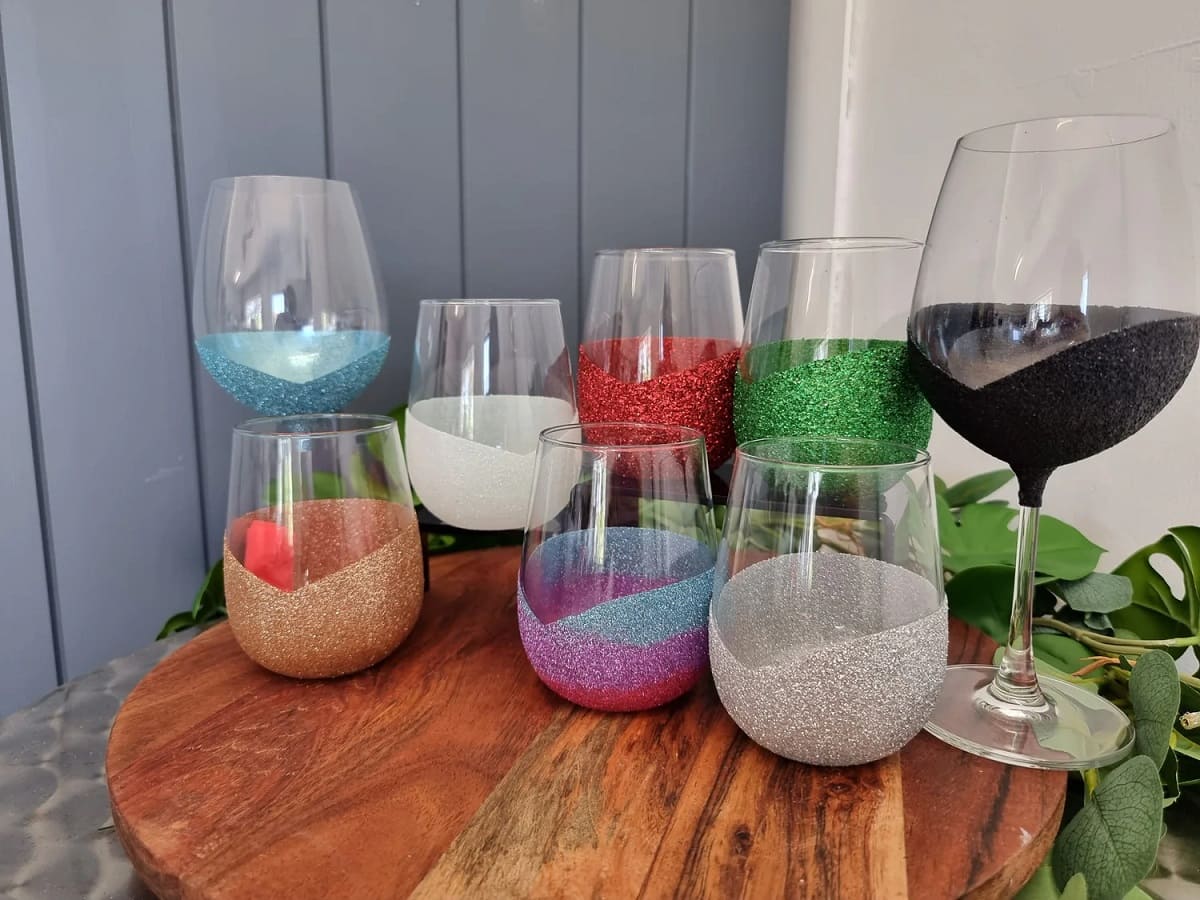
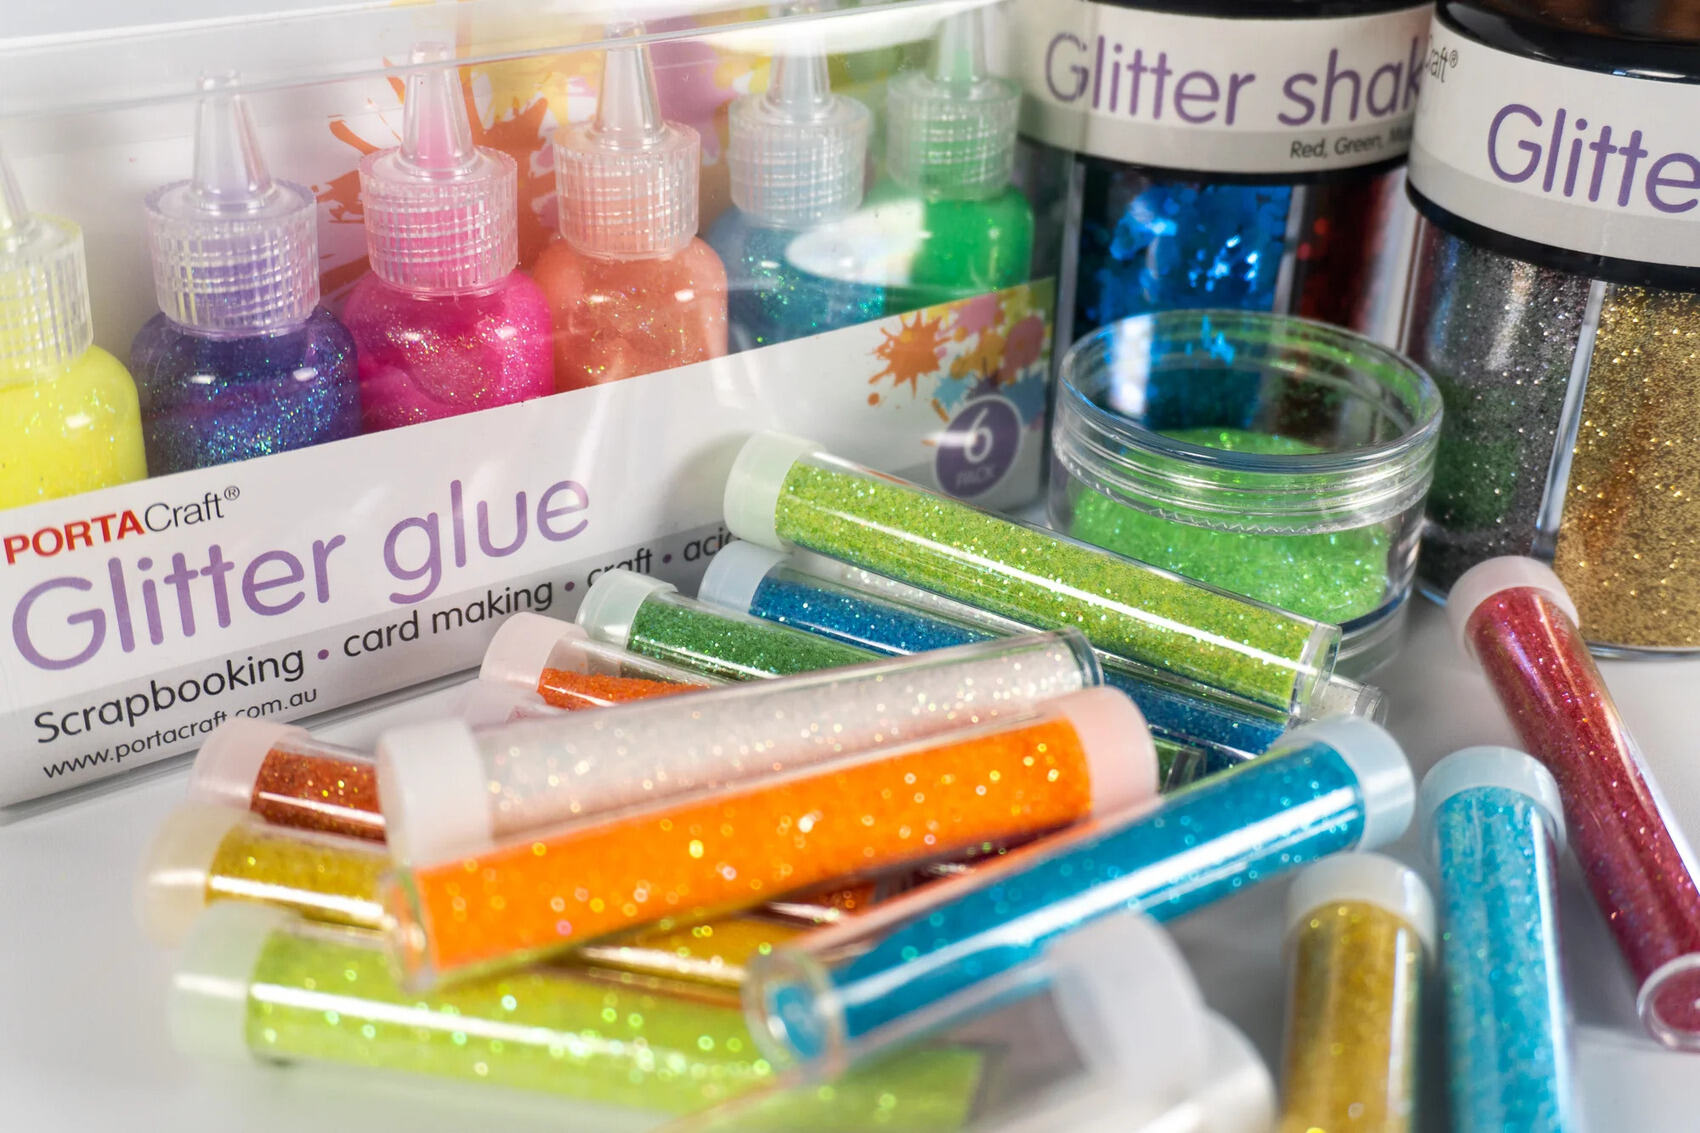
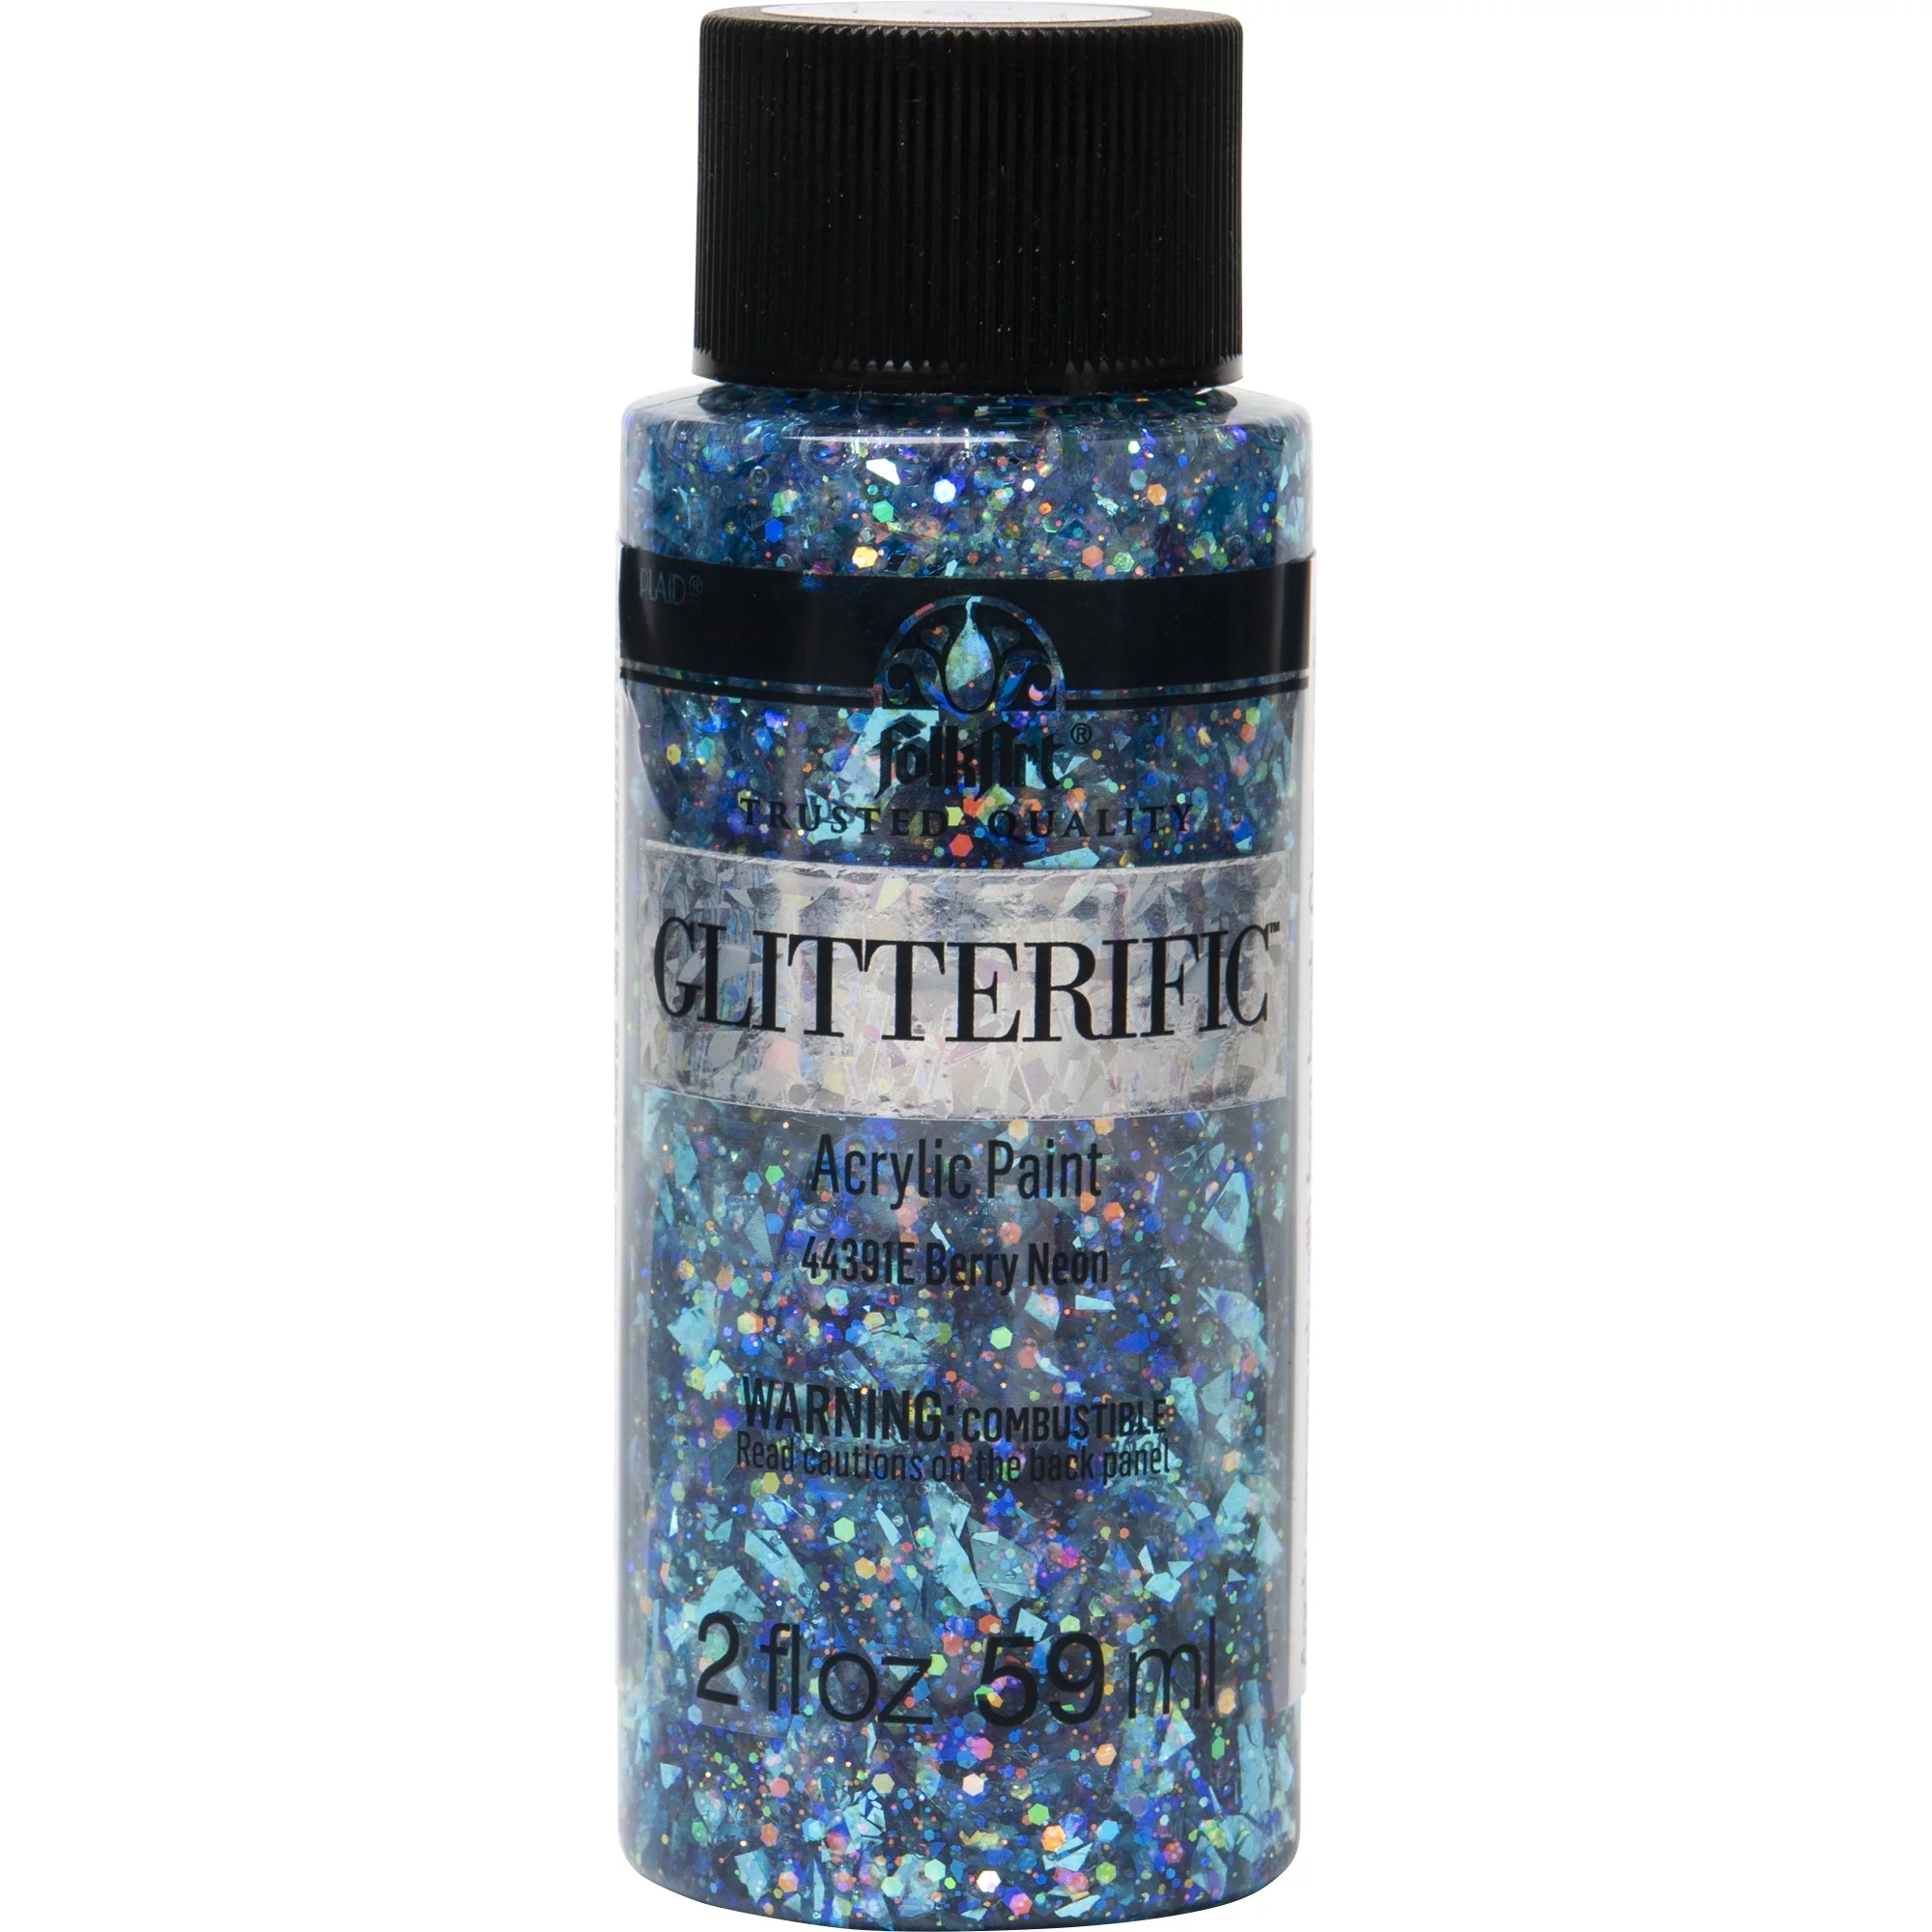
- Fine glitter: Select a color or a combination of colors that match your decor or event theme. Fine glitter works best for adhering to the candle surface.
- Paintbrush or sponge brush: Use a brush with soft bristles or a sponge brush to apply the glue to the candle smoothly and evenly.
- Container or tray: Find a shallow container or tray to catch excess glitter during the application process. This will make cleanup easier.
- Sealer (optional): If you want to ensure that the glitter stays in place and doesn’t transfer to other surfaces, you can use a clear sealer spray.
- Newspaper or protective covering: It’s advisable to work on a protected surface to avoid any potential mess.
Once you have gathered all the necessary materials, you’re ready to begin adding glitter to your candles. Follow the step-by-step instructions below to achieve stunning, sparkling results.
Step 1: Prepare the Candle
Before you start applying glitter to your candle, it’s important to prepare the surface to ensure proper adhesion. Follow these steps to prepare the candle:
- Wipe the surface: Use a clean cloth or paper towel to wipe down the candle surface. This will remove any dust or debris, allowing the glue and glitter to adhere properly.
- Trim the wick (if necessary): If your candle has a long wick, trim it to a shorter length, leaving about ¼ inch exposed. This will ensure a controlled and safe burn.
- Protect the surroundings: Place newspaper or a protective cover on your work surface to catch any excess glitter and make cleanup easier.
Once you have prepared the candle, you’re ready to move on to the next step: preparing the glitter.
Step 2: Prepare the Glitter
Before you start applying the glitter to the candle, it’s important to prepare it for easy application. Follow these steps to prepare the glitter:
- Select your desired glitter: Choose a fine glitter in the color or colors that you want to use. You can use a single color or mix multiple colors together for a unique effect.
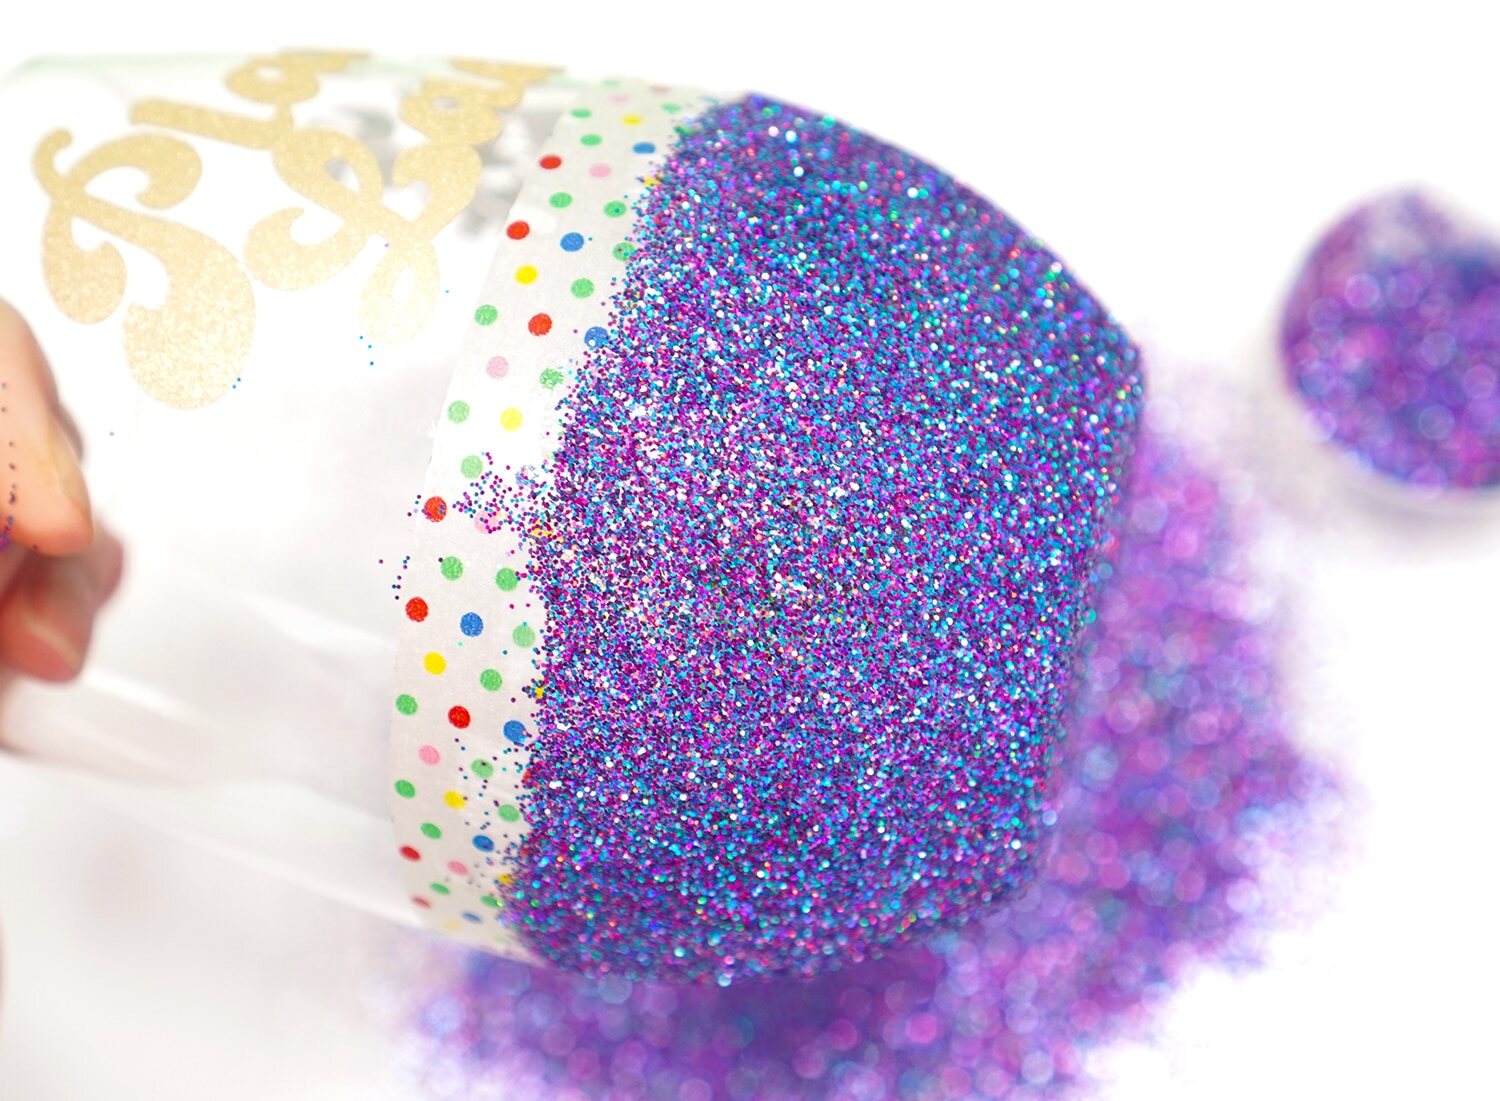
- Pour the glitter into a container: Pour a small amount of glitter into a shallow container or tray. This will make it easier to access the glitter while applying it to the candle.
- Spread out the glitter: Use your finger or a small brush to spread out the glitter in the container. This will ensure that the glitter is evenly distributed and easily accessible for application.
With the glitter prepared, you’re now ready to move on to the next step: applying the glue to the candle.
Step 3: Apply Glue to the Candle
Now that you have prepared the candle and glitter, it’s time to apply the glue to the candle surface. Follow these steps to apply the glue:
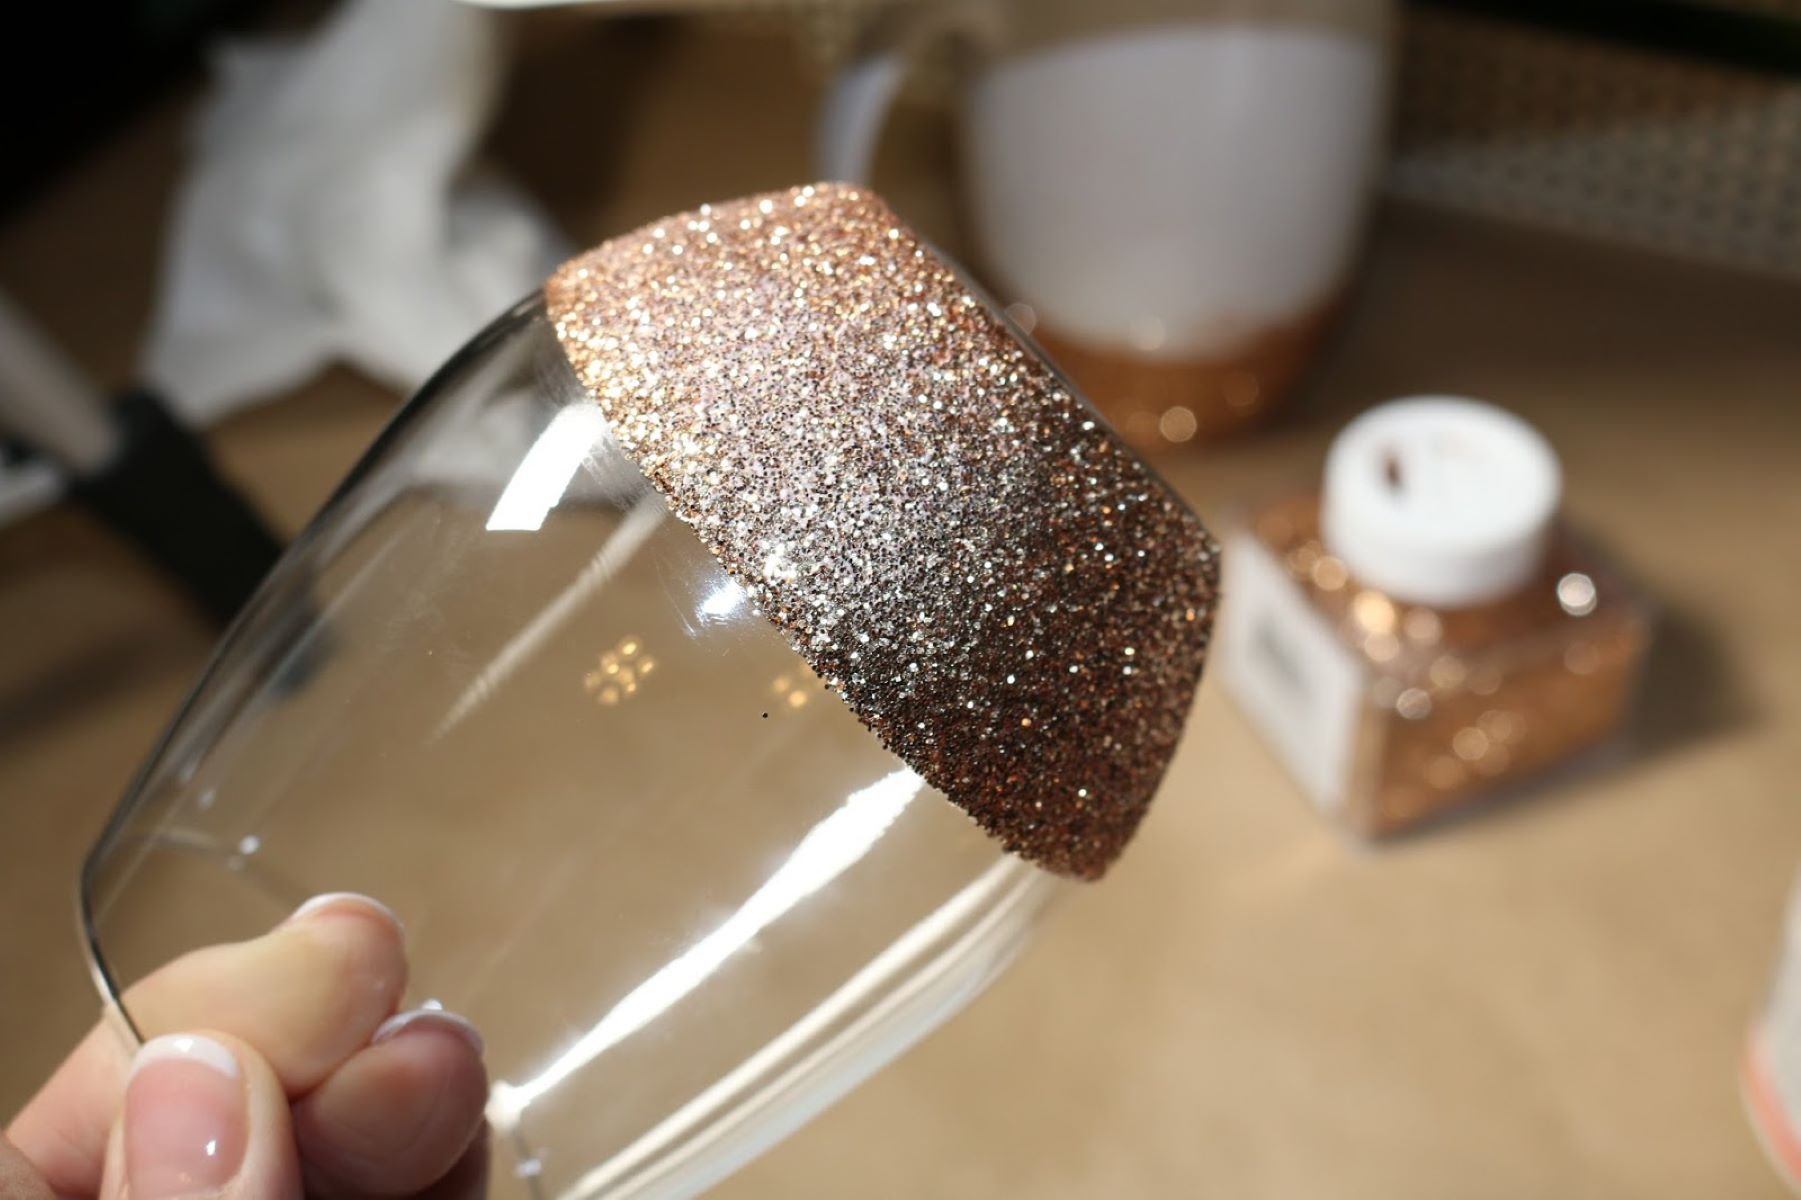
- Take your craft glue or adhesive spray and apply a thin, even layer onto the areas of the candle where you want to add the glitter. You can choose to cover the entire surface of the candle or create specific designs or patterns.
- If you’re using a paintbrush, gently brush the glue onto the candle in smooth strokes. Make sure to cover the entire desired area without leaving any gaps.
- If you’re using an adhesive spray, hold the can about 6-8 inches away from the candle and spray a light and even coat onto the desired areas. Be mindful not to spray too closely or too heavily, as it can create a wet and uneven surface.
- Work in small sections if you’re covering only a portion of the candle. This will prevent the glue from drying before you can add the glitter.
Once you have applied the glue to the candle, you’re ready to move on to the next step: sprinkling the glitter onto the candle.
To add glitter to candles, mix the glitter with a small amount of clear drying glue and then carefully apply it to the surface of the candle using a small brush or your fingers. Allow it to dry completely before lighting the candle.
Read more: How To Add Dry Flowers To Candles
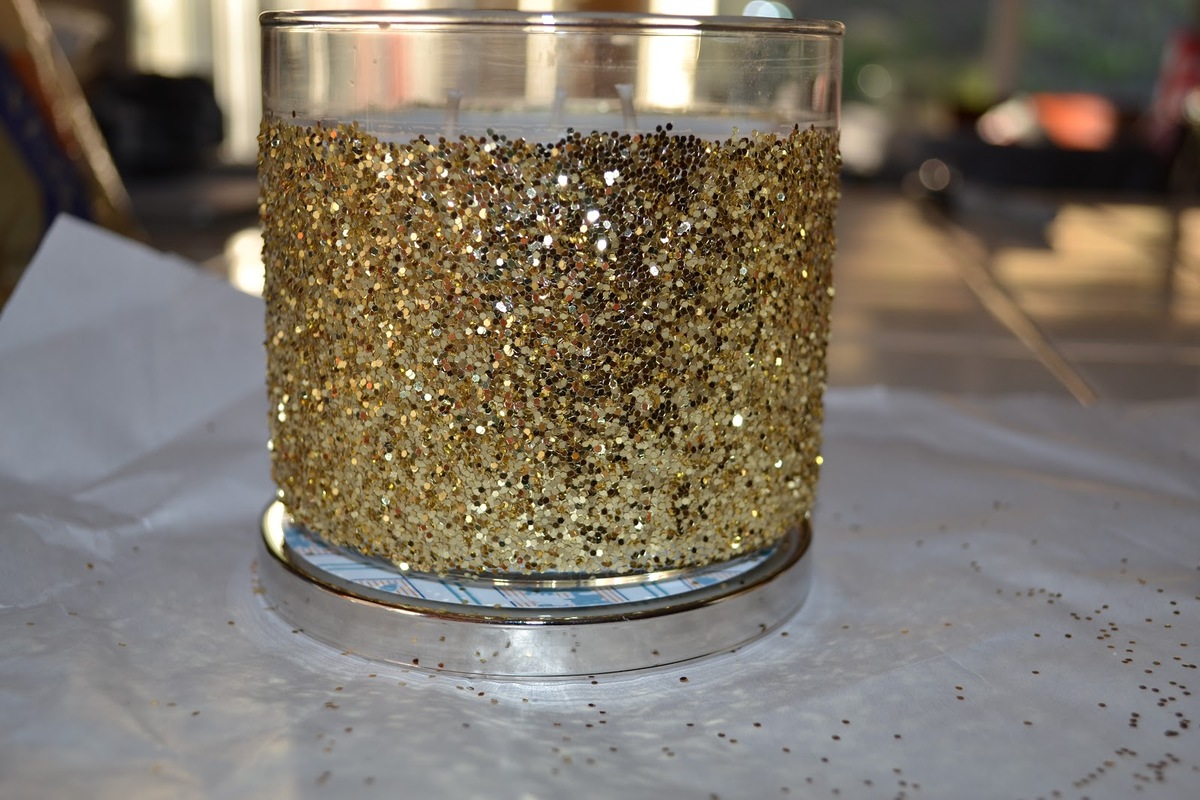
Step 4: Sprinkle Glitter onto the Candle
With the glue applied to the candle, it’s time to give it a touch of sparkle by sprinkling glitter onto the surface. Follow these steps to achieve a beautiful glittery effect:
- Hold the candle over a tray or container to catch any excess glitter.
- Take a pinch of glitter from the container and sprinkle it onto the glued areas of the candle. For more controlled application, you can use a small spoon or a shaker bottle to sprinkle the glitter.
- Make sure to cover all the glued areas evenly with the glitter, ensuring there are no bare spots. You can gently press the glitter into the glue with your fingers to help it adhere better.
- If you’re using multiple colors of glitter, you can create patterns or blend the colors to create a unique effect.
- Continue sprinkling the glitter until you achieve the desired amount of sparkle and coverage on the candle.
Once you have finished sprinkling the glitter onto the candle, it’s time to move on to the next step: sealing the glitter to prevent shedding.
Step 5: Seal the Glitter
After adding the glitter to the candle, it’s important to seal it to prevent any shedding or transfer of glitter particles. Follow these steps to effectively seal the glitter:
- Allow the glued glitter to dry completely. This usually takes a few hours, but it’s best to check the instructions on your glue for specific drying times.
- If desired, you can use a clear sealer spray specifically designed for crafts. Hold the can about 6-8 inches away from the candle and spray a light and even coat over the glittered areas. This will create a protective barrier and help the glitter stay in place.
- Make sure to cover all the glittered areas with the sealer spray. Allow the sealer to dry according to the instructions on the can.
- If you don’t have a sealer spray, you can skip this step, but be aware that the glitter may be prone to shedding or transferring.
Once you have sealed the glitter, you can move on to the next step: allowing the glitter to dry completely.
Step 6: Allow the Glitter to Dry
After sealing the glitter, it’s important to allow it to dry completely before handling or displaying the candles. Follow these steps to ensure the glitter is fully dry:
- Set the glittered candles aside in a well-ventilated area where they won’t be disturbed.
- Avoid touching or moving the candles while they are drying to prevent smudging or disturbing the glitter.
- Drying times can vary depending on the type of glue and sealer used, as well as the thickness of the glitter. It’s best to check the instructions on the glue and sealer for recommended drying times.
- As a general guideline, allow the candles to dry for at least 24 hours to ensure that the glitter is fully set and won’t easily rub off.
While waiting for the glitter to dry, you can prepare for the final step: cleaning up any excess glitter.
Once the glitter is completely dry, you can move on to the next step: cleaning up any excess glitter.
Step 7: Clean Up any Excess Glitter
After the glitter has dried, it’s time to clean up any excess glitter that may have scattered during the application process. Follow these steps to ensure a tidy finish:
- Gently tap the candle to shake off any loose glitter. This will help remove any excess glitter that hasn’t adhered to the glue.
- Use a soft brush, such as a clean paintbrush or a makeup brush, to carefully sweep away any loose glitter from the candle’s surface. Work in small, gentle strokes to avoid smudging the glitter or scratching the candle.
- If there are any stubborn glitter particles that are stuck to the candle, you can use a cotton swab lightly dampened with water to gently wipe them away. Avoid using too much water to prevent damage to the candle’s surface or the glitter.
- Dispose of the excess glitter in the container or tray by folding the newspaper or protective cover and carefully pouring the glitter back into its original container. This will help contain the glitter and prevent it from spreading further.
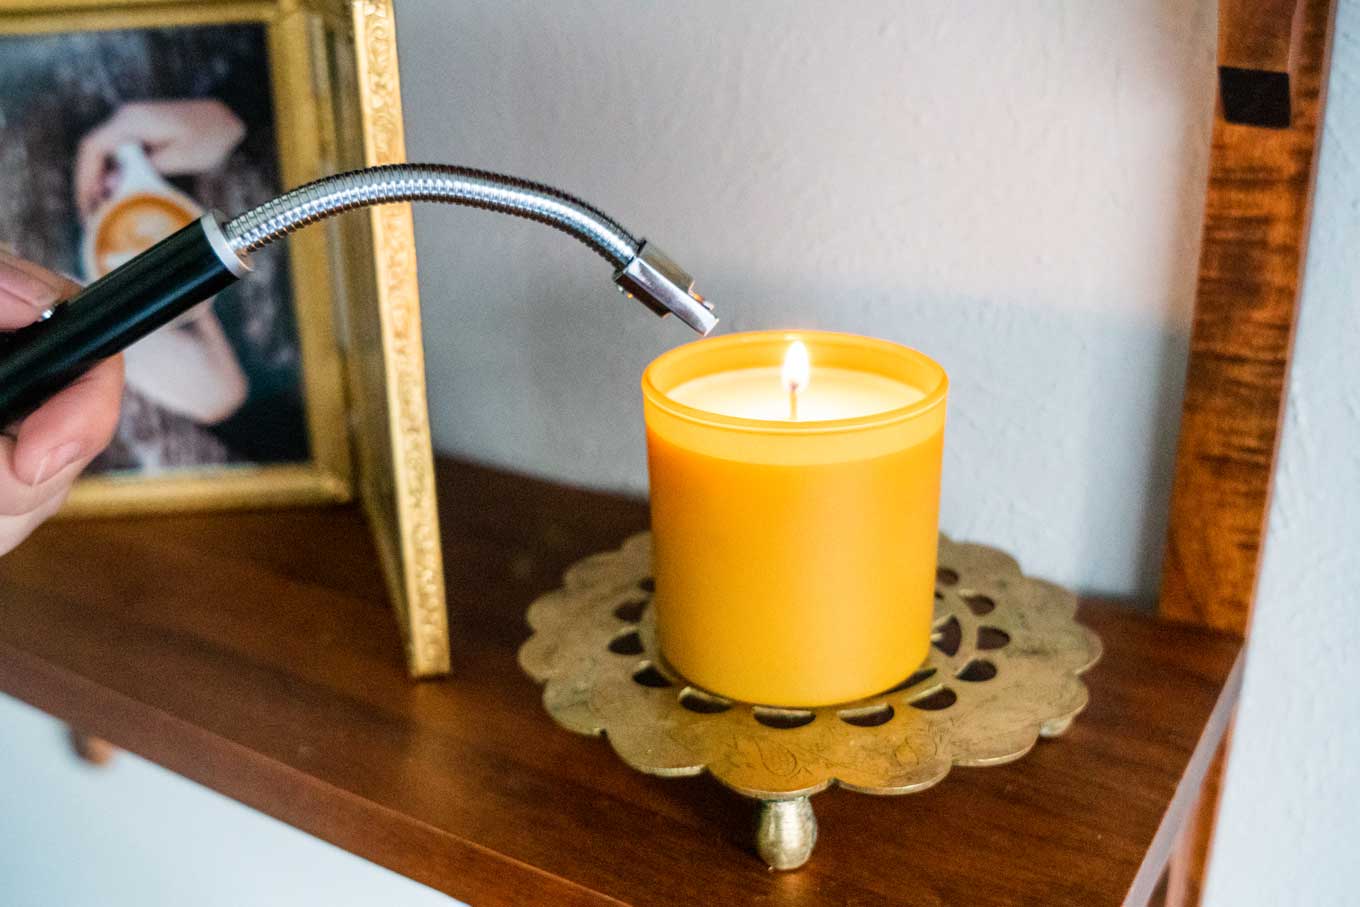
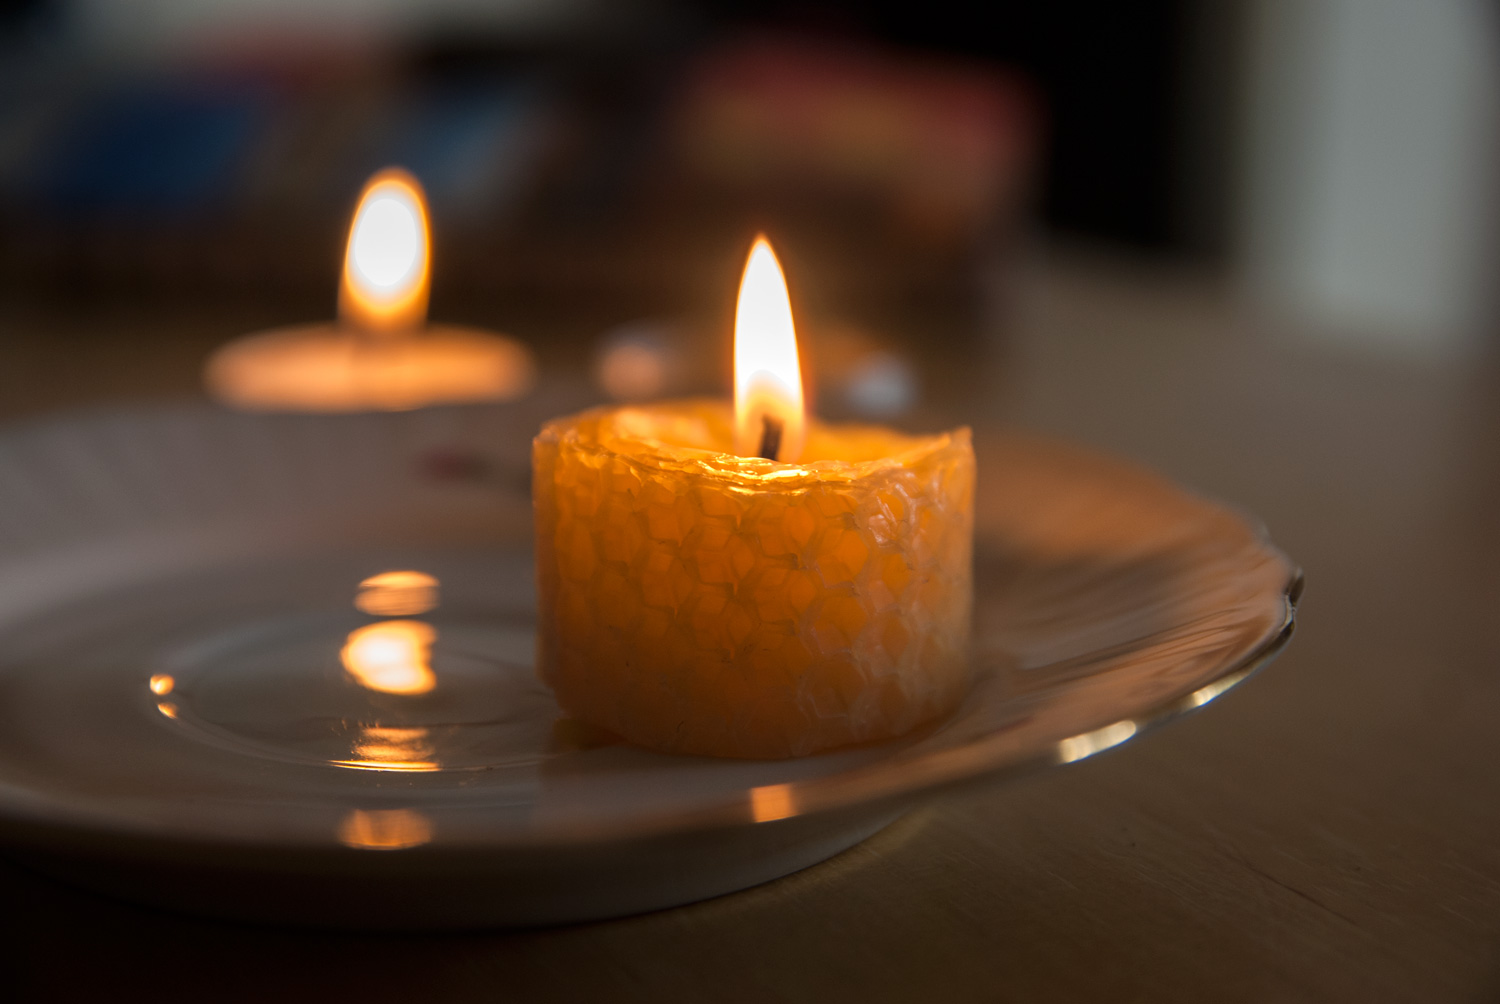
Once you have cleaned up any excess glitter, your glittered candles are now ready to be displayed and enjoyed. Light them up to create a twinkling and festive atmosphere, or simply use them as decorative accents in your home.
Congratulations on successfully adding glitter to your candles! Now you can bask in the glow of your own beautifully embellished creations.
Remember to exercise caution when burning glittered candles as the glitter may pose a fire hazard. Always follow safety guidelines and place the candles on a heat-resistant surface away from flammable objects.
Enjoy the enchanting sparkle and ambiance that your glittered candles bring to your space!
Read more: How Much Scent Oil To Add To Candles
Conclusion
Adding glitter to candles is a simple and creative way to elevate their appearance and bring a touch of glamour to any occasion or space. With just a few materials and easy-to-follow steps, you can transform plain candles into stunning decorative pieces that catch the eye and create a cozy atmosphere.
By preparing the candles, selecting the right glitter, applying glue evenly, sprinkling the glitter, sealing it to prevent shedding, allowing it to dry, and cleaning up any excess, you can achieve beautiful and captivating glittered candles that will impress family, friends, and guests.
Whether you’re planning a special event, a romantic dinner, or simply want to enhance your home decor, these glittered candles are sure to add a touch of sparkle and shine to your space. They make for thoughtful handmade gifts or can be used as striking centerpieces and accents.
Remember to exercise caution when burning glittered candles and always follow safety guidelines. Place the candles on a heat-resistant surface, away from flammable objects, and never leave them unattended while lit.
We hope this step-by-step guide has inspired you to get creative with glitter and candles. So gather your materials, unleash your imagination, and start adding a magical touch to your candles with the beauty of sparkling glitter!
Frequently Asked Questions about How To Add Glitter To Candles
Was this page helpful?
At Storables.com, we guarantee accurate and reliable information. Our content, validated by Expert Board Contributors, is crafted following stringent Editorial Policies. We're committed to providing you with well-researched, expert-backed insights for all your informational needs.