
Furniture
How To Make A Crystal Chandelier
Modified: February 18, 2024
Learn how to create a stunning crystal chandelier for your home with our step-by-step guide. Discover the art of furniture making and add a touch of elegance to your space.
(Many of the links in this article redirect to a specific reviewed product. Your purchase of these products through affiliate links helps to generate commission for Storables.com, at no extra cost. Learn more)
<
Introduction
Welcome to our comprehensive guide on how to make a stunning crystal chandelier. Chandeliers have been a symbol of elegance and luxury for centuries, adding a touch of grandeur to any space. Whether you’re looking to upgrade your current lighting fixture or embark on a DIY project to personalize your home, creating your own crystal chandelier can be a rewarding and fulfilling experience.
Building a crystal chandelier not only allows you to showcase your creativity but also provides the freedom to customize the design to match your unique style and decor. Moreover, making a chandelier from scratch can be a cost-effective alternative to purchasing a high-end piece from a store. With some basic materials and a little bit of patience, you can create a stunning centerpiece that will become the envy of your guests.
In this article, we will take you through a step-by-step process of making a crystal chandelier. We will provide detailed instructions and tips to ensure you achieve a professional-looking outcome. So, let’s dive in and begin our journey of creating a statement lighting piece for your home.
<
Key Takeaways:
- Crafting a custom crystal chandelier allows for personalization, cost-effectiveness, and the satisfaction of creating a stunning centerpiece that reflects your unique style and creativity.
- Proper preparation, attention to detail, and regular maintenance are essential for successfully assembling, installing, and preserving the beauty of a DIY crystal chandelier.
Read more: How To Clean A Crystal Chandelier
Materials Needed
Before starting your crystal chandelier project, it’s important to gather all the necessary materials. Having everything on hand will make the process smoother and more efficient. Here are the essential items you’ll need:
- Chandelier frame: Select a frame that suits your desired style and size. You can find various options at hardware stores or online.
- Crystal strands: Choose high-quality crystal strands that will create a beautiful sparkle. Consider the length and thickness of the strands based on your chandelier design.
- Light bulbs: Make sure to purchase the appropriate light bulbs for your chandelier. LED bulbs are energy-efficient and long-lasting.
- Wire cutters: These will come in handy for trimming the crystal strands to your desired length.
- Pliers: Pliers will be useful for attaching the crystal strands to the chandelier frame securely.
- Jump rings: Jump rings are small metal rings that connect the crystal strands to the chandelier frame.
- Hooks and chains: You’ll need hooks and chains to hang the chandelier from the ceiling. Make sure they are sturdy enough to support the weight of the chandelier.
- Electrical tape: Electrical tape is used to secure the wiring and connections, ensuring safety.
- Ceiling medallion: Consider adding a decorative ceiling medallion to enhance the visual impact of your crystal chandelier.
- Safety goggles and gloves: It’s important to prioritize safety while handling materials and tools.
Remember, these are the basic materials needed to create a crystal chandelier. You can always add your own personal touches or additional decorative elements based on your preferences. Once you have gathered all the necessary materials, you’re ready to proceed to the next step: preparing the work area.
<
Step 1: Gather the Chandelier Components
Before delving into the actual assembly process, it’s crucial to gather all the components needed to build your crystal chandelier. By having everything prepared and within reach, you can streamline the construction process and avoid unnecessary delays. Here’s what you need to do:
- Refer to the chandelier design you have chosen or sketched out, and make a list of all the components needed. This list should include the chandelier frame, crystal strands, light bulbs, wire cutters, pliers, jump rings, hooks and chains, electrical tape, and any additional decorative elements you plan to incorporate.
- Ensure that you have the correct measurements for the space where the chandelier will be installed. Take into account the ceiling height and the dimensions of the room to determine the appropriate size for your chandelier frame and overall design.
- Purchase all the necessary components from reputable suppliers. Look for high-quality crystal strands that will refract light beautifully and durable chandelier frames that will support the weight of the crystals. Consider browsing online marketplaces or visiting local home improvement stores to find the best options.
- Double-check that you have all the required tools on hand. Make sure you have wire cutters, pliers, and electrical tape readily available. These tools will be essential for trimming the crystal strands, attaching them to the frame, and securing the electrical connections.
- Prepare a dedicated work area where you can assemble the chandelier. Clear a table or countertop and cover it with a soft cloth or towel to protect the chandelier components and provide a cushioned surface.
- Organize your components and tools in a systematic manner. Use small containers or trays to keep the jump rings and hooks separate, ensuring that everything is easily accessible during the construction process.
By gathering all the chandelier components and setting up a well-equipped work area, you’ll be ready to move on to the next step: preparing the work area. Ensuring that you have everything in place will make the construction process smoother and more enjoyable.
<
Step 2: Prepare the Work Area
Before diving into the construction of your crystal chandelier, it’s important to set up a proper work area. This will provide you with a dedicated space for assembling the chandelier components and ensure that you have a clean and organized environment to work in. Follow these steps to prepare your work area:
- Select a well-ventilated area with plenty of natural or artificial lighting. Adequate lighting will help you see the intricate details of the chandelier components and make the assembly process easier.
- Clear your work surface and cover it with a soft, non-abrasive cloth or towel. This will prevent scratching or damaging the chandelier components and keep them in pristine condition.
- Arrange your tools and materials within easy reach. You don’t want to waste time searching for tools or reaching awkwardly for components while in the middle of the construction process.
- Ensure that you have enough space to lay out the chandelier frame and its corresponding parts. Depending on the size of your chandelier, you may need to temporarily clear nearby furniture or create additional surface space.
- Take safety precautions by wearing protective goggles and gloves. This will protect your eyes from any flying debris and prevent injuries while handling sharp or heavy chandelier components.
- Keep a small trash bin or bag nearby to dispose of any packaging materials or waste as you go. This will help maintain a tidy work area and prevent clutter from slowing down your progress.
By preparing your work area ahead of time, you’ll create an environment conducive to focused and efficient construction. This will enable you to assemble your crystal chandelier with ease, ensuring a successful and enjoyable DIY experience. Now that your work area is ready, it’s time to move on to the next step: installing the main frame of the chandelier.
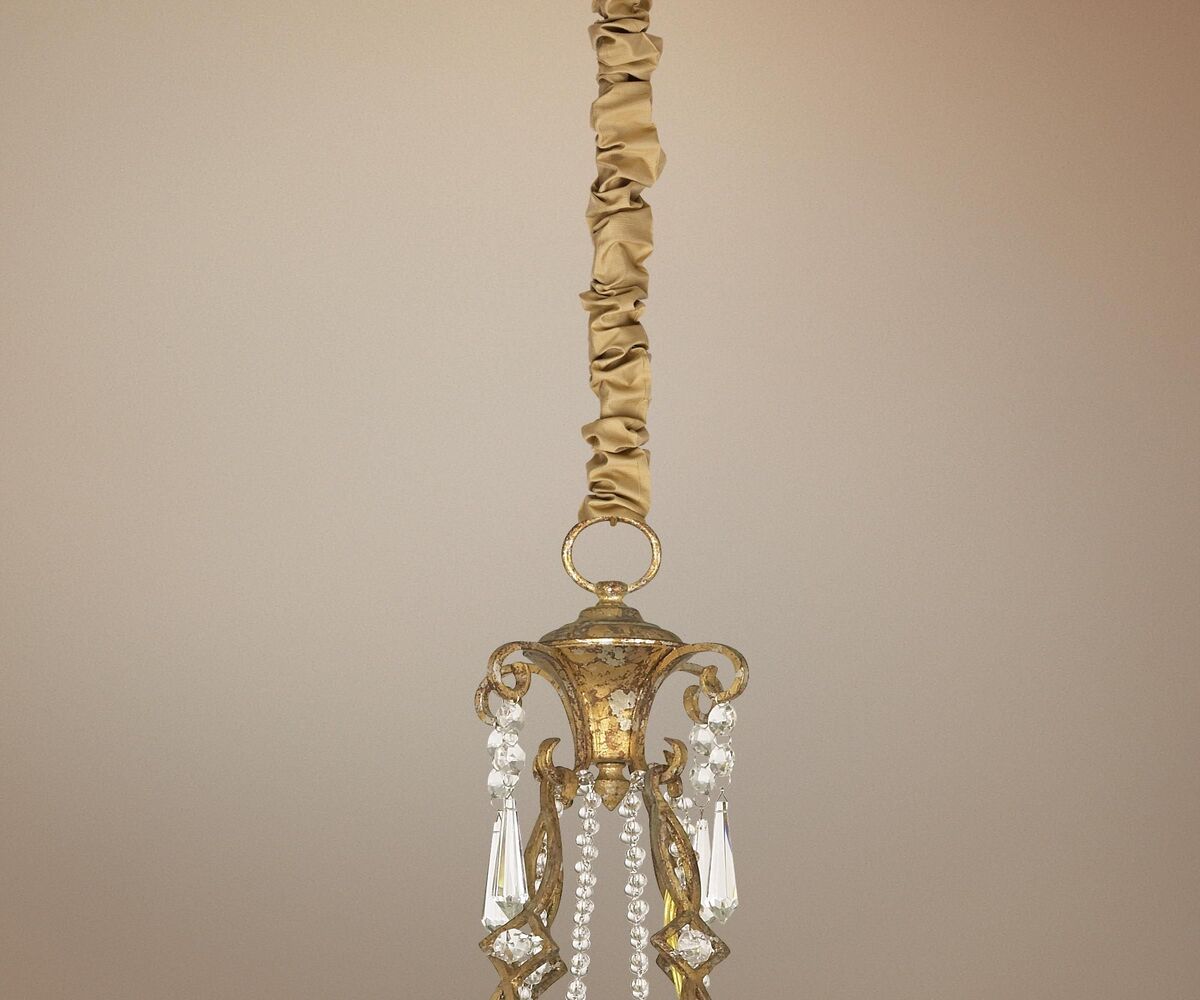
Step 3: Install the Main Frame
Now that you have gathered the components and prepared your work area, it’s time to start assembling your crystal chandelier. The first step of the construction process is to install the main frame. Follow these steps:
- Refer to the instructions provided by the manufacturer or your own design plans to familiarize yourself with the main frame assembly. Make sure you understand the different parts and how they connect.
- Lay out all the main frame components on your work surface. Take a moment to examine each part and identify its purpose in the overall structure of the chandelier.
- Start by attaching the arms or branches of the chandelier to the central body or hub. These arms will extend outward and hold the crystal strands and light bulbs. Ensure that each arm is securely attached and aligned properly.
- If your main frame has a central decorative element or canopy, attach it to the top of the chandelier. This will serve as a decorative focal point and cover any wiring or electrical components.
- Use the provided screws, nuts, or other fasteners to tighten and secure all connections. Double-check that each component is sturdy and stable.
- Once the main frame is fully assembled, check that it is level and balanced. Use a level or measuring tool if necessary. This will ensure that your chandelier hangs properly and looks visually appealing.
Installing the main frame sets the foundation for your crystal chandelier. Take your time during this step to ensure that all connections are secure and aligned correctly. A well-installed main frame will make the rest of the assembly process smoother and more efficient. Once you have completed this step, you’re ready to move on to the next exciting phase: attaching the crystal strands.
When assembling a crystal chandelier, start by laying out all the pieces and following the instructions carefully. Take your time to ensure each crystal is securely attached for a stunning end result.
Read also: 9 Unbelievable Chandelier Crystals for 2025
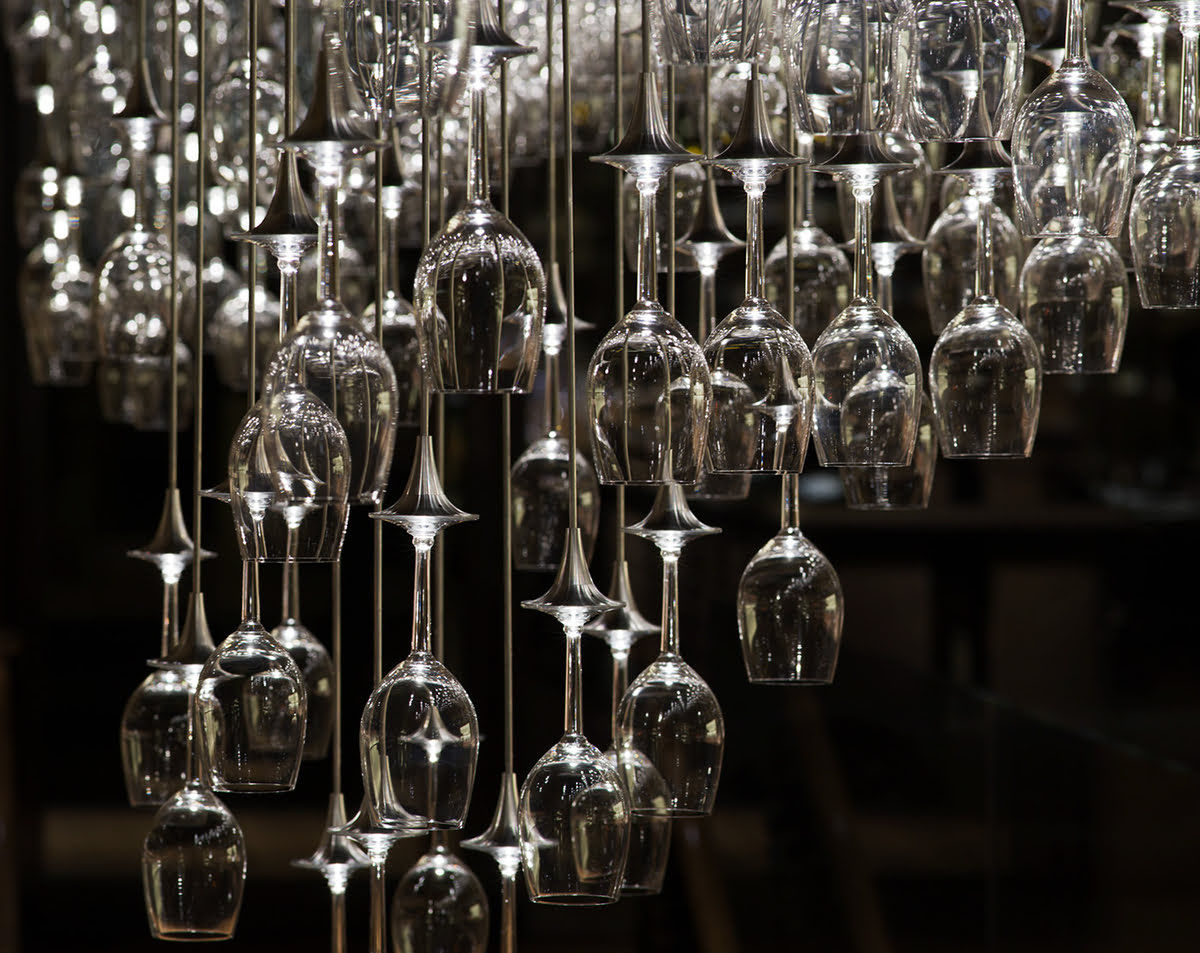
Step 4: Attach the Crystal Strands
Attaching the crystal strands to your chandelier is where the true elegance and sparkle come to life. The shimmering crystals will reflect and refract light, creating a stunning visual effect. Follow these steps to properly attach the crystal strands:
- Start by determining the desired length for each crystal strand. Measure and mark the length using a measuring tape or ruler. Take into consideration the overall design and spacing of the strands.
- Using wire cutters, carefully trim the crystal strands to the desired length. Make sure to wear protective gloves and goggles while handling the sharp edges of the cut crystals.
- Attach jump rings to both ends of each crystal strand. These small metal rings will connect the crystals to the chandelier frame. Use pliers to open and close the jump rings securely.
- Begin attaching the crystal strands to the arms or branches of the chandelier frame. Start from the outside of each arm and work your way towards the center. This will create a cascading effect and ensure an even distribution of crystals.
- Secure each crystal strand by gently closing the jump ring with pliers. Ensure that the crystals are hanging straight and facing the desired direction. Adjust the positioning as necessary.
- Continue attaching the crystal strands until each arm or branch is adorned with the desired number of strands. Take your time and maintain a consistent spacing and arrangement for a visually balanced chandelier.
During this step, you have the opportunity to get creative with the arrangement of the crystal strands. You can experiment with different lengths, mix different types of crystals for varied effects, or even incorporate colored crystals for a unique and personalized touch. The key is to achieve a symmetrical and visually pleasing composition.
Once all the crystal strands are attached, step back and assess the overall look of your chandelier. Make any necessary adjustments to ensure that the crystals are evenly distributed and hanging straight. With the crystal strands in place, your chandelier is starting to take shape. The next step will bring it to life: adding the light bulbs.
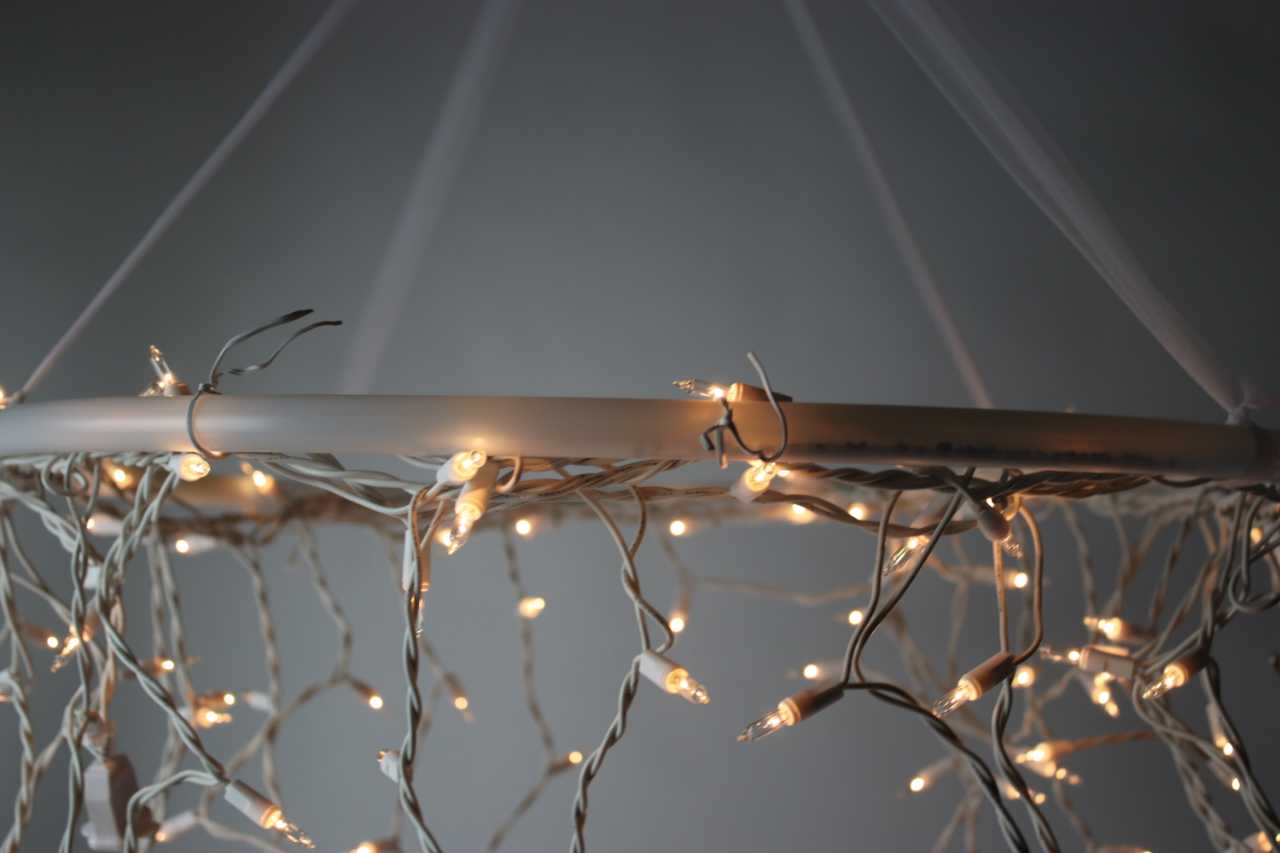
Step 5: Add the Light Bulbs
Adding the light bulbs to your crystal chandelier is a crucial step that will illuminate your creation and bring it to life. The right choice of light bulbs can enhance the ambiance and highlight the brilliance of the crystals. Follow these steps to properly install the light bulbs:
- Determine the appropriate type and size of light bulbs for your chandelier. Consider factors such as wattage, color temperature, and energy efficiency. LED bulbs are a popular choice for their long lifespan and energy-saving benefits.
- Ensure that the power source is switched off before proceeding with this step. Safety should always be a top priority when working with electrical components.
- Carefully insert the light bulbs into the respective sockets on the chandelier arms or branches. Twist them gently until they are securely in place. Avoid overtightening, as this may damage the sockets or bulbs.
- If your chandelier allows for dimming functionality, ensure that the light bulbs you choose are compatible with dimmer switches. This will give you the flexibility to adjust the lighting intensity to suit your needs and desired ambiance.
- Depending on the design of your chandelier, you may need to attach decorative bulb covers or shades. These can enhance the overall aesthetic and add an extra layer of elegance to the fixture.
- Once all the light bulbs are installed, double-check that they are fitted securely and evenly. Test each bulb by turning on the power source and ensure that all bulbs illuminate properly.
Properly installed light bulbs will enhance the beauty of your crystal chandelier, creating a captivating display of light and reflection. It’s important to choose bulbs that suit your desired ambiance, whether it’s warm and cozy or bright and vibrant. Once the light bulbs are in place, your chandelier is almost ready to be showcased. In the next step, we’ll guide you through hanging the chandelier in its designated spot.
Step 6: Hang the Chandelier
Hanging your crystal chandelier is a crucial step in the overall installation process. The proper placement and secure mounting of the chandelier will ensure its stability and functionality. Follow these steps to hang your chandelier:
- Identify the desired location for your chandelier. Consider factors such as ceiling height, room layout, and the focal point of the space. It’s important to choose a spot where the chandelier will have maximum impact.
- Locate the junction box on the ceiling. This is where the electrical wiring is housed. If there is no existing junction box, consult a professional electrician for proper installation.
- Turn off the power to the designated area at the circuit breaker to ensure safety during the installation process.
- Attach a mounting bracket to the junction box. This bracket will serve as the anchor point for your chandelier. Follow the manufacturer’s instructions for proper installation.
- Connect the chandelier wiring to the wiring in the junction box. Match the corresponding wires based on color-coding (typically black to black, white to white, and green or copper to ground). Use wire connectors or electrical tape to secure the connections.
- Carefully lift the chandelier and align it with the mounting bracket on the ceiling. Ensure that the chandelier is level and balanced. Ask a helper to assist you in holding the chandelier in place while you secure it.
- Attach the chandelier to the mounting bracket using the provided screws or fasteners. Ensure that all connections are tight and secure.
- Restore power to the area at the circuit breaker and test the chandelier to make sure it is properly lit and functioning.
Hanging your crystal chandelier requires attention to detail and proper electrical connections. If you are unsure about any part of the process, it is recommended to consult a professional electrician for assistance. Once your chandelier is securely mounted, it’s time to move on to the next step: testing the lighting.
Step 7: Test the Lighting
Testing the lighting of your crystal chandelier is a crucial step to ensure that everything is functioning properly and that the desired ambiance is achieved. Follow these steps to test the lighting of your chandelier:
- Turn on the power to the chandelier at the circuit breaker.
- Step back and observe the chandelier as it illuminates the space. Take note of any areas that may require additional adjustment or tightening.
- If the chandelier is equipped with a dimming feature, test it out by gradually adjusting the light intensity to your preference. This will allow you to create different moods and ambiance in the room.
- Check that all the light bulbs are functioning properly. Inspect each bulb to ensure that it is illuminated and not flickering. Replace any bulbs that may be defective or not emitting light at the desired brightness.
- Observe the way the crystals reflect and refract the light. Notice how the chandelier enhances the overall aesthetic and atmosphere of the room.
- Take the time to appreciate the beauty and craftsmanship of your handmade crystal chandelier. This is the moment when your hard work pays off, and you can enjoy the stunning result of your DIY project.
During the testing phase, make any necessary adjustments to ensure that your chandelier is displaying its full potential. This may include tightening any loose connections, repositioning crystals for optimal light reflection, or making minor aesthetic changes. Once you are satisfied with the light output and appearance of your chandelier, it’s time to move on to the final step: adding the finishing touches and maintenance.
Step 8: Final Touches and Maintenance
Completing the final touches and implementing a maintenance plan for your crystal chandelier will ensure its longevity and preserve its stunning appearance. Follow these steps to add the finishing touches and maintain your chandelier:
- Clean the chandelier to remove any dust or fingerprints that may have accumulated during the installation process. Use a soft microfiber cloth or a feather duster to gently wipe the crystals. Avoid harsh chemicals or abrasive materials that may damage the crystals or their finish.
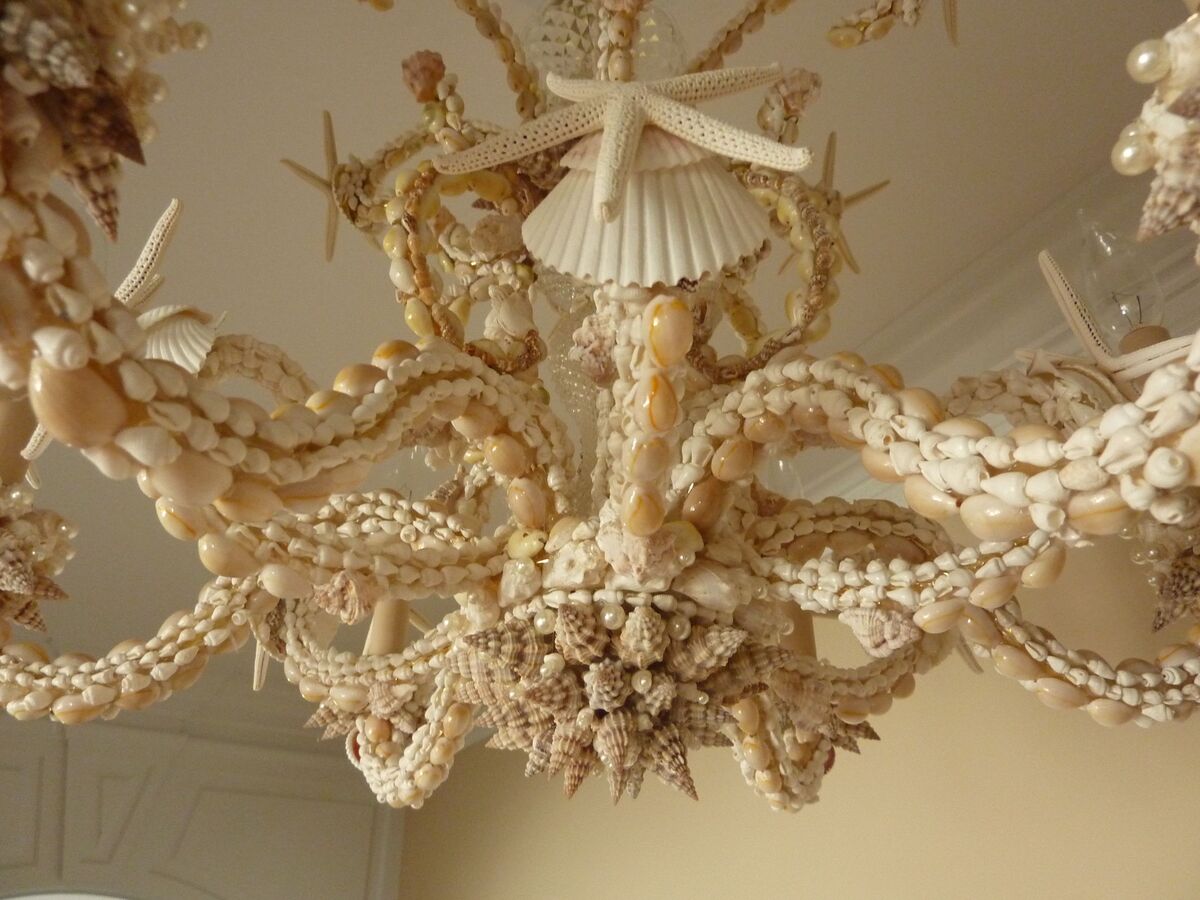
- Add decorative elements, such as crystal pendants or charms, to further enhance the elegance of your chandelier. These additional embellishments can be attached to the crystal strands or hung separately from the chandelier arms.
- Consider adding a ceiling medallion underneath the chandelier to create a stunning focal point and provide a finished look. Ensure that the medallion is securely attached to the ceiling and complements the style of your chandelier.
- Regularly inspect the chandelier for any loose or damaged components, such as loose crystals, loose wiring, or bent arms. Tighten or repair any issues promptly to prevent further damage or safety hazards.
- Develop a maintenance schedule for your chandelier. This may include periodic dusting, checking and tightening connections, and replacing any burned-out light bulbs.
- Consider hiring a professional chandelier cleaner for annual deep cleaning, as they have the expertise and tools to properly clean and maintain delicate crystal chandeliers.
- Enjoy the beauty and ambiance of your crystal chandelier daily. Take the time to appreciate the sparkle and elegance it brings to your space, and showcase it proudly to your family and friends.
By implementing a regular maintenance routine and attending to any necessary repairs or adjustments, your crystal chandelier will continue to dazzle for years to come. Stay proactive in its care and enjoy the stunning display of light and sparkle that it adds to your home.
Now that you have completed all the steps, you can step back and admire your creation. Your DIY crystal chandelier is sure to become a beautiful centerpiece and a source of pride in your home.
Frequently Asked Questions about How To Make A Crystal Chandelier
Was this page helpful?
At Storables.com, we guarantee accurate and reliable information. Our content, validated by Expert Board Contributors, is crafted following stringent Editorial Policies. We're committed to providing you with well-researched, expert-backed insights for all your informational needs.


0 thoughts on “How To Make A Crystal Chandelier”