Articles
How To Add Dry Flowers To Candles
Modified: January 4, 2024
Learn the art of adding dry flowers to candles in this comprehensive guide. Discover tips, techniques, and step-by-step instructions in our informative articles.
(Many of the links in this article redirect to a specific reviewed product. Your purchase of these products through affiliate links helps to generate commission for Storables.com, at no extra cost. Learn more)
Introduction
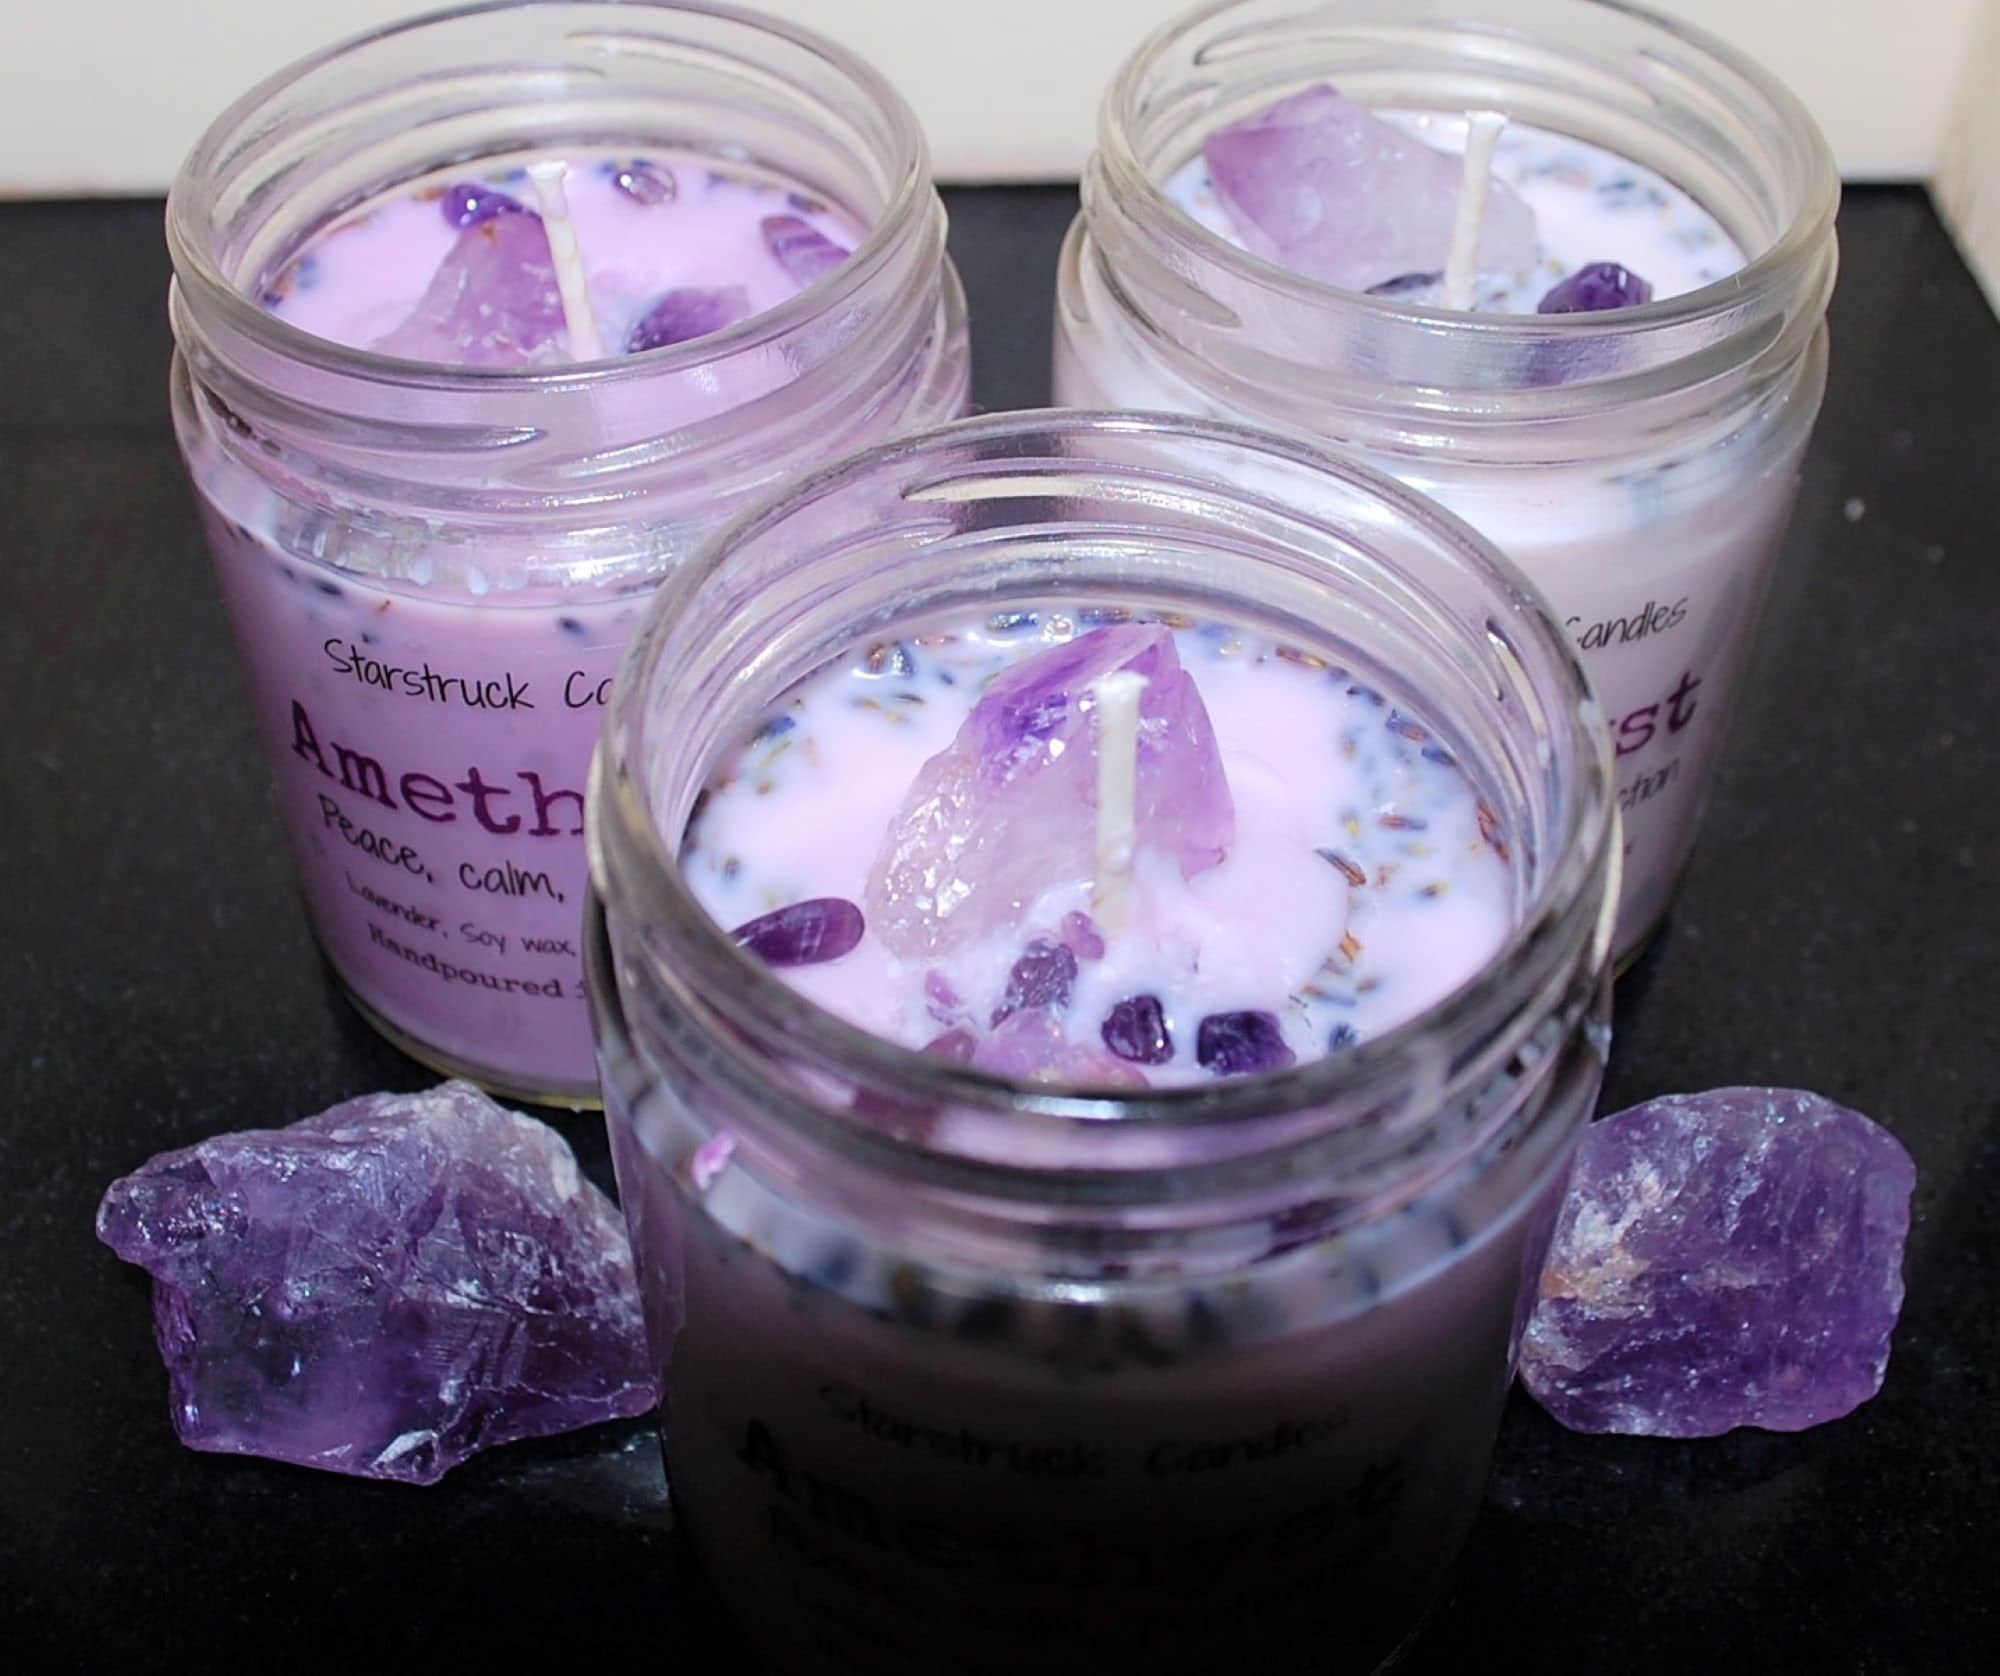
Welcome to this step-by-step guide on how to add dry flowers to candles. Adding dry flowers to candles is a wonderful way to create unique and visually stunning candles that can elevate any space. Not only do these candles evoke a sense of natural beauty, but they also have a delightful aroma that can bring a touch of nature indoors.
In this article, we will walk you through the process of incorporating dry flowers into your candle-making routine. Whether you are a beginner or have some experience with candle making, this guide will provide you with the necessary steps to create beautiful, personalized candles that make for perfect gifts or home decor additions.
Before we begin, let’s take a look at the materials you will need to gather to get started on this creative endeavor.
Key Takeaways:
- Elevate your candle-making with visually stunning dry flower candles, adding a touch of nature and unique fragrance to any space. Enjoy the creative process and create personalized gifts or home decor additions.
- Embrace the beauty of dried flowers in candle-making, from preparing and arranging them to pouring the wax and enjoying the warm glow and delicate fragrance. Let your creativity blossom and fill your space with beauty and serenity.
Read more: How To Dry Flowers In A Dehydrator
Materials Needed
Before you embark on your journey of adding dry flowers to candles, it’s essential to gather all the necessary materials. Here is a list of items you will need:
- Candle wax: Opt for a high-quality wax that is suitable for candle making. Soy wax or beeswax are excellent choices as they have a lower melting point and allow for better fragrance absorption.
- Candle wicks: Choose wicks that are appropriate for the size and type of candle you wish to make. Make sure they are long enough to reach the bottom of the container or mold you will be using.
- Candle containers or molds: You can use glass jars, ceramic containers, or metal molds to pour your melted wax into. Ensure that they are clean and heat-resistant.
- Dry flowers and botanicals: Select a variety of dried flowers, herbs, and botanicals like lavender, rose petals, dried rosebuds, small dried leaves, or any other flowers of your choice.
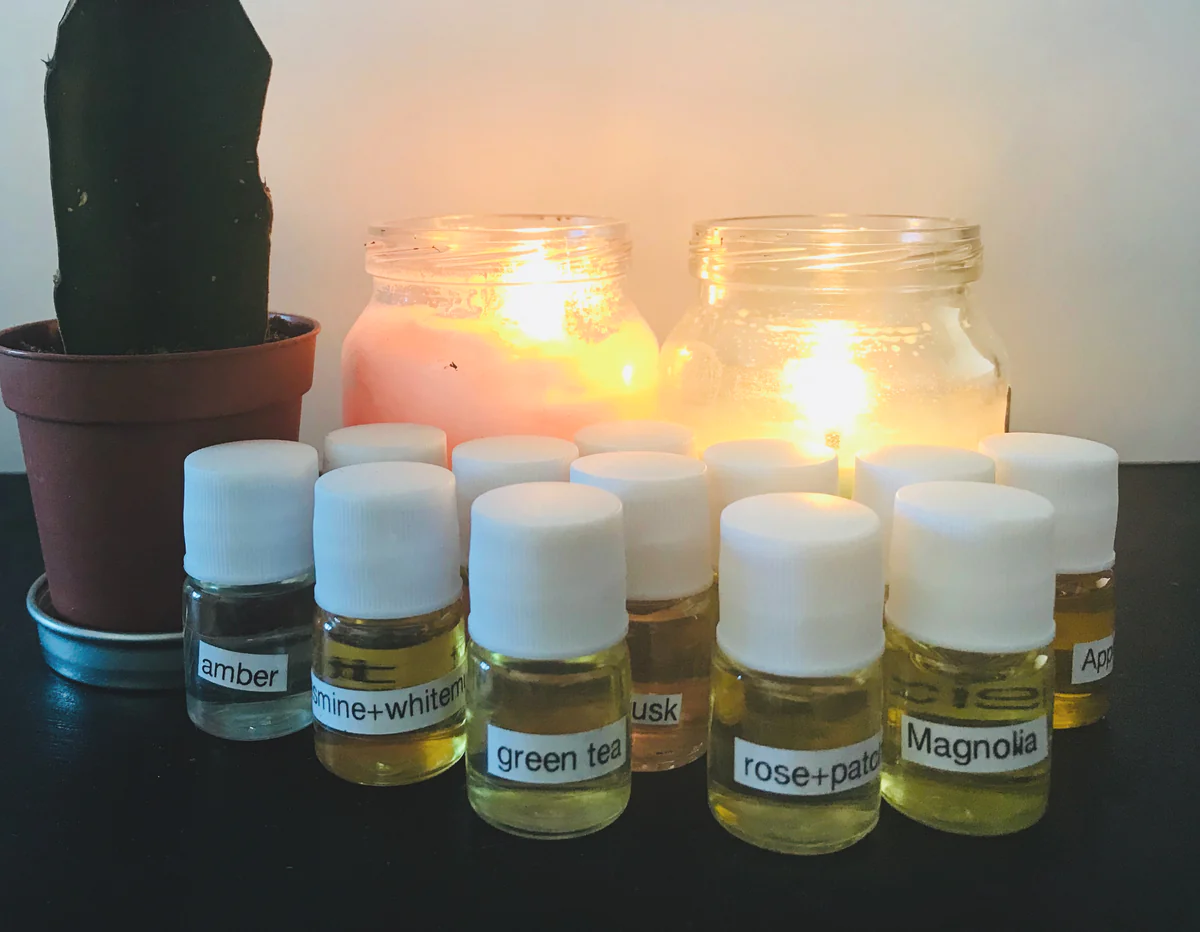
- Fragrance oils or essential oils: If you want to add a scented element to your candle, choose fragrance oils or essential oils that complement the flowers you will be using.
- Double boiler or microwave-safe container: To melt the wax, you will need a heat-resistant container. A double boiler setup or a microwave-safe container that is specifically designated for candle making will work.
- Stirring utensil: Use a dedicated heat-resistant utensil like a stainless-steel spoon or a silicone spatula to stir the melted wax and mix in the flowers.
- Thermometer: It is important to monitor the temperature of the wax to ensure it doesn’t overheat. A candle-making thermometer will help you achieve the desired temperature range.
- Heat-resistant adhesive: You’ll need adhesive to secure the candle wick at the bottom of the container or mold. A glue gun or heat-resistant adhesive stickers designed for candle making will work.
- Protective gear: To ensure your safety, wear heat-resistant gloves and goggles when handling hot wax and working with open flames.
Once you have gathered all the materials, you are ready to embark on the process of adding dry flowers to candles. Let’s dive into the step-by-step instructions.
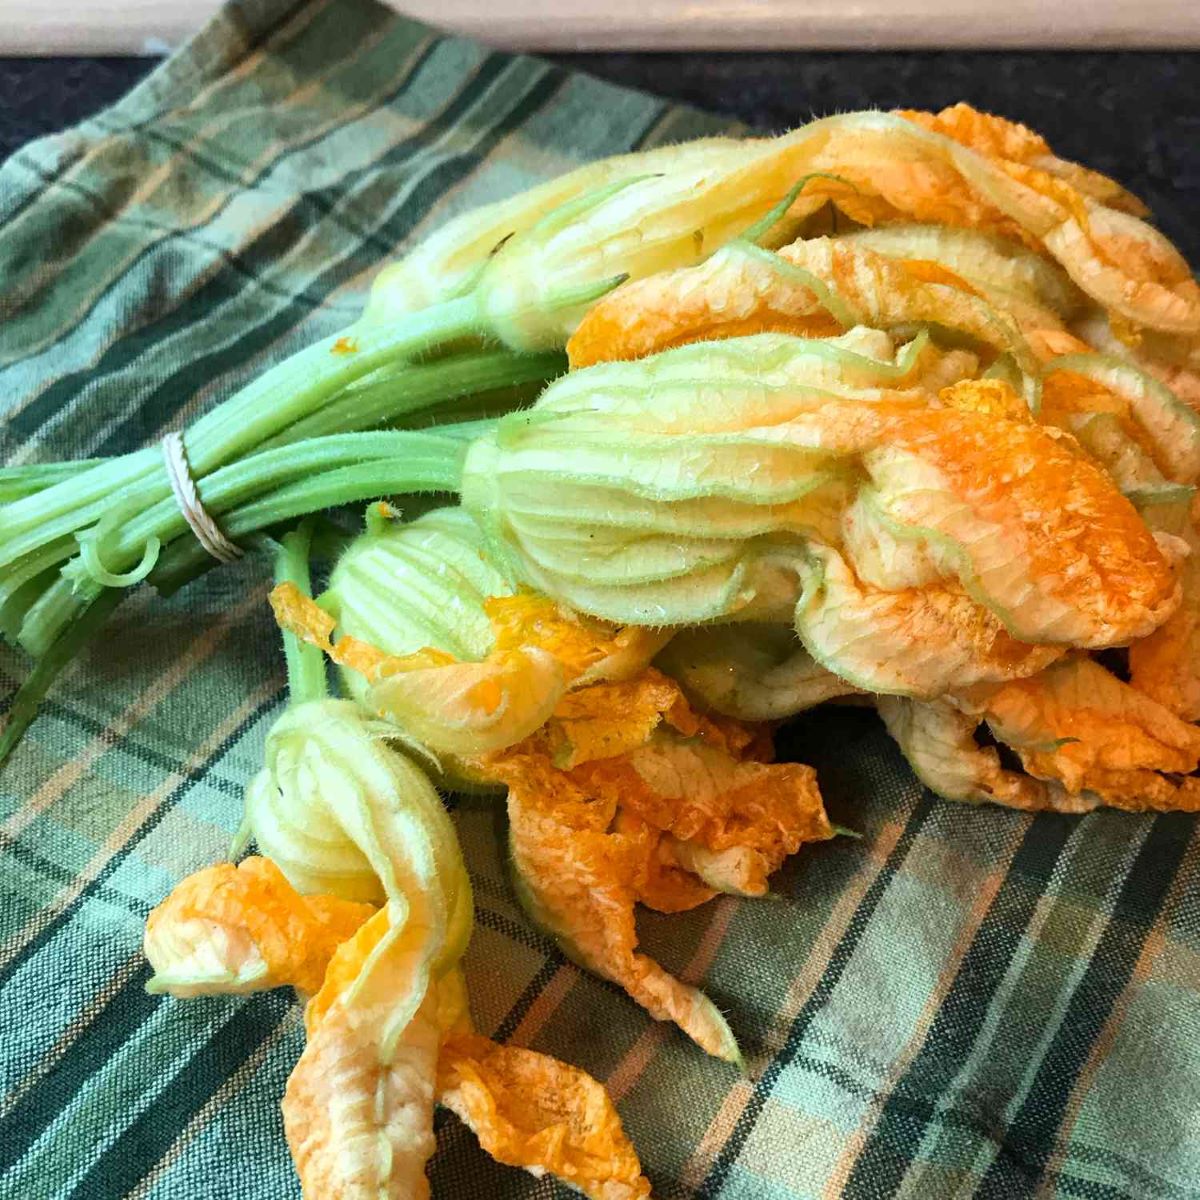
Step 1: Prepare the Dry Flowers
The first step in adding dry flowers to candles is to prepare the flowers for incorporation into the wax. Here’s how you can do it:
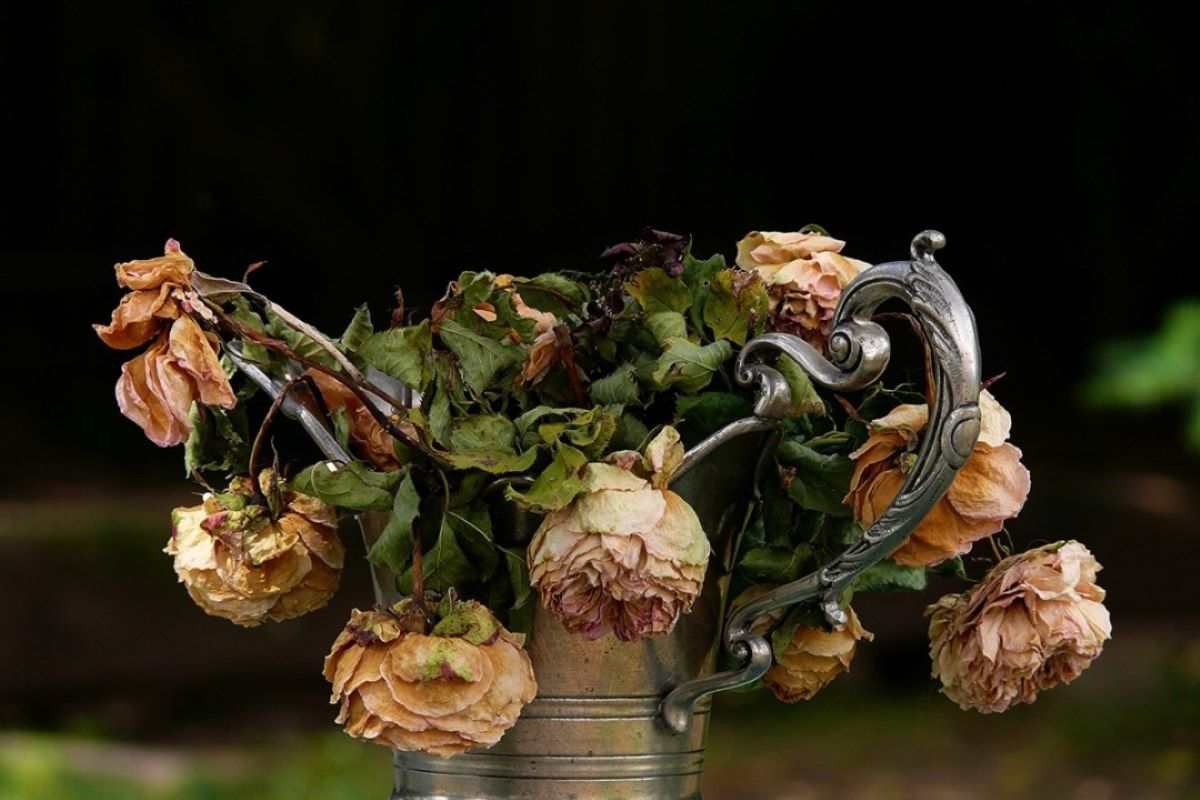
- Inspect the dry flowers: Check the dry flowers for any signs of mold, mildew, or discoloration. Remove any damaged or discolored petals or stems to ensure you are using only the best-looking flowers.
- Trim the flowers: Use sharp scissors to trim the stems of the dry flowers to your desired length. Keep in mind that the length should be appropriate for the depth of the candle container or mold you will be using.
- Experiment with flower combinations: If you’re feeling creative, try mixing different types of dry flowers together to create unique color combinations and textures. You can also experiment with adding dried herbs or botanicals for added visual interest.
- Arrange the flowers: Once you have trimmed the flowers and chosen your combinations, it’s time to arrange them. Place the dry flowers gently inside the candle container or mold. You can place them along the sides, in the center, or create a pattern depending on your preference.
- Consider using a pre-made flower arrangement: If arranging flowers is not your forte, you can opt for pre-made flower arrangements specifically designed for candle making. These arrangements come in various shapes and sizes and can save you time and effort.
Remember to be gentle when handling the dry flowers to prevent them from breaking or losing their shape. Taking the time to prepare the dry flowers will ensure a visually appealing end result when they are added to the candles.
Now that the dry flowers are ready, let’s move on to the next step: melting the candle wax.
Step 2: Melt the Candle Wax
Now that you have prepared the dry flowers, it’s time to melt the candle wax. Follow these steps to ensure a smooth melting process:
- Prepare the double boiler or microwave: If you’re using a double boiler, fill the bottom pot with water and place it on the stove over low heat. If you’re using a microwave-safe container, pour the desired amount of wax into it.
- Cut the wax into smaller chunks: If you’re using a block of wax, cut it into smaller chunks using a sharp knife. This will help it melt more evenly and reduce the melting time.
- Melt the wax: Place the container with the wax in the double boiler or microwave. Heat the wax slowly and gently, stirring occasionally with a heat-resistant utensil.
- Monitor the temperature: Use a thermometer to monitor the temperature of the wax. The ideal temperature for most candle waxes is around 170-180°F (77-82°C). Different wax types may have specific melting temperature requirements, so refer to the instructions provided by the manufacturer.
- Remove from heat: Once the wax reaches the desired temperature, remove it from the heat source. The melted wax is now ready for the next step.
It’s important to handle melted wax with caution to avoid any accidents. Remember to wear heat-resistant gloves and goggles to protect yourself.
Now that you have successfully melted the candle wax, let’s proceed to the next step: setting up the candle mold.
Step 3: Setting up the Candle Mold
With the melted wax ready, it’s time to set up the candle mold to create the perfect base for your dry flower candles. Follow these steps to set up the mold:
- Clean the candle mold: Ensure that the mold you are using is clean and free from any debris or residue. This will help ensure a smooth surface for your candle.
- Secure the wick: Place the candle wick in the center of the mold, ensuring that it is long enough to extend beyond the top of the mold. To secure the wick at the bottom of the mold, you can either use a dab of hot glue or a heat-resistant adhesive sticker designed for candle making.
- Stabilize the wick: To keep the wick centered and straight during the pouring process, you can wrap the top end of the wick around a pencil or a small stick and place it on top of the mold.
- Level the mold: Place the mold on a level and heat-resistant surface to ensure that the wax sets evenly.
Ensure that the candle wick is positioned in the center of the mold and is taut. This will help create a balanced and well-centered final candle. Take your time to set up the mold properly before moving on to the next step.
Now that the candle mold is ready, it’s time to add the dry flowers to create a beautiful and botanical-inspired design. Let’s move on to step 4: adding dry flowers to the candle mold.
Read more: How To Store Dried Flower Petals
Step 4: Add Dry Flowers to the Candle Mold
Adding dry flowers to the candle mold is where your creativity comes into play. Here’s how you can incorporate the dry flowers into your candle:
- Position the dry flowers: Take the prepared dry flowers and gently place them inside the candle mold around the wick. You can arrange them in a specific pattern, evenly distribute them, or create a more random aesthetic – it’s entirely up to you.
- Press the flowers into the wax: Use a heat-resistant utensil to press the dry flowers gently into the melted wax. Ensure that they are partially submerged in the wax, but leave some parts exposed for a beautiful visual effect.
- Experiment with layering: If you want to create a more layered look, you can add a first layer of dry flowers, pour a thin layer of melted wax to secure them in place, and then add another layer of flowers on top before pouring the remaining wax.
- Be mindful of the wick: As you add the dry flowers, be careful not to disturb the position of the wick. You want to keep it centered and upright throughout the process.
Adding dry flowers to the candle mold is an opportunity to showcase your creativity. Play around with different flower arrangements and densities to create a design that appeals to you. Don’t be afraid to experiment and let your imagination soar.
Now that the dry flowers are elegantly placed in the candle mold, let’s move on to the next step: pouring the melted wax.
When adding dry flowers to candles, make sure to press the flowers gently into the melted wax to secure them in place. This will help prevent them from floating to the top when the wax solidifies.
Step 5: Pouring the Melted Wax
With the dry flowers arranged in the candle mold, it’s time to carefully pour the melted wax to complete your dry flower candle. Follow these steps for a successful pouring process:
- Prepare the workspace: Ensure that your workspace is clean and free from any obstructions. Place a protective layer, such as newspaper or a heat-resistant mat, to catch any potential spills or drips.
- Slowly pour the melted wax: Using a heat-resistant utensil, carefully pour the melted wax into the candle mold. Pour slowly and steadily to avoid disturbing the arrangement of the dry flowers. Fill the mold to the desired level, leaving some space at the top for the remaining steps.
- Avoid air bubbles: Gently tap the sides of the mold or use a heat-resistant skewer to eliminate any air bubbles trapped in the wax. This will help create a smoother and more visually appealing finished candle.
- Allow for cooling: Let the poured wax cool and solidify. Avoid disturbing the candle mold during this process to ensure the dry flowers remain in place.
While pouring the melted wax, it’s important to handle it with care to avoid any spills or burns. Take your time and pour in a controlled manner to achieve the desired results.
Now that you have successfully poured the wax and allowed it to cool, it’s time to move on to the next step: letting the candle cool and set.
Step 6: Let the Candle Cool and Set
After pouring the melted wax into the candle mold, it’s crucial to let the candle cool and set properly. Follow these steps to ensure a successful cooling process:
- Find a cool and undisturbed area: Place the candle mold in a cool and undisturbed area where it will not be exposed to direct sunlight or any heat sources. This will allow for a controlled and gradual cooling process.
- Ensure adequate cooling time: The cooling time can vary depending on the size of the candle and the ambient temperature. As a general rule, allow the candle to cool for several hours until the wax is completely solidified.
- Patience is key: While it may be tempting to check on the candle’s progress, avoid touching or moving it during the cooling process. Any disturbances could cause the dry flowers to shift or the wax to develop uneven textures.
It’s important to exercise patience during this step to ensure a beautifully solid and well-formed candle. Rushing the cooling process may lead to imperfections or a less visually appealing end result.
With the candle cooling and solidifying, it’s time to move on to the next step: removing the candle from the mold.
Step 7: Remove the Candle from the Mold
Now that the candle has cooled and solidified, it’s time to carefully remove it from the mold. Follow these steps to ensure a successful removal:
- Gently loosen the edges: Using a blunt object such as a butter knife or the back of a spoon, gently loosen the edges of the candle from the mold. Be careful not to apply too much pressure to avoid damaging the candle or disturbing the arrangement of the dry flowers.
- Tap and invert the mold: Tap the bottom of the mold gently to help release the candle. If necessary, you can invert the mold and give it a gentle shake to encourage the candle to loosen and slide out.
- Support the candle: As the candle slides out of the mold, be ready to catch it with your hand or place it on a soft surface to prevent any damage or breakage.
Removing the candle from the mold requires a delicate touch to maintain the integrity of the dry flowers and the overall structure of the candle.
With the candle successfully removed from the mold, it’s time for the final step: trimming the wick and enjoying your beautiful dry flower candle.
Read more: How To Store Dried Hibiscus Flowers
Step 8: Trim the Wick and Enjoy your Dry Flower Candle
Now that you have successfully removed the candle from the mold, it’s time to give it the finishing touches and get ready to enjoy your beautiful dry flower candle. Follow these steps to complete the process:
- Trim the wick: Use sharp scissors or wick trimmers to trim the wick to a length of about ¼ inch (6 mm). This ensures a clean burn and prevents excessive smoking or flickering.
- Clean up the candle: Wipe away any excess wax or debris from the surface of the candle using a soft cloth or tissue. This will help enhance the appearance of the candle and remove any potential obstructions to the flame.
- Ignite and enjoy: Light the wick of your dry flower candle and bask in the warm glow and delicate fragrance it emits. Find a safe spot to place the candle, away from any flammable objects or drafts, and enjoy the serene ambiance it creates.
As you enjoy your dry flower candle, always remember to practice proper candle safety. Never leave a burning candle unattended and keep it out of reach of children and pets. Also, ensure that the candle is placed on a heat-resistant surface to prevent any potential accidents.
With your candle trimmed and lit, take a moment to appreciate the beauty and craftsmanship of your creation. The combination of the dried flowers and the soft glow of the flame will create a captivating atmosphere in any space.
Congratulations! You have successfully added dry flowers to your candle and created a unique and visually stunning centerpiece. Whether you keep it for yourself or gift it to someone special, your dry flower candle is sure to bring joy and a touch of nature into your life.
Thank you for following this step-by-step guide. Enjoy your beautiful dry flower candle!
Conclusion
Adding dry flowers to candles is a wonderful way to bring beauty, nature, and fragrance into your space. Through this step-by-step guide, we have explored the process of incorporating dry flowers into your candle-making routine, allowing you to create unique and visually stunning candles that can elevate any environment.
We began by preparing the dry flowers, ensuring they were in good condition and arranging them creatively in the candle mold. Then, we melted the candle wax, taking care to monitor the temperature and achieve the ideal melting point. Next, we set up the candle mold, securing the wick and ensuring it was centered. Followed by that, we incorporated the dry flowers into the mold, pressing them gently into the melted wax for an aesthetically pleasing design.
After that, we carefully poured the melted wax into the mold, taking our time to avoid air bubbles and achieve a smooth surface. We allowed the candle to cool and set, ensuring it solidified properly and all the elements remained intact. Then, we removed the candle from the mold with a gentle touch, avoiding any damage or disturbance to the dry flowers. Finally, we trimmed the wick and lit the candle, ready to enjoy the warm glow and delicate fragrance it emits.
Creating a dry flower candle is not only a satisfying and creative process, but it also allows you to create personalized gifts or add a unique touch to your home decor. The combination of the natural beauty of dried flowers and the serene ambiance of a lit candle creates a calming and inviting atmosphere.
Remember to always practice candle safety by never leaving a burning candle unattended and placing it away from flammable objects. With these precautions in mind, you can safely enjoy the captivating beauty and fragrance of your dry flower candle.
We hope this guide has inspired you to embark on your own dry flower candle-making journey. Let your creativity blossom and discover the joy of adding natural elements to your candles. Enjoy the process, and may your dry flower candles fill your space with beauty and serenity!
Frequently Asked Questions about How To Add Dry Flowers To Candles
Was this page helpful?
At Storables.com, we guarantee accurate and reliable information. Our content, validated by Expert Board Contributors, is crafted following stringent Editorial Policies. We're committed to providing you with well-researched, expert-backed insights for all your informational needs.