Home>Articles>How To Add Oil On Dirty Hand Tools Vibratory Plate Compactor
Articles
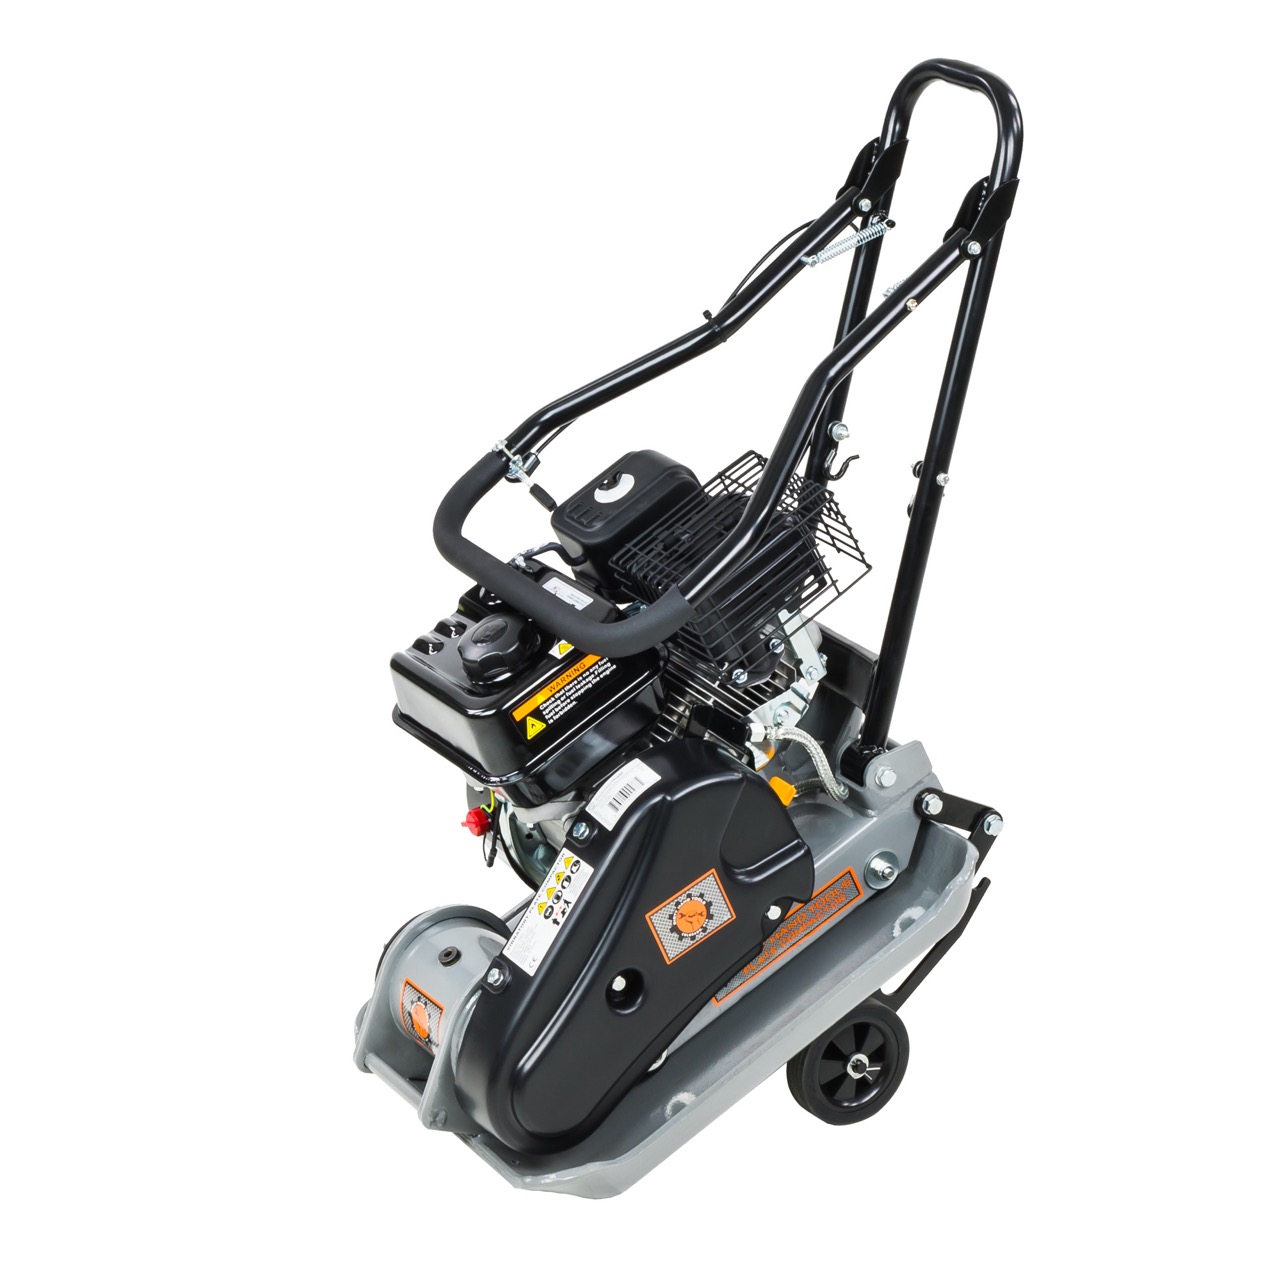
How To Add Oil On Dirty Hand Tools Vibratory Plate Compactor
Modified: December 7, 2023
Learn how to add oil to the Dirty Hand Tools Vibratory Plate Compactor in this informative article. Find step-by-step instructions and helpful tips to keep your compactor running smoothly.
(Many of the links in this article redirect to a specific reviewed product. Your purchase of these products through affiliate links helps to generate commission for Storables.com, at no extra cost. Learn more)
Introduction
Welcome to this guide on how to add oil to your Dirty Hand Tools Vibratory Plate Compactor. Regularly maintaining your plate compactor is essential for its optimal performance and longevity. Adding oil to your machine is a crucial part of this routine maintenance. Oil helps lubricate the engine components, reducing friction and preventing excessive wear.
Before we dive into the step-by-step process, let’s quickly go over the tools and materials you’ll need for this task:
- Oil suitable for your specific vibratory plate compactor model
- A funnel
- A cloth or towel to wipe up any spills
Now that you have the necessary items, let’s get started!
Key Takeaways:
- Regularly adding oil to your Dirty Hand Tools Vibratory Plate Compactor is crucial for optimal performance and longevity. Follow the step-by-step guide to ensure proper lubrication and protection against wear.
- By gathering the necessary tools, locating the oil fill area, and checking the oil level, you can maintain your plate compactor’s efficiency and extend its lifespan. Regular maintenance ensures reliable performance for years to come.
Read more: How To Repair Dirty Hand Tools Cylinder
Step 1: Gather the necessary tools and materials
Before you begin adding oil to your Dirty Hand Tools Vibratory Plate Compactor, it’s important to gather all the tools and materials you’ll need for the task. Here’s what you’ll need:
- Oil: First and foremost, make sure you have the correct type and amount of oil for your specific vibratory plate compactor model. Refer to the manufacturer’s manual or label on the machine to determine the appropriate oil.
- Funnel: A funnel will make it easier and cleaner to pour the oil into the designated oil fill area of the compactor. Choose a funnel that fits securely into the opening to avoid spills or leaks.
- Cloth or towel: Have a cloth or towel handy to wipe up any spills or excess oil during the process. This will help keep your work area clean and prevent any potential slips or falls.
Once you have gathered these tools and materials, you’re ready to move on to the next step of adding oil to your vibratory plate compactor.
Step 2: Locate the oil fill area
Now that you have the necessary tools and materials, it’s time to locate the oil fill area on your Dirty Hand Tools Vibratory Plate Compactor. The exact location of the oil fill area may vary depending on the model of your compactor, so it’s important to refer to the manufacturer’s manual for specific instructions.
The manufacturer’s manual will provide detailed information on where to find the oil fill area, including any markings or labels that indicate its position. It may also provide additional instructions on how to access the oil fill area and any precautions you need to take.
Locating the oil fill area is crucial as it ensures that you are adding oil to the correct location and avoid any potential damage to other parts of the machine. Take the time to carefully review the manufacturer’s manual and familiarize yourself with the oil fill area before proceeding to the next step.
Once you have located the oil fill area, you’re ready to move on to the next step of preparing the compactor for the oil addition process.
Step 3: Prepare the compactor
Before adding oil to your Dirty Hand Tools Vibratory Plate Compactor, it’s important to properly prepare the machine. This step involves ensuring the engine is turned off and cleaning the area around the oil fill area. Let’s go through each step in detail:
Ensure the engine is turned off: Before performing any maintenance tasks on your plate compactor, it is crucial to turn off the engine and allow the machine to cool down. This will help prevent any accidents or injuries during the oil addition process. Take a moment to double-check that the engine is completely turned off before proceeding to the next step.
Clean the area around the oil fill area: Next, take a cloth or towel and gently clean the area surrounding the oil fill area. This will help remove any dirt, debris, or oil residue that may have accumulated. Cleaning the area ensures a clean and solid connection when adding the oil, reducing the risk of contaminants entering the engine. Remember to pay attention to detail and thoroughly clean the area to maintain the overall performance of your compactor.
By following these preparations, you ensure a safe and clean environment to add oil to your vibratory plate compactor. Once you have completed these steps, you can proceed to the next part, which is adding the oil.
Before adding oil to your Dirty Hand Tools Vibratory Plate Compactor, make sure to check the manufacturer’s instructions for the specific type and amount of oil required. Use a funnel to carefully pour the oil into the designated reservoir, and be sure not to overfill.
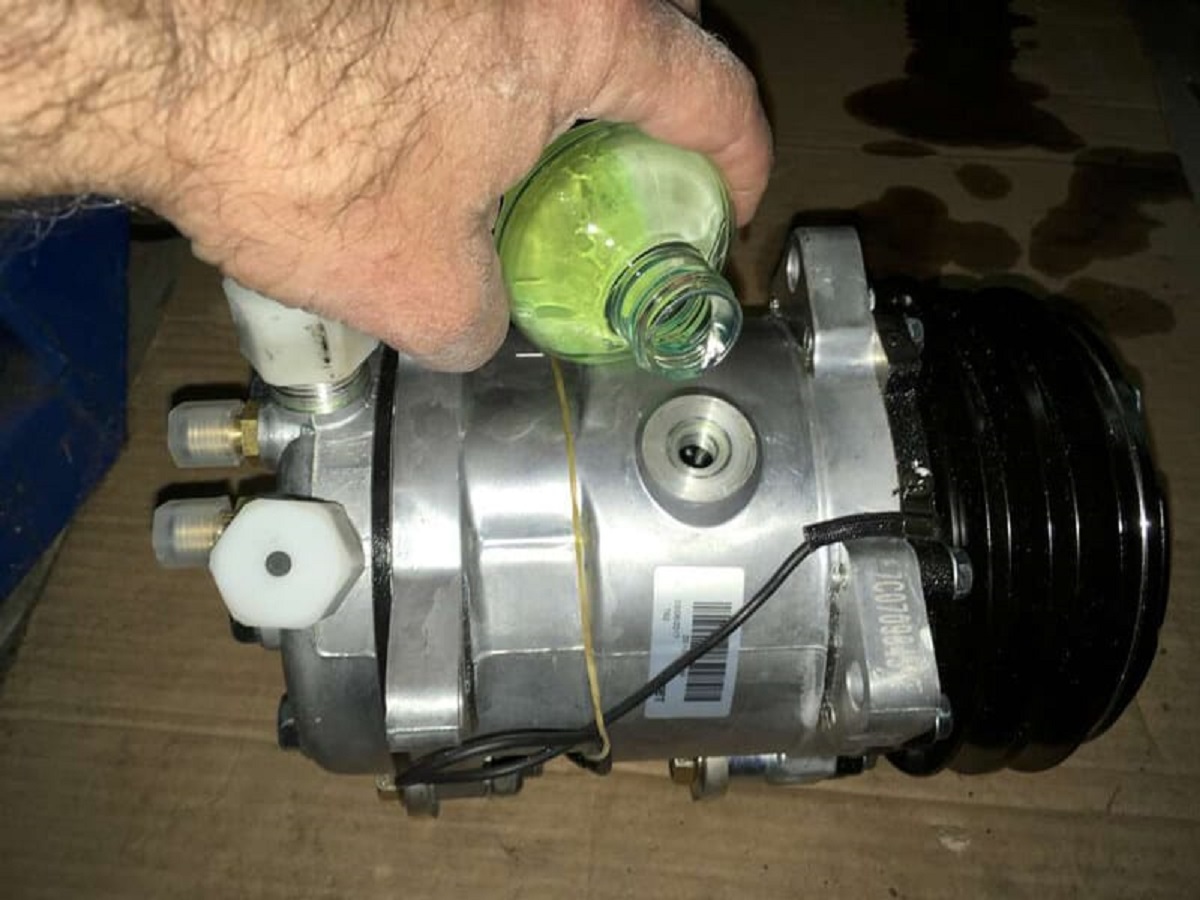
Step 4: Add the oil
Now that you have prepared your Dirty Hand Tools Vibratory Plate Compactor, it’s time to add oil to the machine. Follow these steps to ensure a smooth and accurate oil addition process:
- Place the funnel into the oil fill area: Take your funnel and insert it firmly into the oil fill area on the compactor. Ensure that the funnel fits securely to prevent any oil spills or leaks.
- Slowly pour the appropriate amount of oil into the funnel: Refer to the manufacturer’s manual to determine the correct amount of oil needed for your specific plate compactor model. Slowly pour the oil into the funnel, allowing it to flow steadily into the oil fill area. Take your time to ensure accuracy and prevent overfilling.
- Remove the funnel and wipe away any spills or excess oil: Once you have poured the appropriate amount of oil, carefully remove the funnel from the oil fill area. Use a cloth or towel to wipe away any spills or excess oil that may have occurred during the pouring process. Keep the area clean and free from oil residue for optimal performance.
Adding oil to your plate compactor is a crucial step in maintaining its functionality and longevity. By following these steps, you will ensure a proper and efficient oil addition process. Now, let’s move on to the next step of checking the oil level.
Read more: Who Makes Dirty Hand Tools Mower
Step 5: Check the oil level
After adding oil to your Dirty Hand Tools Vibratory Plate Compactor, it’s essential to verify the oil level to ensure it is within the acceptable range. Here’s how you can check the oil level:
Use an oil dipstick or sight glass to verify the oil level: Depending on the model of your compactor, you will either have an oil dipstick or a sight glass to check the oil level. If your machine has an oil dipstick, remove it from the oil fill area and wipe it clean with a cloth or towel. Insert the dipstick back into the oil fill area and then remove it again to check the oil level. The dipstick will have markings or indicators to show the acceptable range of oil. Ensure that the oil level falls within this range. If your machine has a sight glass, it will have a transparent window that allows you to visually inspect the oil level. Check the sight glass to ensure the oil level is within the specified range.
It’s important to note that checking the oil level should be done with the machine placed on a level surface. This ensures an accurate reading and prevents any potential issues with the oil circulation. If the oil level is low, you may need to add more oil following the previous steps.
By checking the oil level, you ensure that your vibratory plate compactor has the right amount of oil for optimal performance and protection of its engine components. Let’s proceed to the final step, where we reassemble the compactor and test it.
Step 6: Reassemble and test
Now that you have added oil to your Dirty Hand Tools Vibratory Plate Compactor and verified the oil level, it’s time to reassemble the machine and conduct a test to ensure everything is functioning properly. Follow these final steps:
- Replace any parts removed during the process: If you had to remove any parts, such as oil dipsticks or funnels, during the oil addition process, make sure to carefully replace them in their respective positions. Ensure that all parts fit securely to prevent any potential issues or damage.
- Start the compactor to ensure proper functioning: Once you have reassembled the machine, it’s time to start the compactor and test it. Follow the manufacturer’s instructions on how to start the engine. Listen for any abnormal sounds or vibrations, and observe the machine’s performance. Ensure that the engine runs smoothly and that the compactor is operating as expected.
If you notice any issues or abnormalities during the test, consult the manufacturer’s manual or seek professional assistance for troubleshooting or repairs. It’s crucial to address any potential problems early on to prevent further damage and maintain the proper functioning of your vibratory plate compactor.
By reassembling and testing the machine, you can have peace of mind knowing that your Dirty Hand Tools Vibratory Plate Compactor is in good working order and ready for use. Regular maintenance, including oil checks and additions, can significantly prolong the lifespan and ensure the efficient operation of your compactor.
With the completion of this final step, you have successfully added oil, checked the oil level, and tested your vibratory plate compactor. Congratulations on completing this maintenance task and taking the necessary steps to keep your machine in optimal condition!
Thank you for using Dirty Hand Tools Vibratory Plate Compactor’s oil addition guide. Happy compacting!
Conclusion
Maintaining your Dirty Hand Tools Vibratory Plate Compactor is essential for its longevity and optimal performance. Adding oil to your machine is a simple yet crucial step in this maintenance routine. By following the step-by-step guide outlined in this article, you can ensure that your plate compactor remains well-lubricated and protected against excessive wear.
We started by gathering the necessary tools and materials, including the appropriate oil, a funnel, and a cloth or towel for spills. We then located the oil fill area by referring to the manufacturer’s manual for specific instructions. After preparing the compactor by turning off the engine and cleaning the oil fill area, we proceeded to add the oil. Using a funnel, we poured the appropriate amount of oil, removed the funnel, and wiped away any spills or excess oil.
Next, we checked the oil level using either an oil dipstick or a sight glass, ensuring that it fell within the acceptable range. It’s important to note that checking the oil level should be done on a level surface to ensure accuracy. Lastly, we reassembled the machine by replacing any removed parts and conducted a test to ensure proper functioning.
Regularly following this oil addition process and performing routine maintenance on your vibratory plate compactor will help extend its lifespan and keep it operating efficiently. Remember to consult the manufacturer’s manual for specific instructions and recommendations regarding oil type and maintenance intervals.
Thank you for using this guide and taking the time to maintain your Dirty Hand Tools Vibratory Plate Compactor. By investing a little effort into proper maintenance, you’ll enjoy reliable performance from your compactor for years to come.
Frequently Asked Questions about How To Add Oil On Dirty Hand Tools Vibratory Plate Compactor
Was this page helpful?
At Storables.com, we guarantee accurate and reliable information. Our content, validated by Expert Board Contributors, is crafted following stringent Editorial Policies. We're committed to providing you with well-researched, expert-backed insights for all your informational needs.


0 thoughts on “How To Add Oil On Dirty Hand Tools Vibratory Plate Compactor”