
Articles
How To Label Your Hand Tools
Modified: January 9, 2024
Learn how to label your hand tools with informative articles and step-by-step guides. Improve organization and efficiency in your workshop.
(Many of the links in this article redirect to a specific reviewed product. Your purchase of these products through affiliate links helps to generate commission for Storables.com, at no extra cost. Learn more)
Introduction
Having a well-organized and labeled collection of hand tools is essential for any DIY enthusiast or professional tradesperson. Not only does it make it easier to find the right tool for the job, but it also helps improve efficiency and safety in the workshop or job site.
In this article, we will guide you through the process of properly labeling your hand tools. From gathering your tools to choosing the right labeling method and maintaining the labels, we will cover everything you need to know to keep your tools organized and easily accessible.
Whether you have a large collection of hand tools or just a few essentials, taking the time to label them will save you countless hours of searching and frustration down the line. So, let’s dive in and learn how to label your hand tools like a pro.
Key Takeaways:
- Efficiently label hand tools by gathering, choosing the right method, preparing, and applying labels. Regular maintenance ensures easy identification, promoting safety and productivity in the workshop or job site.
- Properly labeled hand tools save time, reduce frustration, and enhance safety. Consistently maintain and update labels to ensure an organized and efficient workspace, benefiting DIY enthusiasts and professional tradespeople alike.
Read more: How To Mark Your Hand Tools
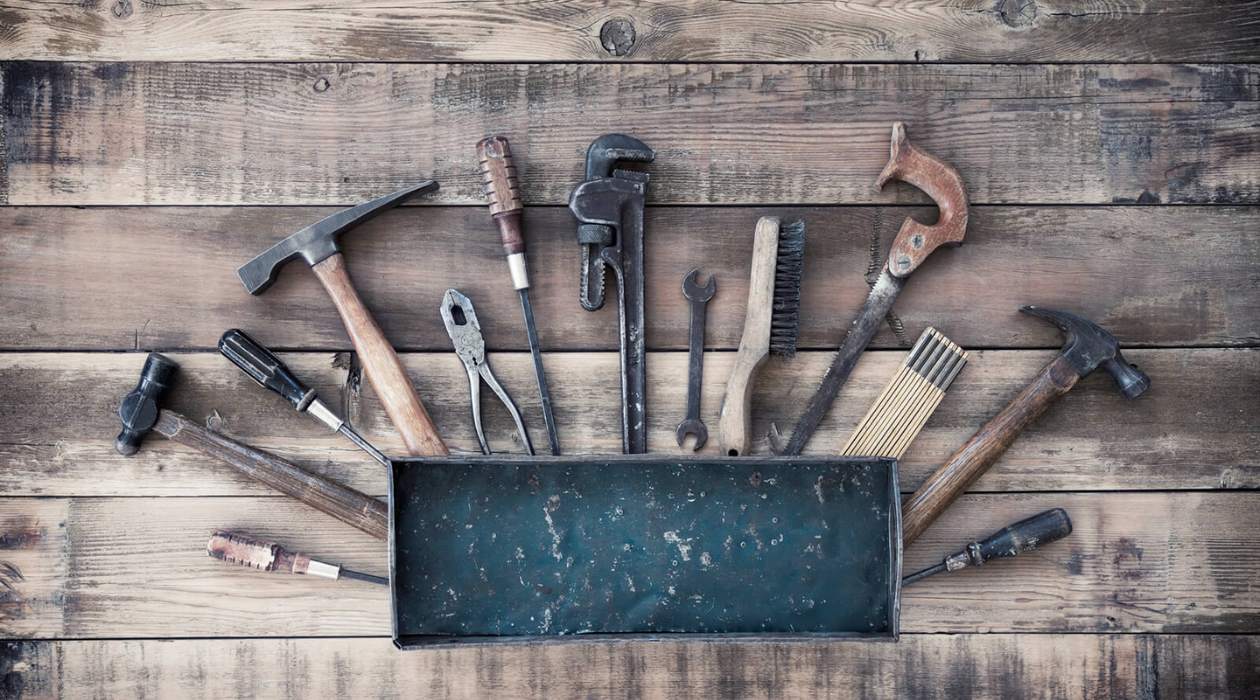
Step 1: Gathering Your Hand Tools
The first step in labeling your hand tools is to gather them all in one place. This allows you to have a clear idea of the tools you have and makes it easier to keep track of them once labeled.
Start by going through your tool collection and gathering all your hand tools. This includes wrenches, screwdrivers, pliers, hammers, and any other tools that you frequently use. If you have any specialty tools or accessories, make sure to include them as well.
Spread out your tools on a clean, flat surface so that you can easily see and access each one. This makes it easier to identify and label them correctly. It’s also a good idea to wipe down the tools, removing any dirt or grime, to ensure the labels adhere properly.
As you gather your tools, take note of any duplicates or tools that you no longer use. This is a good opportunity to declutter and prioritize which tools are essential to keep. Discard or donate any tools that are damaged or no longer needed to free up space and simplify your tool collection.
Once you have all your hand tools gathered and organized, you’re ready to move on to the next step: choosing the right labeling method.
Step 2: Choosing the Right Labeling Method
When it comes to labeling your hand tools, there are several methods you can choose from. The right method for you will depend on your personal preferences, the type of tools you have, and the level of durability required for the labels.
Here are some popular labeling methods to consider:
- Engraving: Engraving is a highly durable labeling method that involves etching the tool’s surface with your name or a unique identifier. You can use a handheld engraving tool or take it to a professional engraver. This method is ideal for tools that are subjected to heavy wear and tear.
- Etching: Etching involves using acid or a chemical solution to create a permanent mark on the tool’s surface. While it may require more skill and caution, it offers a professional and long-lasting label.
- Labels or Stickers: Labels or stickers are a popular and versatile option for labeling hand tools. You can use pre-made labels or create your own using a label maker or printable adhesive sheets. Make sure to choose high-quality labels that are durable and resistant to oil, water, and other substances commonly found in a workshop.
- Paint Marking: Using paint markers is a simple and cost-effective way to label your tools. You can write directly on the tool’s surface or use stencils for a more precise and uniform look. However, keep in mind that paint markings may wear off over time and require touch-ups.
- Tape or Electrical Tape: For a temporary labeling solution, you can use colored tape or electrical tape to mark your tools. This method works well if you frequently share tools with others or need to easily identify tools for specific projects. However, it may not be as long-lasting or durable as other methods.
Consider the specific needs of your tool collection and select the labeling method that best suits your preferences and requirements. Whichever method you choose, make sure the labels are clear, legible, and easily visible.
With the labeling method determined, it’s time to prepare your tools for labeling in the next step.
Step 3: Preparing Your Tools for Labeling
Before you apply the labels or markings to your hand tools, it’s important to properly prepare them to ensure the labels adhere securely and last as long as possible.
Follow these steps to prepare your tools for labeling:
- Clean the Tools: Use a cloth or a mild cleaner to remove any dirt, grease, or debris from the surface of your tools. This step is crucial as it ensures that the labels adhere properly and the markings are clear and legible.
- Remove Rust: If any of your tools have rust spots, it’s important to remove them before applying labels. Use a rust remover or a mixture of vinegar and baking soda to gently scrub away the rust. Wipe the tool dry before proceeding.
- Smooth the Surface: For tools with rough or uneven surfaces, consider sanding them lightly to create a smooth and even surface for labeling. This will help the adhesive of the labels or paint markers adhere better.
- Choose the Right Spot: Select a suitable spot on each tool where you want to apply the label or marking. Consider areas that are visible and easily accessible without interfering with the function or grip of the tool.
Once your tools are clean, rust-free, and the surfaces are smooth, you’re ready to move on to the next step: labeling your hand tools.
Remember, a well-prepared tool surface will ensure that the labels or markings are applied smoothly and securely, increasing their longevity and readability.
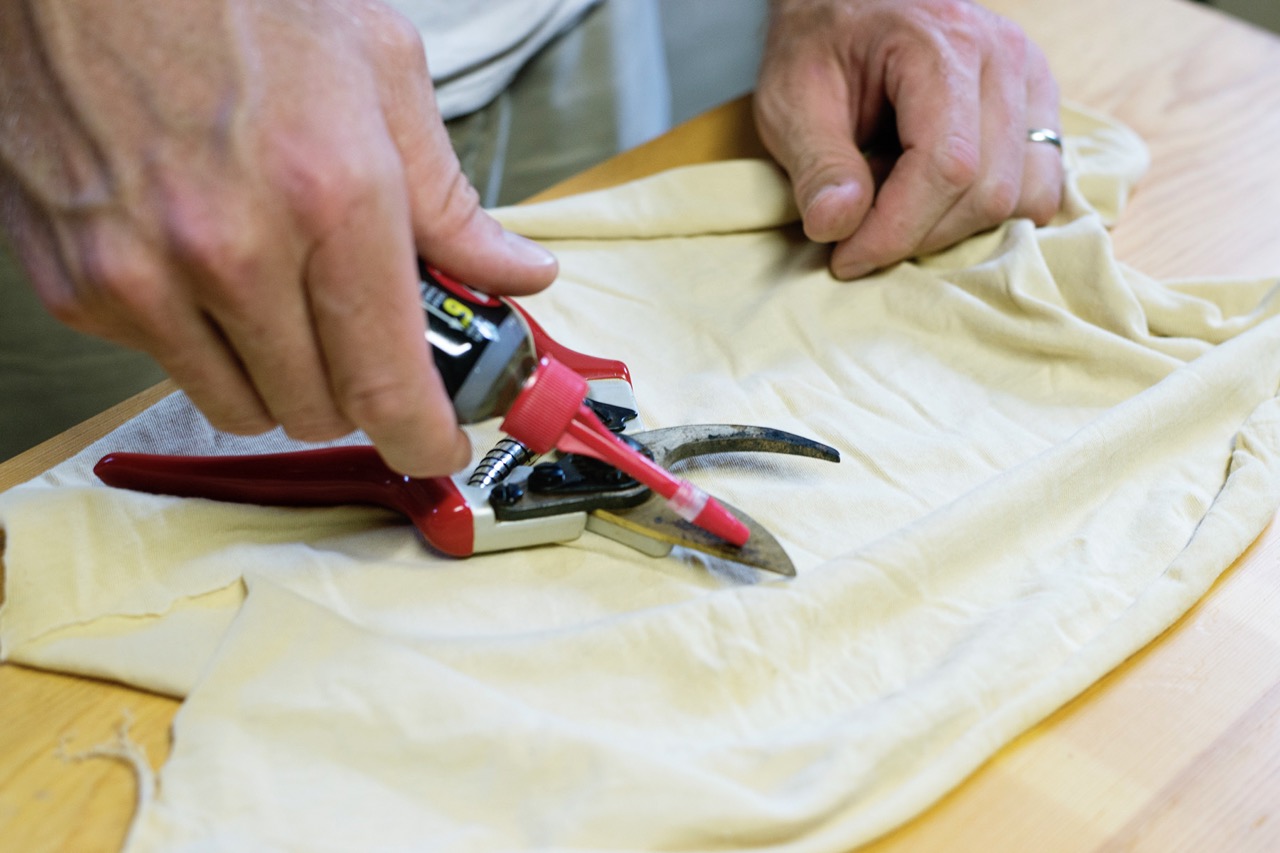
Use a permanent marker or label maker to clearly mark each hand tool with its name or initials. This will help you stay organized and easily identify the right tool for the job.
Step 4: Labeling Your Hand Tools
Now that you have gathered your hand tools, chosen the right labeling method, and prepared the tools, it’s time to label them. Here are the steps to follow:
- Engraving or Etching: If you have chosen engraving or etching as your labeling method, refer to the manufacturer’s instructions for the specific tool or consult with a professional engraver. Take the necessary safety precautions when using engraving tools or chemicals.
- Labels or Stickers: If you are using labels or stickers, carefully peel off the backing and apply them to the designated spot on each tool. Make sure to press down firmly to ensure a secure adhesion. Avoid placing the labels where they might rub or come into contact with your hands during use.
- Paint Marking: For paint marking, use a paint marker with a fine tip for better precision. Write or draw your desired label on the selected spot of each tool. Allow the paint to dry completely before using the tools to prevent smudging.
- Tape or Electrical Tape: If using tape or electrical tape, simply wrap it around the handle or any other visible area of the tool. Ensure the tape is tightly secured but not too tight to impact the functionality or grip of the tool.
While labeling your tools, consider using a consistent labeling system. This could include numbering the tools, adding initials, or color-coding them to designate specific purposes or categories. This will make it easier for you to quickly identify and locate the tools you need.
As you label each tool, double-check the clarity and legibility of the labels or markings. Ensure they are easy to read at a glance and won’t wear off or rub away easily during regular use.
With your hand tools properly labeled, you’re ready for the next step: maintaining and updating your labels.
Step 5: Maintaining and Updating Labels
Once you have labeled your hand tools, it’s crucial to maintain and update the labels as needed. Over time, labels can become worn, fade, or peel off, making it difficult to identify your tools. Here are some tips for maintaining and updating your labels:
- Regular Inspection: Periodically inspect your labeled tools to check for any signs of wear or damage. Look for labels that are peeling, fading, or becoming illegible.
- Replace Worn Labels: If you notice any labels that are damaged or hard to read, it’s important to replace them promptly. Remove the old label and clean the surface before applying a new one. This will ensure that your tools remain properly identified and organized.
- Use Durable Labels: When selecting labels or stickers, opt for durable options that are resistant to oil, water, and other workshop substances. This will help prolong the life of your labels and ensure they stay in place even in challenging environments.
- Consider Protective Measures: To further protect your labels, you can apply a layer of clear adhesive tape or a transparent adhesive cover over them. This additional layer can help prevent scratches, smudges, and fading.
- Update as Your Collection Grows: If you add new tools to your collection, make sure to label them properly. Maintain consistency in your labeling system to avoid confusion and ensure easy identification of new additions.
- Keep an Inventory: Maintain a record or inventory of your labeled tools, noting down the tool’s name, labeling method, location, and any relevant details. This will help you keep track of your tools, especially if you have a large collection or frequently lend them out.
By regularly maintaining and updating your labels, you will ensure that your hand tools remain properly identified and organized, making your work more efficient and productive.
With this final step completed, you have successfully labeled your hand tools and established a system to maintain and update them as needed.
Conclusion
Labeling your hand tools is a simple yet effective way to stay organized and improve efficiency in your workshop or job site. By following the steps outlined in this guide, you can ensure that your tools are properly labeled and easily accessible whenever you need them.
Gathering your hand tools, choosing the right labeling method, preparing the tools for labeling, applying the labels or markings, and maintaining and updating them as needed are all essential steps in the process.
Remember to select a labeling method that suits your preferences and the level of durability required for your tools. Take the time to properly clean and prepare your tools before applying the labels or markings. Consistently inspect and replace worn labels to ensure easy identification.
Labeling your hand tools not only saves you time and frustration but also helps promote safety in the workshop. When everything is properly labeled, you can quickly find the right tool for the job, reducing the risk of accidents and injuries.
So, take the initiative to label your hand tools today and enjoy the benefits of an organized and efficient workspace. Whether you are a DIY enthusiast or a professional tradesperson, maintaining labeled hand tools will enhance your productivity and make your work more enjoyable.
By following these steps and maintaining your labeled tools, you’ll be well on your way to a well-organized and efficient hand tool collection.
Frequently Asked Questions about How To Label Your Hand Tools
Was this page helpful?
At Storables.com, we guarantee accurate and reliable information. Our content, validated by Expert Board Contributors, is crafted following stringent Editorial Policies. We're committed to providing you with well-researched, expert-backed insights for all your informational needs.


0 thoughts on “How To Label Your Hand Tools”