
Articles
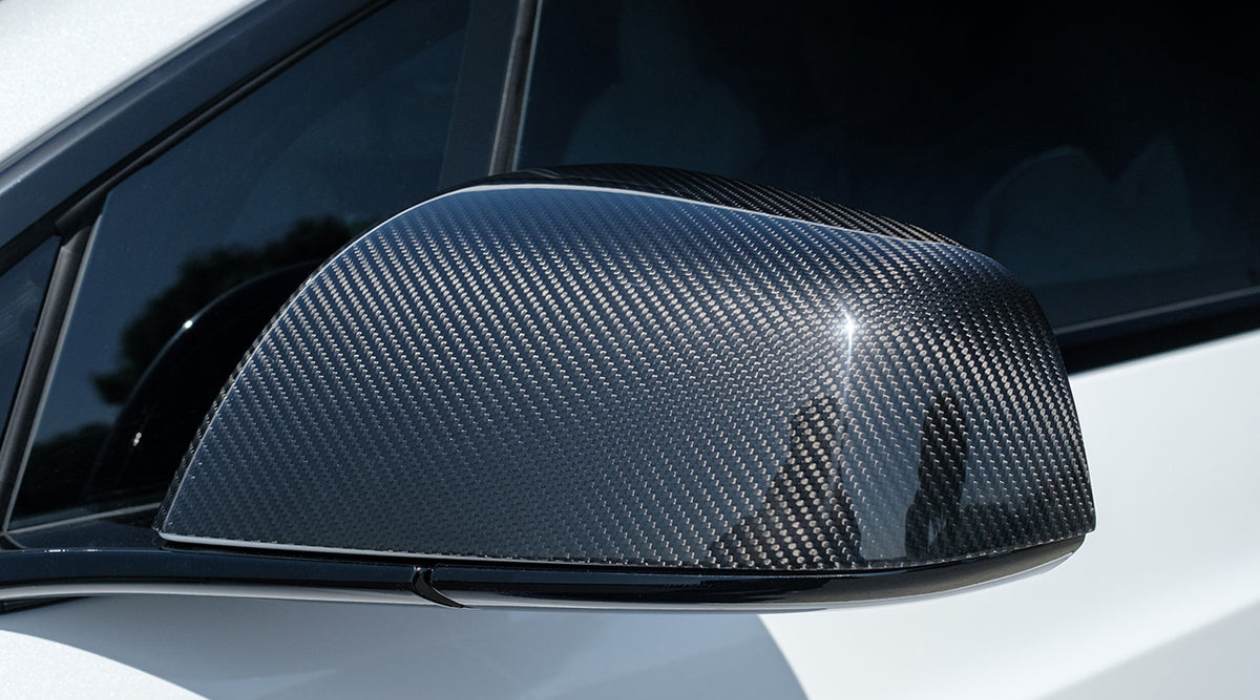
How To Adjust Mirrors On Tesla Model 3
Modified: December 7, 2023
Learn how to properly adjust the mirrors on your Tesla Model 3 with our informative articles. Improve your visibility and safety on the road.
(Many of the links in this article redirect to a specific reviewed product. Your purchase of these products through affiliate links helps to generate commission for Storables.com, at no extra cost. Learn more)
Introduction
Welcome to this comprehensive guide on how to adjust the mirrors on the Tesla Model 3. Properly adjusting your car’s mirrors is crucial for ensuring both your safety and the safety of those around you on the road. The Tesla Model 3 comes equipped with advanced mirror controls that allow you to fine-tune the positioning to achieve optimal visibility.
In this article, we will walk you through a step-by-step process on how to adjust the mirrors on your Tesla Model 3. Whether you are a new Tesla owner or just looking to make improvements to your mirror settings, this guide will help you maximize your visibility and minimize blind spots.
Please note that the following instructions specifically apply to the Tesla Model 3, but the general concepts and techniques can be applied to other vehicles as well. Let’s dive in and get those mirrors perfectly adjusted!
Key Takeaways:
- Properly adjusting the mirrors on your Tesla Model 3 is crucial for optimal visibility and safety. Follow the step-by-step guide to ensure clear views of blind spots and the surrounding environment.
- Saving your mirror adjustments allows for consistent positioning and convenience, especially for multiple drivers. Enjoy enhanced visibility and confident driving with properly adjusted mirrors on your Tesla Model 3.
Read more: How To Adjust Motorcycle Mirrors
Step 1: Selecting the Mirror Control Option
Before you can begin adjusting the mirrors on your Tesla Model 3, you need to access the mirror control option. This can be found in the settings menu on the car’s touchscreen display.
To access the mirror controls, follow the steps below:
- Start by sitting in the driver’s seat and turning on the vehicle.
- Tap the Tesla “T” logo on the top center of the touchscreen display.
- From the drop-down menu, select “Controls.”
- Scroll down and tap on “Mirrors.”
By selecting the “Mirrors” option, you will now have access to control the positioning of both the driver’s side mirror and the passenger side mirror.
Step 2: Adjusting the Driver’s Side Mirror
Now that you have accessed the mirror control option, you can start adjusting the driver’s side mirror on your Tesla Model 3. Follow the steps below to properly position the mirror:
- Begin by sitting in the driver’s seat and ensuring that the vehicle is parked or in a safe location.
- Using your fingers, swipe or tap on the screen to move the cursor to the driver’s side mirror icon.
- Once the cursor is over the mirror icon, you can now use your thumb and index finger to either pinch in or out to adjust the mirror angle.
- As you move your fingers closer together, the mirror will tilt upward, providing a wider view of the rear and blind spots. Conversely, moving your fingers apart will tilt the mirror downward, giving you a narrower view.
- Continue adjusting the mirror until you have achieved the desired positioning.
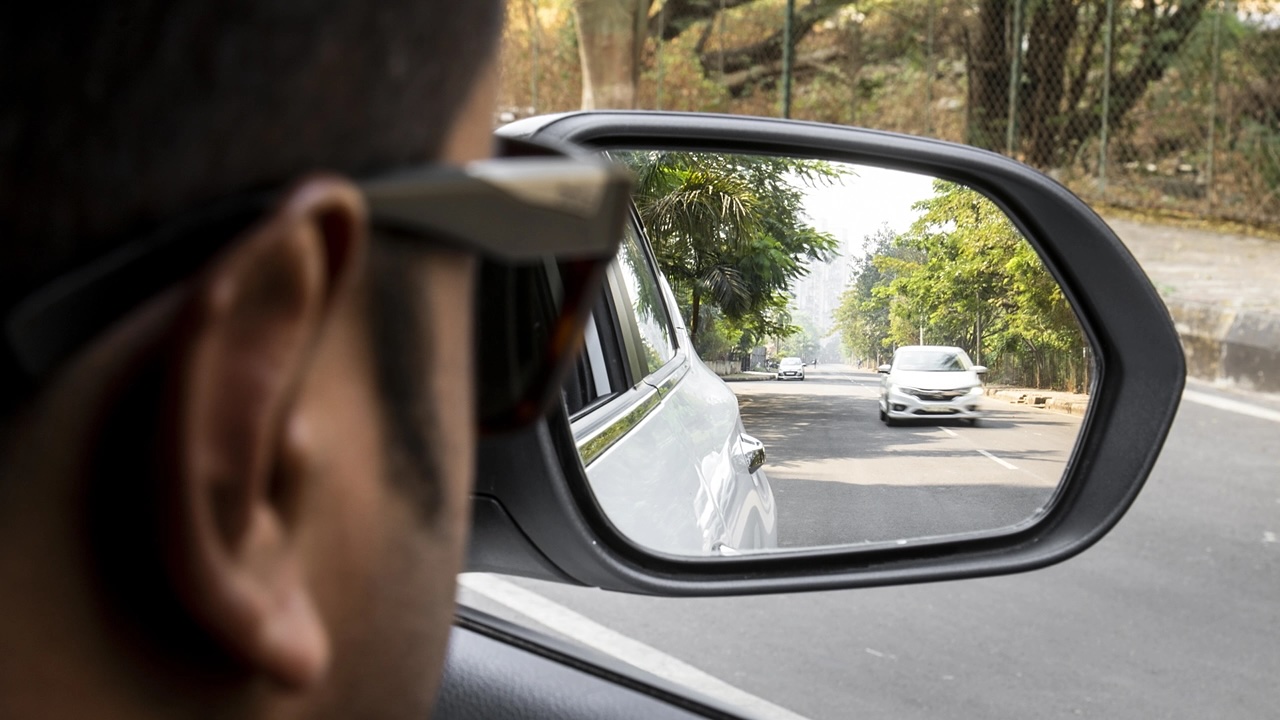
It is important to find the right balance when adjusting the driver’s side mirror. You want to have a good view of the blind spot adjacent to your vehicle while still maintaining a clear view of the road behind you. Take your time and make any necessary adjustments until you are satisfied with the mirror placement.
When adjusting the mirrors on a Tesla Model 3, use the touchscreen to access the mirror controls. Select the mirror icon, then use the arrows to adjust the position until you have a clear view of the surrounding traffic.
Step 3: Adjusting the Passenger Side Mirror
After successfully adjusting the driver’s side mirror, it’s time to move on to adjusting the passenger side mirror on your Tesla Model 3. Follow these steps to properly position the mirror:
- While still in the mirror control option on the touchscreen display, locate the passenger side mirror icon.
- Using the same pinch-in or pinch-out gesture as before, adjust the mirror angle by moving your thumb and index finger closer together or farther apart.
- Similar to the driver’s side mirror adjustment, moving your fingers closer together will tilt the mirror upward, while moving them apart will tilt the mirror downward.
- Make small adjustments as needed to achieve the desired positioning of the mirror.
When adjusting the passenger side mirror, it’s important to remember that it should be angled to cover the blind spot on the right side of your vehicle. This will provide you with a clear view of any vehicles or objects that may be in your blind spot while driving.
Take your time to ensure that both the driver’s side and passenger side mirrors are properly adjusted to your preferences. A well-positioned mirror setup will significantly enhance your visibility and overall safety on the road.
Step 4: Saving Mirror Adjustments
Once you have successfully adjusted both the driver’s side and passenger side mirrors on your Tesla Model 3, it’s essential to save these mirror adjustments for future use. This way, you won’t have to readjust the mirrors every time you enter the vehicle. Follow the steps below to save your mirror settings:
- On the touchscreen display, locate the “Save” or “Done” button. This button may be located at the bottom or top corner of the mirror control screen.
- Tap on the “Save” or “Done” button to confirm and save your mirror adjustments.
- Once saved, your Tesla Model 3 will retain the mirror settings and automatically adjust them to your preferred angles every time you enter the vehicle.
By saving your mirror adjustments, you can ensure that your mirrors are consistently positioned for optimal visibility. This feature is especially convenient if multiple drivers regularly use the vehicle, as each driver can save their preferred mirror settings.
If you ever need to make further adjustments or if you want to reset the mirrors to the default position, simply access the mirror control option on the touchscreen and repeat the adjustment process. Don’t forget to save the changes once you are satisfied with the new positioning.
Read more: How To Adjust Towing Mirrors
Conclusion
Congratulations! You have now learned how to adjust the mirrors on your Tesla Model 3 to achieve optimal visibility and minimize blind spots. Properly positioned mirrors are essential for safe and confident driving.
Remember to follow these steps when adjusting your mirrors:
- Select the Mirror Control option from the touchscreen display.
- Adjust the driver’s side mirror by swiping or pinching on the screen.
- Adjust the passenger side mirror using the same pinch-in or pinch-out gesture.
- Save your mirror adjustments to retain your preferred settings for future use.
By taking the time to adjust your mirrors correctly, you can significantly enhance your situational awareness on the road. Having a clear and unobstructed view of the surrounding environment, including blind spots, allows you to make informed driving decisions and improves overall road safety.
Always remember to regularly check your mirrors while driving and make necessary adjustments if needed. Your mirrors should work in conjunction with proper shoulder checks and the use of turn signals to ensure a comprehensive view of your surroundings.
Safe travels and enjoy the improved visibility that comes with properly adjusted mirrors on your Tesla Model 3!
Frequently Asked Questions about How To Adjust Mirrors On Tesla Model 3
Was this page helpful?
At Storables.com, we guarantee accurate and reliable information. Our content, validated by Expert Board Contributors, is crafted following stringent Editorial Policies. We're committed to providing you with well-researched, expert-backed insights for all your informational needs.




0 thoughts on “How To Adjust Mirrors On Tesla Model 3”