Home>diy>Architecture & Design>How To 3D Design A House Model For 3D Printing
Architecture & Design
How To 3D Design A House Model For 3D Printing
Modified: August 16, 2024
Learn how to create a stunning 3D house model for 3D printing with our comprehensive guide on architecture design. Get started today!
(Many of the links in this article redirect to a specific reviewed product. Your purchase of these products through affiliate links helps to generate commission for Storables.com, at no extra cost. Learn more)
Introduction
Welcome to the world of 3D architectural design and printing! In recent years, 3D printing has revolutionized the field of architecture, allowing designers and architects to bring their wildest dreams to life with remarkable precision and detail. One popular application of this technology is the creation of 3D house models, which can serve as valuable tools for visualization, prototyping, and even marketing.
In this article, we will take you through the step-by-step process of designing a house model for 3D printing. Whether you are an architect, a student, or simply someone with a passion for 3D design, this guide will provide you with the knowledge and tools needed to transform your ideas into a tangible, physical object.
Before we dive into the details, it’s important to note that 3D design and printing can be a complex process, requiring a combination of technical skills, creativity, and attention to detail. However, with patience and practice, anyone can master the art of 3D architectural design and printing.
In the following steps, we will discuss the tools and software required, as well as the techniques involved in creating a stunning house model. We’ll also cover the optimization and preparation of the design for 3D printing, and finally, guide you through the process of printing your masterpiece.
So, if you’re ready to embark on this exciting journey, let’s get started by gathering the necessary tools and software!
Key Takeaways:
- Embrace the journey of 3D architectural design and printing by gathering essential tools, creating a basic structure, adding intricate details, optimizing for 3D printing, and finally bringing your design to life through the exciting process of 3D printing.
- Balance technical considerations with creative expression to create visually appealing and realistic house models. Share your 3D printed creations to inspire others and celebrate your accomplishments in the world of 3D architectural design and printing.
Read more: How Hard Is 3D Modeling
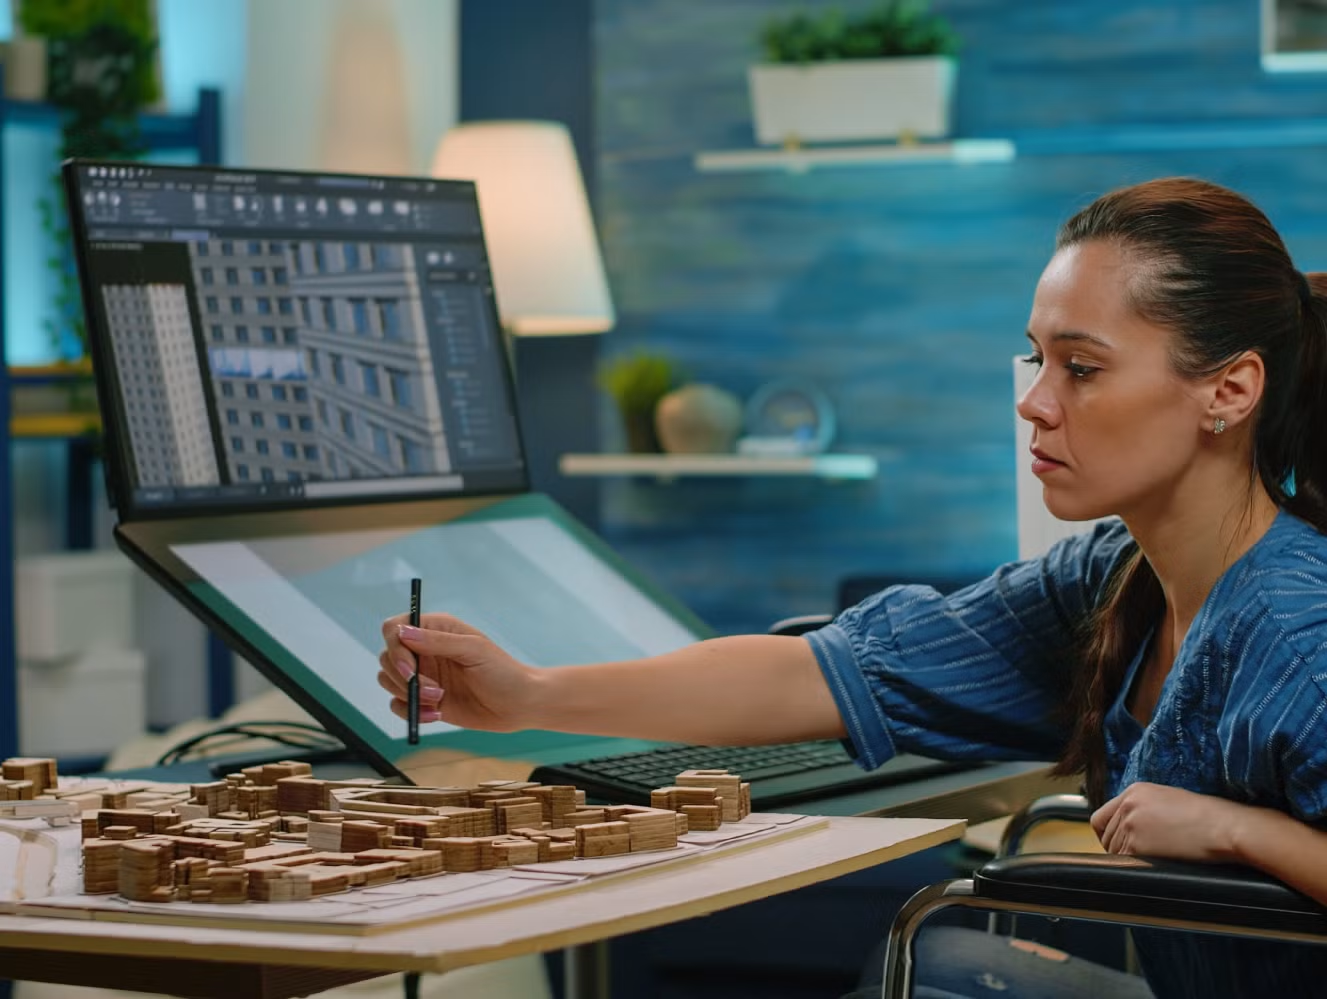
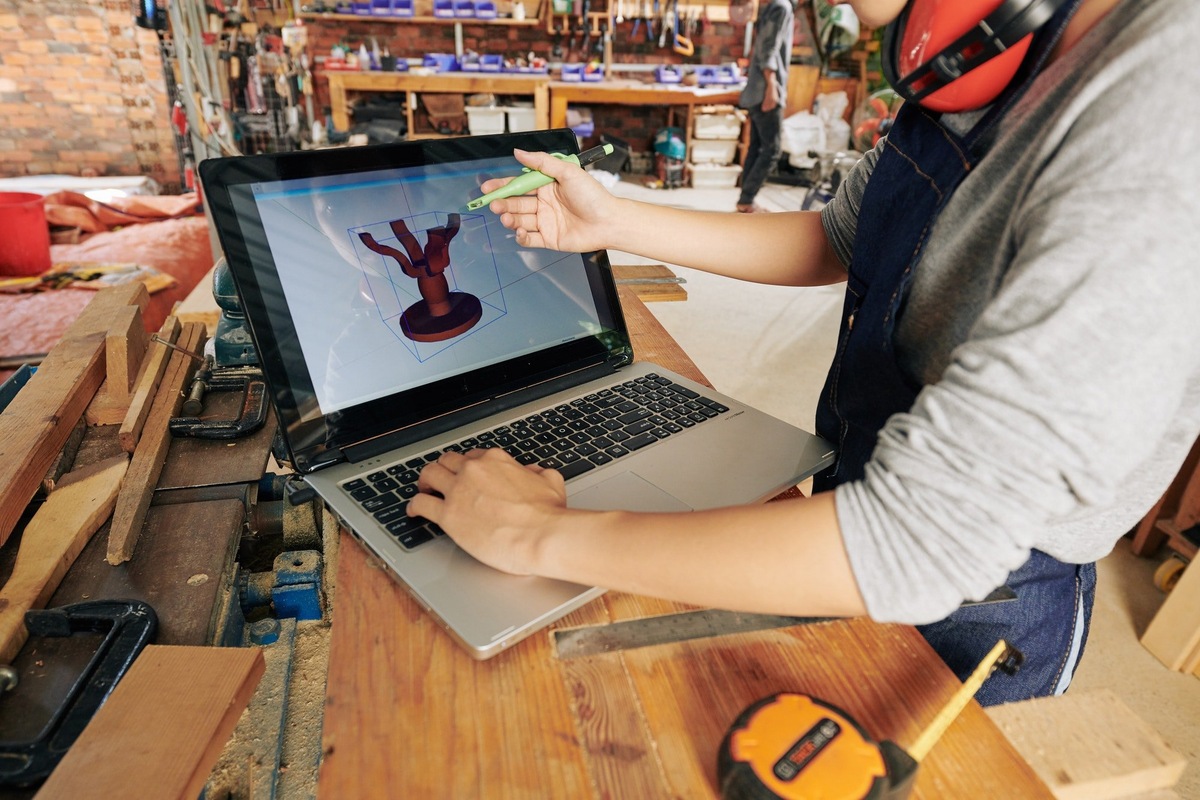
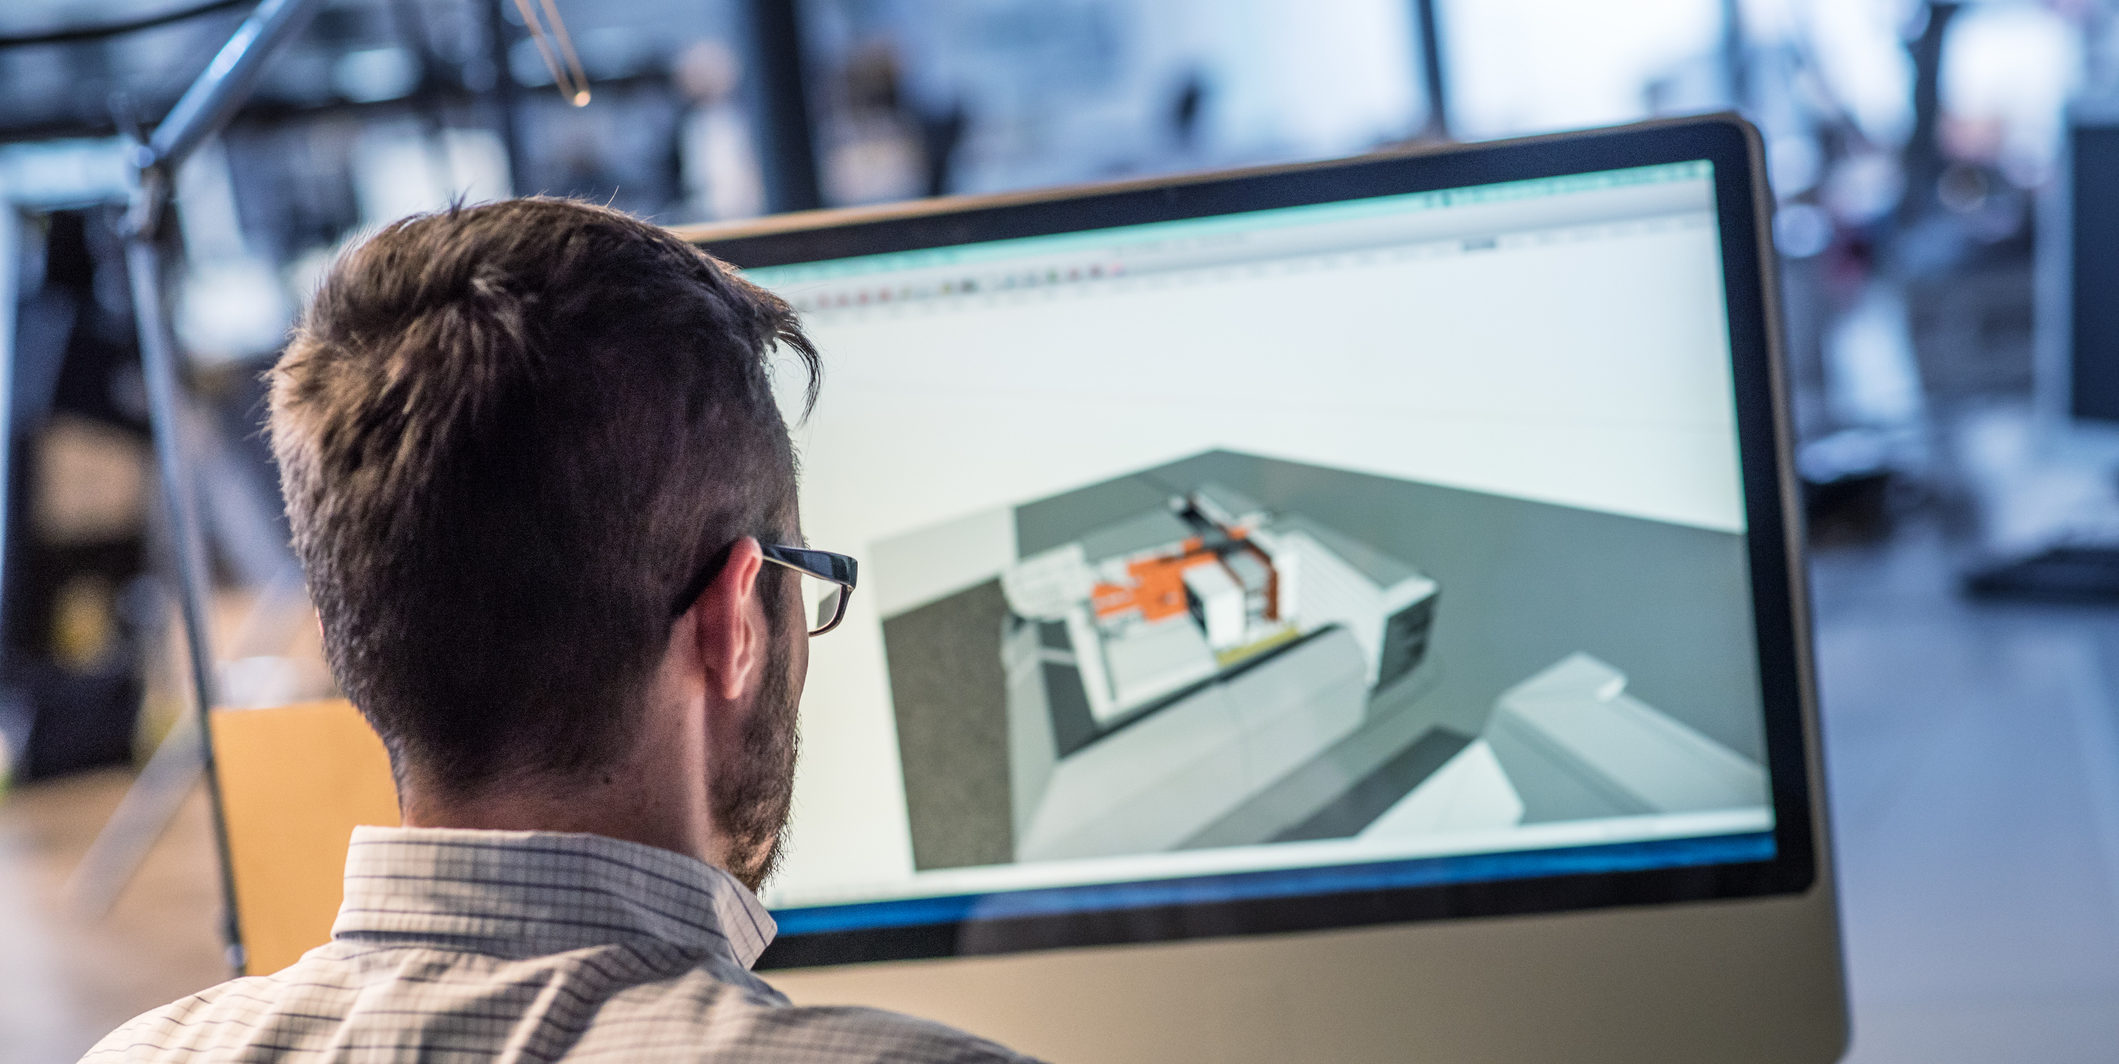
Step 1: Gathering the necessary tools and software
Before you begin designing your house model, it’s important to gather the necessary tools and software that will help you bring your vision to life. Here are some essential items you will need:
- Computer: A computer is the first and foremost tool you’ll need for 3D design. Ensure that your computer meets the minimum system requirements for running the design software smoothly.
- 3D Design Software: There are many software options available for 3D design, ranging from beginner-friendly programs to professional-grade software. Some popular choices include AutoCAD, SketchUp, Rhino, and Blender. Choose a software that suits your skill level and design requirements.
- 3D Printer: To bring your design to life, you’ll need a 3D printer. There are various types of 3D printers available on the market, including FDM (Fused Deposition Modeling) printers and SLA (Stereolithography) printers. Consider factors such as printing speed, build volume, and print quality when selecting a printer.
- Filament or Resin: Depending on the type of 3D printer you have, you’ll need either filament or resin for printing. Filament is used in FDM printers and comes in different materials such as PLA or ABS. Resin is used in SLA printers and provides higher print resolution.
- Calipers: Calipers are essential for taking accurate measurements of your physical surroundings or existing structures that you want to incorporate into your design. This will ensure that your house model is proportionate and accurate.
Once you have gathered all the necessary tools and software, you are ready to move on to the next step of creating the basic structure of your house model. So, let’s put on our virtual construction hats and get started!
Step 2: Creating the basic structure of the house model
Now that you have all the necessary tools and software, it’s time to start creating the basic structure of your house model. This step forms the foundation of your design and sets the overall shape and dimensions of your model. Here’s how to proceed:
- Reference Images: Begin by gathering reference images of the type of house you want to design. These images will serve as a visual guide and help you capture the architectural style and details accurately.
- Importing the Reference Image: Open your 3D design software and import the reference image as an overlay or background image. This will help you trace the basic structure of the house in accordance with the reference image.
- Creating the Base: Start by creating a rectangular or polygonal base, which will serve as the foundation of your house model. Adjust the dimensions and proportions based on the reference image and your desired scale.
- Building the Walls: Using the tools available in your 3D design software, extrude the walls from the base to create the desired height. Pay attention to the thickness of the walls to ensure they are accurately represented in the model.
- Adding Doors and Windows: Place openings for doors and windows in the walls, again referring to the reference image for placement and dimensions. Take into account the height, width, and position of the openings to ensure they align with the architectural style.
- Incorporating Roof Structure: Create the roof structure by extruding or sloping the top edges of the walls. The roof can be flat, gabled, or have other architectural features, depending on the style of the house you are designing.
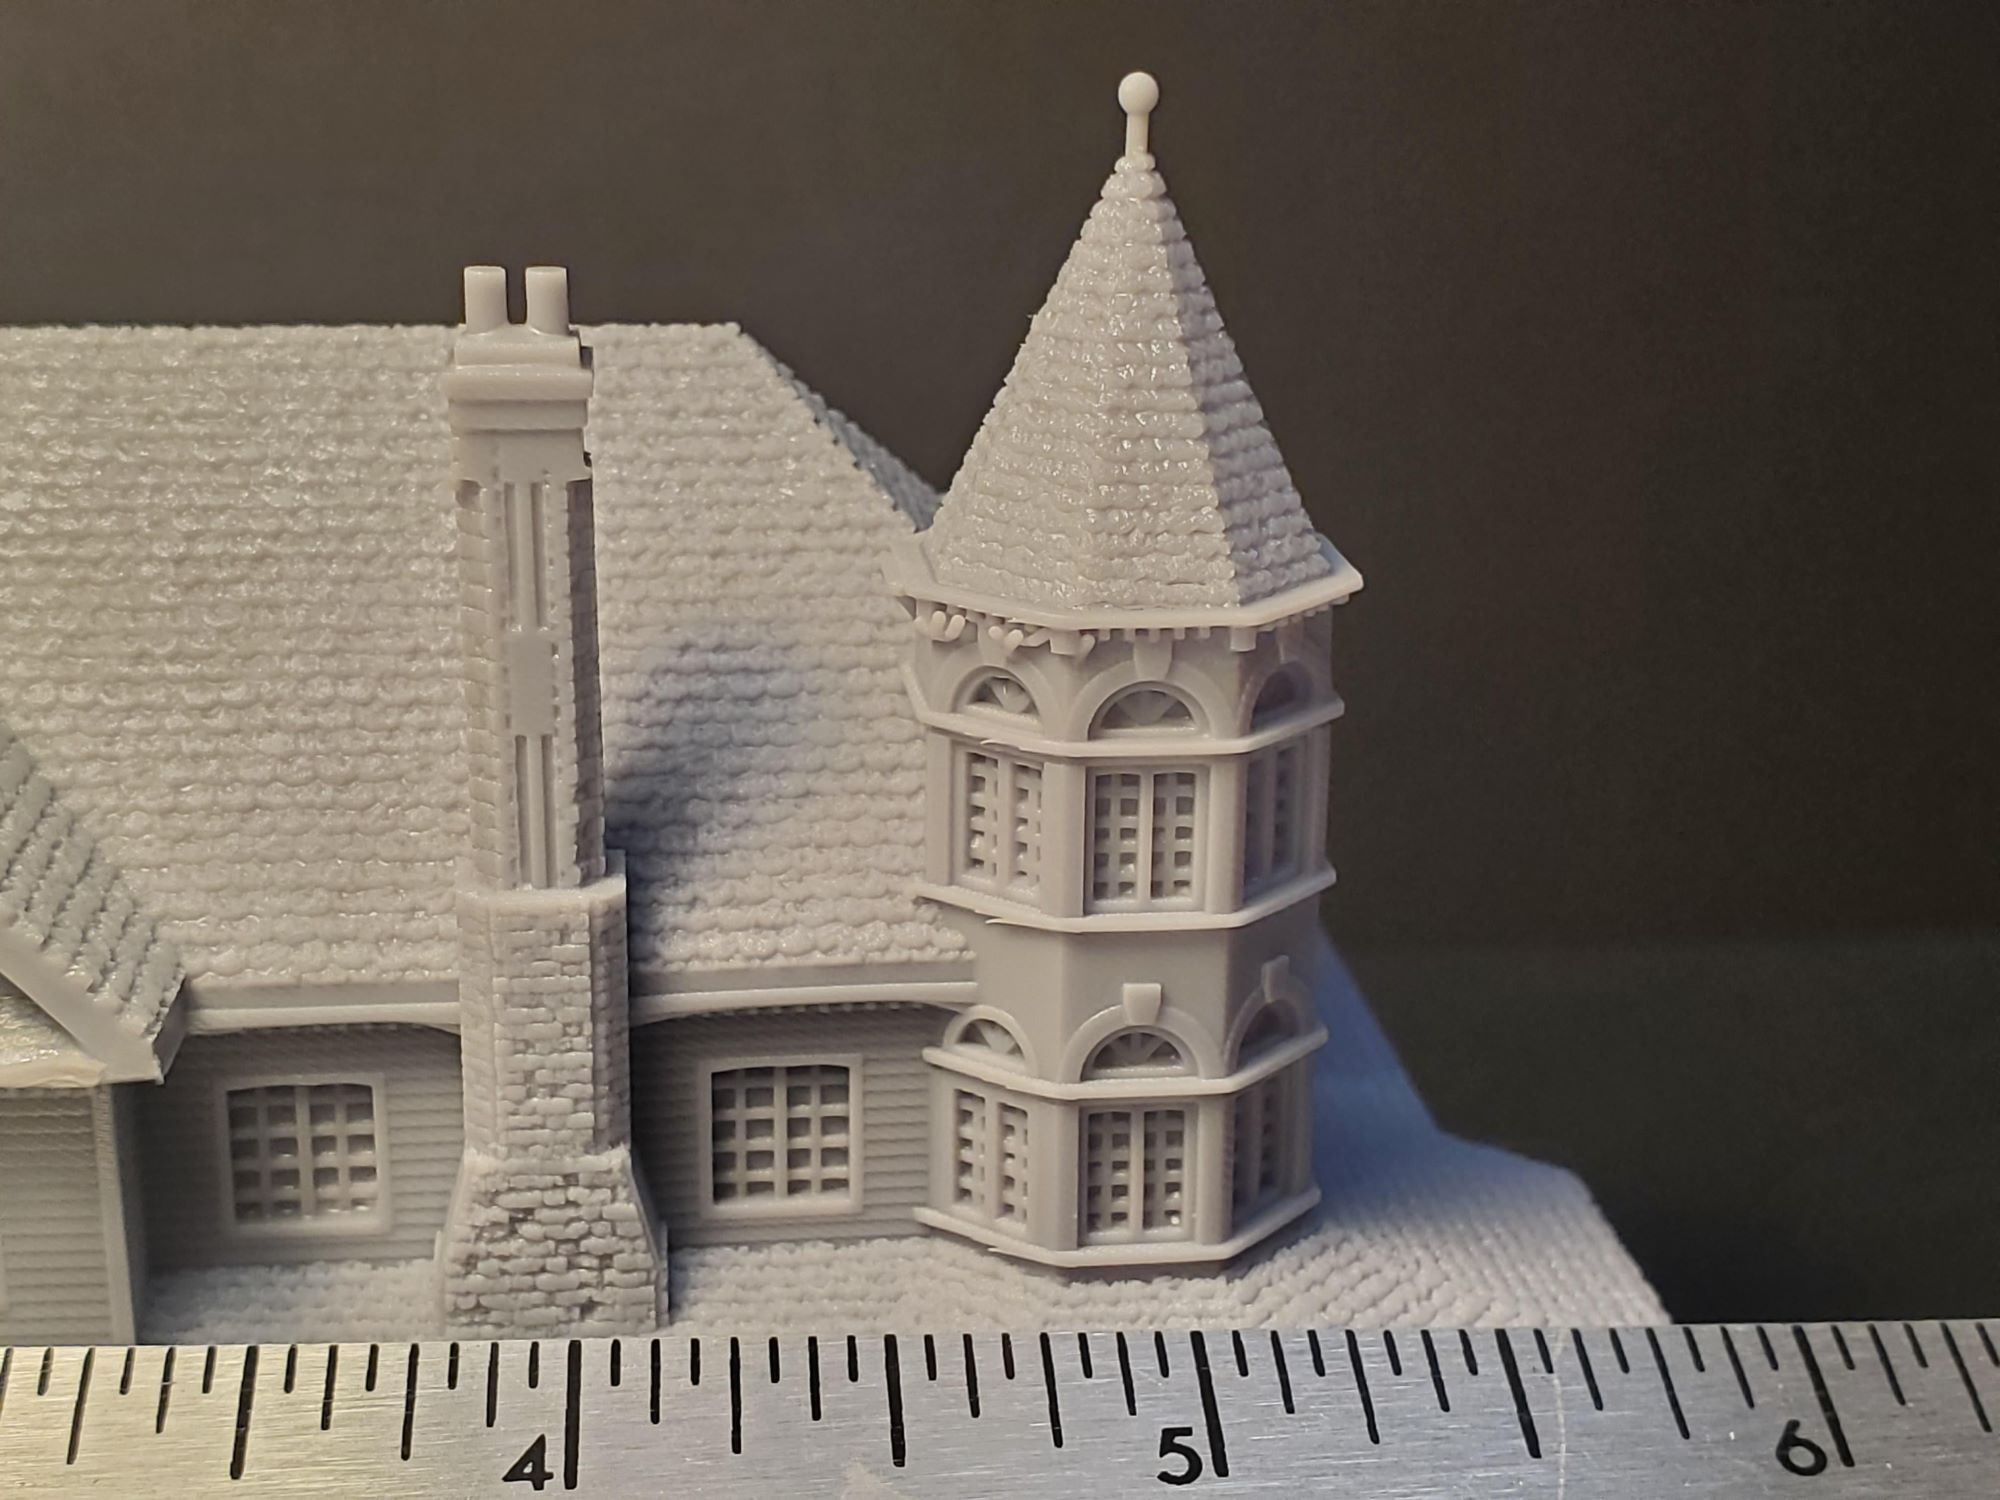
- Finishing Touches: Add any additional architectural details such as chimneys, balconies, or decorative elements that are part of the house’s design. Pay attention to fine details and ensure they align with your reference image and overall aesthetic vision.
Remember, this step focuses on creating the basic structure of the house model. Don’t worry too much about intricate details at this stage. Once you have the foundation in place, you can move on to adding more intricate and personalized features to your design in the next step.
Now that you’ve created the basic structure of your house model, it’s time to add those essential details that will truly bring your design to life. Stay tuned for Step 3: Adding details to the house model!
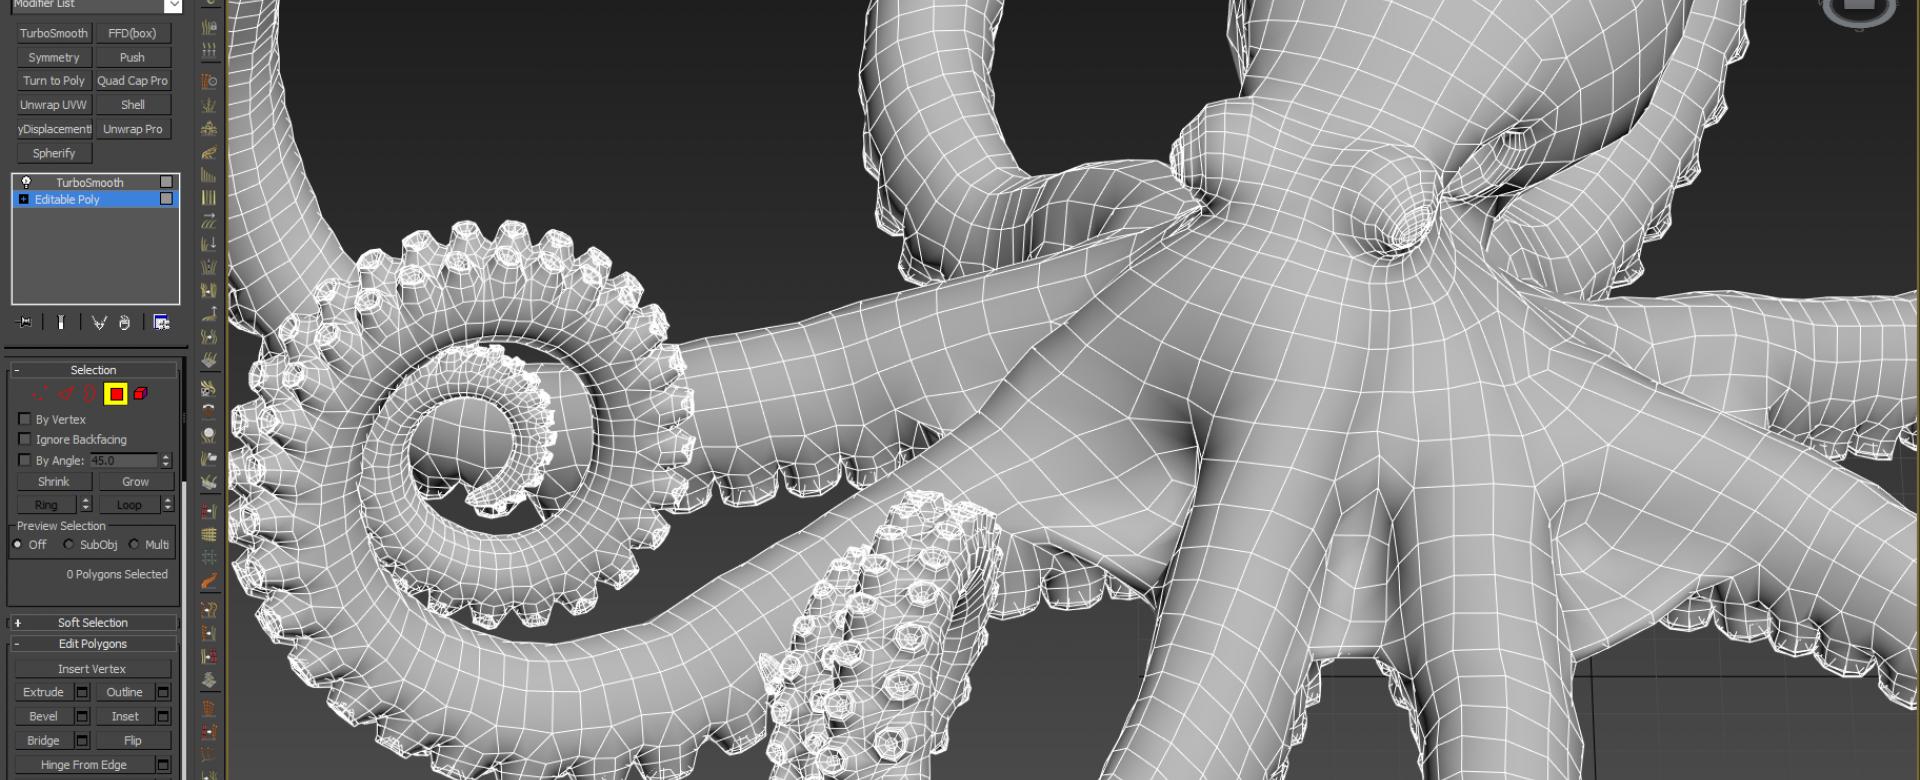
Step 3: Adding details to the house model
Now that you have created the basic structure of your house model, it’s time to add those essential details that will bring your design to life. This step is where you can get creative and personalize your house model. Here are the key points to consider:
- Interior Elements: Begin by adding interior elements such as walls, partitions, and floors. Take into account the layout and functionality of the rooms, and make sure they align with the overall design of the house.
- Furniture and Fixtures: Place furniture and fixtures inside the house to give it a realistic touch. Consider the scale and style of the furniture, and arrange them in a way that enhances the visual appeal of the model.
- Exterior Features: Pay attention to the exterior details of the house model. Add architectural elements like columns, pillars, and moldings to create a visually appealing facade. Incorporate landscaping features such as trees, shrubs, and pathways to make the surroundings more realistic.
- Textures and Materials: Apply textures and materials to different surfaces of the house model. Consider the materials used in real-life construction, such as brick, wood, or stucco, and apply them accordingly. Use your design software’s texturing tools to add depth and realism to the model.
- Lighting: Experiment with different lighting techniques to enhance the visual appeal of your house model. Place virtual lights strategically to highlight certain areas and create a sense of ambiance.
- Decoration: Add decorative elements such as artwork, curtains, and plants to bring the house model to life. These small touches can make a big difference in the overall aesthetics of your design.
Remember to constantly refer to your reference images and architectural principles to ensure accuracy and cohesiveness in your design. This step allows you to showcase your creativity and imagination, so don’t be afraid to experiment and make your house model unique.
Once you’re satisfied with the level of detail and personalization of your house model, it’s time to move on to the next step: optimizing the design for 3D printing. Check out Step 4 to discover the important considerations for preparing your design for successful 3D printing!
When 3D designing a house model for 3D printing, start with accurate measurements and consider the structural integrity for printing. Use software like SketchUp or Tinkercad for precise designs.
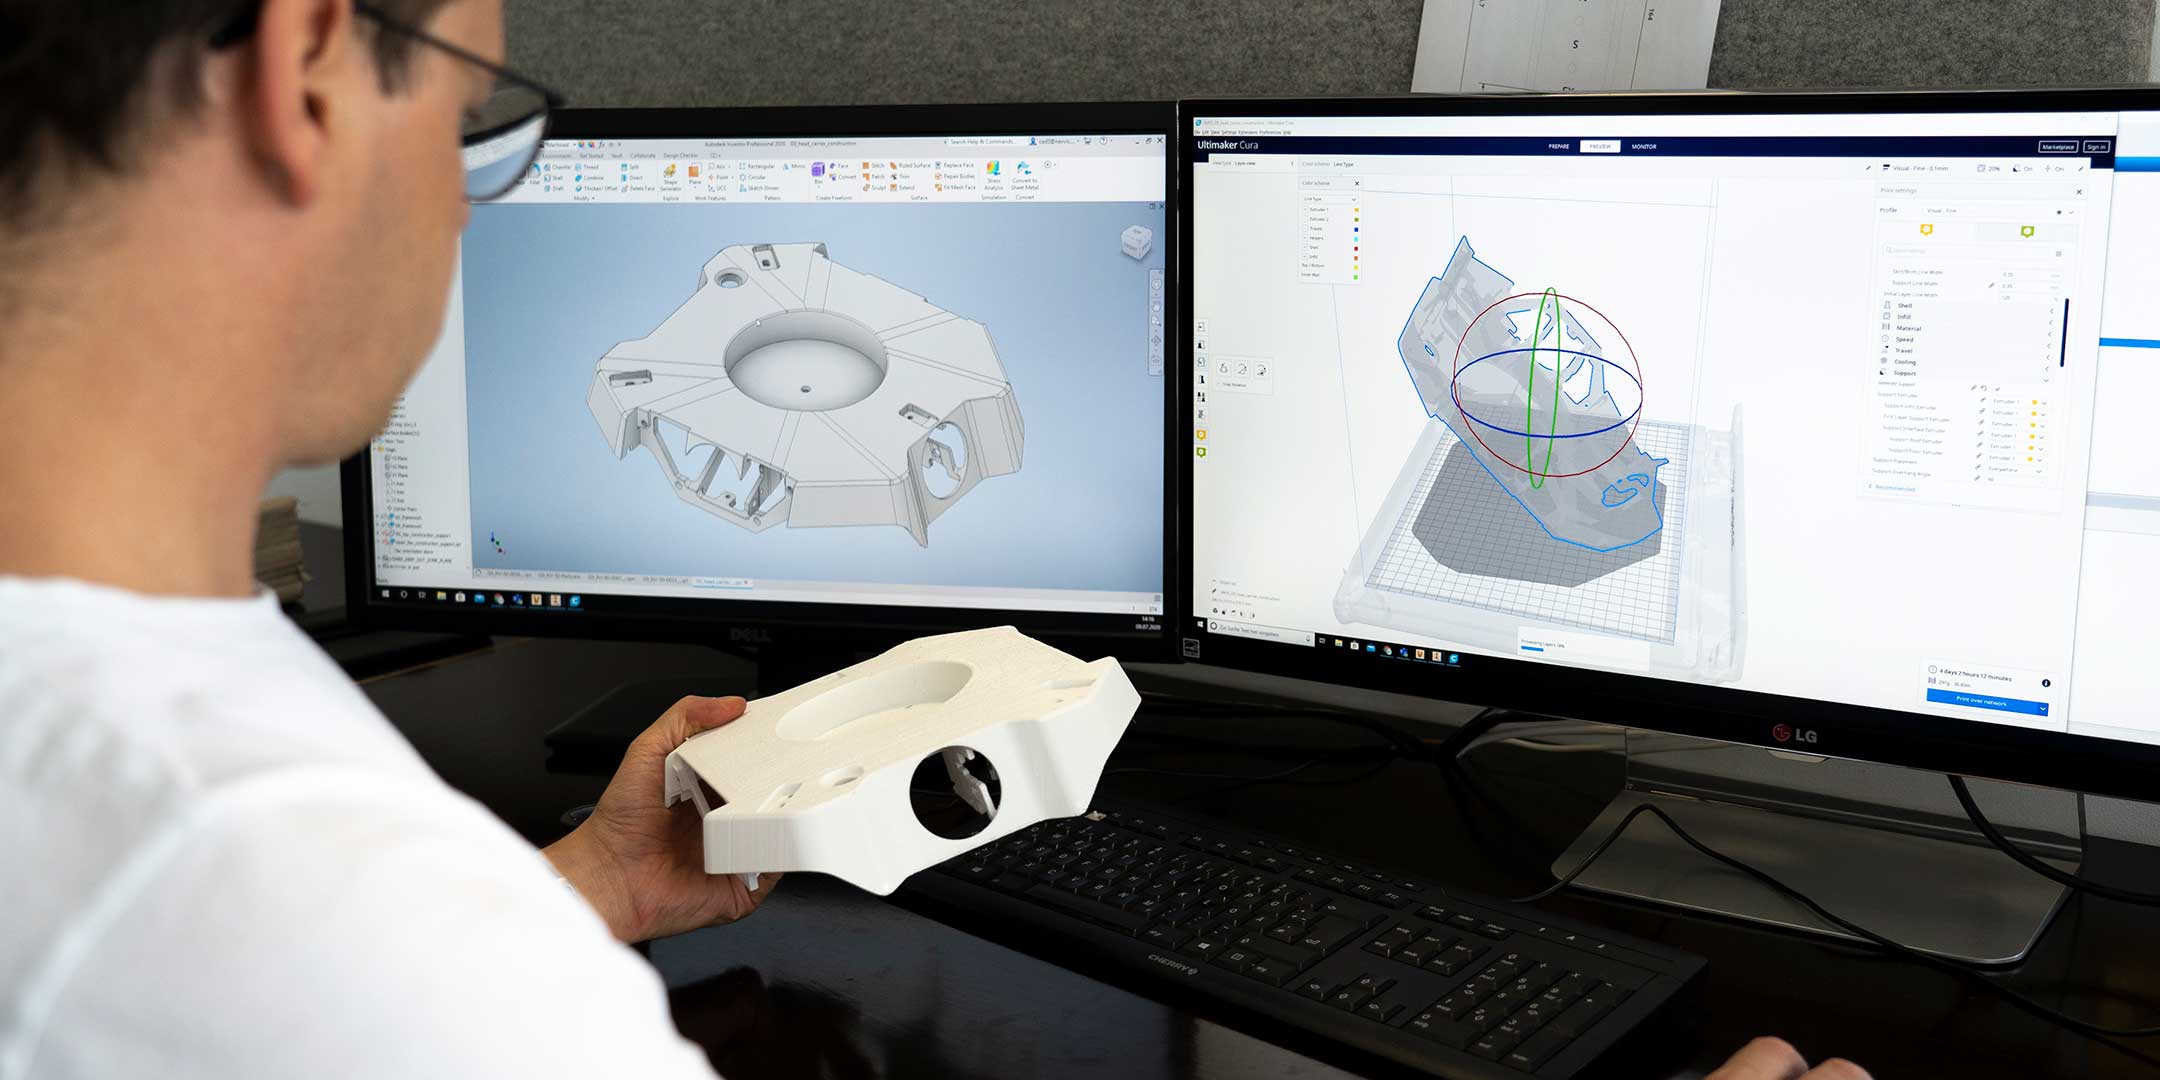
Step 4: Optimizing the design for 3D printing
As you near the completion of your house model design, it’s crucial to optimize it for 3D printing. This step ensures that your design is not only visually appealing but also suitable for successful printing. Here are some important considerations to keep in mind:
- Wall Thickness: Ensure that the walls of your house model have adequate thickness for 3D printing. Thin walls may result in structural weaknesses or even failure during the printing process. Check the specifications of your 3D printer and adjust the wall thickness accordingly.
- Support Structures: Evaluate your design for overhangs and unsupported areas that may require support structures during printing. 3D printers can struggle to print certain features without supports, so consider adding them strategically to ensure proper printing and easy removal later.
- Printing Orientation: Take into account the orientation in which your design will be printed. Certain features may print more successfully if positioned in a specific way. Experiment with different orientations to find the most optimal one for your design.
- Printability Testing: Before committing to a full-scale print, consider running a test print of a smaller section or a prototype of your design. This will help you identify any potential issues or areas that need improvement before printing the entire house model.
- File Format and Resolution: Ensure that your design is saved in a 3D printer-friendly file format such as STL or OBJ. Additionally, adjust the resolution of your design file to balance file size and print quality. Higher-resolution files may result in longer print times.
- Slicing Software: Familiarize yourself with the slicing software that will be used to prepare your design for printing. Understand its features, settings, and capabilities to ensure a seamless transition from design to print.
Paying attention to these optimization factors will help you avoid potential issues during the 3D printing process and give you a higher chance of achieving a successful print of your house model.
With your design fully optimized, you’re now ready to move on to the next step: preparing the design for 3D printing. Check out Step 5 to learn about the important steps involved in getting your design ready for the physical printing process!
Read more: Who Invented 3D Modeling
Step 5: Preparing the design for 3D printing
Now that you have optimized your house model design, it’s time to prepare it for the 3D printing process. This step involves ensuring that your design is ready to be translated into a physical object. Here’s how to prepare your design for 3D printing:
- Check for Errors: Run a thorough check of your design to identify any errors or issues that may affect the printing process. Look for intersecting geometries, flipped normals, or any other anomalies that could result in a failed print.
- Scale and Size Adjustment: Confirm that the scale and size of your design match your desired dimensions. Use the measurements and specifications you gathered earlier to verify that everything is proportionate and accurate.
- Export as STL: Export your design as an STL (Standard Tessellation Language) file, which is the most widely accepted file format for 3D printing. STL files encode the geometry of the object in a surface mesh that is suitable for slicing and printing.
- Slicing: Import your STL file into the slicing software that corresponds to your 3D printer. Adjust the settings in the software according to your preferences and the requirements of your printer, such as layer height, printing speed, and support structures.
- Positioning and Orientation: Position your model within the slicing software’s virtual print bed to ensure optimal printing results. Consider the best orientation for printing, taking into account factors such as overhangs, support structures, and the desired visual appearance.
- Generate Print Files: Once you are satisfied with the settings and positioning, generate the print files from the slicing software. These files will include the instructions for your 3D printer to follow during the printing process.
- Save to the Appropriate Storage Medium: Save the generated print files to an SD card, USB drive, or any other storage medium compatible with your 3D printer. Make sure the files are easily accessible for the printing process.
By following these steps, you will ensure that your design is properly prepared and ready for the 3D printing process. Taking the time to thoroughly check and prepare your design will greatly increase the chances of a successful and accurate print.
Now that your design is prepared, it’s time for the exciting final step: printing your house model! Move on to Step 6 to learn about the process of bringing your design to life through 3D printing.
Step 6: Printing the house model
Congratulations on reaching the final step of bringing your house model design to life! Now it’s time to turn your digital creation into a physical object through the 3D printing process. Here’s how to proceed:
- Prepare the 3D Printer: Set up your 3D printer according to the manufacturer’s instructions. Ensure that the printer is clean, calibrated, and properly loaded with the appropriate filament or resin for your design.
- Insert the Print Files: Insert the storage medium containing your generated print files into the 3D printer. Refer to the printer’s user manual for specific instructions on loading the files.
- Configure the Printing Parameters: Use the printer’s interface to configure the necessary printing parameters. This includes settings such as layer height, print speed, temperature, and any other parameters specified by your slicing software.
- Start the Printing Process: Initiate the printing process from the printer’s interface. Sit back and monitor the progress of the print, ensuring that everything is running smoothly.
- Monitor the Print: Keep an eye on the print throughout the process, especially in the initial layers, to detect any potential issues. Address any problems as soon as possible to avoid a failed print.
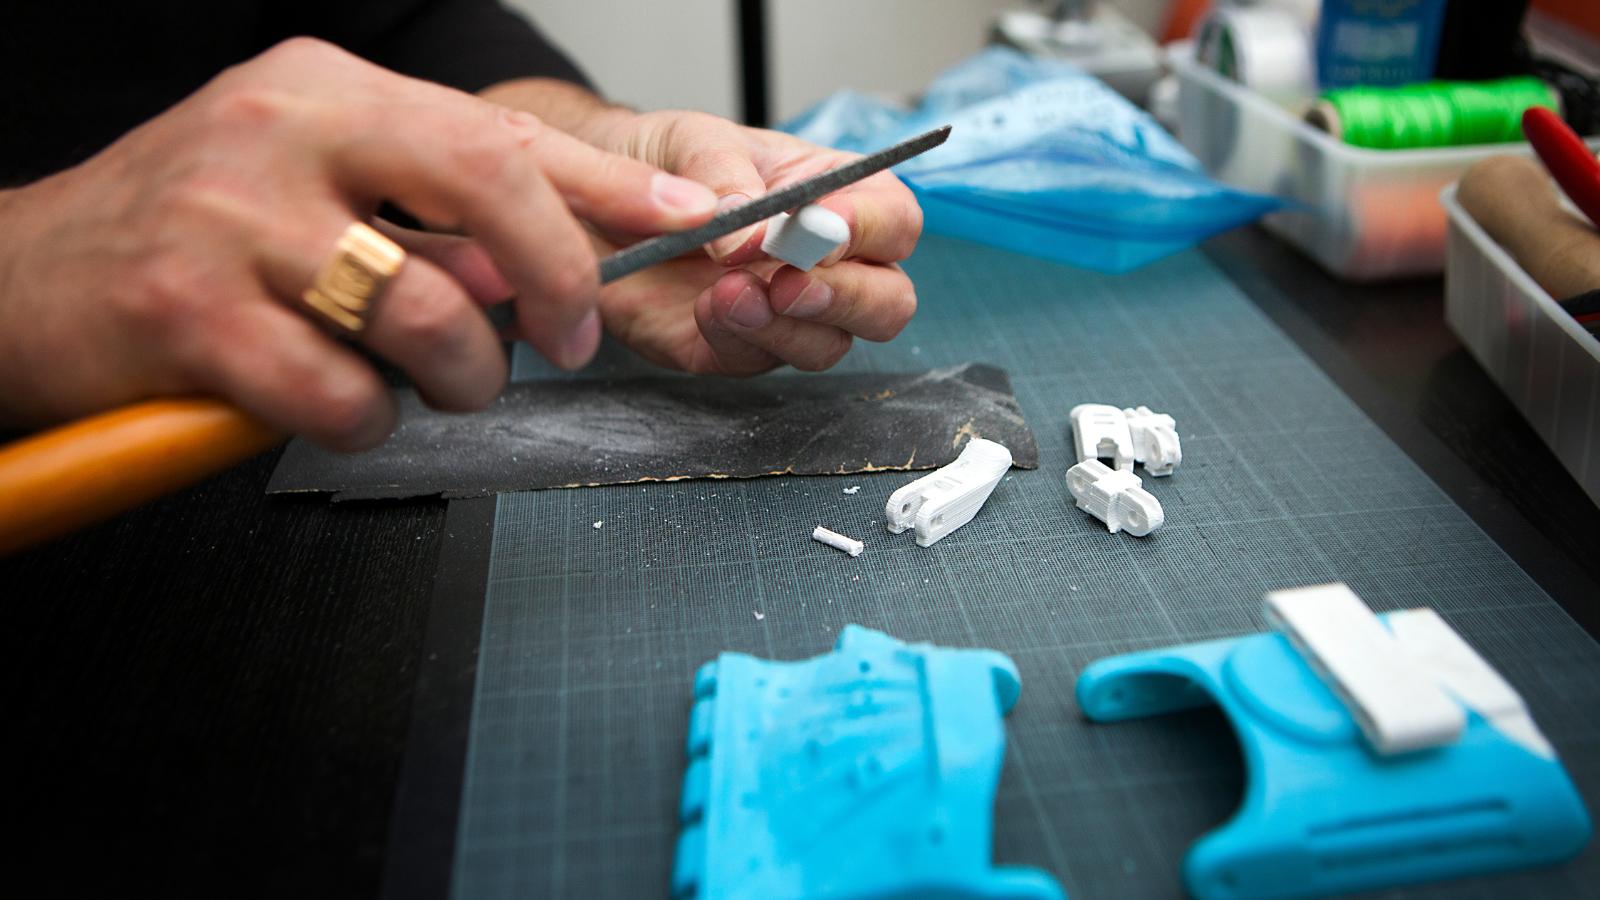
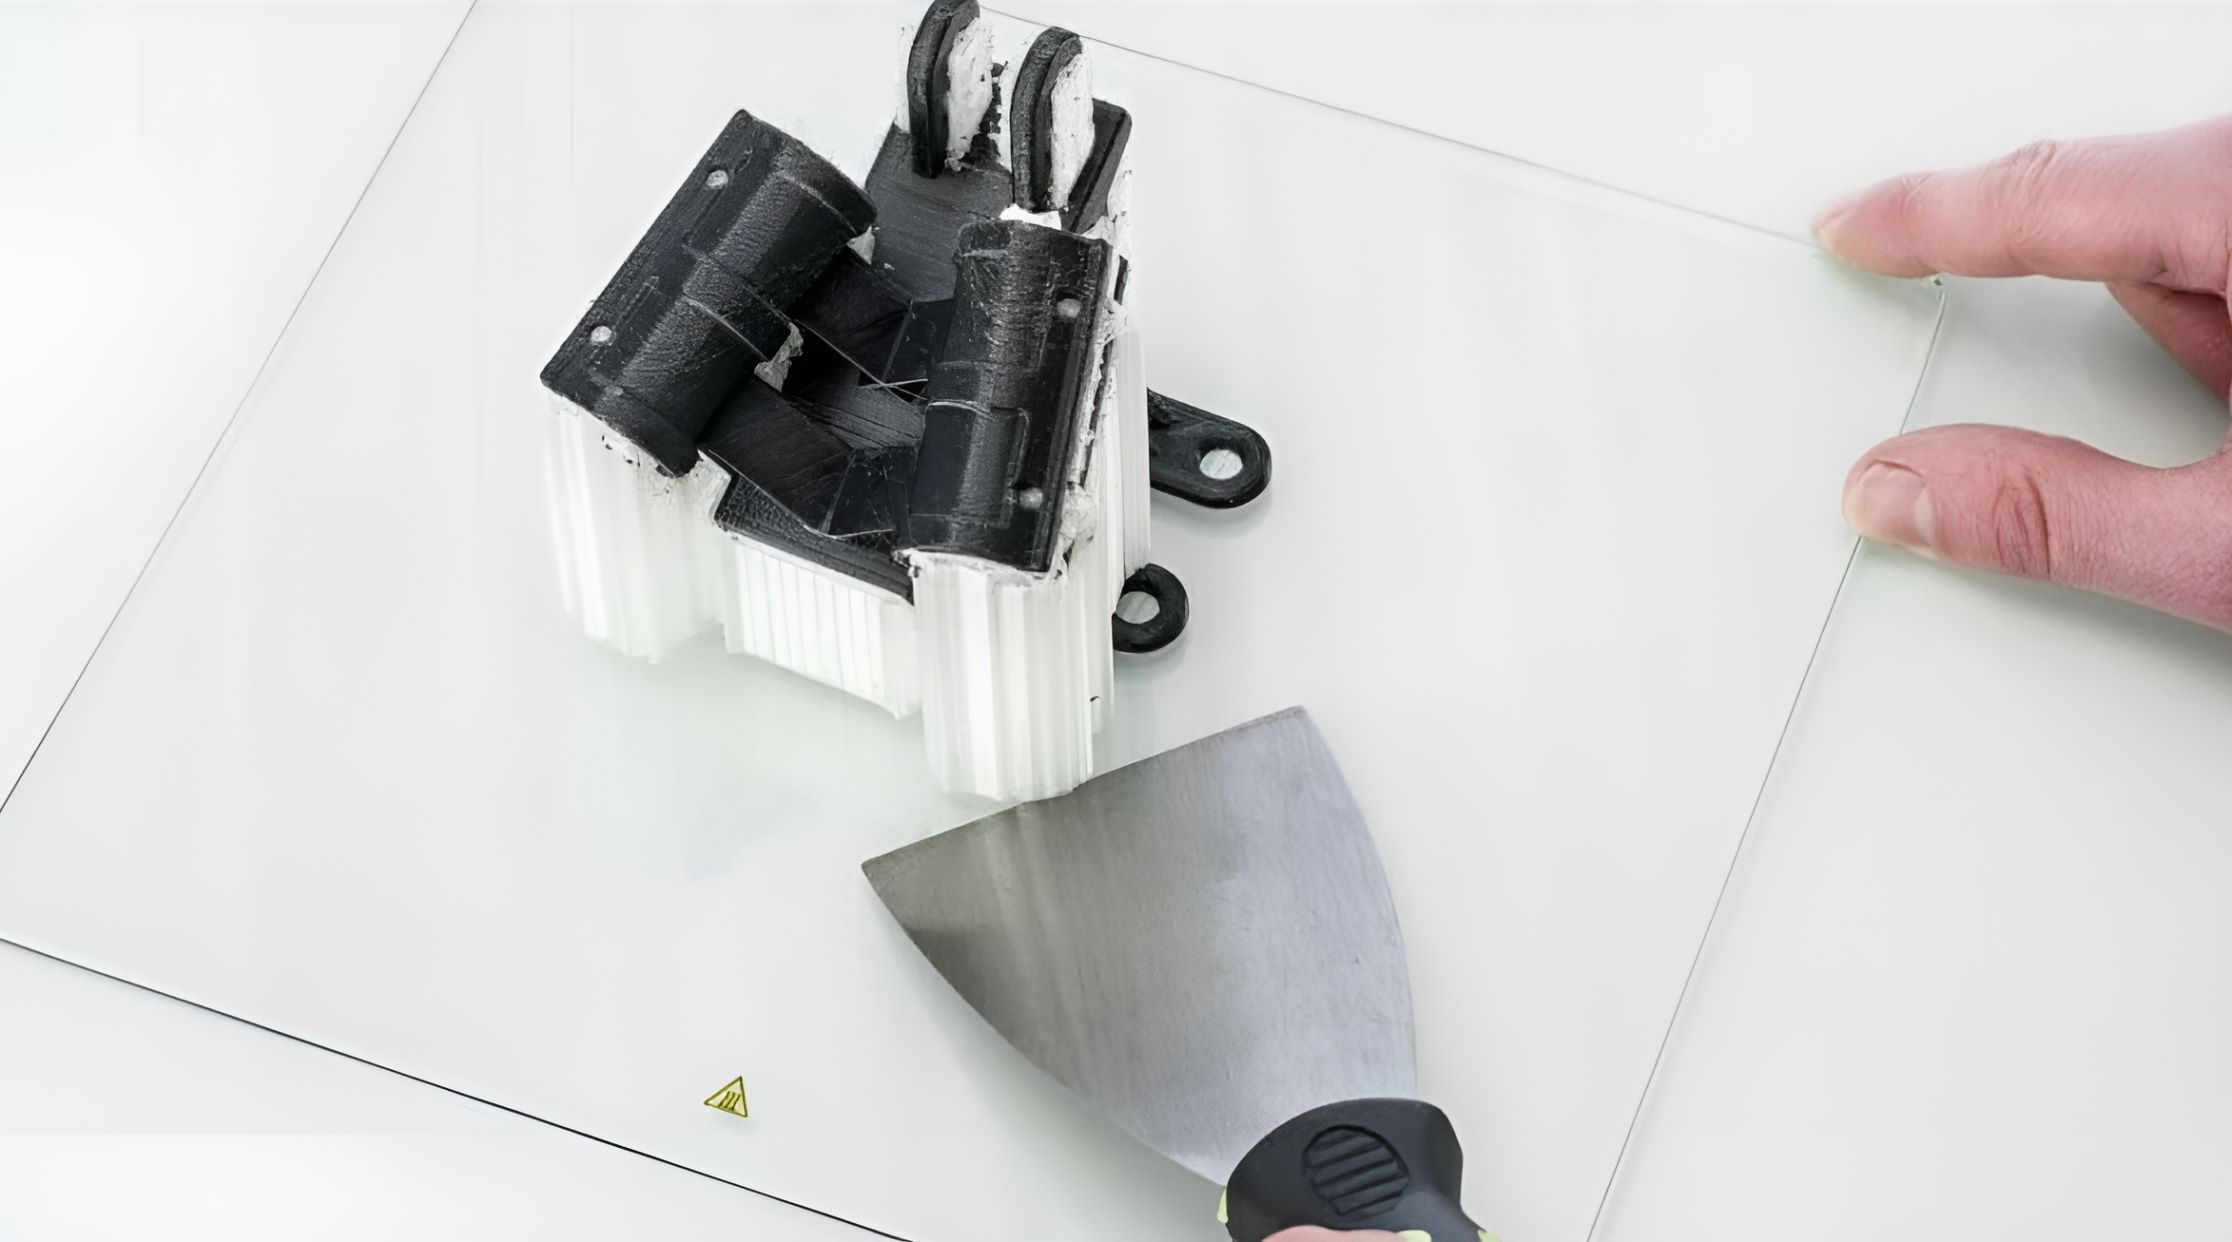
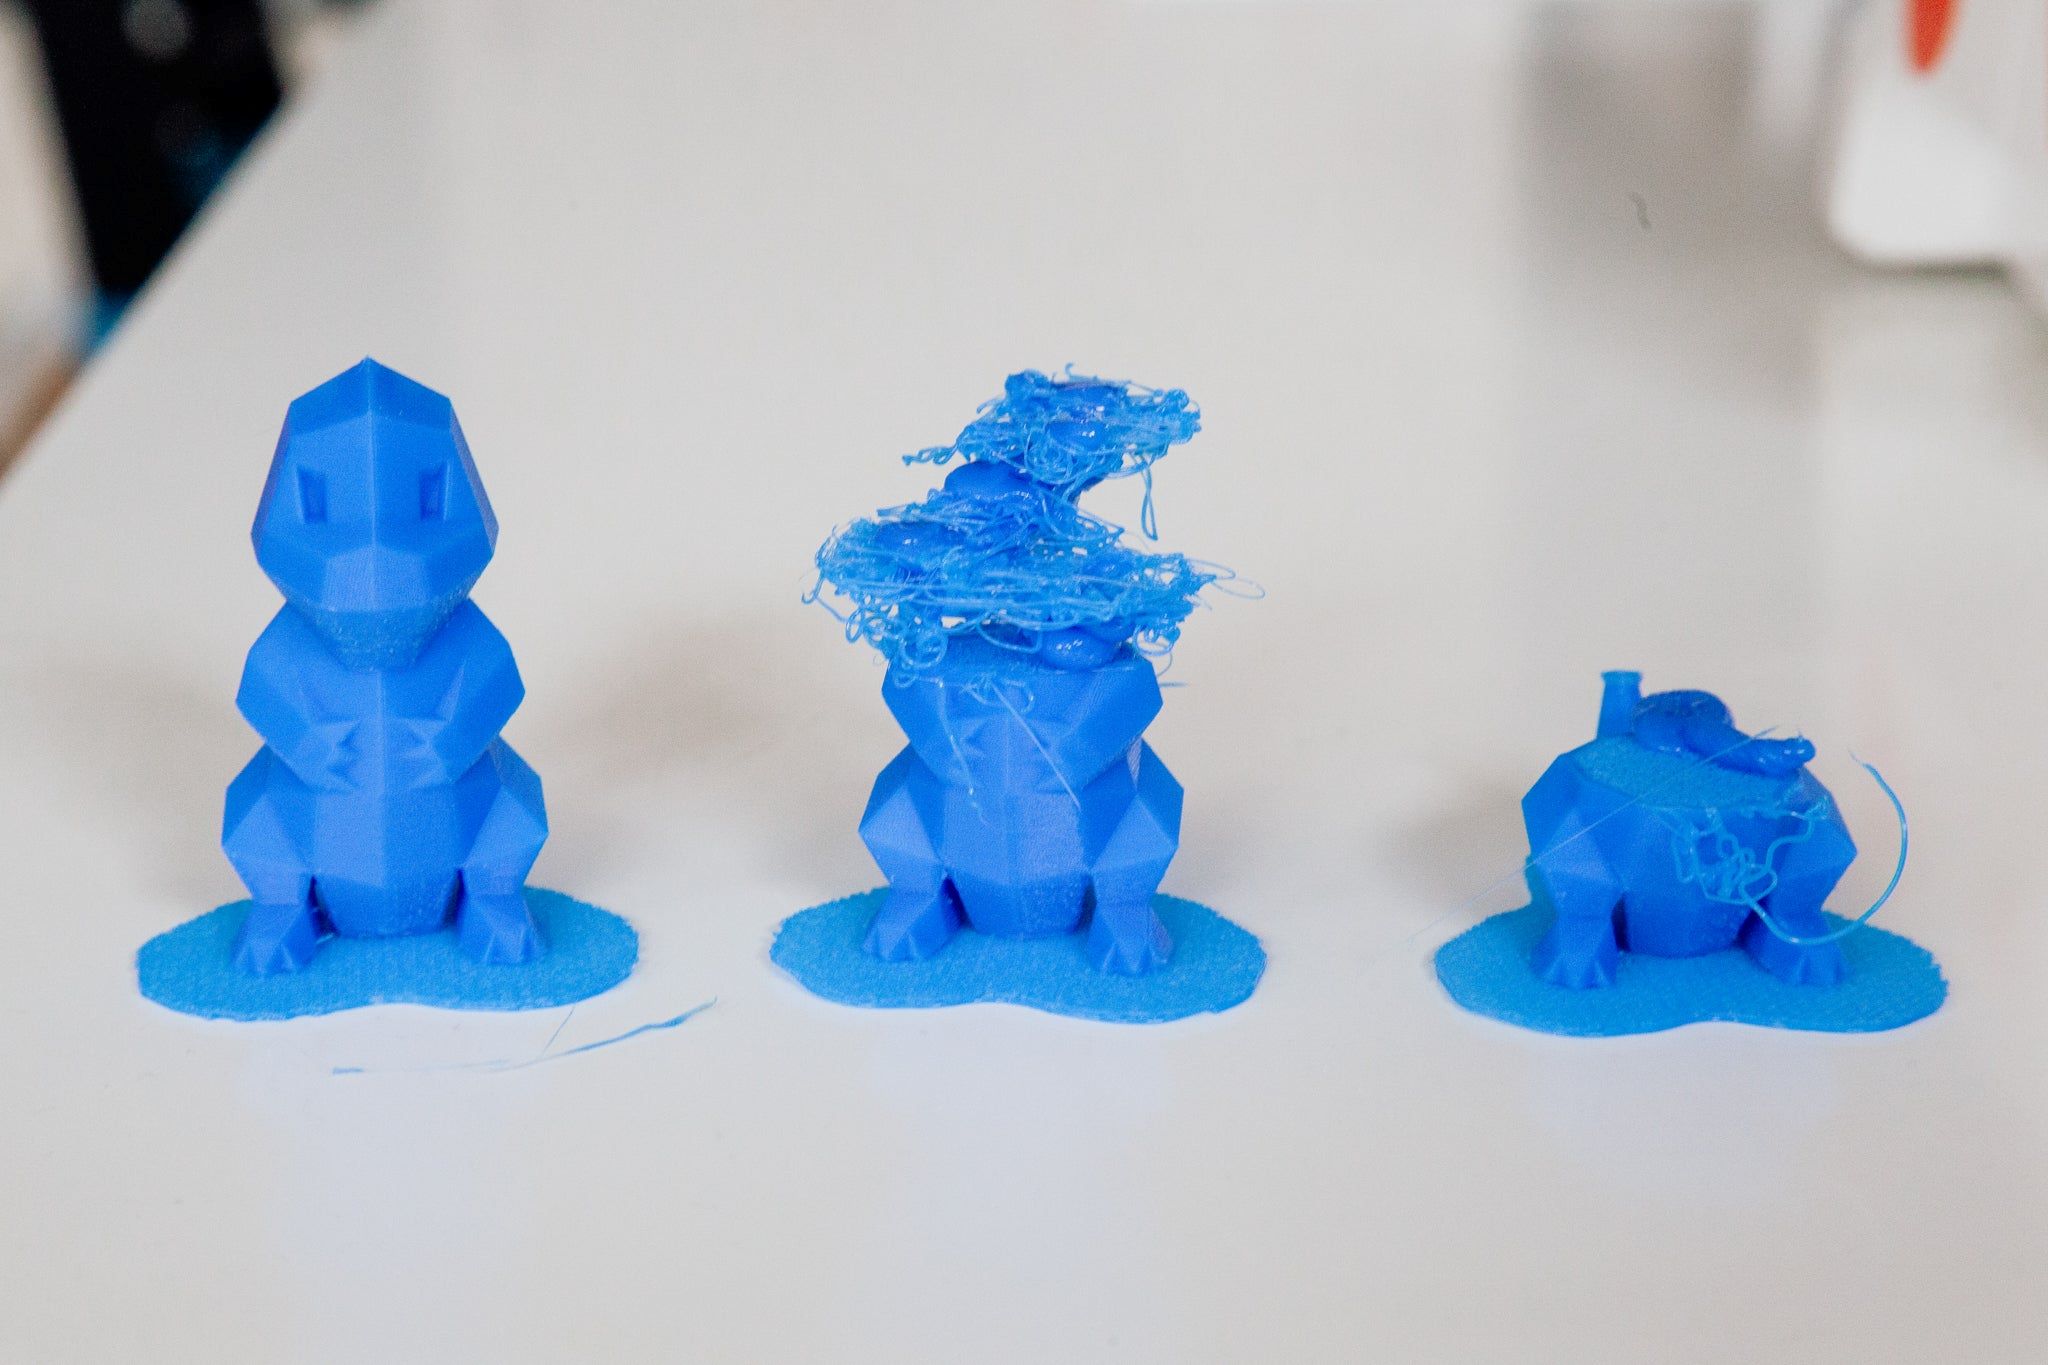
- Remove Support Structures: Once the print is complete and has cooled down, carefully remove any support structures that were added during the printing process. Use appropriate tools to eliminate them without damaging the model.
- Inspect and Clean: Inspect the printed house model for any imperfections or artifacts. Clean the model if necessary, using mild cleaning solutions and soft cloths or brushes to remove any residue.
- Showcase Your Model: With your house model printed and cleaned, proudly display it to showcase your design and creativity. Share your creation with others, whether it’s for professional purposes or personal satisfaction.
Remember, the 3D printing process may take some time depending on the complexity and size of your design. Patience and attention to detail will result in a high-quality finished product.
Now that you have successfully printed your house model, take a moment to admire your accomplishment. You have gone through the entire process, from gathering tools and software to optimizing and preparing the design, and finally bringing it to life through 3D printing.
By following these six steps, you have unlocked the ability to explore and create limitless architectural designs through the world of 3D printing. Enjoy the journey and continue to refine your skills as you embark on future projects.
Congratulations again on your 3D printed house model. Happy designing and printing!
Conclusion
Designing and 3D printing a house model can be a fascinating and rewarding process. Throughout this guide, we have explored the step-by-step journey of creating a house model from gathering the necessary tools and software to optimizing the design and finally bringing it to life through 3D printing.
By following these steps, you have learned how to take an idea or concept and transform it into a tangible object through the power of 3D design and printing. You have acquired the skills to create the basic structure of a house model, add intricate details, optimize the design for printing, and prepare it for the physical printing process.
Throughout the process, it is important to maintain a balance between technical considerations and creative expression. Attention to detail, accuracy, and adherence to architectural principles are essential for creating a realistic and visually appealing house model, while allowing room for personalization and artistic flair.
As you continue your journey in 3D architectural design and printing, remember to stay curious, explore new techniques and tools, and push the boundaries of your creativity. Embrace challenges and learn from them, as they will only refine your skills and expand your understanding of this exciting field.
Finally, don’t forget to share your creations with others. Whether it’s to inspire fellow designers and architects, showcase your work to potential clients, or simply to appreciate the joy and satisfaction that comes from seeing your designs come to life, sharing your 3D printed house models can be a source of inspiration for others and a celebration of your accomplishments.
So, pick up your tools, fire up your design software, and let your imagination run wild. The world of 3D architectural design and printing is waiting for you to unleash your creativity and leave a lasting impact in the field of architecture.
Frequently Asked Questions about How To 3D Design A House Model For 3D Printing
Was this page helpful?
At Storables.com, we guarantee accurate and reliable information. Our content, validated by Expert Board Contributors, is crafted following stringent Editorial Policies. We're committed to providing you with well-researched, expert-backed insights for all your informational needs.


0 thoughts on “How To 3D Design A House Model For 3D Printing”