Articles
How To Attach Countertops To Cabinets
Modified: March 2, 2024
Learn how to properly attach countertops to cabinets with our helpful articles. Find step-by-step guides and expert tips for a seamless installation.
(Many of the links in this article redirect to a specific reviewed product. Your purchase of these products through affiliate links helps to generate commission for Storables.com, at no extra cost. Learn more)
Introduction
Attaching countertops to cabinets is an essential part of any kitchen or bathroom remodeling project. It not only adds functionality but also enhances the overall aesthetic appeal of the space. While it may seem like a daunting task, with the right tools and techniques, you can easily complete this project yourself.
In this article, we will guide you through the step-by-step process of attaching countertops to cabinets. Whether you are a seasoned DIY enthusiast or a novice looking to take on your first home improvement project, this guide will provide you with the knowledge and confidence to successfully complete the task.
Before we dive into the detailed steps, let’s take a look at the tools and materials you will need:
Key Takeaways:
- Attaching countertops to cabinets is a DIY project that can enhance the functionality and aesthetic appeal of your space. Proper preparation, precise measurements, and secure installation are key to achieving professional-quality results.
- With the right tools, materials, and step-by-step guidance, you can confidently attach countertops to cabinets, adding value and beauty to your kitchen or bathroom. Don’t be intimidated – embrace the journey of transforming your space with this rewarding DIY project.
Read more: How To Attach Countertop To Cabinet
Tools and Materials Needed
Before you begin attaching countertops to cabinets, gather the following tools and materials:
- Measuring tape
- Pencil
- Safety goggles
- Work gloves
- Power drill
- Screwdriver (flat and Phillips head)
- Adhesive
- Clamps
- Countertop brackets
- Level
- Router (if necessary)
- Sanding block or sandpaper
It is essential to have these tools on hand to ensure a smooth and efficient installation process.
Additionally, the type of adhesive you choose will depend on the material of your countertop. Consult your local hardware store or countertop manufacturer for recommendations on the appropriate adhesive.
Now that you have your tools and materials ready, let’s move on to the step-by-step process of attaching countertops to cabinets.
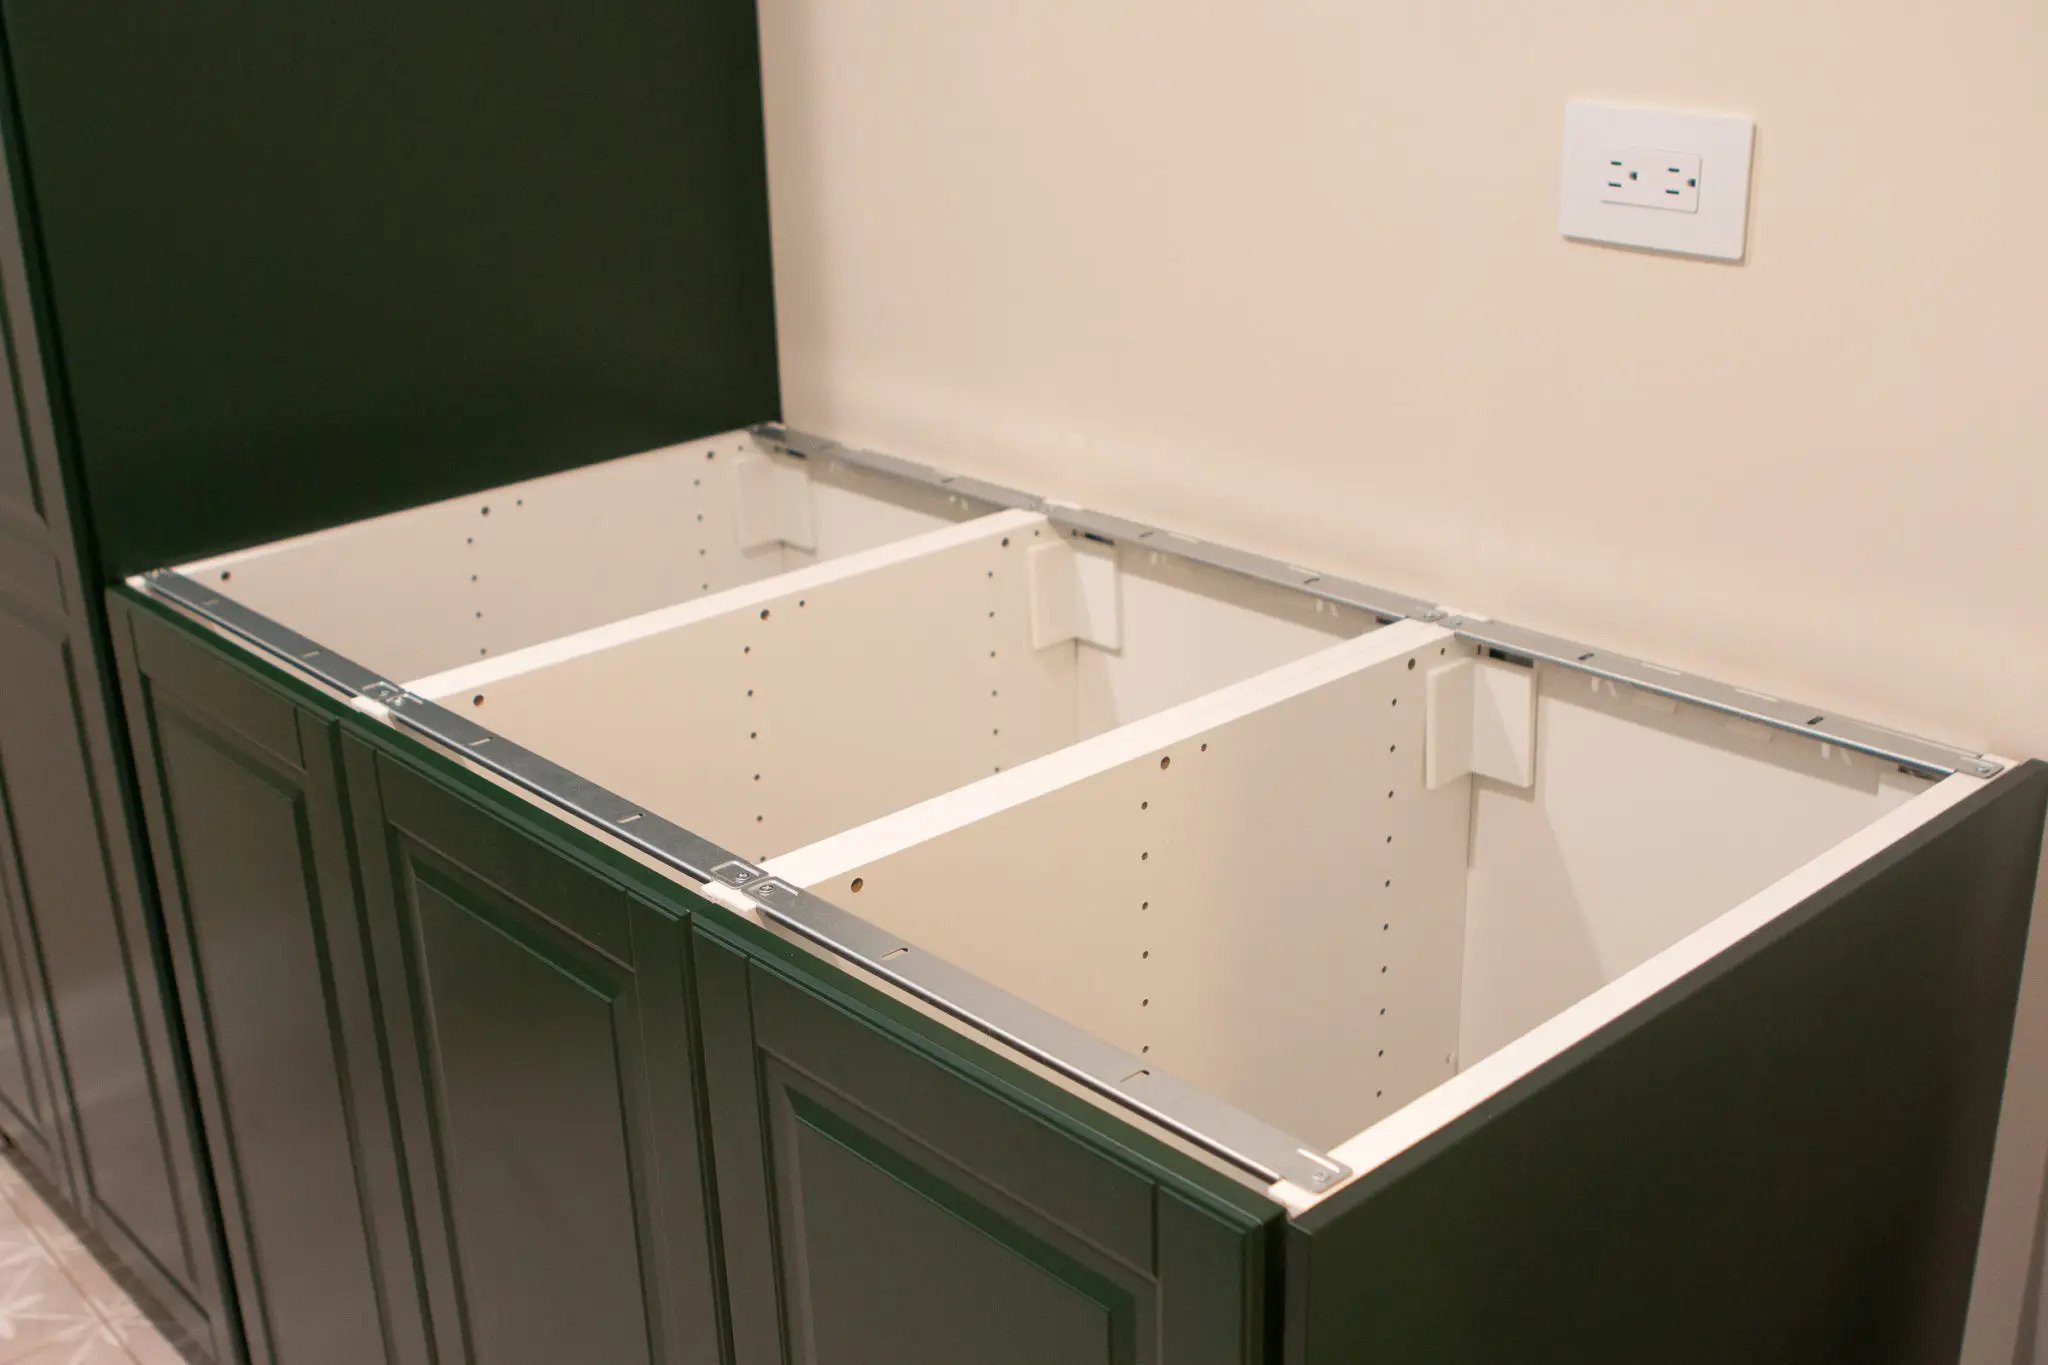
Step 1: Preparing the Cabinets
Before installing the countertops, you need to ensure that the cabinets are properly prepared. Follow these steps to get your cabinets ready:
- Clear the cabinets: Remove any items or debris from the cabinets so that you have a clean and empty workspace.
- Inspect the cabinets: Check the cabinets for any signs of damage or necessary repairs. Make sure that the cabinets are sturdy and in good condition.
- Make adjustments if needed: If the cabinets are not level, use shims to level them. This will ensure that the countertops sit evenly on the cabinets.
- Measure and mark: Use a measuring tape to measure the dimensions of the cabinets. Mark these measurements on the walls or floor to ensure accurate placement of the countertops later on.
- Remove old countertops (if applicable): If you are replacing old countertops, carefully remove them using a screwdriver or pry bar. Dispose of them properly.
- Clean the cabinets: Thoroughly clean the cabinets to remove any dirt, grease, or debris. This will help the adhesive bond better with the cabinets.
By properly preparing the cabinets, you ensure a solid foundation for attaching the countertops.
Step 2: Measuring and Cutting the Countertop
Accurate measurement and precise cutting are crucial for a proper fit when attaching countertops to cabinets. Follow these steps to measure and cut the countertop:
- Measure the cabinets: Use a measuring tape to measure the length and depth of the cabinets. Take into account any overhang you want for the countertop.
- Transfer measurements: Using a pencil, mark the measurements on the underside of the countertop. Double-check your measurements to ensure accuracy.
- Cut the countertop: Use a circular saw or a jigsaw to cut along the marked lines. Make sure to wear safety goggles and work gloves for protection.
- Smooth the edges: Use a sanding block or sandpaper to smooth out the edges of the countertop. This will ensure a clean and finished look.
- Check the fit: Place the cut countertop on the cabinets to check the fit. Make any necessary adjustments if the countertop is not sitting flush on the cabinets.
Remember to take precise measurements to ensure an accurate fit. Take your time during this step to avoid any mistakes that could affect the overall installation process.
Step 3: Applying Adhesive
Once you have measured and cut the countertop to the appropriate size, it’s time to apply the adhesive. Follow these steps to properly apply the adhesive:
- Clean the surface: Before applying the adhesive, clean the top of the cabinets to remove any dust or debris. A clean surface will ensure better adhesion.
- Apply adhesive: Follow the manufacturer’s instructions for the specific adhesive you are using. Apply a generous amount of adhesive along the tops of the cabinets, making sure to cover the entire surface evenly.
- Spread the adhesive: Use a notched trowel or a putty knife to spread the adhesive evenly on the tops of the cabinets. Create a consistent layer of adhesive to ensure a strong bond with the countertop.
Take caution not to apply too much adhesive, as it can seep out and create a messy appearance. It’s better to apply adhesive in multiple layers if needed, ensuring a smooth and even application.
Once the adhesive is applied, it’s time to move on to the next step of placing the countertop on the cabinets.
When attaching countertops to cabinets, use screws or brackets to secure the countertop from underneath. Be sure to pre-drill holes to prevent splitting the wood.
Read more: How To Match Countertops With Cabinets
Step 4: Placing the Countertop
With the adhesive applied, it’s time to carefully place the countertop onto the cabinets. Follow these steps to ensure a proper placement:
- Enlist the help of a partner: Countertops can be heavy and bulky, so it’s best to have someone assist you in lifting and placing the countertop.
- Align the countertop: Begin by aligning the countertop with the marked measurements on the cabinets. Carefully lower the countertop onto the adhesive, ensuring a snug fit.
- Check for even overhang: Check that the countertop has an even overhang on all sides. Use a level to confirm that the countertop is level and adjust as necessary.
- Press firmly: Once the countertop is in the desired position, press down firmly to ensure proper contact between the adhesive and the cabinets.
Ensure that the countertop is aligned properly and level before moving on to the next step. Take your time during this step to avoid any misalignment or damage to the countertop.
Now that the countertop is in place, it’s time to secure it to the cabinets to ensure stability and longevity.
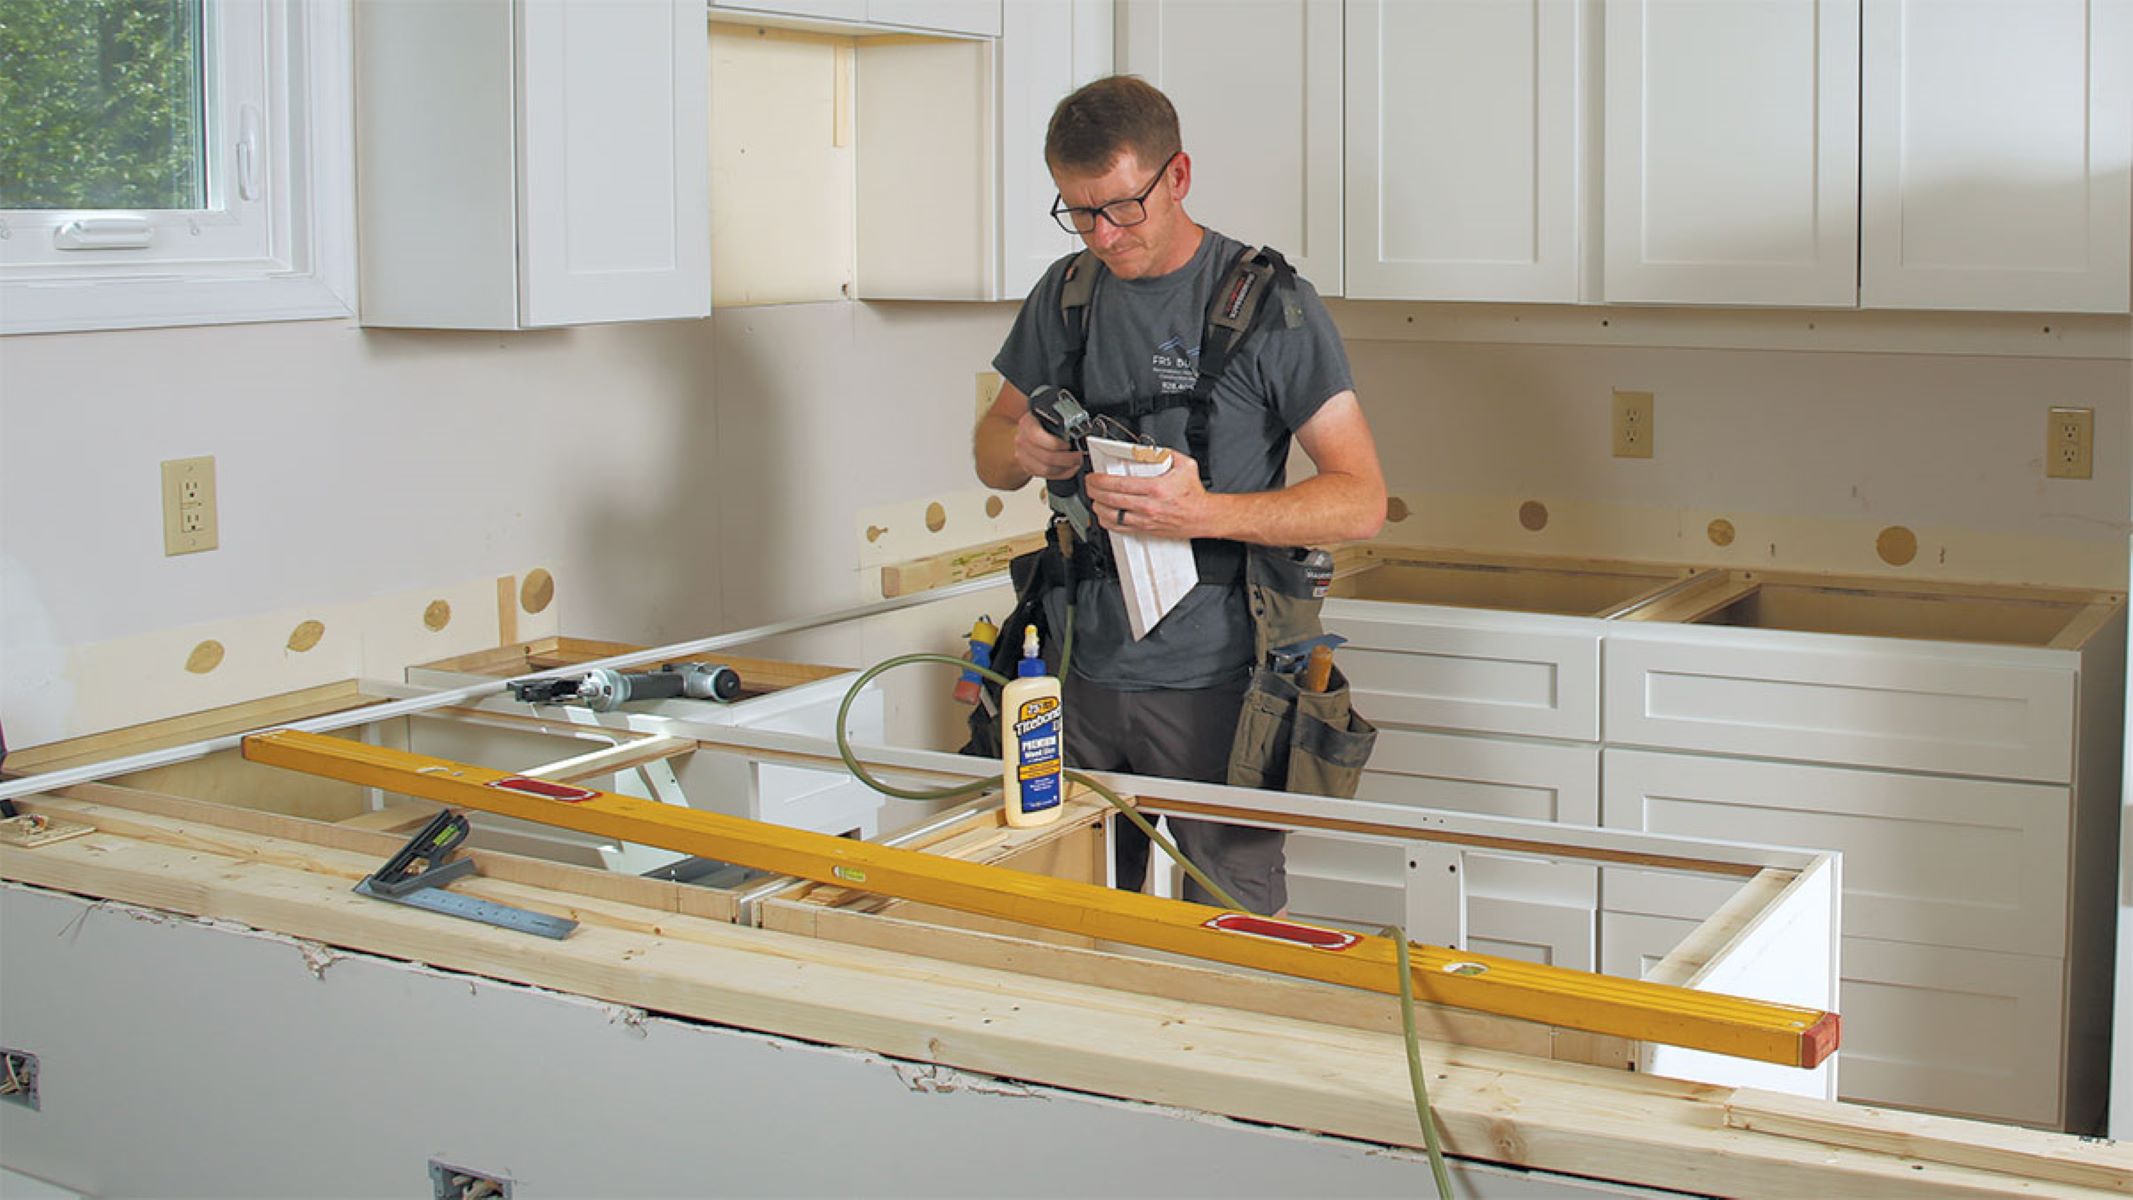
Step 5: Securing the Countertop to the Cabinets
Securing the countertop to the cabinets is an important step to ensure stability and prevent any movement or shifting. Follow these steps to properly secure the countertop:
- Use countertop brackets: Place countertop brackets underneath the overhang of the countertop. These brackets will provide additional support and help secure the countertop to the cabinets.
- Screw the brackets into place: Use a power drill and screws to secure the countertop brackets to the cabinets. Make sure the brackets are securely fastened.
- Add additional support if necessary: Depending on the length and weight of the countertop, you may need to add additional support in the center. Consult the manufacturer’s guidelines for recommendations on additional support.
By using countertop brackets and adding additional support if needed, you ensure that the countertop is securely attached to the cabinets.
Once the countertop is securely in place, it’s time to move on to the finishing touches.
Step 6: Finishing Touches
Now that the countertop is securely attached to the cabinets, it’s time to add the finishing touches to complete the installation. Follow these steps to finish off the project:
- Clean up excess adhesive: Use a damp cloth or sponge to clean up any excess adhesive that may have squeezed out during the installation process. This will help maintain a clean and polished appearance.
- Seal the edges: If your countertop requires edge sealing, carefully apply the appropriate sealant along the edges of the countertop. This will provide added protection against moisture and enhance the overall durability of the countertop.
- Check for any gaps or unevenness: Take a close look at the countertop to ensure there are no visible gaps or unevenness. If necessary, make any final adjustments to ensure a seamless and professional-looking installation.
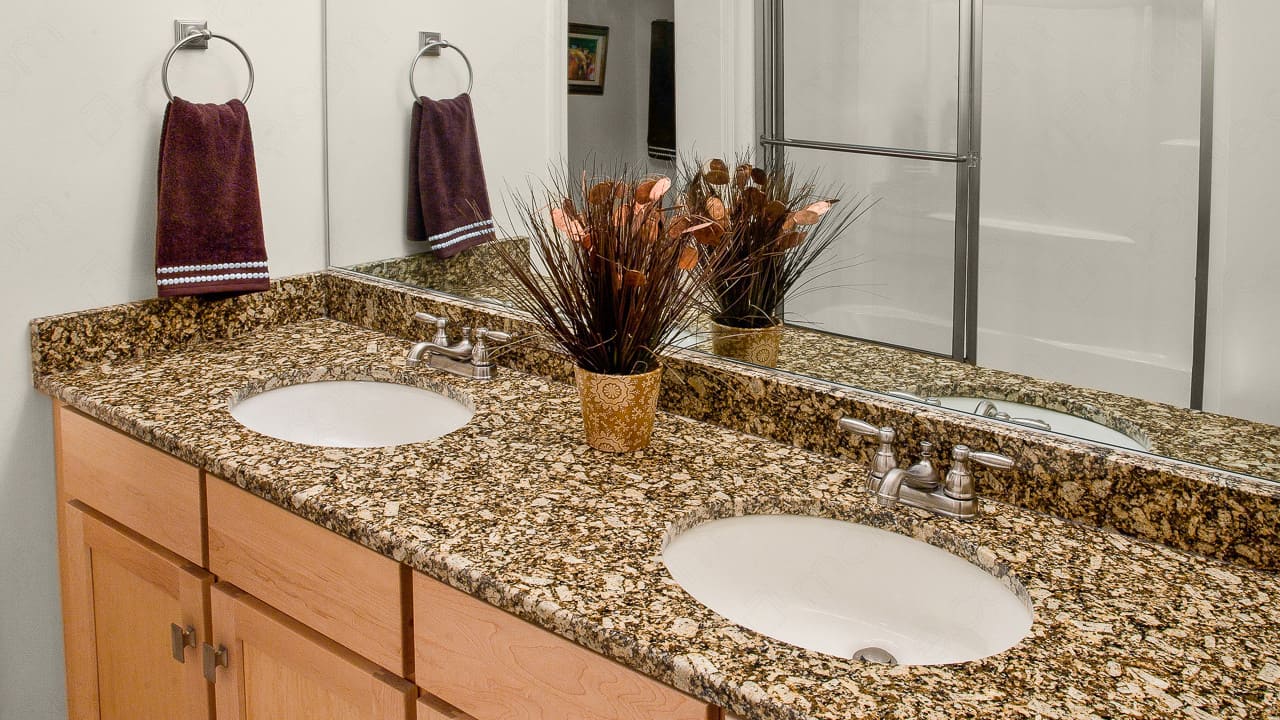
- Reinstall plumbing fixtures: If you had to disconnect any plumbing fixtures during the installation process, now is the time to reinstall them. Make sure all connections are secure and check for any leaks.
- Give it a final clean: Once everything is in place, give the countertops a final clean to remove any dust or debris. Use a mild cleaner suitable for your countertop material and a soft cloth to achieve a sparkling finish.
With these finishing touches, your countertops are now properly attached to the cabinets and ready to be enjoyed.
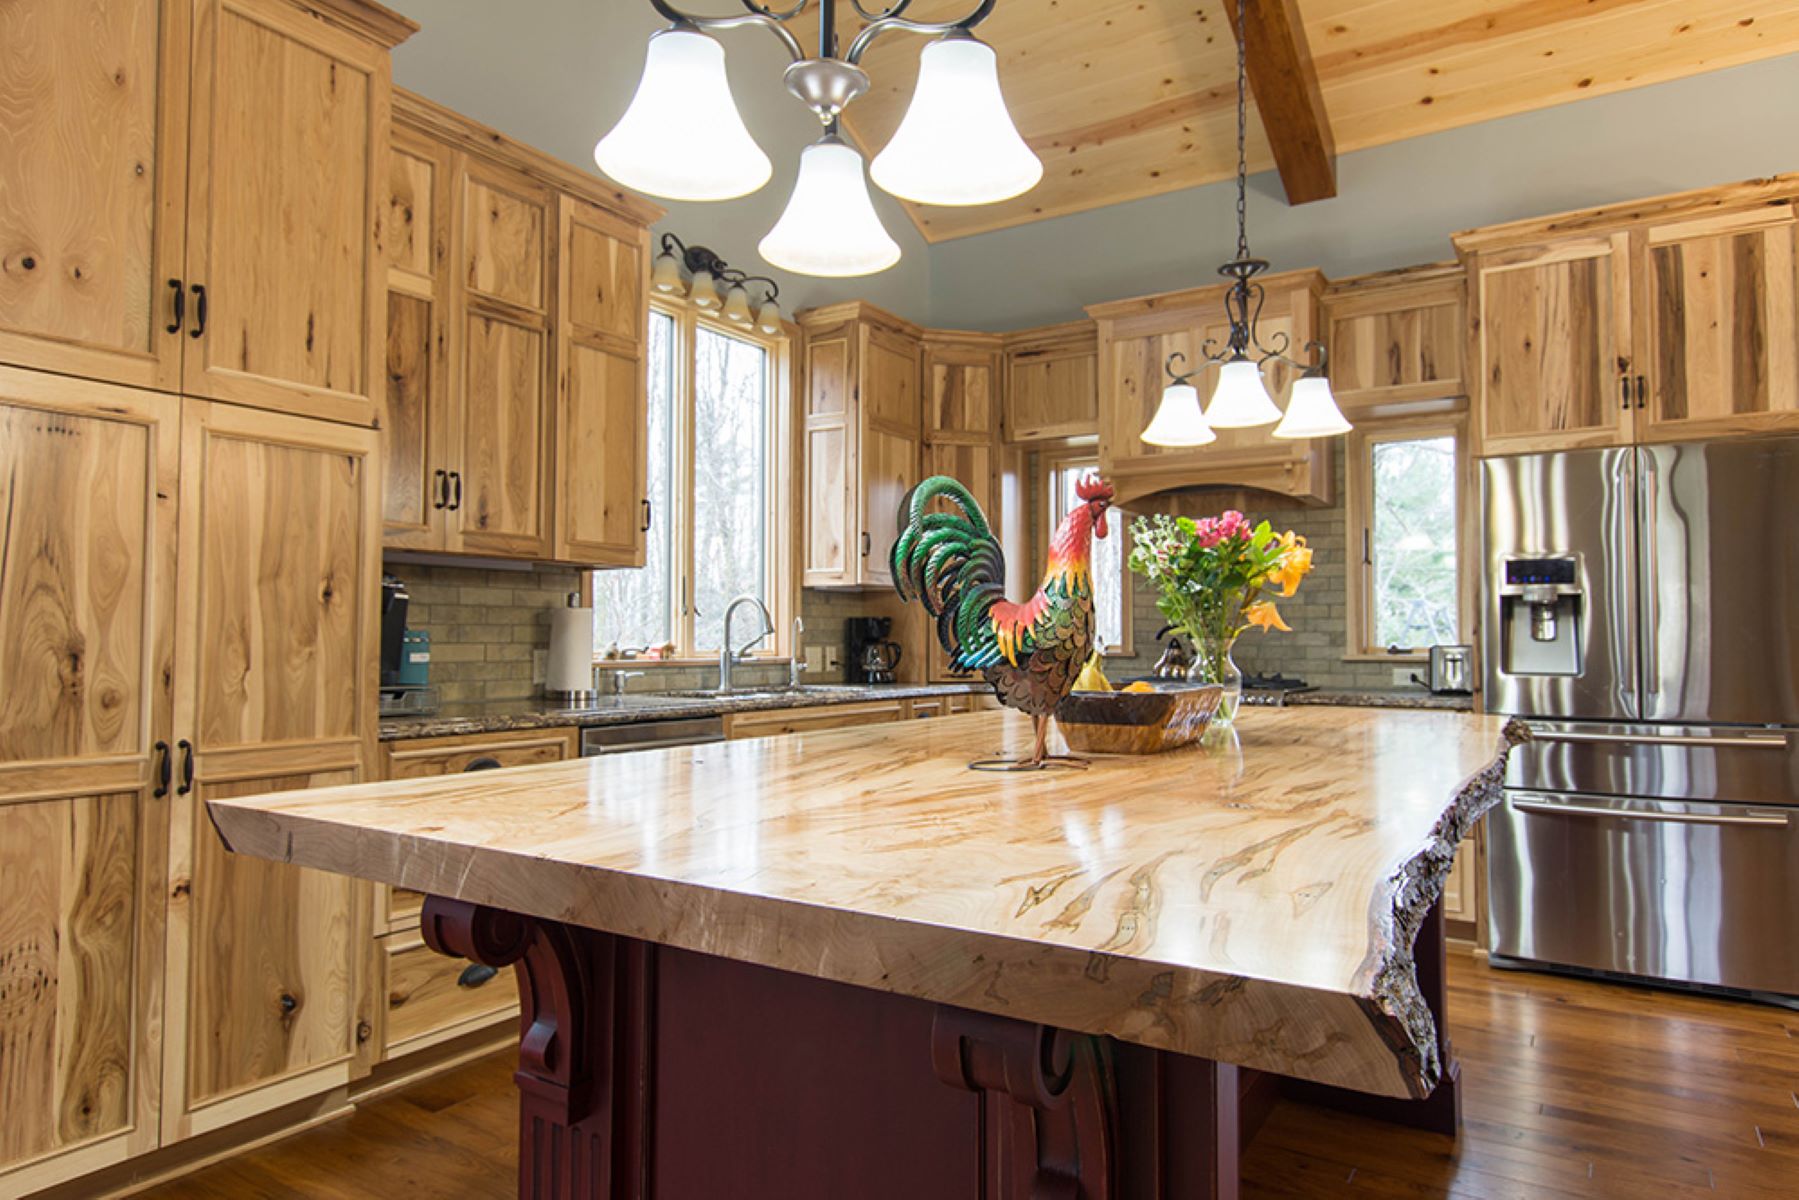
Congratulations on successfully completing the process of attaching countertops to cabinets! You have not only added functionality and value to your space but also achieved a beautiful and polished look.
Conclusion
Attaching countertops to cabinets is a rewarding DIY project that can transform the look and functionality of your kitchen or bathroom. By following the step-by-step process outlined in this article, you can confidently complete the installation and achieve professional-looking results.
Remember to start by preparing the cabinets, ensuring they are clean, level, and in good condition. Take accurate measurements and carefully cut the countertop to fit perfectly on the cabinets. Apply the appropriate adhesive and securely place the countertop on the cabinets, checking for proper alignment and levelness.
Secure the countertop using countertop brackets and additional support if necessary, ensuring a stable and sturdy installation. Take care of the finishing touches, cleaning up excess adhesive, sealing the edges, and checking for any gaps or unevenness. Finally, reinstall any plumbing fixtures and give the countertops a final clean for a polished and beautiful finish.
By following these steps and using the right tools and materials, you can successfully attach countertops to cabinets and create a functional and visually appealing space.
Don’t be intimidated by this project – with proper planning, preparation, and execution, you can achieve professional-quality results. So, roll up your sleeves, gather your tools, and embark on the journey of attaching countertops to cabinets. Enjoy the satisfaction of a job well done as you transform your kitchen or bathroom into a space that is both practical and aesthetically pleasing.
Frequently Asked Questions about How To Attach Countertops To Cabinets
Was this page helpful?
At Storables.com, we guarantee accurate and reliable information. Our content, validated by Expert Board Contributors, is crafted following stringent Editorial Policies. We're committed to providing you with well-researched, expert-backed insights for all your informational needs.


0 thoughts on “How To Attach Countertops To Cabinets”