Articles
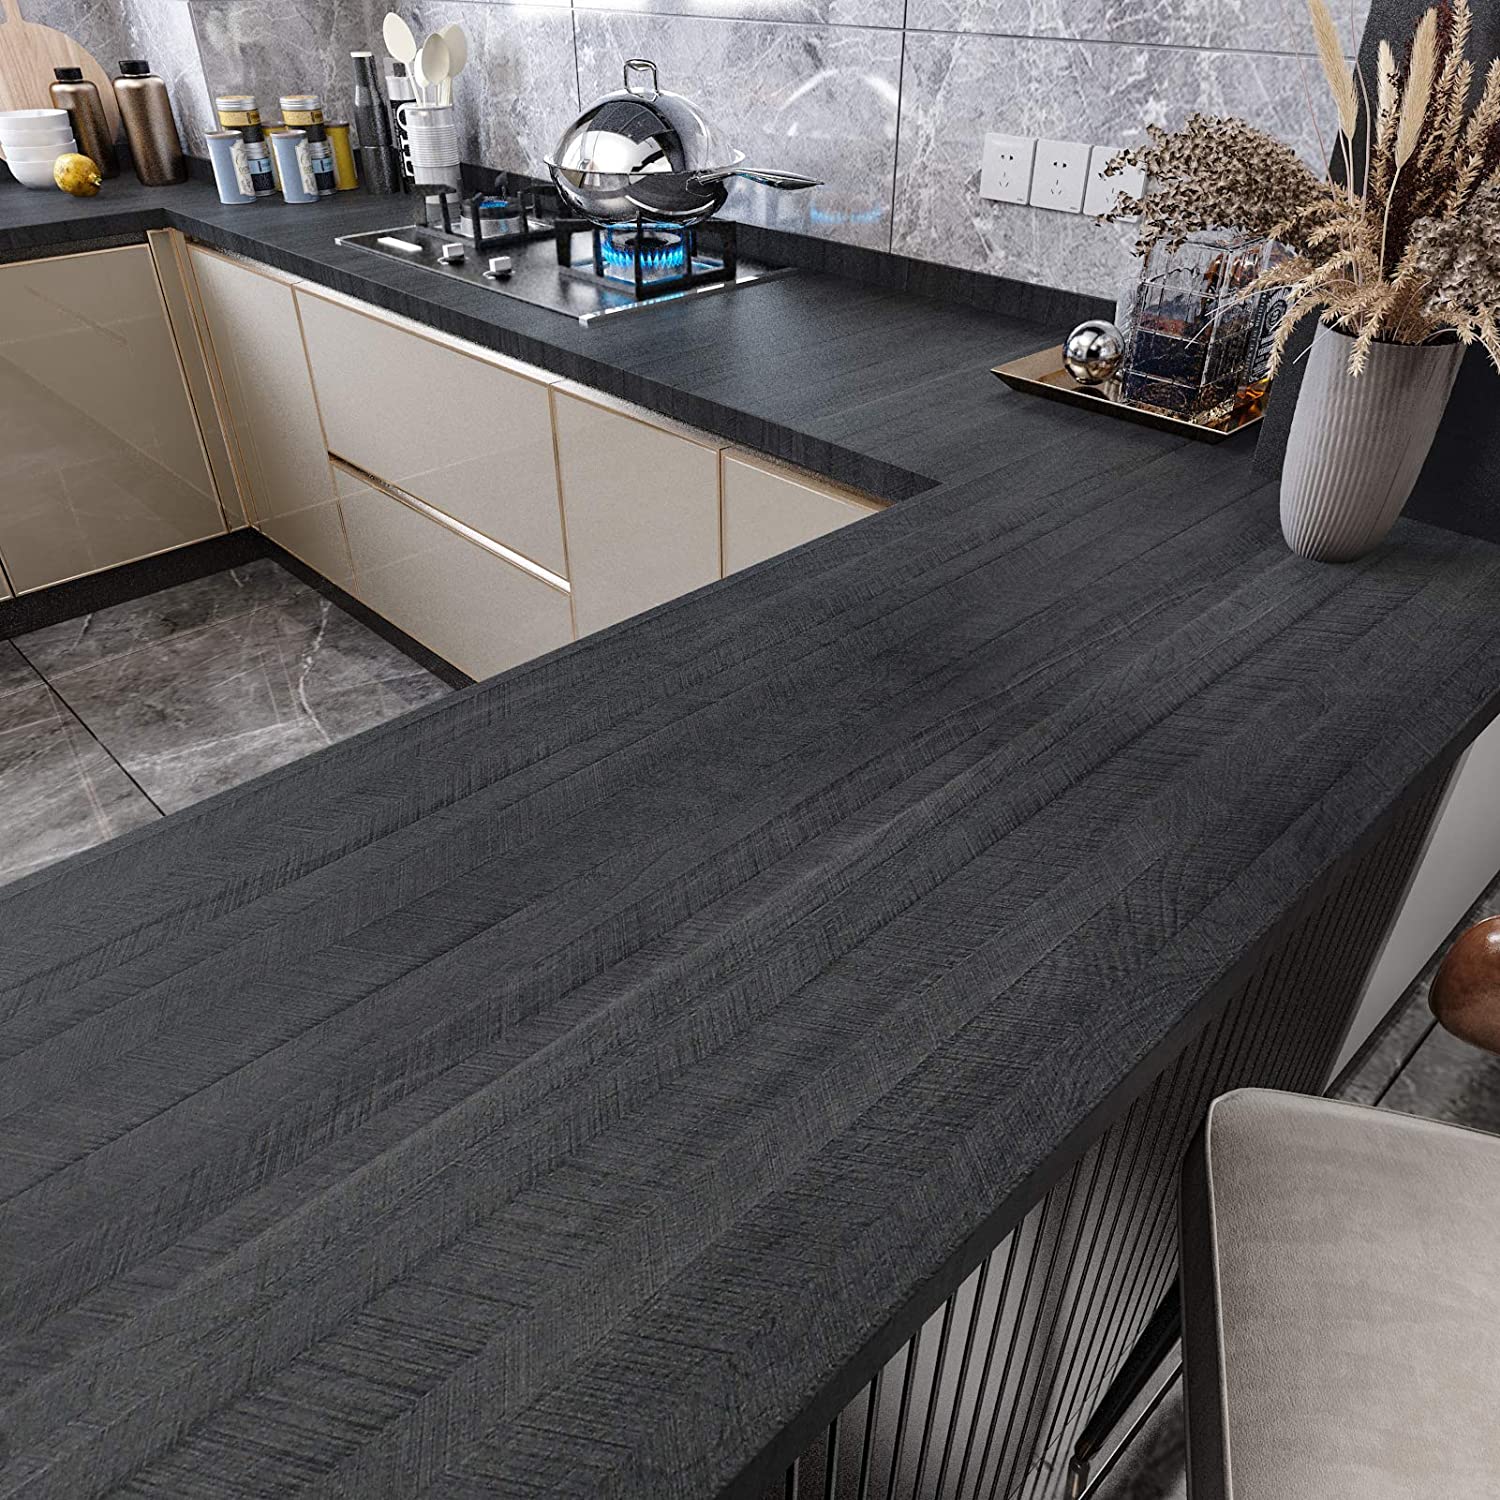
How To Attach Countertop To Cabinet
Modified: August 26, 2024
Learn how to securely attach a countertop to your kitchen furniture with our step-by-step guide. Enhance the functionality and aesthetics of your cabinets effortlessly!
(Many of the links in this article redirect to a specific reviewed product. Your purchase of these products through affiliate links helps to generate commission for Storables.com, at no extra cost. Learn more)
Introduction
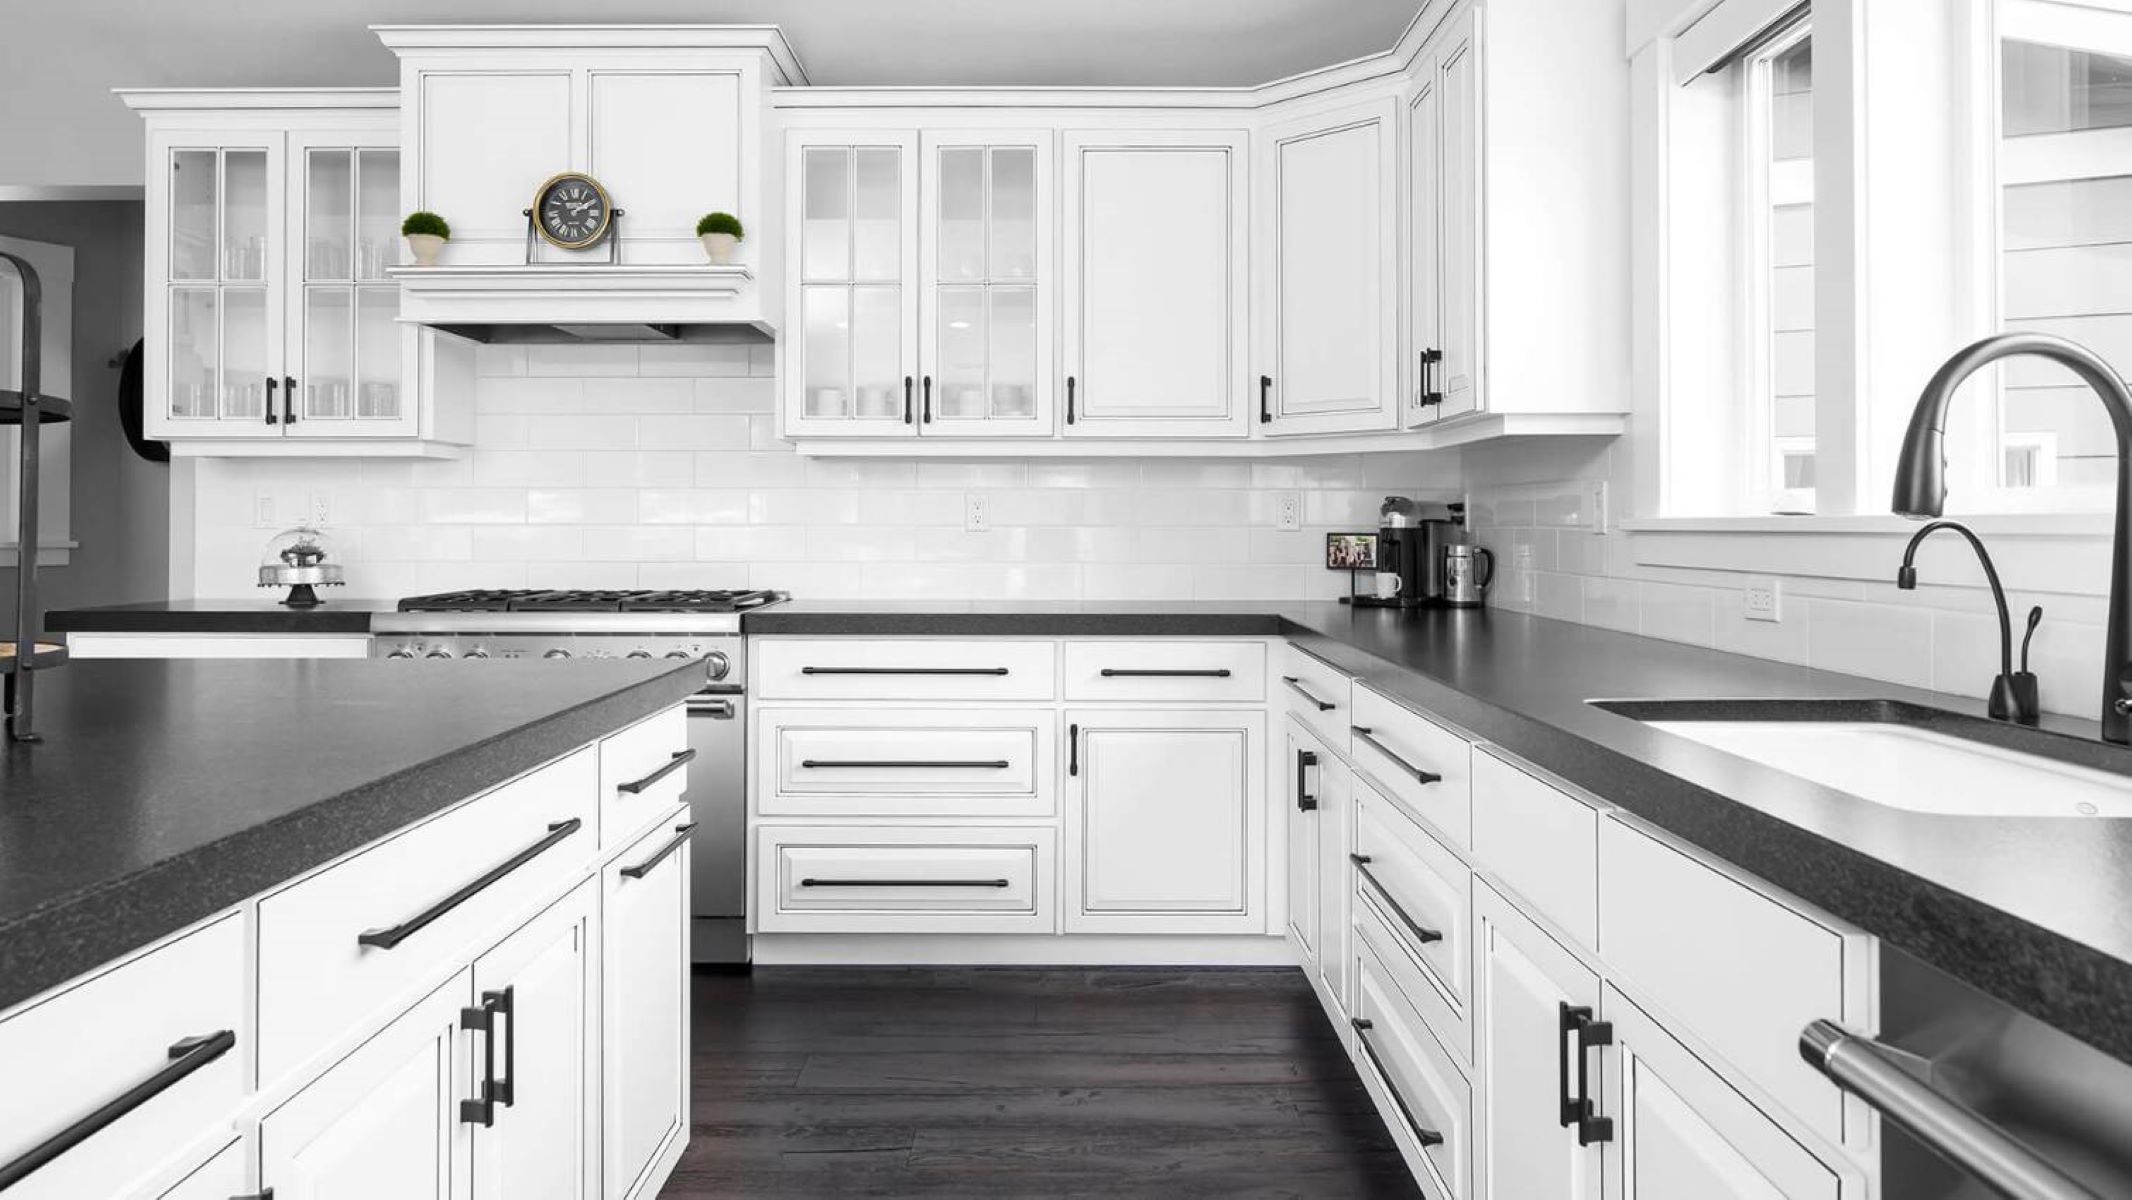
Are you looking to install a new countertop onto your cabinet? Attaching a countertop to a cabinet is an essential step in the installation process, ensuring stability and durability for your workspace. Whether you’re remodeling your kitchen or upgrading your bathroom vanity, this guide will walk you through the steps to securely attach a countertop to a cabinet.
Before you begin, it’s important to gather all the necessary materials and tools. You’ll need a tape measure, screwdriver, drill, screws, adhesive, and a level. Additionally, make sure to choose a countertop and cabinet that are compatible in size and material. Once you have everything ready, you’re set to begin!
In this step-by-step guide, we’ll cover the process of attaching a countertop to a cabinet, including both positioning and securing the countertop. By following these steps, you’ll be able to complete the installation with confidence and achieve a professional and sturdy result.
So, let’s dive right in and begin attaching your countertop to the cabinet!
Key Takeaways:
- Ensure a smooth installation by gathering all necessary tools and materials, preparing the cabinet and countertop, and positioning the countertop accurately for a stable and professional result.
- Secure the countertop in place by using screws or adhesive, checking for levelness, and adding final touches such as cleaning, sealing, and adding support brackets for a beautiful and functional workspace.
Read more: How To Attach Countertops To Cabinets
Step 1: Gather necessary materials and tools
Before starting the process of attaching your countertop to the cabinet, it’s important to gather all the materials and tools you’ll need. Having everything prepared will help ensure a smooth installation process and prevent any delays or interruptions.
Here’s a checklist of the essential materials and tools you’ll need:
- Tape measure: To accurately measure the dimensions of your countertop and cabinet.
- Screwdriver: For removing any existing screws or fasteners from the cabinet.
- Drill: To create pilot holes and attach the countertop securely.
- Screws: Choose screws that are appropriate for the material of your cabinet and countertop.
- Adhesive: Depending on the type of countertop and cabinet, you may need adhesive to provide additional support and stability.
- Level: To ensure that the countertop is properly aligned and leveled.
It’s also advisable to have a clean cloth or sponge handy to wipe away any excess adhesive or debris during the installation process. Additionally, if you’re working with a heavy countertop, it might be helpful to have an extra set of hands or a lifting mechanism to assist with positioning.
Once you’ve gathered all the necessary materials and tools, double-check to make sure you haven’t missed anything. This will save you time and frustration as you proceed with the installation.
Now that you’re well-prepared, let’s move on to the next step: preparing the cabinet and countertop for installation.
Step 2: Prepare the cabinet and countertop
Before attaching the countertop to the cabinet, it’s crucial to properly prepare both the cabinet and the countertop. This step ensures a secure and stable installation and helps to prevent any damage to the materials.
Start by clearing the cabinet of any items or objects that might obstruct the process. Remove all objects from the cabinet, including dishes, utensils, or any other items stored inside. This will provide you with a clean and unobstructed workspace.
Next, carefully clean the top surface of the cabinet using a mild cleaning solution. Ensure that there is no dirt, debris, or grease present on the cabinet surface. This is particularly important if you’re working with an existing cabinet, as any residue can affect the adhesion and stability of the countertop.
Once the cabinet is clean, measure the dimensions of both the cabinet and the countertop to verify their compatibility. Ensure that the countertop fits snugly on top of the cabinet, allowing for any necessary overhang or adjustment. Use a tape measure to accurately measure the length, width, and depth of both the cabinet and the countertop.
If the countertop needs any modifications, such as cutting it down to size or creating openings for sinks or appliances, now is the time to do so. Follow the manufacturer’s instructions or seek professional assistance if you’re unsure about making these modifications yourself.
Finally, check the levelness of the cabinet. Use a level to ensure that the cabinet’s top surface is perfectly horizontal. This step is crucial, as any imbalance or slant can affect the stability and alignment of the countertop once attached.
With your cabinet and countertop properly prepared, you’re now ready to move on to the next step: positioning the countertop on the cabinet.
Step 3: Position the countertop on the cabinet
Now that you have prepared the cabinet, it’s time to position the countertop on top of it. Proper positioning is essential to ensure a proper fit and alignment, as well as to create a visually appealing workspace.
Begin by carefully lifting the countertop and placing it onto the cabinet. If the countertop is heavy or large, it’s recommended to have another person assist you to avoid any mishaps or injuries. Take your time and align the countertop with the edges of the cabinet, making sure it fits snugly.
During the positioning process, ensure that the countertop is centered on the cabinet, leaving an equal overhang on all sides. This will create a balanced and aesthetically pleasing look for your workspace. Use a tape measure or ruler to double-check the alignment and ensure that it is symmetrical.
If your countertop has any pre-drilled holes for faucets or appliances, verify that they align with the corresponding holes or spaces on the cabinet. This will make the installation process easier and prevent any unnecessary adjustments later on.
Once you’re satisfied with the placement and alignment, use a pencil to mark the outline of the cabinet on the underside of the countertop. These markings will serve as guidelines during the attachment process, ensuring that the countertop is properly secured.
Take a moment to step back and visually inspect the position of the countertop. Ensure that it appears straight and level, and that it meets your desired aesthetics. Making any necessary adjustments at this stage will save you time and effort later on.
Now that the countertop is successfully positioned on the cabinet, you’re ready to move on to the next step: attaching the countertop to the cabinet.
Use L-brackets to secure the countertop to the cabinet from underneath. Make sure to pre-drill holes and use screws to attach the brackets for a secure fit.
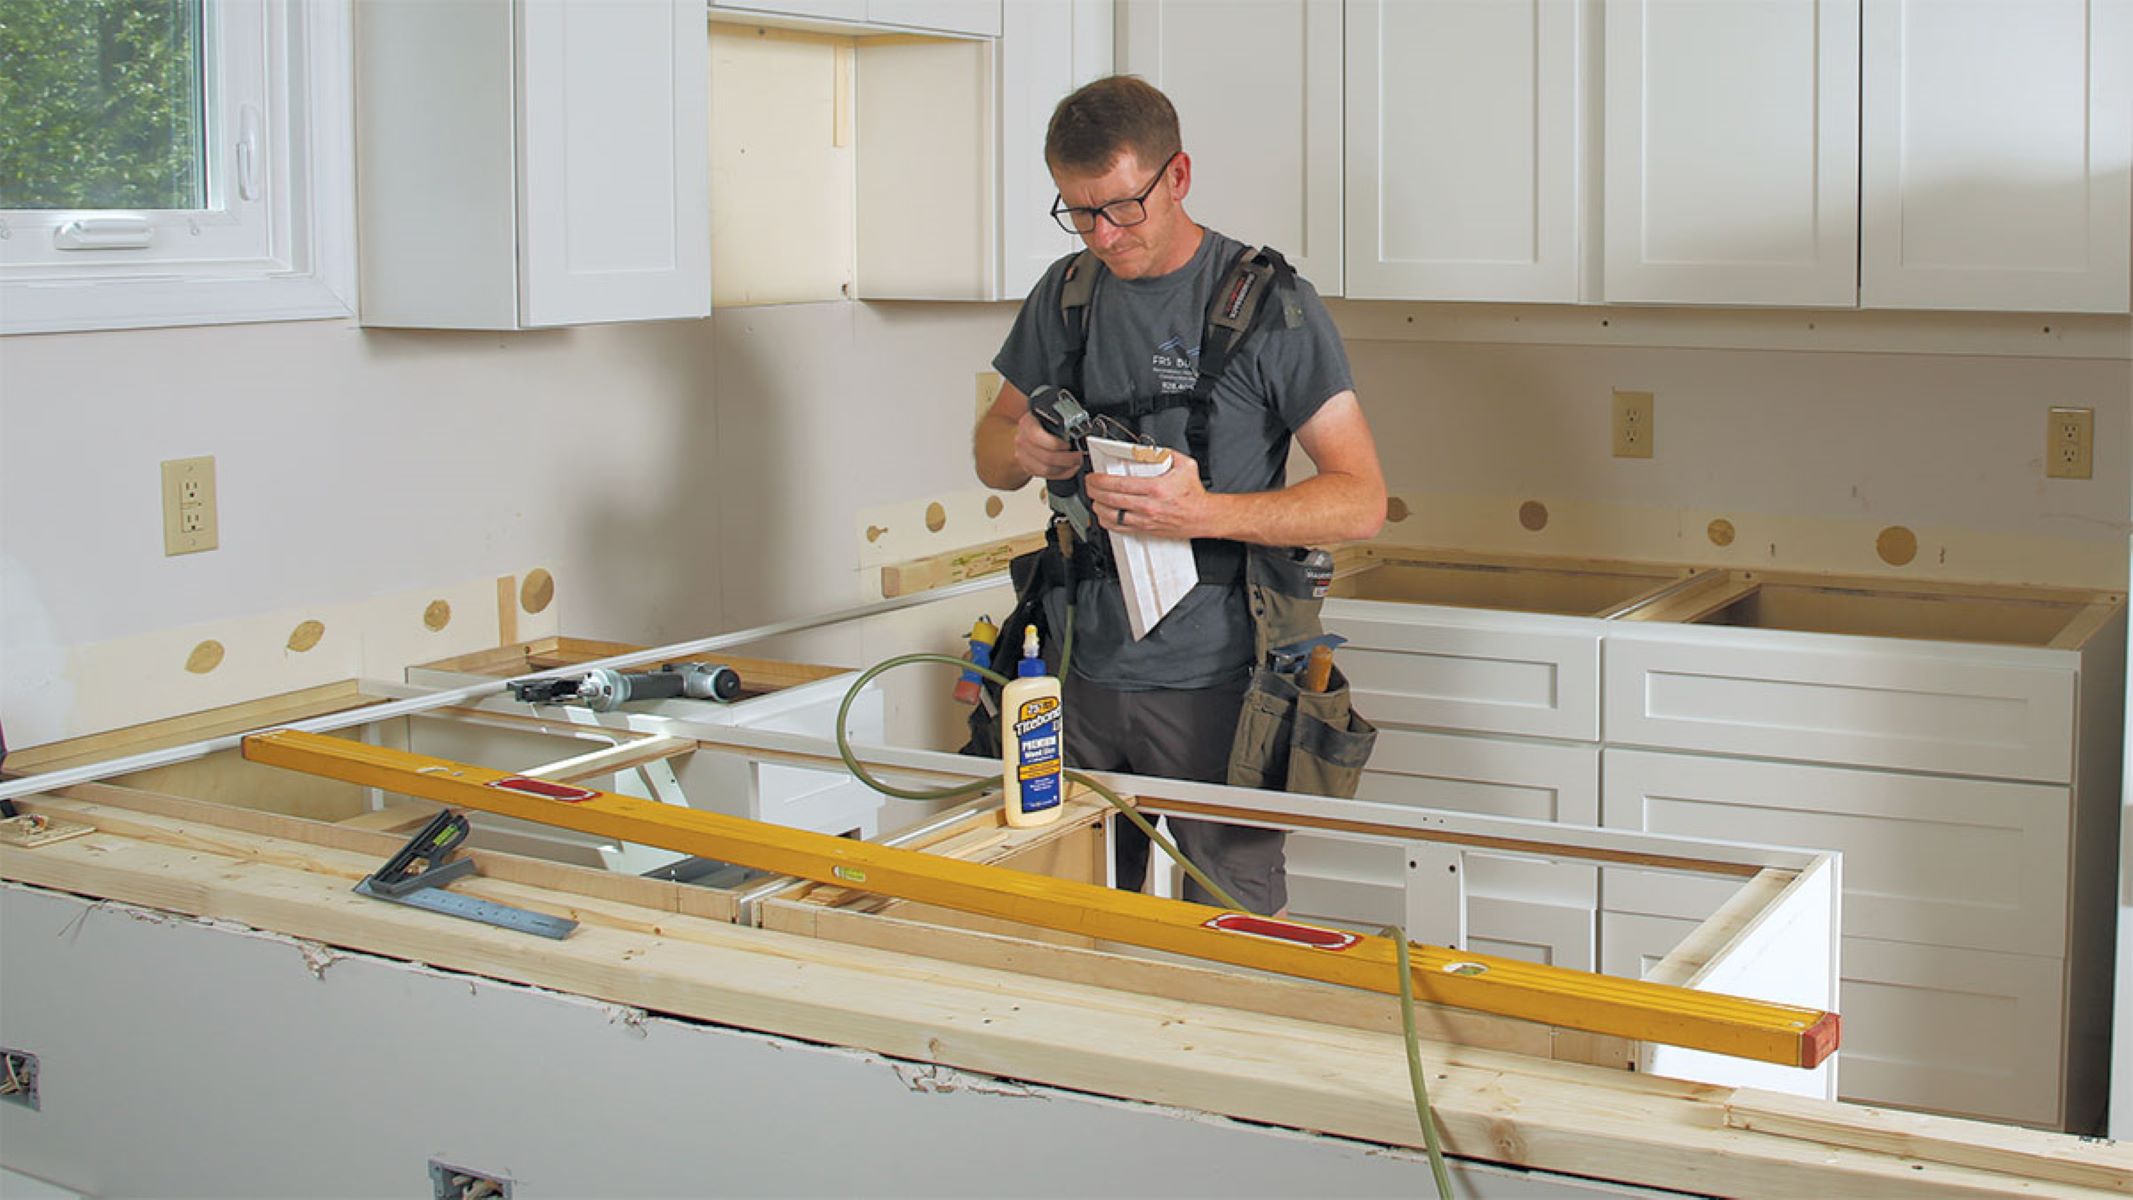
Step 4: Attach the countertop to the cabinet
With the countertop positioned correctly on the cabinet, it’s time to securely attach it. This step is crucial to ensure the stability and longevity of your countertop installation. There are several methods and techniques you can use to attach the countertop, depending on the type of material and cabinet you have.
One common method is to use screws or fasteners to secure the countertop from underneath. Start by drilling pilot holes into the cabinet at regular intervals along the marked outline. These pilot holes will guide the screws and prevent the wood from splitting or cracking.
Next, place the countertop back onto the cabinet, aligning it with the marked outline. Using a screwdriver or drill, insert screws through the pilot holes into the underside of the countertop. Make sure to use screws that are suitable for the material of your countertop and cabinet.
If your countertop is made of a material that cannot be easily screwed into, such as granite or quartz, you may need to use a different method. In this case, adhesive or caulk can be used to secure the countertop to the cabinet. Apply a bead of adhesive along the top edges of the cabinet, ensuring that it is evenly distributed.
Carefully place the countertop back onto the cabinet, aligning it with the marked outline. Press it firmly down onto the adhesive, allowing it to bond with the cabinet surface. Use clamps or weights to hold the countertop in place while the adhesive cures, following the manufacturer’s instructions for drying and setting times.
Remember to work in a well-ventilated area and follow appropriate safety precautions when using adhesives. If you’re not familiar with the process, consult with a professional or seek guidance from the countertop manufacturer.
Once all screws or adhesive are in place, double-check the alignment and stability of the countertop. Use a level to ensure that the countertop is perfectly horizontal and adjust as needed.
With the countertop securely attached to the cabinet, you’re ready to move on to the next step: securing the countertop in place.
Read more: How To Match Countertops With Cabinets
Step 5: Secure the countertop in place
Now that the countertop is attached to the cabinet, it’s time to ensure it is properly secured in place. This step is crucial to prevent any shifting or movement, which could compromise the stability and functionality of the countertop.
Start by checking the alignment of the countertop with the cabinet edges. Use a tape measure or ruler to ensure that the overhang is consistent on all sides. Adjust if necessary to achieve a symmetrical and balanced appearance.
Next, use a level to confirm that the countertop is perfectly horizontal. If needed, adjust the position of the countertop by loosening the screws or adhesive and making minor modifications. Once the countertop is level, tighten the screws or allow the adhesive to fully cure, following the manufacturer’s recommended instructions.
If you’re working with a countertop that has seams, such as a large granite or quartz countertop, it’s important to secure the seams properly. Apply a seam adhesive or epoxy recommended by the manufacturer to bond the sections of the countertop together. Follow the instructions carefully, ensuring the adhesive is evenly distributed and excess is wiped away.
Check for any gaps or uneven areas along the edges of the countertop. If necessary, use caulk or filler to fill in any gaps and create a smooth, seamless appearance. Allow the caulk or filler to dry completely before proceeding.
Now is a good time to clean any excess adhesive, caulk, or filler from the countertop and cabinet surface. Use a clean cloth or sponge with water or a mild cleaning solution to wipe away any residue. This will not only improve the appearance of the installation but also prevent any potential damage to the countertop or cabinet.
Take a moment to inspect the countertop and ensure that it appears secure and stable. Give it a gentle push or shake to confirm that it does not move or shift. If there are any signs of instability, revisit the previous steps to ensure that all screws are tightened, adhesive is fully cured, and the countertop is properly aligned.
With the countertop securely in place, you’re almost done! The next step involves adding final touches and completing the installation process.
Step 6: Final touches and finishing steps
Congratulations! You’ve reached the final step of attaching the countertop to the cabinet. This step focuses on adding the finishing touches to complete the installation and enhance the overall appearance of your countertop.
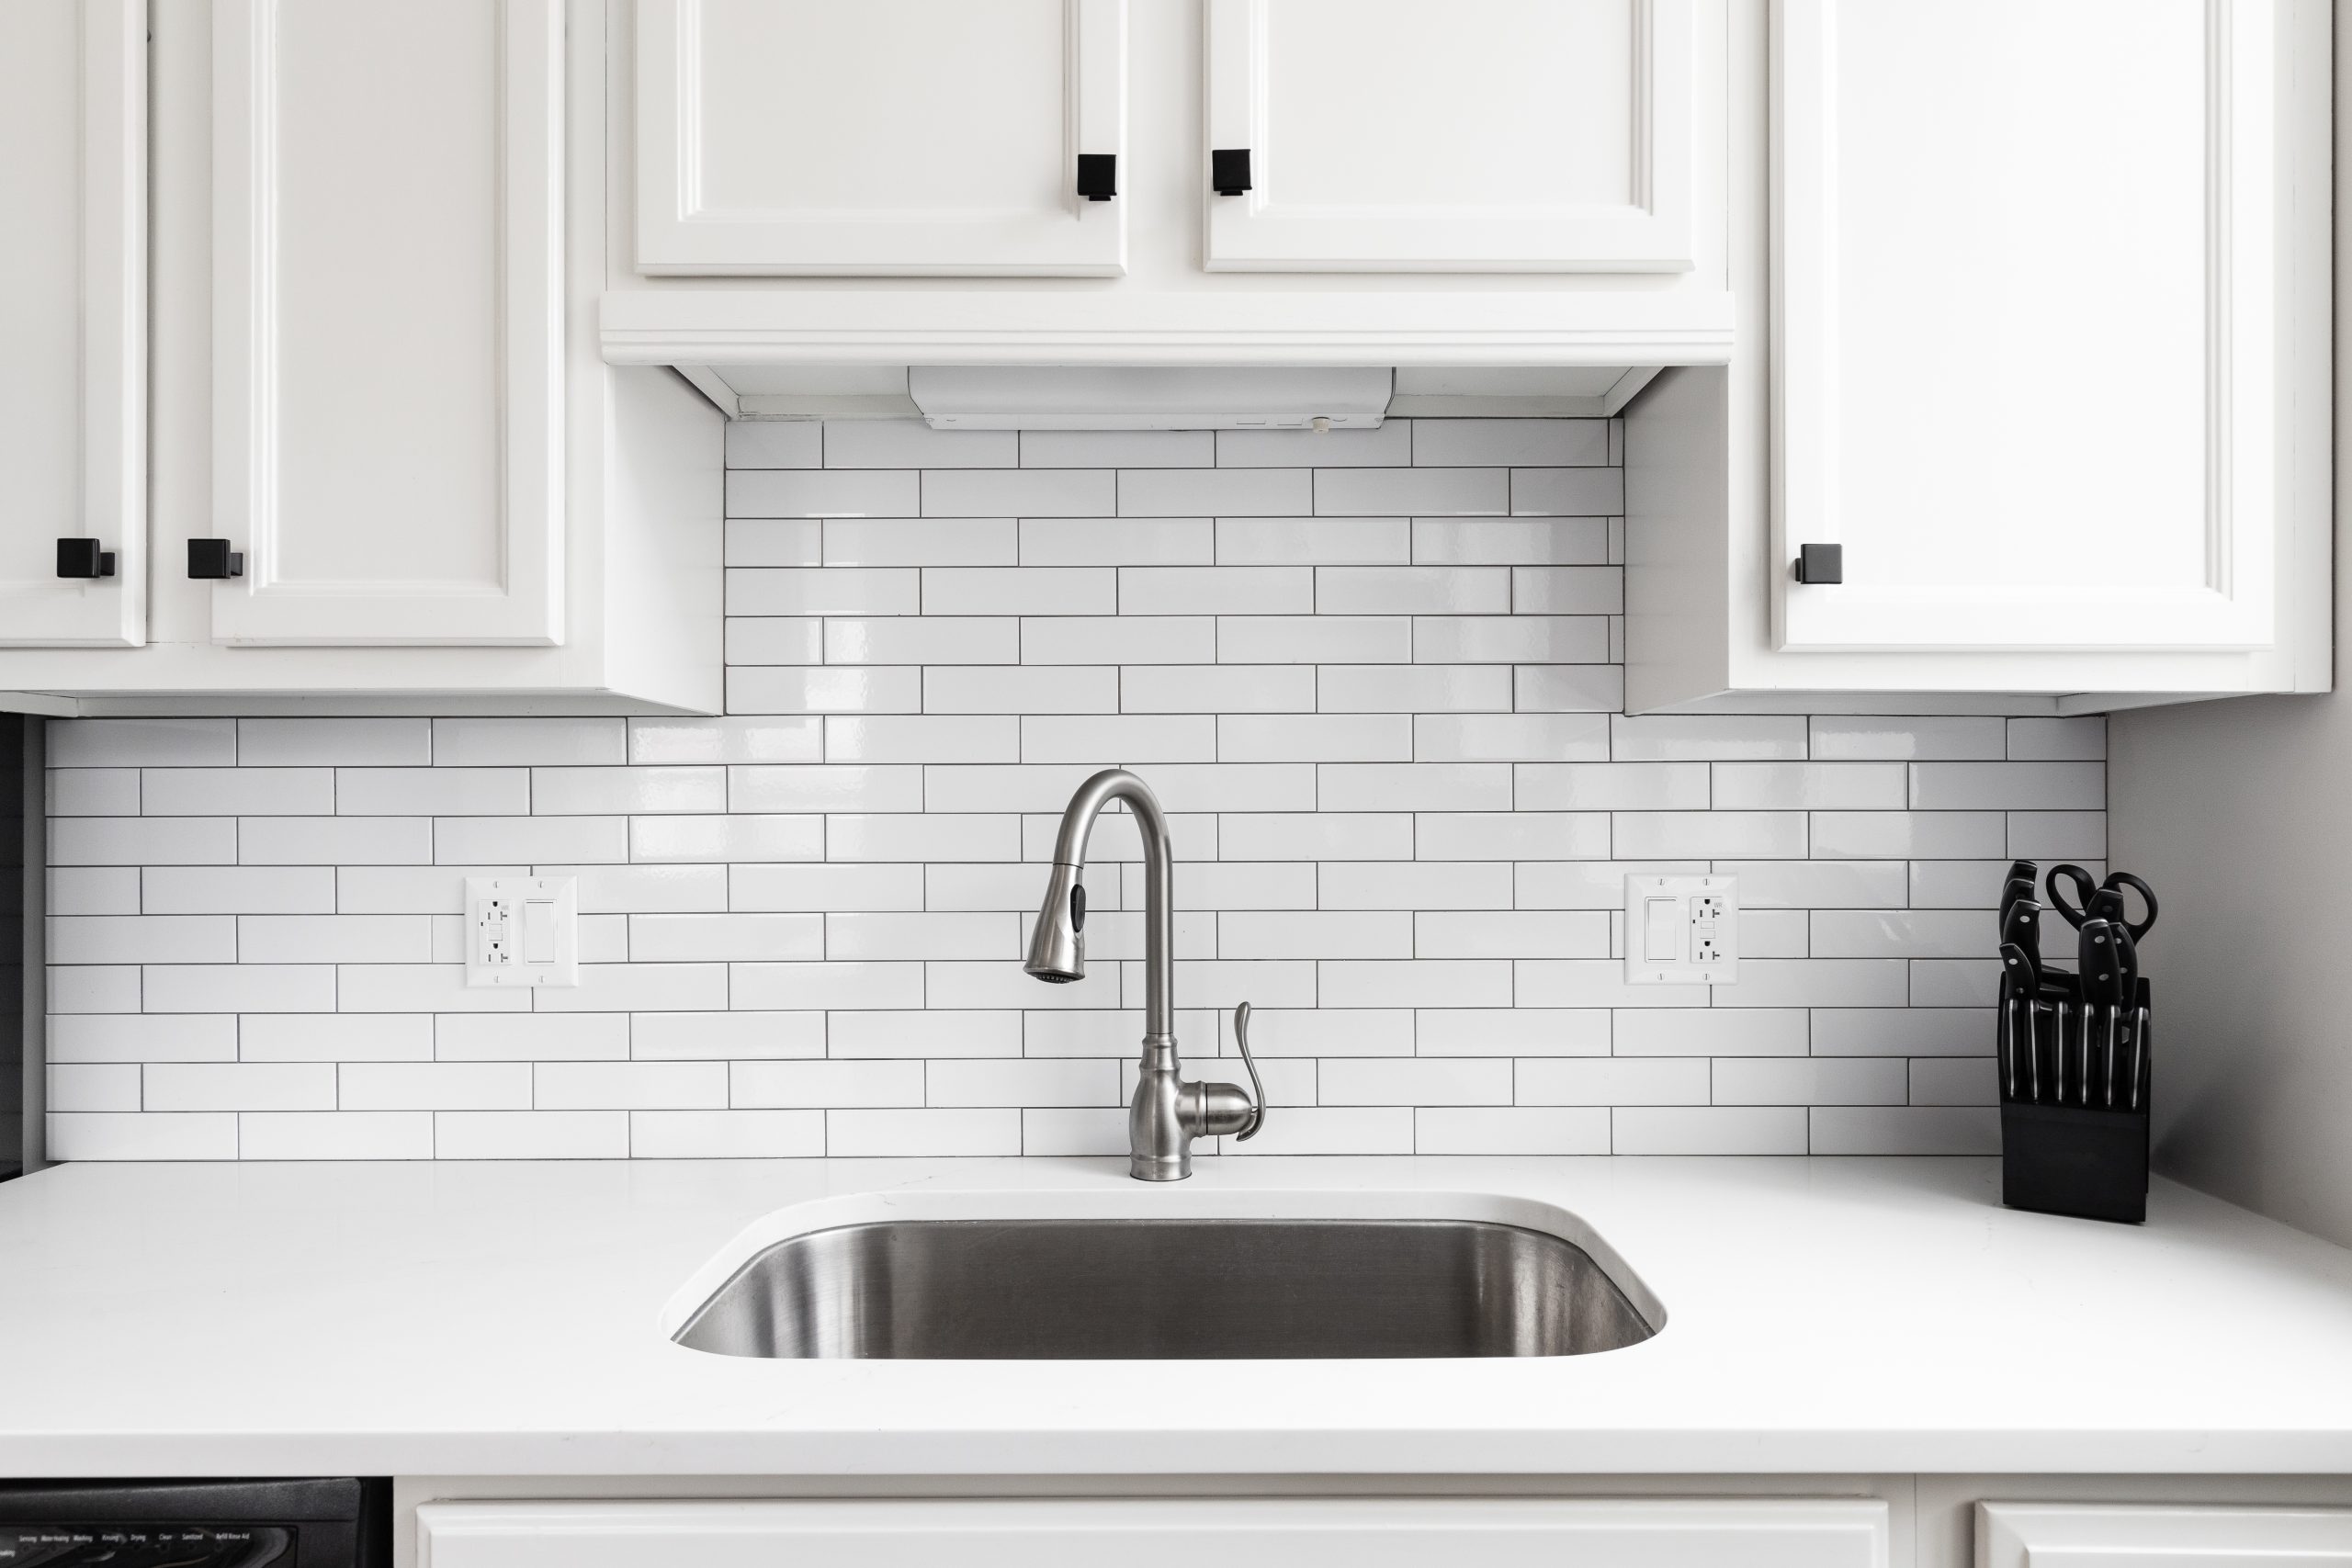
Start by inspecting the countertop and cabinet to ensure that everything is clean and free of any debris. Use a clean cloth or sponge to wipe away any dust, fingerprints, or smudges from the surface.
If necessary, apply a sealant or protective coating to the countertop. This step is particularly important for materials like granite, marble, or wood, as it helps to preserve the countertop and prevent stains or damage. Follow the manufacturer’s instructions carefully when applying the sealant, ensuring even coverage and allowing sufficient drying time.
Next, check the edges of the countertop for any rough or sharp areas. If needed, use sandpaper or a file to smooth down any rough edges. Be careful not to damage the countertop surface during this process.
If your countertop has an overhang, consider adding support brackets underneath to provide additional stability. Position the brackets according to the manufacturer’s instructions and screw them securely into the cabinet. This will prevent any sagging or excessive weight on the overhang.
Take a final look at the overall appearance and ensure that the countertop is aligned and leveled. Verify that the seams, if applicable, are well-sealed and nearly invisible. Make any adjustments or touch-ups as necessary to achieve the desired look and functionality.
Lastly, step back and admire your newly installed countertop! Clean up your workspace and remove any tools or materials that were used during the installation process. Dispose of any waste or excess materials in an appropriate manner.
As a final tip, stay mindful of proper maintenance and care for your countertop. Follow the manufacturer’s instructions for cleaning and upkeep to ensure its longevity and beauty.
With the final touches complete, you have successfully attached the countertop to the cabinet. Enjoy your new countertop and the enhanced functionality and aesthetics it brings to your space!
Remember, if you ever need assistance or have any questions, don’t hesitate to consult with a professional countertop installer or seek guidance from the manufacturer.
Congratulations once again on a job well done!
Conclusion
Attaching a countertop to a cabinet is a crucial step in the installation process that ensures stability, durability, and a beautiful finish for your workspace. By following the step-by-step guide provided, you can successfully attach your countertop to the cabinet and achieve a professional result.
Throughout the process, it’s important to gather all the necessary materials and tools, prepare the cabinet and countertop, position the countertop accurately, and attach it securely to the cabinet. Taking the time to properly align and level the countertop, and securing it in place, will ensure a stable and long-lasting installation.
Adding final touches, such as cleaning the surface, applying a protective sealant, and checking for any adjustments or finishing details, will enhance the overall appearance and functionality of your countertop installation.
Remember to always follow the manufacturer’s instructions for specific materials and consult with professionals if needed. Proper maintenance and care of your countertop will ensure its longevity and preserve its beauty for years to come.
By carefully following these steps and paying attention to detail, you can confidently attach a countertop to a cabinet and create a stunning and functional workspace that you can enjoy for years to come.
So, get ready to enjoy your new countertop and all the benefits it brings to your daily activities in the kitchen or bathroom. Don’t hesitate to seek professional guidance or assistance if needed, and congratulations on completing this installation successfully!
Frequently Asked Questions about How To Attach Countertop To Cabinet
Was this page helpful?
At Storables.com, we guarantee accurate and reliable information. Our content, validated by Expert Board Contributors, is crafted following stringent Editorial Policies. We're committed to providing you with well-researched, expert-backed insights for all your informational needs.


0 thoughts on “How To Attach Countertop To Cabinet”