Articles
How To Attach Granite Countertop To Vanity
Modified: August 26, 2024
Learn how to attach a granite countertop to your vanity with our informative articles on this topic. Get step-by-step instructions and expert advice to ensure a secure and beautiful installation.
(Many of the links in this article redirect to a specific reviewed product. Your purchase of these products through affiliate links helps to generate commission for Storables.com, at no extra cost. Learn more)
Introduction
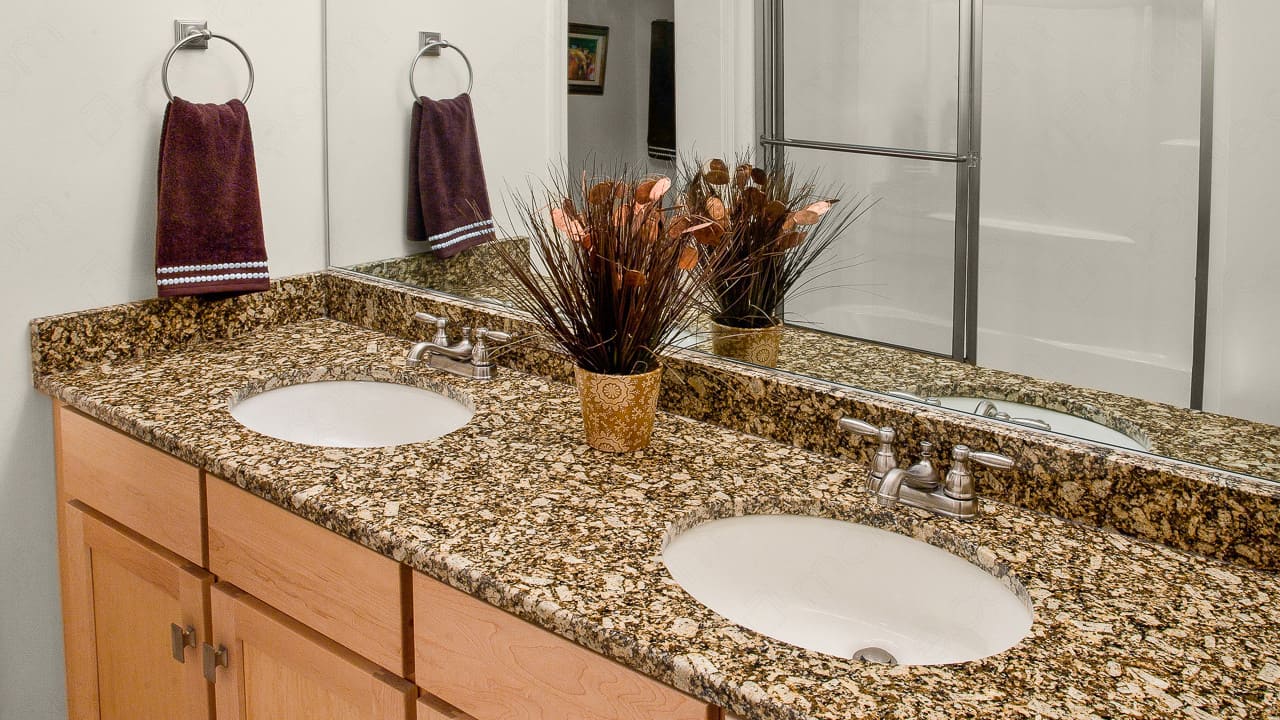
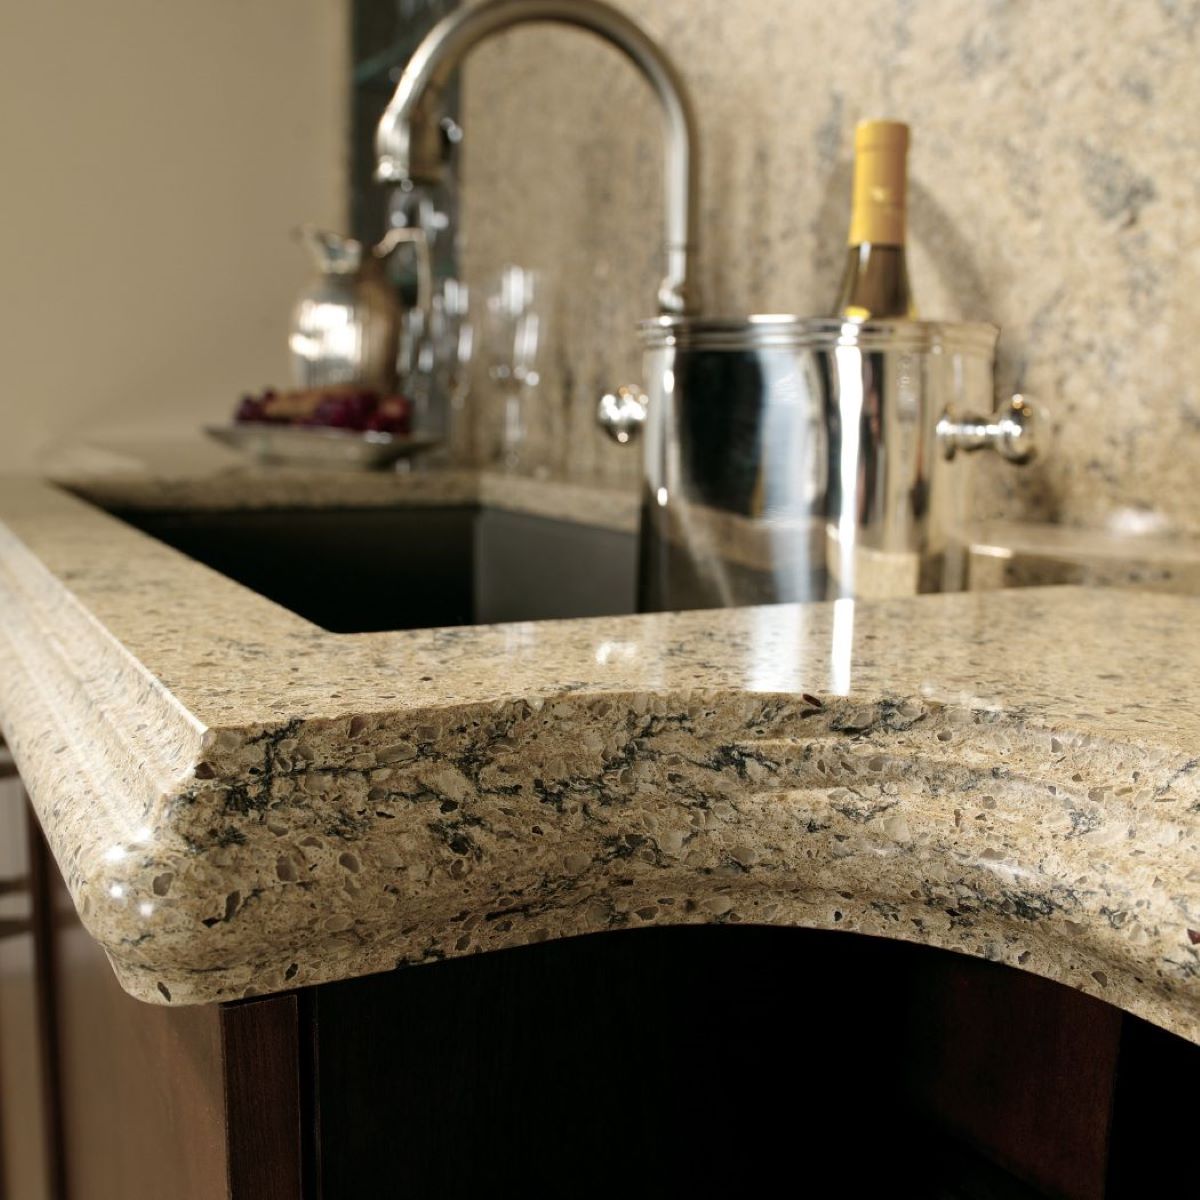
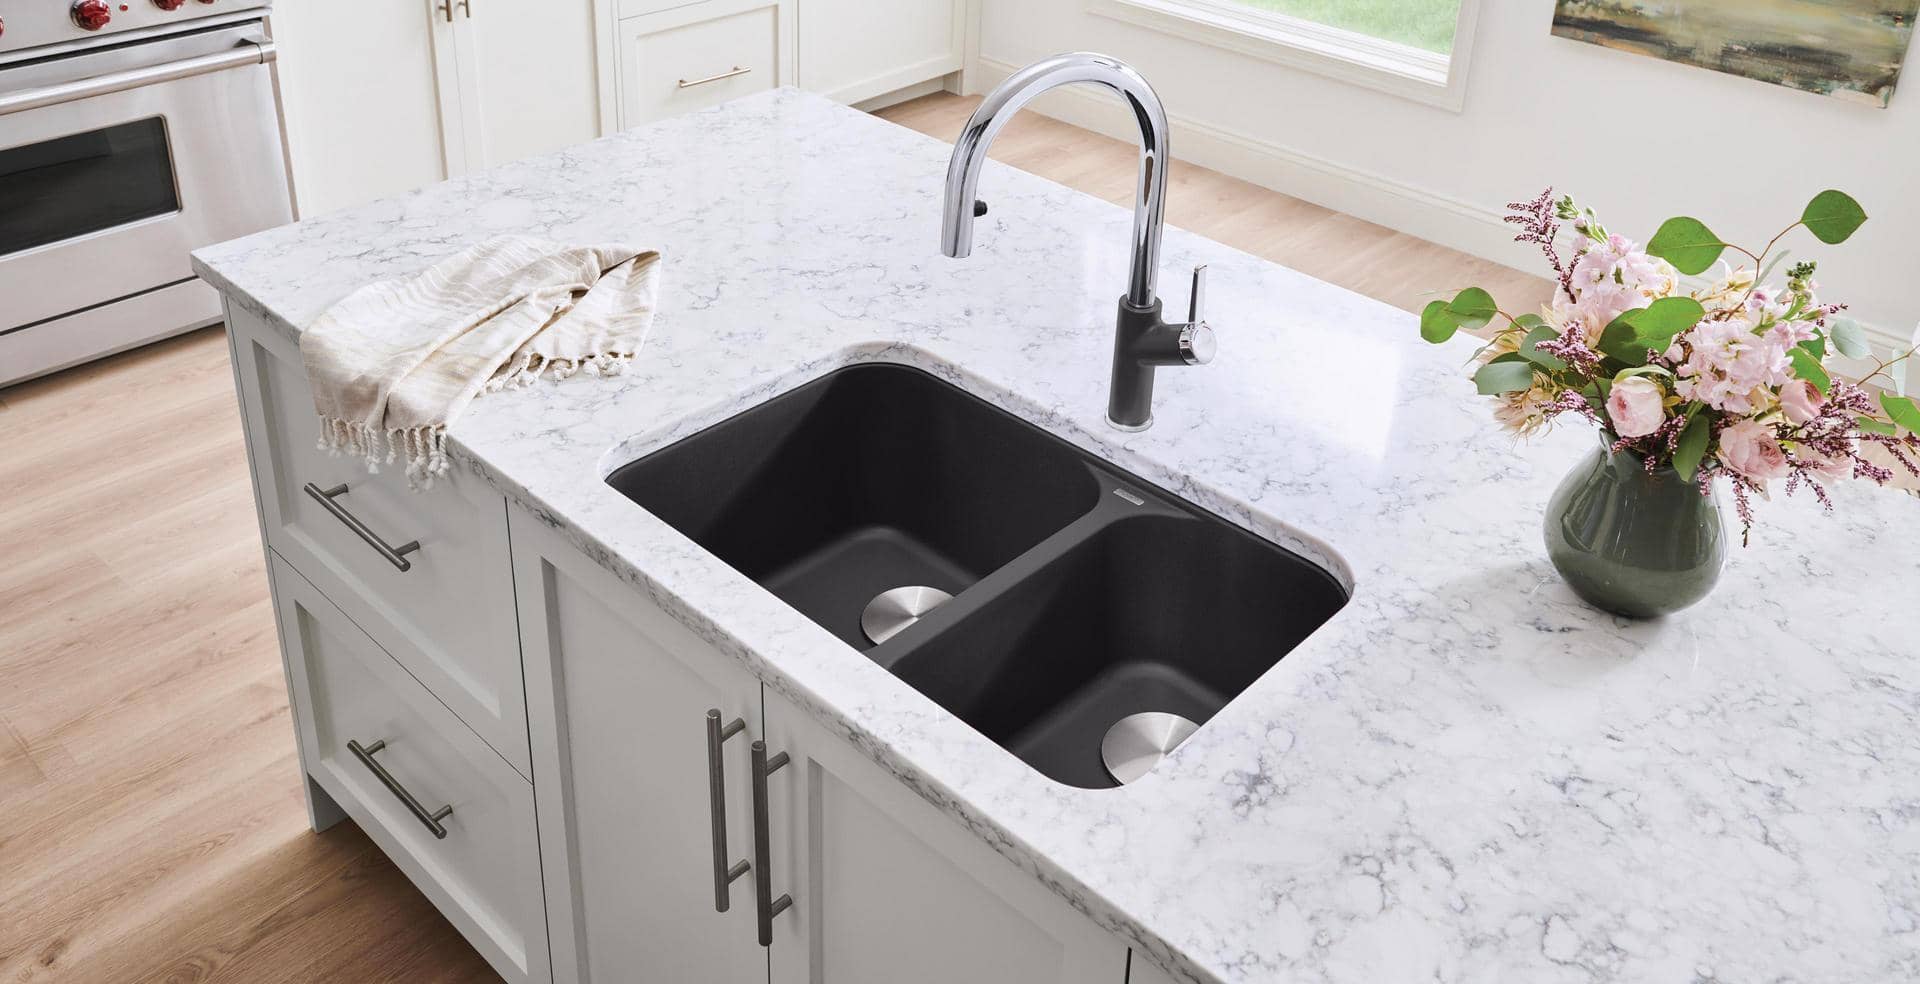
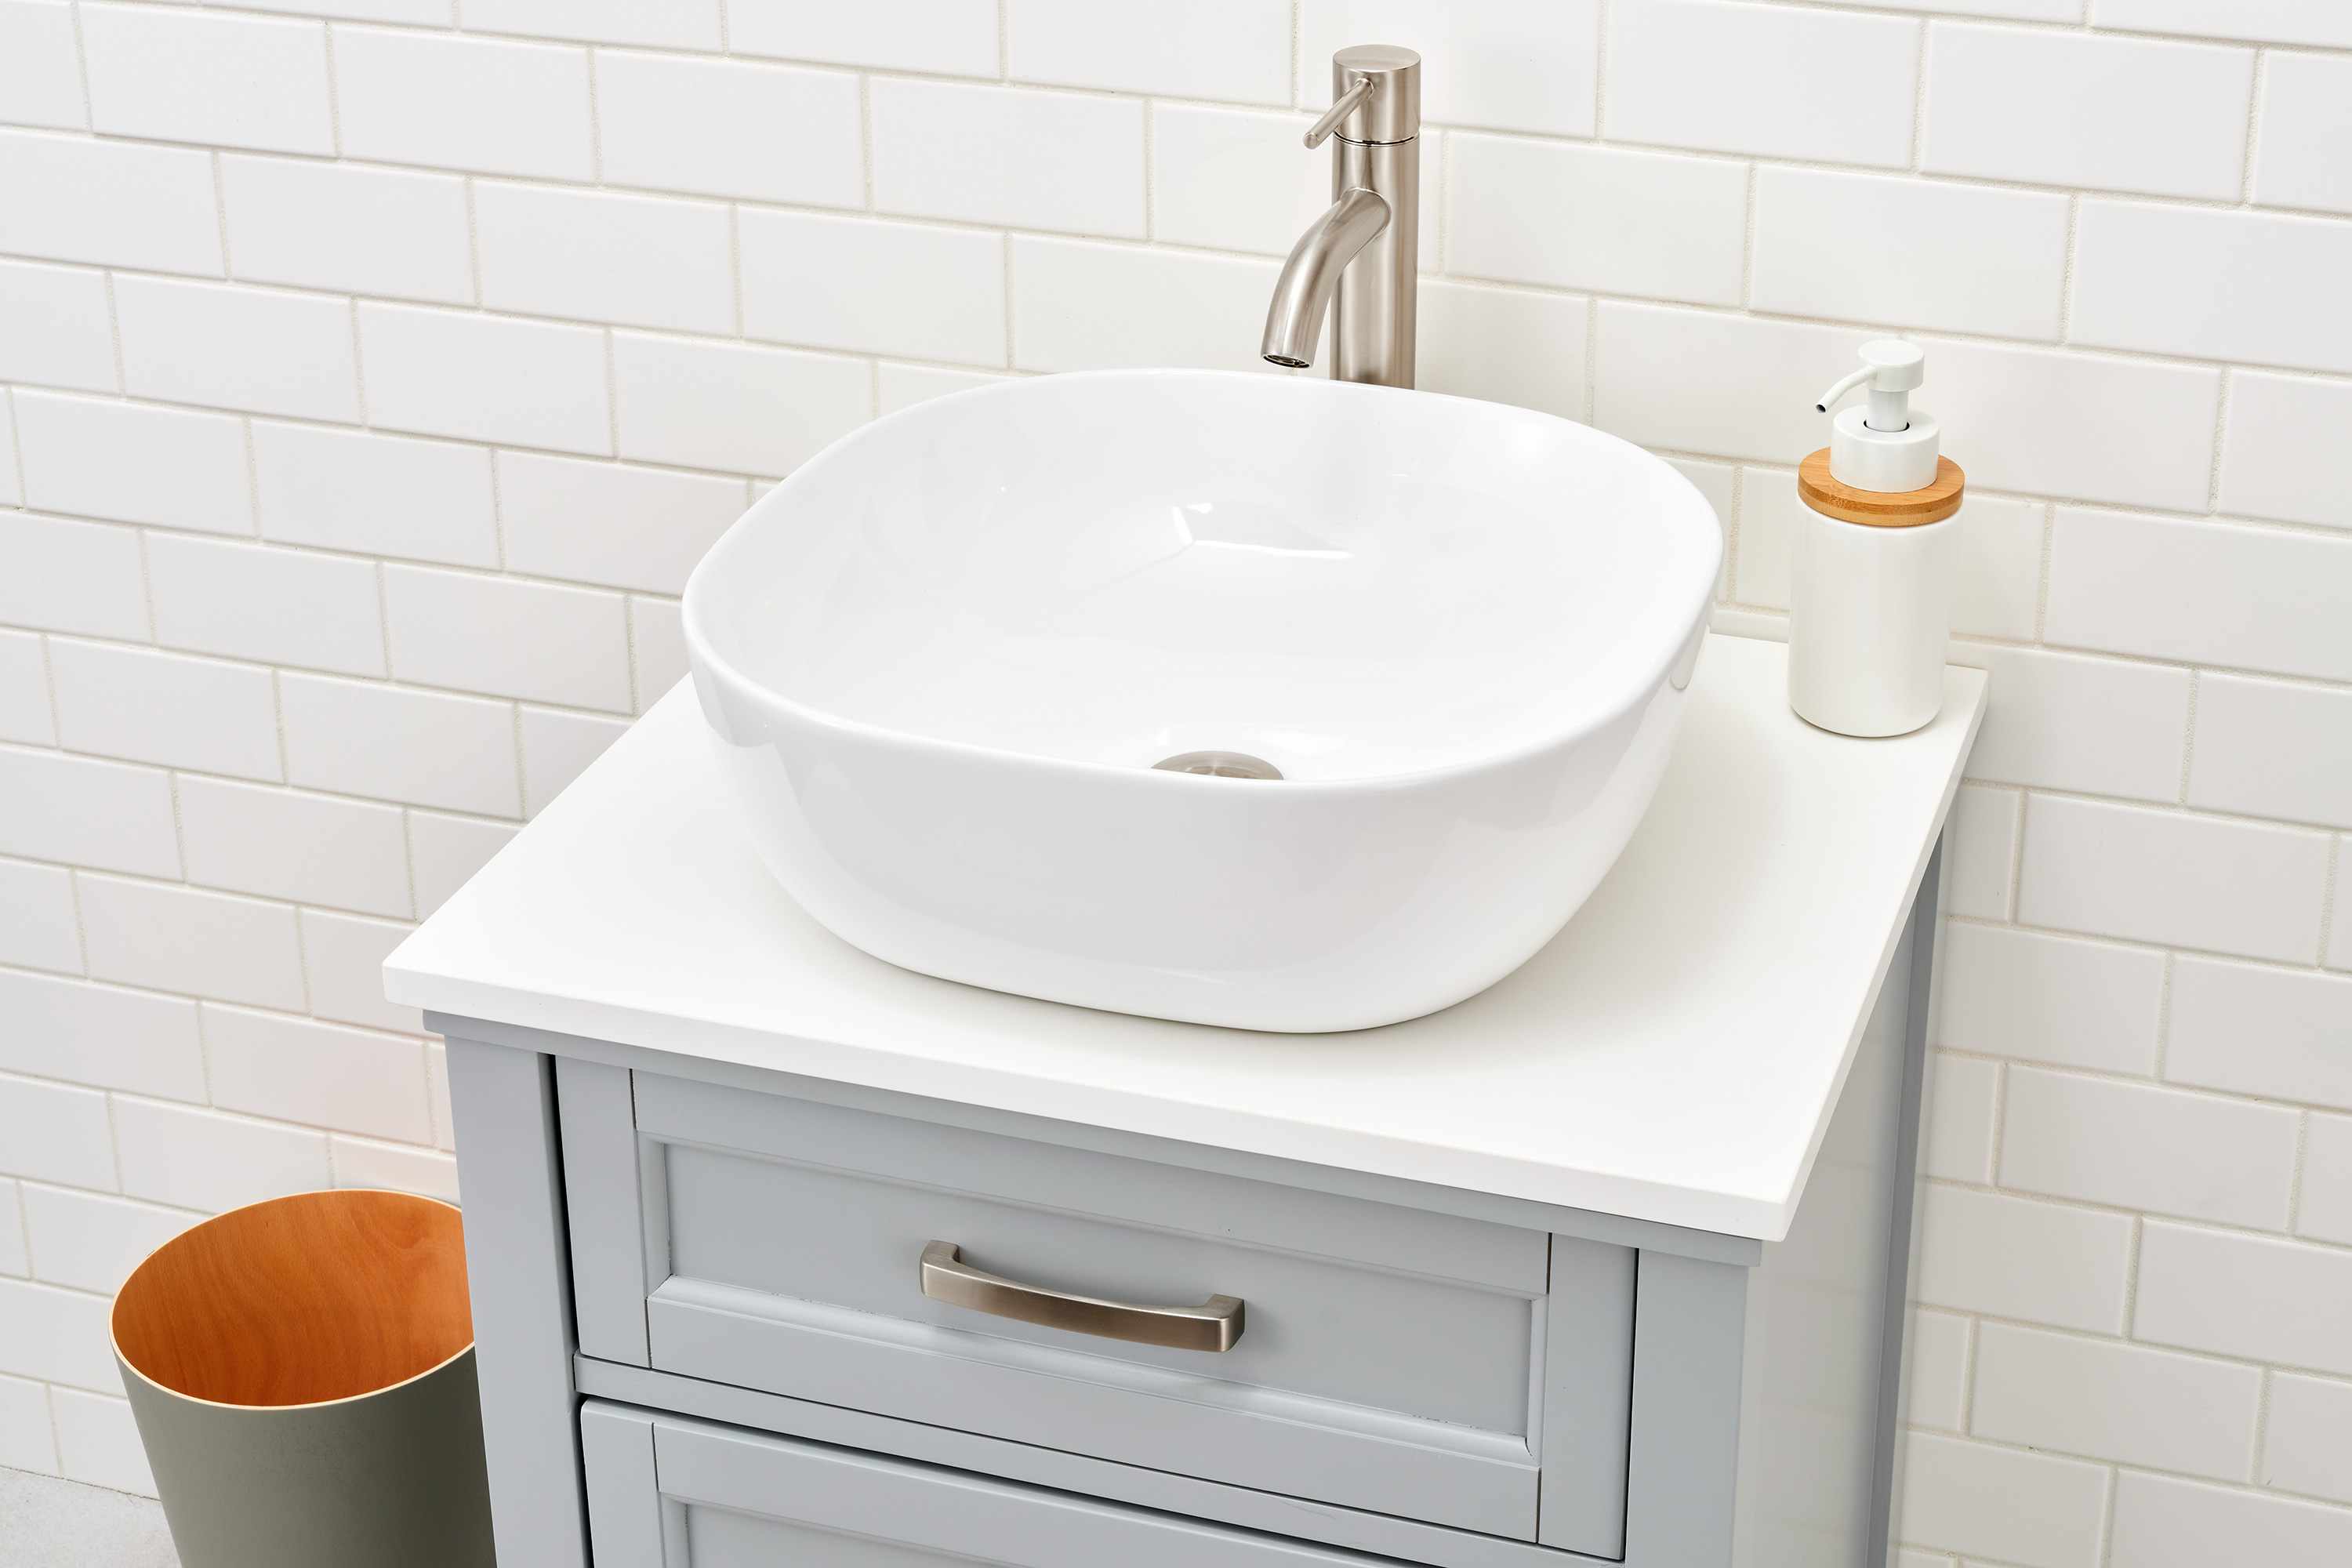
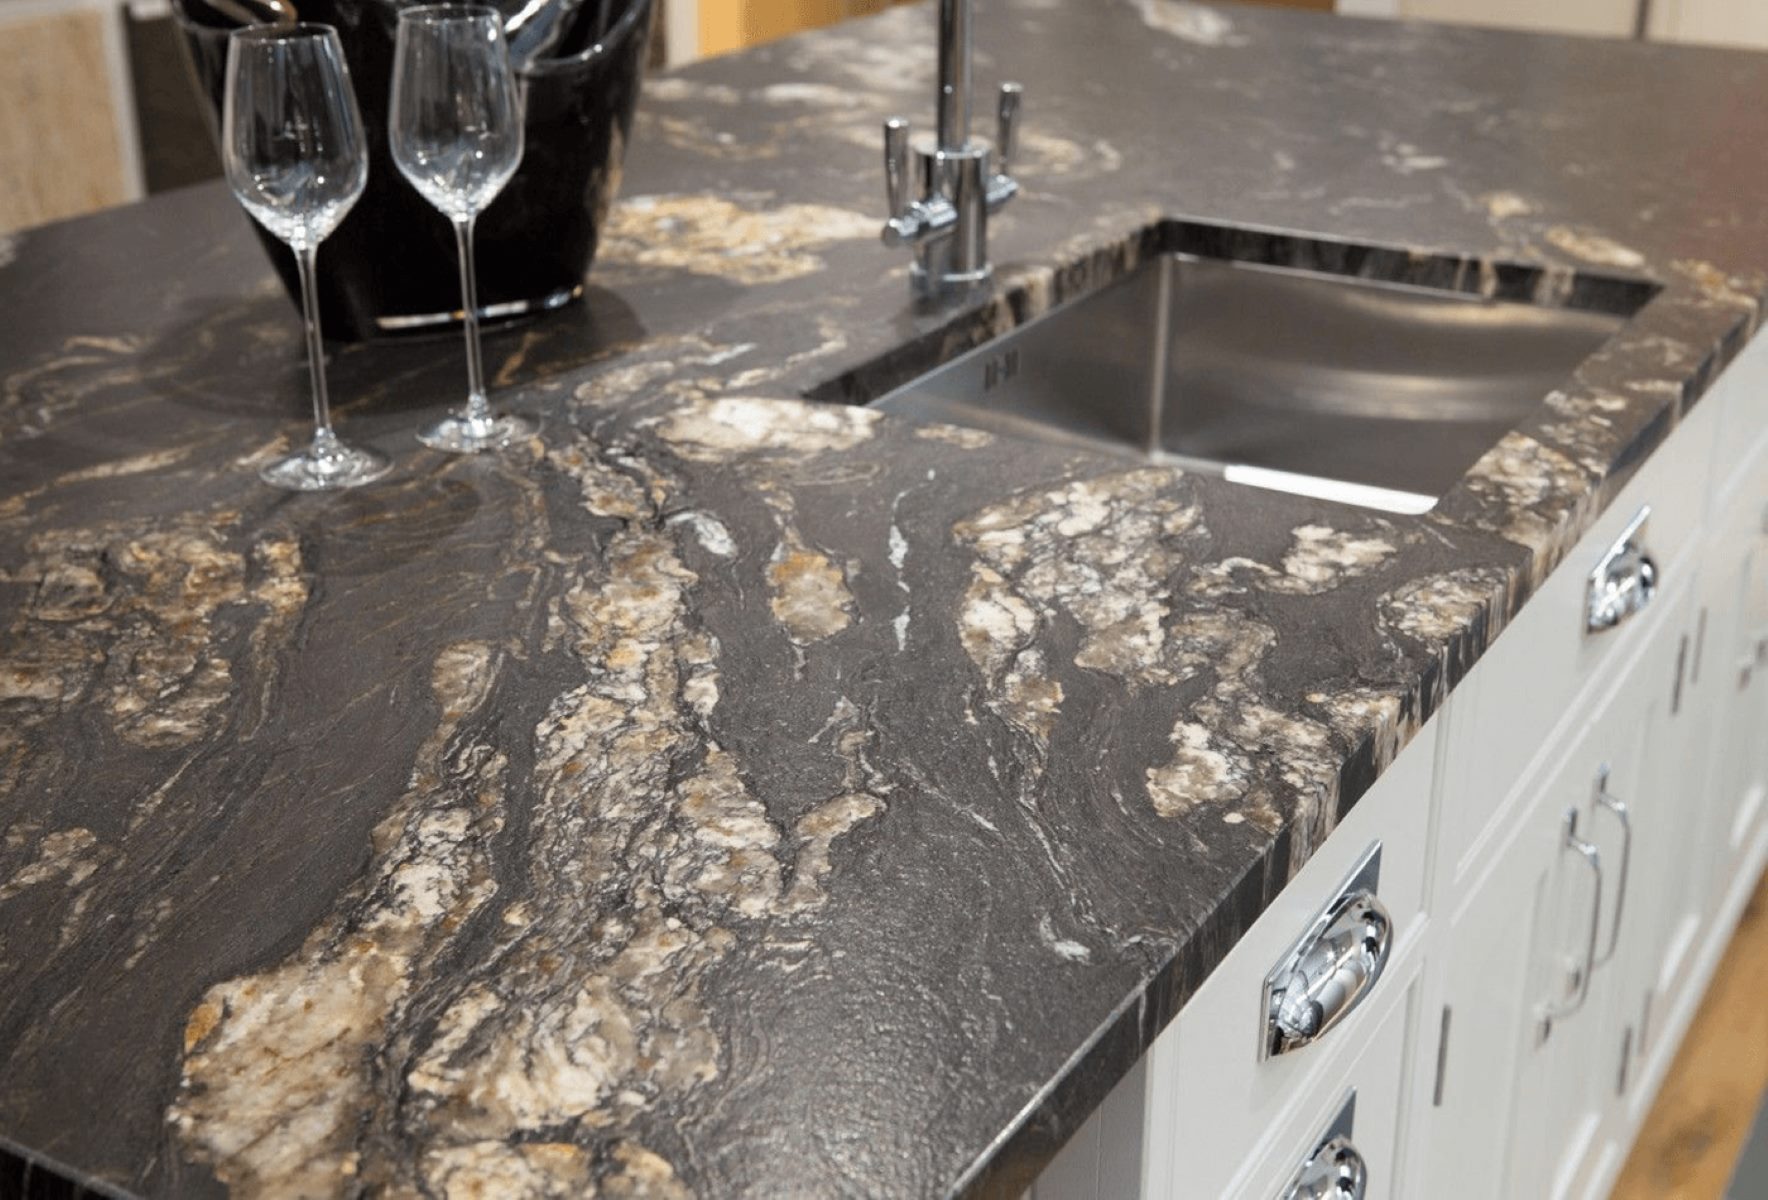
When it comes to upgrading your bathroom vanity, attaching a granite countertop can serve as a stunning and durable finishing touch. Granite countertops are not only aesthetically pleasing but also highly resistant to stains and scratches. However, properly attaching a granite countertop to a vanity requires attention to detail and careful installation.
In this article, we will guide you through the step-by-step process of attaching a granite countertop to your vanity. From preparation to the final installation, we will cover everything you need to know to ensure a successful and long-lasting attachment.
Before we get started, it’s important to note that working with granite can be challenging due to its weight and fragility. It is recommended to seek assistance from a professional if you are unsure about your ability to handle the installation safely. Additionally, ensure you have all the necessary tools and materials before beginning the process.
Now, let’s dive into the preparation steps before attaching the granite countertop to your vanity.
Key Takeaways:
- Elevate your bathroom with a stunning and durable granite countertop by following a meticulous step-by-step installation process. Prioritize safety, precision, and proper maintenance for long-lasting beauty and functionality.
- Ensure a seamless and secure attachment of your granite countertop to the vanity by meticulously preparing, measuring, and applying adhesive. With careful alignment and finishing touches, enjoy a sophisticated and enduring bathroom upgrade.
Read more: How To Restore Granite Countertops
Preparation
Before you start attaching the granite countertop to your vanity, it’s essential to make sure you have everything you need and that your vanity is properly prepared.
1. Ensure the vanity is level: Use a level to check if the vanity is perfectly level. If it isn’t, you may need to make adjustments before proceeding with the installation. A level surface is crucial for proper alignment and stability.
2. Clean the vanity: Thoroughly clean the top surface of the vanity to remove any dirt, debris, or old adhesive. Ensure the surface is dry before proceeding to the next step.
3. Measure the placement: Carefully measure the dimensions of the vanity top to determine the appropriate size for your granite countertop. Take accurate measurements of the length, width, and depth of the vanity top. This will help you choose a granite slab that fits perfectly and avoids any gaps or overhangs.
4. Select the granite countertop: Visit a reputable stone supplier or showroom to choose the granite slab that best suits your preferences and complements your bathroom design. Consider factors such as color, pattern, and thickness when making your selection.
5. Gather the necessary tools and materials: Make sure you have all the tools and materials needed for the installation. This may include adhesive, caulk, a caulking gun, a notched trowel, shims, a level, a tape measure, and a screwdriver. Verify that you have the correct tools and have them ready for use.
By following these preparation steps, you can ensure that your vanity is ready for the granite countertop attachment process. Now that you have everything in order, let’s move on to the step-by-step process of attaching the granite countertop to your vanity.
Step 1: Measure and mark the placement
Before attaching the granite countertop to your vanity, it is crucial to accurately measure and mark the placement to ensure a precise and snug fit. Follow these steps:
1. Place the vanity top on the vanity: Carefully position the granite countertop on top of the vanity to get an idea of how it will sit. Take note of any areas that may require trimming or adjustments to fit properly.
2. Mark the overhang: Determine the desired overhang of the countertop. Typically, a granite countertop overhangs the vanity by around 1 inch to provide a polished and finished look. Use a pencil or marker to mark the overhang on each side of the vanity.
3. Mark the sink cutout: If your vanity has an integrated sink or you plan to install an undermount or drop-in sink, mark the area where the sink will be placed. This will guide the cutting process later on.
4. Measure and mark for faucets and fixtures: If you are installing faucets, knobs, or other fixtures on the countertop, measure and mark their placements accordingly. Take precise measurements and mark the spots where the holes need to be drilled.
5. Double-check the measurements: Once you have marked the overhang, sink cutout, and fixture placements, double-check all your measurements to ensure accuracy. Use a tape measure to confirm that the dimensions fit your desired specifications.
6. Verify the alignment: Use a level to check the alignment of the markings. Ensure the lines are straight and the countertop will sit level on the vanity.
By carefully measuring and marking the placement of the granite countertop, you will ensure a proper fit and avoid any future issues during installation.
Step 2: Apply adhesive
Once you have measured and marked the placement of the granite countertop, it’s time to apply adhesive to secure it to the vanity. Adhesive is essential for providing a strong bond between the countertop and the vanity. Follow these steps:
1. Choose the appropriate adhesive: Select a high-quality adhesive specifically designed for granite or stone. Consult with the manufacturer or supplier to ensure you choose the right adhesive for your installation.
2. Apply the adhesive: Apply the adhesive to the top surface of the vanity. Follow the instructions provided by the adhesive manufacturer for the appropriate application technique. Use a notched trowel to evenly spread the adhesive, creating a consistent layer across the surface.
3. Pay attention to the edges and corners: Apply additional adhesive to the edges and corners of the vanity to ensure a secure bond. These areas tend to bear more weight and stress, so reinforcing them with extra adhesive is important.
4. Avoid excess adhesive: Be cautious not to apply too much adhesive, as it can seep out of the edges and create a messy appearance. Use the recommended amount for proper adhesion without excess oozing out.
5. Smooth out the adhesive: Use a putty knife or a similar tool to gently smooth out the adhesive on the vanity’s surface. This will help create an even layer and eliminate any excess adhesive that might interfere with the countertop installation.
6. Allow the adhesive to cure: Follow the manufacturer’s instructions regarding the curing time for the adhesive. It may take several hours for the adhesive to fully set and create a strong bond. Avoid placing any weight on the countertop during this curing period.
By properly applying adhesive, you can ensure a secure and long-lasting attachment of the granite countertop to your vanity. Once the adhesive has cured, you can proceed to the next step of attaching the countertop.
When attaching a granite countertop to a vanity, use a clear silicone adhesive to secure the countertop in place. Apply the adhesive in a continuous bead along the top of the vanity, then carefully lower the countertop into position. Allow the adhesive to cure according to the manufacturer’s instructions before using the countertop.
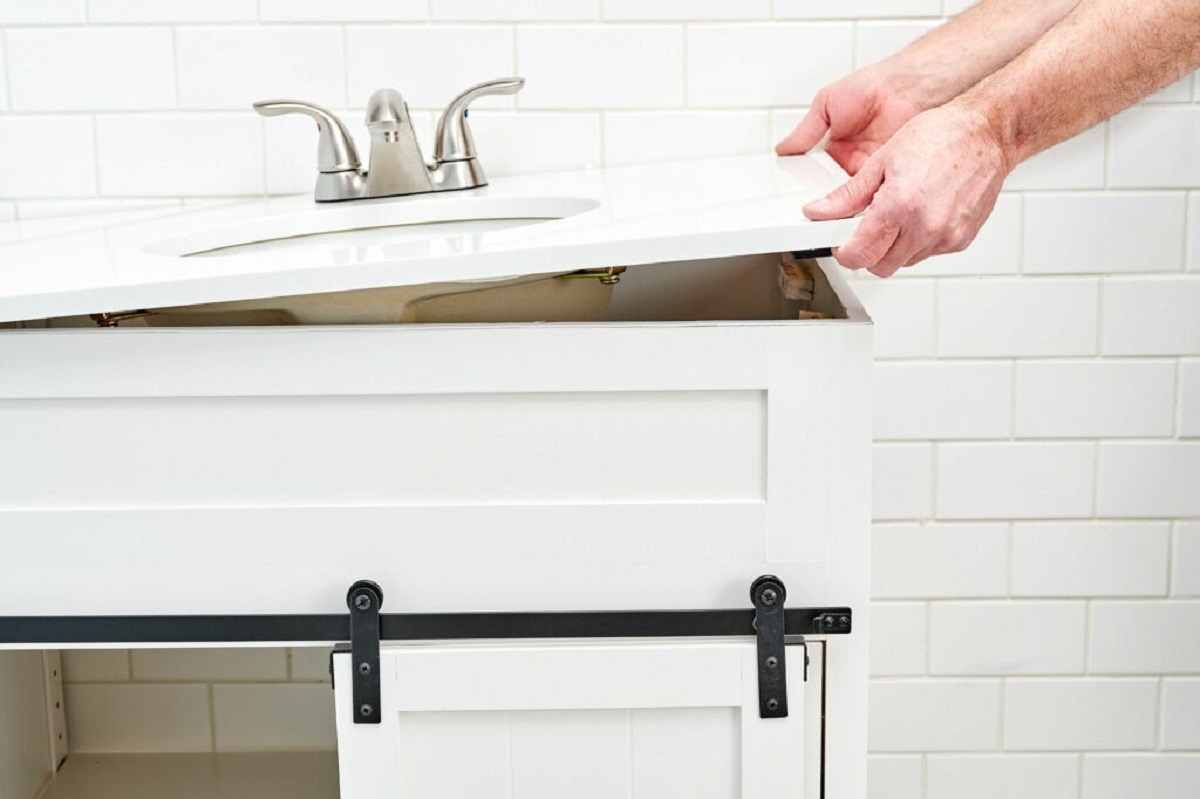
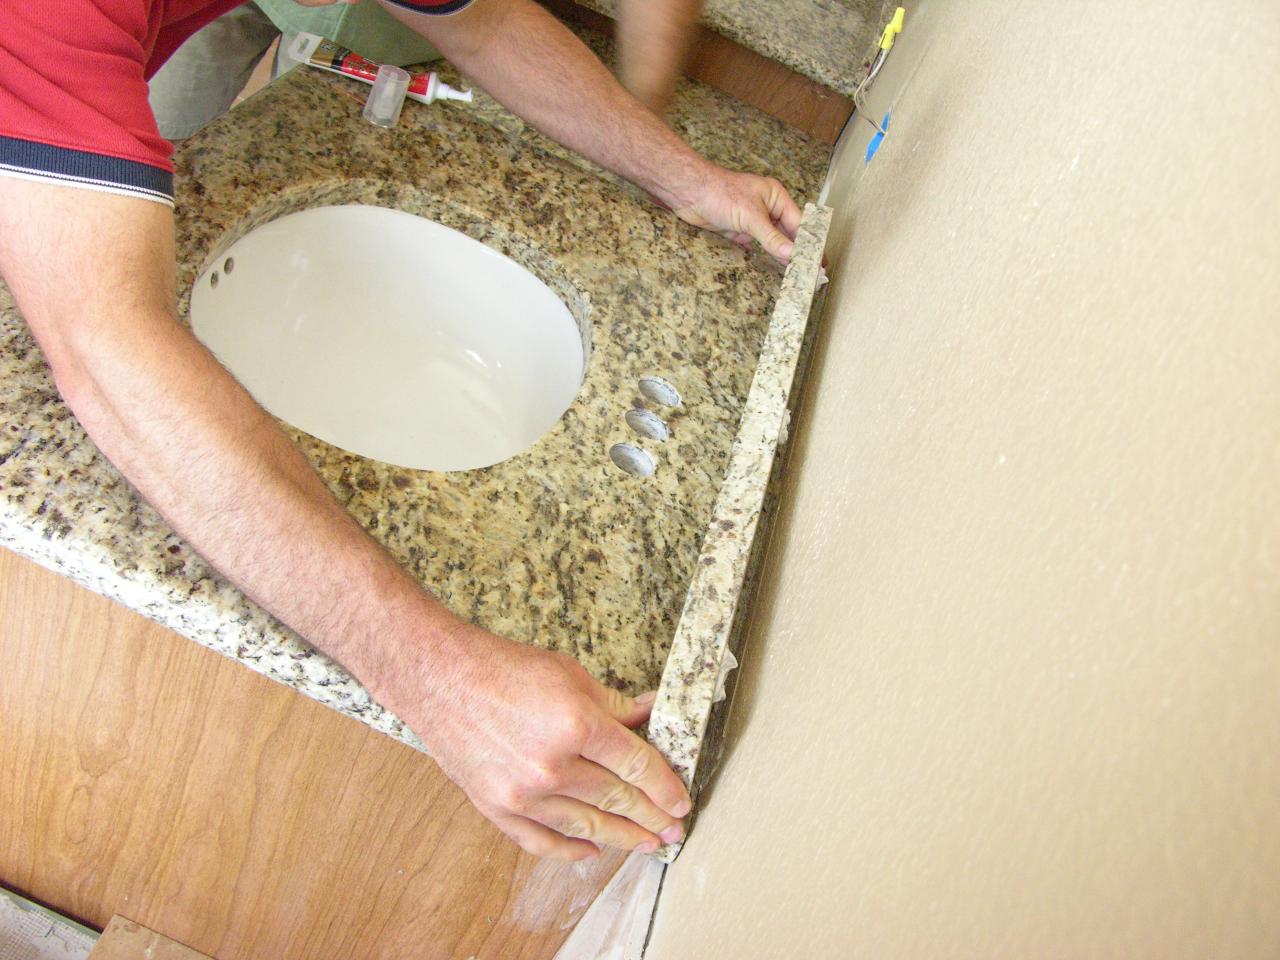
Step 3: Attach the countertop
After the adhesive has cured, it’s time to attach the granite countertop to the vanity. This step requires careful handling and assistance due to the weight and fragility of the granite. Follow these steps to securely attach the countertop:
1. Enlist the help of others: Granite countertops can be heavy and difficult to maneuver on your own. Enlist the help of one or more individuals to assist you in lifting and positioning the countertop onto the vanity.
2. Lift and position the countertop: Carefully lift the granite countertop, keeping it level and steady, and gently place it onto the vanity. Align the countertop with the pre-marked placement lines, ensuring an even overhang on all sides.
3. Check the alignment: Use a level to verify that the countertop is perfectly level and even on each side. Adjust the position, if necessary, to achieve the desired alignment.
4. Double-check the sink cutout: If you have marked the sink cutout, ensure that the countertop is aligned properly with the markings. It should match the location of the sink cutout on the vanity.
5. Press down firmly: Apply even pressure and press down firmly on the countertop to ensure it is in full contact with the adhesive. This will help establish a strong bond between the countertop and the vanity.
6. Remove any excess adhesive: Check for any excess adhesive that may have squeezed out during the countertop installation. Wipe it away using a damp cloth or sponge to maintain a clean and polished appearance.
By following these steps, you will ensure that the granite countertop is securely attached to the vanity. The next step involves securing the countertop in place for added stability.
Read more: How Are Granite Countertops Made
Step 4: Secure the countertop
Securing the granite countertop to the vanity is an essential step to ensure stability and prevent any movement or shifting. Follow these steps to securely fasten the countertop in place:
1. Use brackets or supports: Depending on the design of your vanity and countertop, you may need to use brackets or supports to provide additional stability. These can be attached underneath the countertop to secure it firmly to the vanity. Ensure that the brackets or supports are aligned with the pre-marked locations for a balanced and even support system.
2. Screw the brackets in place: With the help of a screwdriver, secure the brackets or supports to the underside of the vanity. Use the appropriate screws that are specifically designed for attaching the brackets to granite countertops.
3. Check for proper alignment: After attaching the brackets, check again to ensure that the countertop is still level and properly aligned. Make any necessary adjustments to achieve the desired position.
4. Tighten the screws: With caution, tighten the screws on the brackets or supports to firmly hold the countertop in place. Be careful not to overtighten, as this can cause damage to the granite or distort the alignment.
5. Verify stability: Gently test the stability of the countertop by applying light pressure or leaning on different sections of the surface. Ensure that the countertop does not move or wobble. If there is any instability, recheck the alignment and tighten the screws further as needed.
6. Trim excess brackets (if applicable): If there are any visible brackets or supports that extend beyond the countertop edge, use a saw or cutters to trim them to the desired length. This will help create a clean and streamlined appearance.
By securely fastening the granite countertop to the vanity, you will enhance its longevity and ensure that it remains in place even with regular use. The final step involves cleaning and finishing the countertop installation.
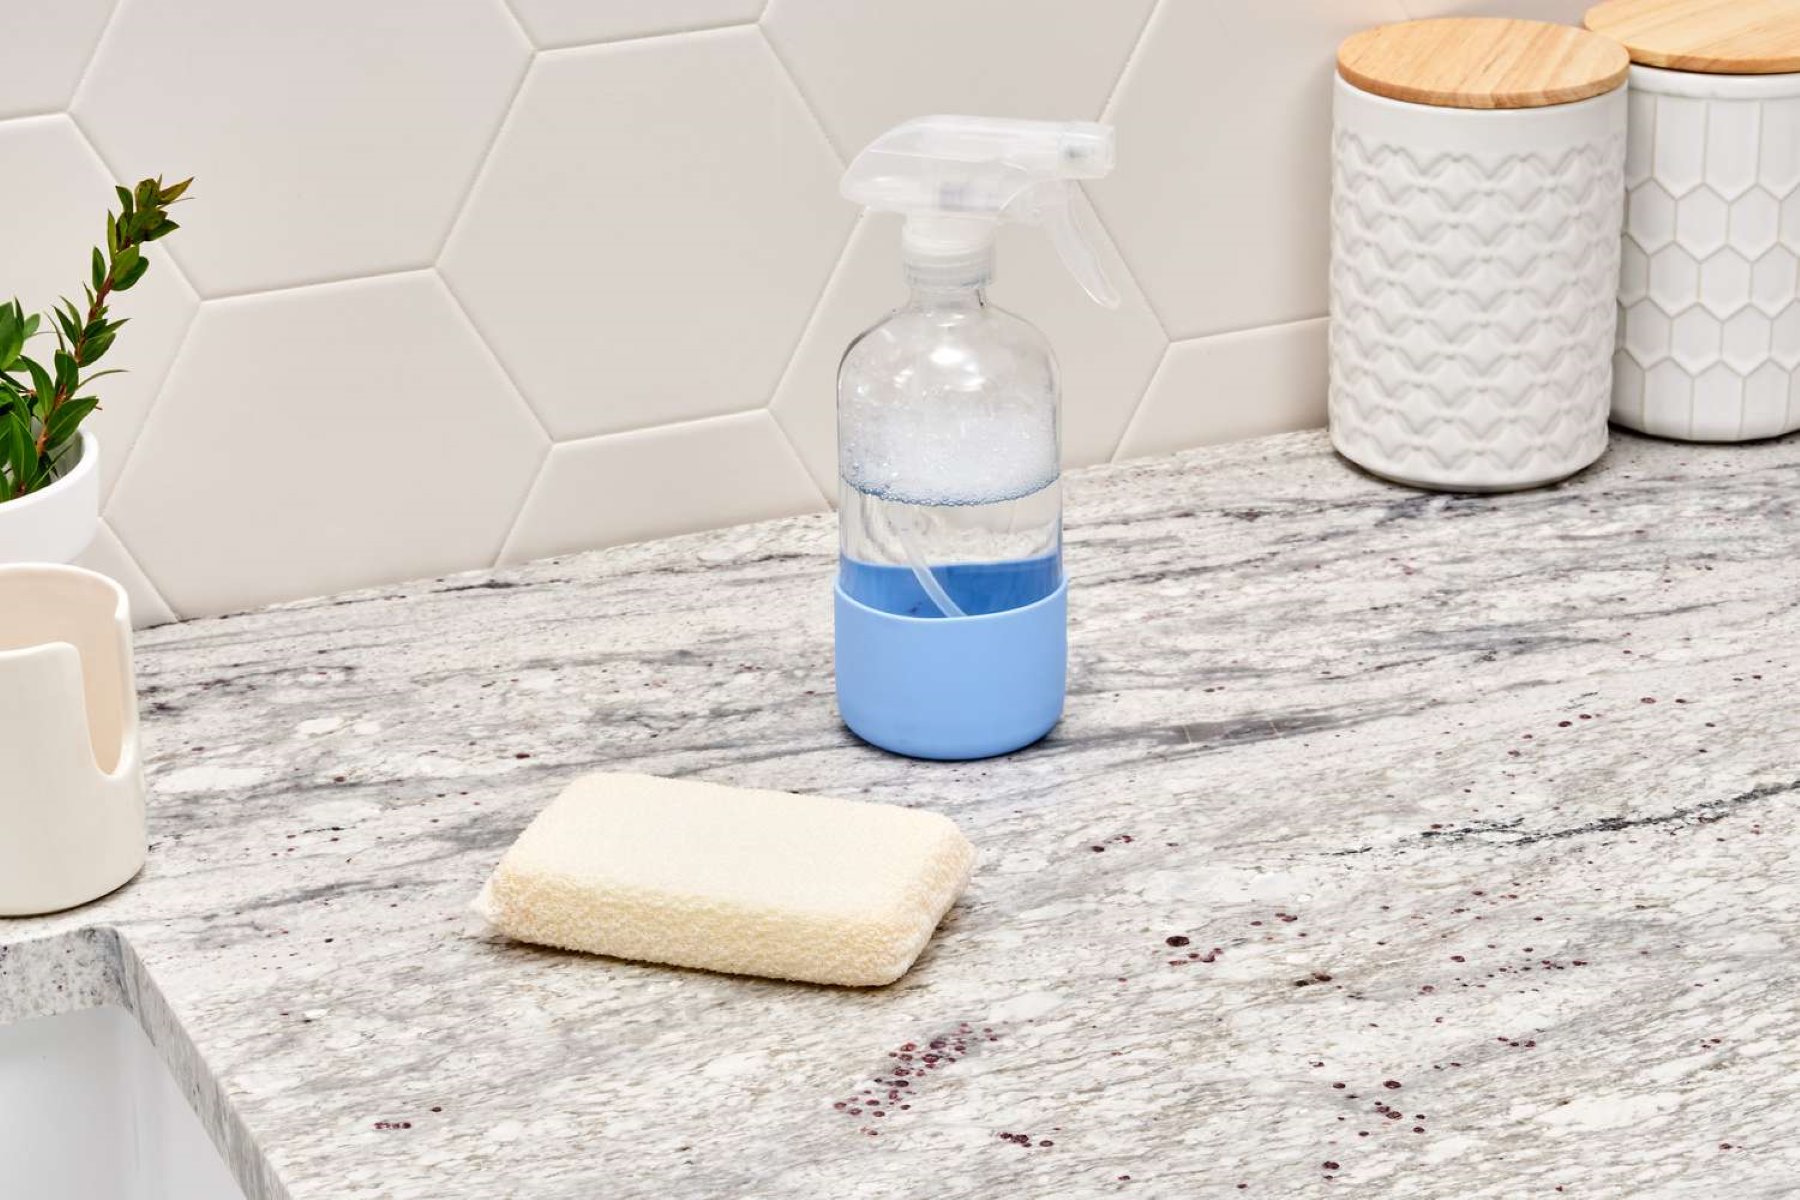
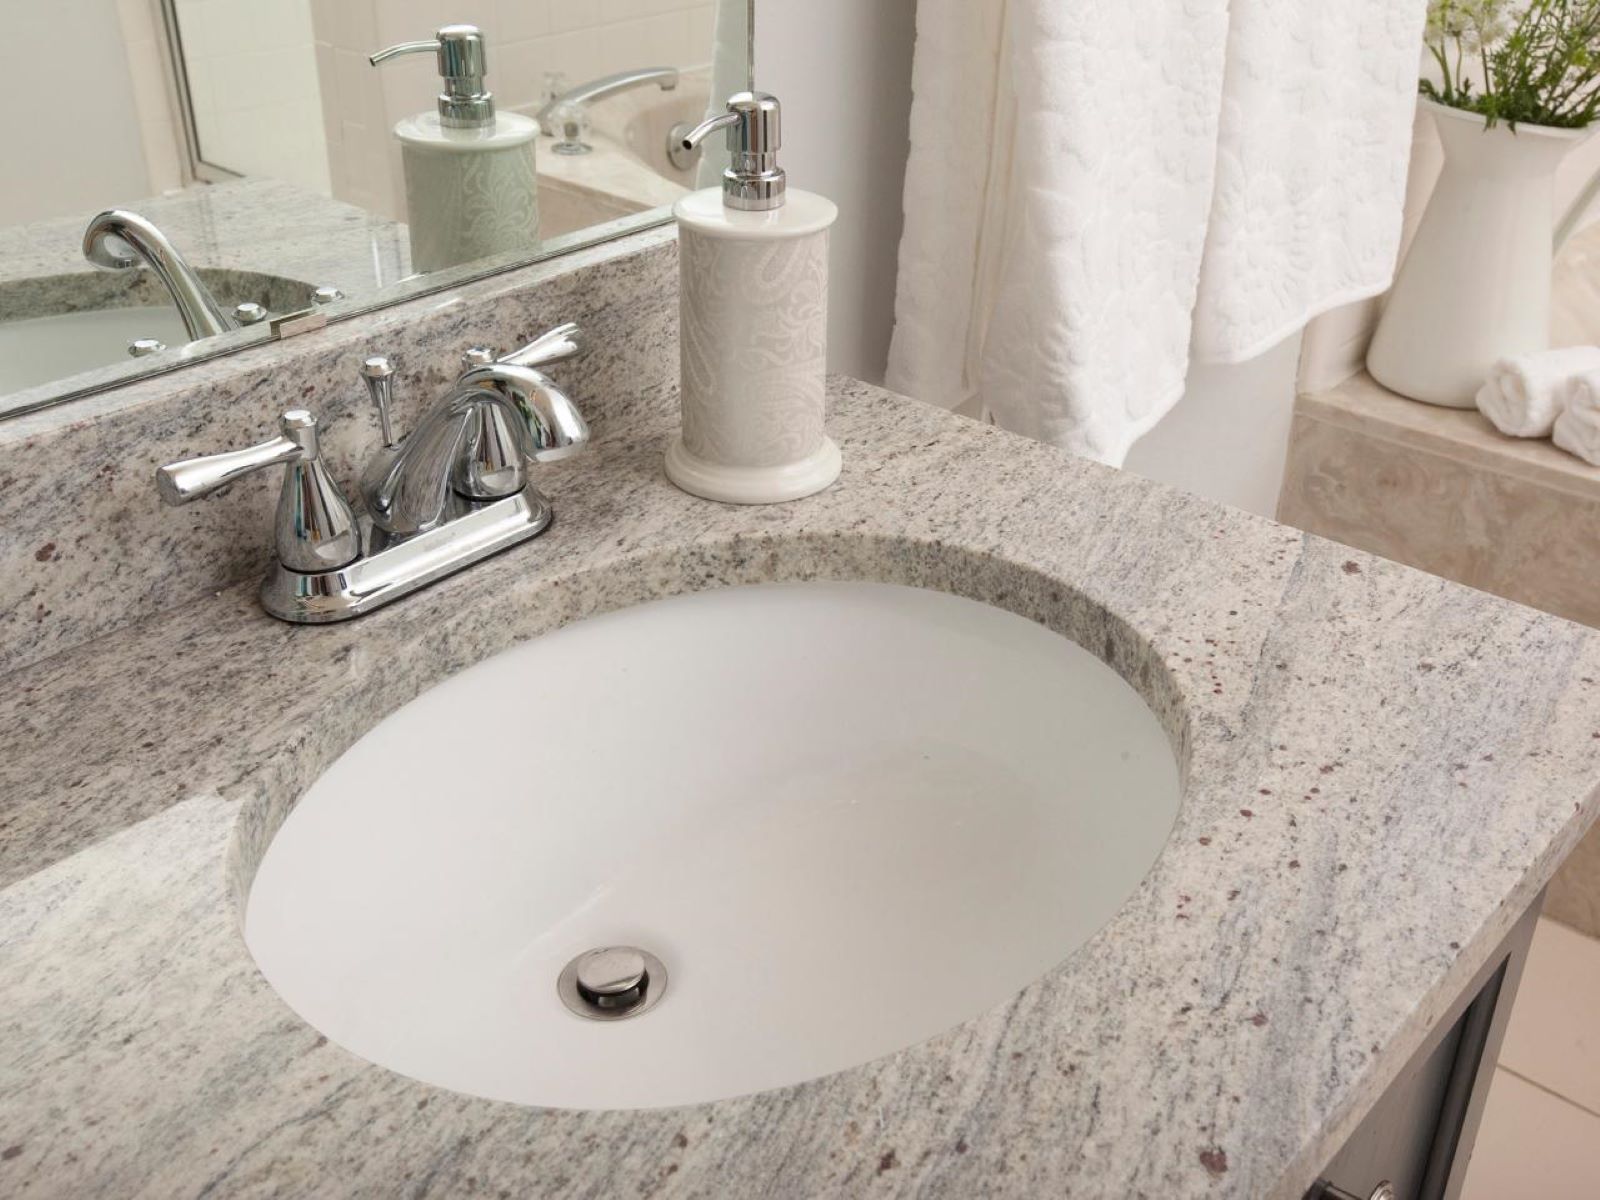
Step 5: Clean and finish the installation
After securing the granite countertop to the vanity, it’s time to clean and finish the installation to achieve a polished and professional look. Follow these steps to complete the process:
1. Remove any adhesive residue: Inspect the countertop and vanity for any adhesive residue or smudges. Use a mild adhesive remover or rubbing alcohol to gently clean the surface. Ensure that you do not use any abrasive cleaners or tools that could scratch or damage the granite.
2. Clean with gentle granite cleaner: Once the adhesive residue is removed, clean the entire countertop surface using a gentle granite cleaner. Follow the manufacturer’s instructions for the appropriate application method. Use a soft cloth or sponge to wipe away any dirt, dust, or fingerprints.
3. Seal the granite: To protect the granite countertop from stains and spills, consider applying a granite sealer. Consult with a professional or refer to the sealer manufacturer’s instructions for the recommended method and frequency of application. Ensure the countertop is clean and dry before applying the sealer.
4. Caulk around the sink: If you have an undermount or drop-in sink, apply a bead of silicone caulk around the edges of the sink cutout. Smooth the caulk with a caulk smoothing tool or your finger for a neat and professional finish. Allow the caulk to cure according to the manufacturer’s instructions.
5. Check for any gaps or imperfections: Inspect the countertop installation for any visible gaps or imperfections. If necessary, use color-matched epoxy or granite repair kits to fill any small cracks or chips. Follow the product instructions carefully for proper application and blending.
6. Final inspection: Once the countertop installation is cleaned and finished, take a step back and inspect the overall appearance. Ensure that the countertop is level, the edges are smooth, and the attachment is secure. Make any final adjustments or touch-ups as needed.
By cleaning and finishing the installation, you will enhance the beauty and longevity of your granite countertop. Take the time to properly maintain and care for your countertop to preserve its pristine condition for years to come.
Conclusion
Attaching a granite countertop to your vanity can elevate the aesthetic appeal and functionality of your bathroom. By following the step-by-step process outlined in this article, you can successfully attach the countertop with confidence. Remember to prioritize safety, seek assistance when needed, and carefully handle the heavy and fragile nature of granite.
Preparation is key to a seamless installation. Ensure that your vanity is level, clean, and properly measured before selecting the right granite countertop for your space. Applying the adhesive with precision and care will create a strong bond between the countertop and the vanity.
Attaching the countertop requires careful alignment and the assistance of others to ensure accuracy. With the use of brackets or supports, you can secure the countertop firmly to the vanity, providing stability and durability for years to come.
After securing the countertop, take the time to clean and finish the installation. Remove any adhesive residue, clean the surface with a gentle granite cleaner, and consider sealing the granite to protect it from stains and spills. Caulking around the sink and addressing any imperfections will complete the installation with a professional touch.
Remember, maintaining your granite countertop is essential for its longevity. Regular cleaning, proper sealing, and addressing any repairs promptly will help preserve its beauty and functionality for years to come.
With the knowledge and guidance provided in this article, you are now equipped to attach a granite countertop to your vanity successfully. However, if you are unsure about your abilities or have concerns about the complexity of the installation, it’s always best to consult with a professional for assistance.
Enjoy the beauty and durability of your newly attached granite countertop as it adds a touch of elegance and sophistication to your bathroom space.
Frequently Asked Questions about How To Attach Granite Countertop To Vanity
Was this page helpful?
At Storables.com, we guarantee accurate and reliable information. Our content, validated by Expert Board Contributors, is crafted following stringent Editorial Policies. We're committed to providing you with well-researched, expert-backed insights for all your informational needs.


0 thoughts on “How To Attach Granite Countertop To Vanity”