Home>Storage Ideas>Kitchen Storage>How To Remove Kitchen Cabinets With Tips From Professionals
Kitchen Storage
How To Remove Kitchen Cabinets With Tips From Professionals
Modified: February 10, 2024
Learn how to remove kitchen cabinets like a pro with these expert tips. Discover DIY kitchen storage ideas to maximize your space and transform your kitchen.
(Many of the links in this article redirect to a specific reviewed product. Your purchase of these products through affiliate links helps to generate commission for Storables.com, at no extra cost. Learn more)
Introduction
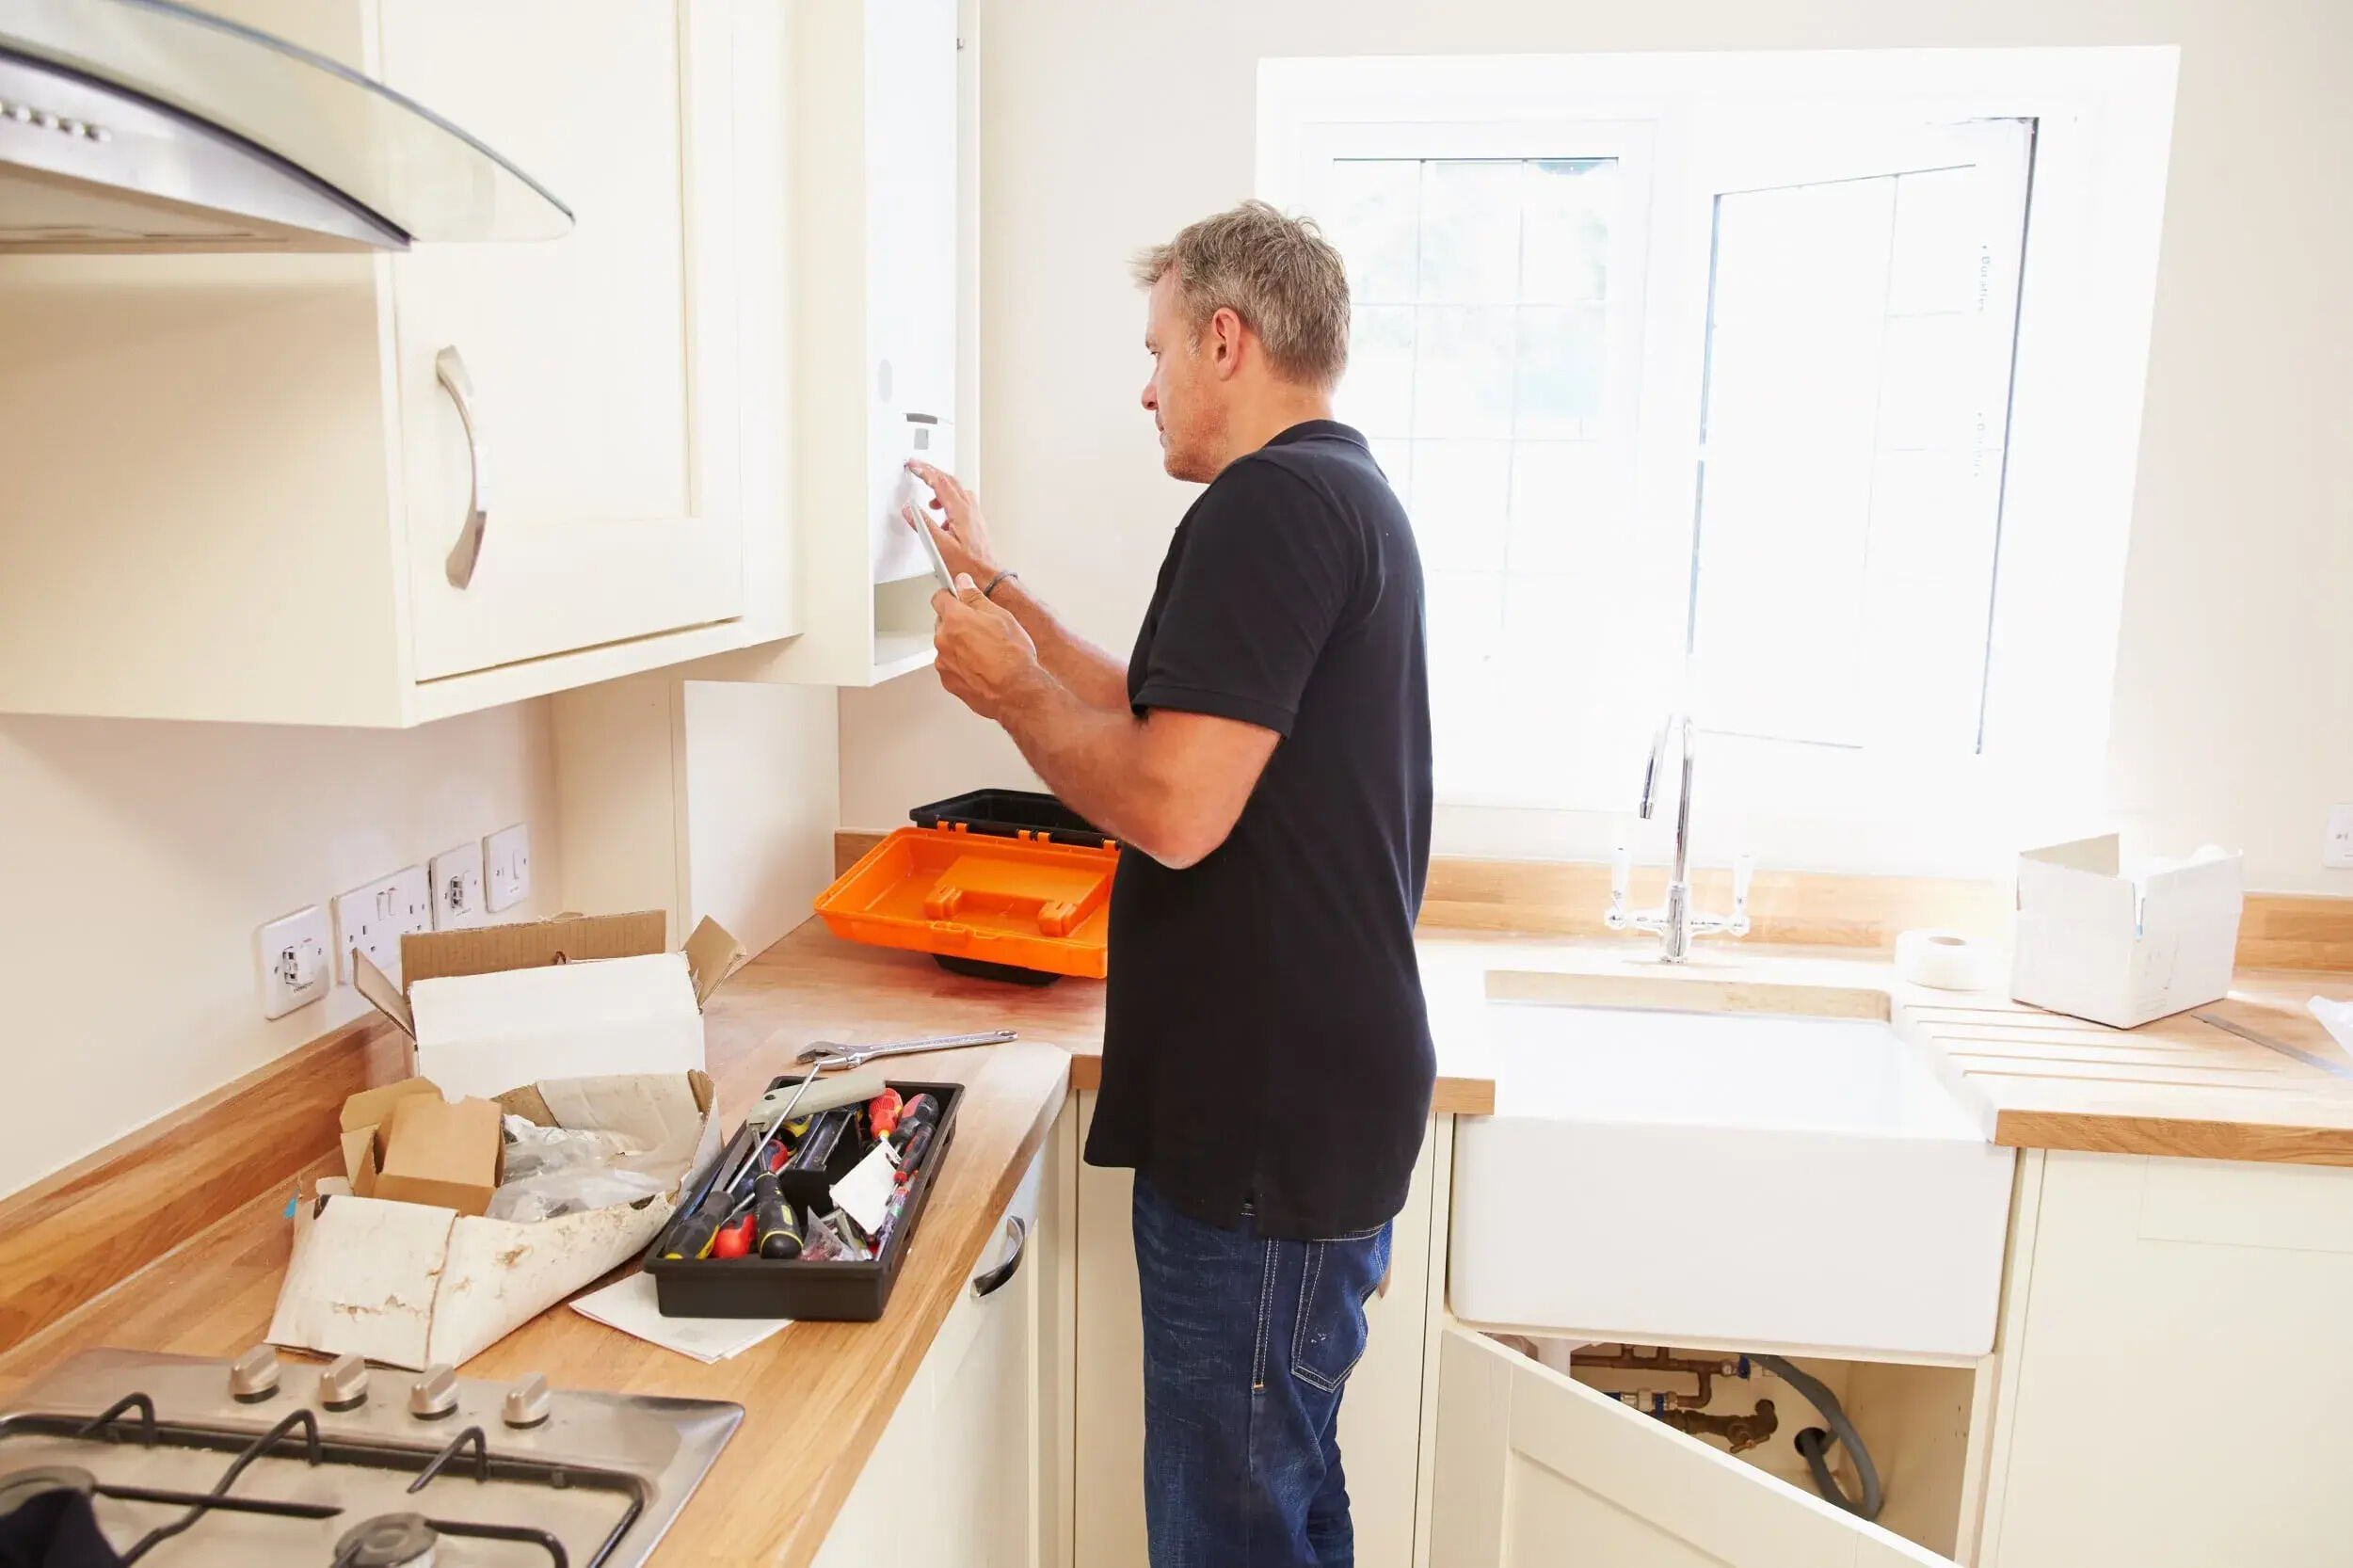
Welcome to our comprehensive guide on how to remove kitchen cabinets! Whether you’re looking to renovate your kitchen or simply upgrade your storage space, knowing how to properly remove kitchen cabinets is a crucial skill. In this article, we will provide you with step-by-step instructions and important tips from professionals in the field.
Removing kitchen cabinets may seem like a daunting task, but with the right tools, equipment, and guidance, you can easily tackle the project. By following the methods outlined in this article, you will not only be able to remove your kitchen cabinets safely but also minimize any potential damage to your kitchen walls or flooring.
Before we dive into the details of the cabinet removal process, it’s important to have a basic understanding of what to expect. In general, removing kitchen cabinets involves unscrewing or unfastening them from the wall and carefully taking them down. However, keep in mind that every kitchen is unique, and the exact process may vary depending on the construction and installation method of your cabinets.
To get started, you will need to gather some essential tools and equipment that will make the cabinet removal process much easier. These tools include a power drill or screwdriver, a pry bar or crowbar, a hammer, a utility knife, and a pair of safety gloves. Additionally, having a friend or family member to assist you can also be helpful, especially when dealing with larger cabinets.
Now, let’s get into the step-by-step guide on how to remove your kitchen cabinets. Following these instructions will ensure a smooth and efficient removal process.
Key Takeaways:
- Properly removing kitchen cabinets involves assessing, labeling, and using the right tools. Following expert tips and safety precautions ensures a smooth and efficient removal process, leading to successful kitchen upgrades.
- Avoid common mistakes like neglecting safety precautions and rushing the removal process. By prioritizing safety, using proper lifting techniques, and seeking professional advice when needed, you can confidently tackle kitchen cabinet removal projects.
Read more: How To Remove Drawers From Filing Cabinet
Understanding the Cabinet Removal Process
Before you start removing your kitchen cabinets, it’s essential to understand the overall process. This will help you prepare and anticipate any challenges that may arise during the removal. Here are the key steps involved in removing kitchen cabinets:
- Assess the cabinets: Take a close look at your cabinets and determine how they are attached to the wall. Typically, cabinets are secured with screws or nails.
- Locate the fasteners: Locate the screws or nails that secure the cabinets to the wall. These fasteners are usually found on the inside of the cabinets and may be hidden beneath cosmetic covers.
- Remove doors and hardware: Before removing the cabinets, it’s advisable to take off the doors, drawers, and any hardware attached to them. This will make the cabinets lighter and easier to handle.
- Mark the cabinets: If you plan to reinstall the cabinets elsewhere, it can be helpful to mark each cabinet and its corresponding location on the wall. This will make the reinstallation process much smoother.
- Support the cabinets: Kitchen cabinets can be heavy, so it’s important to have proper support in place. Use a temporary support or enlist the help of a friend to hold the cabinets steady while you remove them from the wall.
- Detach the cabinets: Unscrew or unfasten the cabinets from the wall using a power drill or screwdriver. Start from the top and work your way down. Be careful not to damage the surrounding walls or other fixtures in the process.
- Remove the cabinets: Once the cabinets are detached from the wall, carefully lift them off the support and set them aside. Make sure to clear the space before proceeding to remove the next cabinet.
It’s important to note that the steps outlined above are general guidelines, and the specific process may vary depending on the type and design of your kitchen cabinets. If you are unsure or have custom-built cabinets, it’s recommended to consult a professional or refer to the manufacturer’s guidelines.
Now that you have a clear understanding of the cabinet removal process, let’s move on to the essential tools and equipment you will need for a successful removal.
Essential Tools and Equipment
Having the right tools and equipment will make the cabinet removal process much smoother and efficient. Here are the essential tools you will need:
- Power drill or screwdriver: A power drill or screwdriver is essential for unscrewing or unfastening the cabinets from the wall. Make sure to have the appropriate drill bits or screwdriver tips for the screws used in your cabinets.
- Pry bar or crowbar: A pry bar or crowbar will come in handy for gently prying the cabinets away from the wall. This tool helps loosen any adhesive or nails holding the cabinets in place.
- Hammer: A hammer is useful for tapping the pry bar or crowbar and providing a bit of extra force if needed.
- Utility knife: A utility knife is helpful for cutting through any caulking or sealant between the cabinets and the wall. This will make it easier to remove the cabinets without causing damage.
- Safety gloves: Protect your hands by wearing safety gloves throughout the cabinet removal process. They will prevent any injuries or cuts while handling tools or sharp edges.
- Temporary supports: To ensure safety and stability, use temporary supports such as braces or wooden blocks to hold the cabinets in place while removing them from the wall.
- Ladder or step stool: Depending on the height of your cabinets, a ladder or step stool may be necessary to reach the upper cabinets safely.
- Plastic sheeting or drop cloth: Cover the surrounding area with plastic sheeting or a drop cloth to protect your floors, countertops, and other furniture from any debris or damage during the removal process.
It’s important to have these tools and equipment readily available before starting the cabinet removal process. This will help you work efficiently and minimize any potential damage or injuries. If you don’t already have these tools, you can easily find them at your local hardware store or online retailer.
Now that you are equipped with the necessary tools, let’s move on to the step-by-step guide on how to remove kitchen cabinets.
Step-by-Step Guide to Removing Kitchen Cabinets
Now that you have gathered the necessary tools and equipment, it’s time to dive into the step-by-step process of removing your kitchen cabinets. Follow these instructions to ensure a successful cabinet removal:
- Prepare the area: Before you start, clear the area around the cabinets and cover your floors, countertops, and other furniture with plastic sheeting or a drop cloth to protect them from any debris or damage.
- Remove cabinet doors and hardware: Start by removing the cabinet doors, drawers, and any hardware attached to them. This will make the cabinets lighter and easier to handle.
- Locate and remove fasteners: Use a screwdriver or power drill to locate and remove the screws or nails that secure the cabinets to the wall. These fasteners are typically found on the inside of the cabinets.
- Release any caulking or sealant: If your cabinets are caulked or sealed to the wall, carefully cut through the caulking using a utility knife. This will help loosen the cabinets and make them easier to remove.
- Start from the top: Begin removing the upper cabinets first. Have a friend or family member hold the cabinets in place while you unscrew or unfasten them from the wall.
- Use a pry bar: Gently insert a pry bar or crowbar between the cabinet and the wall. Apply light pressure to pry the cabinets away from the wall, starting from the top and working your way down.
- Detach the cabinets: Once the cabinets are loose, carefully lift them off the support or have your assistant hold them while you completely remove the fasteners and detach the cabinets from the wall.
- Repeat for lower cabinets: Follow the same process for removing the lower cabinets, working from the top down and using a pry bar to gently separate the cabinets from the wall.
- Inspect for any damage: After removing the cabinets, inspect the wall surface for any damage. Fill and patch any holes or imperfections to prepare for future installations or repairs.
Remember, every kitchen is unique, and the specifics of the removal process may vary. It’s important to take necessary precautions, work carefully, and seek professional guidance if needed.
Now that you have successfully removed your kitchen cabinets, you may be wondering about some additional tips and insights from professionals in the field. Let’s explore some valuable advice that will help you throughout the cabinet removal process.
When removing kitchen cabinets, start by removing all items from the cabinets and labeling the doors and hardware for easy reassembly. Then, use a screwdriver to remove the screws attaching the cabinets to the wall and carefully lift them off the wall.
Tips from Professionals
When it comes to removing kitchen cabinets, professionals have invaluable insights and tips that can help make the process smoother and more efficient. Here are some tips from the experts:
- Take pictures: Before you start removing your cabinets, it’s a good idea to take pictures of the cabinets and their placement. This will serve as a reference when you reinstall them or if you need to consult with professionals.
- Label everything: As you remove the cabinet doors, drawers, and hardware, label them accordingly. This will make it easier to reinstall them later without any confusion.
- Use proper lifting techniques: When lifting and carrying the cabinets, remember to use proper lifting techniques to avoid straining your back. Bend at the knees, keep your back straight, and lift with your legs.
- Store screws and hardware carefully: Keep all the screws and hardware from each cabinet organized in separate containers or labeled bags. This will prevent any confusion or loss of small parts during the removal process.
- Protect the countertops: Place a protective barrier, such as cardboard or plywood, over your countertops before placing any removed cabinets on them. This will prevent any scratches or damage to the surfaces.
- Keep a clear workspace: As you remove each cabinet, clear the workspace and remove any debris before proceeding to the next one. This will help maintain a safe and organized work area.
- Ask for help if needed: Removing kitchen cabinets can be physically demanding, especially if you are working with larger or heavy cabinets. Don’t hesitate to ask for help from friends, family members, or professionals if you need assistance.
- Keep safety in mind: Always prioritize safety during the cabinet removal process. Wear protective gloves and eyewear, and take precautions to avoid injury or damage to yourself and your surroundings.
- Consult professionals if uncertain: If you are unsure about any aspect of the cabinet removal process or if you have custom-built cabinets, it’s recommended to consult with professionals. They can provide expert advice and assistance tailored to your specific needs.
By following these tips from professionals, you can ensure a successful and efficient kitchen cabinet removal. Now, let’s discuss some common mistakes to avoid during the removal process.
Read more: How To Remove A Lock From A File Cabinet
Common Mistakes to Avoid
Removing kitchen cabinets may seem straightforward, but there are some common mistakes that can lead to unnecessary complications or damage. By being aware of these mistakes, you can avoid them and ensure a smooth removal process. Here are some common mistakes to avoid:
- Not labeling or organizing: Failing to label cabinet doors, drawers, and hardware can lead to confusion during reinstallation. Take the time to properly label and store each component to make the reassembly process easier.
- Forceful removal: Don’t forcefully pull or pry the cabinets from the wall. This can cause damage to the cabinets, walls, or surrounding fixtures. Take your time and use gentle pressure when removing the cabinets.
- Skipping safety precautions: Always prioritize safety by wearing appropriate gloves and eyewear. Additionally, ensure that the work area is clear of any hazards and use proper lifting techniques to avoid strains or injuries.
- Not documenting or photographing: Neglecting to take pictures or document the cabinet placement before removal can make it difficult to reinstall the cabinets correctly. Take the time to capture the layout and arrangement of the cabinets for reference.
- Not seeking professional advice: If you have unique or custom-built cabinets, it’s advisable to seek professional advice or assistance. They can provide guidance specific to your cabinets and ensure a successful removal process.
- Removing cabinets without assistance: Some kitchen cabinets can be heavy and cumbersome. Avoid attempting to remove them alone as it can lead to accidents or damage. Enlist the help of a friend or family member to ensure safe removal.
- Forgetting to protect surfaces: Failing to protect countertops, floors, and other surfaces can result in scratches or damage during the removal process. Use cardboard, drop cloths, or plywood to protect these areas from any potential harm.
- Not inspecting for damage: After removing the cabinets, make sure to inspect the wall surface for any damage. Fill and patch any holes or imperfections before proceeding with future installations or repairs.
- Rushing the process: Removing kitchen cabinets requires patience and careful attention to detail. Rushing through the process can result in mistakes or accidents. Take your time and stay focused on each step for a successful removal.
Avoiding these common mistakes will help you achieve a smooth and hassle-free kitchen cabinet removal. Now, let’s discuss some important safety precautions to keep in mind during the removal process.
Safety Precautions while Removing Kitchen Cabinets
Ensuring your safety and the safety of others is paramount when removing kitchen cabinets. By following these important safety precautions, you can minimize the risk of accidents or injuries during the removal process:
- Wear protective gear: Always wear safety gloves and protective eyewear to protect your hands and eyes from any sharp edges or flying debris.
- Use proper lifting techniques: When lifting heavy cabinets, remember to bend your knees, keep your back straight, and lift with your legs. Avoid twisting your body while lifting to prevent strains or injuries.
- Secure loose items: Clear the area around the cabinets and secure any loose items or furniture that could pose a hazard during the removal process.
- Avoid overloading yourself: Don’t overload yourself with too many cabinets or heavy pieces at once. Overexertion can lead to fatigue and increased risk of accidents. Take breaks and ask for assistance if needed.
- Ensure stable footing: Make sure you have a stable footing when working on ladders or step stools. Position them on a level surface and use caution when climbing up and down.
- Monitor electrical connections: Before removing cabinets near electrical outlets or switches, ensure that the power is turned off at the breaker. Avoid working near live electrical connections to prevent electric shock.
- Avoid excessive force: Do not use excessive force or violent movements when removing cabinets. This can lead to accidents or damage to the cabinets, walls, or surrounding areas.
- Keep the workspace clean: Clear the work area of any clutter or debris to prevent tripping hazards. This will help maintain a safe and organized workspace throughout the removal process.
- Stay focused and alert: Pay attention to your surroundings and stay focused on the task at hand. Avoid distractions that can lead to accidents or errors during the cabinet removal.
- Have a first aid kit handy: In case of any minor injuries, have a first aid kit readily available. Make sure it contains essentials like bandages, antiseptic solution, and gauze pads.
By following these safety precautions, you can ensure a safe and smooth kitchen cabinet removal process. Remember, if you feel overwhelmed or unsure about any aspect of the removal, seek professional assistance to avoid any potential hazards.
Now, let’s wrap up our guide on removing kitchen cabinets.
Conclusion
Removing kitchen cabinets can be a rewarding and necessary part of kitchen renovation or upgrade projects. By following the step-by-step guide, understanding the cabinet removal process, utilizing the essential tools and equipment, and implementing the tips and safety precautions from professionals, you can successfully remove your kitchen cabinets with confidence.
Remember to assess your cabinets, locate the fasteners, remove doors and hardware, and take necessary precautions to protect yourself and the surrounding areas. Label and organize components, take photographs for future reference, and seek professional advice if needed.
By avoiding common mistakes, such as rushed removals or neglecting safety precautions, you can ensure a smooth and efficient process. Always prioritize your safety, use proper lifting techniques, and maintain a clean and organized workspace.
With the knowledge and guidance provided in this comprehensive guide, you are now well-equipped to tackle your kitchen cabinet removal project. Whether you’re upgrading your storage space or preparing for a full kitchen renovation, the ability to remove kitchen cabinets properly is an invaluable skill.
Remember, if you feel uncertain or overwhelmed at any point during the removal process, it’s always advisable to consult with professionals. They can provide expert advice, guidance, and assistance tailored to your specific needs.
Good luck with your kitchen cabinet removal. Enjoy the process and the exciting possibilities that lie ahead for your kitchen storage!
Frequently Asked Questions about How To Remove Kitchen Cabinets With Tips From Professionals
Was this page helpful?
At Storables.com, we guarantee accurate and reliable information. Our content, validated by Expert Board Contributors, is crafted following stringent Editorial Policies. We're committed to providing you with well-researched, expert-backed insights for all your informational needs.


0 thoughts on “How To Remove Kitchen Cabinets With Tips From Professionals”