Articles
How To Install Cabinets And Countertops
Modified: October 28, 2024
Learn how to install cabinets and countertops with our informative articles. Explore step-by-step guides and expert tips to complete your DIY project successfully.
(Many of the links in this article redirect to a specific reviewed product. Your purchase of these products through affiliate links helps to generate commission for Storables.com, at no extra cost. Learn more)
Introduction
Installing cabinets and countertops is a great way to update and improve the functionality and aesthetics of your kitchen or bathroom. Whether you’re looking to remodel your space or replace old and worn-out fixtures, this comprehensive guide will walk you through the step-by-step process of installing cabinets and countertops.
Before you begin, it’s important to have a clear plan in mind. Take accurate measurements of your space and consider the overall design and style you want to achieve. This will help you make informed decisions when selecting materials, tools, and finishes.
In this guide, we’ll start by preparing the space for the installation. This includes measuring and planning, removing old cabinets and countertops, and preparing the walls and floor for the new fixtures. Then, we’ll take you through the process of installing the cabinets, including assembling and organizing the pieces, attaching them to the wall, adjusting and leveling, and adding hardware. Finally, we’ll cover the installation of countertops, from choosing the right material to measuring and cutting the pieces, preparing the surface, attaching the countertops, and finishing them off with seals and finishes.
Whether you’re a seasoned DIY enthusiast or a novice looking to tackle your first home improvement project, this guide will provide you with the knowledge and confidence needed to successfully install cabinets and countertops. So, roll up your sleeves and let’s get started!
Key Takeaways:
- Proper preparation is key to successful cabinet and countertop installation. From accurate measuring and planning to meticulous wall and floor preparation, attention to detail ensures a professional and functional result.
- Selecting the right materials and following a systematic installation process are crucial for a successful DIY project. With careful planning and execution, you can achieve a beautiful and functional kitchen or bathroom space.
Read more: How To Match Countertops With Cabinets
Step 1: Preparing the Space
Before diving into the installation process, it’s essential to prepare the space properly. This involves measuring and planning, removing old cabinets and countertops, and preparing the walls and floor for the new fixtures. Let’s explore each of these steps in detail.
Measuring and Planning
The first step is to accurately measure your space. Measure the width, height, and depth of the area where the cabinets and countertops will be installed. It’s crucial to be precise during this stage to ensure a proper fit for your new fixtures. Consider any appliances or plumbing fixtures that may affect the layout of the cabinets and countertops.
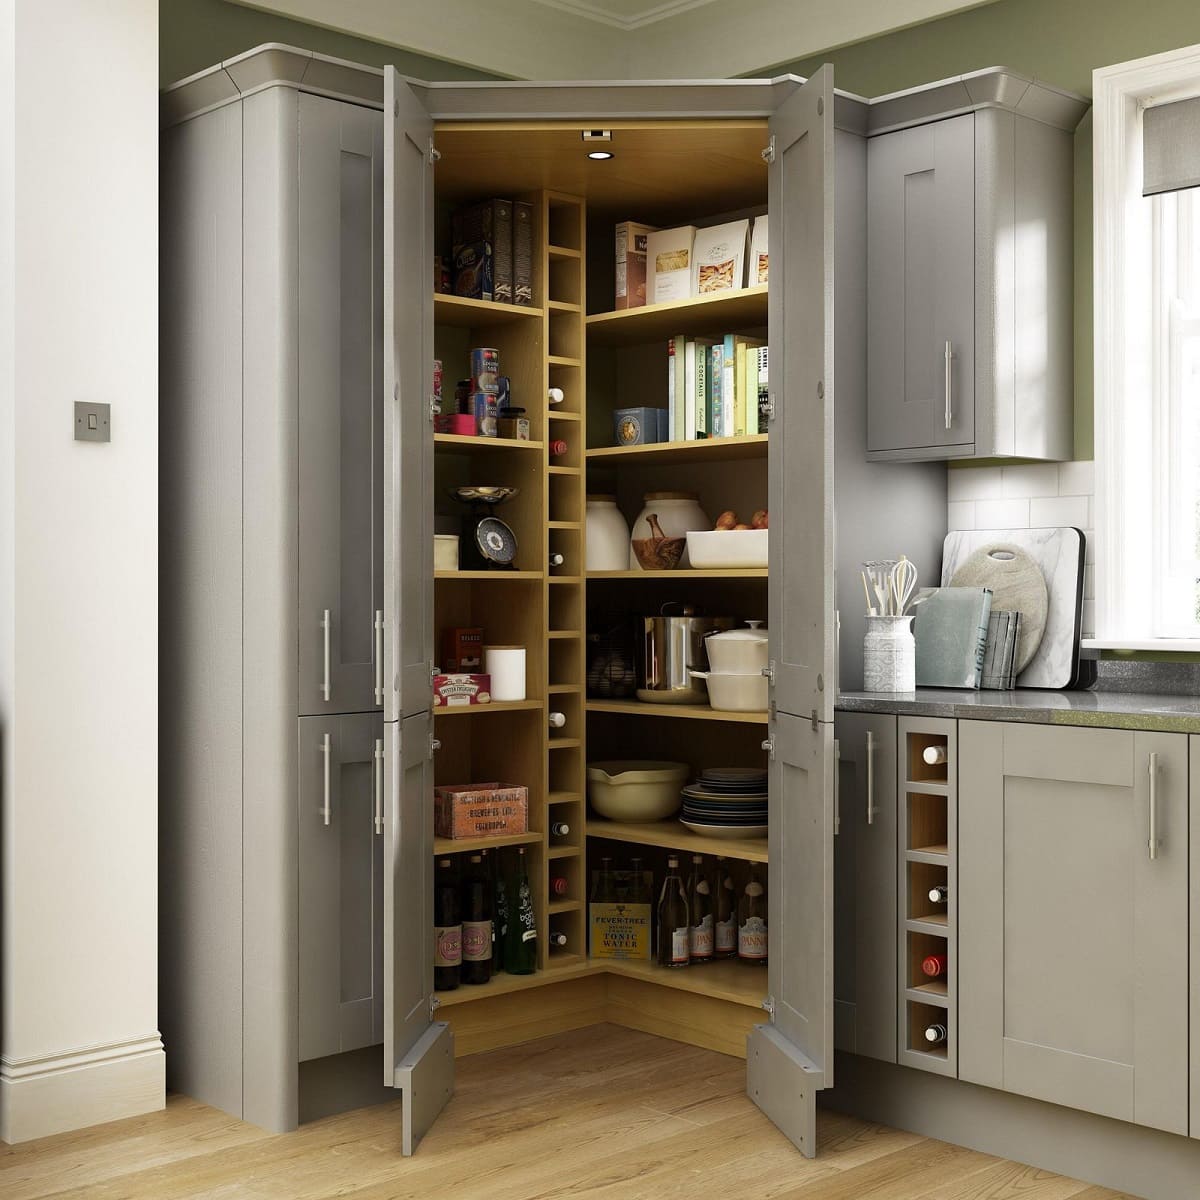
Once you have your measurements, create a detailed plan. Determine the layout and configuration of your cabinets, taking into account factors such as storage needs, work triangle efficiency, and aesthetic preferences. This plan will serve as your guide throughout the installation process.
Removing Old Cabinets and Countertops
If you have existing cabinets and countertops, you’ll need to remove them before proceeding with the installation. Start by emptying the cabinets and clearing the countertops of any items.
Using a screwdriver or drill, remove the screws that hold the cabinets in place. Carefully detach the cabinets from the walls and carefully set them aside. Be cautious of any plumbing or electrical connections that may be hidden behind the cabinets.
To remove the countertops, unscrew any screws or brackets that hold them in place. Use a utility knife to cut through any caulk or adhesive that may be securing the countertops to the cabinets or walls. Gently lift and remove the countertops, being mindful of the weight and any fragile edges.
Preparing the Walls and Floor
After removing the old cabinets and countertops, take the time to prepare the walls and floors for the installation of the new fixtures. Ensure that the walls are clean, smooth, and free from any debris or adhesive residue.
If necessary, repair any damaged areas on the walls or floor. Fill in holes, sand rough surfaces, and apply primer or sealer if needed. This will provide a solid foundation for the cabinets and countertops and help achieve a professional-looking finish.
Now that you have prepared the space by measuring and planning, removing old cabinets and countertops, and preparing the walls and floor, you are ready to move on to the next step: installing the cabinets.
Read more: How To Attach Countertop To Cabinet
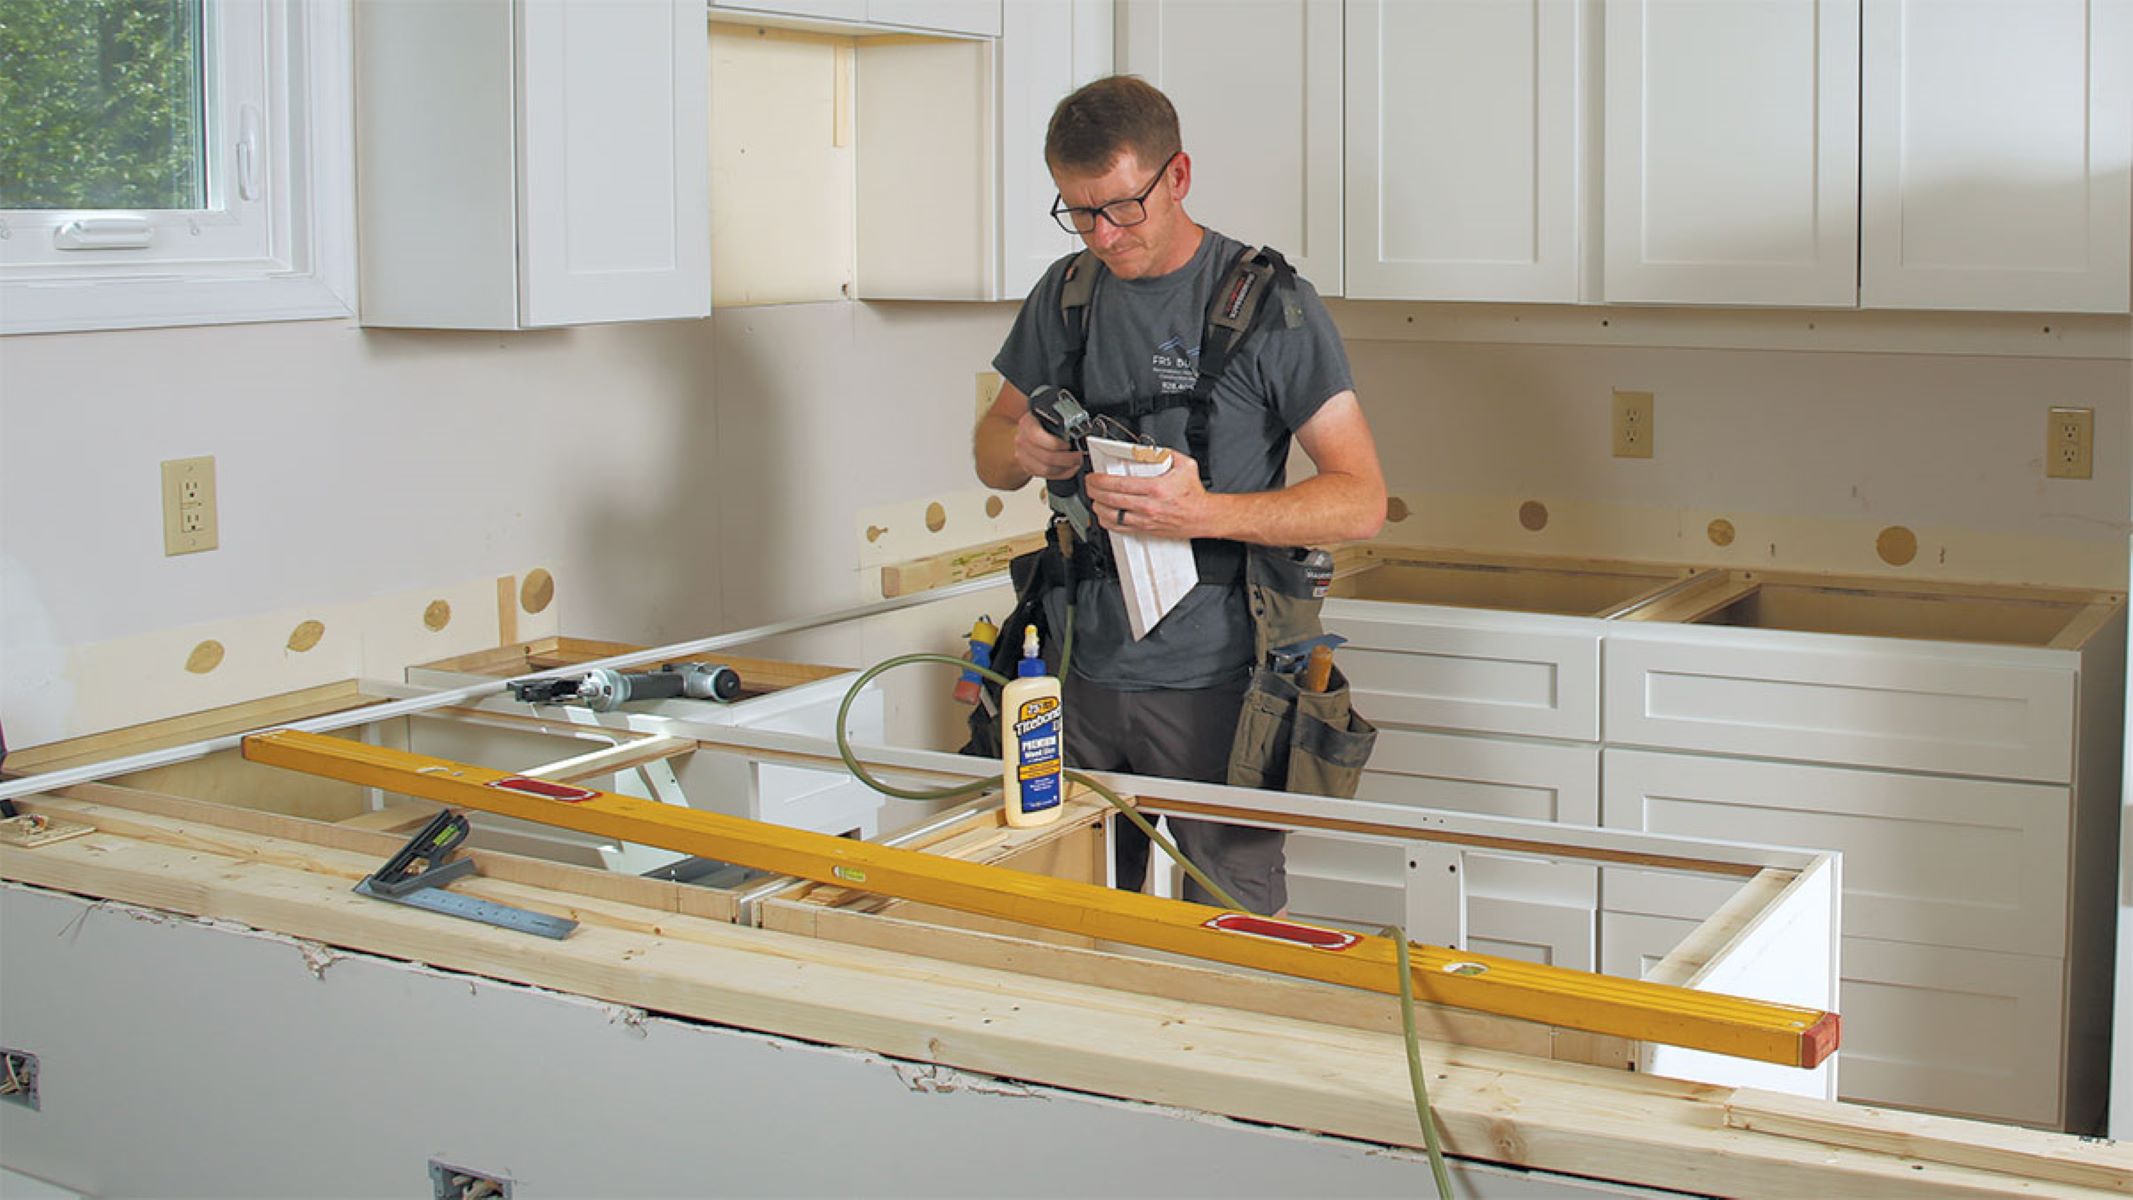
Step 2: Installing Cabinets
Now that you have prepared the space, it’s time to start installing the cabinets. This step involves a series of tasks, including assembling and organizing the cabinet pieces, attaching them to the wall, adjusting and leveling, installing cabinet doors and drawers, and adding hardware.
Assembling and Organizing Cabinet Pieces
If your cabinets come unassembled, you’ll need to follow the manufacturer’s instructions to put them together. Lay out all the individual pieces and hardware, ensuring you have everything needed for assembly.
Organize the pieces in the order they will be installed. This will make the installation process more efficient and prevent any confusion or mistakes along the way.
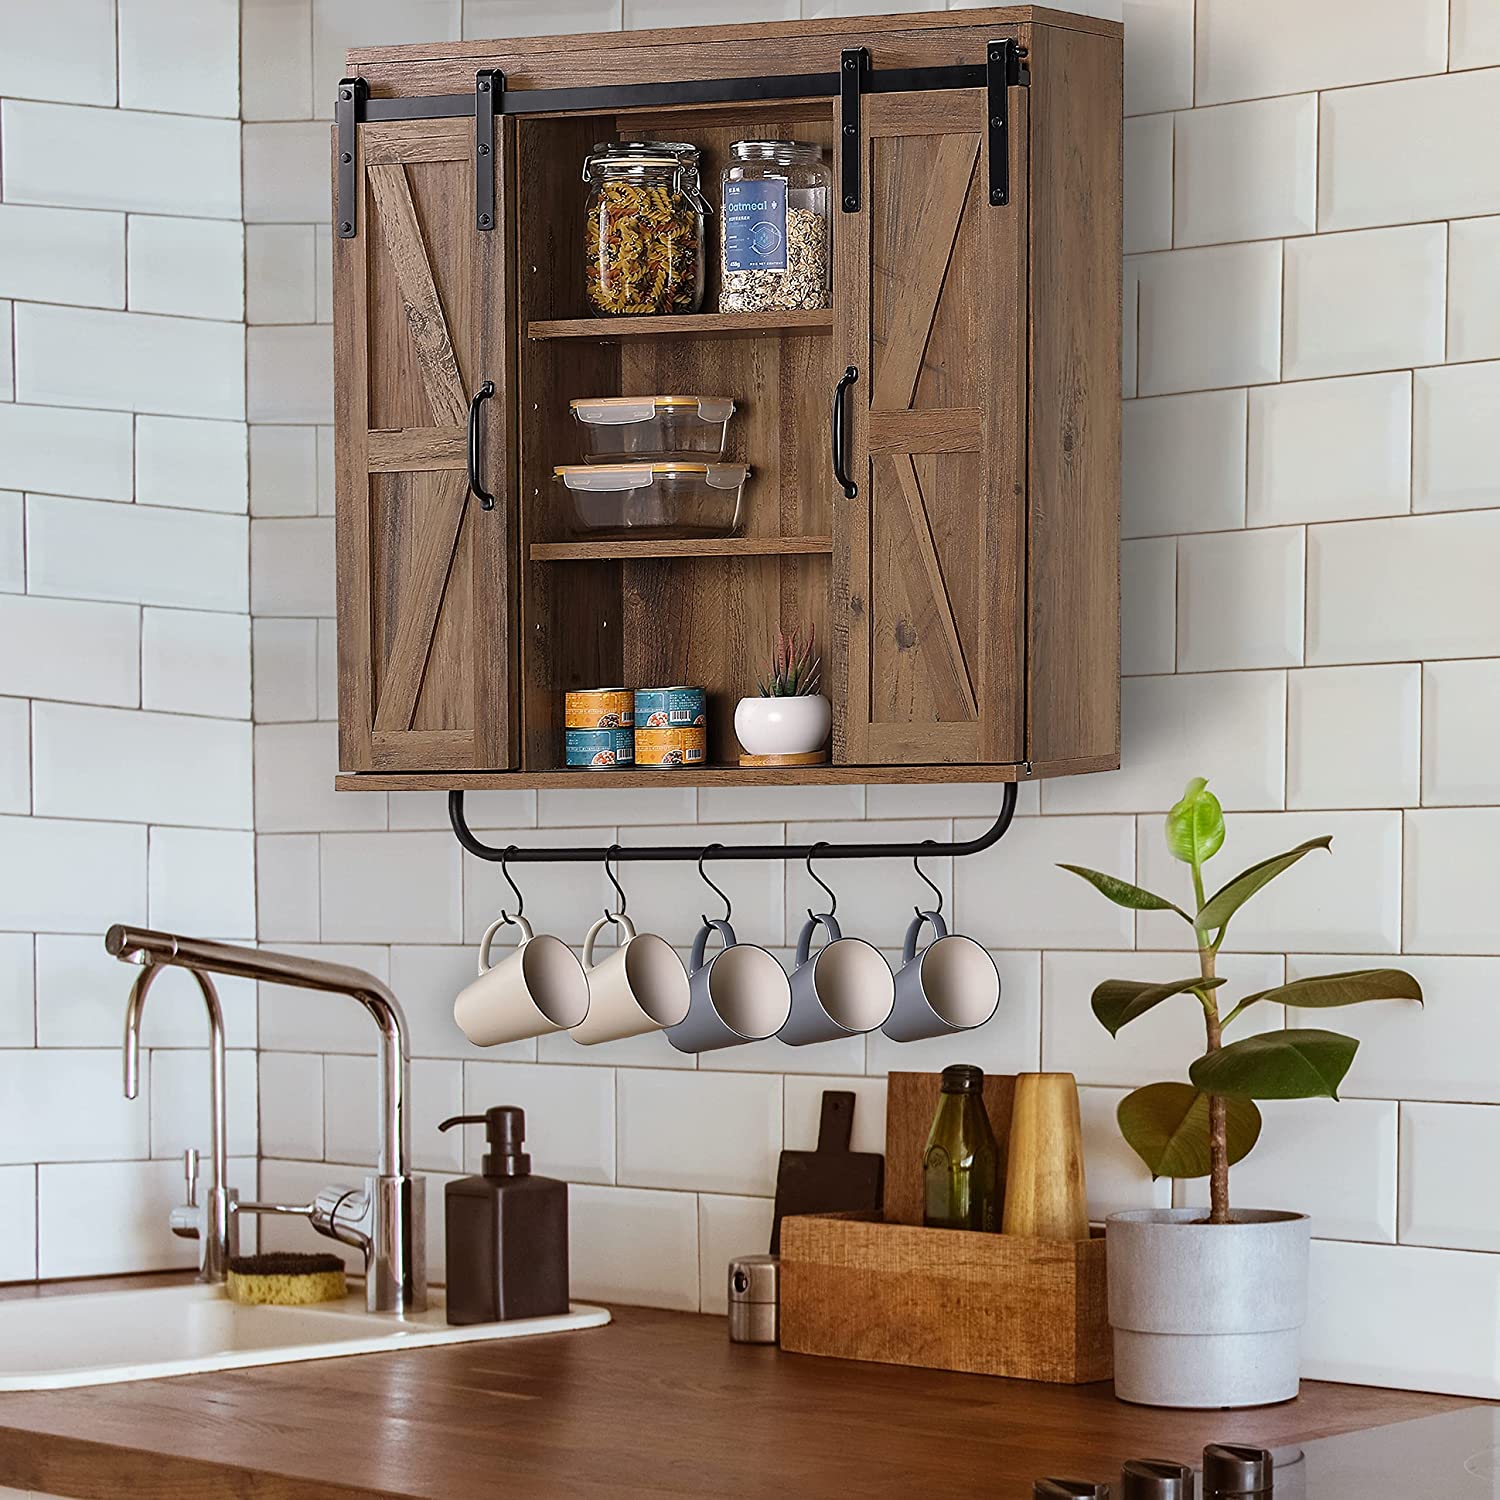
Attaching Cabinets to the Wall
Start by locating the studs in the wall using a stud finder. Mark the locations of the studs on the wall where the cabinets will be mounted.
Using a drill, attach a ledger board or support rail to the wall along the marked stud locations. This will provide temporary support for the cabinets during installation.
Place the cabinets on top of the support rail or ledger board and secure them to the wall using screws. It’s important to ensure that the cabinets are level and plumb before attaching them. Use a level to check for any unevenness and adjust as necessary.
Adjusting and Leveling Cabinets
Once the cabinets are secured to the wall, you may need to make adjustments to ensure they are level and aligned properly. Use shims to adjust the height and leveling of the cabinets as needed.
Check the alignment of the cabinets using a straightedge or laser level. Make any necessary adjustments by tightening or loosening the screws that secure the cabinets to the wall.
Read more: How To Attach Countertops To Cabinets
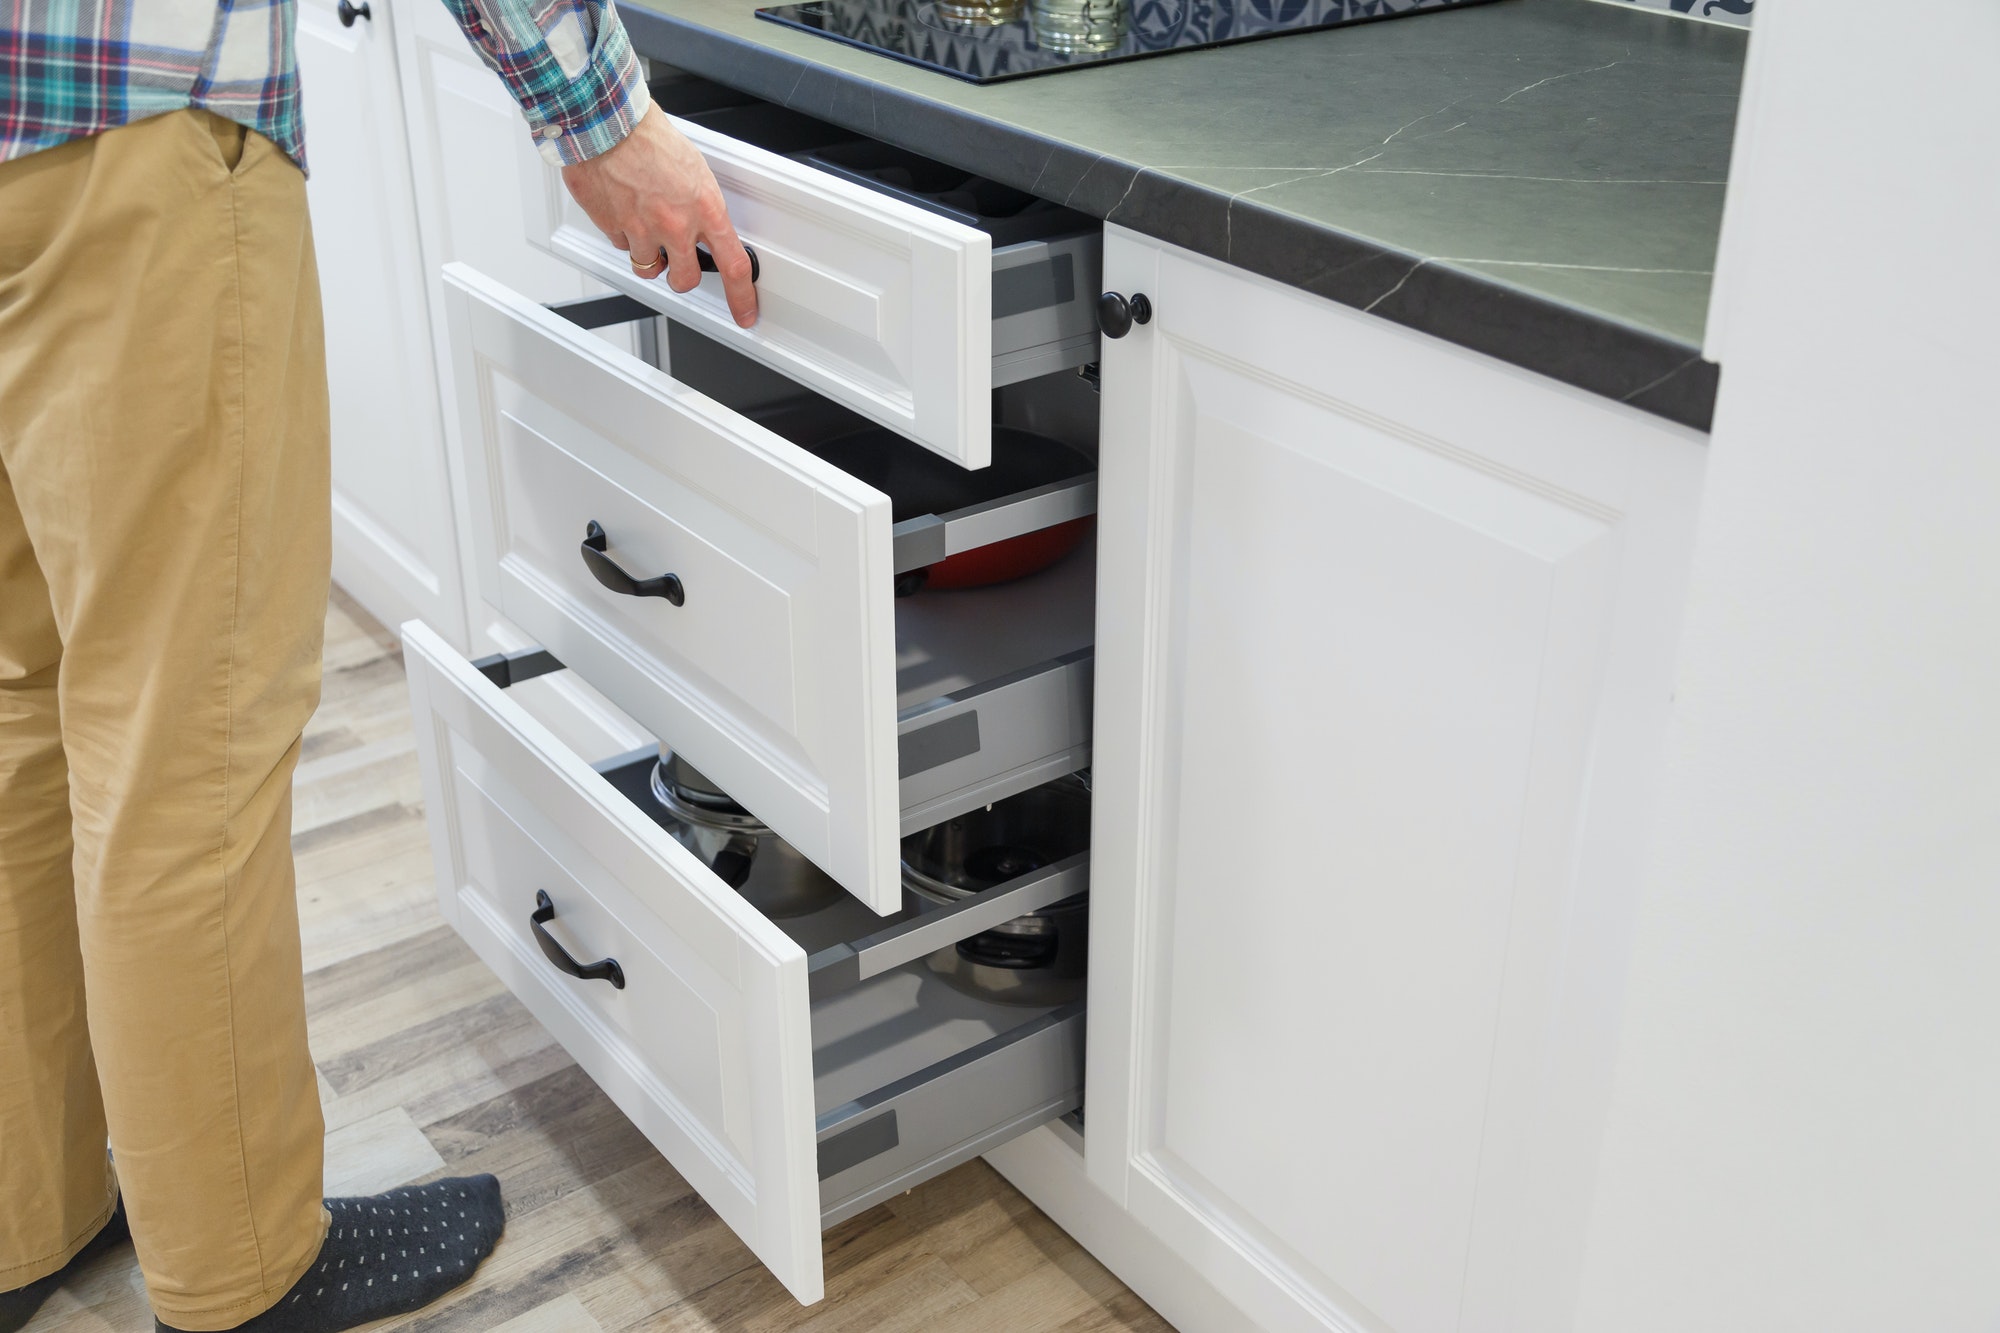
Installing Cabinet Doors and Drawers
With the cabinets in place, it’s time to install the doors and drawers. Attach the hinges to the doors according to the manufacturer’s instructions. Then, carefully align and attach the doors to the cabinet frames using the hinges.
If your cabinets have drawers, install the drawer hardware according to the instructions. Slide the drawers into place and ensure they operate smoothly.
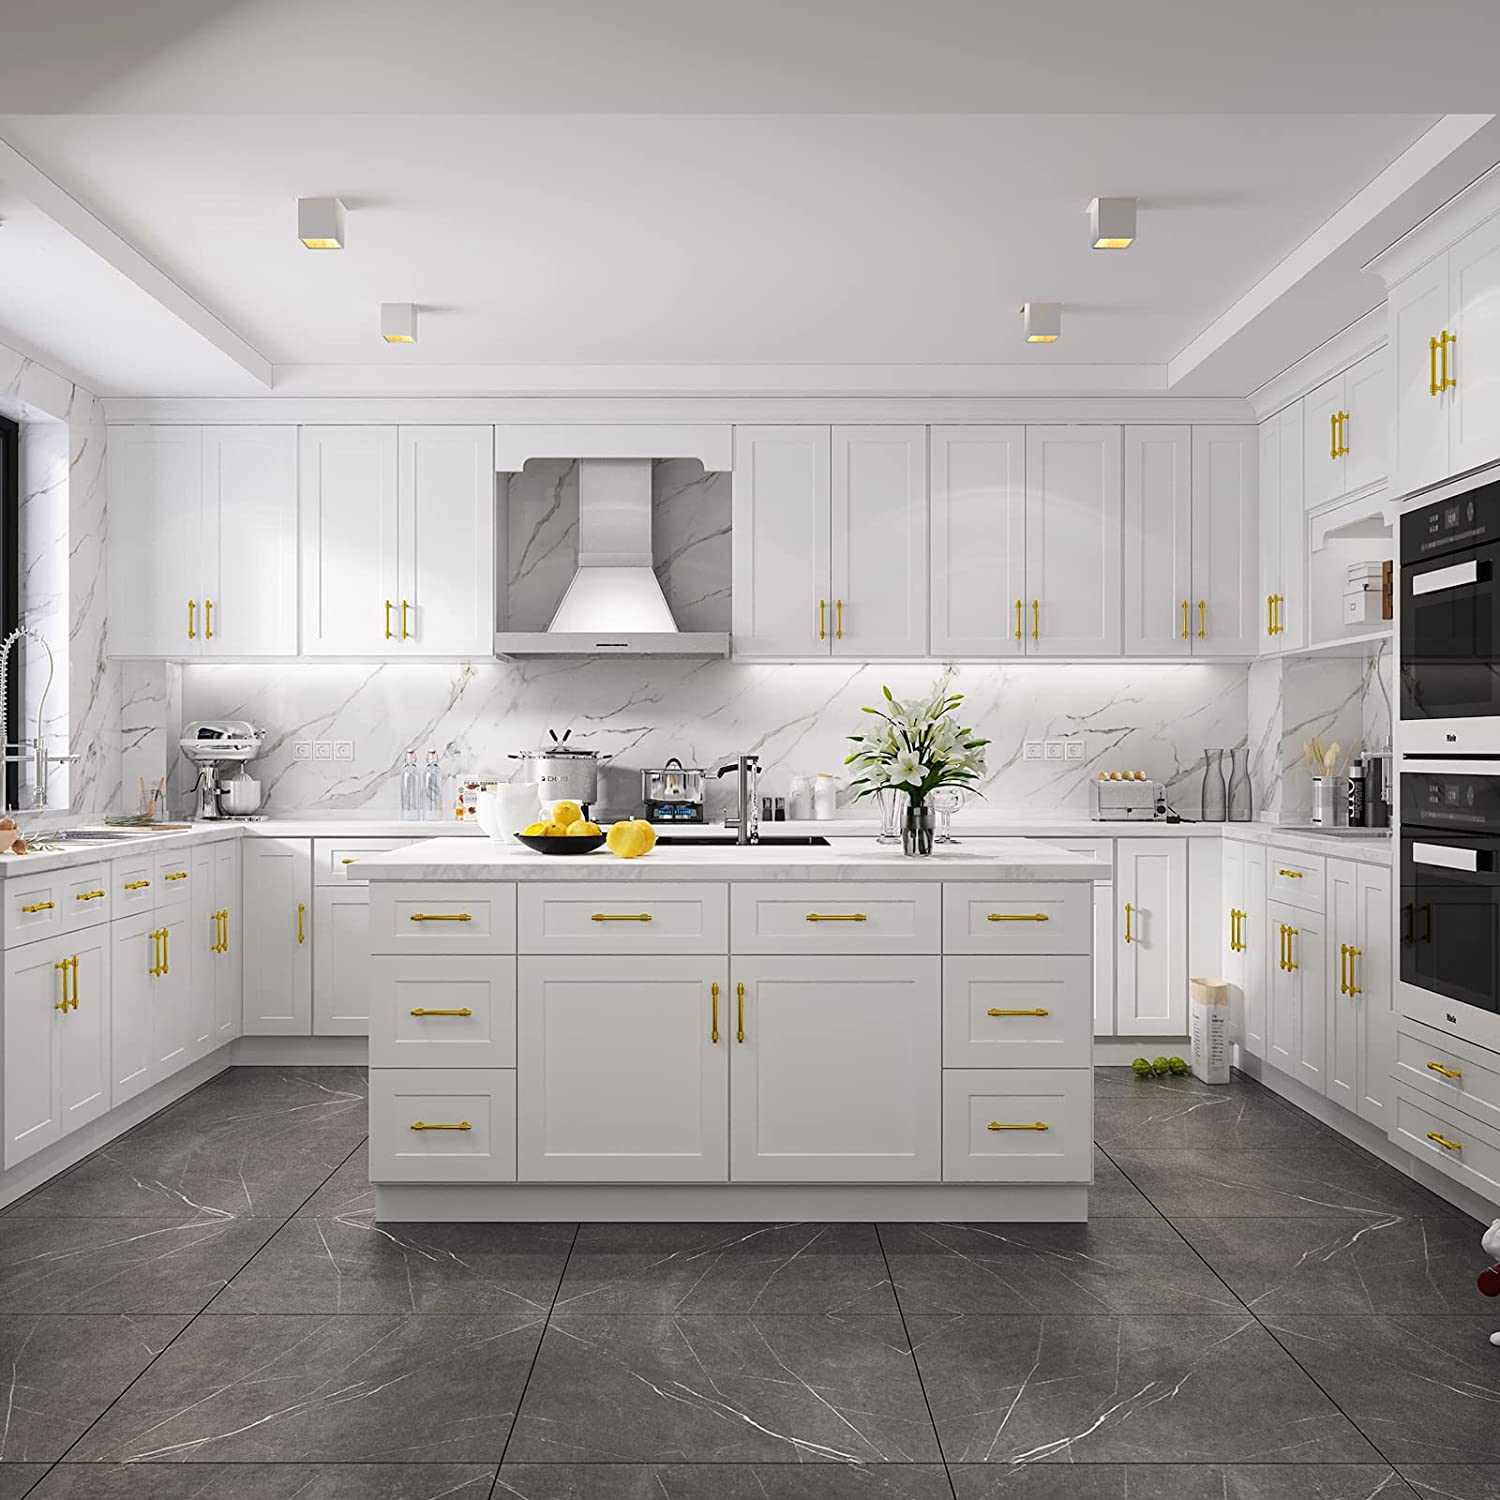
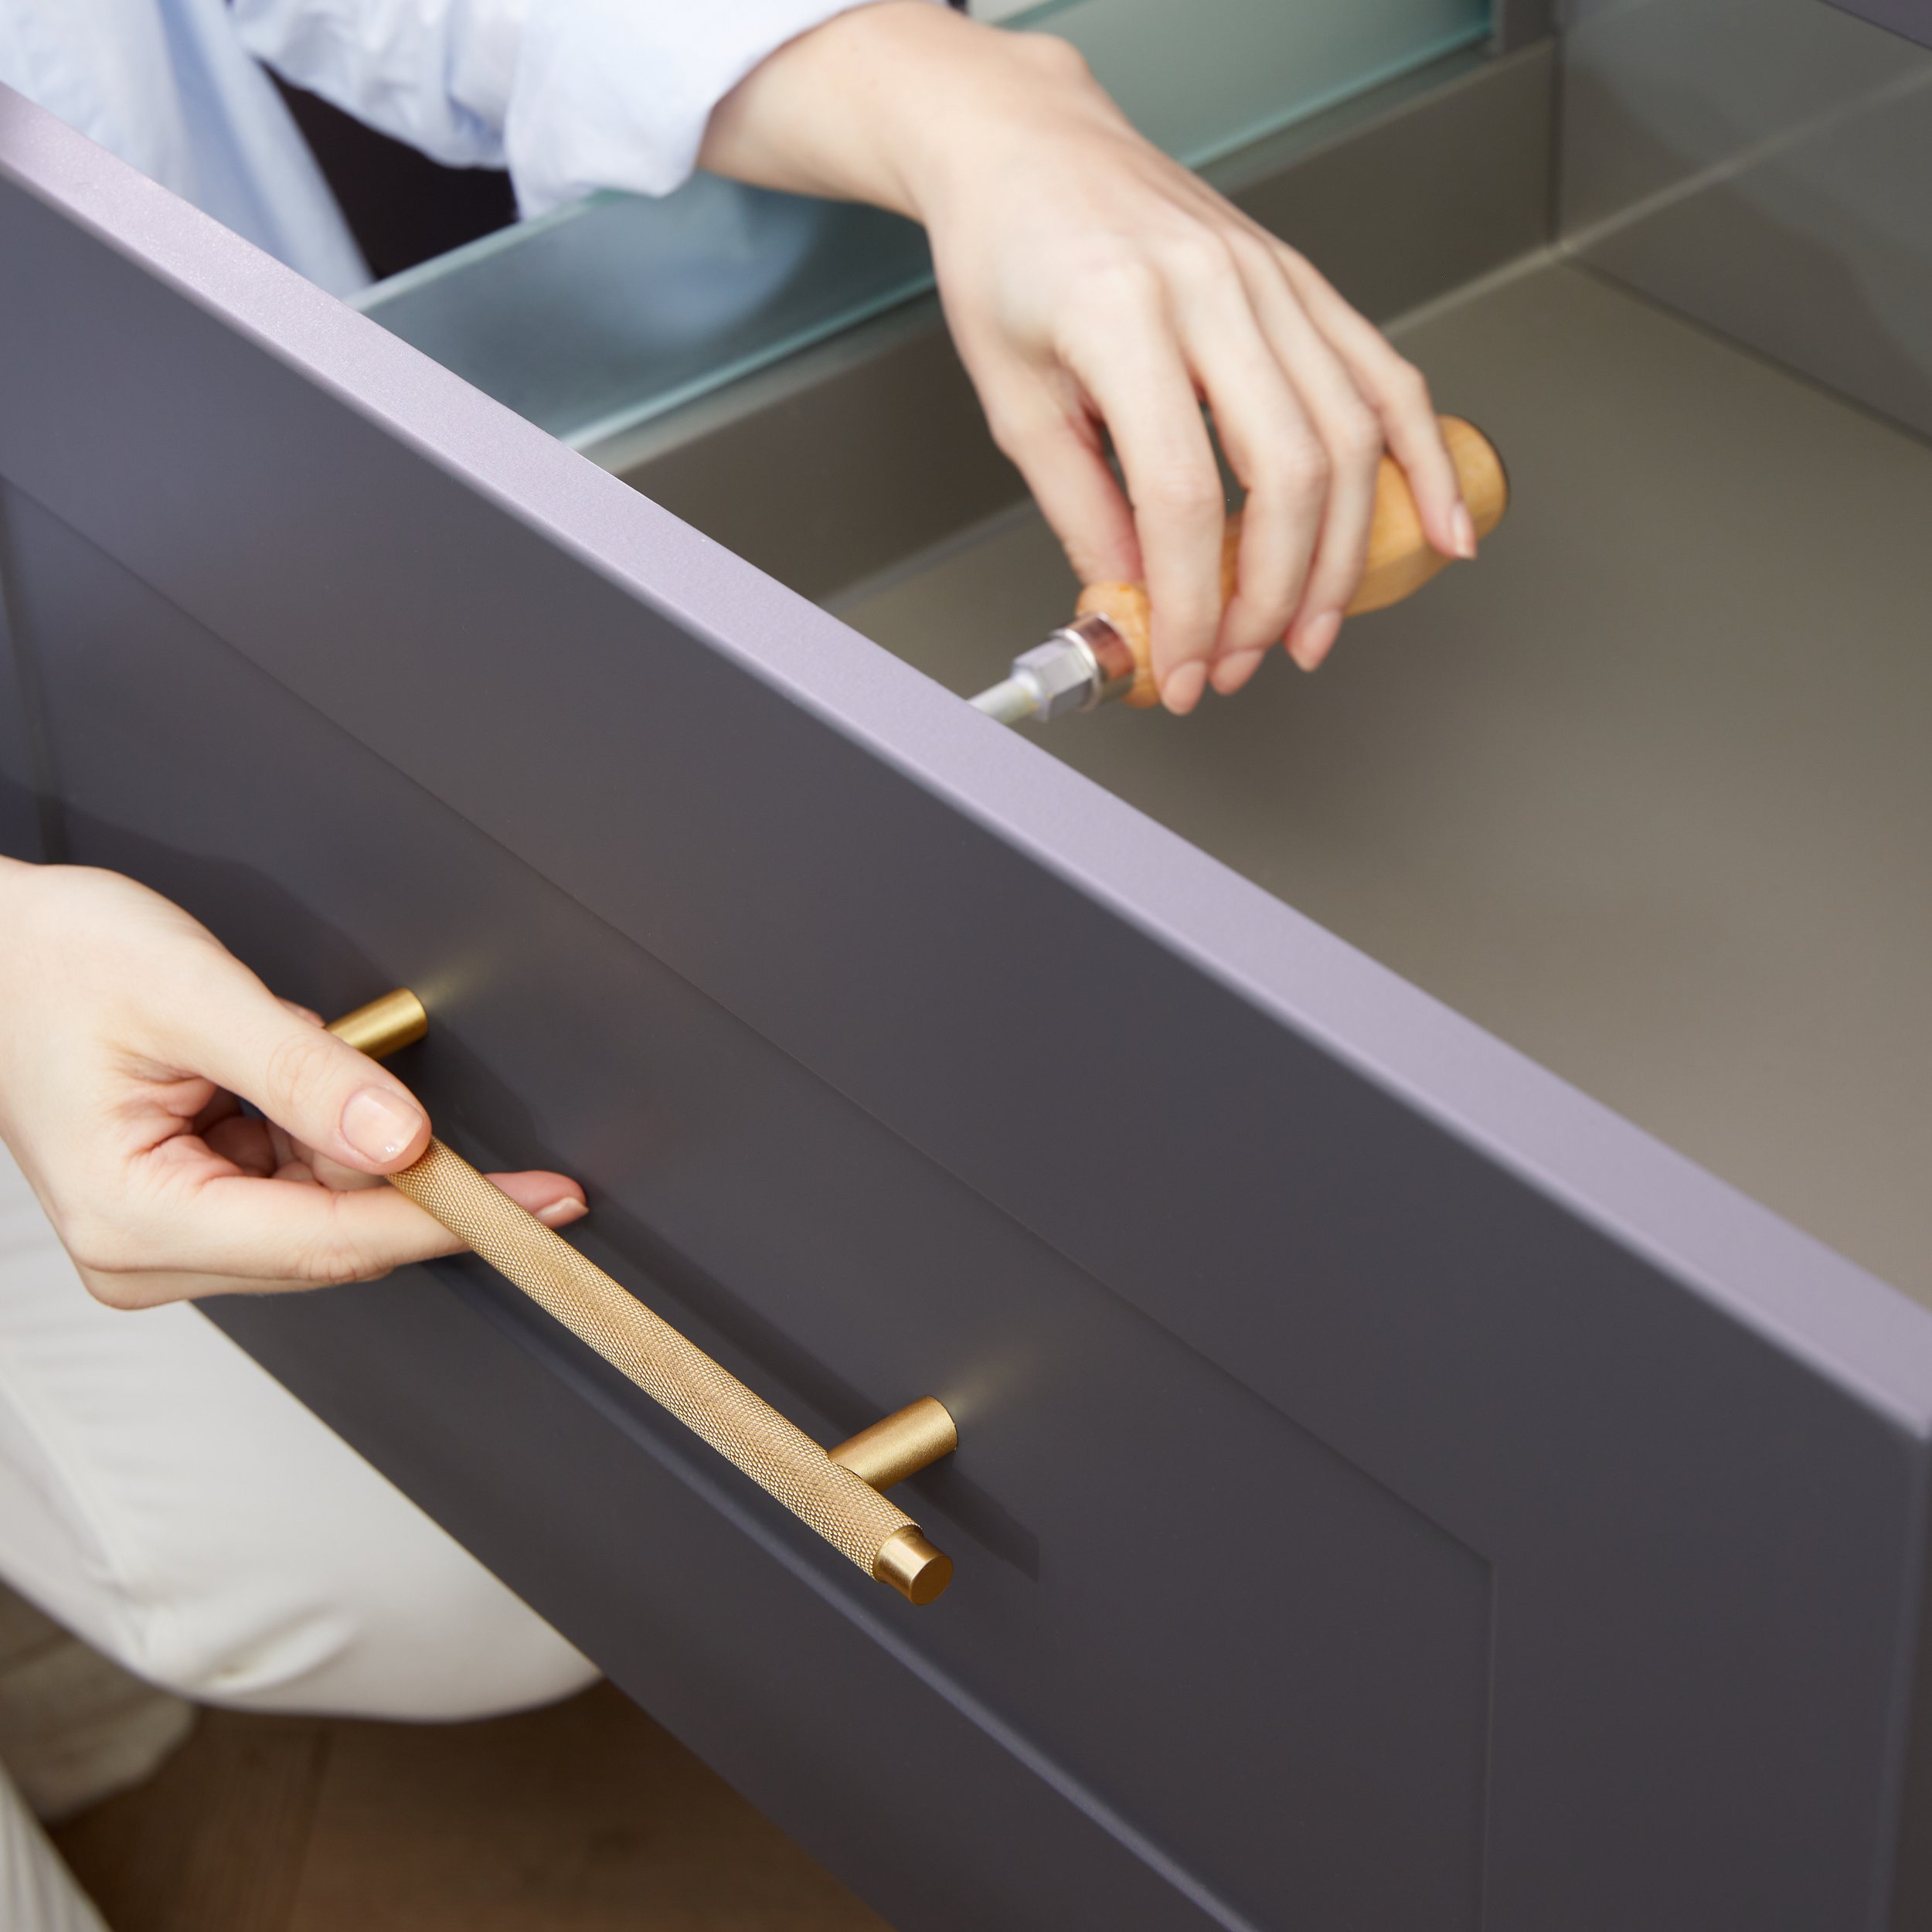
Adding Cabinet Hardware
Complete the cabinet installation by adding the hardware, such as knobs or handles. Measure and mark the desired locations for the hardware on the cabinet doors and drawers. Drill pilot holes, if necessary, and attach the hardware securely.
Take a step back and admire your newly installed cabinets. They are now ready to be filled with your kitchen essentials or bathroom supplies!
With the cabinets installed, it’s time to move on to the next step: installing the countertops.
Step 3: Installing Countertops
Now that the cabinets are in place, it’s time to move on to installing the countertops. This step involves selecting the right countertop material, measuring and cutting the countertop pieces, preparing the countertop surface, attaching the pieces, and sealing and finishing the countertop.
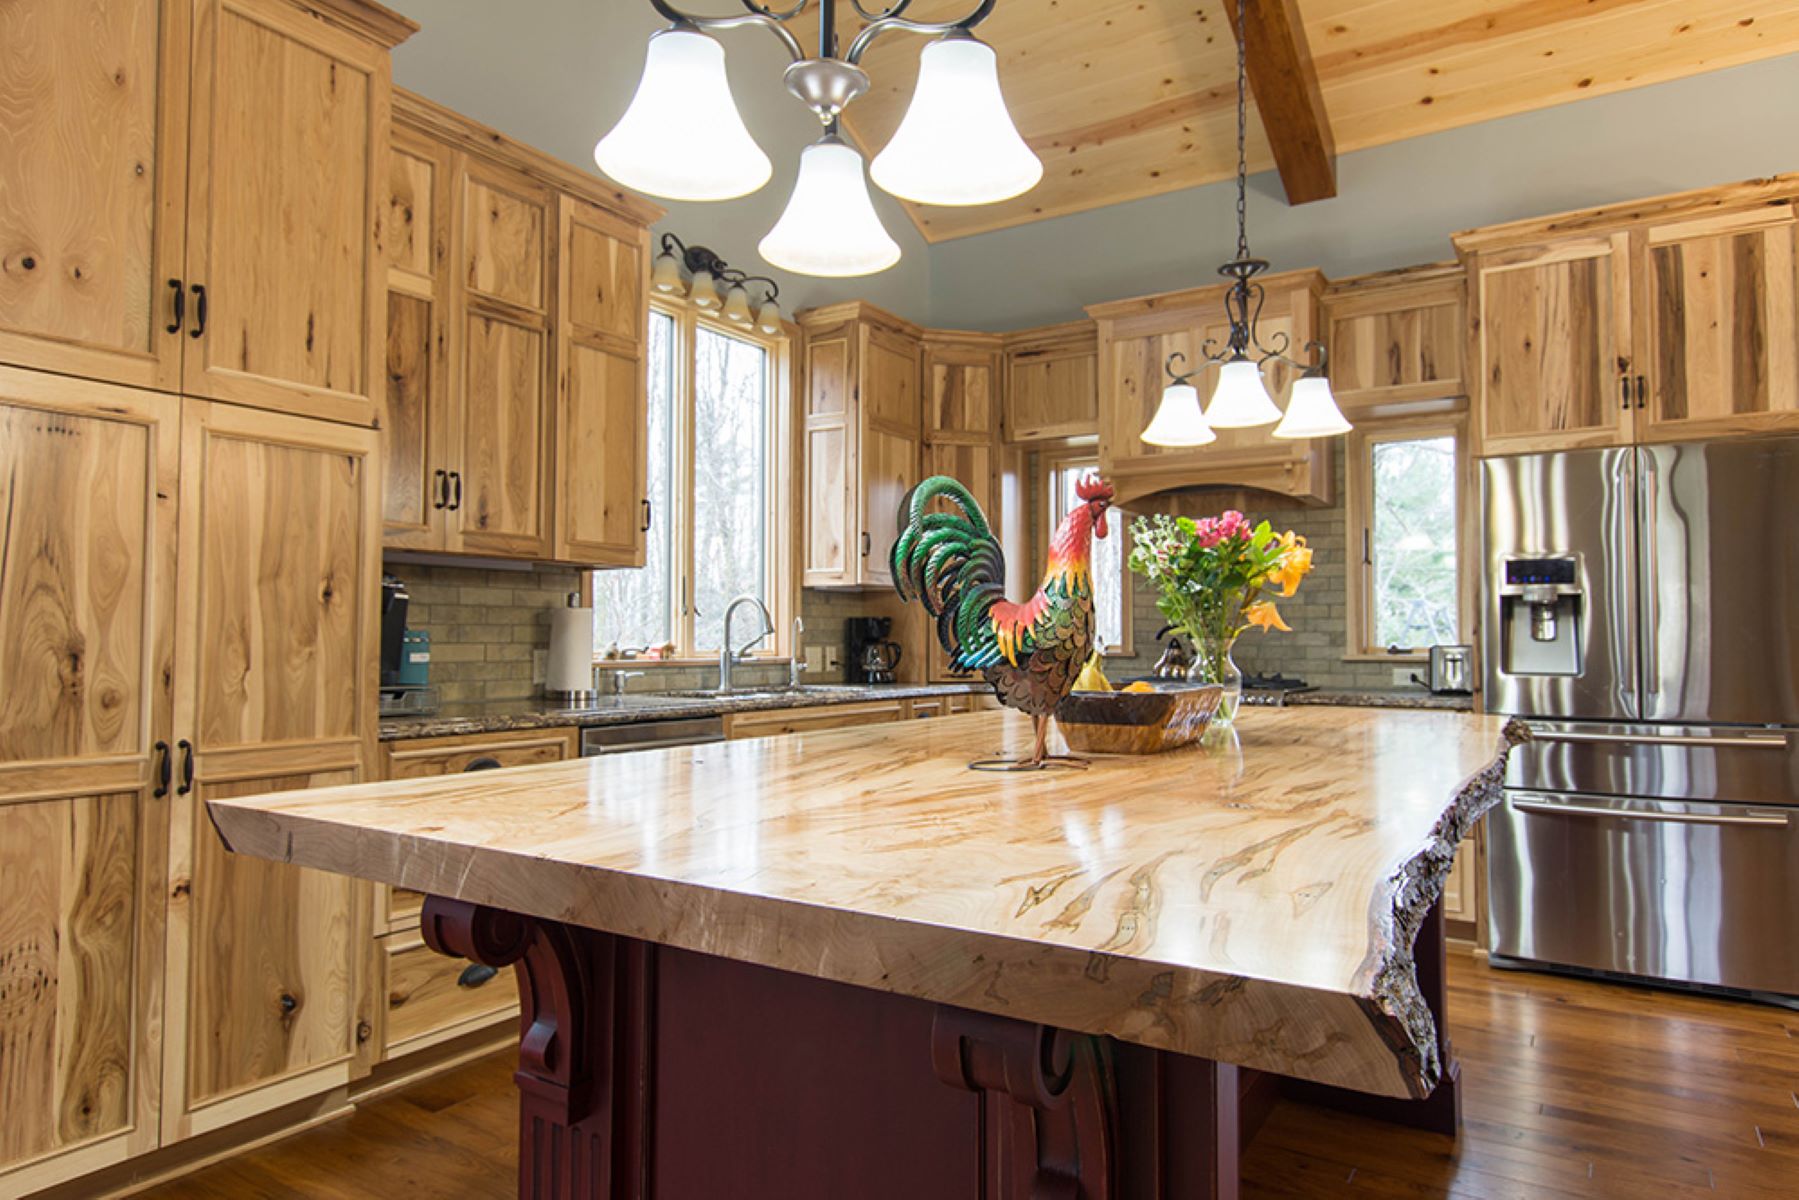
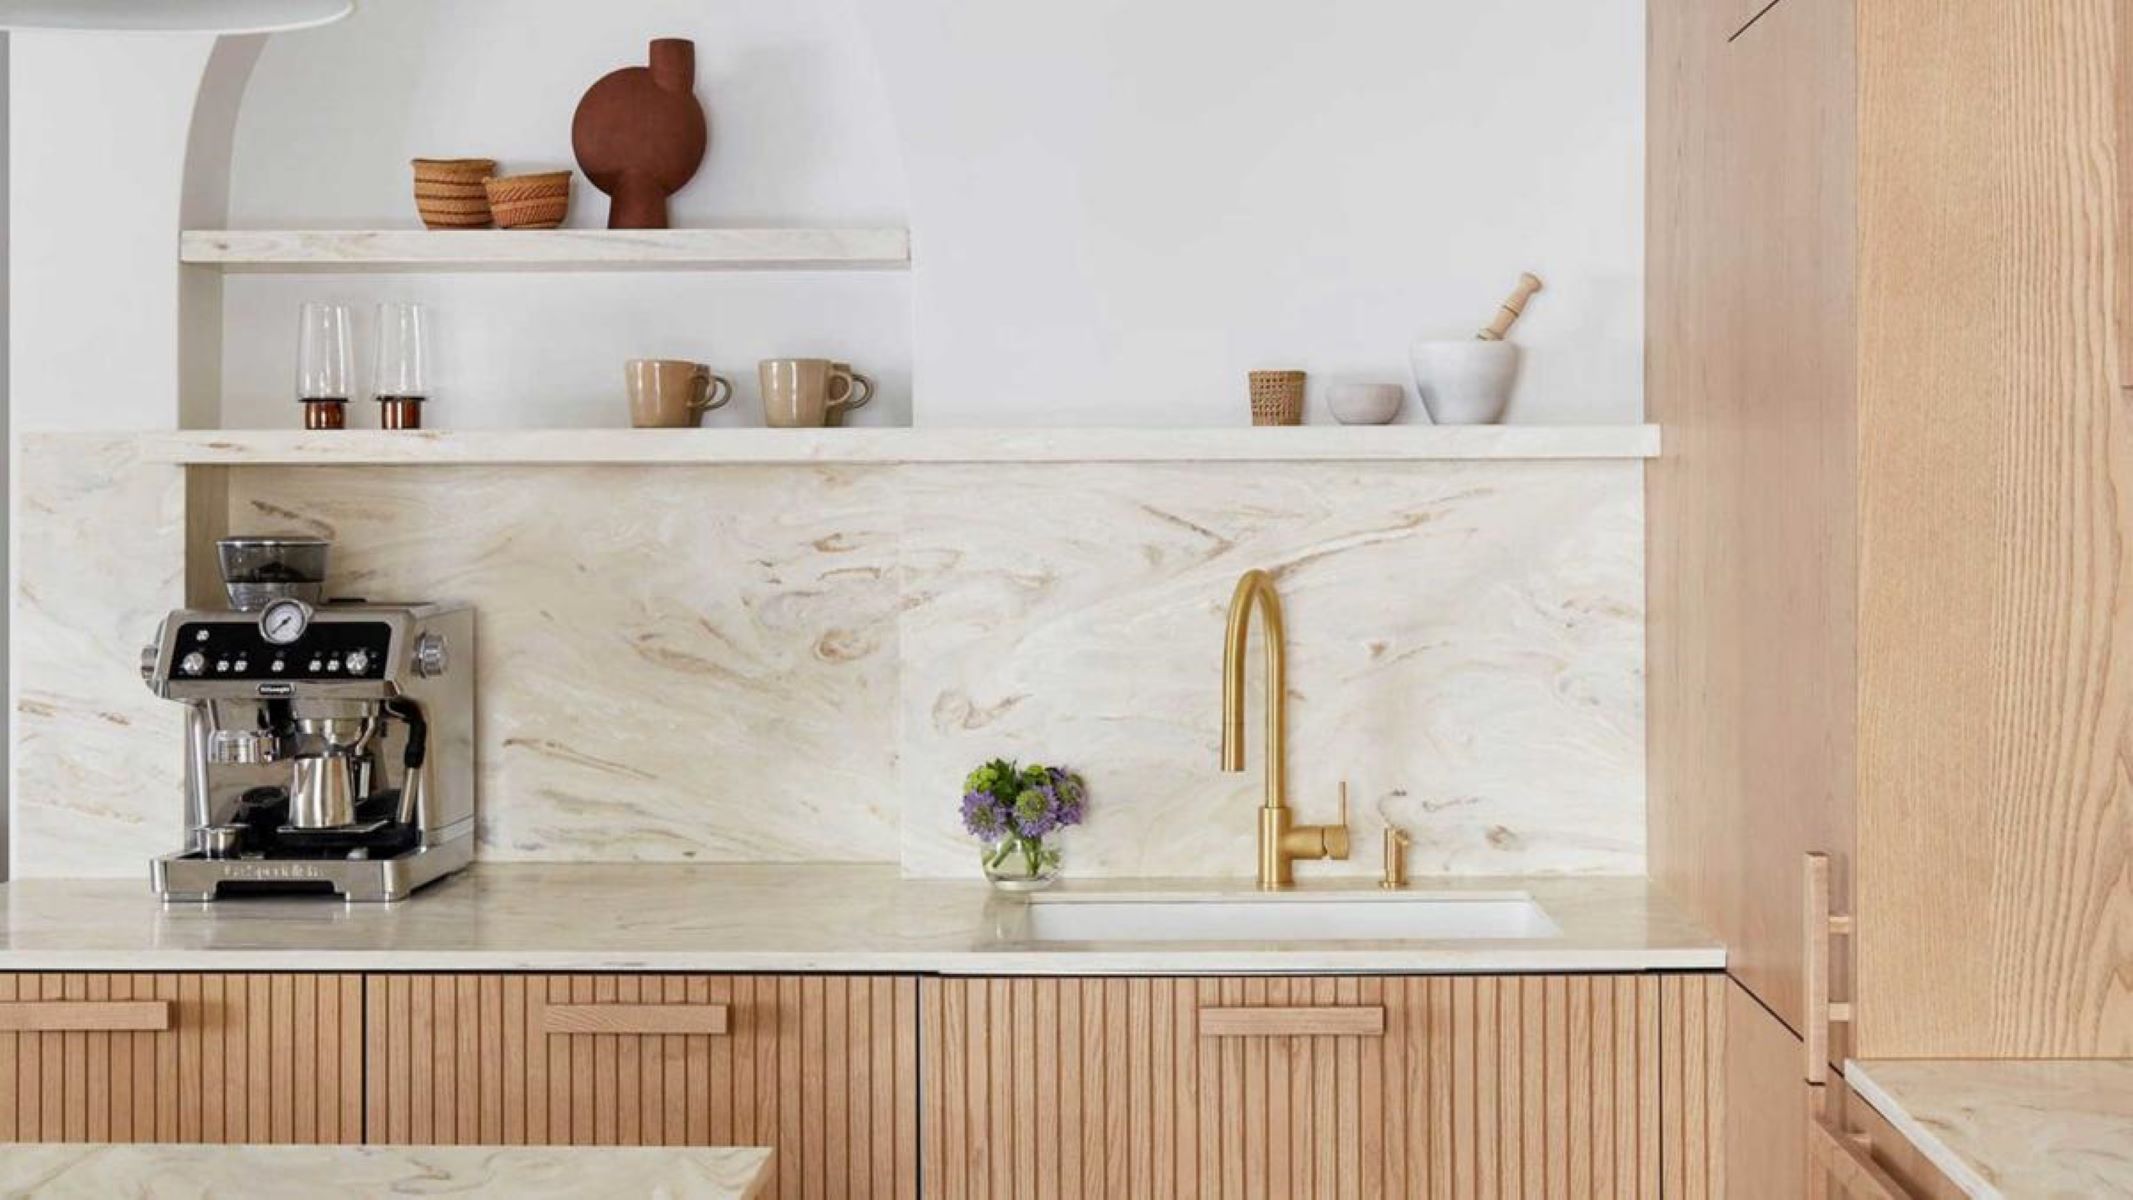
Choosing the Right Countertop Material
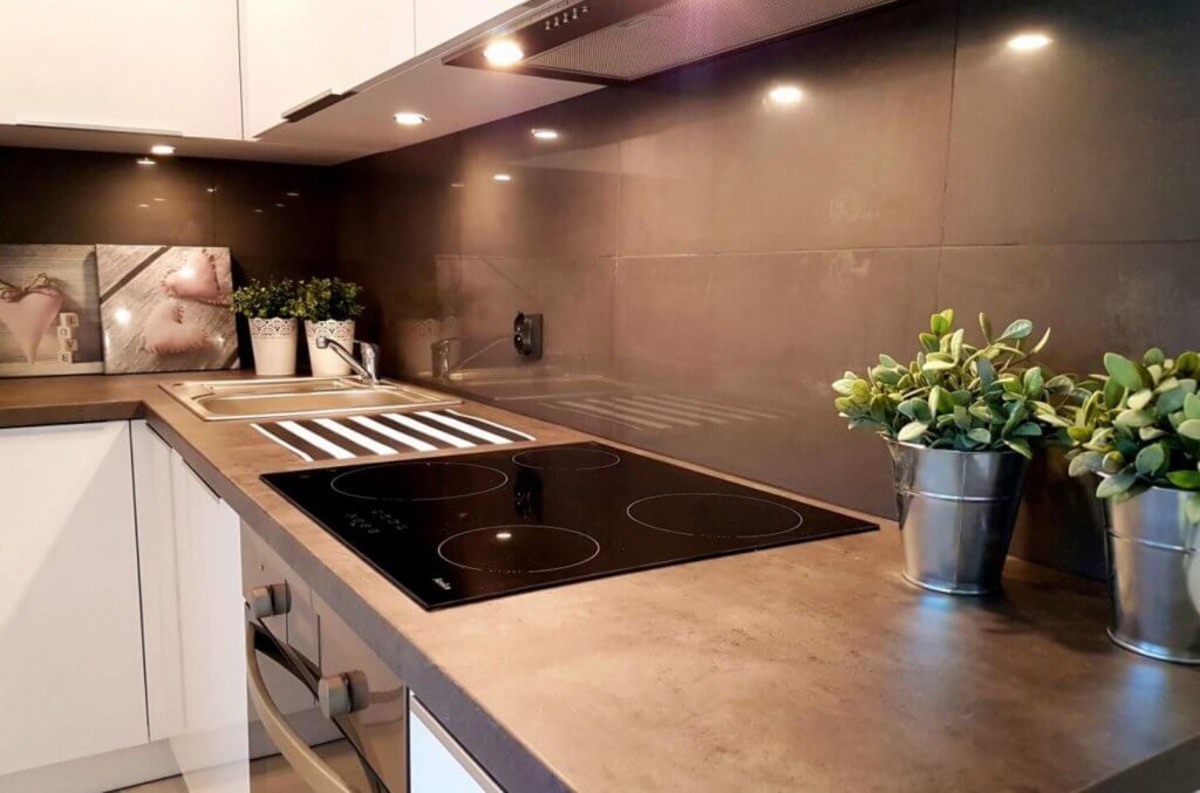
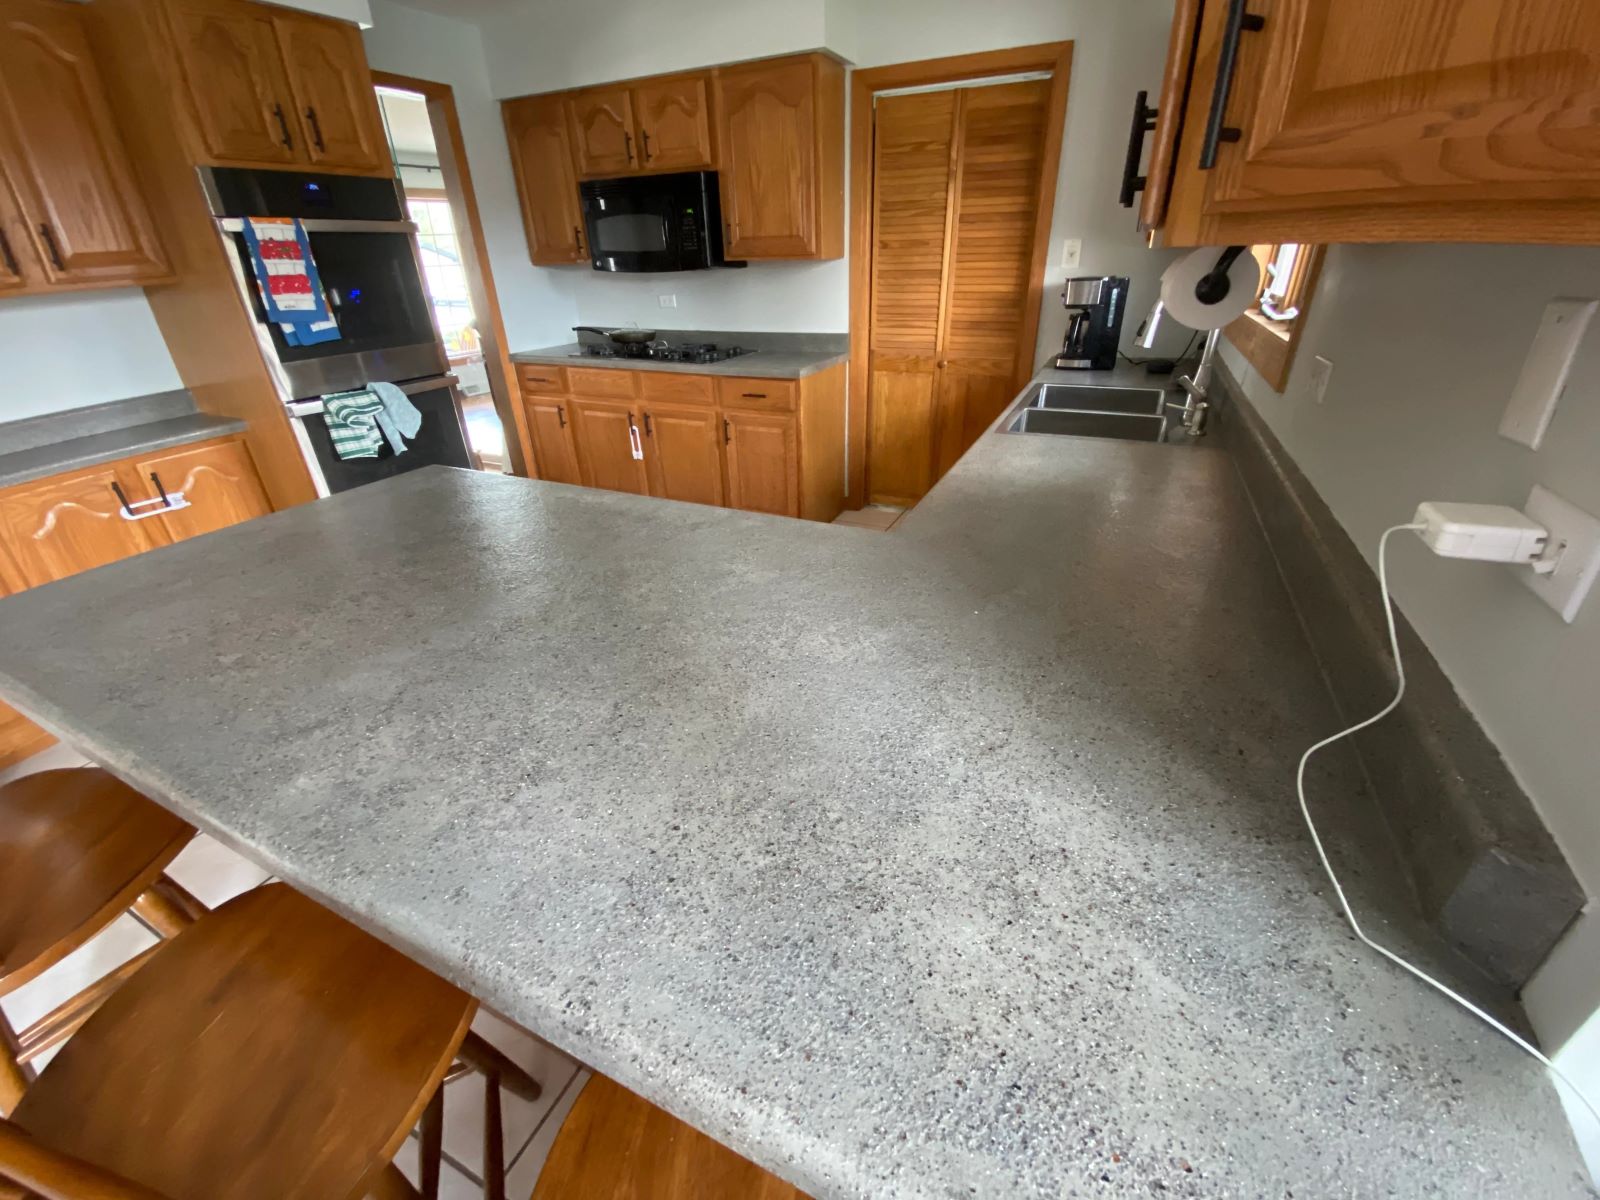
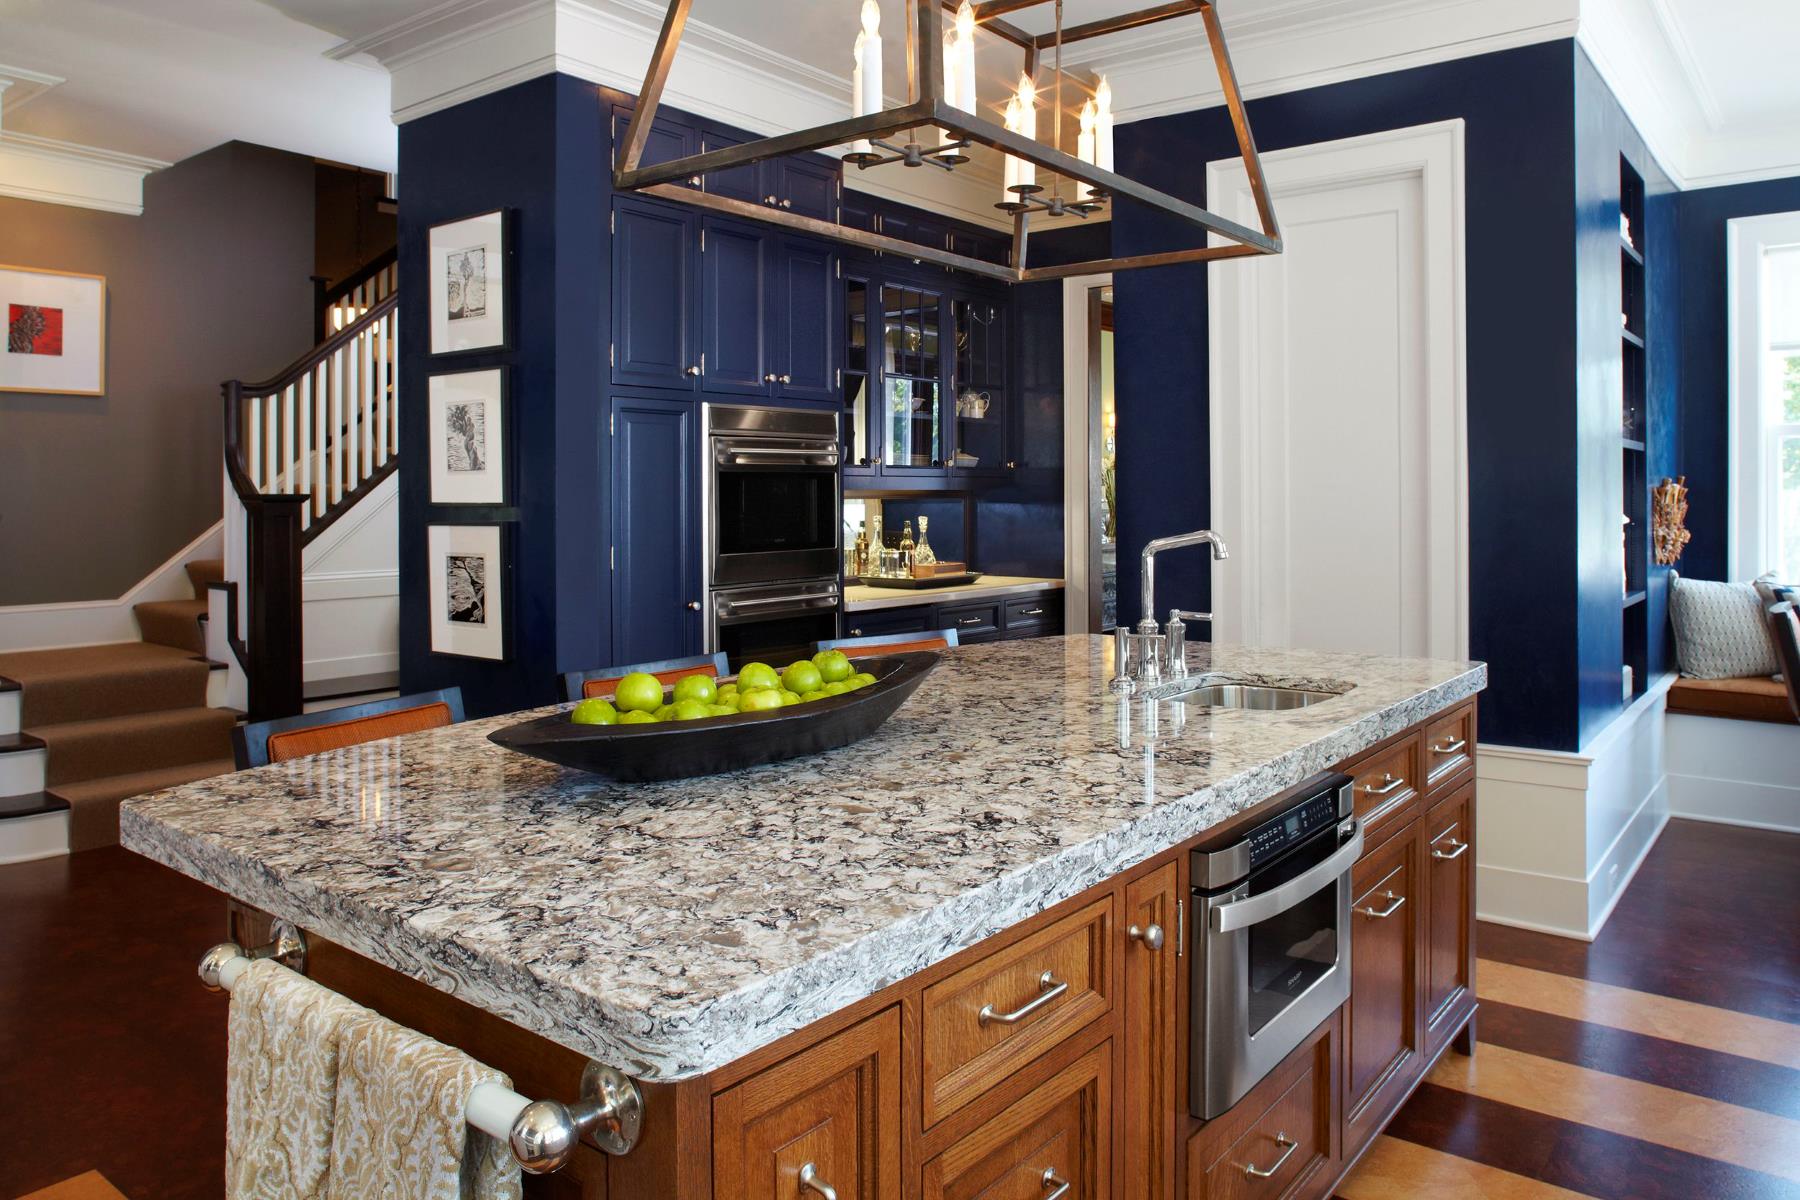
When selecting your countertop material, consider factors such as durability, aesthetics, and maintenance requirements. Popular options include granite, quartz, laminate, and solid surface. Each material has its own unique characteristics and benefits, so choose one that best suits your needs and style.
Read more: How Long To Install Countertops
Measuring and Cutting Countertop Pieces
Accurate measurements are crucial when it comes to cutting countertop pieces. Measure the dimensions of each countertop section and transfer these measurements onto the material. Use a straightedge and a circular saw or a countertop template to make precise cuts.
If necessary, use a router or a jigsaw to cut holes for sink and cooktop installations. Take your time during this step to ensure the cuts are precise and fit seamlessly with the cabinets.
Preparing the Countertop Surface
Before attaching the countertop pieces, it’s important to prepare the surface properly. Ensure that the cabinets and the countertop area are clean, level, and free from any debris.
If needed, apply a thin layer of adhesive or construction adhesive to the top of the cabinets to create a secure bond with the countertop material. This will prevent any shifting or movement once the countertop is installed.
Attaching Countertop Pieces
Carefully lift the countertop pieces and place them onto the cabinets, aligning them according to your design plan. Ensure a snug fit by pushing the pieces together and adjusting as needed.
Using clamps or brackets, secure the countertop pieces to the cabinets. Follow the manufacturer’s instructions for proper installation of the clamps or brackets, ensuring they are placed at strategic locations to provide even support.
Sealing and Finishing the Countertop
After the countertop pieces are securely attached, it’s essential to seal and finish the countertop. Depending on the material, you may need to apply a sealant or a protective coat to enhance durability and resist staining.
Follow the manufacturer’s instructions for applying the appropriate sealant or finish. Allow the countertop to dry or cure as recommended before using it.
Once the countertop is sealed and finished, you can enjoy the beauty and functionality of your new kitchen or bathroom surface.
With the countertops installed and finished, your cabinet and countertop installation project is complete. Take a moment to step back and admire your hard work!
Read more: How To Install Sink In Countertop
Conclusion
Congratulations on successfully installing cabinets and countertops in your kitchen or bathroom! By following the step-by-step process outlined in this guide, you have transformed your space, enhancing both its functionality and visual appeal.
Throughout the installation process, you measured and planned, removed old fixtures, prepared the space, assembled and organized cabinets, attached them to the wall, adjusted and leveled, installed doors and drawers, added hardware, and finally installed and finished the countertops. Each step required careful attention to detail and precision to achieve the desired result.
Remember, when selecting cabinets and countertops, consider your personal style, needs, and budget. Choose materials that are not only aesthetically pleasing but also durable and easy to maintain.
As you enjoy your newly installed cabinets and countertops, take pride in the fact that you accomplished this project on your own. Your hard work and dedication have paid off, and your kitchen or bathroom now reflects your personal taste and style.
Now that you have acquired the skills and knowledge to install cabinets and countertops, you may even consider tackling other home improvement projects in the future!
Thank you for following this comprehensive guide. We hope it has been informative and helpful in your installation journey. Enjoy your new space!
Frequently Asked Questions about How To Install Cabinets And Countertops
Was this page helpful?
At Storables.com, we guarantee accurate and reliable information. Our content, validated by Expert Board Contributors, is crafted following stringent Editorial Policies. We're committed to providing you with well-researched, expert-backed insights for all your informational needs.

0 thoughts on “How To Install Cabinets And Countertops”