Articles
How To Attach Foam Cannon To Pressure Washer
Modified: February 29, 2024
Learn how to attach a foam cannon to your pressure washer with this informative article. Find step-by-step instructions and expert tips to achieve optimal foam coverage and car washing results.
(Many of the links in this article redirect to a specific reviewed product. Your purchase of these products through affiliate links helps to generate commission for Storables.com, at no extra cost. Learn more)
Introduction
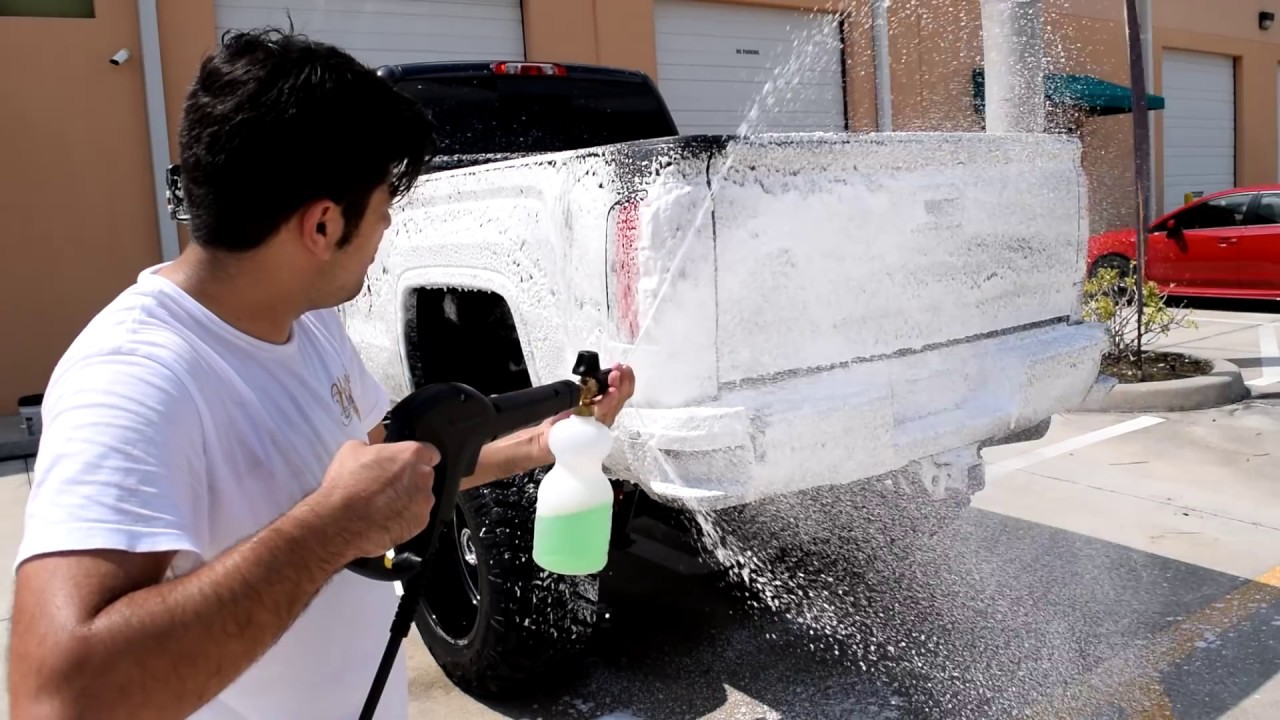
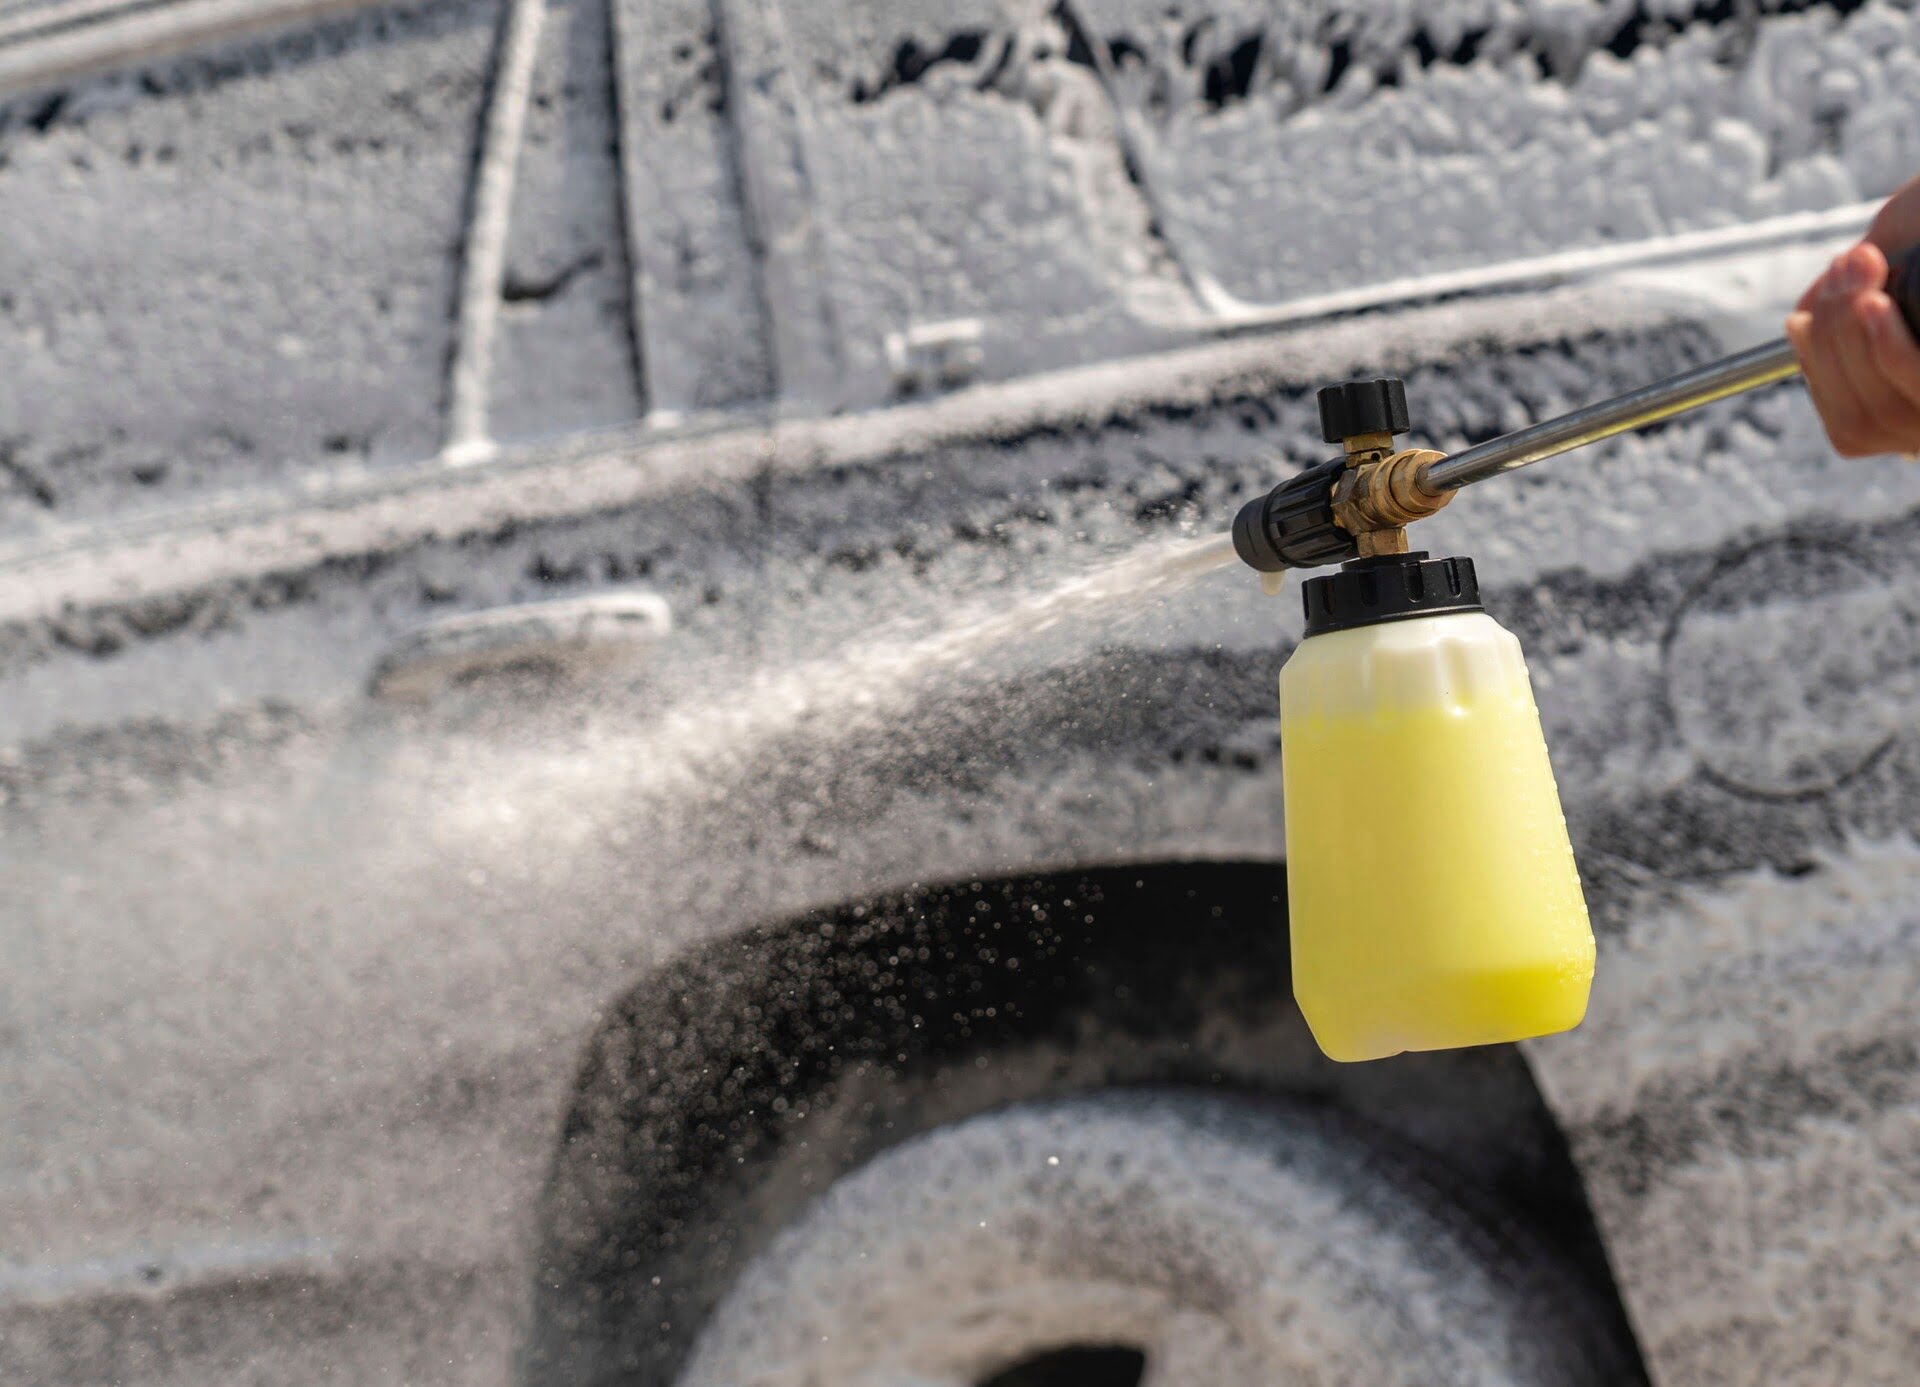
Attaching a foam cannon to your pressure washer can greatly enhance your car washing experience. The combination of high-pressure water and foaming soap creates a thick and luxurious foam that effortlessly removes dirt and grime from the surface of your vehicle. Whether you’re a car enthusiast or a professional detailer, using a foam cannon can make the cleaning process more efficient and effective.
In this article, we will guide you through the step-by-step process of attaching a foam cannon to your pressure washer. We’ll discuss the necessary equipment, preparation steps, choosing the right foam cannon, attaching it to the pressure washer, adjusting the settings, and proper maintenance tips. So, let’s dive in and learn how you can achieve the perfect foam for your car wash!
Key Takeaways:
- Elevate your car washing routine by attaching a foam cannon to your pressure washer. Follow the step-by-step guide to gather equipment, adjust settings, and achieve a professional-grade foam cleaning experience.
- Proper maintenance of your foam cannon is crucial for longevity and consistent foam production. Regular cleaning, inspection, and part replacement ensure optimal performance and a spotless shine for your vehicle.
Step 1: Gather the Necessary Equipment
Before you begin attaching a foam cannon to your pressure washer, it’s essential to gather all the necessary equipment. Having everything you need at hand ensures a smooth and hassle-free installation process. Here are the items you will need:
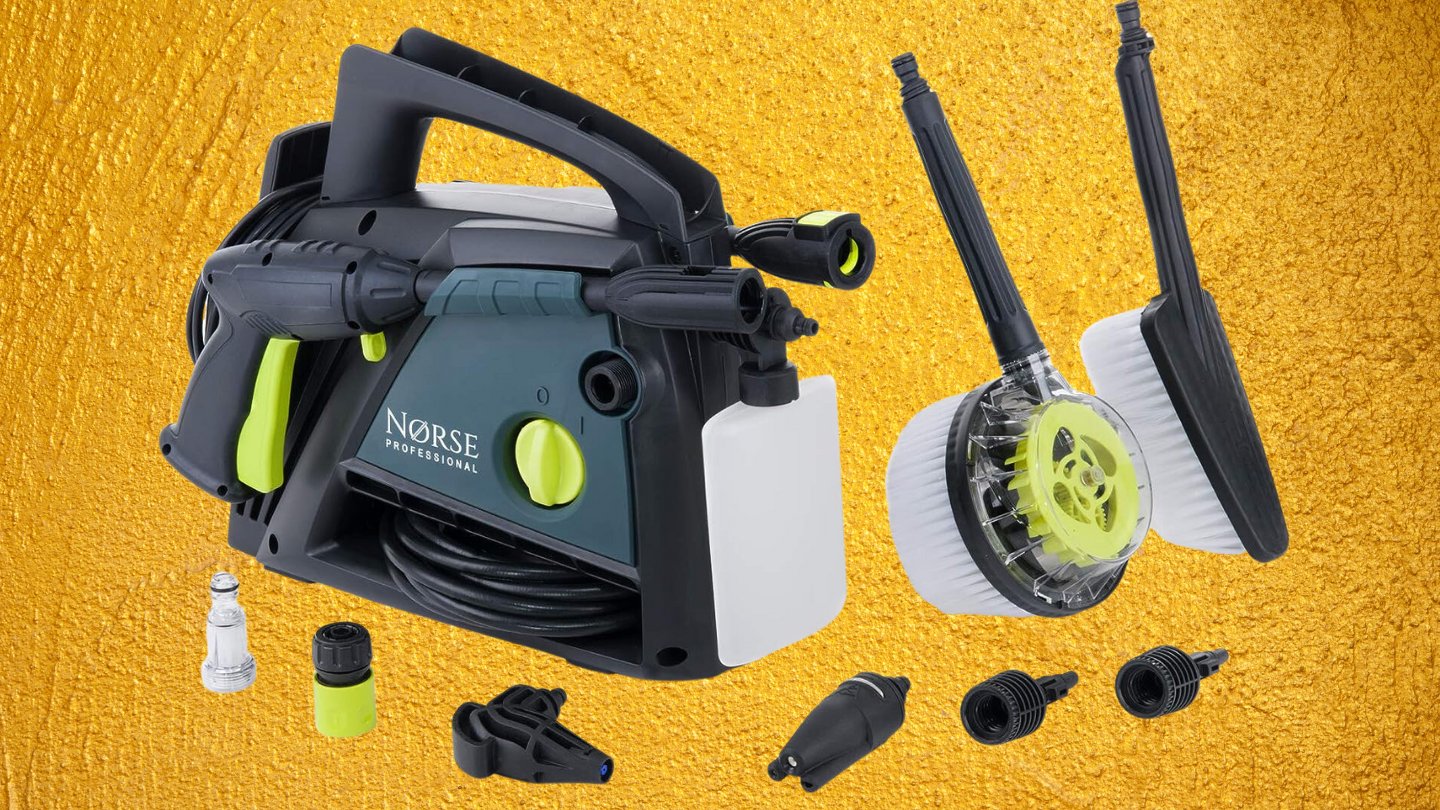
- A pressure washer: Make sure you have a pressure washer that is compatible with a foam cannon attachment. Check the user manual or consult the manufacturer to determine if your pressure washer can accommodate a foam cannon.
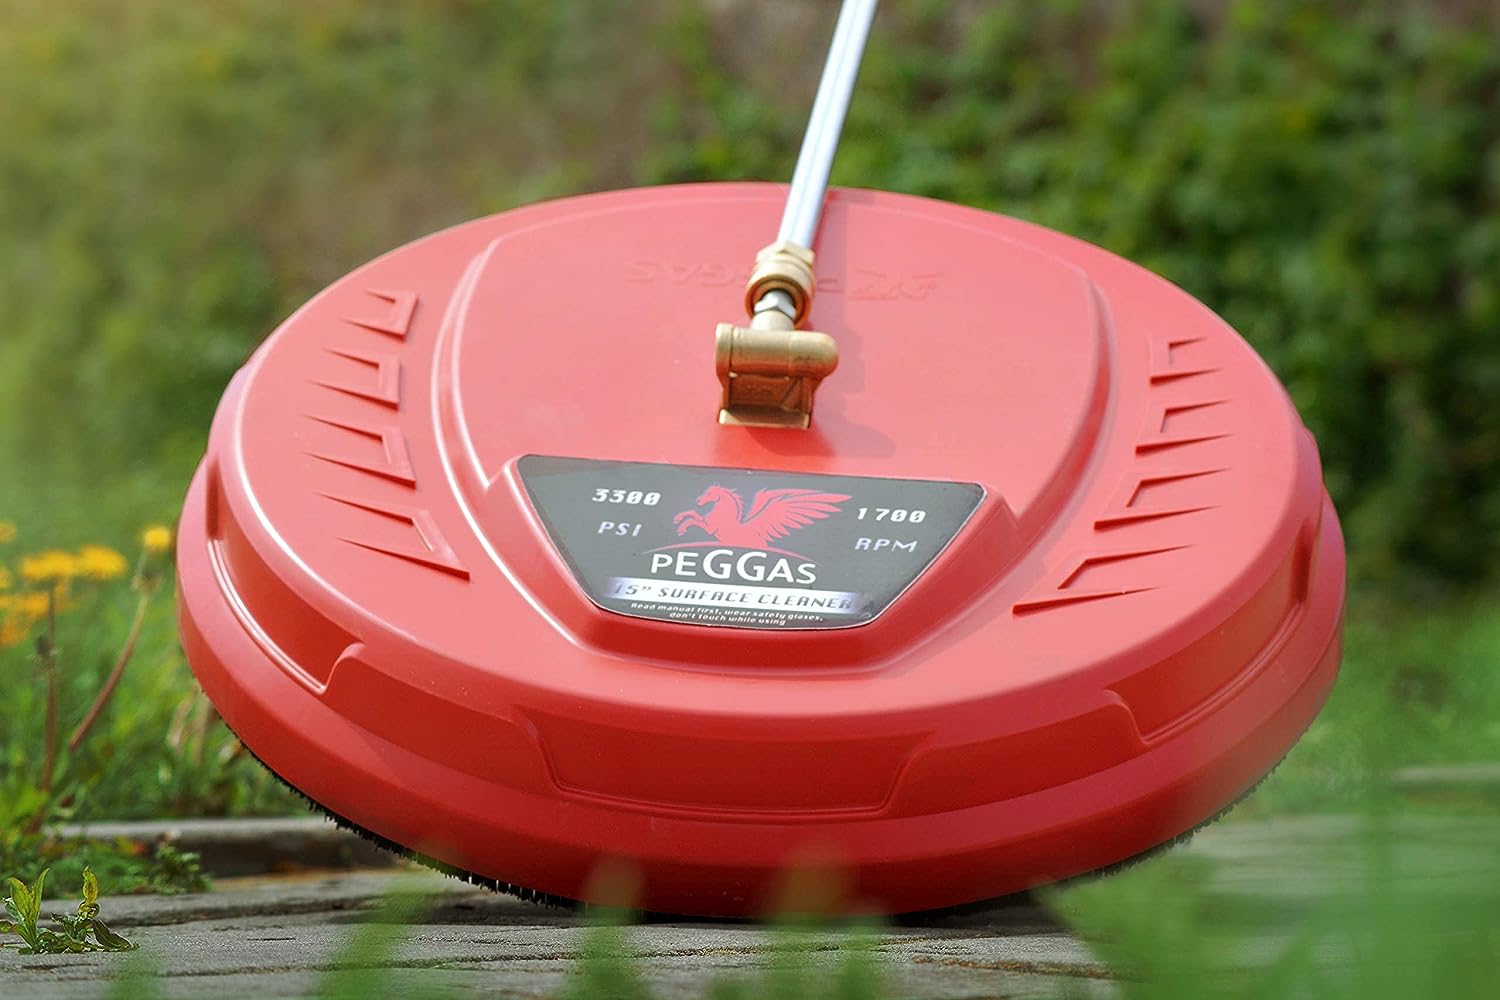
- A foam cannon: Invest in a high-quality foam cannon that is compatible with your pressure washer. Look for a model that has an adjustable spray pattern and foam thickness settings to give you more control over the foam output.
- A foam cannon adapter: Depending on your pressure washer model, you might need an adapter to connect the foam cannon to the pressure washer wand. Check the size and threading of your pressure washer wand and ensure that you have the appropriate adapter.
- Foam soap: Choose a high-quality foam soap that is specifically formulated for use with foam cannons. These soaps create a thick and stable foam that clings to the surface, providing maximum cleaning power.
- Protective gear: It’s important to protect yourself while working with a pressure washer. Wear safety goggles, gloves, and protective clothing to prevent any injuries from high-pressure water or chemicals.
By collecting all these items beforehand, you can proceed with confidence knowing that you have everything you need to attach the foam cannon to your pressure washer.
Step 2: Prepare the Pressure Washer
Before attaching the foam cannon, it’s essential to prepare your pressure washer for the task. This involves a few simple but important steps to ensure smooth operation and optimal foam production. Follow these steps:
- Inspect the pressure washer: Check the condition of your pressure washer to ensure it is in good working order. Check for any leaks, damaged hoses or fittings, and ensure that all connections are tight and secure.
- Fill the detergent tank: If your pressure washer has a built-in detergent tank, fill it with the recommended amount of water-soluble foam soap. Consult the user manual or the foam soap packaging for the correct mixing ratio.
- Attach the pressure washer hose: Connect the pressure washer hose to the machine. Ensure the connections are tight and secure to prevent any leaks during operation.
- Connect the wand: Attach the pressure washer wand to the hose. Again, ensure that the connection is tight and secure to prevent any water leakage.
- Prime the pressure washer: Before turning on the pressure washer, make sure all connections are secure and the water supply is turned on. Use the trigger on the wand to allow water to flow through the system and remove any air pockets. Once you see a constant flow of water, the pressure washer is primed and ready to use.
By properly preparing your pressure washer, you can ensure smooth operation and maximize the performance of your foam cannon. Taking these simple steps will help create a powerful foam that effectively cleans your vehicle.
Step 3: Choose the Correct Foam Cannon
Choosing the correct foam cannon for your pressure washer is crucial to achieve optimal foam production and cleaning results. With so many options available, it’s important to consider a few key factors before making your purchase. Here’s what you need to consider:
- Pressure washer compatibility: Ensure that the foam cannon you choose is compatible with your specific pressure washer model. Check the manufacturer’s recommendations or consult the user manual to find out the compatibility requirements.
- Adjustability: Look for a foam cannon with adjustable settings. This includes the spray pattern and foam thickness settings. Having control over these aspects allows you to tailor the foam production based on the surface you’re cleaning and the level of dirt and grime present.
- Build quality: Invest in a foam cannon that is made from high-quality materials. This ensures durability and longevity, allowing you to use the foam cannon for multiple car washes without worrying about it breaking or wearing down quickly.
- Foam output: Consider the foam output capacity of the foam cannon. Some foam cannons produce a thicker and denser foam, while others may have a more moderate foam output. Choose the one that suits your preferences and the cleaning needs of your vehicle.
- Customer reviews: Read customer reviews and ratings to get insights into the performance and reliability of different foam cannons. Look for feedback on the foam quality, ease of use, and overall satisfaction of users.
Taking the time to research and choose the correct foam cannon will ensure that you have a reliable and efficient tool for creating thick and luxurious foam. Consider your specific needs and preferences to make an informed decision that will enhance your car washing experience.
Step 4: Attach the Foam Cannon to the Pressure Washer
Now that you have gathered the necessary equipment and prepared your pressure washer, it’s time to attach the foam cannon. Follow these steps to properly attach the foam cannon to your pressure washer:
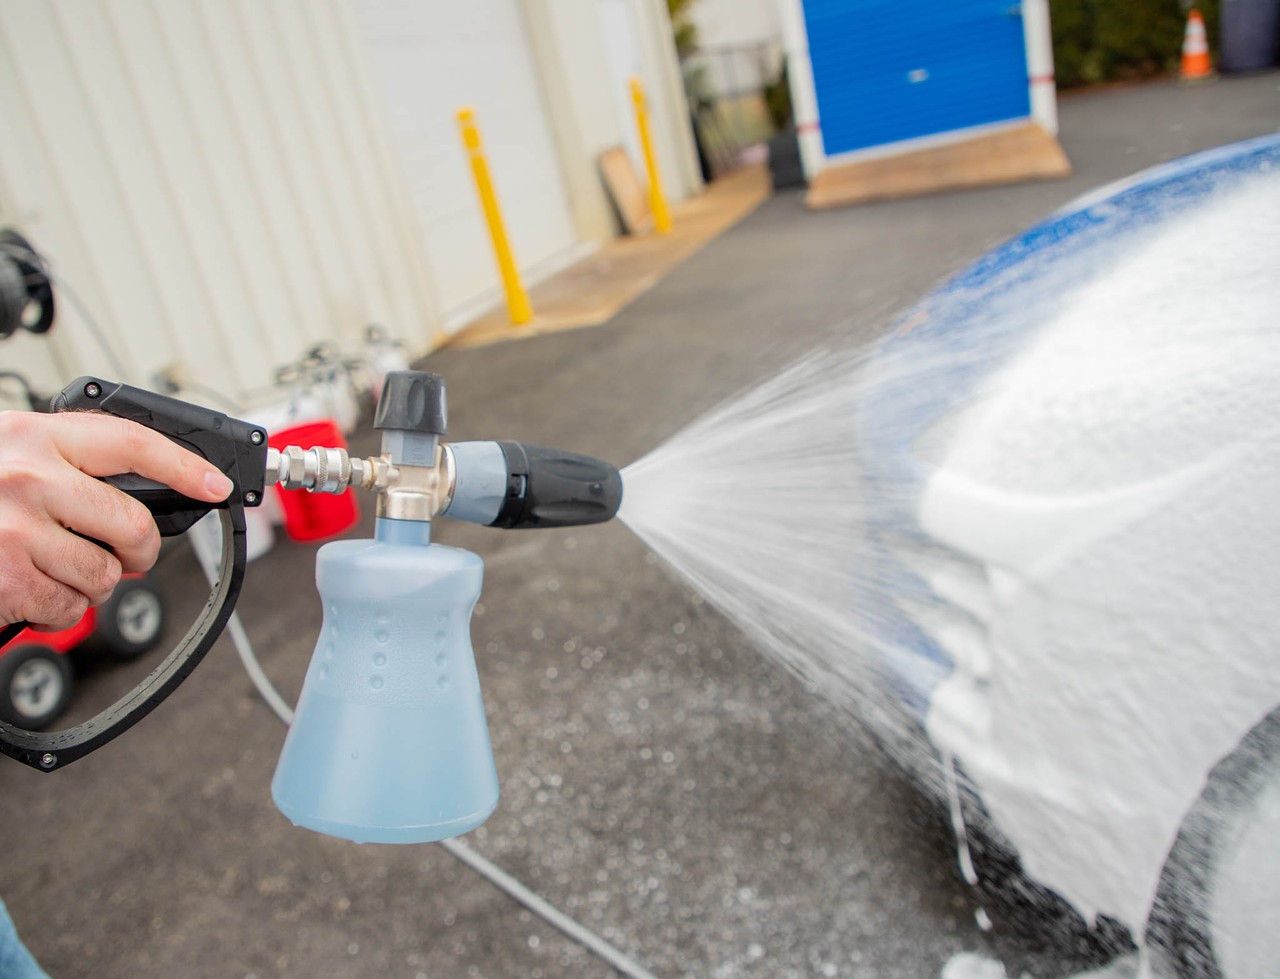
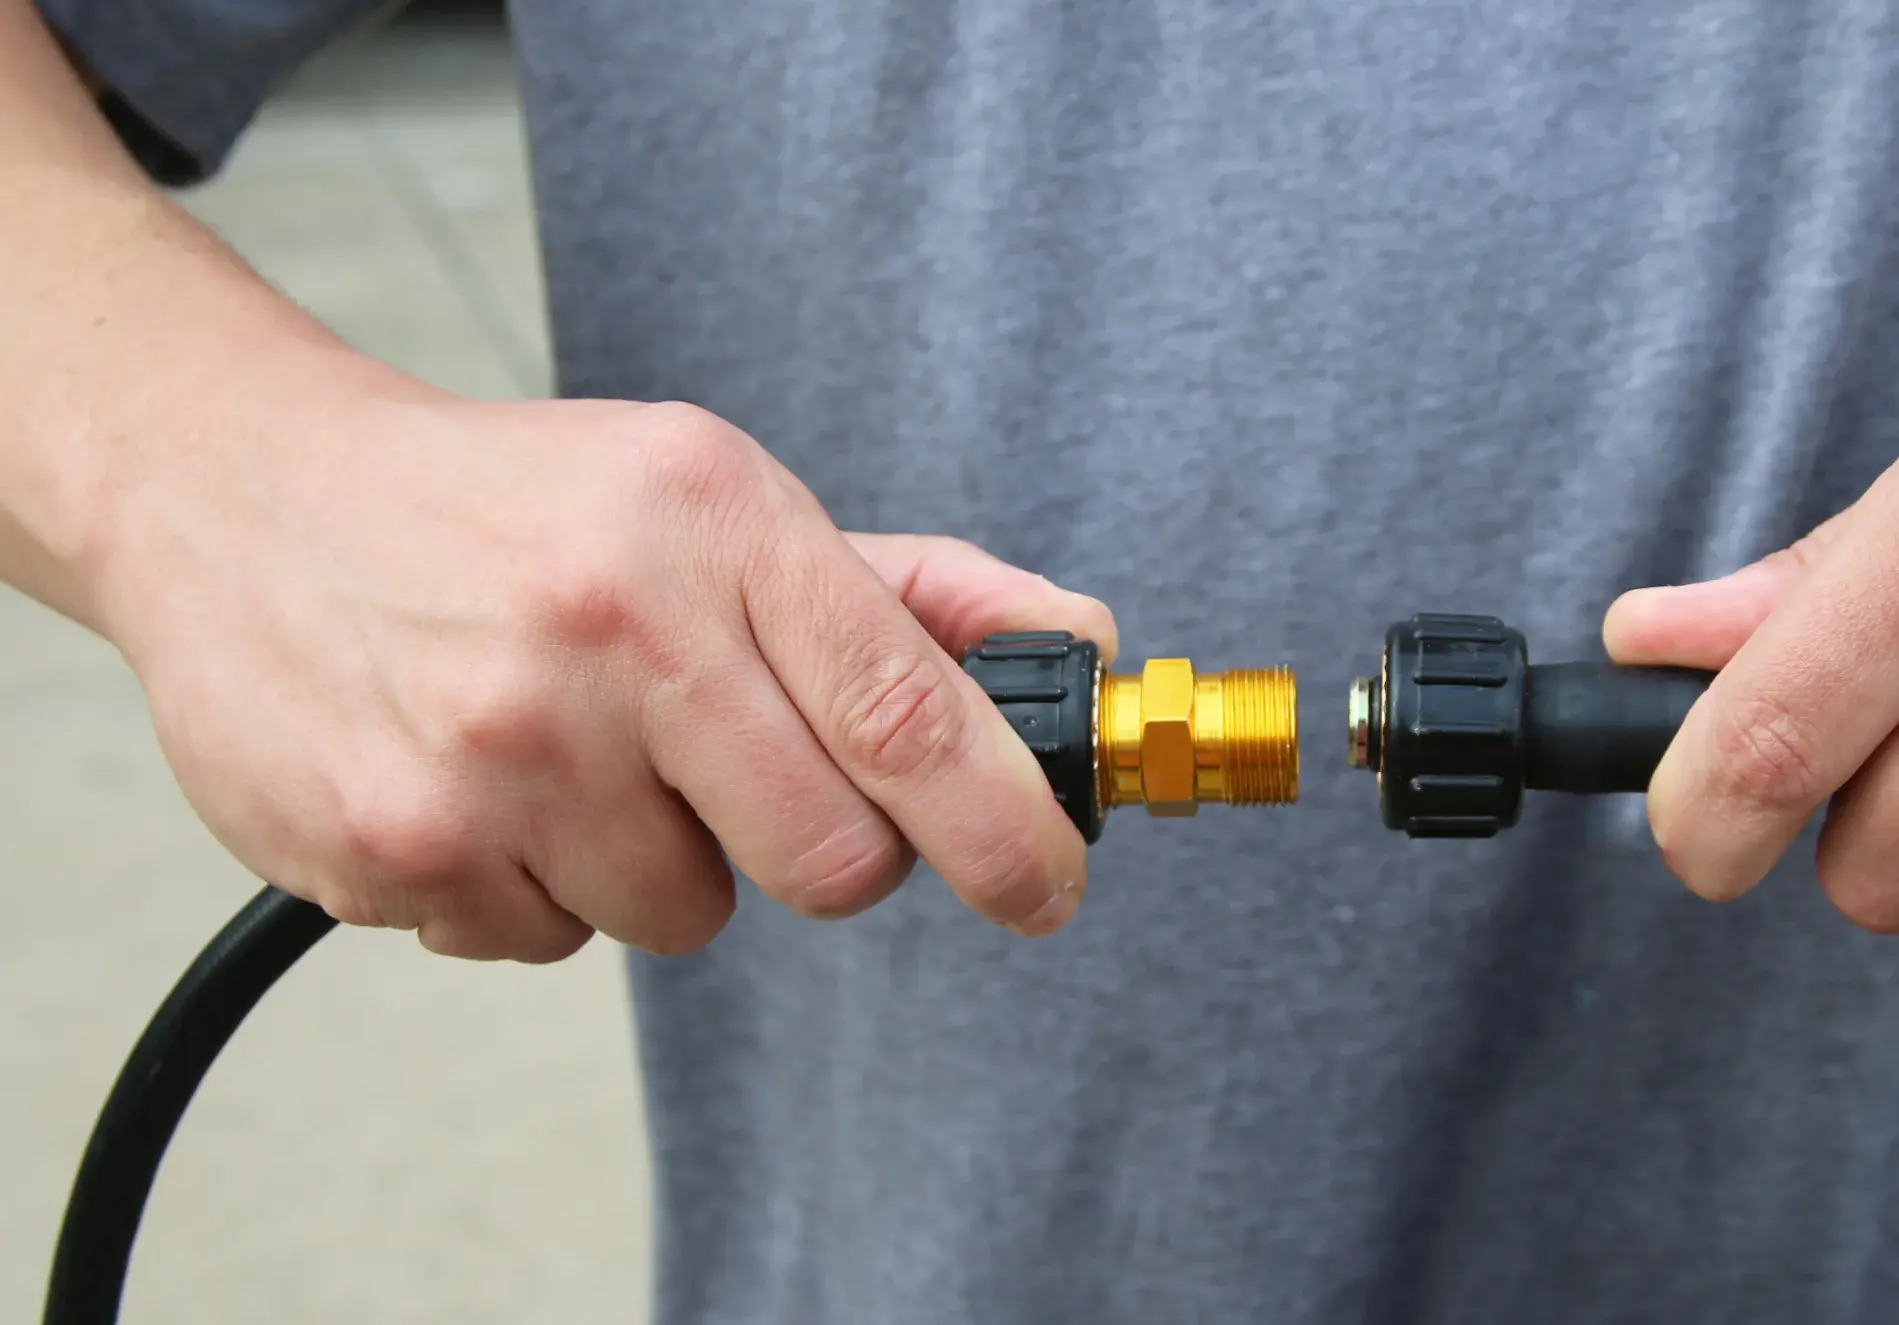
- Identify the foam cannon connector: The foam cannon will have a connector at the bottom that allows it to be attached to the pressure washer wand. Locate this connector before proceeding.
- Apply Teflon tape (optional): If your foam cannon connector has threading, it is recommended to apply Teflon tape to the threads. This will create a tight seal and prevent any water leakage during use.
- Attach the foam cannon to the pressure washer wand: Screw the foam cannon onto the pressure washer wand by twisting it clockwise. Ensure that it is securely attached, but be careful not to overtighten to avoid damaging the foam cannon or the pressure washer wand.
- Check for a tight seal: Once the foam cannon is attached, check for a tight seal between the foam cannon and the pressure washer wand. Make sure there are no gaps or leaks that may affect the foam production.
It is essential to ensure a proper and secure attachment of the foam cannon to the pressure washer to prevent any water leakage and ensure the smooth operation of the foam cannon.
Now that you have successfully attached the foam cannon to your pressure washer, you are ready to move on to the next step of adjusting the foam cannon settings for optimal foam output.
Make sure the foam cannon and pressure washer have compatible fittings. Attach the foam cannon to the pressure washer wand and tighten securely. Adjust the foam cannon settings for desired foam thickness.
Step 5: Adjust the Foam Cannon Settings
Once the foam cannon is securely attached to your pressure washer, it’s time to adjust the settings for optimal foam output. Follow these steps to adjust the foam cannon settings:
- Adjust the spray pattern: Most foam cannons have adjustable spray patterns, allowing you to choose between a narrow stream or a wide fan-shaped spray. Determine the spray pattern based on the size of the surface you’re cleaning. A wider spray pattern covers a larger area, while a narrow stream provides more concentrated foam application.
- Adjust the foam thickness: Depending on the foam cannon model, you may have the option to adjust the thickness of the foam. This allows you to control the amount of foam being dispensed. Adjust the foam thickness setting according to the desired level of foam coverage and cleaning intensity.
- Refer to the user manual: If you’re unsure about the specific settings of your foam cannon, refer to the user manual or manufacturer’s guidelines. This will provide detailed instructions on how to adjust the settings for optimal foam production.
Take your time to experiment with different spray patterns and foam thickness settings to find the combination that works best for your cleaning needs. This adjustment process ensures that you’re getting the most out of your foam cannon and maximizing its performance.
With the settings properly adjusted, you’re now ready to move on to the next step: testing and adjusting the foam output to achieve the desired foam consistency and coverage.
Step 6: Test and Adjust the Foam Output
Testing and adjusting the foam output is an important step to ensure that you’re achieving the desired foam consistency and coverage. Follow these steps to test and adjust the foam output:
- Fill the foam cannon reservoir: Add the recommended amount of foam soap to the foam cannon reservoir. Be sure to follow the manufacturer’s instructions on the proper dilution ratio.
- Turn on the pressure washer: Start the pressure washer and release the trigger to allow water to flow through the system.
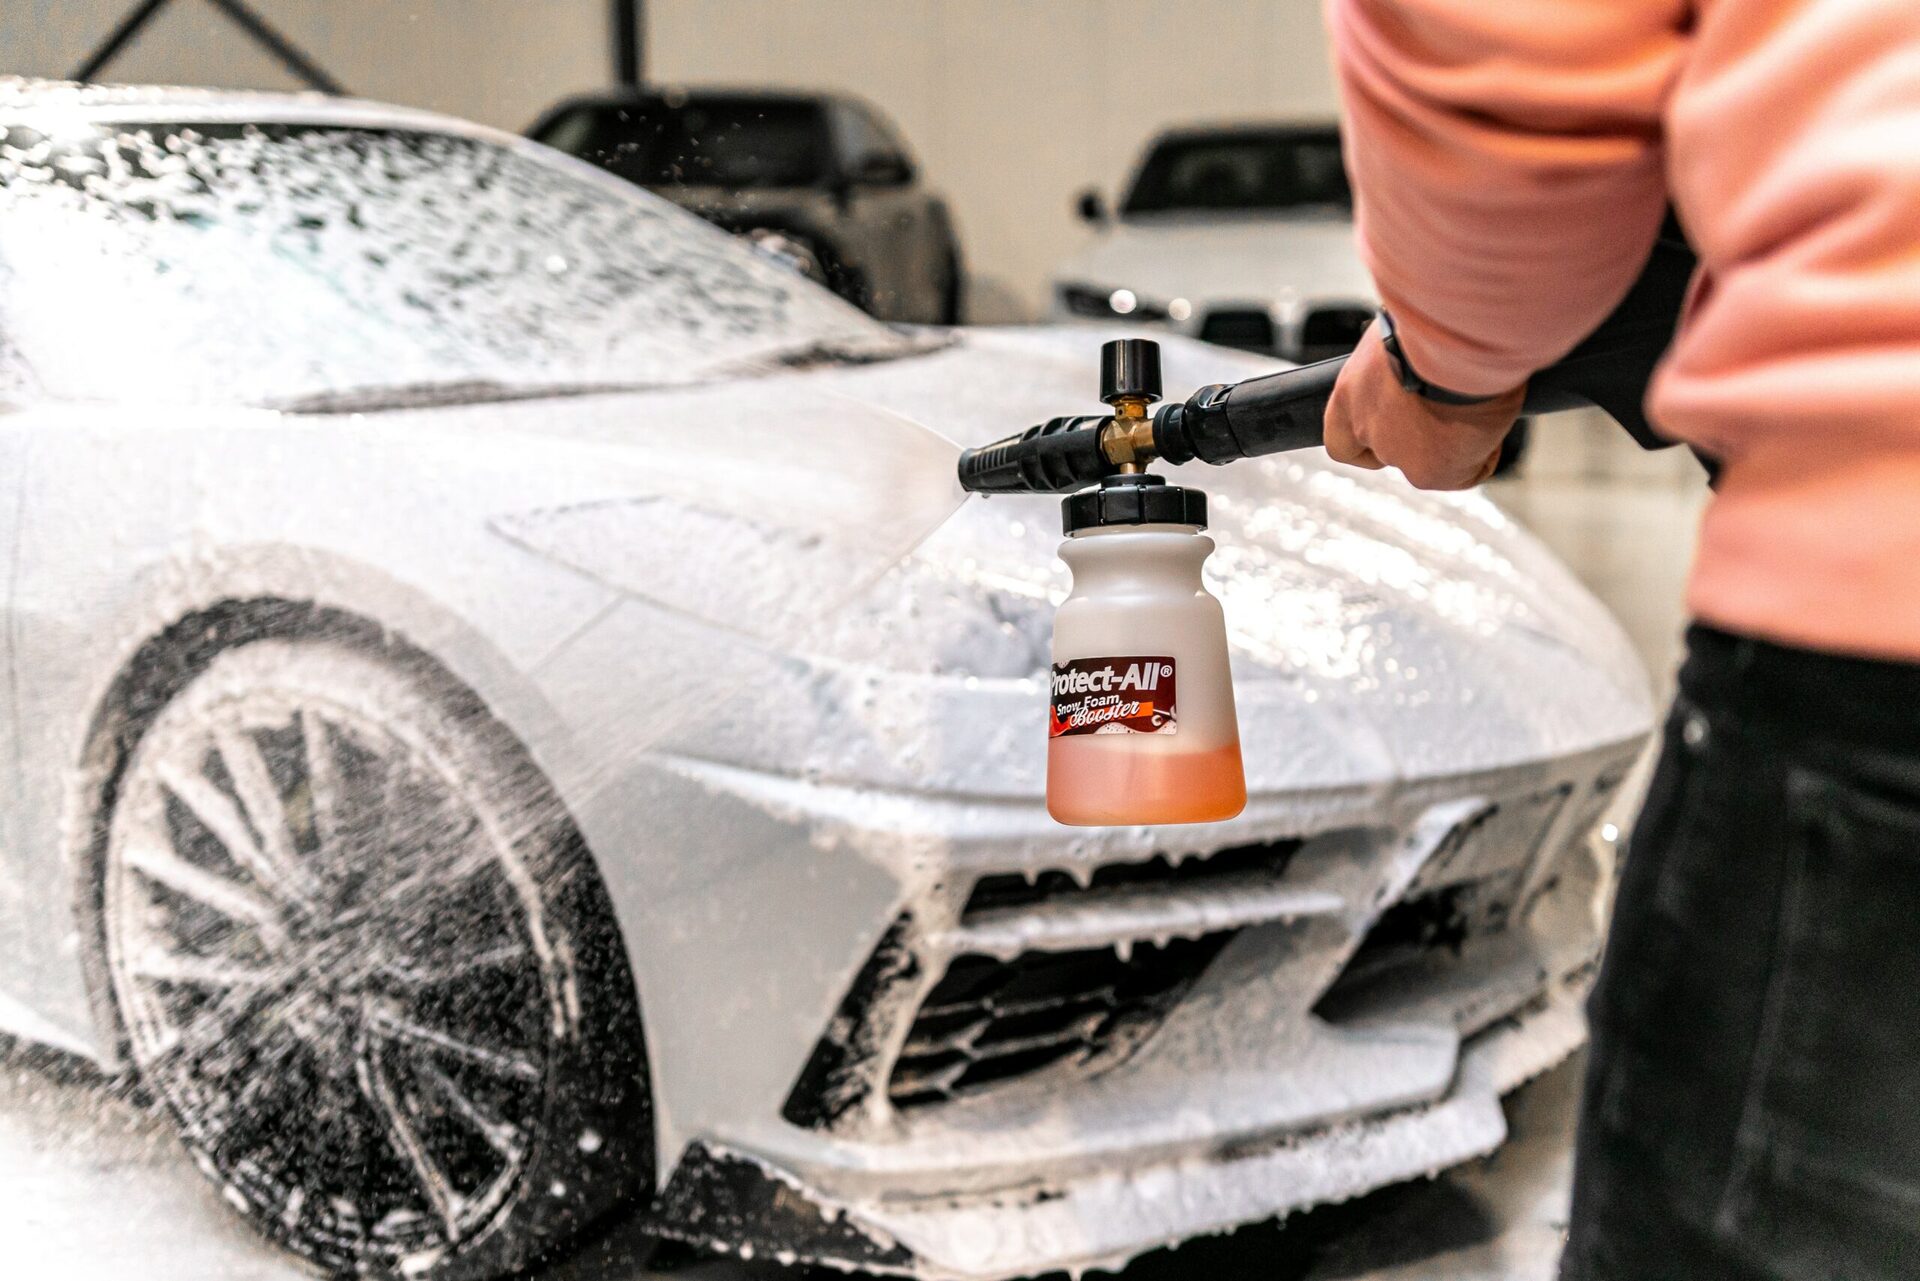
- Activate the foam cannon: Pull the trigger on the foam cannon to activate the foam output. Observe the foam consistency and coverage on a small area of the vehicle.
- Assess the foam thickness: Check the thickness of the foam being produced. If the foam is too thin and watery, adjust the foam thickness setting on the foam cannon to increase the foam density. If the foam is too thick and clumpy, adjust the setting to decrease the foam density.
- Check the foam coverage: Evaluate the coverage of the foam on the surface. Ensure that the foam is evenly distributed and adequately coats the area being cleaned. If the coverage seems too sparse, adjust the spray pattern to a narrower setting for more concentrated foam application.
- Tweak the settings: Make small adjustments to the foam thickness and spray pattern settings until you achieve the desired foam consistency and coverage.
By testing and adjusting the foam output, you can fine-tune the settings of your foam cannon to produce thick, luxurious foam that effectively clings to the surface and enhances the cleaning process.
Once you’re satisfied with the foam output, it’s time to proceed to the next step: starting the foaming process and cleaning your vehicle.
Step 7: Start Foaming
Now that you have properly adjusted the foam output, it’s time to start foaming your vehicle. Follow these steps to ensure an effective and efficient foaming process:
- Pre-rinse the vehicle: Before applying the foam, it’s recommended to pre-rinse the vehicle with water. This helps remove any loose dirt and contaminants, preparing the surface for the foam.
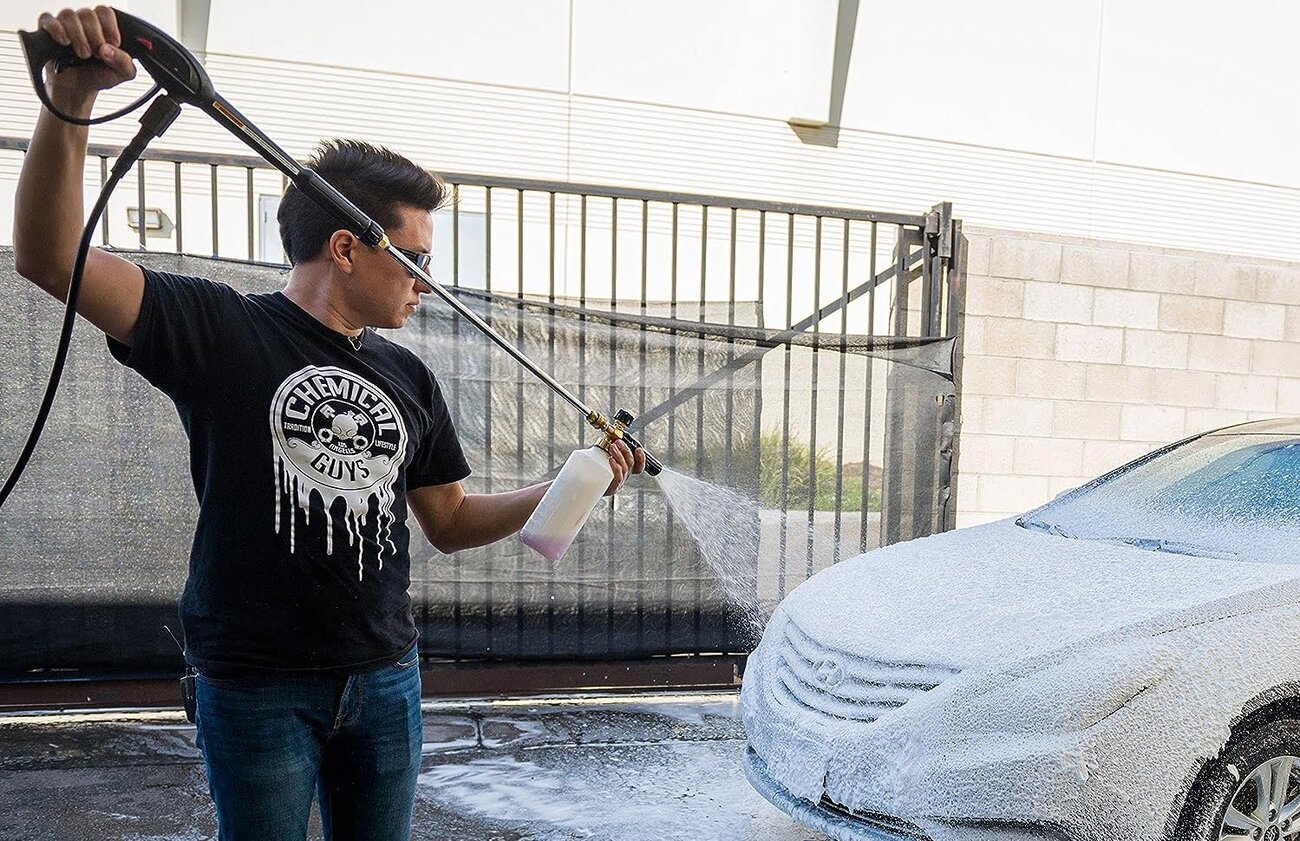
- Apply the foam: Using the foam cannon, evenly apply the foam to the vehicle’s surface. Start from the top and work your way down, covering one section at a time. Make sure to apply a generous amount of foam, ensuring full coverage of the surface.
- Allow dwell time: Let the foam dwell on the vehicle’s surface for a few minutes. This allows the foam to penetrate and loosen the dirt, making it easier to remove during the wash.
- Rinse off the foam: After the dwell time, thoroughly rinse off the foam using the pressure washer. Start from the top and work your way down, ensuring that all foam residue is removed.
- Proceed with the wash: Once the foam is rinsed off, proceed with the regular washing process using a microfiber wash mitt or sponge. Wash the vehicle section by section, using a high-quality car wash soap and rinsing the mitt or sponge frequently.
The foaming process not only helps to loosen dirt and grime but also adds an extra layer of lubrication, reducing the chances of scratching the vehicle’s surface during the wash.
Remember to always follow the recommended techniques and guidelines for a safe and effective car wash. By utilizing the foam cannon, you can enhance your car washing routine and achieve a thorough and satisfying clean.
After completing the foam cleaning process, move on to the final step: proper foam cannon maintenance to ensure its longevity and continued performance.
Step 8: Proper Foam Cannon Maintenance
Maintaining your foam cannon properly is essential for its longevity and continued performance. By following these maintenance steps, you can ensure that your foam cannon remains in great working condition:
- Clean the foam cannon after each use: After using the foam cannon, thoroughly rinse it with clean water to remove any soap residue or debris. Use a brush or sponge to gently clean the nozzle and internal components.
- Inspect for clogs or blockages: Regularly inspect the foam cannon for any clogs or blockages in the nozzle or tubing. If you notice any obstruction, use a small pin or needle to carefully clear the blockage.
- Store in a clean and dry place: When not in use, store the foam cannon in a clean and dry location. This helps prevent any moisture buildup or damage to the internal components.
- Check and replace any worn-out parts: Routinely check the foam cannon for any worn-out or damaged parts. Replace any worn-out seals, o-rings, or connectors to ensure a tight and leak-free attachment.
- Follow the manufacturer’s recommendations: Refer to the foam cannon’s user manual or the manufacturer’s guidelines for any specific maintenance instructions or recommendations.
Proper maintenance of your foam cannon will not only extend its lifespan but also ensure that it continues to deliver an excellent foam output every time you use it. Regular cleaning and inspection help prevent any performance issues and maintain consistent foam production.
By taking the time to care for your foam cannon, you can enjoy the benefits of thick and luxurious foam throughout your car washing journey.
With this step, you have completed the foam cannon attachment process and learned how to maintain it for optimal performance. By following these steps, you can achieve a professional-grade foam cleaning experience.
Read also: 12 Best Power Washer Foam Cannon For 2024
Conclusion
Attaching a foam cannon to your pressure washer opens up a whole new world of possibilities for your car washing routine. The combination of high-pressure water and foaming soap creates a thick and luxurious foam that effortlessly removes dirt and grime from your vehicle’s surface.
In this article, we have guided you through the step-by-step process of attaching a foam cannon to your pressure washer. From gathering the necessary equipment to adjusting the foam cannon settings, we have covered all the essential steps to ensure a successful foam cleaning experience.
Remember to gather all the necessary equipment, prepare your pressure washer, and choose the correct foam cannon for optimal performance. Attach the foam cannon securely to your pressure washer, and adjust the settings to achieve the desired foam consistency and coverage.
Once you have properly attached and adjusted the foam cannon, you can start foaming your vehicle, allowing the foam to penetrate and loosen dirt for a more efficient wash. Rinse off the foam and proceed with the regular washing process to achieve a thorough clean.
After each use, it’s important to properly clean and maintain your foam cannon. Regular cleaning and inspection, along with the replacement of any worn-out parts, will keep your foam cannon in excellent working condition.
By following these steps and taking the time to care for your foam cannon, you can enjoy the benefits of a professional-grade foam cleaning experience. So, get ready to elevate your car washing routine and achieve a spotless shine!
Frequently Asked Questions about How To Attach Foam Cannon To Pressure Washer
Was this page helpful?
At Storables.com, we guarantee accurate and reliable information. Our content, validated by Expert Board Contributors, is crafted following stringent Editorial Policies. We're committed to providing you with well-researched, expert-backed insights for all your informational needs.

0 thoughts on “How To Attach Foam Cannon To Pressure Washer”