Articles
How To Build A Pressure Washer
Modified: February 28, 2024
Learn valuable articles and tips on how to build a pressure washer from scratch. Discover the tools, materials, and step-by-step instructions to create your own powerful cleaning machine.
(Many of the links in this article redirect to a specific reviewed product. Your purchase of these products through affiliate links helps to generate commission for Storables.com, at no extra cost. Learn more)
Introduction
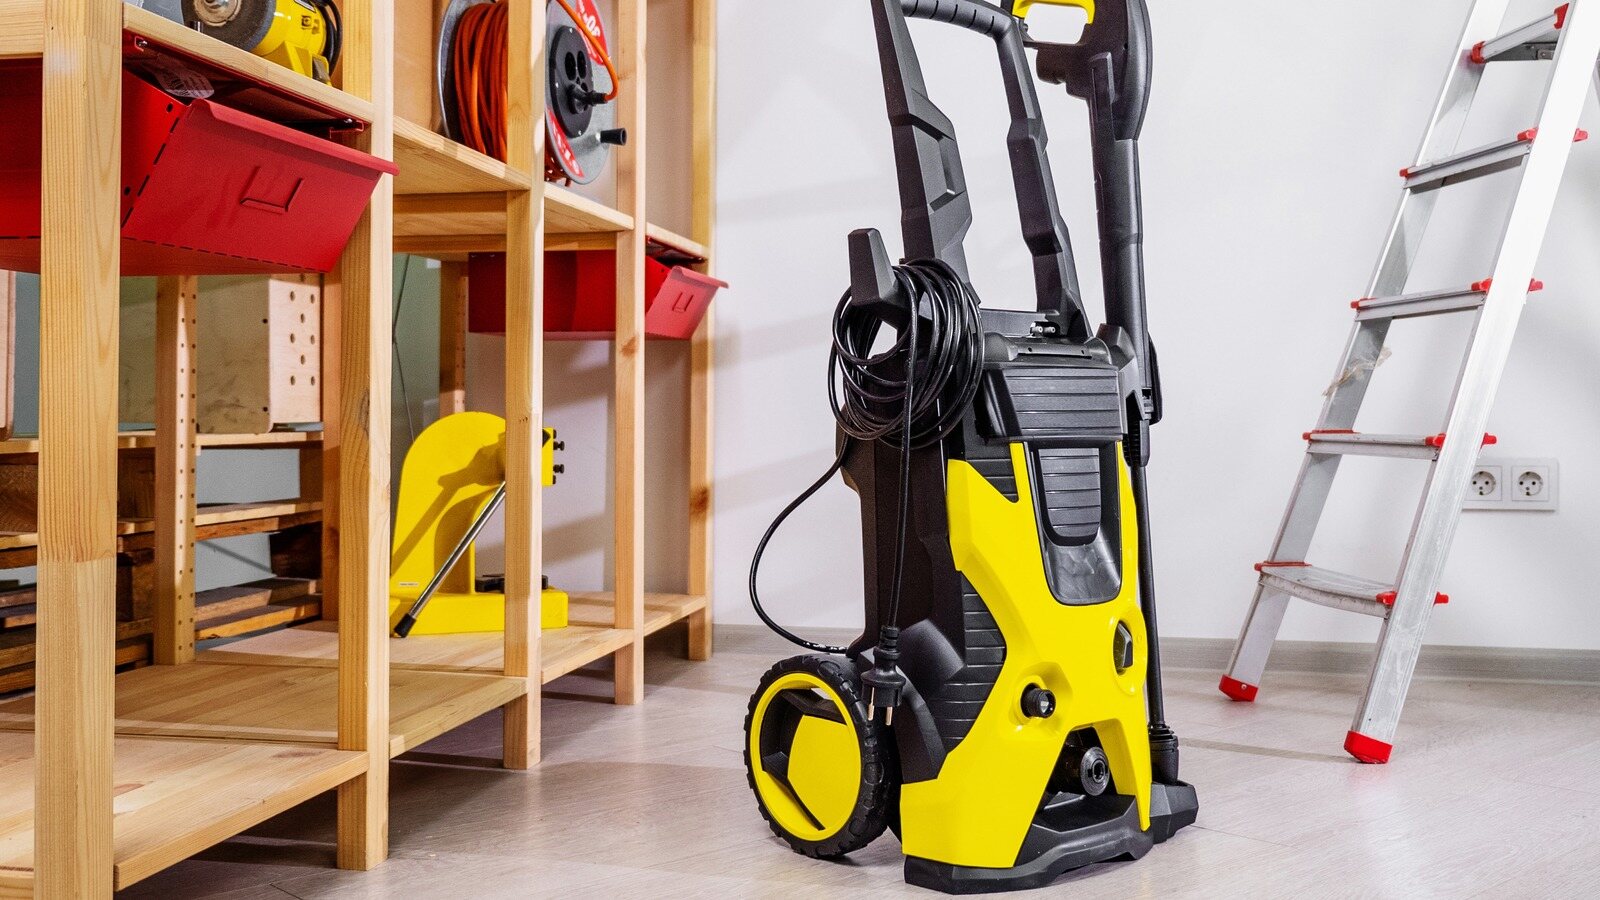
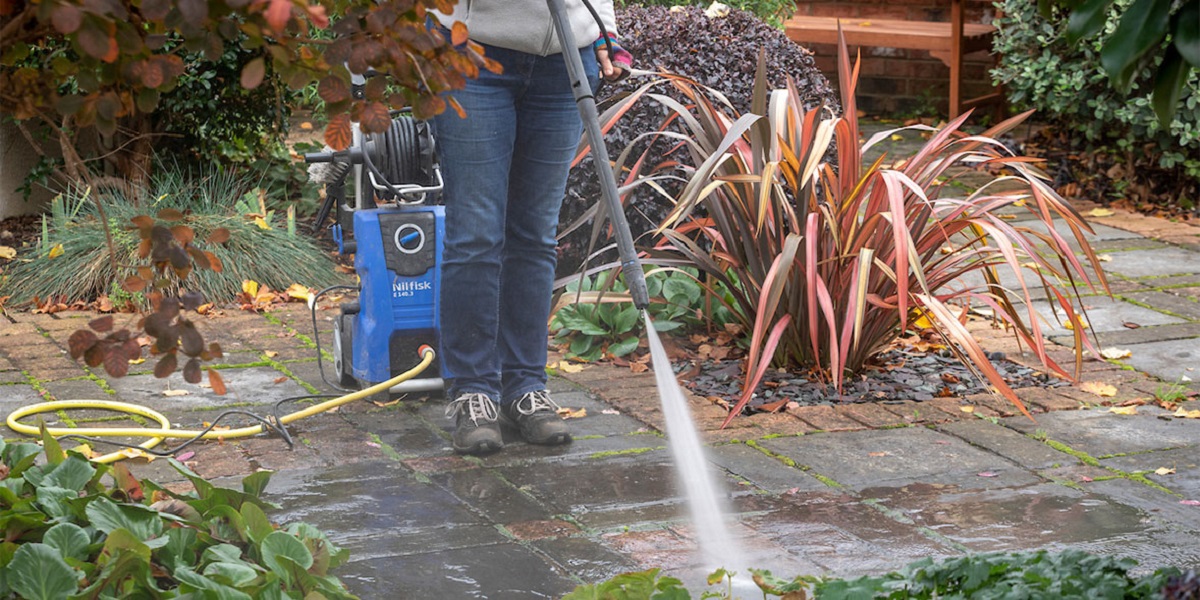
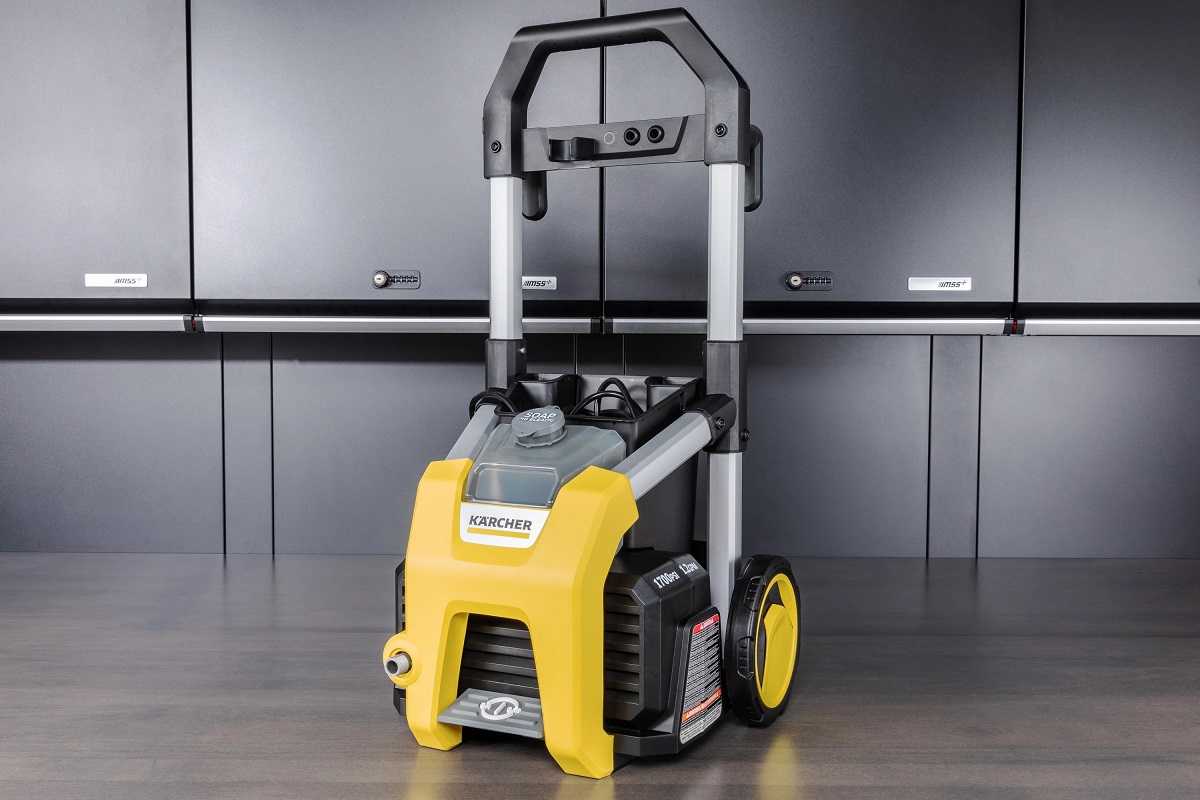
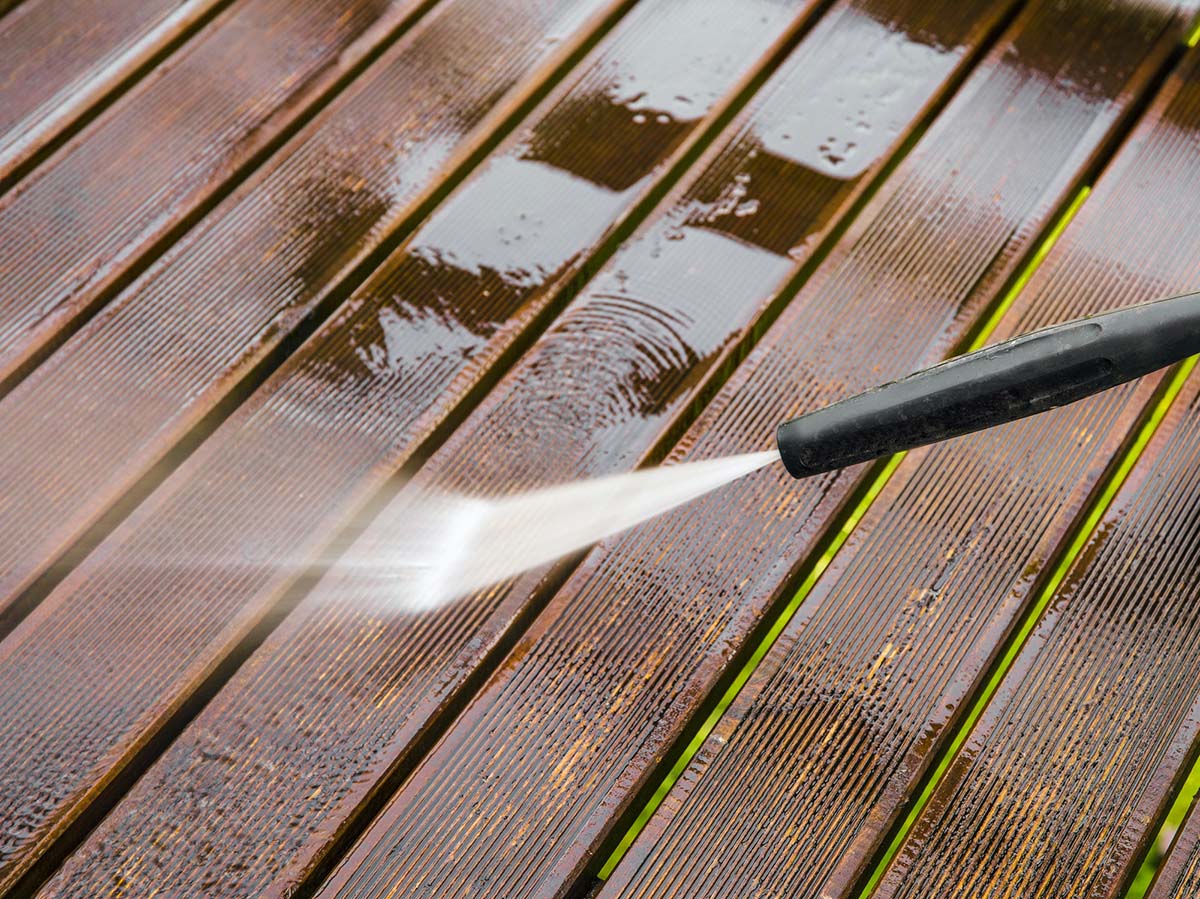
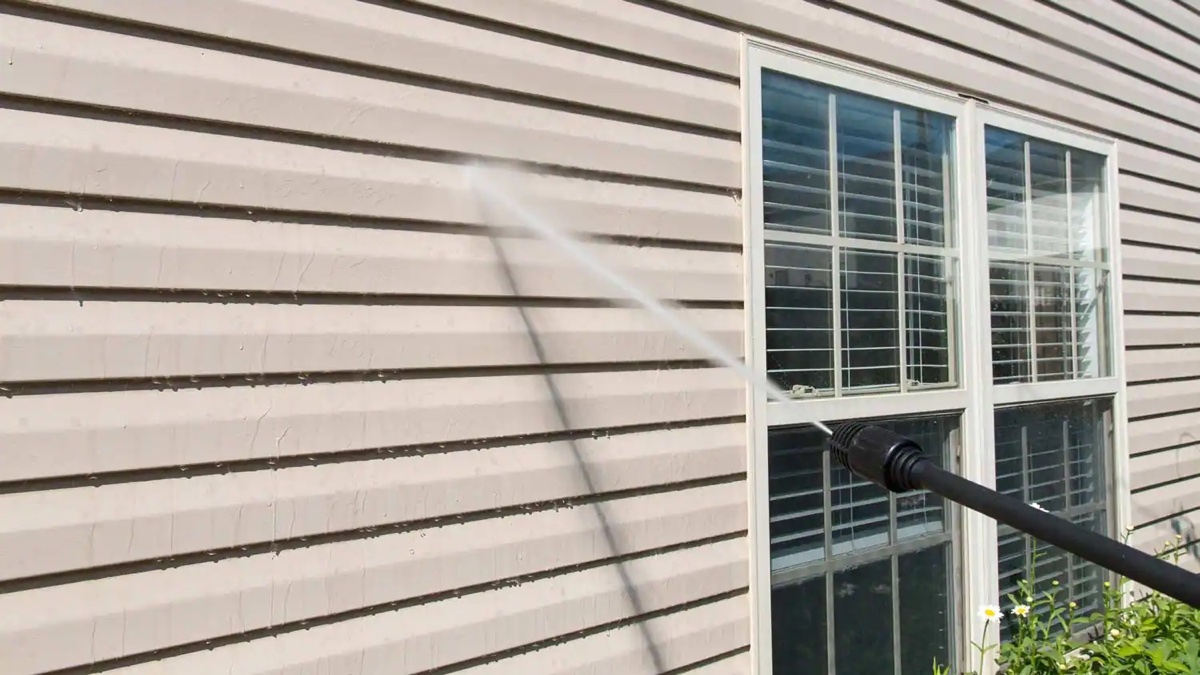
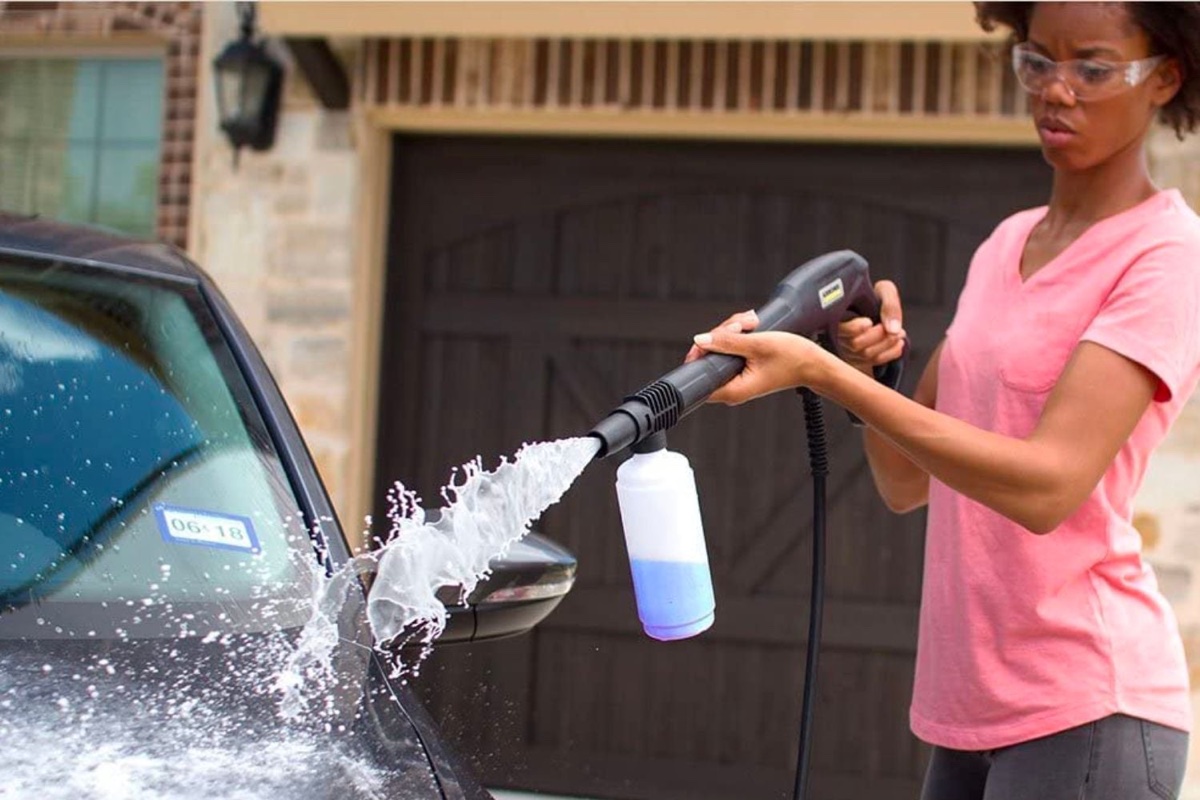
Pressure washers are powerful tools that can help you tackle a variety of cleaning tasks with ease. Whether you need to remove dirt and grime from driveways, decks, or vehicles, a pressure washer can significantly speed up the process and deliver impressive results.
While you can undoubtedly purchase a ready-made pressure washer from the market, building your own can offer a unique sense of satisfaction and save you some money in the process. Not to mention, you can customize it to suit your specific needs and preferences.
In this article, we will guide you through the process of building your own pressure washer, providing you with a step-by-step overview of the required materials, tools, and assembly process. By the end, you’ll have a fully functional pressure washer that you can put to good use.
Before we dive into the construction process, it’s important to note that building a pressure washer requires some mechanical knowledge and basic DIY skills. If you don’t feel confident in your abilities, it’s always a good idea to seek assistance from a professional or consider purchasing a pre-assembled unit.
Now, let’s get started with gathering the necessary materials and tools to build your own pressure washer!
Key Takeaways:
- Building your own pressure washer allows for customization, cost savings, and a sense of satisfaction. Follow the step-by-step guide to construct a versatile cleaning tool tailored to your specific needs and enjoy the benefits of a powerful DIY project.
- Proper maintenance and care are essential for the longevity and optimal performance of your DIY pressure washer. Regular checks, following manufacturer’s guidelines, and using the machine correctly will ensure reliable performance and efficient cleaning results for years to come.
Read more: How To Adjust Pressure On Pressure Washer
Step 1: Gather the necessary materials and tools
Before you can begin the construction process, it’s essential to gather all the necessary materials and tools to build your pressure washer. Here’s a list of items you’ll need:
- Pressure washer frame: This serves as the foundation of your pressure washer and provides structural support.
- Pressure washer pump: The pump is responsible for generating the water pressure needed to clean surfaces effectively.
- Hoses and fittings: You’ll need high-pressure hoses and corresponding fittings to connect various components of the pressure washer.
- Pressure washer engine: This is the power source that drives the pump and provides the necessary horsepower to operate the pressure washer.
- Spray gun and wand: These components allow you to control the water flow and direct it towards the desired surface.
- Oil and fuel: You’ll need engine oil to lubricate the engine and fuel to power it.
- Various hardware: Bolts, nuts, washers, and screws will be needed to securely assemble the pressure washer.
- Toolbox essentials: Make sure you have a range of tools, including wrenches, sockets, pliers, screwdrivers, and a torque wrench, to facilitate the construction process.
It’s important to select high-quality materials and tools to ensure the durability and performance of your pressure washer. Check the specifications and ratings of the components to ensure they are compatible and suitable for the intended use.
Once you have all the necessary materials and tools ready, you’re now prepared to move on to the next step: assembling the pressure washer frame.
Step 2: Assemble the pressure washer frame
The pressure washer frame is the foundation of your DIY pressure washer, providing stability and support for all the components. Here’s how you can assemble the frame:
- Start by laying out the frame components and hardware on a flat surface.
- Identify the frame’s base and attach the upright supports to it using the provided bolts, nuts, and washers. Use a wrench or socket set to tighten the connections securely.
- Next, attach the cross supports between the upright supports. Again, use the provided hardware to secure the connections.
- Double-check that all connections are tight and the frame is sturdy.
- If your pressure washer came with wheels, attach them to the base of the frame according to the manufacturer’s instructions. This will make it easier to move the pressure washer around.
As you assemble the frame, make sure to follow the specific instructions provided by the manufacturer of your pressure washer kit. If there are any variations or additional steps, refer to the manual to ensure proper assembly.
Once the frame is fully assembled, take a moment to inspect it for any loose or improperly tightened connections. Secure any loose connections as necessary, as a stable and solid frame is crucial for the safe and effective operation of your pressure washer.
With the pressure washer frame now assembled, you’re ready to move on to the next step: installing the pressure washer pump.
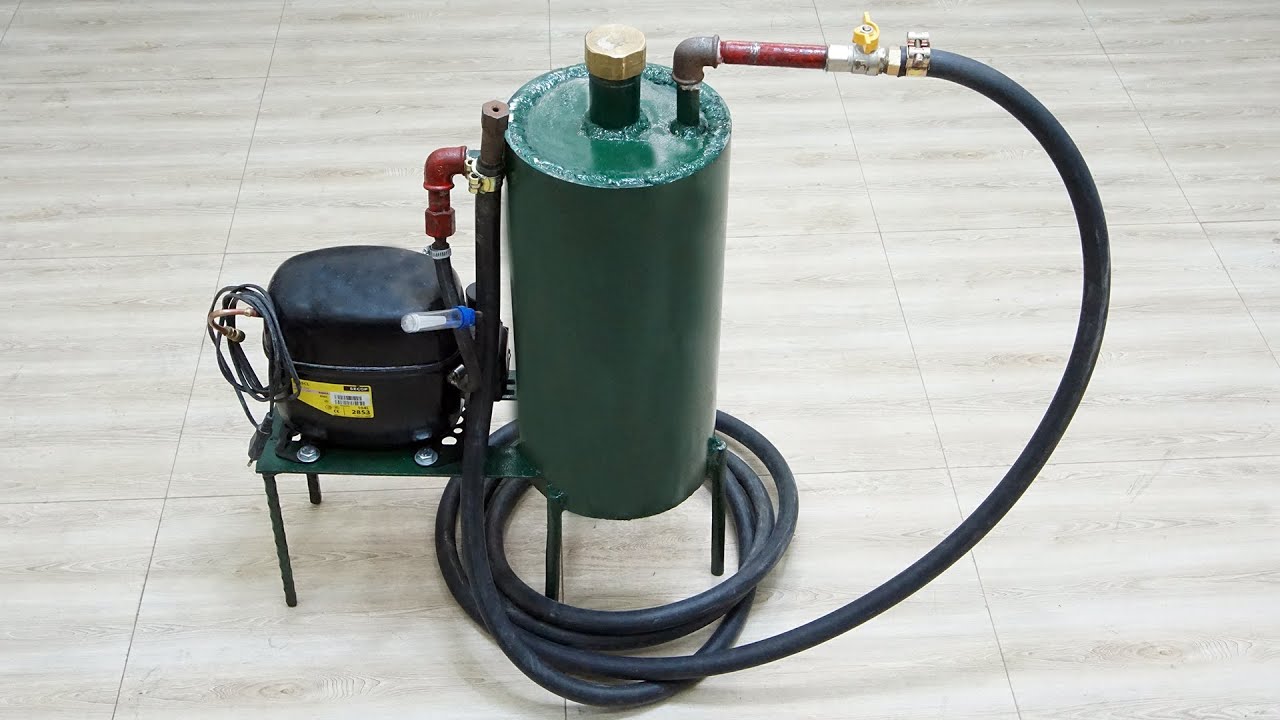
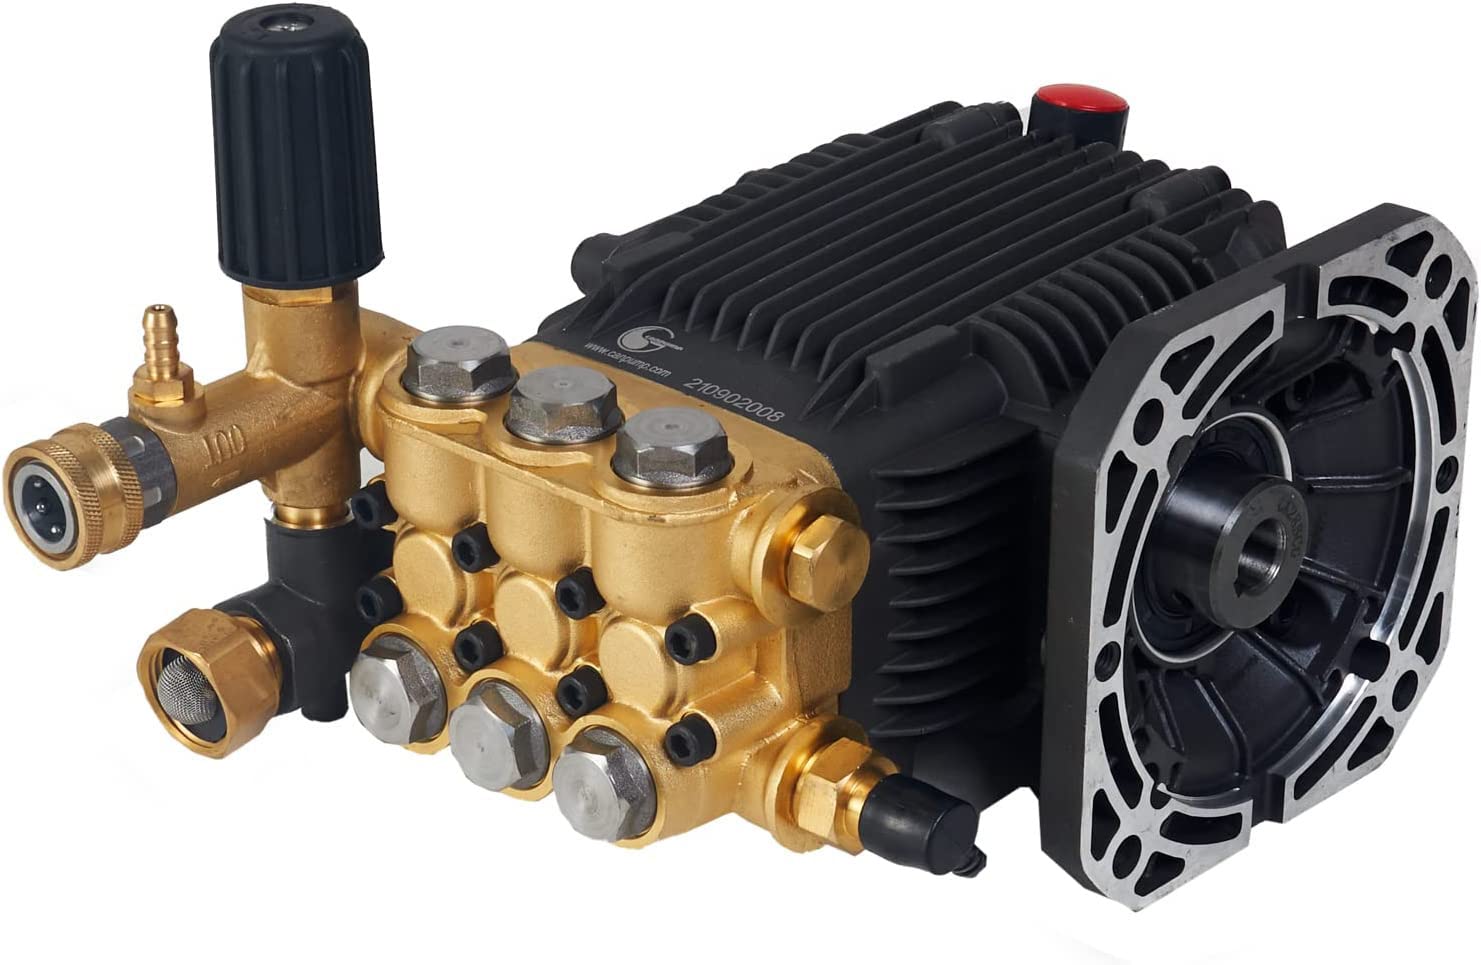
Step 3: Install the pressure washer pump
The pressure washer pump is a crucial component that generates the high-pressure water needed for effective cleaning. Here’s how you can install the pump:
- Locate the mounting brackets on the pressure washer frame where the pump will be installed. These brackets are designed to securely hold the pump in place.
- Place the pressure washer pump onto the mounting brackets, aligning the bolt holes on the pump with the holes in the brackets.
- Insert the provided bolts through the holes, and secure them with the corresponding nuts and washers. Use a wrench or socket set to tighten the connections.
- Ensure that the pump is mounted securely and doesn’t wobble or move excessively.
- Take a moment to inspect the pump’s connections, including the inlet and outlet ports, as well as any pressure relief valves or unloader valves that may be included. Ensure that these connections are properly tightened and leak-free.
It’s worth noting that some pressure washer pumps may require additional steps or specific instructions for installation. Refer to the manual provided by the pump manufacturer to ensure proper installation and avoid any potential issues.
With the pressure washer pump successfully installed, you’re ready to proceed to the next step: connecting the hoses and fittings.
Step 4: Connect the hoses and fittings
Connecting the hoses and fittings is a crucial step in building your pressure washer, as they allow for the proper flow of water and ensure efficient cleaning. Here’s how you can connect the hoses and fittings:
- Start by identifying the different hoses and fittings included in your pressure washer kit.
- Attach the high-pressure hose to the outlet port of the pressure washer pump. Ensure that the connection is secure and tight. Some hoses may require the use of hose clamps or fittings, so make sure to follow the manufacturer’s instructions.
- Connect the other end of the high-pressure hose to the spray gun. Again, ensure a secure connection.
- If your pressure washer has additional hoses, such as a detergent hose or an inlet hose for water supply, connect them according to the manufacturer’s instructions.
- Inspect all connections to ensure there are no leaks. If you notice any leaks, tighten the connections as necessary or consider using thread seal tape to create a tighter seal.
When connecting the hoses and fittings, it’s important to verify that they are properly aligned and securely fastened. Loose or improperly connected hoses can result in pressure loss and inefficient performance of your pressure washer.
Additionally, it’s essential to use hoses and fittings that are designed for high-pressure applications and compatible with your pressure washer. Check the specifications provided by the manufacturer to ensure proper compatibility and safe operation.
With the hoses and fittings now connected, you’re ready to move on to the next step: mounting the pressure washer engine.
Read more: How To Buy A Pressure Washer
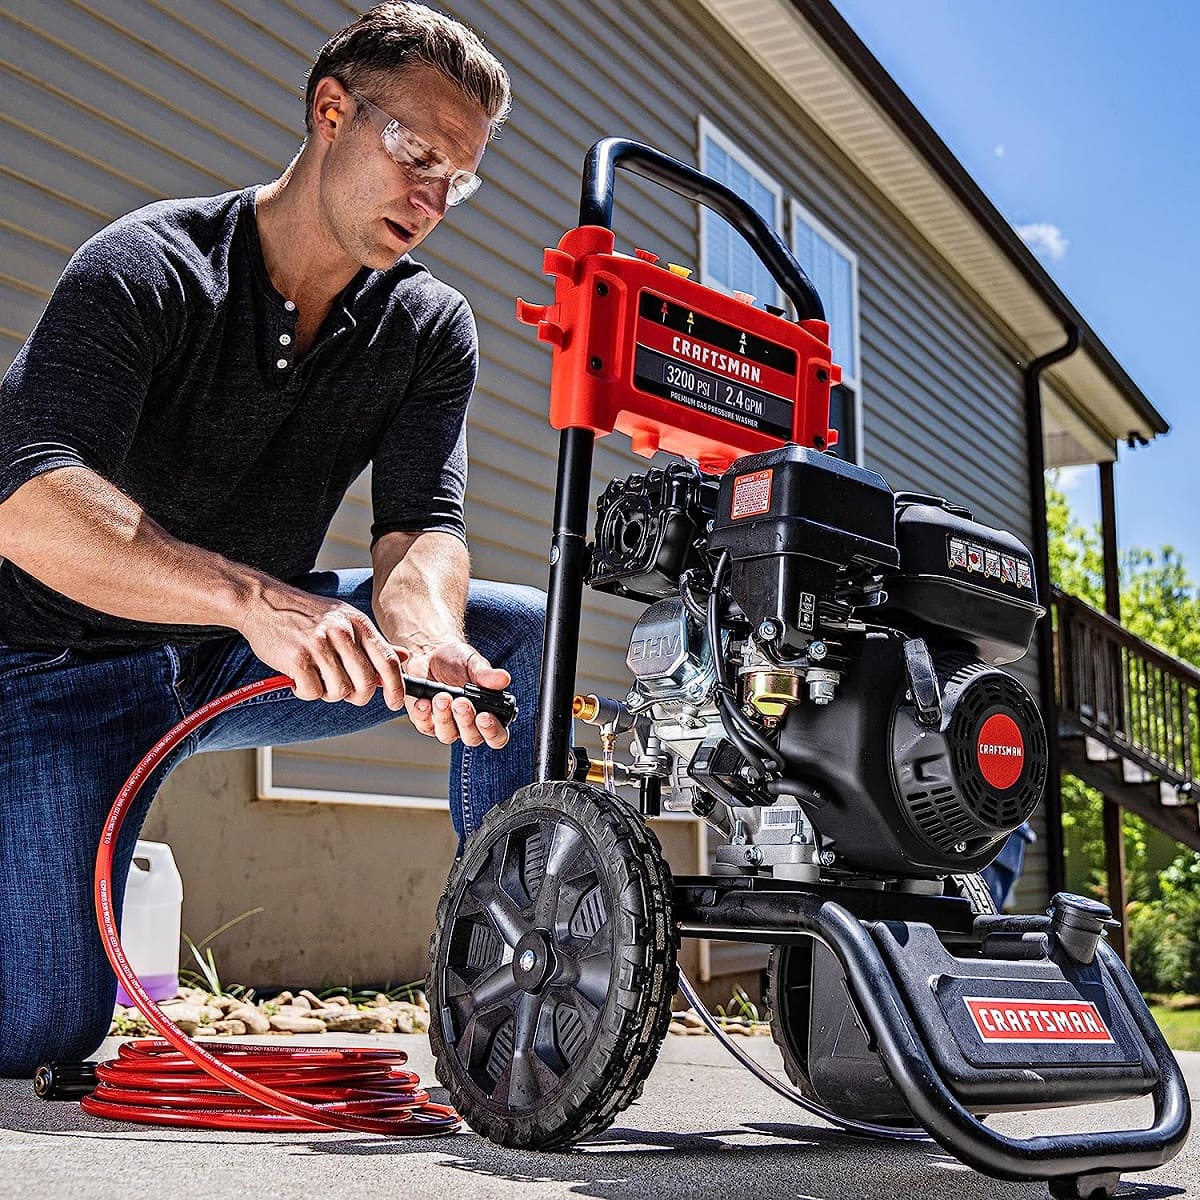
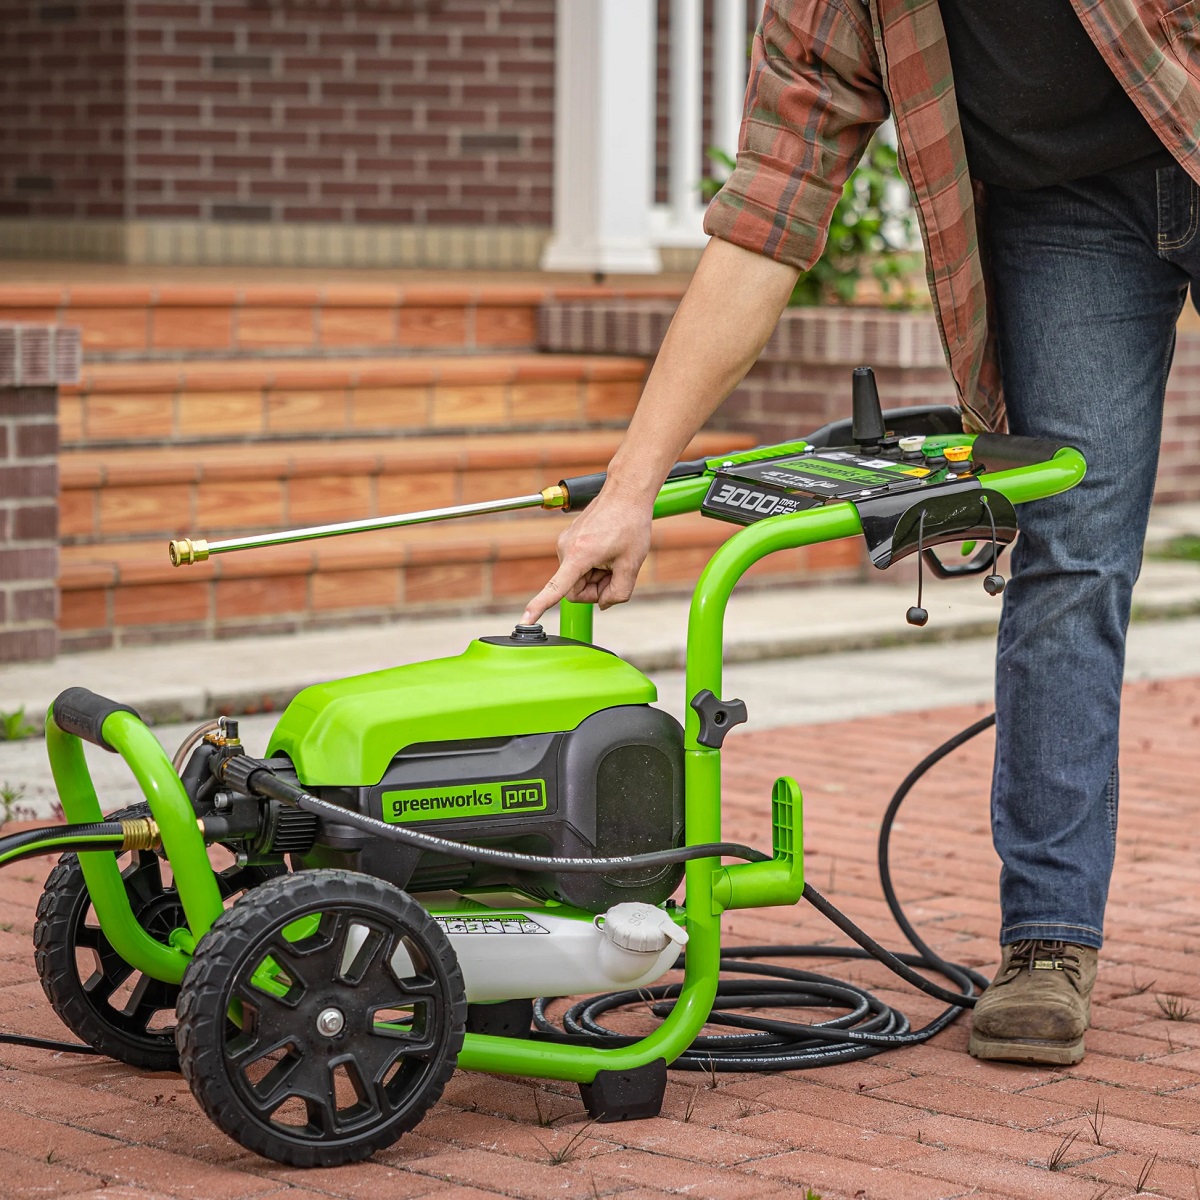
Step 5: Mount the pressure washer engine
The pressure washer engine is the power source that drives the pump and provides the necessary horsepower for your pressure washer to operate effectively. Here’s how you can mount the engine:
- Position the pressure washer engine in the designated area on the frame, usually near the pump.
- Align the mounting holes on the engine with the corresponding holes on the frame.
- Insert the provided bolts through the holes and secure them with the provided nuts and washers. Use a socket set or wrench to tighten the connections.
- Ensure that the engine is mounted securely and doesn’t have excessive movement or vibration.
- Take a moment to inspect the engine’s connections, including the fuel line, throttle control, and spark plug wire. Ensure that these connections are properly attached and secure.
It’s important to follow the instructions provided by the engine manufacturer for mounting and connecting the engine. Different engines may have specific requirements or variations in the mounting process.
Once the engine is securely mounted, double-check all connections and make sure they are properly tightened. Loose connections can lead to engine performance issues and compromise the overall functionality of your pressure washer.
With the pressure washer engine successfully mounted, you’re ready to move on to the next step: attaching the spray gun and wand.
When building a pressure washer, make sure to use high-quality materials for the pump, hose, and nozzles to ensure durability and efficient performance.
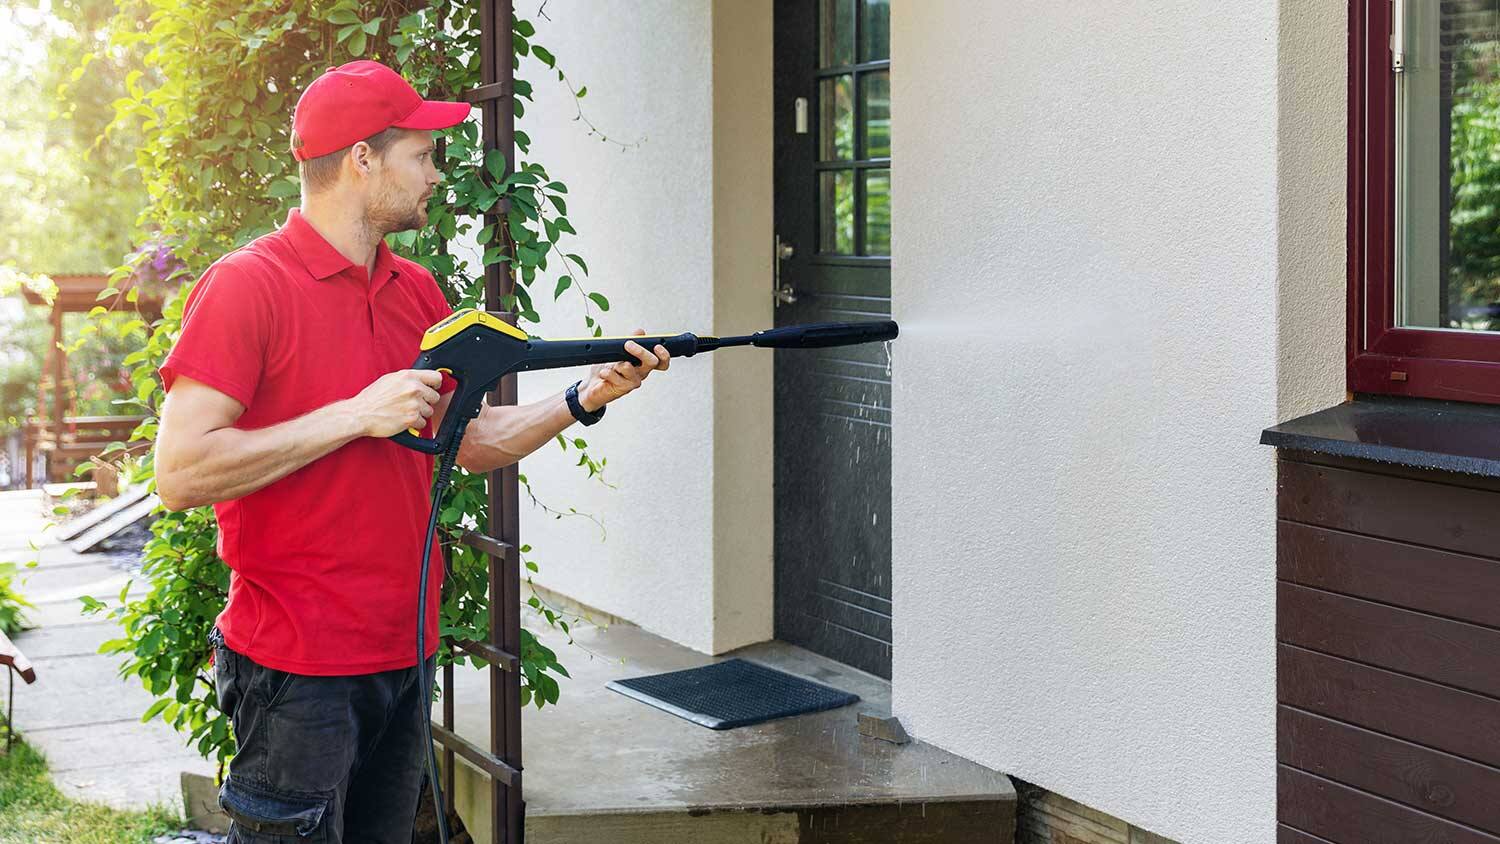
Step 6: Attach the spray gun and wand
The spray gun and wand are essential components of a pressure washer that allow you to direct the water flow and adjust the spray pattern for various cleaning tasks. Here’s how you can attach the spray gun and wand:
- Remove the protective cap or cover from the outlet end of the high-pressure hose attached to the spray gun.
- Align the coupler on the spray gun with the fitting on the hose, then push them together firmly. You may need to twist or rotate the coupler to ensure a secure connection.
- Inspect the connection to ensure there are no leaks or loose fittings. If needed, tighten the connection or use thread seal tape to create a tighter seal.
- Attach the wand to the front of the spray gun by aligning the nozzle end with the coupler and pushing them together until they click into place.
- Give the wand a gentle tug to ensure it is properly secured to the spray gun.
Once the spray gun and wand are attached, test the connection by squeezing the trigger on the spray gun. Water should flow smoothly through the wand’s nozzle. If you notice any leaks or issues with the connection, double-check the fittings and make sure they are properly tightened.
It’s worth noting that spray guns and wands may have specific features or adjustments depending on the manufacturer or model. Refer to the instructions provided with your pressure washer kit to understand any additional functionalities or settings.
With the spray gun and wand securely attached, you’re ready to move on to the next step: filling the pressure washer with oil and fuel.
Step 7: Fill the pressure washer with oil and fuel
To ensure the proper operation and longevity of your pressure washer, it’s crucial to fill it with the appropriate oil and fuel. Here’s how you can do it:
- Refer to the engine manual to determine the type and amount of oil required. Typically, pressure washer engines use SAE 30 oil or a specific oil recommended by the manufacturer.
- Locate the oil fill cap or dipstick on the engine, usually near the top or side. Remove the cap or dipstick to access the oil reservoir.
- Pour the recommended amount of oil into the reservoir. Use a funnel to avoid spills and ensure accuracy.
- After adding the oil, replace the oil fill cap or dipstick and make sure it is securely in place.
- Next, determine the appropriate type of fuel required for your pressure washer engine, such as gasoline or diesel. Refer to the engine manual for specific recommendations.
- Locate the fuel tank on the engine or frame and remove the fuel cap.
- Pour the fuel into the tank, being careful not to overfill. It’s recommended to leave a space for fuel expansion.
- Securely replace the fuel cap, ensuring it is tightly sealed to prevent leaks.
It’s essential to use the correct oil and fuel specified by the engine manufacturer to ensure optimal performance and avoid potential damage. Using incorrect or low-quality oil and fuel can lead to engine problems or even engine failure.
After filling the pressure washer with oil and fuel, take a moment to inspect all connections and ensure there are no fuel or oil leaks. If you notice any leaks, address them immediately before using the pressure washer.
With the pressure washer now filled with oil and fuel, you’re ready to move on to the next step: starting and testing the pressure washer.
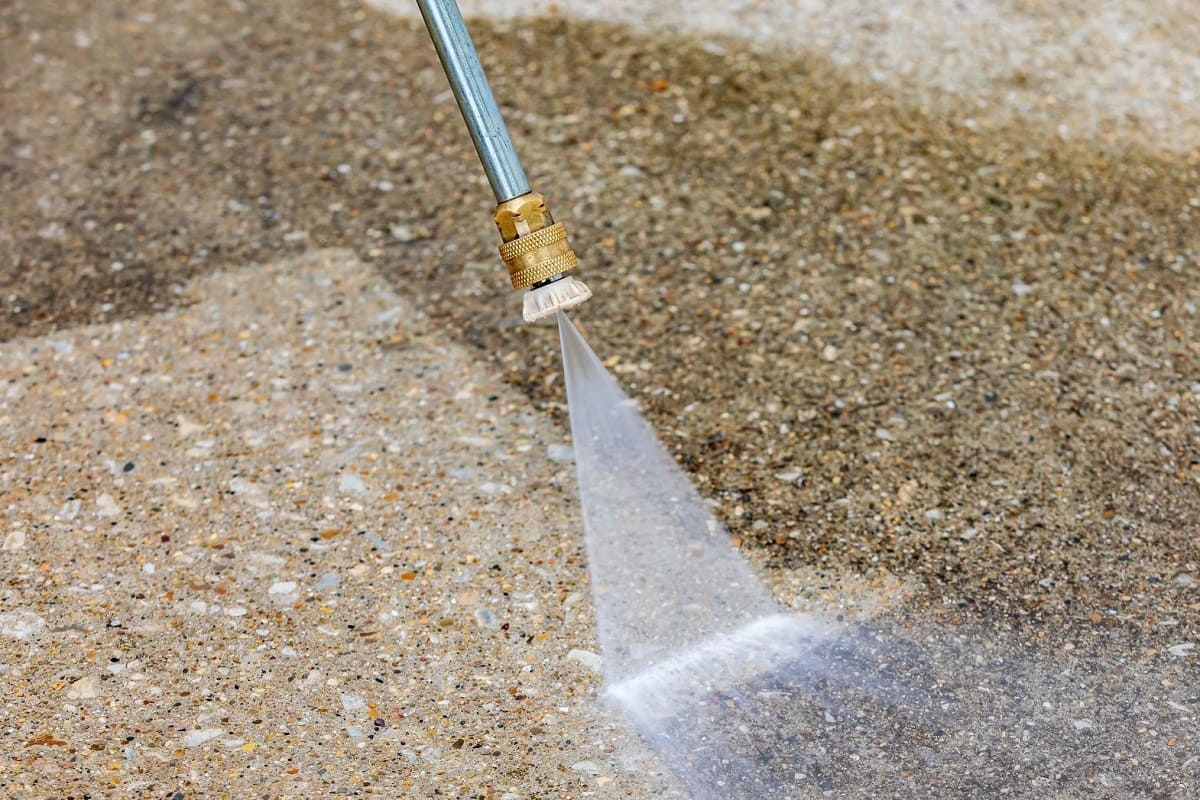
Step 8: Start and test the pressure washer
After assembling and fueling your pressure washer, it’s time to start it up and perform some tests to ensure everything is functioning properly. Here’s what you need to do:
- Locate the ignition switch or pull cord on the pressure washer engine.
- If your pressure washer has an electric start, simply turn the ignition switch to the “On” position. If it has a pull cord, pull it firmly and quickly to start the engine.
- Listen for the engine to start running smoothly. It may take a few seconds for the engine to start and stabilize.
- With the engine running, squeeze the trigger on the spray gun. This will release the water flow through the pressure washer.
- Observe the spray pattern and pressure. The water should be coming out forcefully and efficiently, allowing you to clean surfaces effectively.
- Test different spray patterns if your pressure washer has adjustable settings. This will help you determine the best spray pattern for different cleaning tasks.
- Check for any unusual noises or vibrations while the pressure washer is running. Any unusual behavior could indicate a problem that needs to be addressed.
During the testing phase, it’s important to stay attentive to any potential issues. If you notice any leaks, unusual noises, or poor performance, stop the pressure washer immediately and investigate the problem. It’s better to address any issues right away rather than risking further damage or unsafe operation.
If everything is working correctly during the tests, congratulations! You have successfully built and tested your pressure washer.
For future use, always follow the maintenance guidelines provided by the pressure washer manufacturer to keep your equipment in optimal condition and ensure long-lasting performance.
With the pressure washer tested and ready for action, you’re now equipped with a powerful cleaning tool for various outdoor cleaning tasks.
Read more: How To Choose A Pressure Washer
Step 9: Proper maintenance and care tips
To ensure the longevity and optimal performance of your pressure washer, regular maintenance and proper care are essential. Here are some maintenance tips to keep in mind:
- Read and follow the manufacturer’s maintenance guidelines provided in the user manual. These guidelines will help you understand specific maintenance requirements for your pressure washer model.
- Check the oil level and quality regularly. Change the oil as recommended by the manufacturer to keep the engine lubricated and running smoothly.
- Inspect the fuel filter periodically and replace it if necessary. A clean fuel filter will ensure proper fuel flow and prevent clogs.
- Clean and inspect the spark plug regularly. Replace it if it’s worn out or damaged to ensure a reliable ignition.
- Inspect and clean the water inlet filter to prevent debris and dirt from entering the pressure washer system. A clogged filter can cause a loss of water flow and reduce performance.
- Check all hoses, fittings, and connections for any signs of leaks or damage. Replace any worn-out parts to prevent leaks and ensure safe operation.
- After each use, flush out any remaining water from the pressure washer system to prevent ice formation and potential damage during cold weather.
- Store your pressure washer in a clean and dry area to protect it from the elements. If possible, store it in a temperature-controlled environment to prevent freezing or extreme heat exposure.
- Follow proper safety precautions while using the pressure washer, such as wearing protective eyewear and gloves, and keeping bystanders at a safe distance.
- When using cleaning chemicals or detergents, follow the manufacturer’s instructions and ensure they are compatible with your pressure washer. Improper use of chemicals can damage the pump or other components.
By following these maintenance tips and using your pressure washer correctly, you can prolong its lifespan, ensure reliable performance, and enjoy clean and efficient cleaning results for years to come.
Remember, if you encounter any issues or have concerns about maintenance, don’t hesitate to consult the manufacturer’s manual or seek professional assistance.
With proper maintenance and care, your DIY pressure washer will serve you well and make outdoor cleaning tasks a breeze.
Conclusion
Building your own pressure washer can be a rewarding experience that allows you to customize the machine to fit your specific needs and save you some money in the process. By following the step-by-step guide outlined in this article and using high-quality materials and tools, you can construct a functional pressure washer that will help you tackle a wide range of cleaning tasks with ease.
Throughout the construction process, we covered the importance of gathering the necessary materials and tools, assembling the pressure washer frame, installing the pressure washer pump, connecting hoses and fittings, mounting the pressure washer engine, attaching the spray gun and wand, filling the pressure washer with oil and fuel, starting and testing the machine, and maintaining it properly for optimal performance and longevity.
Remember, safety is paramount when working with pressure washers. Always read and follow the manufacturer’s instructions, take necessary precautions, and wear appropriate protective gear to ensure safe operation.
Building your own pressure washer allows you to have a versatile cleaning tool at your disposal, tailored to your specific needs. Whether you need to clean driveways, decks, or vehicles, a pressure washer can make the task easier and deliver excellent results.
Now that you have the knowledge and understanding of how to build and maintain a pressure washer, it’s time to put your DIY skills to use and enjoy the benefits of a powerful cleaning tool right at your fingertips.
So go ahead, gather your materials, grab your tools, and start building your very own pressure washer today!
Frequently Asked Questions about How To Build A Pressure Washer
Was this page helpful?
At Storables.com, we guarantee accurate and reliable information. Our content, validated by Expert Board Contributors, is crafted following stringent Editorial Policies. We're committed to providing you with well-researched, expert-backed insights for all your informational needs.

0 thoughts on “How To Build A Pressure Washer”