Home>Articles>How To Adjust Pressure On Ryobi Pressure Washer
Articles
How To Adjust Pressure On Ryobi Pressure Washer
Modified: May 6, 2024
Learn how to easily adjust the pressure on your Ryobi pressure washer with our informative articles. Ensure optimal cleaning power for all your outdoor cleaning needs.
(Many of the links in this article redirect to a specific reviewed product. Your purchase of these products through affiliate links helps to generate commission for Storables.com, at no extra cost. Learn more)
Introduction
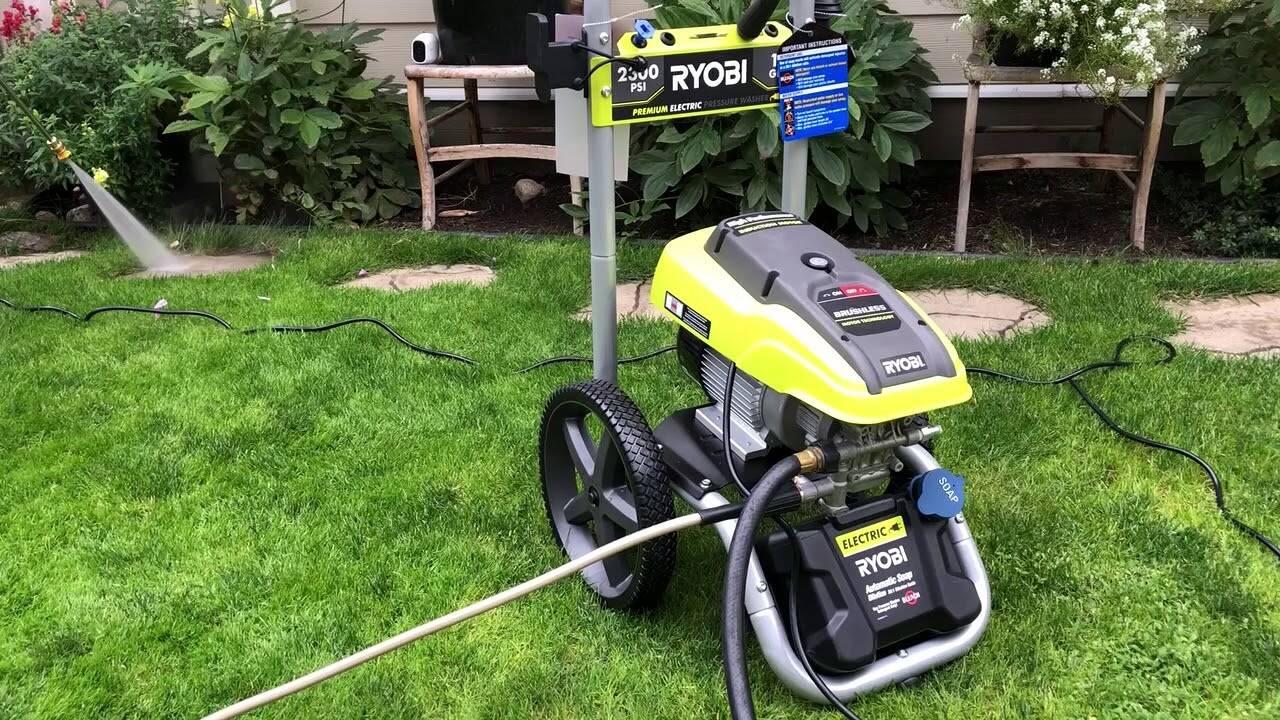
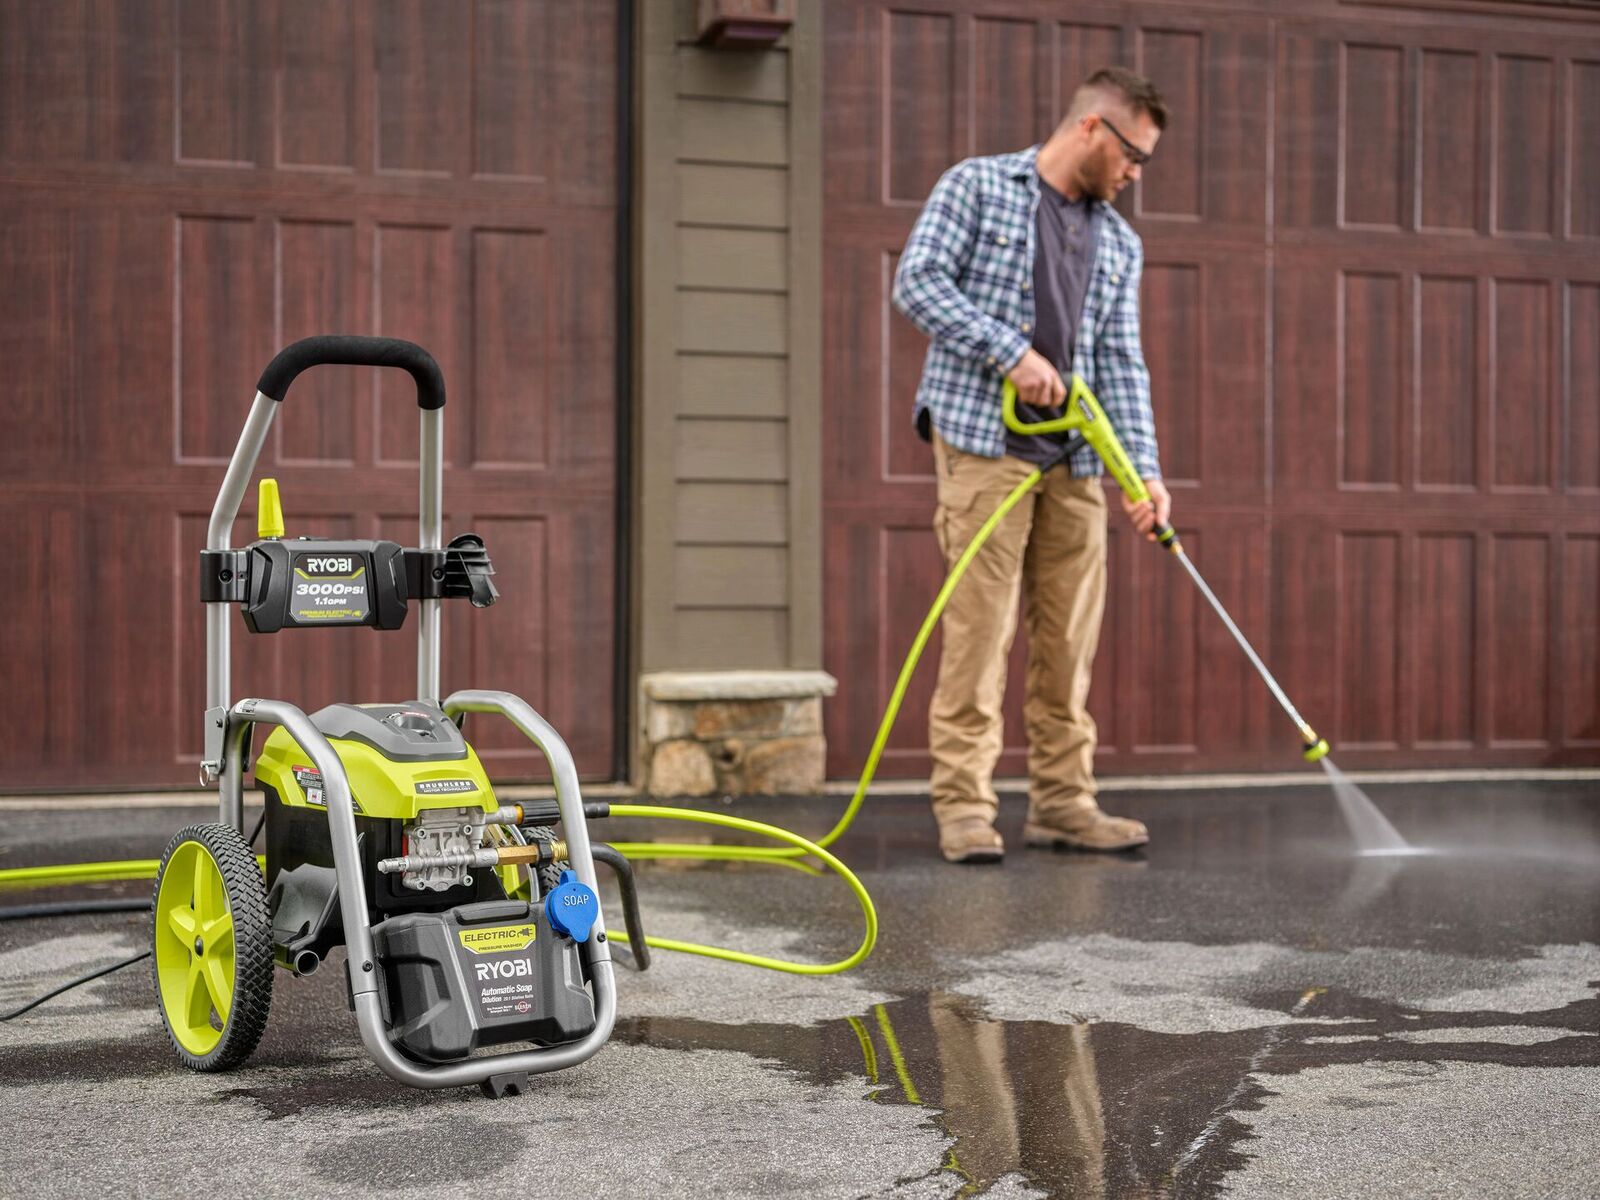
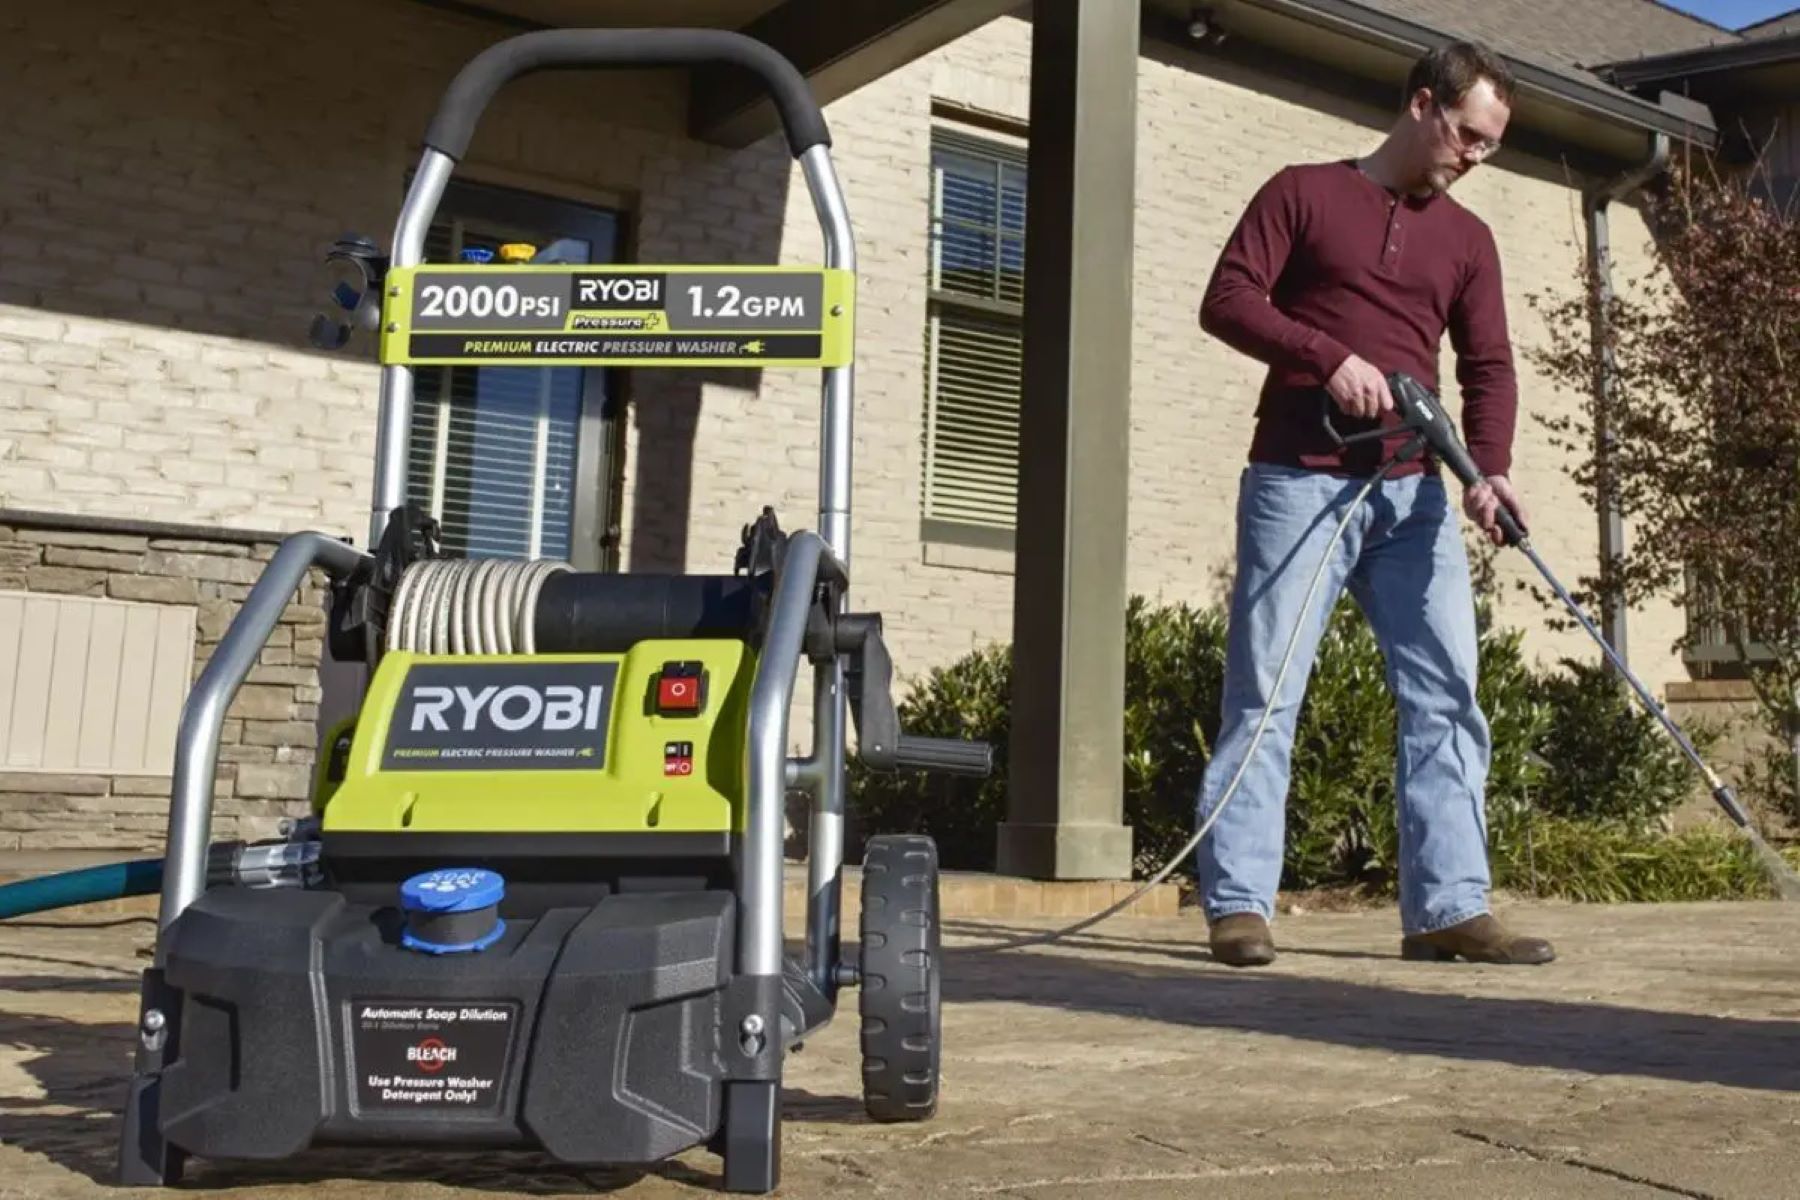
The Ryobi Pressure Washer is a powerful tool that can make your outdoor cleaning tasks much easier and more efficient. Whether you’re washing your car, cleaning your deck, or removing dirt and grime from your home’s exterior, the Ryobi Pressure Washer provides the high-pressure water stream needed to tackle even the toughest jobs.
However, there may be instances when you need to adjust the pressure of your Ryobi Pressure Washer to better suit the specific task at hand. Whether you need a higher pressure setting to remove stubborn stains or a lower pressure setting to protect delicate surfaces, being able to adjust the pressure on your pressure washer is a valuable skill to have.
In this article, we will guide you through the process of adjusting the pressure on your Ryobi Pressure Washer. We will cover the reasons why you may need to adjust the pressure, important safety precautions to keep in mind, and the step-by-step process for adjusting the pressure settings. Additionally, we will provide some troubleshooting tips to help you overcome any challenges you may encounter along the way.
So, if you’re ready to take full control of your Ryobi Pressure Washer and optimize its performance for any cleaning task, let’s dive in and learn how to adjust the pressure for optimal results!
Key Takeaways:
- Takeaway 1: Adjusting the pressure on your Ryobi Pressure Washer is crucial for achieving optimal cleaning results, protecting surfaces, and conserving water. Follow safety precautions and test the adjusted pressure to ensure efficiency and safety.
- Takeaway 2: Troubleshooting tips provided in the article offer practical solutions for common pressure washer issues. Understanding the reasons for adjusting pressure and following the step-by-step process will empower you to optimize your Ryobi Pressure Washer’s performance.
Read more: How To Adjust Pressure On Pressure Washer
Understanding the Ryobi Pressure Washer
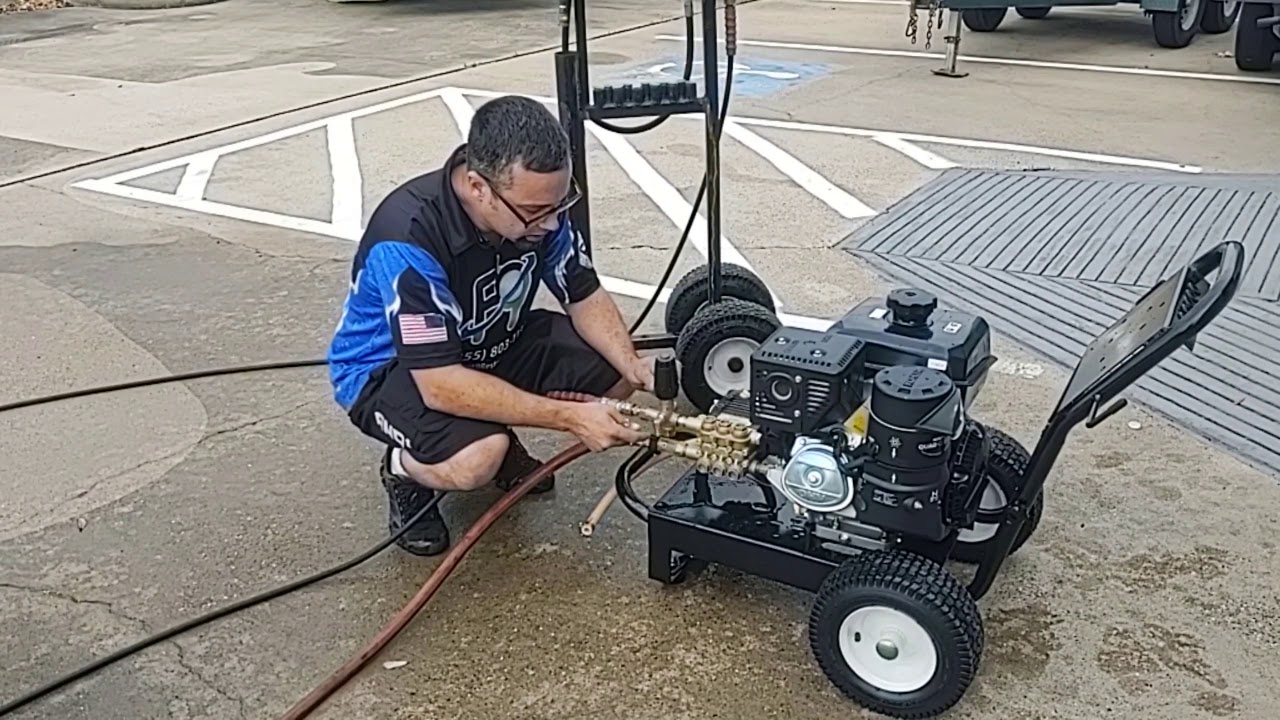
Before we delve into the process of adjusting the pressure on your Ryobi Pressure Washer, it’s essential to have a good understanding of the different components and features that make up this powerful cleaning tool.
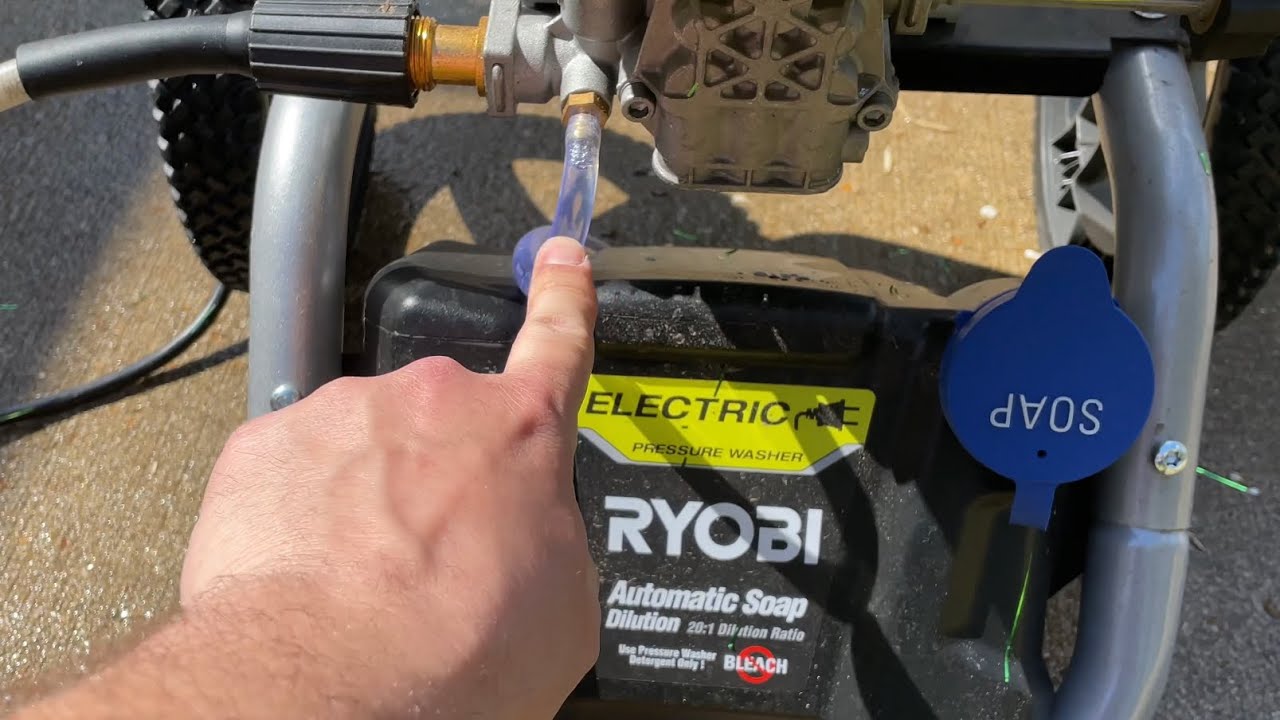
The Ryobi Pressure Washer is equipped with a motor or engine that powers a pump, which draws water from a water source and pressurizes it. The pressurized water is then expelled through a nozzle at high speed, creating a strong jet of water that can effectively remove dirt, grime, and other debris.
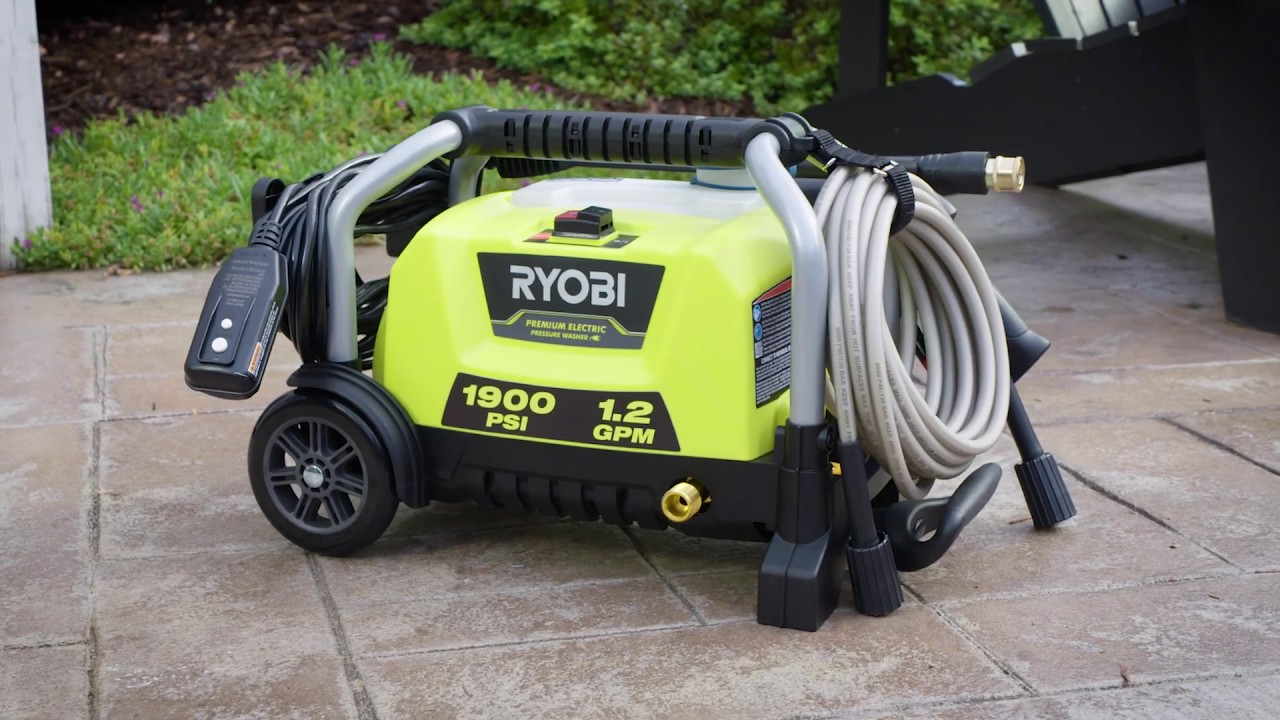
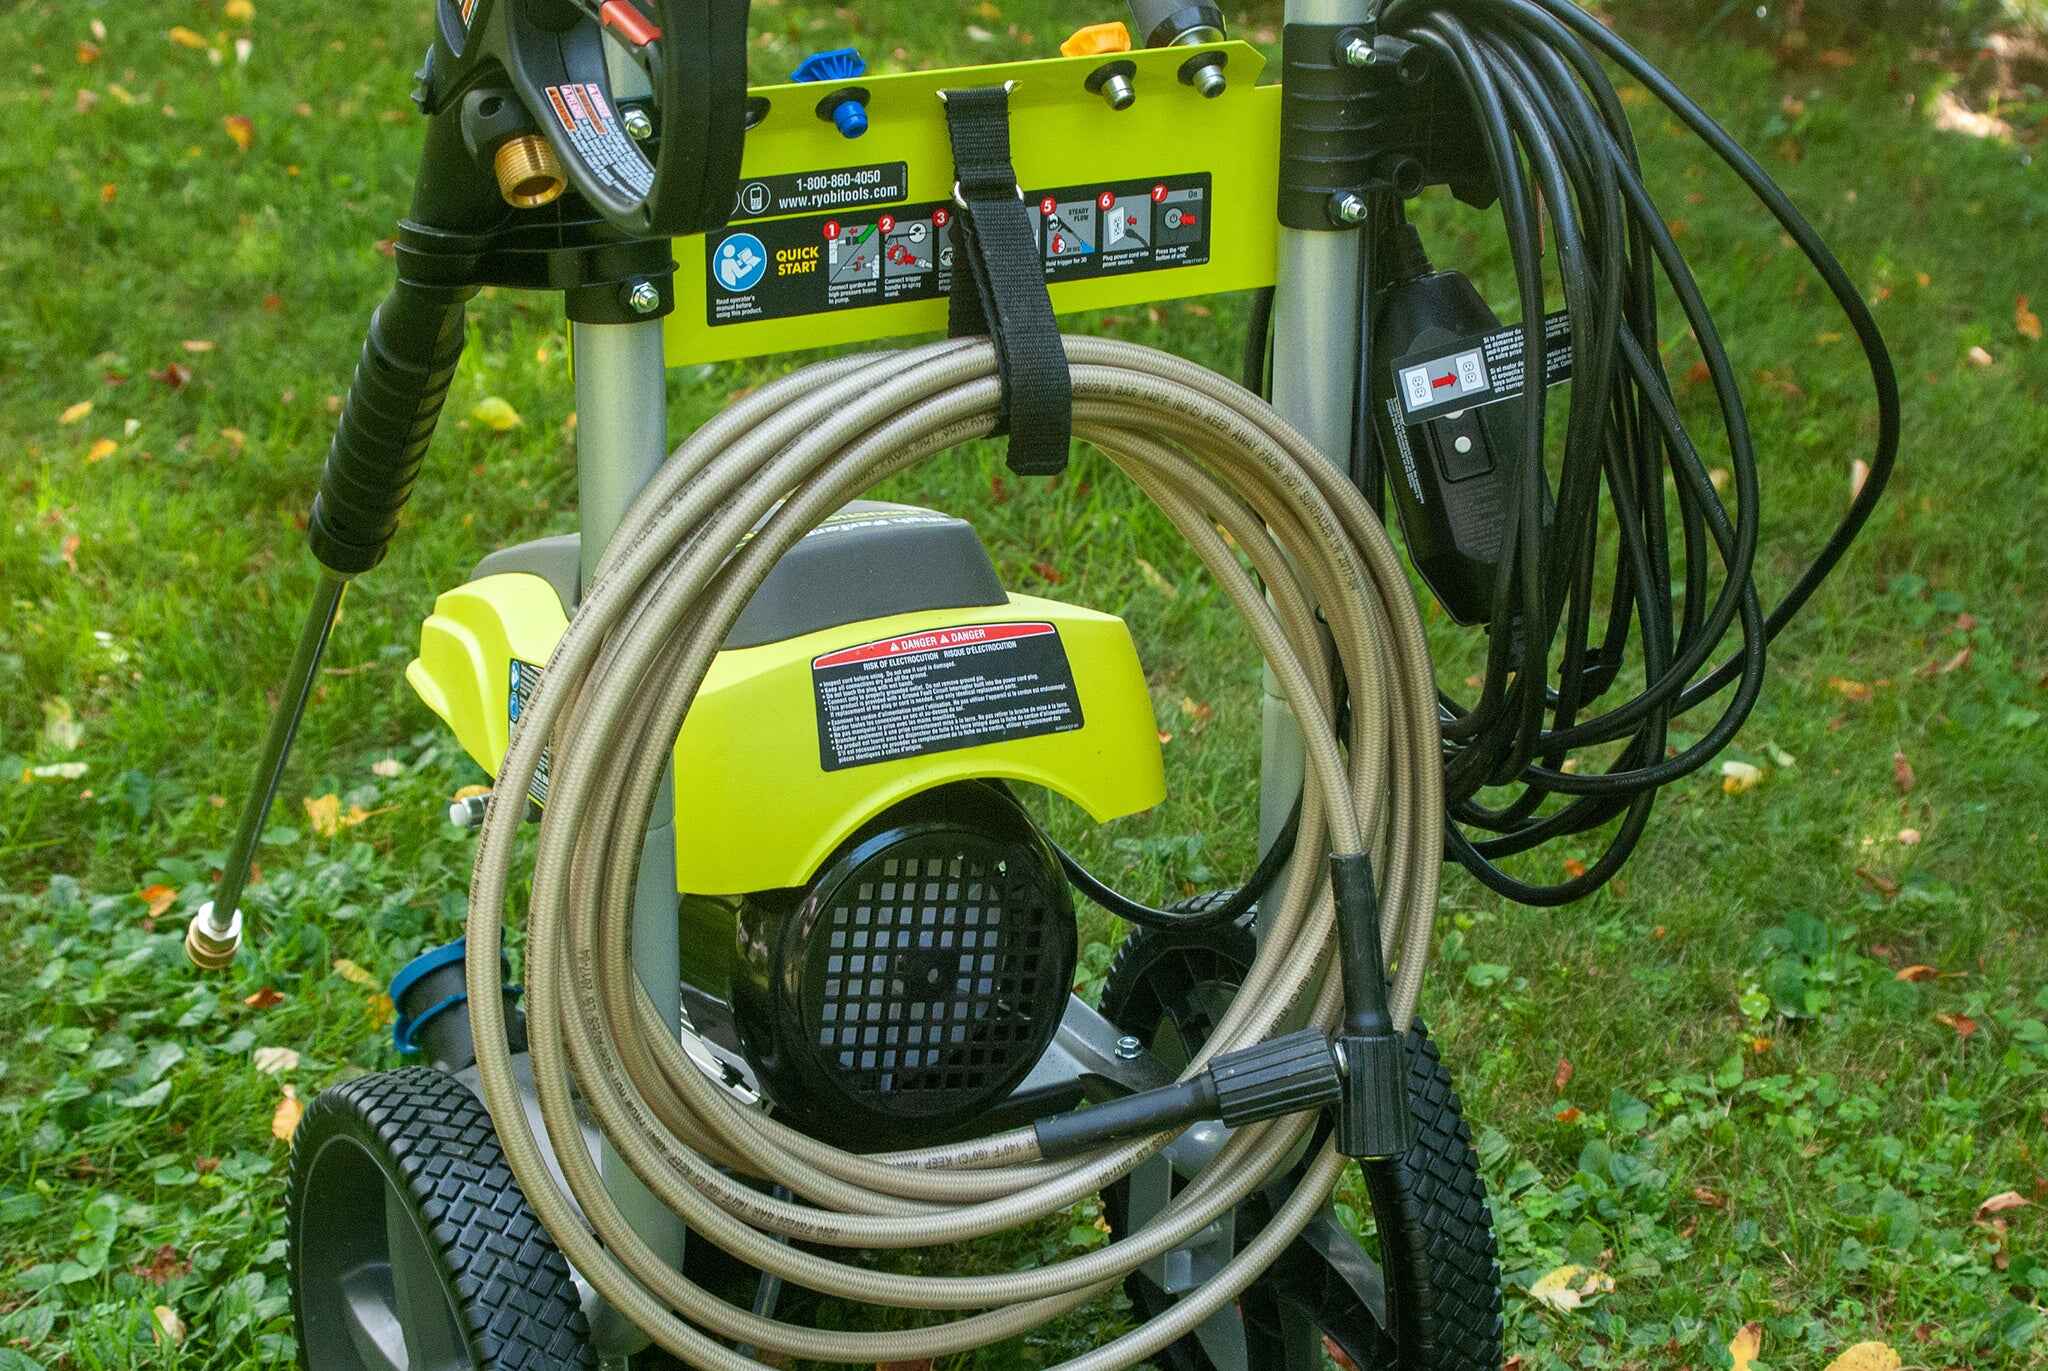
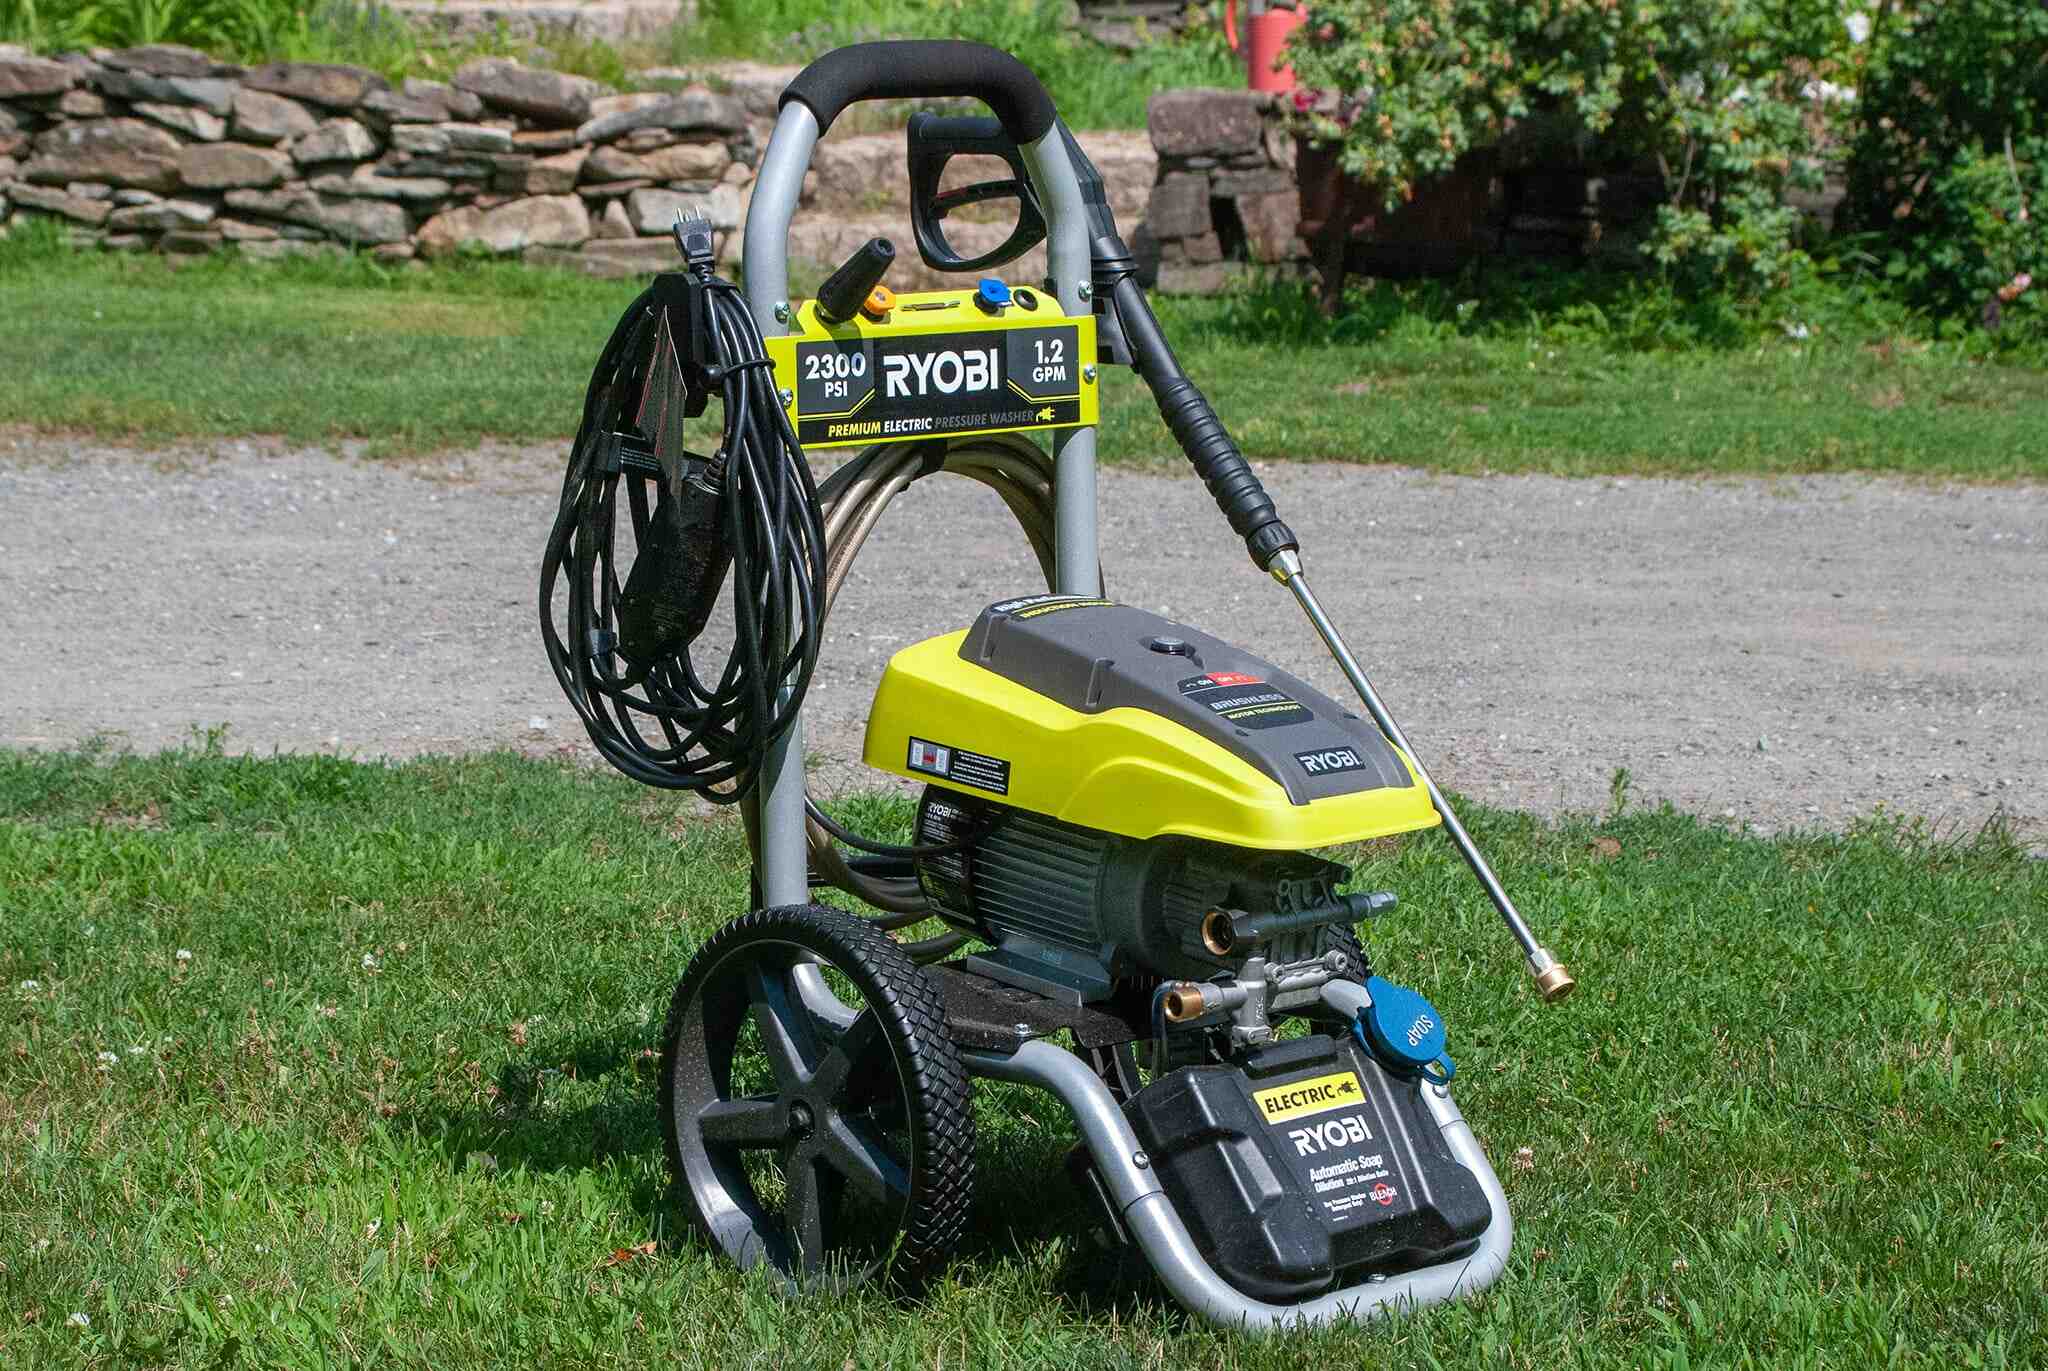
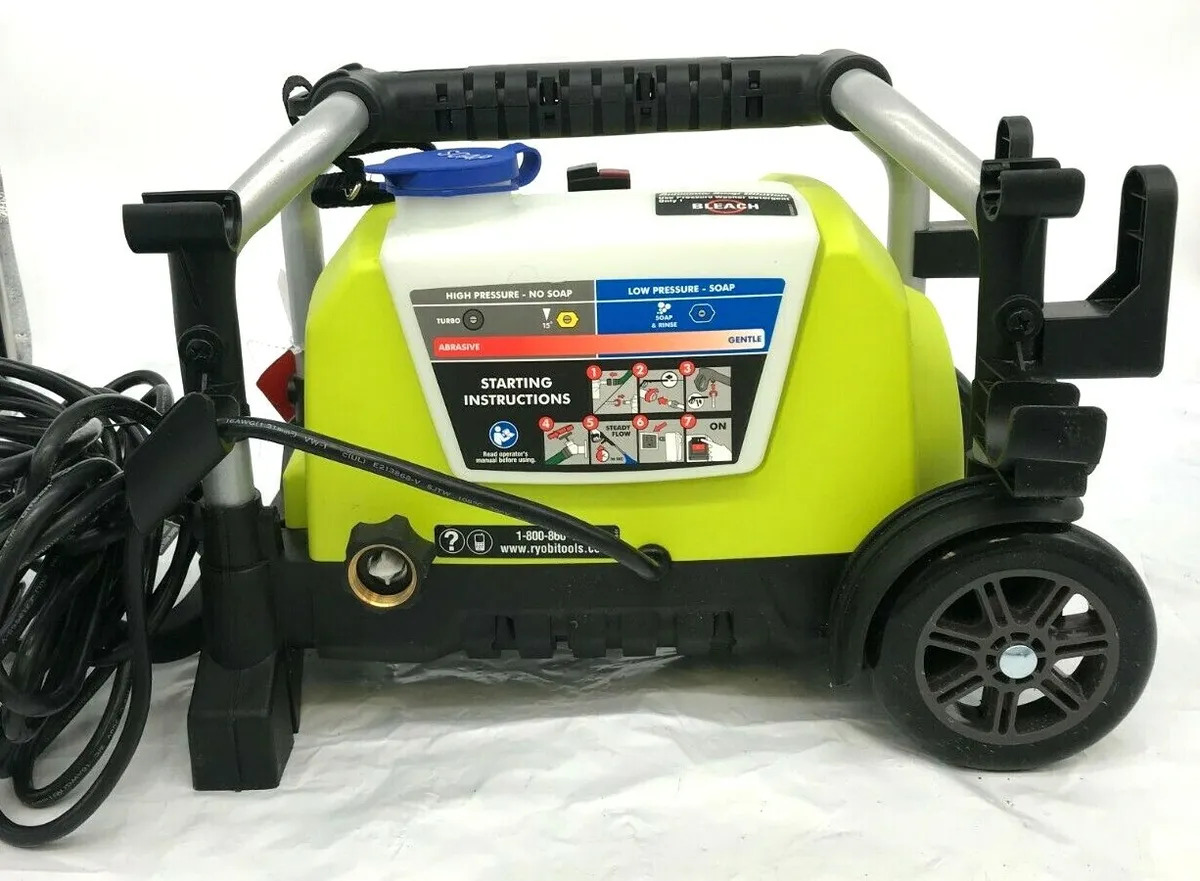
Depending on the model, the Ryobi Pressure Washer may come with various pressure settings that allow you to adjust the intensity of the water spray. These pressure settings are typically denoted by different colors or numerical values, indicating the level of pressure the machine is capable of producing.
Understanding the pressure rating of your Ryobi Pressure Washer is crucial as it determines the force with which water is expelled from the nozzle. Higher pressure settings are ideal for tackling tough stains and heavily soiled surfaces, while lower pressure settings are suitable for more delicate surfaces or when a gentler cleaning approach is required.
It’s important to note that adjusting the pressure on your Ryobi Pressure Washer may involve manipulating the engine speed or using a pressure control knob, depending on the specific model. Familiarize yourself with the user manual for your particular pressure washer model to determine the exact method of adjusting the pressure.
Now that we have a basic understanding of how the Ryobi Pressure Washer works, let’s explore the reasons why you might need to adjust the pressure settings.
Reasons to Adjust Pressure
There are several reasons why you may need to adjust the pressure on your Ryobi Pressure Washer. Understanding these reasons will help you determine when and why you should modify the pressure settings to achieve optimal cleaning results.
- Surface Sensitivity: Different surfaces and materials can have varying degrees of sensitivity to high-pressure water. Adjusting the pressure allows you to cater to the specific needs of the surface you are cleaning. For example, delicate surfaces like painted wood or vehicles require a lower pressure setting to avoid damage, while concrete or brick surfaces can handle higher pressure for more effective cleaning.
- Stain Removal: Stubborn stains, such as oil or grease, may require a higher pressure setting to effectively break down and remove them. By increasing the pressure, you can intensify the force of the water stream, facilitating the removal of tough stains and ingrained dirt.
- Efficiency vs. Water Conservation: In some cases, adjusting the pressure on your Ryobi Pressure Washer can help strike a balance between maintaining cleaning efficiency and conserving water. Lower pressure settings reduce water consumption while still providing sufficient cleaning power for tasks that don’t require maximum pressure.
- Spray Pattern Control: Adjusting the pressure also provides control over the spray pattern of the water stream. Higher pressure settings result in a narrower, more concentrated stream, while lower pressure settings create a wider spray pattern. Tailoring the spray pattern to the specific cleaning task can enhance accuracy and coverage.
By understanding the reasons to adjust the pressure on your Ryobi Pressure Washer, you can ensure that you make the necessary adjustments to achieve the best cleaning results while protecting surfaces and conserving water. However, it’s crucial to prioritize safety when working with high-pressure water. Let’s explore some essential safety precautions you need to follow.
Safety Precautions
Working with a Ryobi Pressure Washer involves handling high-pressure water, which requires strict adherence to safety precautions. By following these guidelines, you can protect yourself, others, and the surfaces you’re cleaning:
- Protective Gear: Always wear appropriate protective gear, including safety goggles, gloves, and non-slip footwear. This will ensure your eyes, hands, and feet are shielded from any potential hazards that may arise during the cleaning process.
- Secure Work Area: Before starting any cleaning job, ensure the work area is clear of obstacles, debris, and bystanders. Be mindful of surrounding structures, electrical outlets, and delicate items that may be damaged by the high-pressure water stream.
- Read the Manual: Familiarize yourself with the user manual provided by Ryobi for your specific model. Follow the manufacturer’s instructions regarding the operation, maintenance, and safety precautions for your pressure washer.
- Maintain Proper Distance: When operating the pressure washer, maintain a safe distance between the nozzle and the surface you’re cleaning. This will prevent accidental damage and ensure that the water stream is effectively removing dirt and grime without risking injury.
- Avoid Direct Contact: Never point the pressure washer nozzle at yourself or others. The high-pressure water can cause serious injury, including cuts and abrasions. Also, avoid pointing the nozzle at electrical outlets or components to prevent electrical shock.
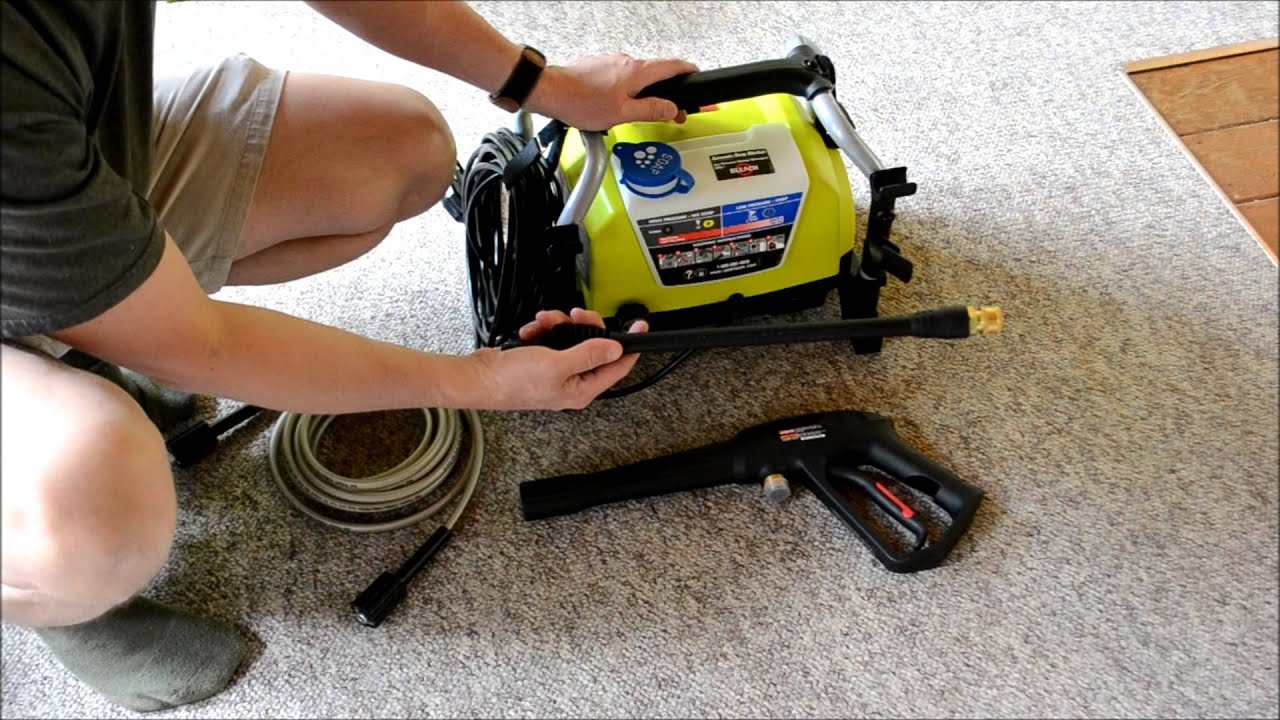
- Use the Right Nozzle: Different cleaning tasks require different nozzle types. Ensure you select the appropriate nozzle attachment for the specific cleaning job at hand. This will optimize the efficiency and effectiveness of the pressure washer while minimizing the risk of damage.
- Proper Ventilation: When operating your Ryobi Pressure Washer, make sure you are in a well-ventilated area to avoid inhaling any fumes or exhaust emitted by the machine. If the work area is confined, consider using a ventilation fan to promote proper airflow.
By adhering to these safety precautions, you can minimize the risk of accidents, injuries, or damage while using your Ryobi Pressure Washer. Now that we’ve covered the safety measures, let’s move on to the step-by-step process of adjusting the pressure settings.
To adjust the pressure on a Ryobi pressure washer, simply turn the pressure regulator knob clockwise to increase pressure or counterclockwise to decrease pressure. Always refer to the user manual for specific instructions.
Steps to Adjust Pressure
Adjusting the pressure on your Ryobi Pressure Washer is a straightforward process that can be accomplished by following these step-by-step instructions:
- Turn off the Pressure Washer: Before making any adjustments, ensure that the pressure washer is turned off and unplugged from the power source. This will prevent any accidents or unintended operation during the process.
- Locate the Pressure Adjustment Mechanism: Depending on the model of your Ryobi Pressure Washer, the pressure adjustment mechanism may vary. It could be a control knob, a lever, or a switch. Refer to your user manual to identify the specific location of the pressure adjustment mechanism.
- Adjust the Pressure Settings: Once you’ve located the pressure adjustment mechanism, follow the manufacturer’s instructions to increase or decrease the pressure according to your needs. Some models may require turning the control knob clockwise or counterclockwise, while others may involve flipping a switch or moving a lever to the desired position.
- Start the Pressure Washer: After making the necessary adjustments to the pressure settings, start the pressure washer following the manufacturer’s instructions. Ensure that all connections are secure and in good working condition.
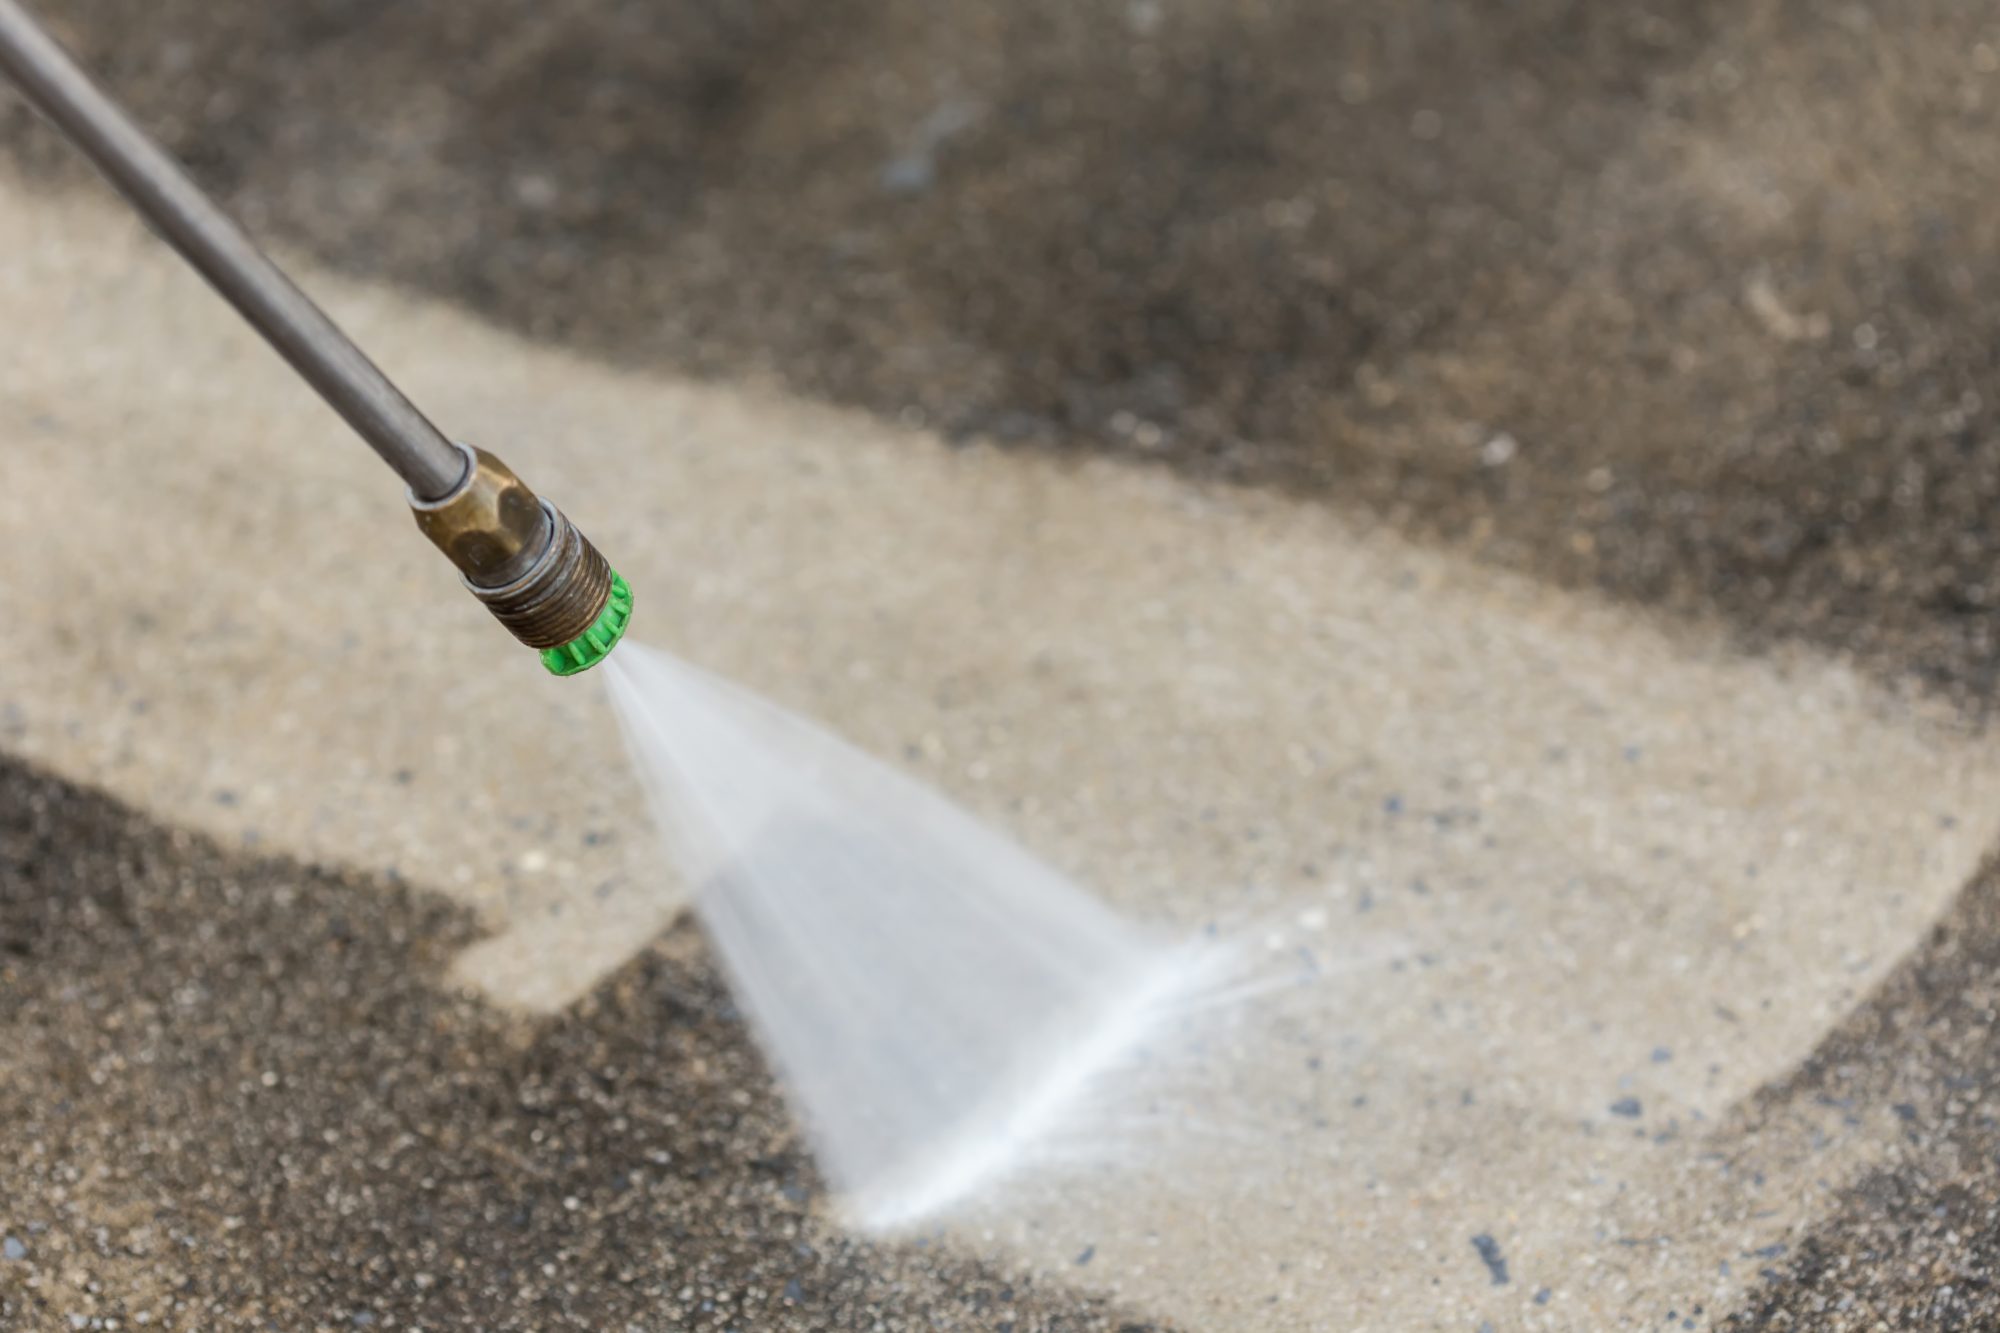
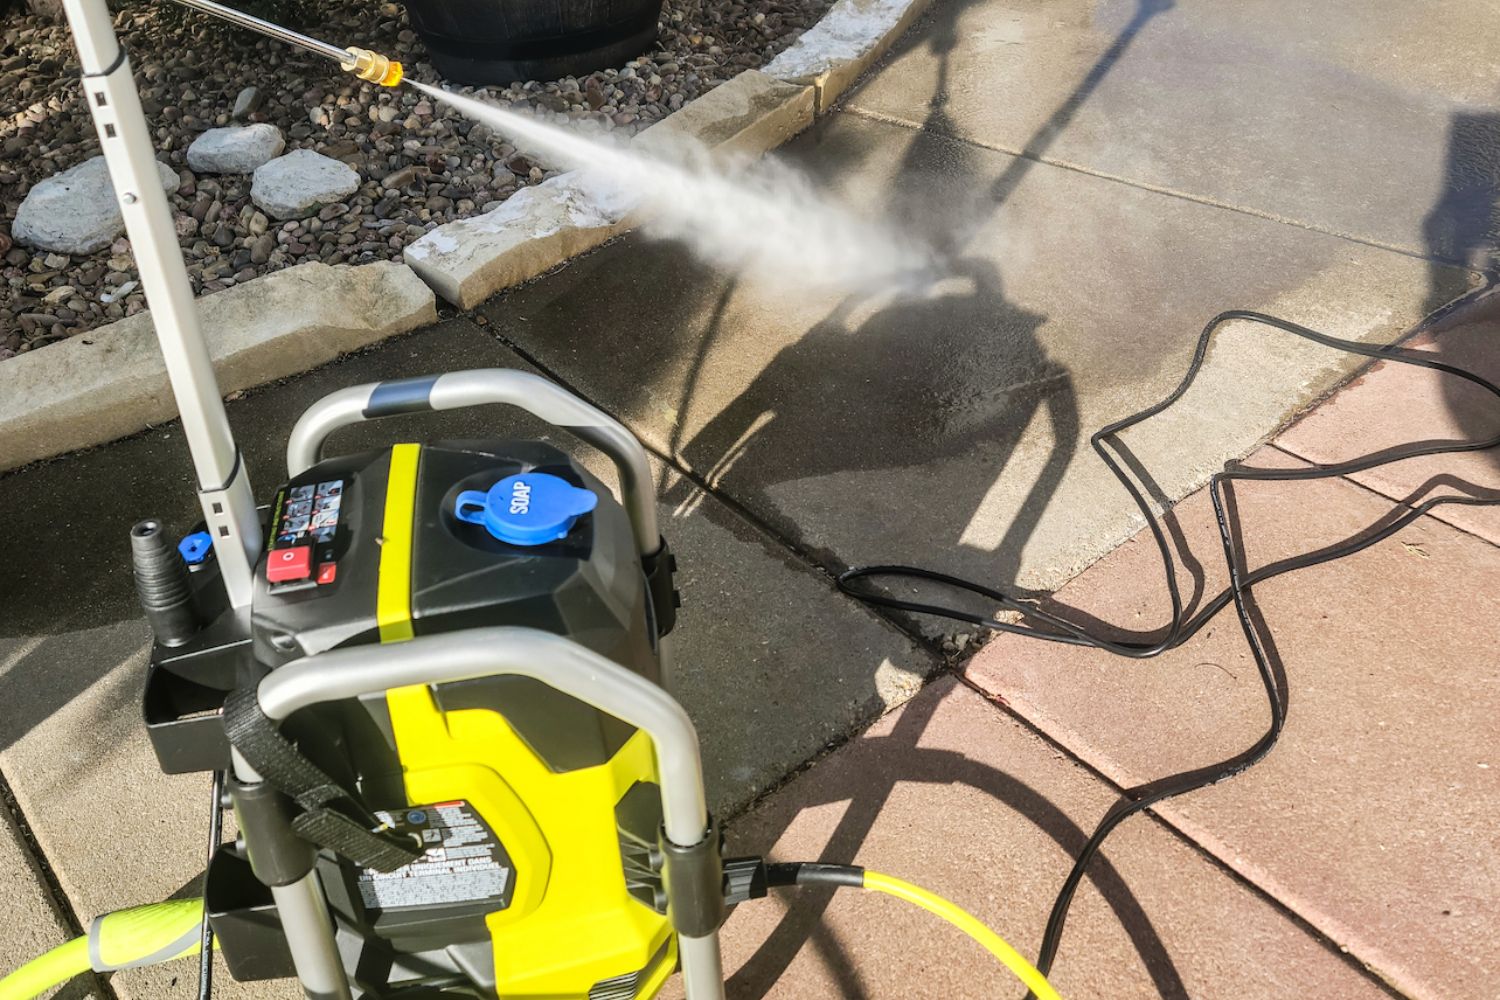
- Test the Pressure: With the pressure washer running, carefully aim the nozzle towards a suitable test surface, such as a concrete area or a section of your driveway. Start with a low pressure setting and gradually increase if necessary. Observe the intensity of the water stream and make further adjustments as needed.
- Monitor Performance: As you test the pressure on different surfaces, monitor the performance of the pressure washer. Ensure that it is effectively removing dirt, grime, and stains without causing damage or excessive overspray. Adjust the pressure settings further if required.
It’s important to note that the method of adjusting the pressure may vary depending on your specific Ryobi Pressure Washer model. Always refer to the user manual provided by the manufacturer for detailed instructions tailored to your equipment.
Once you have successfully adjusted the pressure settings, it’s essential to test the adjusted pressure to ensure it meets your cleaning requirements. Let’s explore how to test the pressure in the next section.
Read more: How To Use Ryobi Pressure Washer
Testing the Adjusted Pressure
After adjusting the pressure settings on your Ryobi Pressure Washer, it is crucial to test the adjusted pressure to ensure it produces the desired cleaning results. Testing the pressure allows you to confirm that the water stream’s intensity and coverage meet your specific cleaning needs. Follow these steps to test the adjusted pressure:
- Select a Test Surface: Choose a suitable test surface to evaluate the pressure of your pressure washer. This can be an area of concrete, a section of your driveway, or any other surface that can tolerate high-pressure water without being damaged.
- Position the Nozzle: Hold the nozzle of the pressure washer at a distance of about one to two feet from the test surface. Ensure that the nozzle is at a perpendicular angle to the surface for optimal performance.
- Spray the Test Surface: Start the pressure washer and spray the test surface with the adjusted pressure. Pay attention to the intensity of the water stream and the coverage it provides. Observe if the pressure is sufficient to remove dirt, grime, or stains effectively.
- Inspect the Results: Evaluate the cleaning results on the test surface. If the pressure appears too low, you may need to adjust it to a higher setting to achieve better cleaning performance. Conversely, if the pressure is too high and causing unwanted damage or overspray, adjust it to a lower setting.
- Make Further Adjustments, if Needed: Based on the test results, you can fine-tune the pressure settings to strike the right balance between cleaning power and surface protection. Gradually increase or decrease the pressure until you achieve optimal cleaning results.
Keep in mind that the ideal pressure setting will depend on the specific cleaning task and the surface being cleaned. It may require some trial and error to determine the best pressure setting for each situation.
By testing the adjusted pressure, you can ensure that your Ryobi Pressure Washer delivers the desired cleaning performance while protecting delicate surfaces from potential damage. However, if you encounter any issues or challenges during the adjustment process, don’t worry. Let’s explore some troubleshooting tips to help you overcome common problems.
Troubleshooting Tips
While adjusting the pressure on your Ryobi Pressure Washer, you may encounter some common issues or challenges. Here are a few troubleshooting tips to help you overcome these problems:
- Insufficient Cleaning Power: If the pressure seems too low even after adjusting the settings, check the following:
- Ensure that the water supply is sufficient and the hose is not kinked or blocked.
- Inspect the nozzle for any clogs or debris that may be obstructing the flow of water. Clean or replace the nozzle if necessary.
- Verify that the pressure adjustment mechanism is correctly set to the desired pressure.
- Excessive Overspray or Damage: If the pressure is too high and causing overspray or damage to the surface, try the following:
- Adjust the pressure settings to a lower setting and test again on a small area.
- Increase the distance between the nozzle and the surface to reduce the impact of the water stream.
- Consider using a nozzle attachment with a wider spray pattern to distribute the pressure more evenly.
- Unstable Pressure: If the pressure fluctuates or becomes unstable, consider the following:
- Check for any air leaks in the hose or fittings. Tighten or replace any loose or damaged components.
- Inspect the water inlet filter for any debris or blockages. Clean or replace the filter if necessary.
- Ensure that the water supply is consistent and free from any interruptions or fluctuations.
- Unusual Vibrations or Noises: If you notice unusual vibrations or noises coming from your pressure washer, take the following steps:
- Inspect the engine or motor for any loose or damaged parts. Tighten or replace as needed.
- Check the oil level and ensure it is at the appropriate level. Add or replace oil if necessary.
- Clean the pump and check for any debris or blockages that may be affecting its performance.
If these troubleshooting tips do not resolve the issues, refer to the user manual or contact Ryobi’s customer support for further assistance. They will have the expertise to guide you through specific troubleshooting processes for your particular model.
Knowing how to troubleshoot common problems will help you make the necessary adjustments and get your Ryobi Pressure Washer up and running smoothly. Now, let’s summarize what we’ve covered in this article.
Conclusion
Adjusting the pressure on your Ryobi Pressure Washer allows you to optimize its performance for a variety of cleaning tasks. By understanding the different components of your pressure washer, the reasons for adjusting pressure, and following the necessary safety precautions, you can confidently make the necessary adjustments to achieve the best cleaning results.
Throughout this article, we’ve discussed the importance of adjusting the pressure settings based on surface sensitivity, stain removal requirements, efficiency, and spray pattern control. We’ve also highlighted the crucial safety precautions to follow when working with high-pressure water.
The step-by-step instructions provided in this article have guided you on how to adjust the pressure settings of your Ryobi Pressure Washer. By properly testing the adjusted pressure and making necessary modifications, you can ensure that the water stream’s intensity and coverage meet your specific cleaning needs.
If you encounter any issues or challenges during the adjustment process, the troubleshooting tips provided will help you overcome common problems and get your pressure washer back into optimal working condition.
Remember, always refer to the user manual provided by the manufacturer for your specific model’s instructions and guidelines.
Now that you have a comprehensive understanding of how to adjust the pressure on your Ryobi Pressure Washer, you can confidently tackle any cleaning task with precision and efficiency. Enjoy the power and versatility of your pressure washer as you keep your outdoor spaces looking clean and pristine!
Now that you've mastered adjusting pressure on your Ryobi pressure washer, why stop there? Home upkeep extends beyond just keeping surfaces clean; it's about ensuring everything around your residence remains in top shape. Dive into our next guide on necessary home maintenance tasks. This comprehensive piece will equip you with all the know-how needed to keep your living space functional and fabulous year-round.
Frequently Asked Questions about How To Adjust Pressure On Ryobi Pressure Washer
Was this page helpful?
At Storables.com, we guarantee accurate and reliable information. Our content, validated by Expert Board Contributors, is crafted following stringent Editorial Policies. We're committed to providing you with well-researched, expert-backed insights for all your informational needs.

0 thoughts on “How To Adjust Pressure On Ryobi Pressure Washer”