Articles
How To Attach Privacy Screen To Fence
Modified: August 27, 2024
Learn how to attach a privacy screen to your fence with these helpful articles. Get step-by-step instructions and tips to enhance your outdoor space.
(Many of the links in this article redirect to a specific reviewed product. Your purchase of these products through affiliate links helps to generate commission for Storables.com, at no extra cost. Learn more)
Introduction
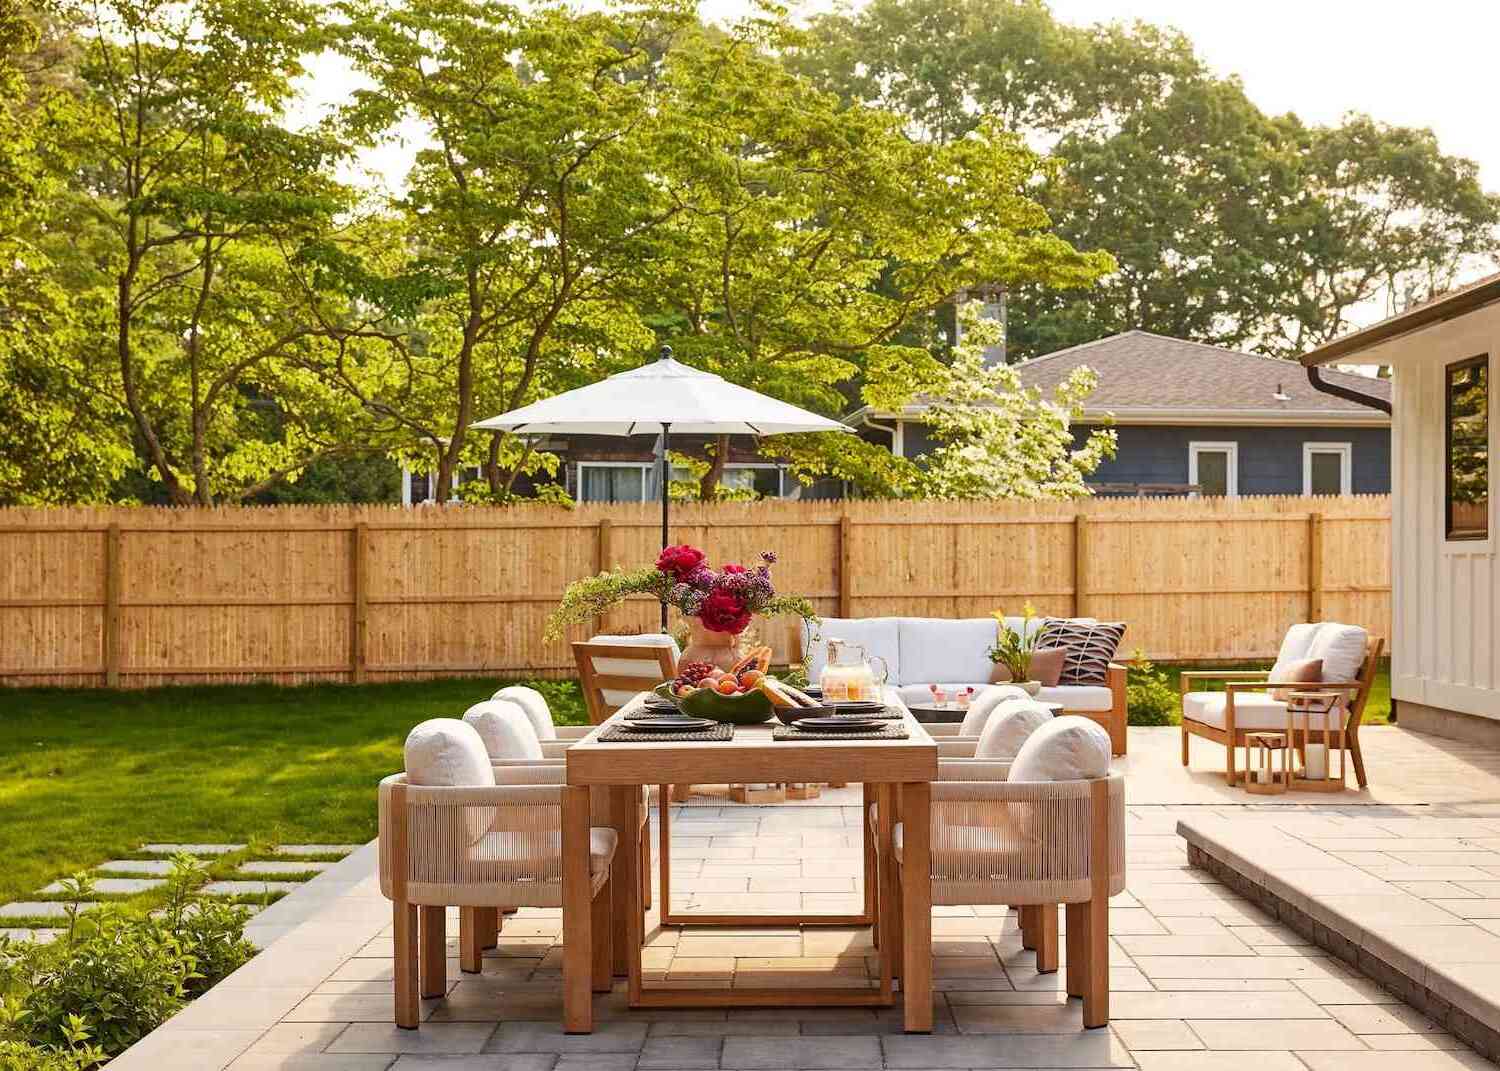
Welcome to our guide on how to attach a privacy screen to a fence. If you’re looking to add some extra privacy to your outdoor space, a privacy screen is a great solution. Whether you want to block out nosy neighbors, create a secluded area to relax and unwind, or simply add a touch of style to your backyard, attaching a privacy screen to your fence can provide the perfect solution.
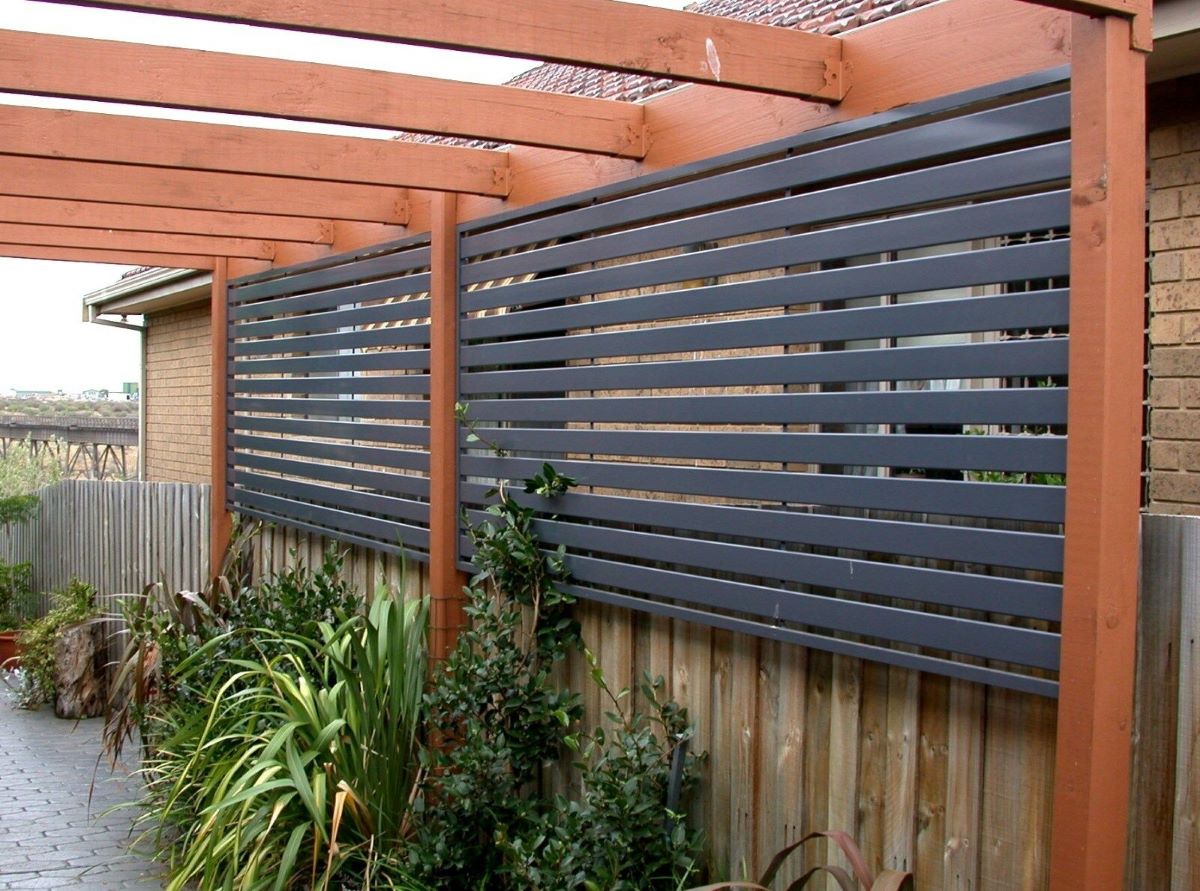
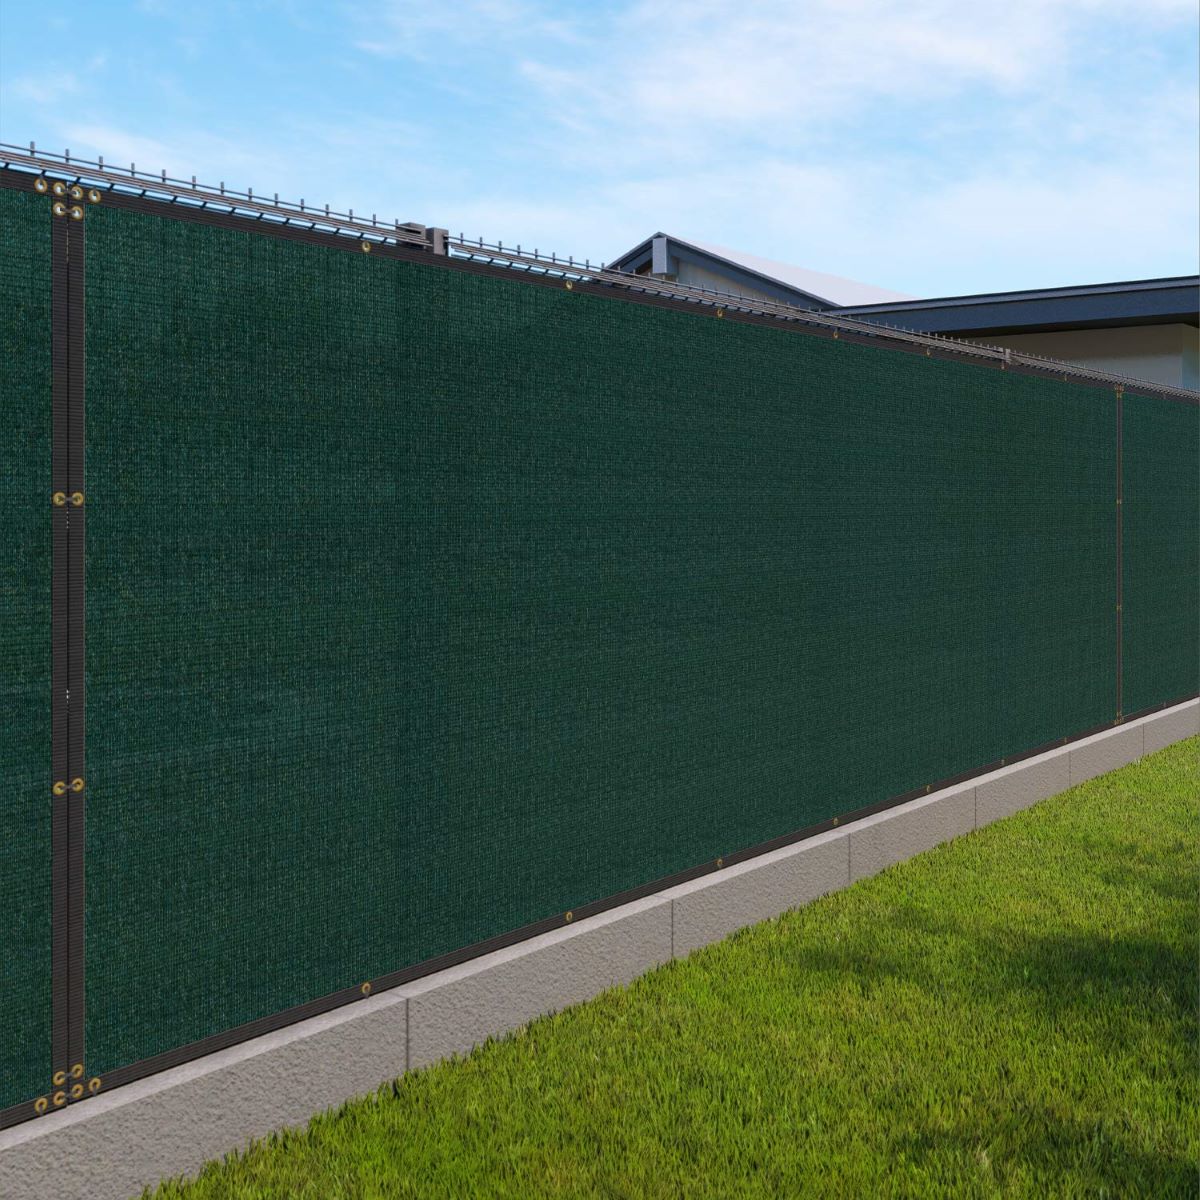
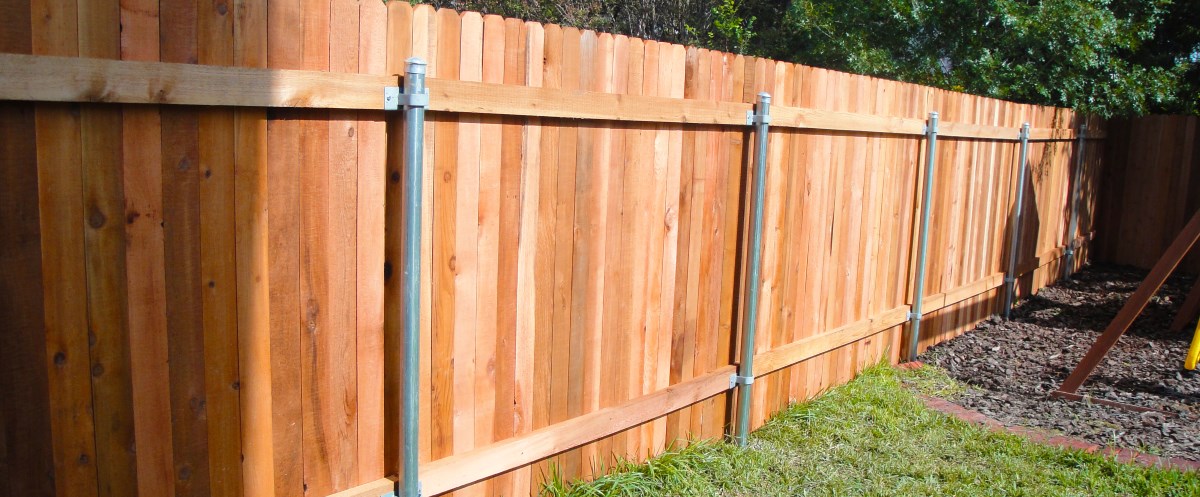
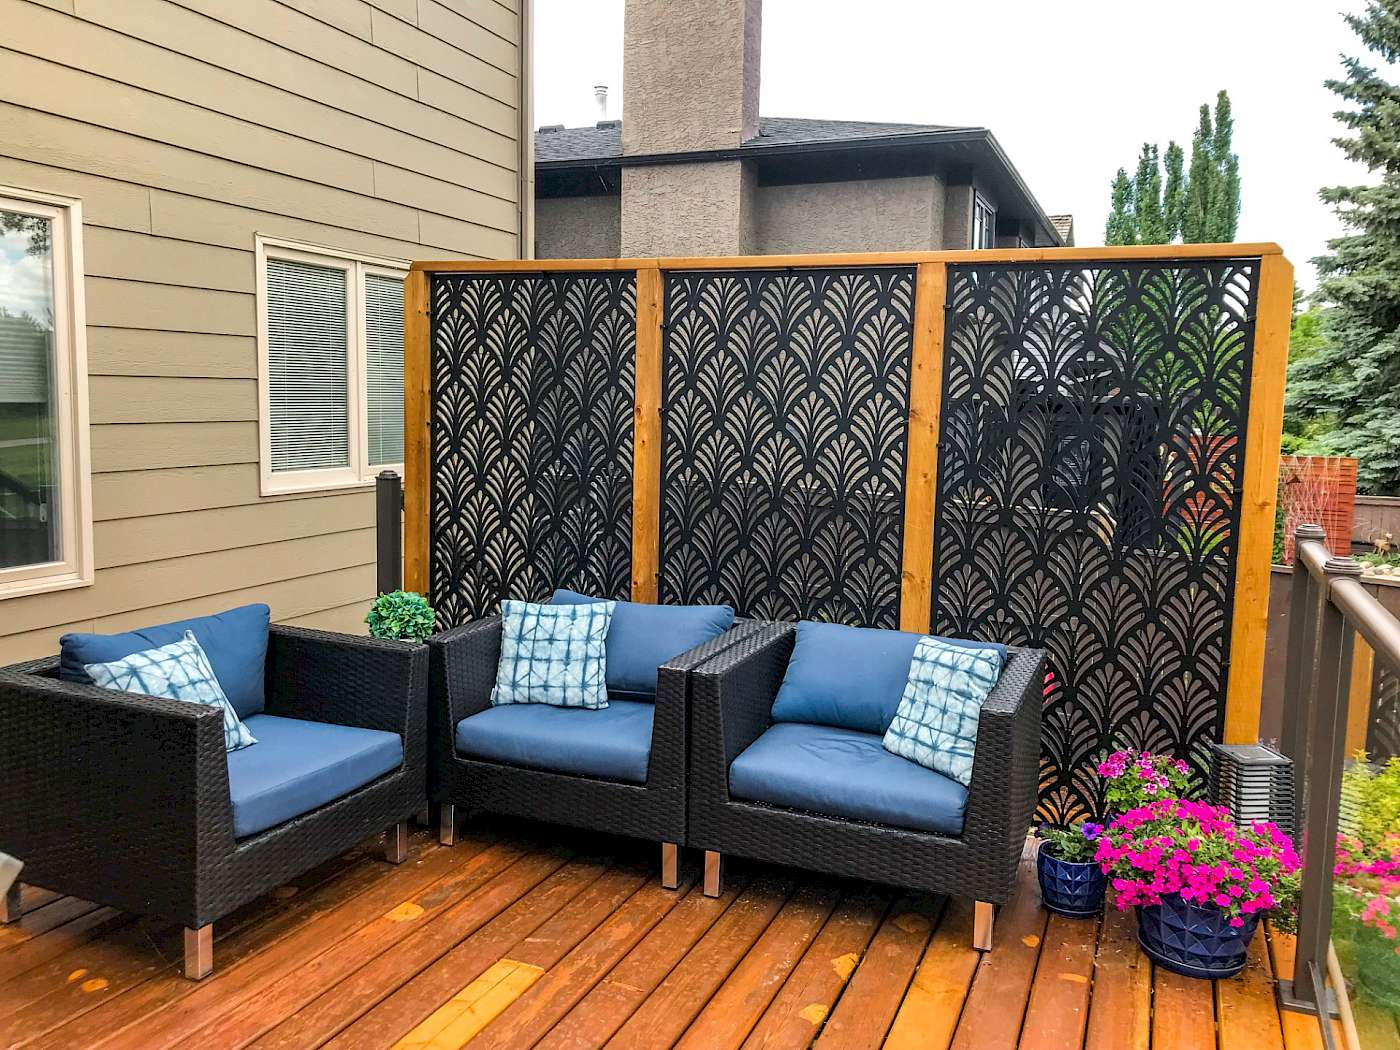
Privacy screens come in a variety of materials, styles, and sizes, making it easy to find one that suits your needs and complements your existing fence. They can be made from materials like wood, metal, or vinyl, and can be designed to provide full or partial coverage.
In this guide, we will walk you through the steps to attach a privacy screen to your fence. We’ll discuss the materials you’ll need, as well as the step-by-step process. So, let’s dive in and get started!
Key Takeaways:
- Enhance Your Outdoor Privacy
Learn how to attach a privacy screen to your fence using simple materials and steps. Create a secluded oasis and add style to your backyard with this easy DIY project. - Personalize Your Outdoor Space
Customize your privacy screen with paint, decorative elements, and climbing supports. Transform your outdoor area into a private and stylish retreat with these finishing touches.
Read more: How To Decorate A Privacy Fence
Materials Needed
Before you begin attaching a privacy screen to your fence, it’s important to gather all the necessary materials. Here’s a list of what you’ll need:
- A privacy screen: Choose a privacy screen that suits your preferences and needs. These screens typically come in different sizes and materials, such as wood, metal, or vinyl. Select one that complements your existing fence and provides the desired level of privacy.
- Measuring tape: To ensure accurate measurements, you’ll need a measuring tape. This will help you determine the dimensions of your privacy screen and the areas where it needs to be attached to the fence.
- Screws or nails: Depending on the type of privacy screen you have and the material of your fence, you’ll need screws or nails to secure the screen in place. Make sure to choose ones that are suitable for outdoor use and that will securely fasten the privacy screen to the fence.
- Drill or hammer: If you’re using screws, you’ll need a drill to create pilot holes in the fence for easy screw insertion. If you’re using nails, a hammer will do the job.
- Level: A level is essential to ensure that the privacy screen is straight and properly aligned on the fence. This will prevent any tilting or unevenness.
- Paint or stain (optional): If you want to customize the appearance of your privacy screen, you may choose to paint or stain it. Select a paint or stain that is suitable for outdoor use and matches your desired aesthetic.
- Paintbrush or roller (optional): If you decide to paint or stain your privacy screen, you’ll need a paintbrush or roller to apply the paint or stain evenly.
- Protective gear: It’s important to prioritize safety when working with tools and materials. Wear protective gear such as gloves and safety glasses to protect yourself from any potential hazards.
Once you have gathered all these materials, you’ll be ready to move on to the next steps of attaching the privacy screen to your fence.
Step 1: Measure and Prepare
The first step in attaching a privacy screen to your fence is to measure the area where you want to install it and prepare the fence for installation. Here’s a breakdown of the process:
- Measure the area: Use a measuring tape to determine the dimensions of the section of the fence where you plan to attach the privacy screen. Measure both the height and width of the area, as this will help you choose the right size of privacy screen.
- Clean the fence: Before attaching the privacy screen, make sure the fence is clean and free from any dirt, debris, or loose paint. This will ensure that the privacy screen adheres properly to the surface. Use a brush or a power washer to clean the fence thoroughly.
- Prep the privacy screen: If your privacy screen requires any additional preparation, such as painting or staining, now is the time to do it. Follow the manufacturer’s instructions for applying paint or stain, and allow sufficient drying time before proceeding with the installation.
By taking accurate measurements and preparing both the fence and privacy screen, you’ll ensure a smooth and successful installation process. This step is crucial in ensuring that the privacy screen fits properly and enhances the overall look of your fence.
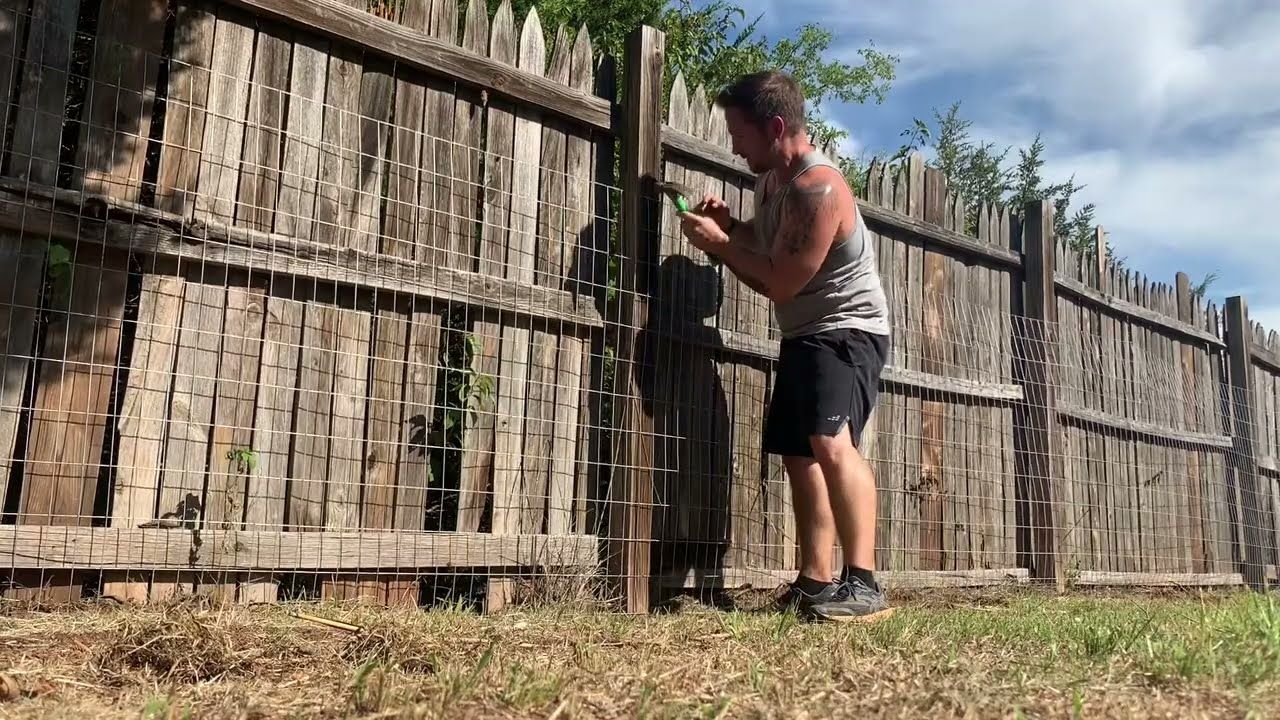
Step 2: Attach the Privacy Screen
Now that you have measured the area and prepared the fence, it’s time to attach the privacy screen. Follow these steps to securely install the screen:
- Position the screen: Place the privacy screen against the fence in the desired location. Ensure that it is aligned with the top and sides of the fence.
- Mark the attachment points: Use a pencil or marker to mark where the privacy screen will be attached to the fence. Make small dots or lines along the top, bottom, and sides of the screen to indicate the attachment points.
- Create pilot holes: If you’re using screws to attach the privacy screen, use a drill with the appropriate bit size to create pilot holes at the marked attachment points. This will prevent the wood from splitting when inserting the screws.
- Align the screen: Once the pilot holes are created, align the privacy screen with the marked attachment points and hold it firmly against the fence.
- Drive in the screws: Insert screws through the pilot holes and into the fence using a drill. Make sure to tighten the screws securely, but be careful not to overtighten, as this may damage the privacy screen or the fence.
- Repeat the process: Repeat the above steps for each attachment point, ensuring that the privacy screen remains straight and level throughout the installation process.
By following these steps carefully, you will be able to securely attach the privacy screen to your fence. This step is essential in ensuring that the privacy screen stays in place and provides the desired level of privacy.
Use zip ties to attach the privacy screen to the fence. Start at the top and work your way down, securing the screen at regular intervals for a secure and even attachment.
Step 3: Secure the Privacy Screen to the Fence
Once the privacy screen is attached to the fence, it’s important to ensure that it is securely fastened. This step will help prevent the screen from coming loose or being damaged by strong winds or heavy rain. Here’s how to secure the privacy screen:
- Inspect the attachment points: Before proceeding, double-check all the screws or nails that were used to attach the privacy screen. Ensure that they are tightened and secure.
- Add additional screws or nails (if needed): If you notice any areas where the privacy screen feels loose or wobbly, add additional screws or nails to reinforce the attachment. This will provide extra stability and prevent the screen from shifting.
- Check for any gaps or openings: While the privacy screen is in place, inspect it for any gaps or openings between the screen and the fence. These gaps can compromise privacy and allow unwanted visibility into your space. If you notice any gaps, adjust the screen or add additional screws or nails to close them.
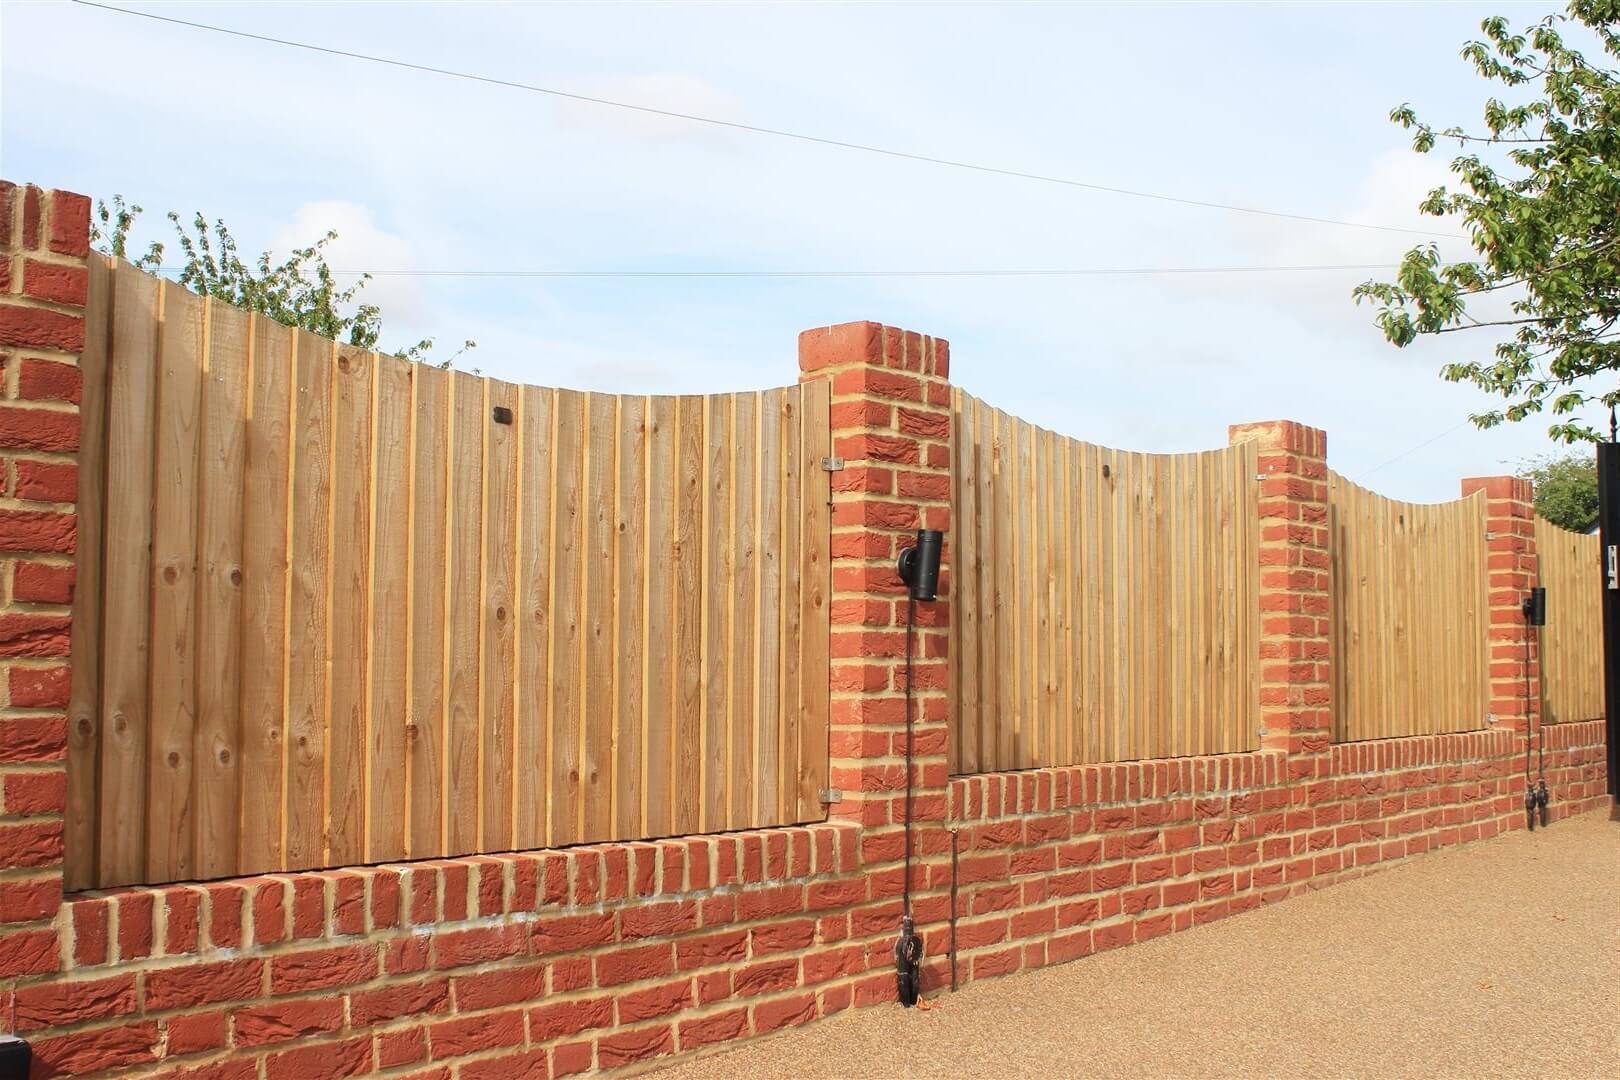
- Trim or adjust the screen (if necessary): Depending on the size and shape of your fence, you may need to trim or adjust the privacy screen to ensure a perfect fit. Use a saw or appropriate cutting tool to make any necessary changes, being careful to maintain a neat and even edge.
- Test the screen’s stability: Give the privacy screen a gentle shake to test its stability. If it feels secure and doesn’t move significantly, it is properly attached. If it feels loose or unstable, go back and reinforce the attachment points as needed.
By following these steps, you’ll ensure that your privacy screen is securely fastened to the fence, providing the desired level of privacy and protection. Regularly check the attachment points and make any necessary adjustments to maintain the screen’s stability over time.
Read more: How To Install Privacy Fence
Step 4: Finishing Touches
Once you have securely attached the privacy screen to your fence, it’s time to add some finishing touches to enhance the overall look and functionality. These final touches will help ensure that the privacy screen seamlessly blends in with your outdoor space. Here are some things you can do:
- Paint or stain the privacy screen (optional): If you haven’t already done so, you can paint or stain the privacy screen to match your desired aesthetic. Choose a color or finish that complements your existing fence or outdoor decor. Apply the paint or stain evenly using a paintbrush or roller, and allow sufficient drying time as per the manufacturer’s instructions.
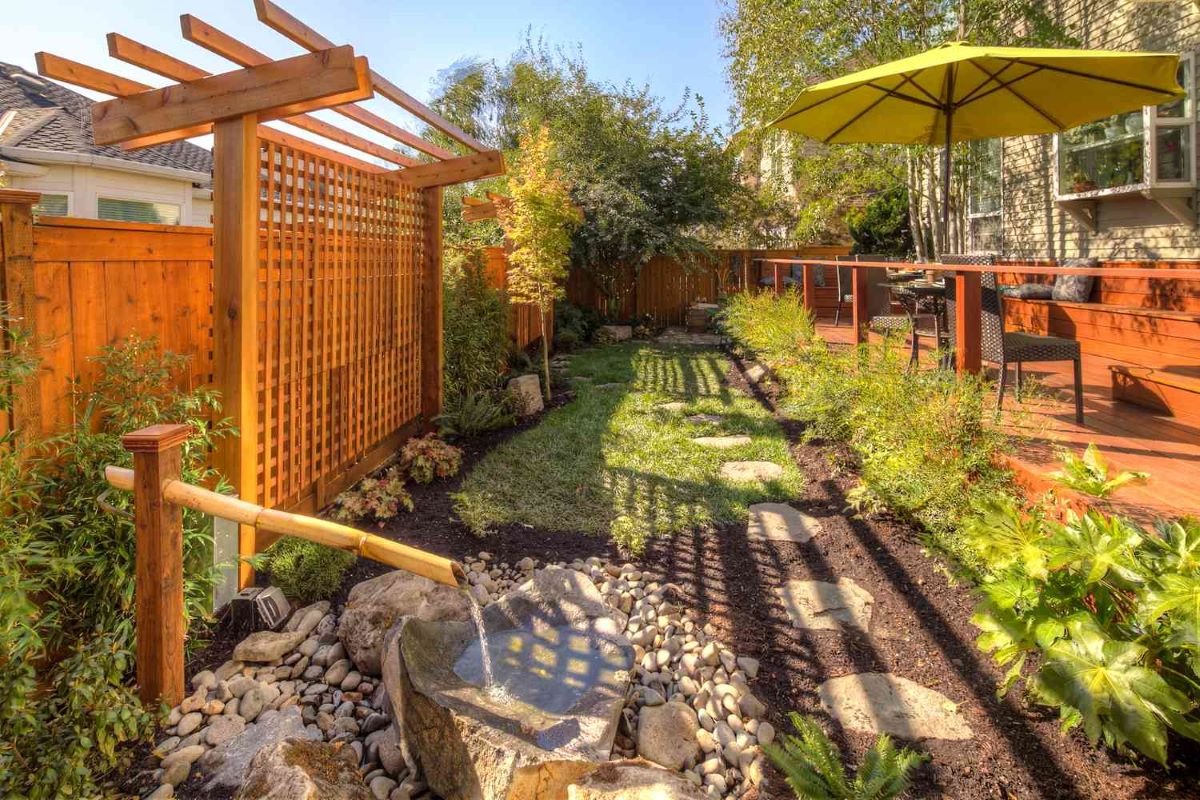
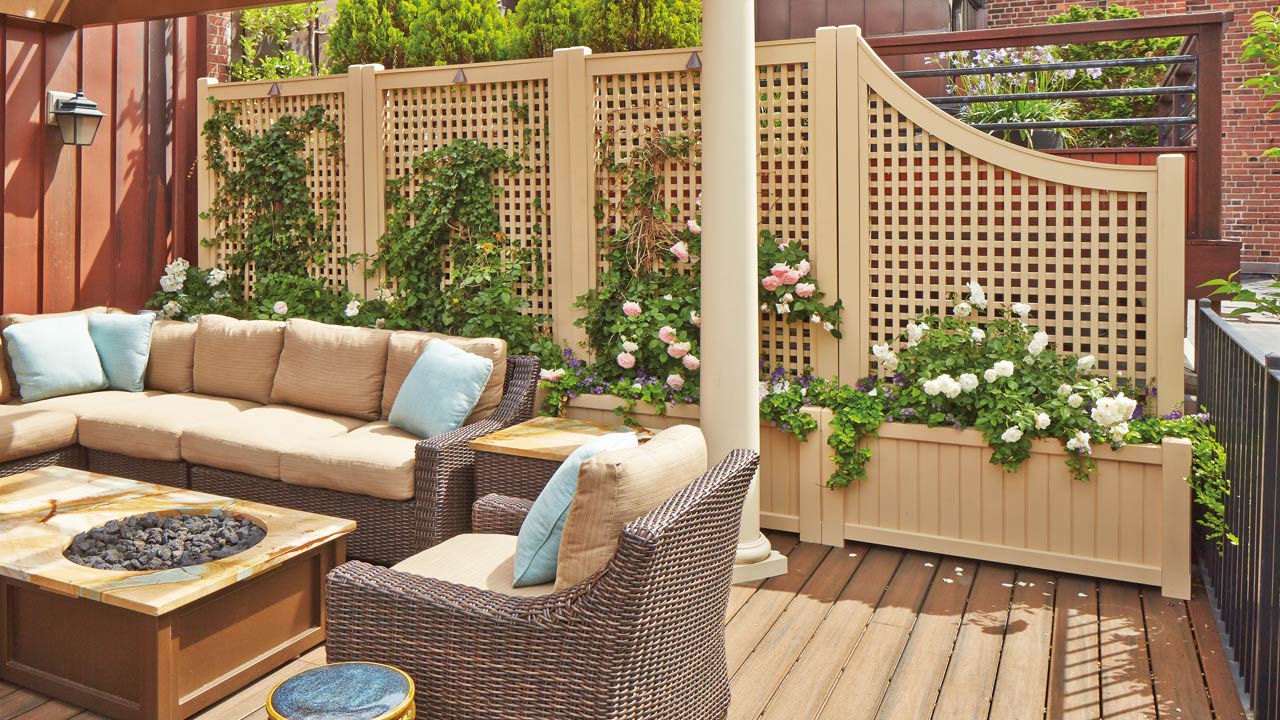
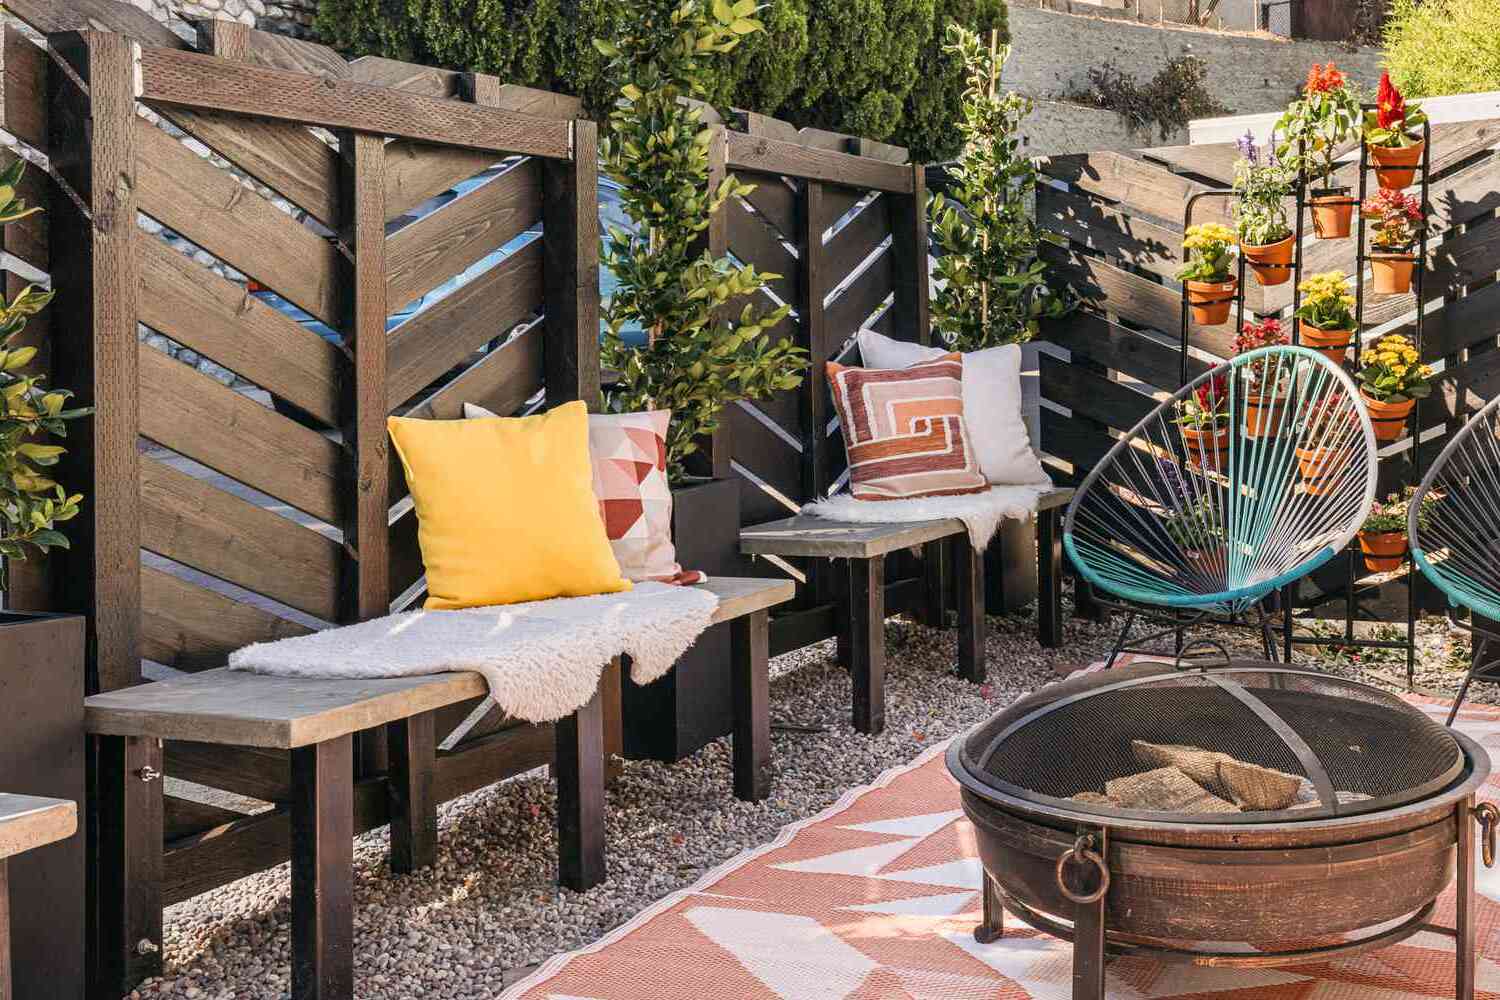
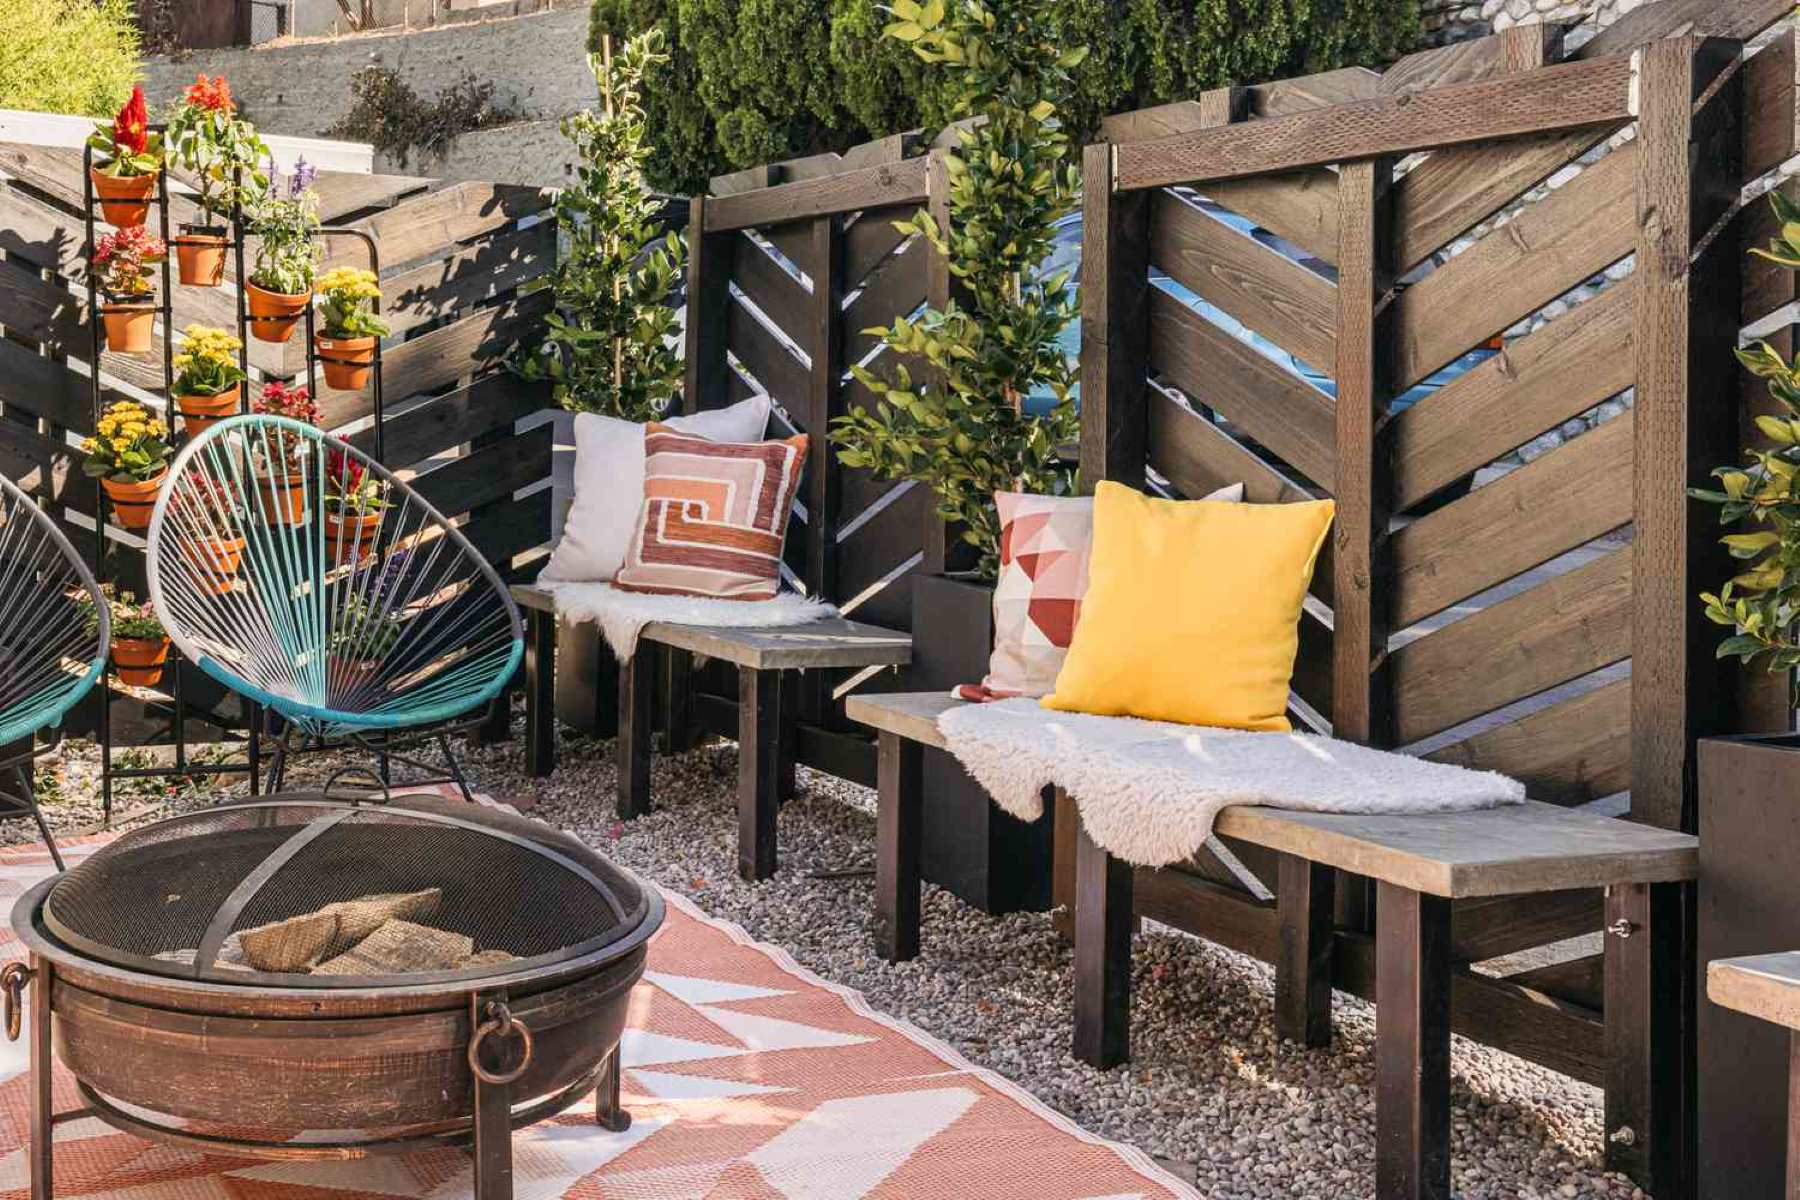
- Add decorative elements: To further enhance the appearance of the privacy screen, consider adding decorative elements. You can attach hooks or brackets to hang potted plants, string lights, or other decorative items. These additions will not only provide visual interest but also create a cozy and inviting atmosphere in your outdoor space.
- Create a climbing support: If your privacy screen is made of a material like wood or lattice, you can encourage vertical growth by adding a climbing support. Install trellis panels or attach wire mesh to the screen, which will provide a framework for climbing plants such as ivy or jasmine. This will add a natural and vibrant element to your privacy screen.
- Maintain the privacy screen: To ensure the longevity of your privacy screen, it’s important to properly maintain it. Regularly clean the screen to remove any dirt or debris, and periodically inspect the attachment points for any signs of damage. If you notice any loose screws or nails, tighten or replace them as needed.
By adding these finishing touches, you’ll elevate the look and functionality of your privacy screen. These small enhancements can make a big difference in transforming your outdoor space into a private and stylish oasis.
ConclusionAttaching a privacy screen to your fence is a fantastic way to enhance privacy, add style, and create a more intimate outdoor space. By following the steps outlined in this guide, you can easily and securely install a privacy screen to your fence. Remember to gather all the necessary materials, measure and prepare the area, attach the screen using screws or nails, and ensure its stability and security.
Furthermore, don’t forget to add the finishing touches that will truly transform your privacy screen. Paint or stain the screen to match your aesthetic preferences, incorporate decorative elements, and consider creating a climbing support for plants. Regular maintenance will also ensure that your privacy screen remains in top shape for years to come.
Whether you’re seeking solitude in a bustling neighborhood or you simply want to create a cozy and secluded outdoor space, a privacy screen can meet your needs. It provides an effective solution for blocking unwanted views, reducing noise, and adding visual appeal to your outdoor area.
So, why wait? Start gathering the materials needed and follow the step-by-step instructions in this guide to attach a privacy screen to your fence. With just a little effort, you can transform your outdoor space into a haven of privacy and relaxation.
Frequently Asked Questions about How To Attach Privacy Screen To Fence
Was this page helpful?
At Storables.com, we guarantee accurate and reliable information. Our content, validated by Expert Board Contributors, is crafted following stringent Editorial Policies. We're committed to providing you with well-researched, expert-backed insights for all your informational needs.
0 thoughts on “How To Attach Privacy Screen To Fence”