
Articles
How To Attach Wire Fence To Wood Post
Modified: December 7, 2023
Learn how to attach a wire fence to a wood post with our informative articles. Discover step-by-step instructions and helpful tips for a secure installation.
(Many of the links in this article redirect to a specific reviewed product. Your purchase of these products through affiliate links helps to generate commission for Storables.com, at no extra cost. Learn more)
Introduction
Attaching a wire fence to a wood post is a common task for homeowners and farmers alike. Whether you are securing your property, creating a safe enclosure for animals, or adding aesthetic appeal to your backyard, knowing how to properly attach a wire fence to a wood post is essential.
In this article, we will guide you through the step-by-step process of attaching a wire fence to a wood post. From gathering the necessary materials to testing the stability of the fence, we will cover all the essential details to ensure your fence is secure and durable.
Whether you are a seasoned DIY enthusiast or a novice in the world of woodworking, this comprehensive guide will equip you with the knowledge and skills to complete the task successfully. So, let’s dive in and learn how to attach a wire fence to a wood post!
Key Takeaways:
- Ensure stability and durability by gathering necessary materials, preparing wood posts, aligning and positioning fence panels, securely attaching them, and testing stability. Regular maintenance will prolong the fence’s lifespan.
- By following step-by-step guidelines, you can confidently attach wire fences to wood posts for security, privacy, and aesthetic appeal. Regular inspections and prompt issue resolution are crucial for long-term fence integrity.
Read more: How To Install Metal Posts For Wood Fence
Step 1: Gather necessary materials
Before you begin attaching the wire fence to the wood post, it is important to gather all the necessary materials. Having everything on hand will ensure a smooth and efficient process. Here are the essential materials you will need:
- Wire fence panels: Determine the length and height of the fence panels you need based on your specific requirements.
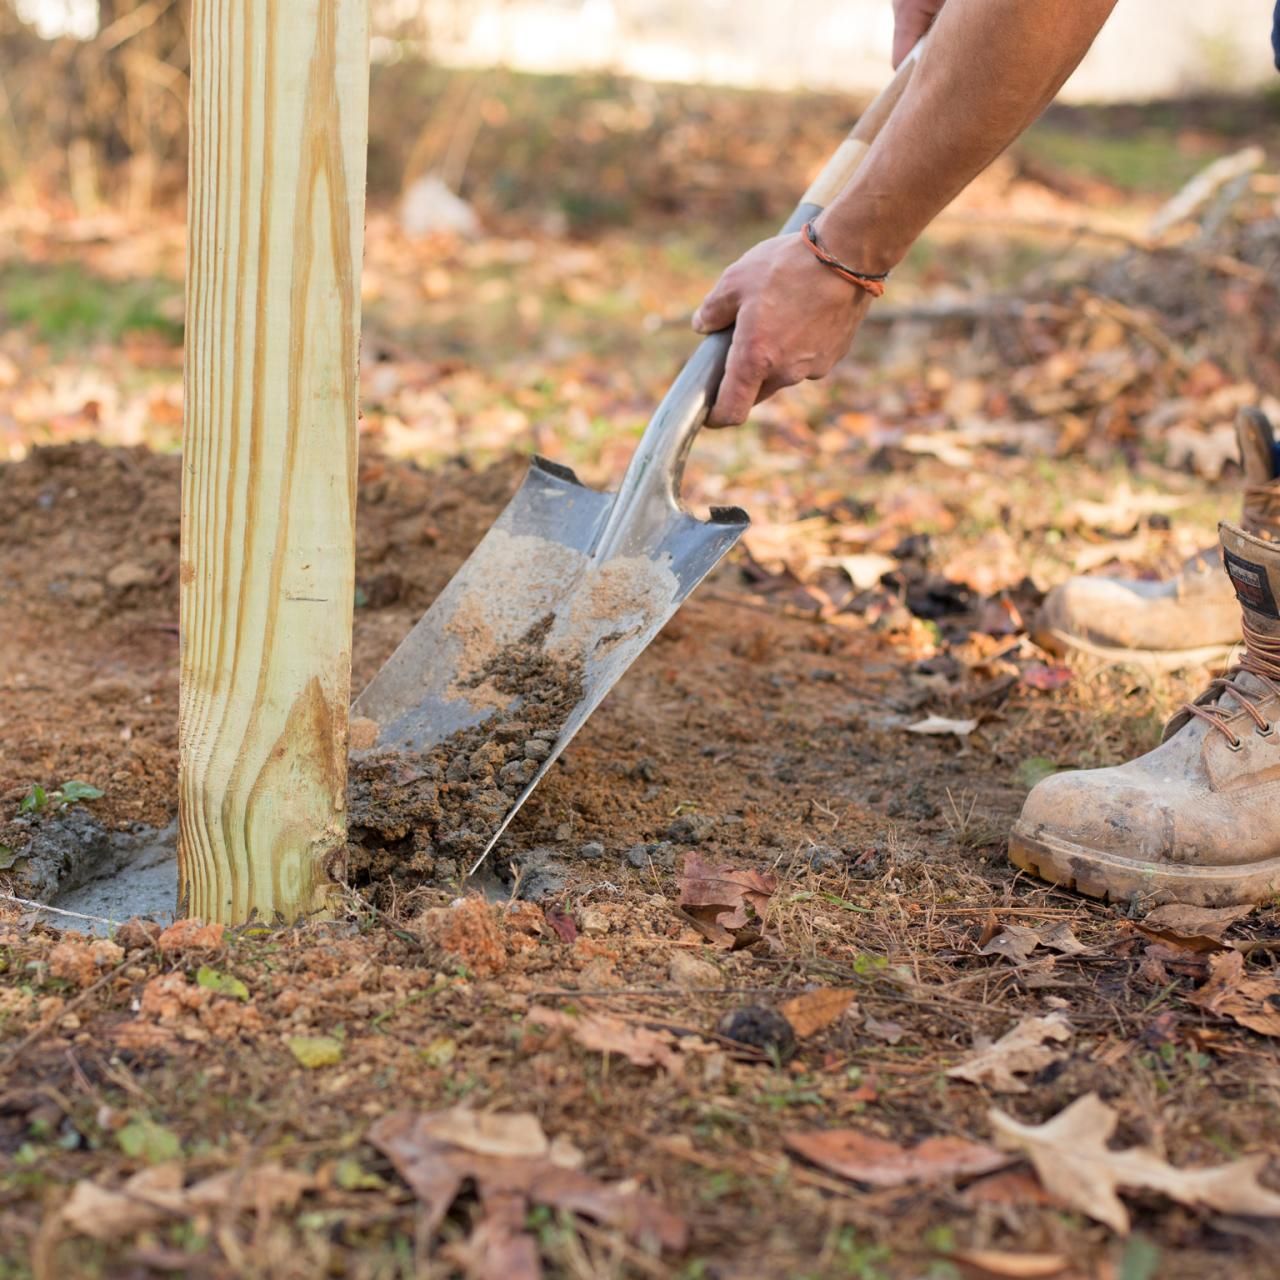
- Wood posts: Select sturdy and durable wood posts that are appropriate for the size and weight of the fence. Pressure-treated or cedar posts are commonly used for this purpose.
- Fasteners: Depending on the type of wire fence you are using, you may need nails, screws, fence clips, or u-shaped staples to secure the fence panels to the wood posts.
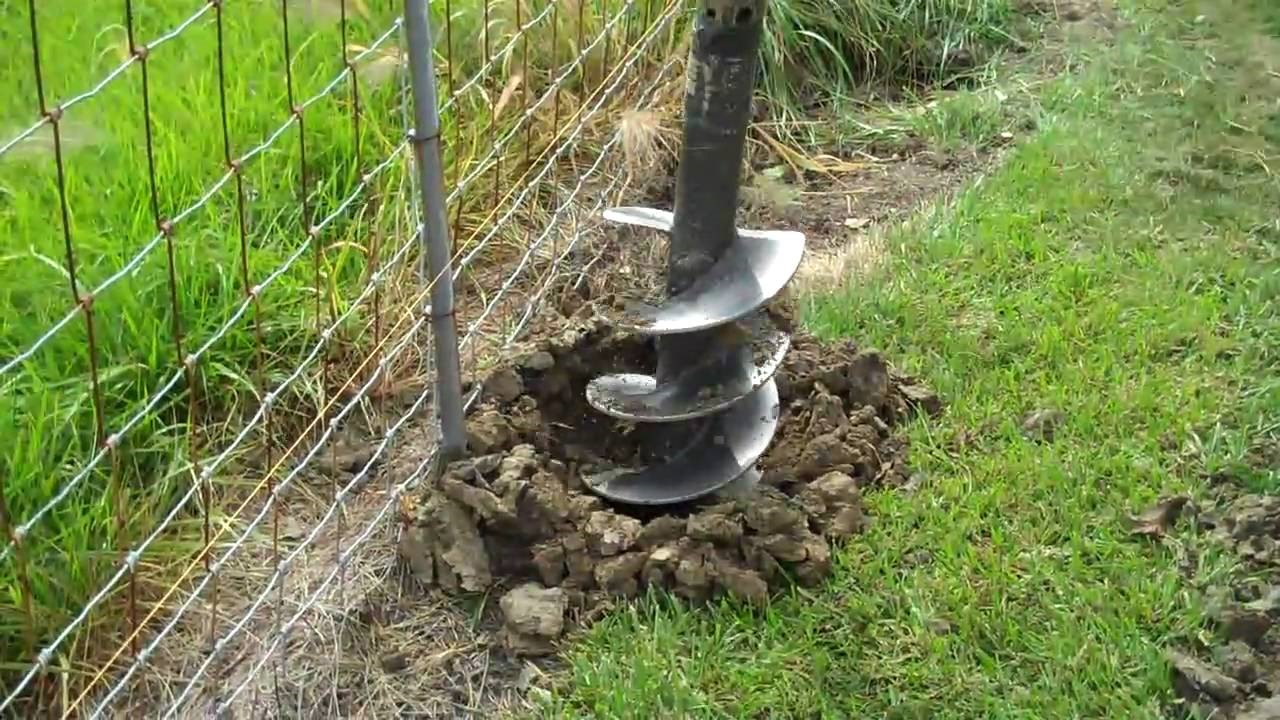
- Post hole digger: If you need to install new wood posts, a post hole digger will make the task easier. Alternatively, if you are attaching the fence to existing wood posts, skip this item.
- Level: A level will help you ensure that the fence panels are horizontally aligned and properly positioned.
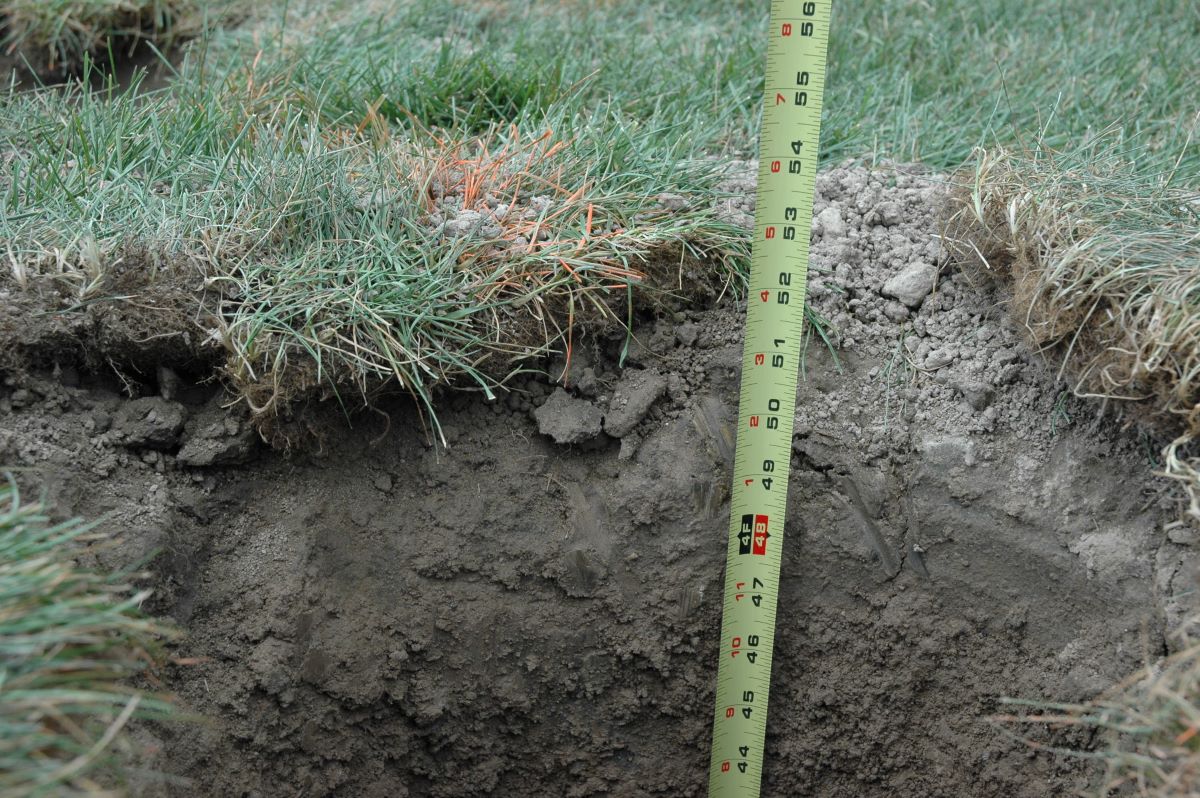
- Measuring tape: Accurate measurements are crucial for a secure and properly aligned fence. Make sure to have a measuring tape on hand.
- Work gloves: Protect your hands with a pair of sturdy work gloves while handling the fence panels and attaching them to the wood posts.
- Safety goggles: It is important to prioritize safety when working with wire fence panels. Wear safety goggles to protect your eyes from flying debris.
Once you have gathered all the necessary materials, you will be well-prepared to proceed with attaching the wire fence to the wood post. Having everything in place will save you time and make the process much more efficient.
Step 2: Prepare the wood post
Preparing the wood post is an important step to ensure the stability and longevity of your wire fence. Follow these guidelines to properly prepare the wood post:
- Inspect the wood post: Before attaching the wire fence, carefully inspect the wood post for any signs of damage or rot. If you notice any problems, it is best to replace the post to maintain the structural integrity of the fence.
- Measure and mark the post: Use a measuring tape to determine the desired height of the fence above the ground. Mark the wood post at the desired height using a pencil or marker.
- Trim the excess length: If the wood post is taller than the desired fence height, trim the excess length using a saw or a pruning tool. Ensure that the top of the post is level and even after trimming.
- Clear the area around the post: Remove any obstacles or vegetation near the wood post that may interfere with the fence installation. This will provide a clear and accessible area for attaching the wire fence.
- Treat the wood post (optional): To enhance the durability and resistance of the wood post against rot and decay, you can apply a wood preservative or sealant. Follow the manufacturer’s instructions for proper application and drying time.
Preparing the wood post properly will contribute to the overall stability and longevity of your wire fence. Taking the time to inspect, measure, trim, and clear the area around the post will ensure a solid foundation for attaching the fence panels in the next steps.
Step 3: Align and position the wire fence
Now that the wood post is prepared, it’s time to align and position the wire fence panels. Follow these steps for proper alignment and positioning:
- Start at one end: Begin at one end of the fence line and work your way towards the other end. This will help maintain consistency and ensure a straight and even fence.
- Measure the distance: Use a measuring tape to determine the desired distance between each fence panel. This will depend on the specific requirements of your project, whether it’s for privacy, security, or aesthetics.
- Place the first fence panel: Align the first fence panel against the wood post, starting at the marked height. Ensure that the panel is level and aligns with the desired distance from the ground. Use a level to double-check.
- Secure the first panel: Once properly aligned, attach the first fence panel to the wood post using the appropriate fasteners. Nails, screws, fence clips, or u-shaped staples can be used depending on the type of wire fence and the manufacturer’s recommendations.
- Repeat the process: Continue aligning and positioning the remaining fence panels in the same manner, maintaining the desired distance between each panel. Double-check the alignment and levelness as you progress to ensure a uniform appearance.
Proper alignment and positioning of the wire fence panels are crucial for a visually appealing and structurally sound fence. Taking the time to measure, align, and secure each panel will result in a professional-looking installation that will stand the test of time.
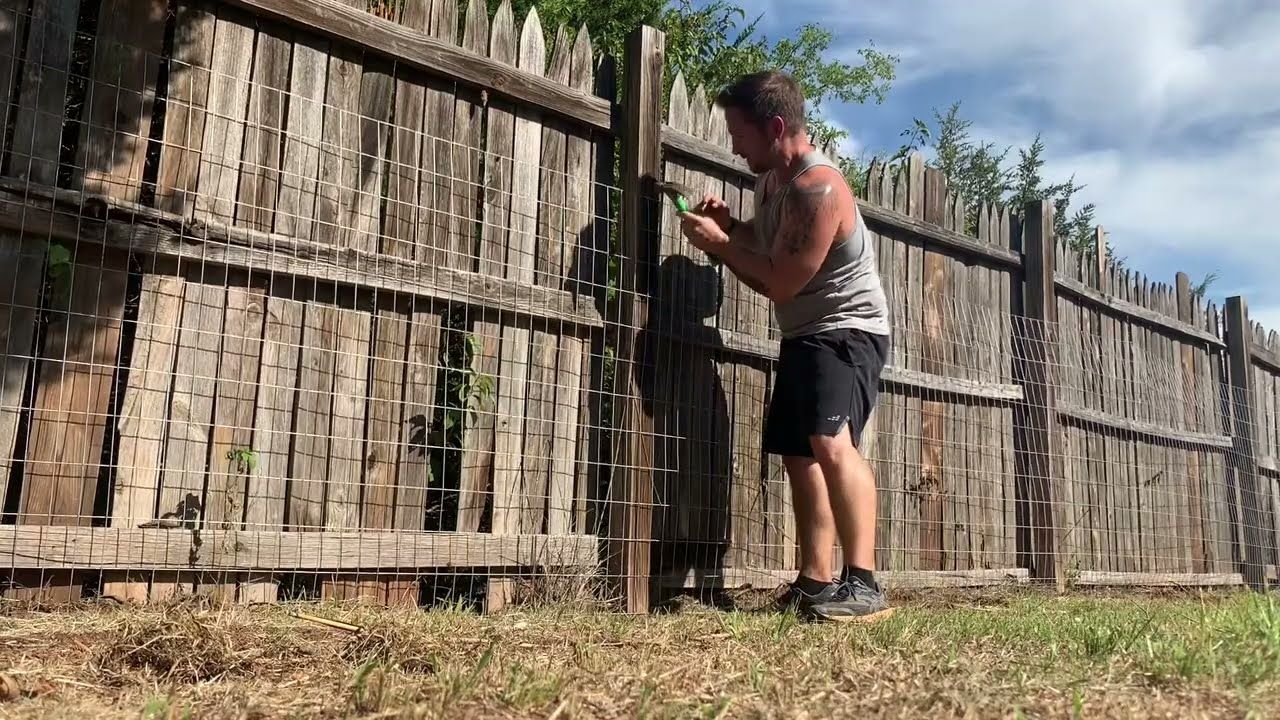
When attaching wire fence to wood posts, use galvanized staples or U-shaped nails to secure the wire to the post. Make sure to space the staples or nails evenly and use a hammer to firmly secure the wire in place.
Step 4: Attach the wire fence to the wood post
Now that the wire fence panels are properly aligned and positioned, it’s time to securely attach them to the wood post. Follow these steps to ensure a strong and durable attachment:
- Determine the attachment method: Depending on the type of wire fence and the manufacturer’s recommendations, you will need to choose the appropriate attachment method. This may include using nails, screws, fence clips, or u-shaped staples.
- Start at one end: Begin at one end of the fence line and work your way towards the other end. This will help maintain consistency and ensure a secure connection between the fence panels and the wood post.
- Attach the fasteners: Using the determined attachment method, secure the wire fence panel to the wood post. Drive nails or screws through the panels into the wood post or use fence clips or u-shaped staples to hold the fence in place. Ensure that the fasteners are properly driven and firmly hold the fence panels in position.
- Space the fasteners: Space the fasteners evenly along the height of the fence panel, ensuring a secure and uniform attachment. Follow any guidelines provided by the manufacturer for the recommended spacing distance.
- Repeat the process: Continue attaching the remaining fence panels to the wood post using the same attachment method. Double-check the alignment and stability of each panel as you progress to maintain consistency throughout the fence line.
By following these steps and using the appropriate attachment method, you will ensure a strong and reliable connection between the wire fence panels and the wood post. This is essential to prevent the fence from sagging or coming loose, especially in high winds or when animals are present.
Read more: How To Build A Wire Fence With T-Posts
Step 5: Test the stability of the wire fence
Once you have attached the wire fence panels to the wood post, it is important to test the stability to ensure that your fence is secure and reliable. Here are the steps to test the stability of the wire fence:
- Push and pull test: Apply pressure by leaning against the fence panels and gently push and pull them. This will help identify any weak spots or areas where the panels may be loose or unstable. Pay attention to any excessive movement or signs of instability.
- Check for gaps or sagging: Walk along the fence line and carefully examine for any visible gaps or sagging between the wire fence panels and the wood post. These can indicate that the panels are not securely attached or that adjustments are needed.
- Address any issues: If you notice any problems during the stability test, take the necessary steps to address them. This may include tightening the fasteners, repositioning the panels, or reinforcing any weak areas.
- Conduct periodic inspections: Even after completing the initial stability test, it is crucial to periodically inspect the wire fence to identify any potential issues. Regularly check for loose fasteners, damaged panels, or any signs of wear and tear. Address any issues as soon as possible to maintain the fence’s stability and durability.
Testing the stability of the wire fence is essential to ensure the safety and effectiveness of the structure. By following these steps and addressing any issues that arise, you can have peace of mind knowing that your fence will withstand the test of time and serve its intended purpose.
Conclusion
Attaching a wire fence to a wood post is a manageable task with the right knowledge and materials. By following the step-by-step guide outlined in this article, you can successfully attach a wire fence to a wood post while ensuring stability and durability.
Throughout the process, remember to gather all the necessary materials, prepare the wood post, align and position the wire fence panels correctly, attach them securely to the wood post, and test the stability of the fence. Taking the time and care to complete each step will result in a strong, visually appealing, and functional wire fence.
Regularly inspect and maintain the wire fence to ensure its longevity and effectiveness. Address any issues promptly, such as loose fasteners or damaged panels, to maintain the stability and integrity of the fence. With proper care and maintenance, your wire fence will provide security, privacy, and visual appeal for years to come.
Remember to consult local regulations and guidelines as well as manufacturer recommendations for any specific requirements or variations for your particular project.
Now that you have the knowledge and guidance, you can confidently embark on attaching a wire fence to a wood post. Enjoy the process, and may your fence align perfectly with your needs and preferences!
Frequently Asked Questions about How To Attach Wire Fence To Wood Post
Was this page helpful?
At Storables.com, we guarantee accurate and reliable information. Our content, validated by Expert Board Contributors, is crafted following stringent Editorial Policies. We're committed to providing you with well-researched, expert-backed insights for all your informational needs.

0 thoughts on “How To Attach Wire Fence To Wood Post”