Articles
How To Build Wood Privacy Fence
Modified: October 18, 2024
Learn how to build a wood privacy fence with our informative articles. Discover step-by-step instructions and expert tips for a successful fence installation.
(Many of the links in this article redirect to a specific reviewed product. Your purchase of these products through affiliate links helps to generate commission for Storables.com, at no extra cost. Learn more)
Introduction
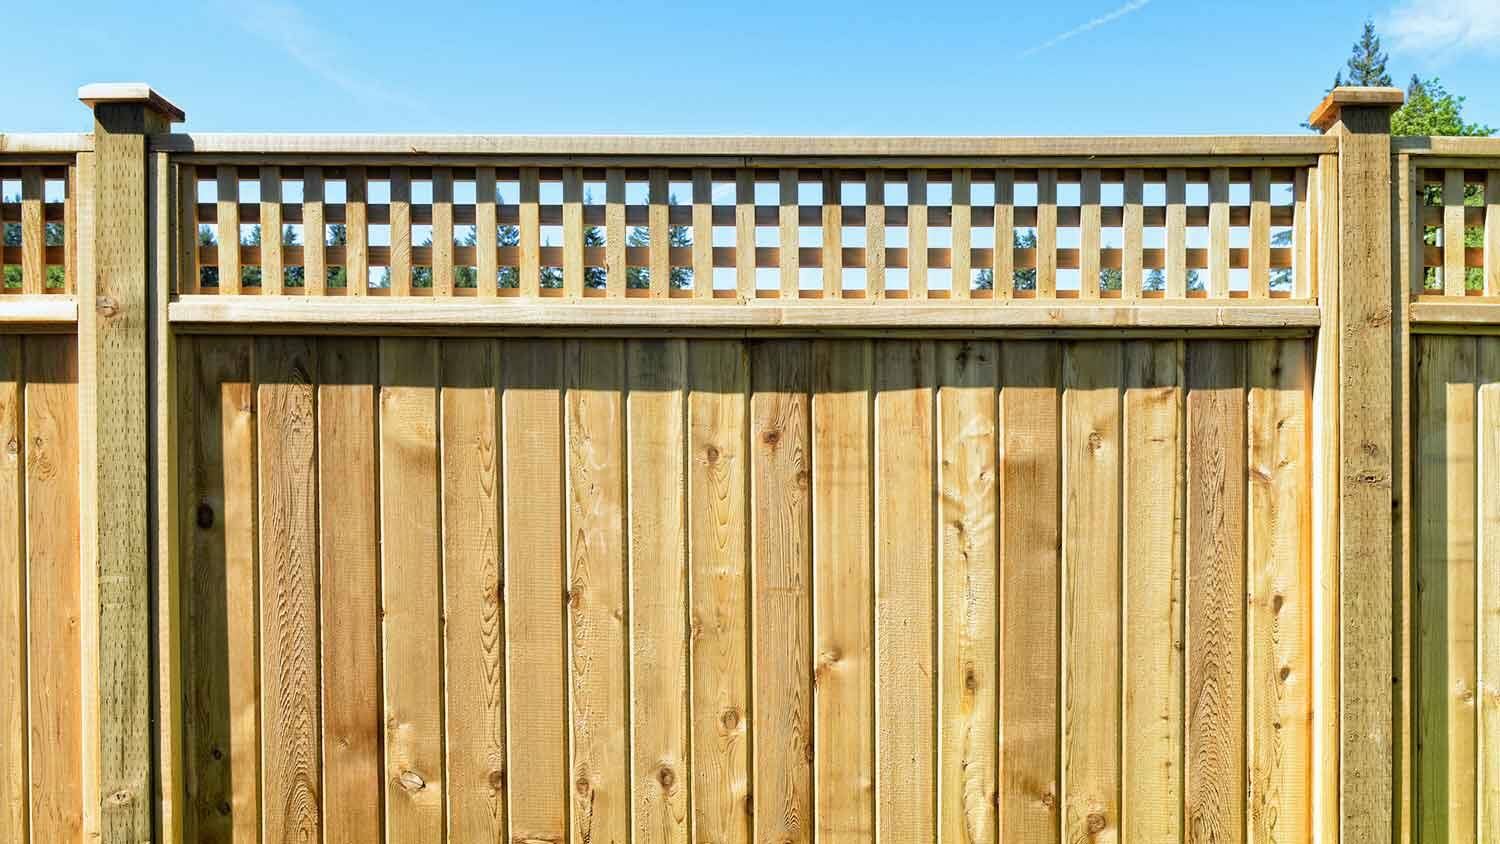
Building a wood privacy fence is a great way to add security, privacy, and aesthetic appeal to your property. Whether you want to keep your backyard secluded from nosy neighbors or create a safe space for your children and pets to roam freely, a wood privacy fence can provide the solution.
Before you embark on this project, it’s important to have a solid plan in place. This article will guide you through the process of building a wood privacy fence from start to finish, helping you achieve a successful and durable result.
While the idea of building a fence may seem daunting, with the right tools, materials, and a step-by-step approach, it can be a rewarding DIY project. So let’s dive in and learn how to create your own wood privacy fence!
Key Takeaways:
- Proper planning is essential for building a wood privacy fence. Consider the purpose, local regulations, wood type, and materials. Careful preparation sets the stage for a successful and durable project.
- Adding finishing touches and regular maintenance enhance the functionality and beauty of your wood privacy fence. Secure loose fasteners, install a gate, consider post caps, and maintain the fence for long-lasting enjoyment.
Read more: How To Decorate A Privacy Fence
Step 1: Planning
Planning is a crucial step when building a wood privacy fence. It ensures that you have a clear vision of what you want to achieve and helps you avoid costly mistakes along the way.
First, determine the purpose of your fence. Are you primarily looking for privacy, security, or both? Consider the height and style that would best suit your needs. Measure the perimeter of your property to determine the length of fence required.
Next, check local regulations and obtain any necessary permits. Some areas have specific rules regarding fence height, setback from property lines, or materials allowed. Make sure your plans comply with these regulations to avoid legal issues down the line.
Now, it’s time to create a detailed plan. Sketch out your fence layout on paper, including dimensions, gate locations, and any unique features you desire. This will not only help you visualize the final result but also serve as a reference during the construction process.
Consider the type of wood you want to use for your fence. Cedar and redwood are popular choices due to their durability and resistance to rot and insects. Research and choose the type of wood that best suits your climate and budget.
Lastly, calculate the materials you will need. This includes posts, panels, concrete, fasteners, and any additional features such as gates or decorative elements. Make a detailed list and obtain accurate measurements to ensure you purchase the correct amount of supplies.
By carefully planning your wood privacy fence, you will be well-prepared for the construction phase and minimize the chances of encountering unexpected issues. So take the time to consider all aspects of your fence and proceed to the next step with confidence!
Step 2: Gathering Materials
Once you have a solid plan in place, it’s time to gather all the necessary materials to build your wood privacy fence. Ensuring that you have everything you need before starting the project will save you time and frustration along the way.
The main materials you will need for your fence include:
- Wooden Fence Posts: These are the vertical supports that will hold your fence panels in place. Choose treated or rot-resistant posts for enhanced durability.
- Fence Panels: These are the horizontal boards that make up the body of the fence. Measure the length of your fence and select panels that are the appropriate size.
- Concrete: You’ll need concrete to secure the fence posts in the ground. Calculate the amount of concrete needed based on the number of fence posts you have.
- Fasteners: Choose screws or nails that are appropriate for outdoor use and the type of wood you’re using. Make sure they are resistant to rust and corrosion.
- Gate Hardware: If you plan to incorporate a gate in your fence, you’ll need hinges, latches, and other necessary hardware to install and secure the gate.
- Tools: Gather the tools you’ll need for the project, including a measuring tape, level, post hole digger, circular saw, and drill.
Make a comprehensive shopping list that includes all the materials and tools mentioned above. Take your list to a local hardware or home improvement store to ensure you have everything you need.
When purchasing wood for your fence, consider buying a few extra boards to account for any mistakes or replacements needed in the future. It’s always better to have more than you need than to run out during the project.
By gathering all the materials upfront, you’ll have everything on hand when you’re ready to start building. This will help streamline the construction process and ensure a smoother overall experience.
Step 3: Preparing the Ground
Before you can begin installing your wood privacy fence, it’s important to prepare the ground where the fence will be placed. Proper preparation will lay the foundation for a stable and long-lasting fence.
The first step is to mark the desired fence line. Use stakes and string to create a straight and level guideline for the fence. This will help you ensure that the fence is installed in the right place and in alignment with your property boundaries.
Next, clear the area along the fence line. Remove any plants, debris, or obstructions that may interfere with the installation process. This includes rocks, tree stumps, and large roots.
Now it’s time to dig the holes for the fence posts. Using a post hole digger, excavate holes that are deep enough to accommodate one-third of the height of the fence post plus an additional six inches for gravel. For example, for a six-foot fence, the post holes should be two feet deep.
As you dig the holes, make sure they are evenly spaced and aligned according to your planned fence layout. Use a level to ensure that the holes are plumb and straight.
Once the holes are dug, add a few inches of gravel to the bottom of each hole. This will help with drainage and prevent the fence posts from sinking over time.
Insert the fence posts into the holes, making sure they are secure and level. If needed, temporarily brace the posts with stakes or clamps to keep them in position.
Once all the posts are in place, mix and pour concrete into each hole around the posts. Follow the instructions on the concrete mix bag for the correct water-to-concrete ratio. Use a level and a straight board to ensure that the posts are plumb and straight while the concrete is setting.
Allow the concrete to fully cure as per the manufacturer’s instructions before proceeding to the next step. This usually takes about 24 to 48 hours.
By taking the time to properly prepare the ground and set the fence posts, you’ll ensure a solid foundation for your wood privacy fence. This will contribute to its stability and longevity, giving you peace of mind for years to come.
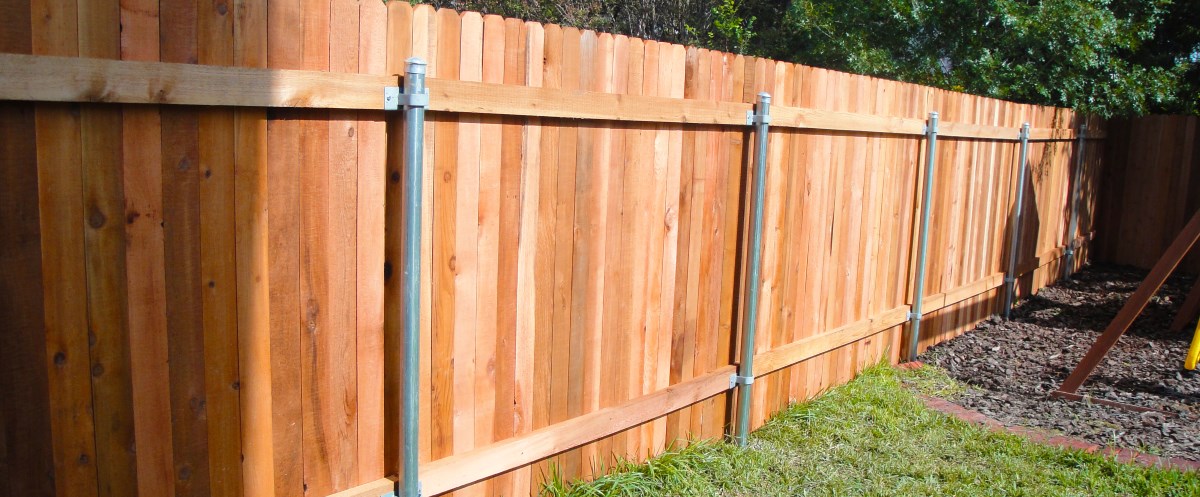
When building a wood privacy fence, make sure to use pressure-treated wood to prevent rot and decay. Additionally, set your fence posts in concrete for added stability and longevity.
Step 4: Setting the Fence Posts
With the ground prepared and the concrete set, it’s time to move on to the next stage of building your wood privacy fence: setting the fence posts. This step is crucial as it provides the structural support for your fence panels.
Start by removing any temporary bracing or stakes from the fence posts that were used to keep them in position during the concrete curing process. Ensure that all posts are still level and plumb.
If necessary, trim the tops of the fence posts to ensure they are all at the same height. A saw or a reciprocating saw can be used for this purpose.
Next, measure and mark the desired height for your fence panels on each post. This will help ensure consistency throughout the installation.
Attach one end of a string line to one of the posts at the desired height and stretch it across to the next post. Use a line level to ensure the string is level. This will serve as a guideline for the top of the fence panels.
Now, it’s time to attach the fence panels to the posts. Begin by positioning a panel against the first two posts, aligning the top of the panel with the string line. Use screws or nails to secure the panel to the posts, ensuring that it is level and plumb.
Continue the process, attaching each fence panel to the posts until the entire fence line is covered. Use spacers between the panels to ensure that they are evenly spaced and allow for proper air circulation.
Check periodically that the fence panels are straight and level as you work your way along the fence line. Adjust as necessary to maintain a consistent and visually appealing result.
If you encounter any gaps or uneven spots between the panels and the ground, consider adding a bottom trim board or utilizing fillers to achieve a seamless appearance.
Once all the panels are securely in place, double-check that the entire fence line is level and visually pleasing. Make any necessary adjustments before proceeding to the next step.
By properly setting the fence posts and attaching the panels, you’ll create a sturdy and uniform wood privacy fence. This will not only enhance the security and privacy of your property but also add aesthetic appeal to your outdoor space.
Read more: How To Install Privacy Fence
Step 5: Installing the Fence Panels
Now that the fence posts are set, it’s time to move on to the next step of building your wood privacy fence: installing the fence panels. This is the stage where your fence starts to take shape, providing both privacy and beauty to your outdoor space.
Begin by positioning the first fence panel against the first two posts, ensuring that it is level and plumb. Use screws or nails to attach the panel to the posts, securing it firmly in place. Check the level periodically as you work your way along the fence line to ensure that each panel is installed straight.
Continue the process, installing each fence panel between the posts until the entire fence line is covered. Use spacers between the panels to ensure even spacing and create a uniform appearance.
If needed, cut panels to fit at the end of the fence line or to accommodate any obstacles or angles. Use a circular saw or a reciprocating saw to make precise cuts, keeping safety precautions in mind.
As you install each panel, make sure it aligns properly with the adjacent panels and the ground. Adjust as necessary to achieve a seamless and visually appealing result.
If you prefer an overlapping effect for increased privacy, make sure to position each panel slightly overlapping the previous one. This will help block off visibility between the panel gaps.
Once all the panels are securely installed, step back and evaluate the overall appearance of your fence. Make any necessary adjustments to ensure that the panels are straight, level, and visually appealing.
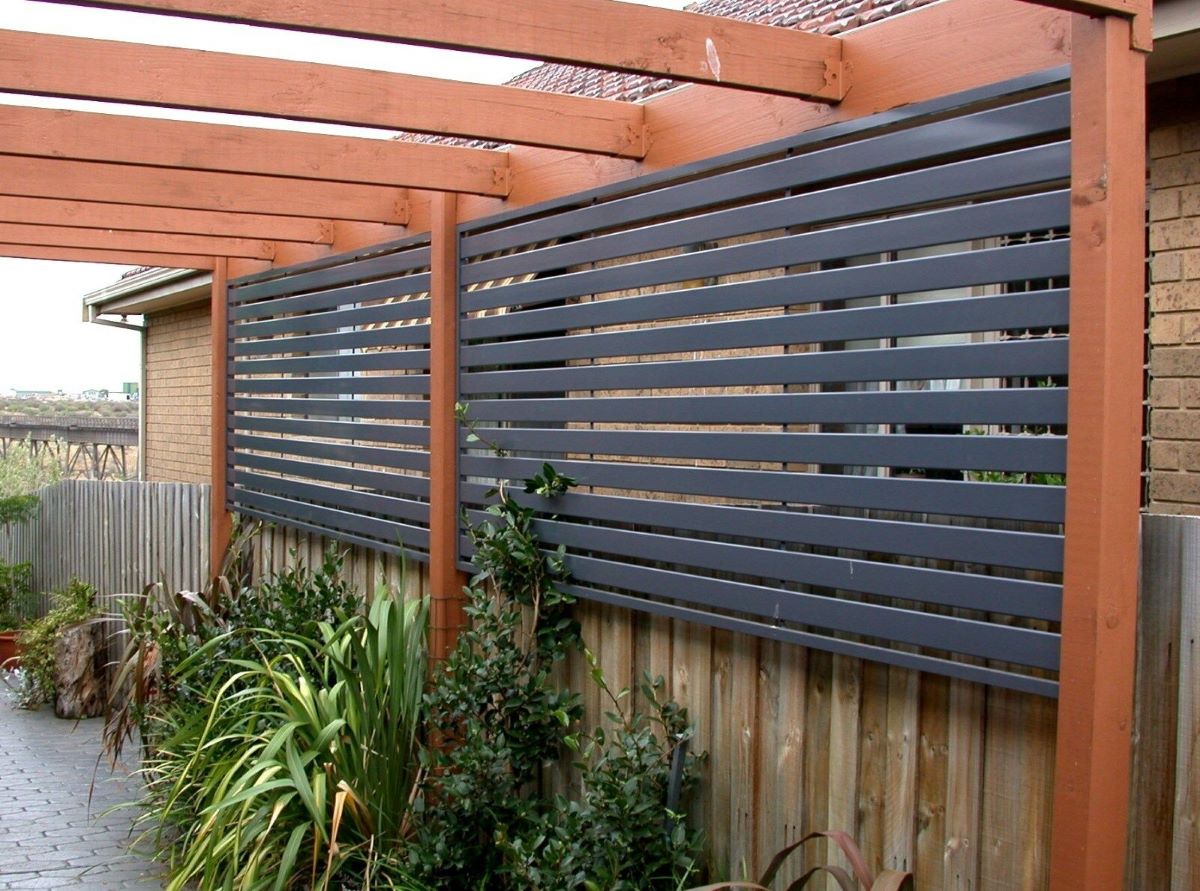
If desired, add a top cap or decorative trim to the fence panels for an extra touch of style. This can enhance the aesthetic appeal of your fence and provide added protection against water infiltration and weathering.
By properly installing the fence panels, you’ll create a beautiful and functional wood privacy fence that enhances the overall aesthetic of your property. Take the time to ensure that each panel is installed correctly for a professional and lasting result.
Step 6: Adding Finishing Touches
With the fence panels installed, your wood privacy fence is nearly complete. However, there are a few finishing touches you can add to enhance the overall appearance and functionality of your fence.
Start by inspecting the fence for any loose screws or nails. Secure any loose fasteners to ensure the panels are firmly attached to the fence posts.
If your fence includes a gate, now is the time to install it. Attach the gate hinges to the fence post and the gate frame, ensuring that it swings freely and securely. Install a gate latch or lock to provide both convenience and security.
If you prefer a more decorative look, consider adding post caps to the top of each fence post. Post caps not only add a touch of elegance to your fence, but they also provide protection against water damage and prolong the life of the posts.
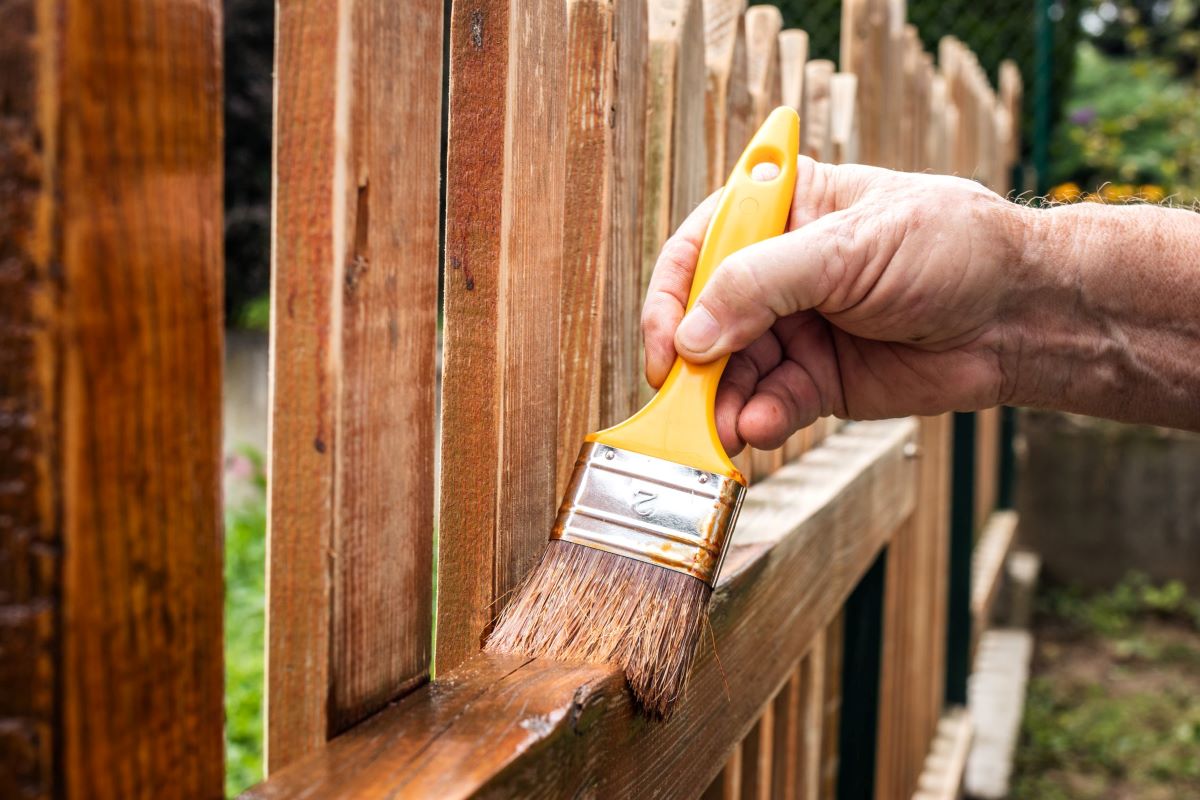
If desired, you can stain or paint your wood fence to enhance its beauty and protect it from the elements. Choose a high-quality outdoor stain or paint that is suitable for your type of wood. Ensure that the wood is clean and dry before applying the stain or paint according to the manufacturer’s instructions.
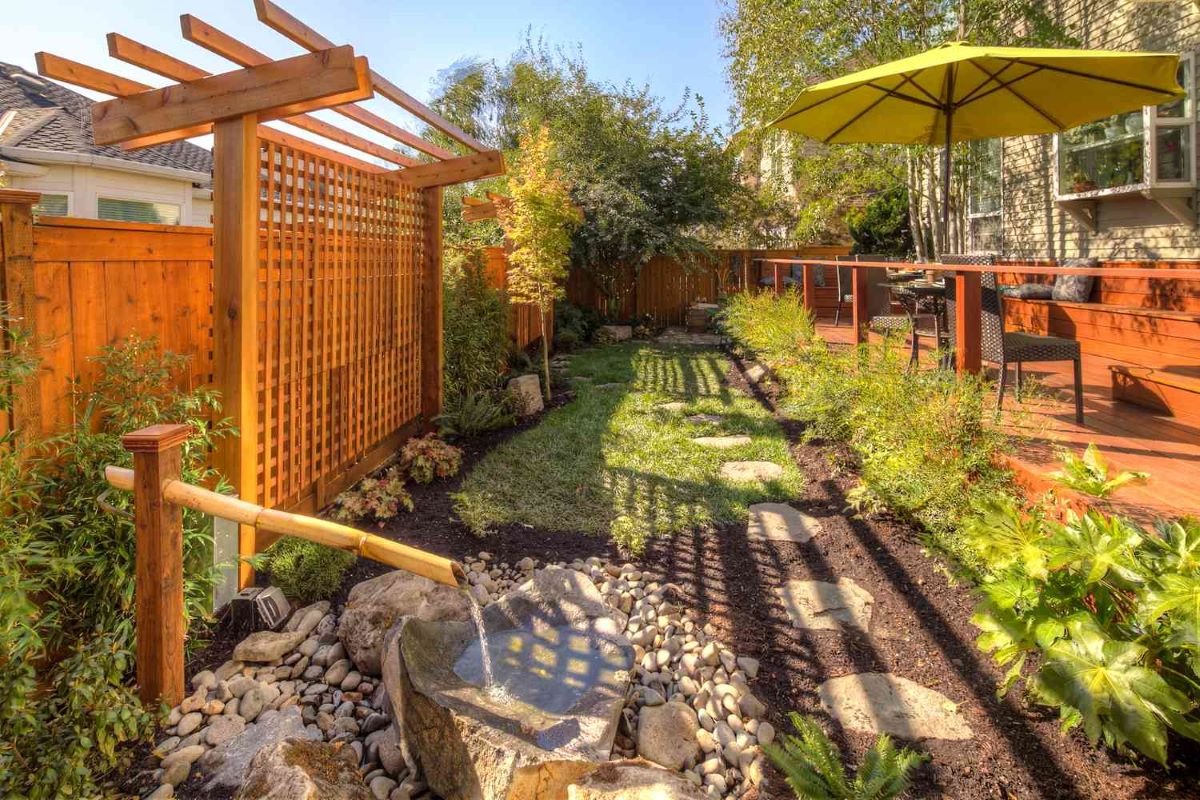
Additionally, consider adding landscaping elements near the fence to further enhance its appearance. Plant shrubs, flowers, or climbing vines along the fence line to create a beautiful and natural backdrop.
Finally, regularly maintain and care for your wood privacy fence to ensure its longevity. Inspect the fence periodically for any damage, such as rot or loose boards, and repair them promptly. Clean the fence as needed to remove dirt, debris, and mold.
By adding these finishing touches and maintaining your wood privacy fence, you’ll enjoy a beautiful and functional addition to your property. Not only will it provide privacy and security, but it will also enhance the overall aesthetics of your outdoor space.
Conclusion
Congratulations! You have successfully learned how to build a wood privacy fence from start to finish. By following the steps outlined in this article, you have created a secure, private, and visually appealing barrier for your property.
Throughout the process, you started with careful planning, considering the purpose of the fence and adhering to local regulations. You gathered all the necessary materials and prepared the ground for the installation. With precision, you set the fence posts, ensuring stability and durability. You then installed the fence panels, creating a seamless and attractive barrier. Lastly, you added the finishing touches to enhance both the aesthetic appeal and functionality of your fence.
Remember, proper maintenance and care are essential to ensure the longevity of your wood privacy fence. Regularly inspect the fence for any damage and make necessary repairs promptly. Clean the fence to remove dirt and debris that can deteriorate its appearance and integrity.
Enjoy the benefits of your wood privacy fence – the added security, privacy, and beauty it brings to your outdoor space. Create a haven where you can relax, entertain, and enjoy the company of loved ones without intrusion.
Building a wood privacy fence is a rewarding DIY project that allows you to customize and protect your property. It not only increases the value of your home but also enhances your quality of life.
We hope this comprehensive guide has provided you with the knowledge and confidence to embark on your wood privacy fence project. Remember to always prioritize safety and consult professionals if needed. Happy building!
Frequently Asked Questions about How To Build Wood Privacy Fence
Was this page helpful?
At Storables.com, we guarantee accurate and reliable information. Our content, validated by Expert Board Contributors, is crafted following stringent Editorial Policies. We're committed to providing you with well-researched, expert-backed insights for all your informational needs.


0 thoughts on “How To Build Wood Privacy Fence”