Home>Articles>How To Build A Lattice Privacy Screen For Your Deck
Articles
How To Build A Lattice Privacy Screen For Your Deck
Modified: May 6, 2024
Learn how to build a lattice privacy screen for your deck with our informative articles. Transform your outdoor space into a private oasis.
(Many of the links in this article redirect to a specific reviewed product. Your purchase of these products through affiliate links helps to generate commission for Storables.com, at no extra cost. Learn more)
Introduction
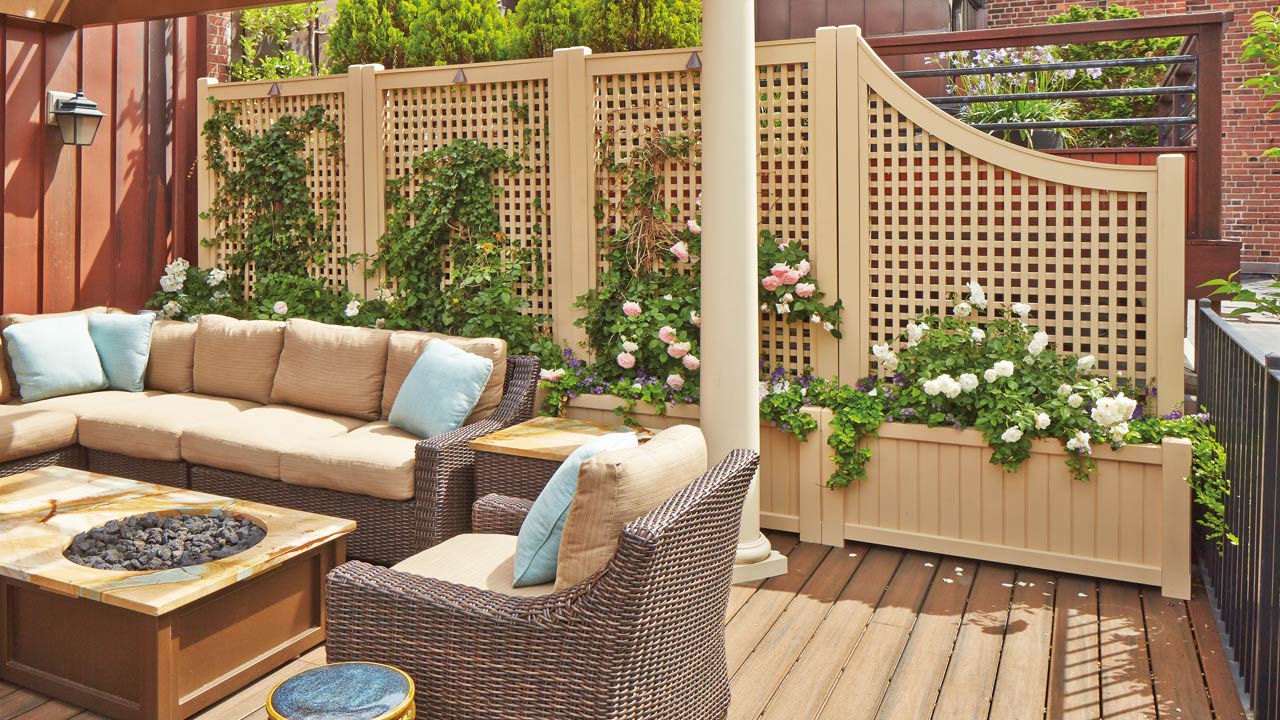
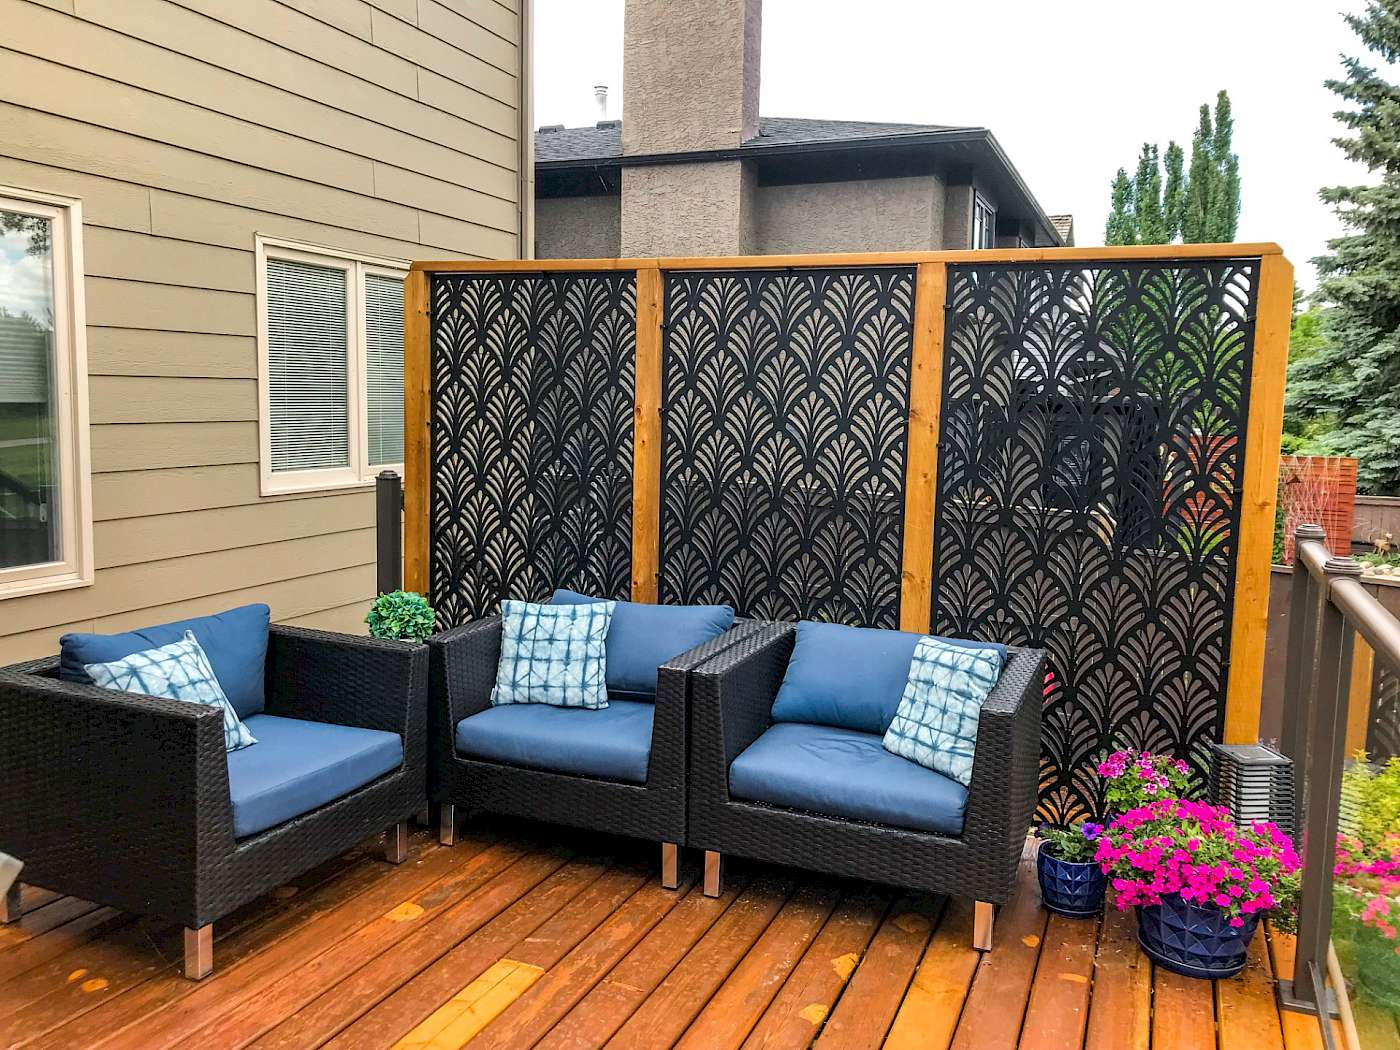
Privacy is essential when it comes to enjoying your outdoor space. Whether you have a deck, patio, or balcony, a lattice privacy screen can provide the perfect solution to create a secluded oasis. A lattice privacy screen is not only functional but also adds a touch of elegance and charm to your outdoor area. In this article, we will guide you through the process of building a lattice privacy screen for your deck, enabling you to enjoy your outdoor space in peace.
Before getting started, it’s important to gather the necessary materials and tools. You will need:
- Pressure-treated lumber
- Lattice panels
- Galvanized screws
- Measuring tape
- Level
- Power drill
- Saw (e.g., circular saw or miter saw)
- Pencil
- Safety goggles
- Work gloves
Now that you have everything you need, let’s dive into the step-by-step process of building your lattice privacy screen.
Key Takeaways:
- Enjoy privacy and elegance by building a lattice privacy screen for your deck. Follow the step-by-step guide for a functional and charming outdoor oasis.
- Personalize your lattice privacy screen with finishing touches like paint, decorative elements, and climbing plants. Regular maintenance ensures longevity and relaxation in your outdoor space.
Materials and Tools Needed
Before you begin building your lattice privacy screen, it’s important to gather all the necessary materials and tools. Here is a list of what you will need:
Materials:
- Pressure-treated lumber: Choose 2×4 or 4×4 lumber for the frame of the privacy screen.
- Lattice panels: These panels come in various styles and sizes. Choose one that suits your preferences and complements your outdoor space.
- Galvanized screws: These screws will be used to secure the frame and attach the lattice panels.
Tools:
- Measuring tape: This will help you accurately measure the dimensions of your deck and the lattice panels.
- Level: Use a level to ensure that your privacy screen is straight and level.
- Power drill: A power drill will be essential for drilling holes and driving screws.
- Saw: Depending on the size of your lumber and lattice panels, you may need a circular saw or miter saw to cut them to the desired dimensions.
- Pencil: Use a pencil to mark the measurements and cut lines on the lumber and lattice panels.
- Safety goggles: Protect your eyes from any flying debris by wearing safety goggles.
- Work gloves: Keep your hands safe while handling tools and materials by wearing work gloves.
Once you have gathered all the necessary materials and tools, you are ready to move on to the next step: measuring and planning for your lattice privacy screen.
Step 1: Measure and Plan
The first step in building a lattice privacy screen for your deck is to measure and plan. Proper measurements and careful planning will ensure that your privacy screen fits perfectly and functions effectively. Follow these steps:
- Measure the dimensions of your deck: Start by measuring the length and height of the area where you want to install the privacy screen. This will help you determine the size of the lumber and lattice panels you need to purchase.
- Determine the layout: Consider the placement of the privacy screen on your deck. Will it cover the entire perimeter or only a portion? Visualize how the screen will divide the space and provide the desired privacy.
- Mark the positions for vertical supports: Based on the dimensions and layout, mark the positions where you will install the vertical supports. These supports will provide stability and strength to the privacy screen.
- Cut the lumber: Using a saw, cut the pressure-treated lumber to the required lengths for the frame and vertical supports. Make sure to double-check your measurements for accuracy.
Once you have completed these steps, you will be ready to move on to building the frame for your lattice privacy screen. Proper measurement and planning will ensure that your privacy screen fits seamlessly into your deck and provides the desired privacy.
Step 2: Prepare the Frame
Now that you have measured and planned for your lattice privacy screen, it’s time to prepare the frame. The frame will serve as the foundation for your screen and provide structure and stability. Follow these steps to prepare the frame:
- Position the lumber: Take the cut pieces of pressure-treated lumber and position them on a flat surface. Arrange them according to the measurements and layout you determined in the previous step.
- Attach the frame corners: Begin by attaching the corners of the frame. Predrill holes on the ends of the lumber pieces and use galvanized screws to secure them together. Make sure the corners are aligned and the frame is square.
- Add horizontal crossbars: To add strength and support to the frame, install horizontal crossbars between the vertical supports. Predrill holes at the desired locations and use screws to attach the crossbars to the vertical supports.
- Check for levelness: Use a level to ensure that the frame is level both horizontally and vertically. Adjust as necessary by adding shims or adjusting the position of the lumber.
By following these steps, you will have successfully prepared the frame for your lattice privacy screen. The frame will provide the necessary structure and stability to securely hold the lattice panels. In the next step, we will guide you through attaching the frame to your deck.
Step 3: Attach the Frame to the Deck
Once you have prepared the frame for your lattice privacy screen, the next step is to attach it securely to your deck. Attaching the frame to the deck will ensure that the privacy screen remains stable and in place. Follow these steps:
- Position the frame: Carefully position the prepared frame in the desired location on your deck. Make sure it is aligned with the markings you made during the planning phase.
- Secure the frame to the deck: Use a power drill to predrill holes in the frame and the deck surface. Make sure the holes are aligned. Then, select the appropriate length of galvanized screws and drive them through the pre-drilled holes to secure the frame to the deck.
- Check for stability: After attaching the frame, check for stability by applying pressure and gently shaking the frame. If it feels loose or unstable, add additional screws or adjust the positioning as needed.
Attaching the frame to the deck is a crucial step in ensuring the strength and stability of your lattice privacy screen. By securing it firmly to the deck, you can be confident that your screen will withstand the elements and provide the desired privacy. In the next step, we will guide you through adding the vertical supports.
When building a lattice privacy screen for your deck, make sure to use pressure-treated wood for durability and resistance to rot and decay. This will ensure that your privacy screen lasts for many years.
Step 4: Add the Vertical Supports
With the frame securely attached to your deck, it’s time to add the vertical supports to provide additional stability and support for your lattice privacy screen. Follow these steps to add the vertical supports:
- Measure and mark the positions: Measure the desired height of your privacy screen and mark the positions on the inside corners of the frame. These marks will indicate where the vertical supports will be installed.
- Cut the vertical support pieces: Using a saw, cut the pressure-treated lumber to the required length for the vertical supports. Make sure to double-check your measurements for accuracy.
- Attach the vertical supports: Stand each vertical support piece upright at its marked position on the frame. Predrill holes on the frame where the vertical supports will be attached. Then, use galvanized screws to secure the vertical supports to the frame.
- Check for levelness: Use a level to ensure that the vertical supports are straight and level. Adjust as necessary by adding shims or adjusting the position of the screws.
Adding the vertical support pieces will provide stability and strength to your lattice privacy screen. These supports will help keep the screen upright and prevent any sagging or wobbling. In the next step, we will guide you through the process of installing the lattice panels.
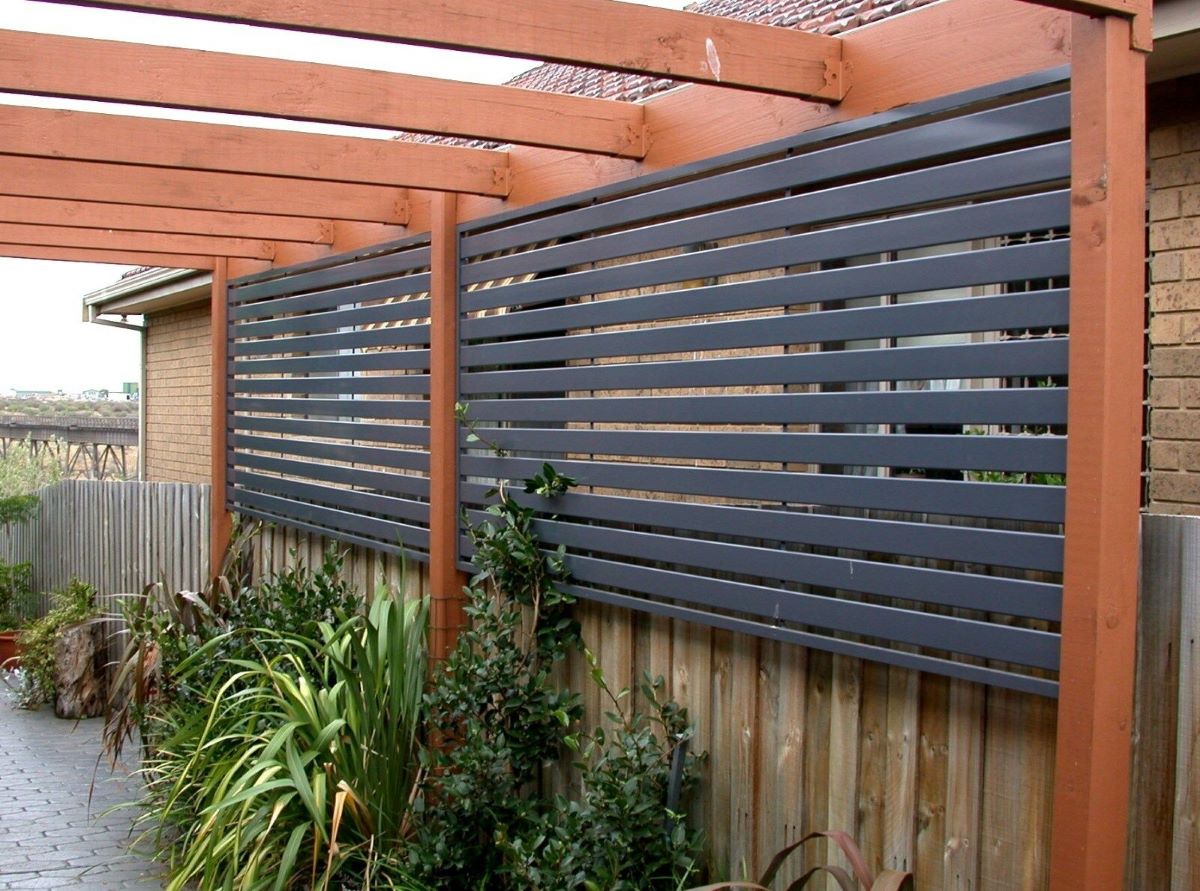
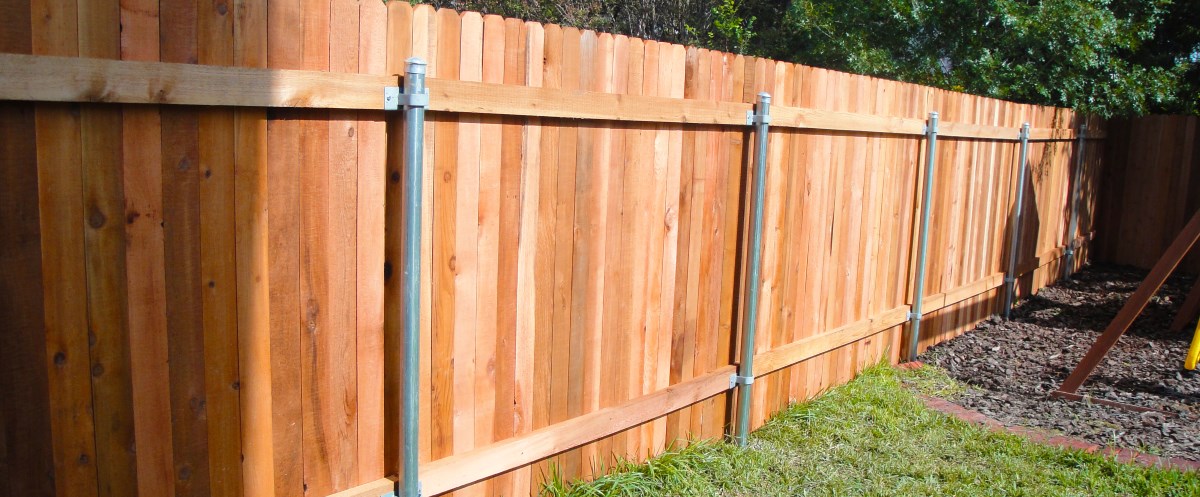
Step 5: Install the Lattice Panels
Now that you have added the vertical supports, it’s time to install the lattice panels onto your frame. The lattice panels will provide the privacy and aesthetic appeal to your completed privacy screen. Follow these steps to install the lattice panels:
- Measure and cut the lattice panels: Measure the dimensions of each section where the lattice panels will be installed. Use a saw to carefully cut the lattice panels to the appropriate size. Make sure to account for any overlapping or spacing between the panels.
- Position the first lattice panel: Begin by positioning the first lattice panel against the vertical supports. Make sure it is centered and aligned with the frame. The bottom of the lattice panel should rest on any foundation or base you have installed.
- Align the remaining lattice panels: Once the first panel is in place, align the remaining lattice panels to create a continuous screen. Use screws to attach the panels to the vertical supports and the frame. Ensure that the screws are long enough to securely fasten the panels but not too long to protrude through the other side.
Installing the lattice panels requires precision and careful alignment to achieve a seamless and professional-looking privacy screen. Take your time to ensure that each panel is properly positioned and securely attached. In the next step, we will guide you through securing the lattice panels.
Step 6: Secure the Lattice Panels
After installing the lattice panels onto your frame, it’s important to secure them properly to ensure their long-term durability and stability. Properly securing the lattice panels will prevent them from shifting, warping, or coming loose. Follow these steps to secure the lattice panels:
- Inspect the lattice panels: Take a close look at each lattice panel to ensure that it is properly aligned and in place. Check for any gaps or areas that may need additional support or fastening.
- Add additional screws: If necessary, add additional screws along the edges of the lattice panels to provide extra reinforcement and prevent any movement or sagging. Make sure the screws are driven in flush with the panel surface.
- Trim excess lattice: If there is any excess lattice protruding beyond the frame, use a saw or utility knife to carefully trim it off. This will give your privacy screen a clean and finished appearance.
- Apply wood sealant (optional): For added protection against moisture and weathering, you may consider applying a wood sealant or stain to the lattice panels and frame. Follow the manufacturer’s instructions for application.
By properly securing your lattice panels, you can ensure that your privacy screen will withstand the elements and maintain its aesthetic appeal for years to come. In the next step, we will guide you through adding the finishing touches to your lattice privacy screen.
Step 7: Finishing Touches
Now that your lattice privacy screen is installed and secured, it’s time to add the finishing touches to enhance its appearance and functionality. These final touches will add personality and style to your outdoor space. Follow these steps to complete your lattice privacy screen:
- Paint or stain (optional): If desired, you can paint or stain the frame and lattice panels to match your deck or complement the surrounding outdoor environment. Choose a paint or stain that is suitable for outdoor use and follow the manufacturer’s instructions for application.
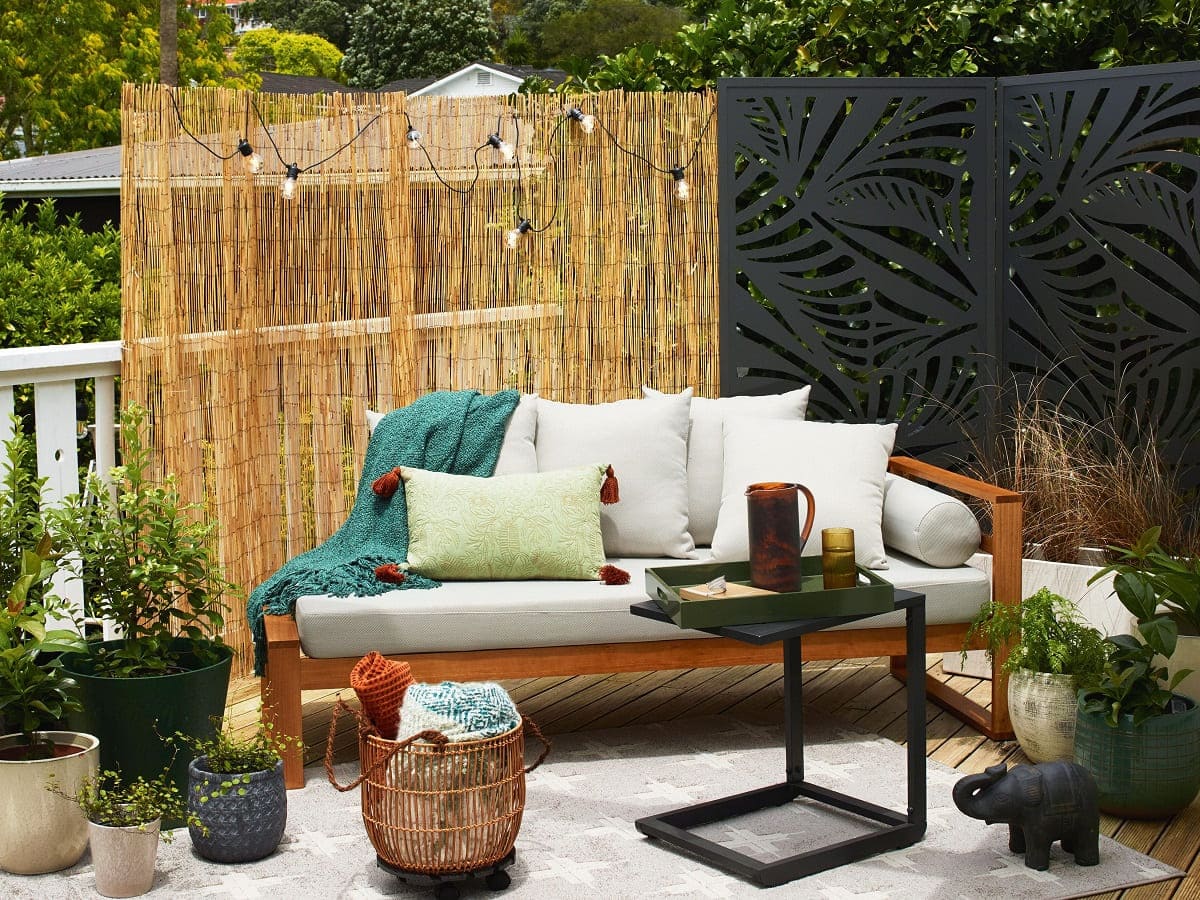
- Decorative elements: Consider adding decorative elements to further enhance the visual appeal of your privacy screen. This could include hanging potted plants, string lights, or outdoor artwork.
- Add climbing plants (optional): If you want to create a lush and green privacy screen, consider planting climbing plants at the base of the lattice panels. As the plants grow, they will naturally intertwine with the lattice, providing additional privacy and beauty.
- Maintenance and upkeep: Regularly inspect your lattice privacy screen for any signs of damage or wear. Repair or replace any damaged lattice panels or hardware as needed. Clean the screen periodically to remove dirt and debris.
By adding the finishing touches, you can personalize your lattice privacy screen and create a space that reflects your style and preferences. Remember to regularly maintain and care for your privacy screen to ensure its longevity and functionality. With these final steps complete, you can now enjoy the privacy and beauty of your outdoor oasis.
Congratulations on successfully building your lattice privacy screen for your deck. Enjoy your newfound privacy and relaxation in your outdoor space!
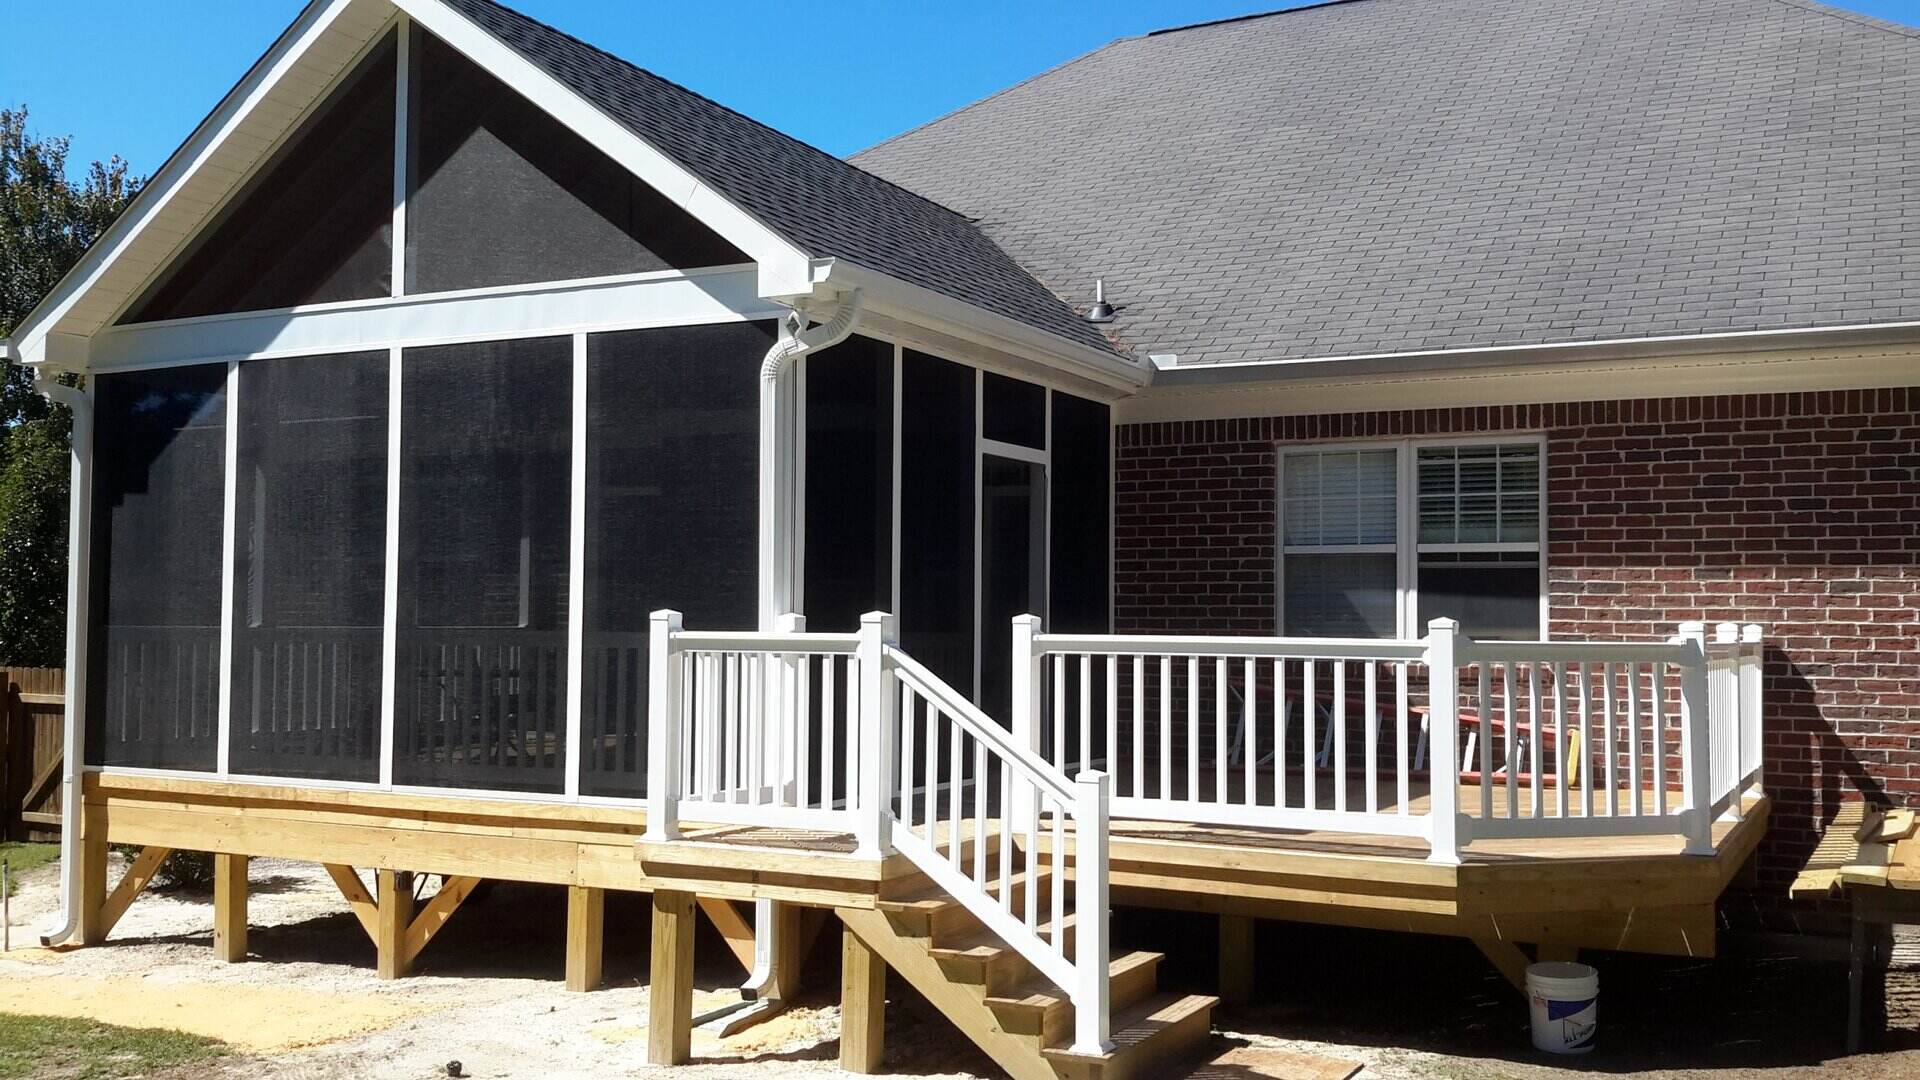
Read more: How To Build A Screened-In Porch On A Deck
Conclusion
Building a lattice privacy screen for your deck is a rewarding project that not only provides you with the privacy you desire but also adds charm and elegance to your outdoor space. By following the step-by-step guide outlined in this article, you can create a beautiful and functional privacy screen that enhances your enjoyment of your deck.
Throughout the process, proper measurement, planning, and attention to detail are key. Take the time to accurately measure your deck and plan the layout of your privacy screen. Use quality materials and tools to ensure the durability and stability of your screen. And don’t forget the finishing touches, such as paint or stain, decorative elements, and climbing plants, to truly make your privacy screen your own.
Remember to regularly inspect and maintain your lattice privacy screen to prolong its lifespan and keep it looking its best. Repair any damage promptly and clean the screen periodically to remove dirt and debris.
Now that you have completed your lattice privacy screen, it’s time to relax and enjoy the privacy and serenity of your deck. Whether you’re hosting gatherings, enjoying a quiet morning coffee, or simply soaking up the sun, your privacy screen will provide the seclusion and comfort you desire.
We hope that this guide has been helpful in guiding you through the process of building your lattice privacy screen. Happy building and enjoy your newfound privacy!
Now that you've mastered building a lattice privacy screen, why not dive deeper into the world of crafting and design? For those who love tackling new projects, understanding the allure of DIY Projects can offer more insights and excitement. If you're looking to spruce up your outdoor area further, consider exploring tips on Outdoor Living, which can transform your deck into a vibrant space for relaxation and social gatherings. Additionally, if woodworking piques your interest, don't miss out on the latest trends and techniques in Woodworking, perfect for enhancing your crafting skills in 2024.
Frequently Asked Questions about How To Build A Lattice Privacy Screen For Your Deck
Was this page helpful?
At Storables.com, we guarantee accurate and reliable information. Our content, validated by Expert Board Contributors, is crafted following stringent Editorial Policies. We're committed to providing you with well-researched, expert-backed insights for all your informational needs.


0 thoughts on “How To Build A Lattice Privacy Screen For Your Deck”