Articles
How To Attach Suspenders To My Tool Belt
Modified: August 31, 2024
Learn how to attach suspenders to your tool belt with these helpful articles.
(Many of the links in this article redirect to a specific reviewed product. Your purchase of these products through affiliate links helps to generate commission for Storables.com, at no extra cost. Learn more)
Introduction
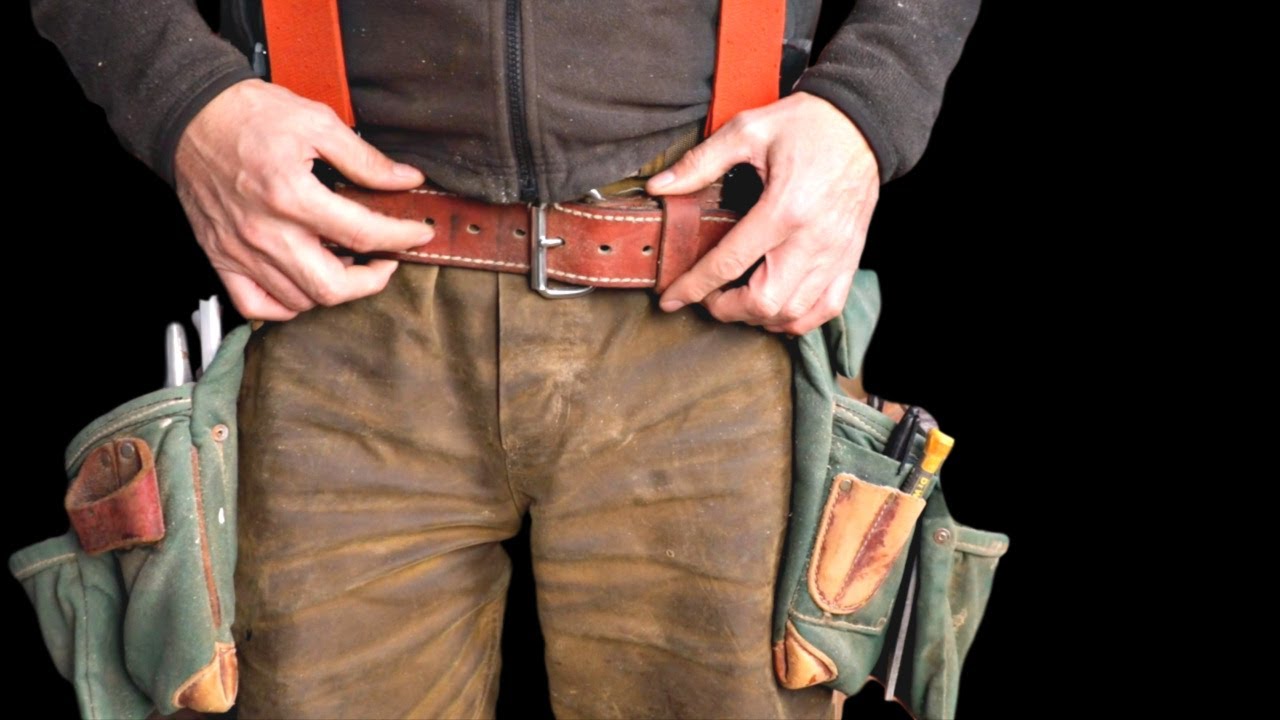
Attaching suspenders to your tool belt can be a game-changer when it comes to comfort and convenience. Not only does it distribute the weight of your tools evenly, but it also allows for greater mobility and reduces strain on your back and hips. Whether you’re a professional tradesperson or a DIY enthusiast, knowing how to properly attach suspenders to your tool belt is a valuable skill.
In this article, we will guide you through the step-by-step process of attaching suspenders to your tool belt. We’ll cover everything from gathering the necessary tools and materials to adjusting the suspender straps for a comfortable fit. So, let’s dive in and get your tool belt suspension system ready!
Key Takeaways:
- Attaching suspenders to your tool belt not only distributes weight evenly but also enhances mobility and reduces strain on your back and hips. It’s a simple yet impactful way to improve comfort and productivity.
- Properly adjusting suspender straps and testing the suspension system are crucial steps to ensure optimal comfort and functionality. With a well-attached tool belt suspension, you can work with ease and enjoy the benefits of reduced strain and improved efficiency.
Read also: 9 Best Tool Belt With Suspenders for 2025
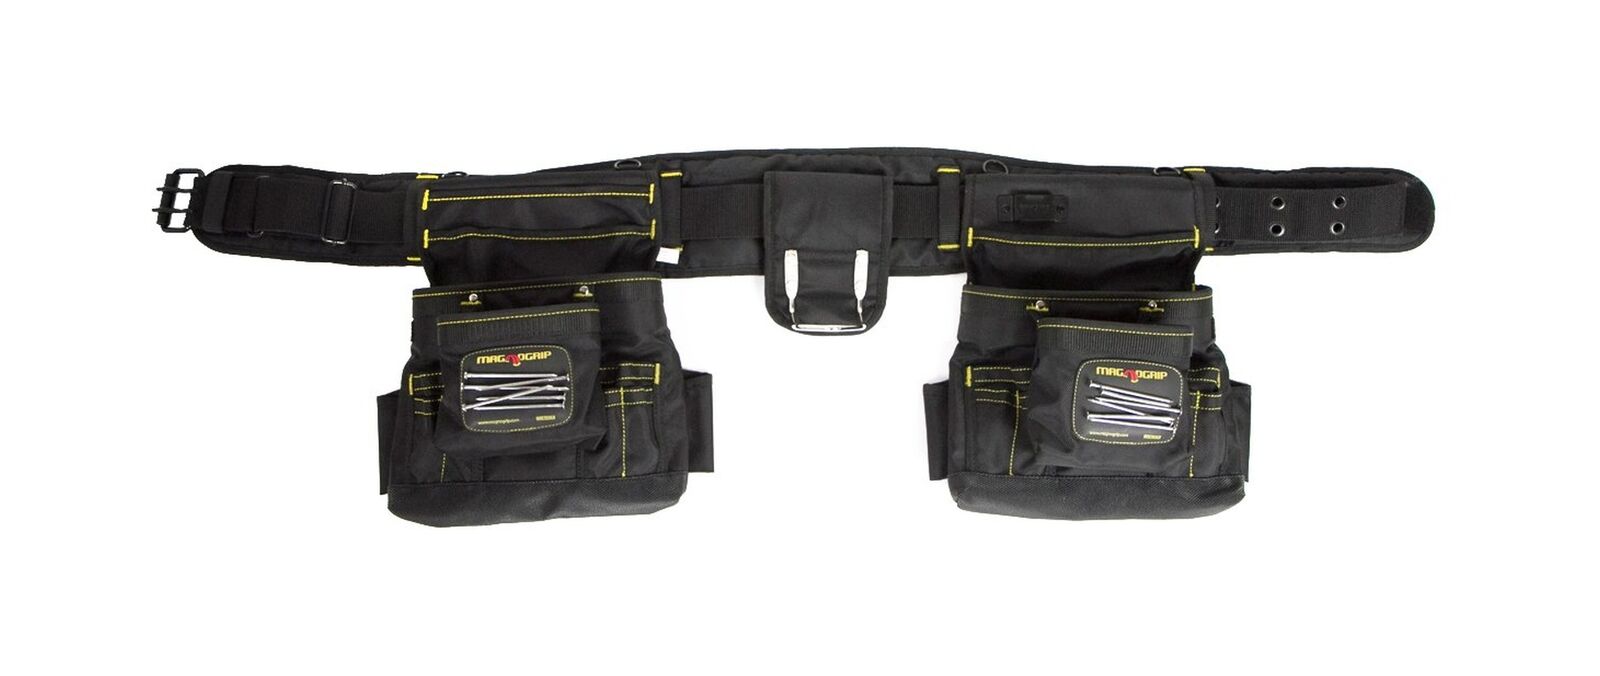
Step 1: Gather the necessary tools and materials
Before you can attach suspenders to your tool belt, you’ll need to gather a few essential tools and materials. Here’s a list of what you’ll need:
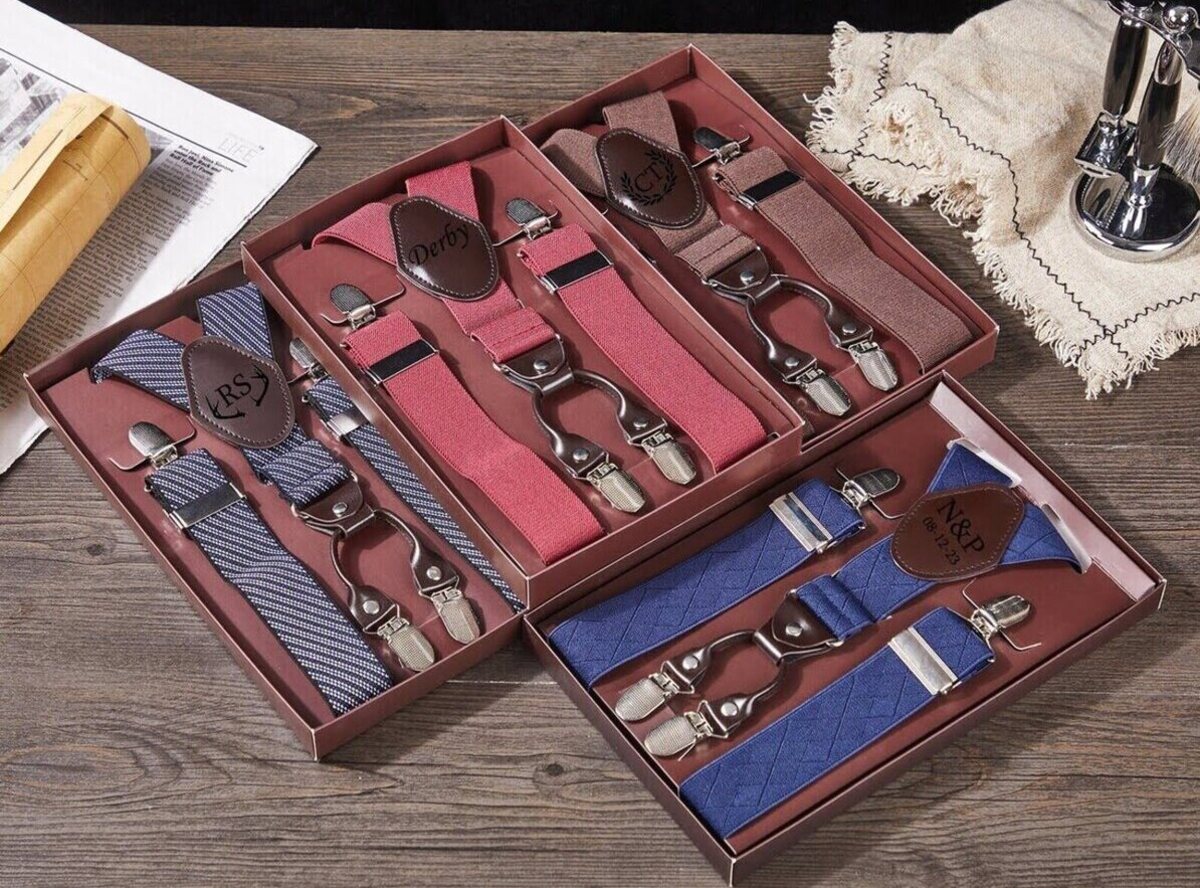
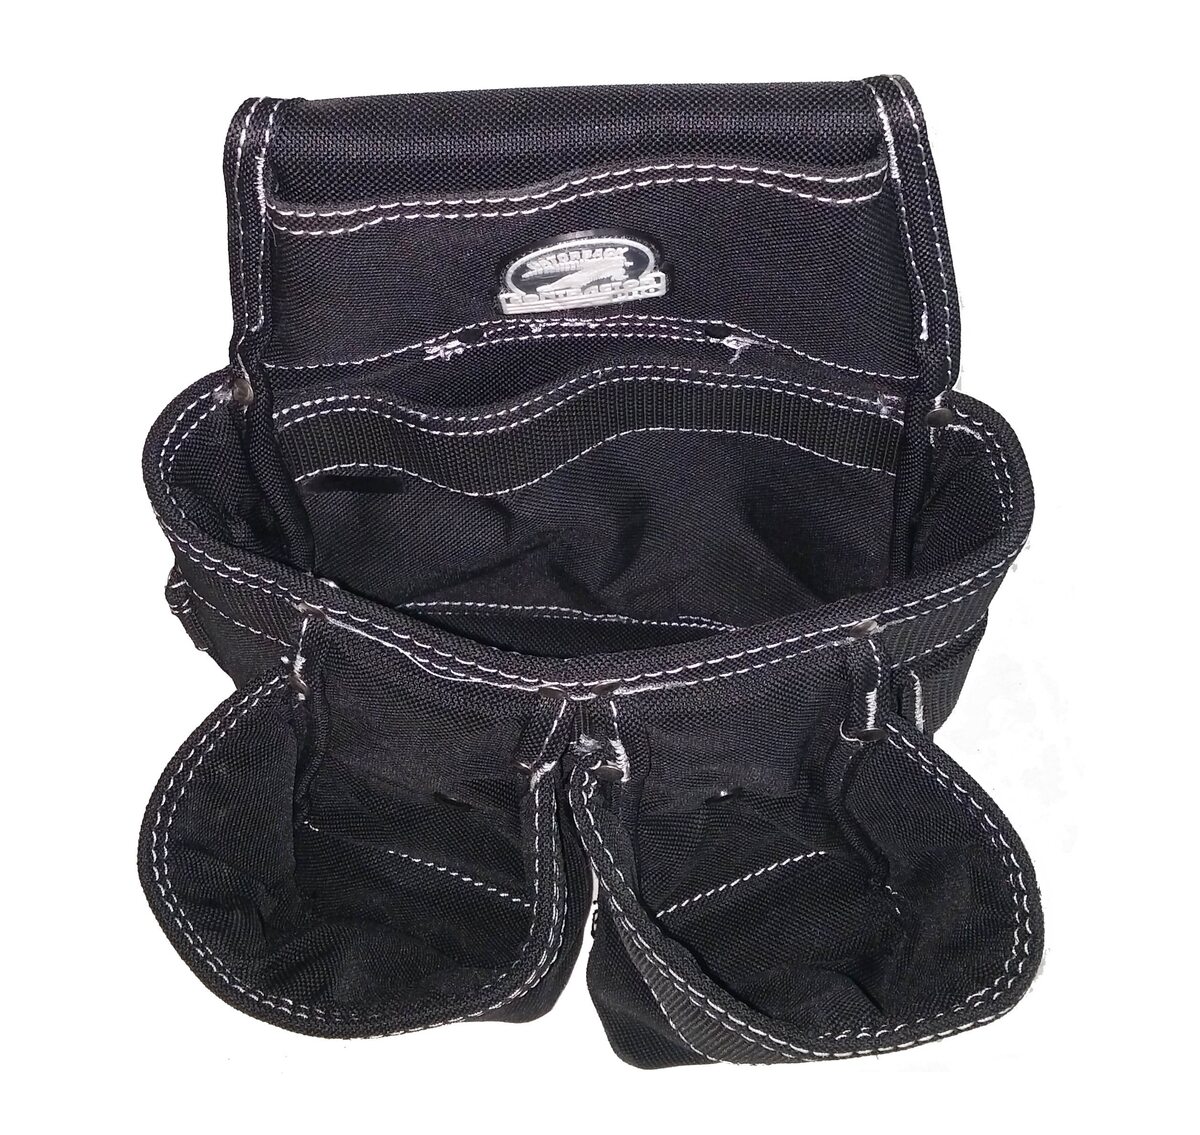
- A sturdy tool belt
- Suspenders with clips
- Screwdriver or drill
- Screws or rivets (depending on your tool belt)
It’s important to make sure that your tool belt is of high quality and can withstand the weight of your tools. The suspenders should have durable clips that can securely attach to your tool belt. If your tool belt doesn’t have pre-drilled holes for suspender attachment, you’ll need a screwdriver or drill to create them. Additionally, you’ll need screws or rivets to secure the suspender clips to the tool belt.
Once you have gathered all the necessary tools and materials, you’re ready to move on to the next step: preparing your tool belt for suspenders.
Step 2: Prepare your tool belt
Preparing your tool belt for suspenders involves a few simple steps to ensure a secure attachment. Here’s what you need to do:
- Clean your tool belt: Start by removing any dust, dirt, or debris from your tool belt. Use a damp cloth or brush to gently clean the surface. This will help create a smooth and clean surface for attaching the suspenders.
- Identify the attachment points: Examine your tool belt to determine where you want to attach the suspenders. Typically, the front and back of the tool belt are the primary attachment points. Look for reinforced areas or holes specifically designed for suspender attachment. If your tool belt doesn’t have pre-drilled holes, you’ll need to create them using a screwdriver or drill.
- Attach any necessary hardware: If your tool belt has pre-drilled holes, skip this step. Otherwise, use a screwdriver or drill to create holes at your desired attachment points. Make sure the holes are slightly smaller than the screws or rivets you’ll be using to secure the suspender clips.
- Secure the hardware: Once the holes are prepared, align the suspender clip with the holes and insert the screws or rivets. Tighten securely, ensuring the clips are firmly attached to the tool belt.
By following these simple steps, you’ve prepared your tool belt for suspenders. Now, it’s time to attach the suspender clips to the front of the tool belt.
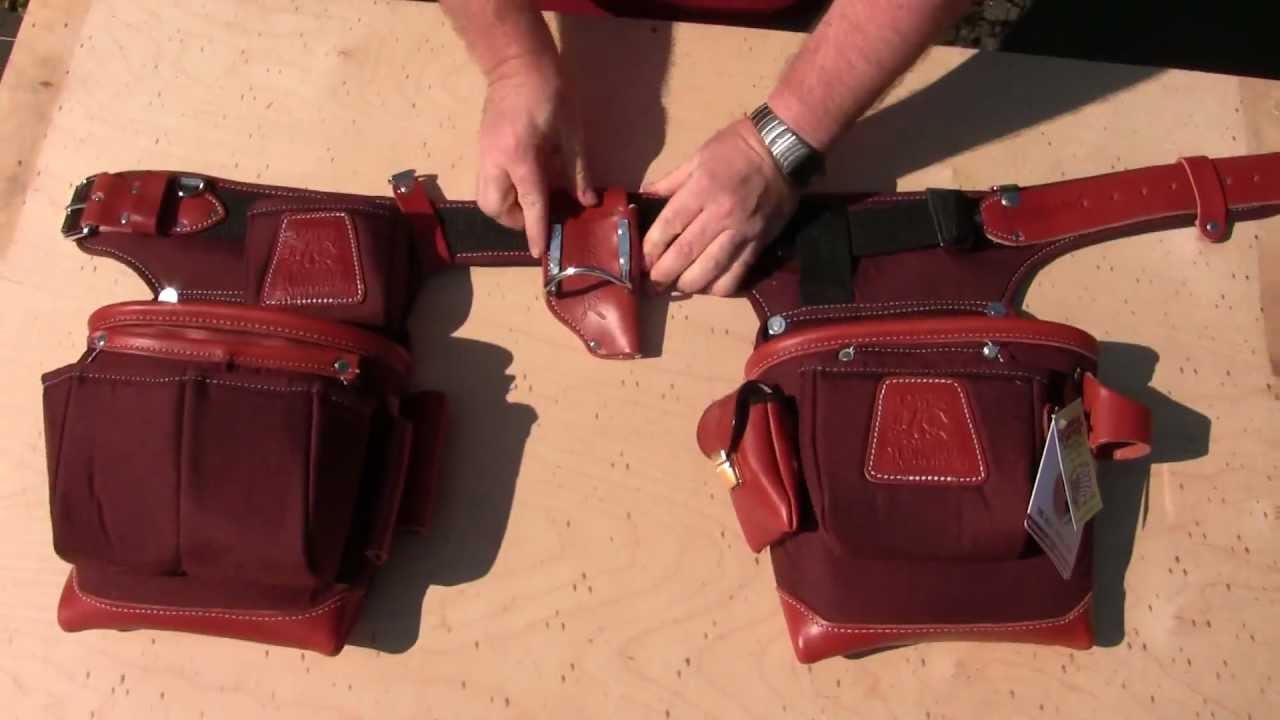
Step 3: Attach the suspender clips to the front of the tool belt
Attaching the suspender clips to the front of the tool belt is crucial for creating a stable and secure suspension system. Follow these steps to ensure a proper attachment:
- Position the suspender clips: Take your suspender clips and position them on the front of the tool belt. Place them at the attachment points you identified earlier.
- Align the holes: Ensure that the holes on the suspender clips align with the pre-drilled holes or the holes you created using the screwdriver or drill.
- Insert the screws or rivets: Once the holes are aligned, insert the screws or rivets through the holes in the suspender clips and into the corresponding holes in the tool belt. Tighten them securely, making sure the clips are firmly attached.
Make sure to double-check the attachment of the suspender clips to ensure they are secure. A loose connection can lead to the suspender clips coming off during use, which can be inconvenient and potentially hazardous.
With the suspender clips securely attached to the front of your tool belt, it’s time to move on to the next step: adjusting the suspender straps.
Step 4: Adjust the suspender straps
Properly adjusting the suspender straps is essential to achieve a comfortable and secure fit. Follow these steps to adjust the suspender straps:
- Put on your tool belt: With the suspender clips attached to the front of your tool belt, put on the tool belt as you normally would. This will allow you to accurately adjust the suspender straps while taking into account the weight and positioning of your tools.
- Check the strap length: Adjust the length of the suspender straps by sliding the strap adjusters on the suspender clips. Start with a slightly looser fit and make adjustments as needed until you find a comfortable length.
- Ensure proper weight distribution: Once you’ve adjusted the strap length, check to see that the weight of your tools is evenly distributed across your shoulders. If you feel any unevenness or discomfort, make further adjustments to achieve balance.
- Check for mobility and range of motion: Move around and simulate various tasks to ensure that the suspender straps allow for proper mobility and a full range of motion. You should be able to move freely without any restrictions or discomfort caused by the suspender straps.
Take your time with these adjustments, as finding the right fit will significantly improve your comfort while wearing the tool belt. Everyone’s body is different, so it may take a few tries to achieve the perfect fit.
Once you’re satisfied with the suspender strap adjustments, it’s time to move on to the next step: attaching the suspender clips to the back of the tool belt.
When attaching suspenders to your tool belt, make sure to use heavy-duty clips or hooks to securely fasten the suspenders to the belt. This will help distribute the weight of the tools more evenly and prevent the belt from slipping down.
Read more: How To Attach Tool Box To Truck
Step 5: Attach the suspender clips to the back of the tool belt
Attaching the suspender clips to the back of your tool belt will provide additional support and stability to your suspension system. Follow these steps to properly attach the suspender clips to the back of your tool belt:
- Identify the attachment points: Examine your tool belt to determine suitable attachment points at the back. Look for reinforced areas or existing attachment points specifically designed for suspender use.
- Position the suspender clips: Take the suspender clips and position them on the back of the tool belt, aligning them with the identified attachment points.
- Align the holes: Ensure that the pre-drilled holes on the suspender clips align with the attachment points or create new holes using a screwdriver or drill if necessary.
- Secure the suspender clips: Insert screws or rivets through the holes in the suspender clips and into the corresponding attachment points on the tool belt. Tighten the screws or rivets securely to ensure the suspender clips are firmly attached.
Ensure that the suspender clips are securely attached to the back of your tool belt. Double-check the attachment to avoid any potential issues while using your suspension system.
With the suspender clips successfully attached to the back of your tool belt, it’s time to move on to the next step: adjusting the suspender straps for a comfortable fit.
Step 6: Adjust the suspender straps for a comfortable fit
Properly adjusting the suspender straps is crucial to ensure a comfortable and secure fit while wearing your tool belt. Follow these steps to adjust the suspender straps:
- Put on your tool belt: With the suspender clips attached to both the front and back of your tool belt, put on the tool belt and position it comfortably on your hips.
- Check the strap length: Adjust the length of the suspender straps by using the strap adjusters on the suspender clips. Start with a slightly looser fit and make adjustments as needed until you achieve a comfortable length.
- Ensure proper weight distribution: As you adjust the suspender straps, pay attention to the weight distribution of your tools. The straps should evenly distribute the weight across your shoulders, relieving strain on your back and hips.
- Check for mobility and flexibility: Move around and perform various tasks to ensure that the suspender straps allow for a full range of motion. You should be able to move freely without feeling any restrictions caused by the suspender straps.
- Secure the straps: Once you have found a comfortable and secure fit, make sure to tighten the strap adjusters to secure the suspender straps in place. Double-check that the straps are firmly adjusted and won’t slip during use.
Take your time with these adjustments, as finding the perfect fit will contribute to your overall comfort and productivity while wearing your tool belt. It may require some trial and error to find the most comfortable length and fit for your specific body type and tool belt setup.
With the suspender straps properly adjusted, it’s time to move on to the final step: testing the suspension system.
Step 7: Test the suspension system
Testing the suspension system of your tool belt is an important step to ensure its effectiveness and your comfort. Follow these steps to properly test the suspension system:
- Add weight to the tool belt: Load your tool belt with the tools and equipment you typically use on the job. This will simulate real-world conditions and allow you to assess the effectiveness of the suspender system.
- Adjust the suspender straps if necessary: With the added weight, check if any adjustments need to be made to the suspender strap length. Pay attention to the weight distribution and how it feels on your shoulders.
- Move around and perform tasks: Walk, bend, and perform various tasks to test the mobility, flexibility, and stability of the tool belt with suspension. Take note of any discomfort, pressure points, or restrictions in movement.
- Make further adjustments if needed: If you experience any issues during the testing, such as the tool belt shifting or causing discomfort, make additional adjustments to the suspender straps or tool belt positioning until you achieve optimal comfort and stability.
- Repeat the testing process: Test the suspension system in different work scenarios to ensure that it provides the desired support and functionality across various tasks and movements. Adjustments may be necessary if you notice any inconsistencies during the testing process.
By thoroughly testing the suspension system, you can ensure that it meets your requirements and provides the desired comfort and functionality while wearing your tool belt. Take the time to make any necessary adjustments until you are completely satisfied with the fit and performance of the suspension system.
Congratulations! You have successfully attached suspenders to your tool belt and created a comfortable and efficient suspension system. Now you can enjoy the benefits of improved weight distribution and reduced strain on your back and hips, making your work more enjoyable and productive.
Remember to regularly inspect and maintain your tool belt and suspension system to ensure its longevity and proper functionality. Replace any worn-out or damaged parts as needed to maintain a safe and effective tool belt setup.
With a properly attached and adjusted tool belt suspension system, you’re now ready to take on your projects with ease and comfort!
Conclusion
Attaching suspenders to your tool belt is a simple yet highly beneficial process that can greatly enhance your comfort, mobility, and productivity. By following the steps outlined in this article, you can create a secure and efficient suspension system for your tool belt.
Through the gathering of the necessary tools and materials, preparing your tool belt, attaching the suspender clips, and adjusting the suspender straps, you have successfully created a suspension system that evenly distributes the weight of your tools and reduces strain on your back and hips.
Remember to take the time to properly adjust the suspender straps for a comfortable fit and test the suspension system to ensure its effectiveness. Making necessary adjustments until you achieve optimal comfort and stability is key to maximizing the benefits of your tool belt suspension.
With your tool belt properly suspended, you can now take on your projects with ease, knowing that the weight of your tools is distributed evenly and your mobility is not hindered. This can lead to increased productivity and a reduced risk of work-related injuries.
Regularly inspect and maintain your tool belt and suspension system to ensure their longevity and functionality. Replace any worn-out or damaged parts to maintain a safe and reliable tool belt setup.
So, go ahead and attach suspenders to your tool belt, and experience the difference it can make in your work life. Enjoy the comfort, convenience, and improved performance that a proper suspension system provides. Happy working!
Frequently Asked Questions about How To Attach Suspenders To My Tool Belt
Was this page helpful?
At Storables.com, we guarantee accurate and reliable information. Our content, validated by Expert Board Contributors, is crafted following stringent Editorial Policies. We're committed to providing you with well-researched, expert-backed insights for all your informational needs.


0 thoughts on “How To Attach Suspenders To My Tool Belt”