Home>Gardening & Outdoor>Outdoor Structures>How To Change Car Ramps In My Tool Shed

Outdoor Structures
How To Change Car Ramps In My Tool Shed
Published: December 21, 2023
Learn how to change car ramps in your outdoor tool shed with our step-by-step guide. Keep your outdoor structures well-maintained and organized.
(Many of the links in this article redirect to a specific reviewed product. Your purchase of these products through affiliate links helps to generate commission for Storables.com, at no extra cost. Learn more)
Introduction
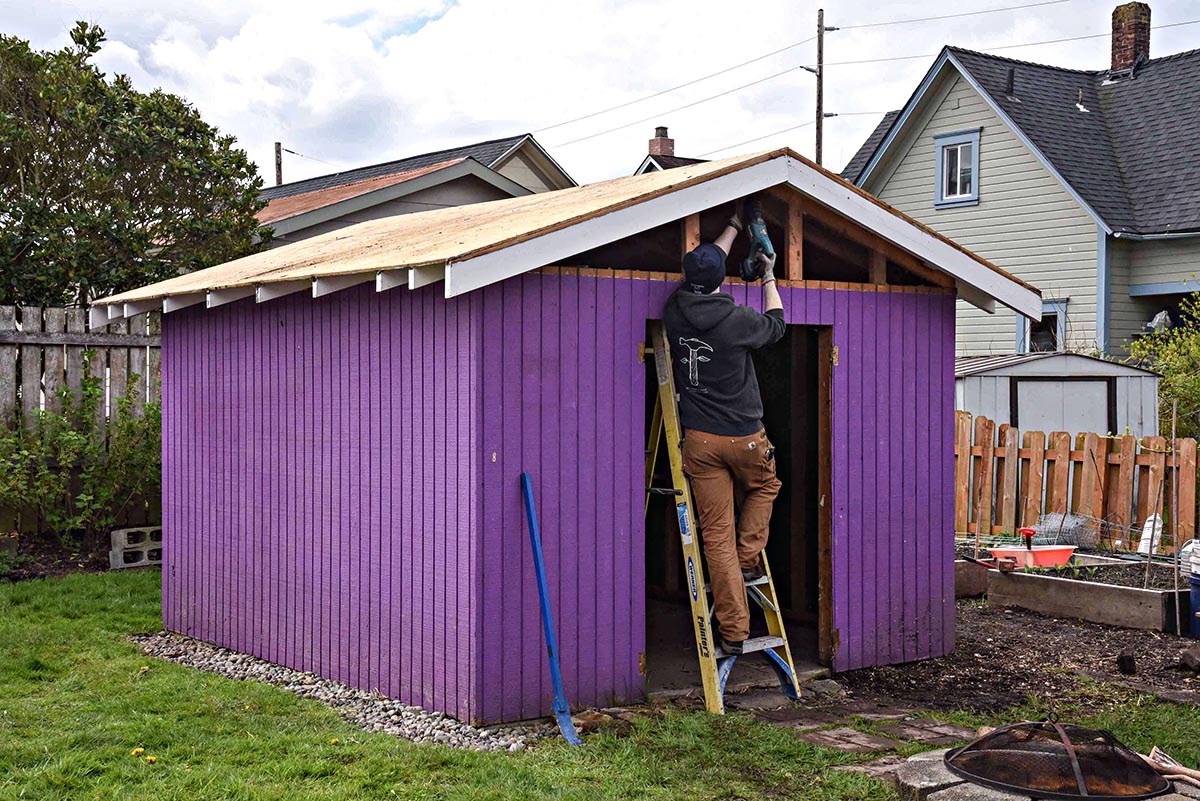
Welcome to the heart of your outdoor workspace – the tool shed. This is where you tinker, fix, and create, and it's likely that your car ramps have been an essential part of your toolkit. Over time, car ramps can wear down due to constant use and exposure to the elements. As a result, it's important to periodically assess their condition and, if necessary, replace them to ensure safety and functionality.
In this guide, we'll walk through the process of changing car ramps in your tool shed. Whether you're a seasoned DIY enthusiast or a novice looking to take on a new project, this step-by-step tutorial will equip you with the knowledge and confidence to complete the task effectively. We'll cover everything from assessing the condition of your current car ramps to testing the new ones, ensuring that your workspace is equipped for all your automotive projects.
So, grab your tool belt, dust off your work gloves, and let's dive into the process of rejuvenating your tool shed with a fresh set of car ramps.
Key Takeaways:
- Revitalize your tool shed by replacing worn car ramps. Assess, gather tools, remove old ramps, install new ones, and test for safety and functionality. Enjoy a safe and efficient workspace for automotive projects.
- Ensure safety and functionality in your tool shed by methodically changing car ramps. Evaluate, gather tools, replace, and test for reliability. Create a secure environment for DIY automotive endeavors.
Read more: How To Make A Driveway Ramp For Lowered Cars
Assessing the Condition of Your Car Ramps
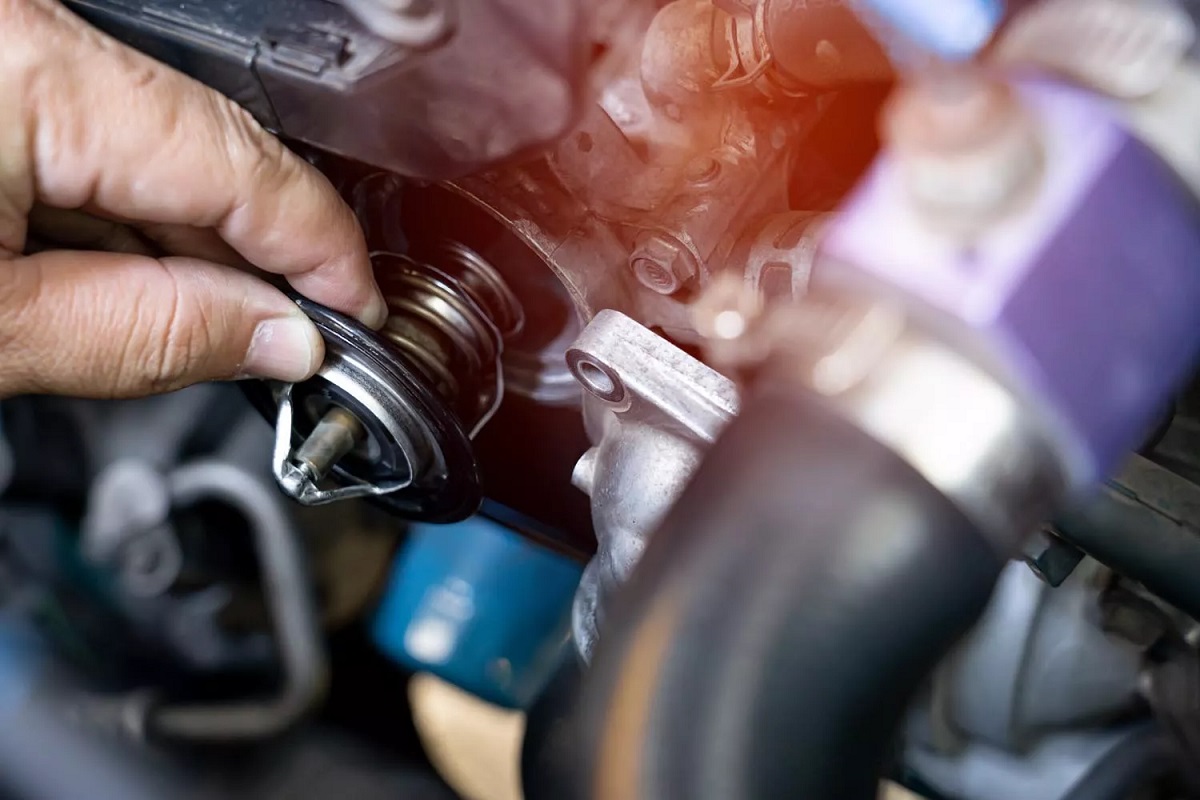
Before diving into the replacement process, it’s crucial to evaluate the current state of your car ramps. Start by visually inspecting the ramps for any signs of wear and tear. Look for cracks, rust, or structural damage that may compromise their integrity. Additionally, assess the overall stability of the ramps by gently applying pressure to different areas. Any noticeable wobbling or instability indicates a need for replacement.
Next, consider the weight capacity of the ramps. Over time, heavy usage can lead to a reduction in the ramps’ load-bearing capacity. Refer to the manufacturer’s specifications to determine the maximum weight limit for your existing ramps. If you frequently work with vehicles that exceed this limit, it’s advisable to invest in heavy-duty replacement ramps to ensure safety during use.
Examine the traction surface of the ramps. This is particularly important for ensuring that your vehicle can grip the surface securely as it ascends the ramps. If the traction surface shows signs of excessive wear or smoothness, it may compromise the vehicle’s stability during use. Additionally, check for any oil or fluid stains on the ramps, as these can reduce traction and pose a slipping hazard.
Lastly, consider the overall condition of the ramp’s structural components, such as the incline angle and the integrity of the support beams. Any deviations from the original design, such as warping or bending, should be carefully noted as they can impact the safety and effectiveness of the ramps.
By thoroughly assessing the condition of your car ramps, you’ll gain valuable insights into whether replacement is necessary. This proactive approach ensures that your workspace remains safe and functional, setting the stage for a seamless transition to new car ramps.
Gathering the Necessary Tools and Materials
Preparing for the replacement of your car ramps involves assembling the essential tools and materials required for the task. By ensuring that you have everything at your disposal, you can streamline the installation process and minimize interruptions.
Here’s a comprehensive list of tools and materials you’ll need:
- New Car Ramps: Select high-quality replacement car ramps that align with the weight capacity and specifications suitable for your vehicles. Ensure that the ramps are designed to provide optimal traction and stability.
- Work Gloves: A sturdy pair of work gloves will protect your hands during the removal and installation process, especially when handling heavy equipment.
- Safety Goggles: Prioritize eye protection by using safety goggles to shield your eyes from debris or dust particles that may be dislodged during the task.
- Wrench or Socket Set: Depending on the fastening mechanism of your current ramps, a wrench or socket set will be necessary for loosening and securing bolts or nuts.
- Adjustable Wrench: This versatile tool will aid in adjusting and tightening various components during the installation of the new car ramps.
- Level: To ensure the proper alignment and stability of the new ramps, a level will help you gauge their positioning accurately.
- Cleaner and Cloth: Before installing the new ramps, thoroughly clean the designated area in the tool shed to remove any debris or oil stains that may affect the stability of the new ramps.
- Assistance: If the car ramps are heavy or cumbersome to handle, consider enlisting the help of a friend or family member to assist with the installation process.
By gathering these tools and materials in advance, you’ll be well-prepared to seamlessly transition from the removal of the old car ramps to the installation of the new ones. This proactive approach sets the stage for a smooth and efficient process, ensuring that your workspace is equipped with reliable and safe car ramps for future automotive endeavors.
Removing the Old Car Ramps
As you embark on the journey to replace your car ramps, the initial step involves the careful removal of the existing ramps from your tool shed. This process requires attention to detail and a methodical approach to ensure a smooth transition to the new equipment.
Here’s a step-by-step guide to removing the old car ramps:
- Clear the Surrounding Area: Begin by clearing the space around the existing ramps to create a safe and unobstructed working environment. Remove any tools, debris, or objects that may impede the removal process.
- Secure the Vehicle: If a vehicle is positioned on the ramps, carefully drive it off and park it in a safe location. Ensure that the vehicle is securely supported on level ground before proceeding with the removal of the ramps.
- Loosen Fasteners: Using the appropriate wrench or socket set, carefully loosen and remove the fasteners securing the old ramps to the floor or support structure. Pay close attention to any retaining bolts or nuts that may be concealed beneath the ramps.
- Inspect for Obstructions: Once the fasteners are removed, inspect the underside of the ramps for any potential obstructions or residual connections. Clear any obstacles that may hinder the smooth extraction of the ramps.
- Gradual Lifting: With the assistance of a friend or family member, carefully lift and maneuver the old ramps away from their original position. Exercise caution to avoid straining your back or causing damage to the surrounding area.
- Clean the Area: After the old ramps are removed, take the opportunity to clean the designated space in the tool shed. Remove any accumulated debris or residues to ensure a clean and level surface for the installation of the new car ramps.
By methodically following these steps, you can safely and effectively remove the old car ramps, paving the way for the seamless installation of their replacements. This meticulous approach sets the stage for a successful transition, ensuring that your workspace is ready to accommodate the new equipment.
When changing car ramps in your tool shed, make sure to choose ramps that can support the weight of your vehicle and are the right size for your space. Also, consider ramps with non-slip surfaces for safety.
Installing the New Car Ramps
With the old car ramps successfully removed, the stage is set for the installation of their replacements. This pivotal phase demands precision and attention to detail to ensure the secure and stable positioning of the new ramps within your tool shed.
Follow these step-by-step guidelines to install the new car ramps:
- Positioning: Carefully position the new car ramps in the designated area of your tool shed, ensuring that they are aligned parallel to each other and perpendicular to the direction of vehicle entry. Use a level to verify that the ramps are positioned evenly and securely.
- Securing Fasteners: If the new ramps are equipped with fastening mechanisms, such as bolts or nuts, securely fasten them to the floor or support structure using the appropriate tools. Ensure that the fasteners are tightened to the manufacturer’s specifications to guarantee stability.
- Test Stability: Once the ramps are secured in place, gently apply pressure to different areas to test their stability. Verify that the ramps remain firmly anchored and exhibit no wobbling or shifting under pressure.
- Vehicle Alignment: If a vehicle is to be positioned on the ramps, carefully drive it onto the newly installed equipment, ensuring that the vehicle’s wheels are centered and aligned with the ramps for a smooth ascent.
- Verify Traction: Test the traction surface of the new ramps by slowly driving a vehicle onto them. Ensure that the vehicle grips the surface securely and experiences no slippage during the ascent. Address any traction issues promptly to guarantee safe and reliable usage.
- Final Inspection: Conduct a thorough visual inspection of the installed ramps, verifying that all components are securely fastened and aligned. Address any discrepancies or concerns to ensure that the new car ramps are fully functional and safe for use.
By meticulously following these installation steps, you can confidently position and secure the new car ramps, laying the foundation for a safe and efficient workspace. This meticulous approach ensures that your tool shed is equipped with reliable and stable car ramps, ready to support your automotive projects with confidence.
Read more: How To Build A Wood Ramp For A Shed
Testing the New Car Ramps
With the new car ramps securely installed in your tool shed, it’s essential to conduct comprehensive testing to ensure their functionality and safety. This critical phase allows you to verify the stability, traction, and load-bearing capacity of the ramps, providing peace of mind for future automotive endeavors.
Here’s a detailed guide to testing the new car ramps:
- Stability Assessment: Apply gradual pressure to different areas of the ramps to test their stability. Ensure that the ramps remain firmly anchored and exhibit no wobbling or shifting under pressure. This assessment is crucial for confirming the structural integrity of the newly installed equipment.
- Traction Verification: Test the traction surface of the ramps by walking on them or driving a vehicle onto them. Verify that the surface provides secure traction, minimizing the risk of slippage during vehicle ascent. Address any traction issues promptly to enhance safety and usability.
- Load-Bearing Test: If feasible, drive a vehicle onto the ramps to assess their load-bearing capacity. Verify that the ramps effectively support the weight of the vehicle without flexing or exhibiting signs of stress. This test is essential for confirming that the ramps can safely accommodate the intended vehicles.
- Vehicle Ascend and Descend: Carefully drive a vehicle onto the ramps and observe the ascent process. Ensure that the vehicle aligns smoothly with the ramps and experiences no difficulties during the ascent. Subsequently, guide the vehicle off the ramps, verifying a seamless and controlled descent.
- Functional Inspection: Conduct a visual inspection of the ramps, assessing all components for signs of stress, wear, or misalignment. Verify that the fasteners remain secure and that the ramps exhibit no structural issues that may compromise their functionality.
By diligently performing these tests, you can confidently validate the reliability and safety of the new car ramps, ensuring that they meet the necessary standards for your automotive projects. This thorough evaluation provides assurance that your workspace is equipped with dependable equipment, ready to support your automotive endeavors with confidence.
Conclusion
Congratulations on successfully navigating the process of changing car ramps in your tool shed. By meticulously assessing the condition of your existing ramps, gathering the necessary tools and materials, and executing the removal and installation process, you’ve revitalized your workspace with reliable and functional equipment. The meticulous attention to detail and methodical approach have set the stage for a seamless transition, ensuring that your tool shed is equipped to support your automotive projects with confidence.
As you reflect on the journey of rejuvenating your workspace, it’s essential to recognize the significance of safety and functionality in the realm of automotive maintenance and repair. The proactive approach of evaluating the condition of the old ramps and diligently installing their replacements underscores the commitment to creating a secure and efficient environment for your endeavors.
Furthermore, the comprehensive testing of the new car ramps serves as a testament to your dedication to ensuring their reliability and stability. By meticulously assessing their stability, traction, and load-bearing capacity, you’ve fortified your workspace with equipment that meets the necessary standards for safe and effective use.
Looking ahead, the rejuvenated tool shed stands as a testament to your commitment to maintaining a workspace that embodies safety, functionality, and preparedness. As you embark on future automotive projects, the confidence instilled by the seamless transition to new car ramps will undoubtedly enhance the overall experience and outcomes of your endeavors.
In closing, the process of changing car ramps in your tool shed exemplifies the spirit of proactive maintenance and enhancement, setting the stage for a workspace that inspires creativity, productivity, and safety. Your dedication to this endeavor is a testament to the value you place on creating an environment that supports your passion for automotive projects and DIY endeavors.
So, as you stand amidst the revitalized tool shed, take pride in the transformation you’ve orchestrated, knowing that it stands as a testament to your commitment to excellence and preparedness in all your automotive pursuits.
Frequently Asked Questions about How To Change Car Ramps In My Tool Shed
Was this page helpful?
At Storables.com, we guarantee accurate and reliable information. Our content, validated by Expert Board Contributors, is crafted following stringent Editorial Policies. We're committed to providing you with well-researched, expert-backed insights for all your informational needs.


0 thoughts on “How To Change Car Ramps In My Tool Shed”