Articles
How To Attach Tool Box To Truck
Modified: February 29, 2024
Learn how to securely attach a tool box to your truck with this informative article. Discover the best methods and tools for a secure attachment, ensuring your tools stay safe while on the road.
(Many of the links in this article redirect to a specific reviewed product. Your purchase of these products through affiliate links helps to generate commission for Storables.com, at no extra cost. Learn more)
Introduction
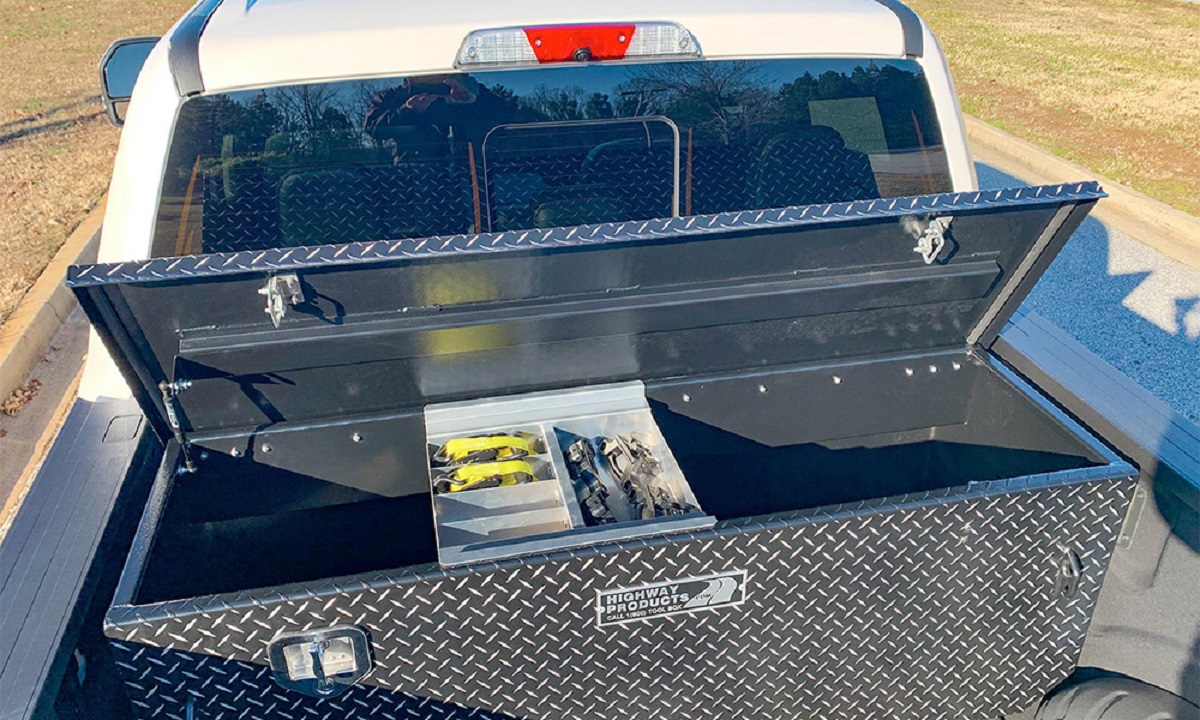
When it comes to organizing and transporting your tools, attaching a toolbox to your truck can be a practical and efficient solution. A secure and properly installed toolbox not only keeps your tools safe and protected during transportation, but it also allows for easy access whenever you need them. Whether you are a professional tradesperson or a casual DIY enthusiast, knowing how to attach a toolbox to your truck is a valuable skill that can save you time and hassle.
In this article, we will guide you through the step-by-step process of attaching a toolbox to your truck. From gathering the necessary materials to securing the toolbox onto the truck bed, we will provide you with all the information you need to successfully install a toolbox. So, let’s get started!
Key Takeaways:
- Properly attaching a toolbox to your truck involves gathering the right materials, measuring and marking the placement, and securing the toolbox onto the base brackets. Take your time and ensure precision for a secure and functional installation.
- After installation, periodically check and maintain the toolbox and base brackets to ensure longevity. Enjoy the convenience of having your tools readily available and securely stored during transportation.
Read more: How To Organize A Truck Tool Box
Step 1: Gather the necessary materials
Before you begin the installation process, it is essential to gather all the necessary materials. Having everything ready beforehand will ensure a smooth and efficient installation. Here are the materials you will need:
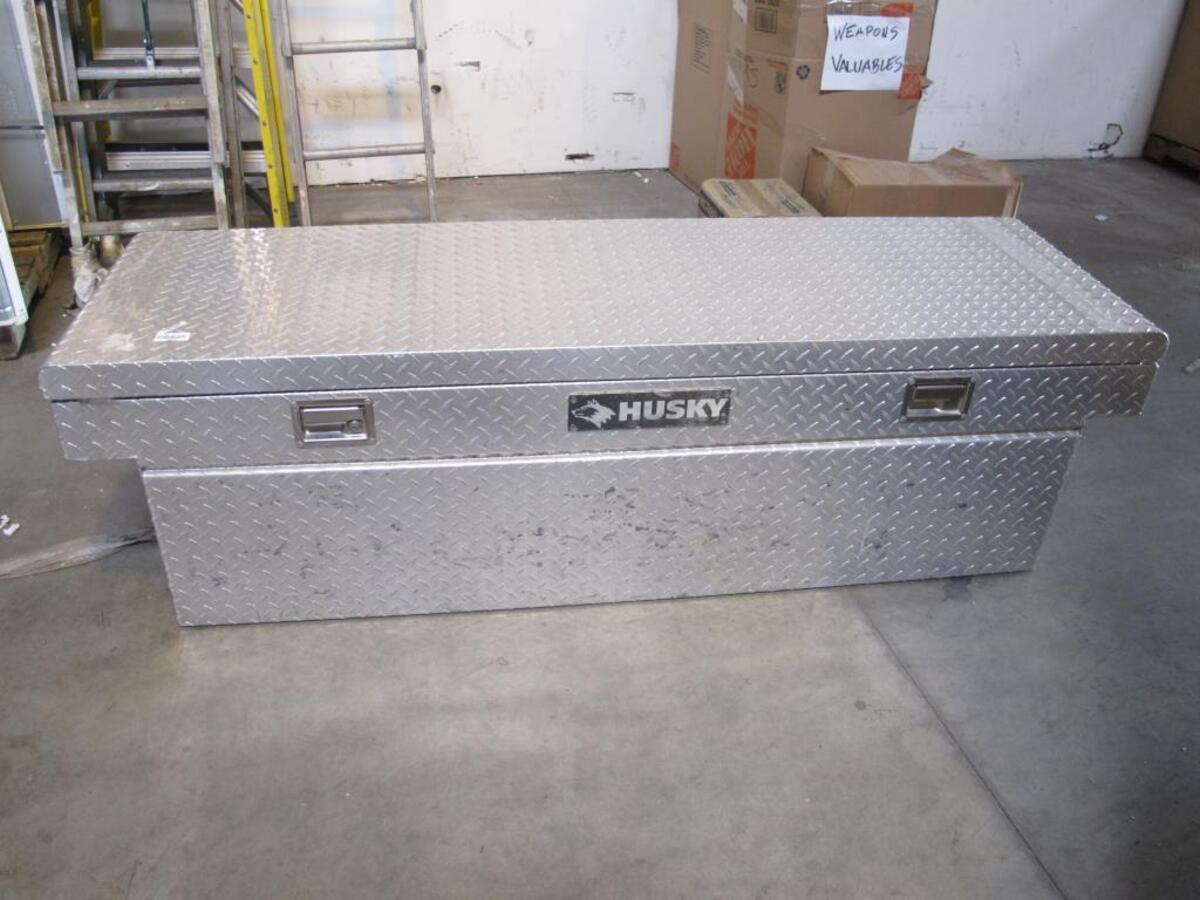
- Toolbox: Choose a toolbox that suits your specific needs and preferences. Consider factors such as size, material, and lock mechanism.
- Base Brackets: These brackets will secure the toolbox to the truck bed. Make sure they are compatible with your toolbox and truck model.
- Mounting Hardware: This includes bolts, nuts, washers, and any other hardware required for attaching the base brackets to the truck bed and securing the toolbox.
- Measuring tape: Use a measuring tape to accurately measure and mark the placement of the toolbox on the truck bed.
- Marker or pencil: Use a marker or pencil to make clear and visible marks on the truck bed for proper placement of the toolbox.
- Power drill: A power drill will be needed to drill holes in the truck bed for attaching the base brackets.
- Safety gear: Wear safety glasses and gloves to protect yourself during the installation process. Safety should always be a priority.
Make sure you have all these materials readily available before proceeding with the installation. It is also a good idea to read the installation instructions provided by the toolbox manufacturer to ensure you have a clear understanding of the process.
Step 2: Measure and mark the placement of the toolbox
Once you have gathered all the necessary materials, the next step is to measure and mark the placement of the toolbox on the truck bed. Proper placement is crucial to ensure a secure and functional installation. Here’s how to do it:
- Clean the truck bed: Before measuring, make sure the truck bed is clean and free of any debris or dirt. This will ensure accurate measurements and a smooth installation.
- Position the toolbox: Place the toolbox on the truck bed in the desired location. Take into consideration factors such as accessibility and weight distribution.
- Measure the toolbox dimensions: Use a measuring tape to measure the length, width, and height of the toolbox. This will help you determine the exact position and ensure that it fits properly on the truck bed.
- Mark the placement: Using a marker or pencil, mark the four corners of the toolbox on the truck bed. You can also make additional reference marks along the sides for easy alignment.
- Double-check the measurements: Before moving forward, double-check the measurements to ensure accuracy. Adjust the placement if needed.
By carefully measuring and marking the placement of the toolbox, you will create a guide for the next steps of the installation process. It is important to take your time and ensure precision during this step to avoid any issues later on.
Step 3: Prepare the truck bed for installation
In order to ensure a secure and stable attachment of the toolbox, it is important to prepare the truck bed before proceeding with the installation process. This step involves cleaning the truck bed, inspecting for any obstructions, and potentially applying a protective coating. Here’s how to prepare the truck bed:
- Clean the truck bed: Start by thoroughly cleaning the truck bed to remove any dirt, debris, or rust. Use a brush or power washer to clean the surface and ensure proper adhesion of the base brackets.
- Inspect for obstructions: Carefully inspect the truck bed for any obstructions that may interfere with the installation. This includes things like bed liners, tie-down brackets, or protruding objects. If you encounter any obstructions, remove or adjust them accordingly.
- Consider protective coating: Depending on the condition of the truck bed and your personal preference, you may choose to apply a protective coating. This can help prevent rust and corrosion, especially in areas where the base brackets will be attached.
- Allow the truck bed to dry: After cleaning and applying any protective coating, allow the truck bed to dry completely before moving on to the next step. This will ensure a proper bond between the base brackets and the truck bed.
By properly preparing the truck bed, you create a clean and stable surface for the installation of the base brackets. This step is crucial to ensure a secure attachment and maximize the longevity of your toolbox installation.
Step 4: Attach the base brackets to the truck bed
With the truck bed prepared, it’s time to attach the base brackets that will secure the toolbox to the truck. The base brackets provide stability and support, ensuring that the toolbox remains in place during transportation. Here’s how to attach the base brackets:
- Position the base brackets: Place the base brackets on the truck bed, aligning them with the previously marked placement of the toolbox. Ensure that they are centered and evenly spaced.
- Mark the hole locations: Using a marker or pencil, mark the hole locations on the truck bed through the holes in the base brackets. This will serve as a guide for drilling the holes.
- Drill pilot holes: Using a power drill and an appropriate drill bit, drill pilot holes on the marked locations. The pilot holes should be slightly smaller in diameter than the bolts that will be used to secure the base brackets.
- Secure the base brackets: Place the base brackets back onto the truck bed and align them with the pilot holes. Insert the bolts through the holes in the base brackets and thread them into the pilot holes. Tighten the bolts with a socket wrench or adjustable wrench, ensuring a secure fit.
- Double-check the alignment: Once the base brackets are secured, double-check their alignment and stability. Ensure that they are firmly attached to the truck bed and properly aligned with the marks made for the toolbox placement.
Attaching the base brackets is a critical step in the toolbox installation process. By ensuring that they are securely fastened to the truck bed, you lay the foundation for a sturdy and reliable attachment of the toolbox.
Use heavy-duty mounting brackets and bolts to secure the tool box to the truck bed. Make sure to distribute the weight evenly and use a level to ensure it’s properly aligned.
Read more: How To Secure Truck Tool Box
Step 5: Secure the toolbox onto the base brackets
After attaching the base brackets to the truck bed, it’s time to secure the toolbox onto the brackets. This step involves aligning the toolbox with the brackets and properly fastening it to ensure stability and prevent movement during transportation. Here’s how to secure the toolbox onto the base brackets:
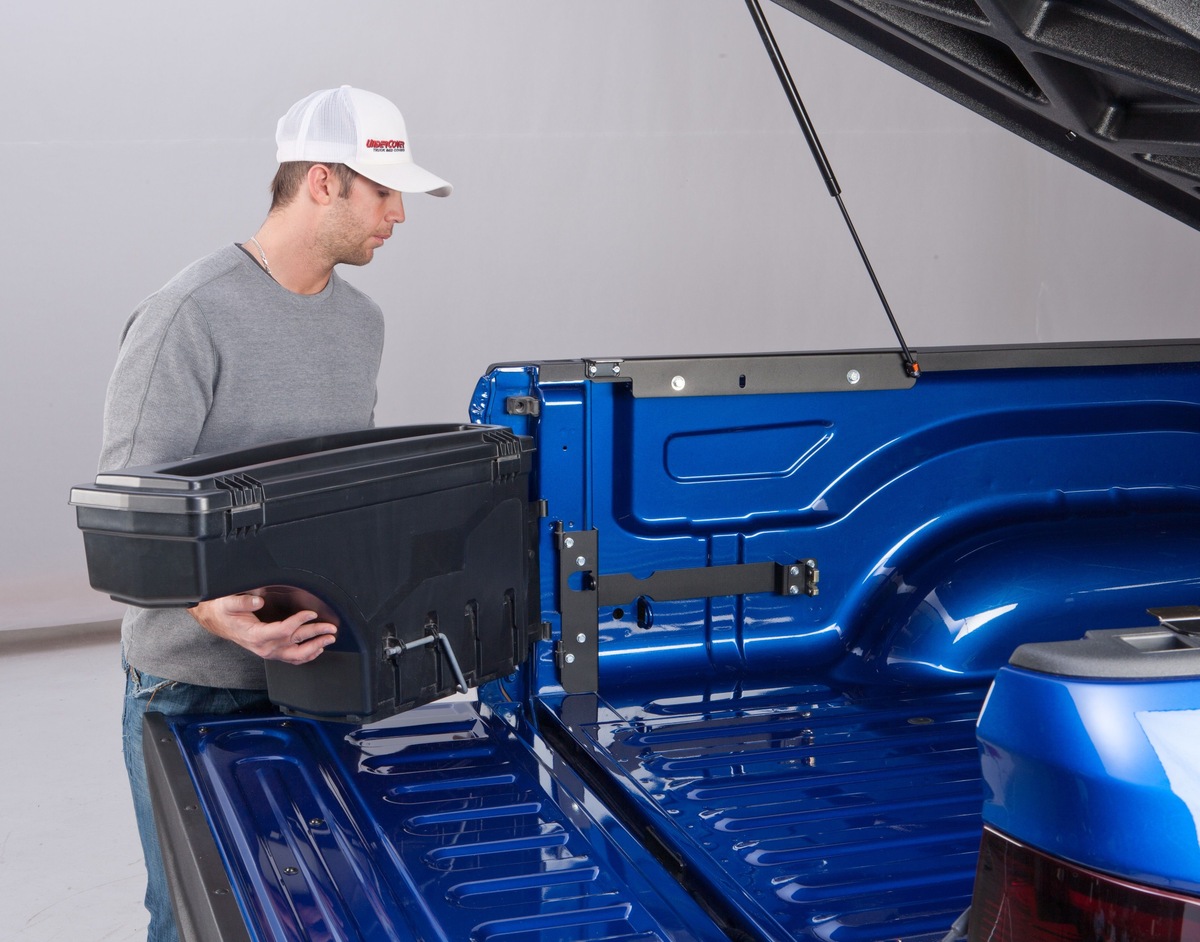
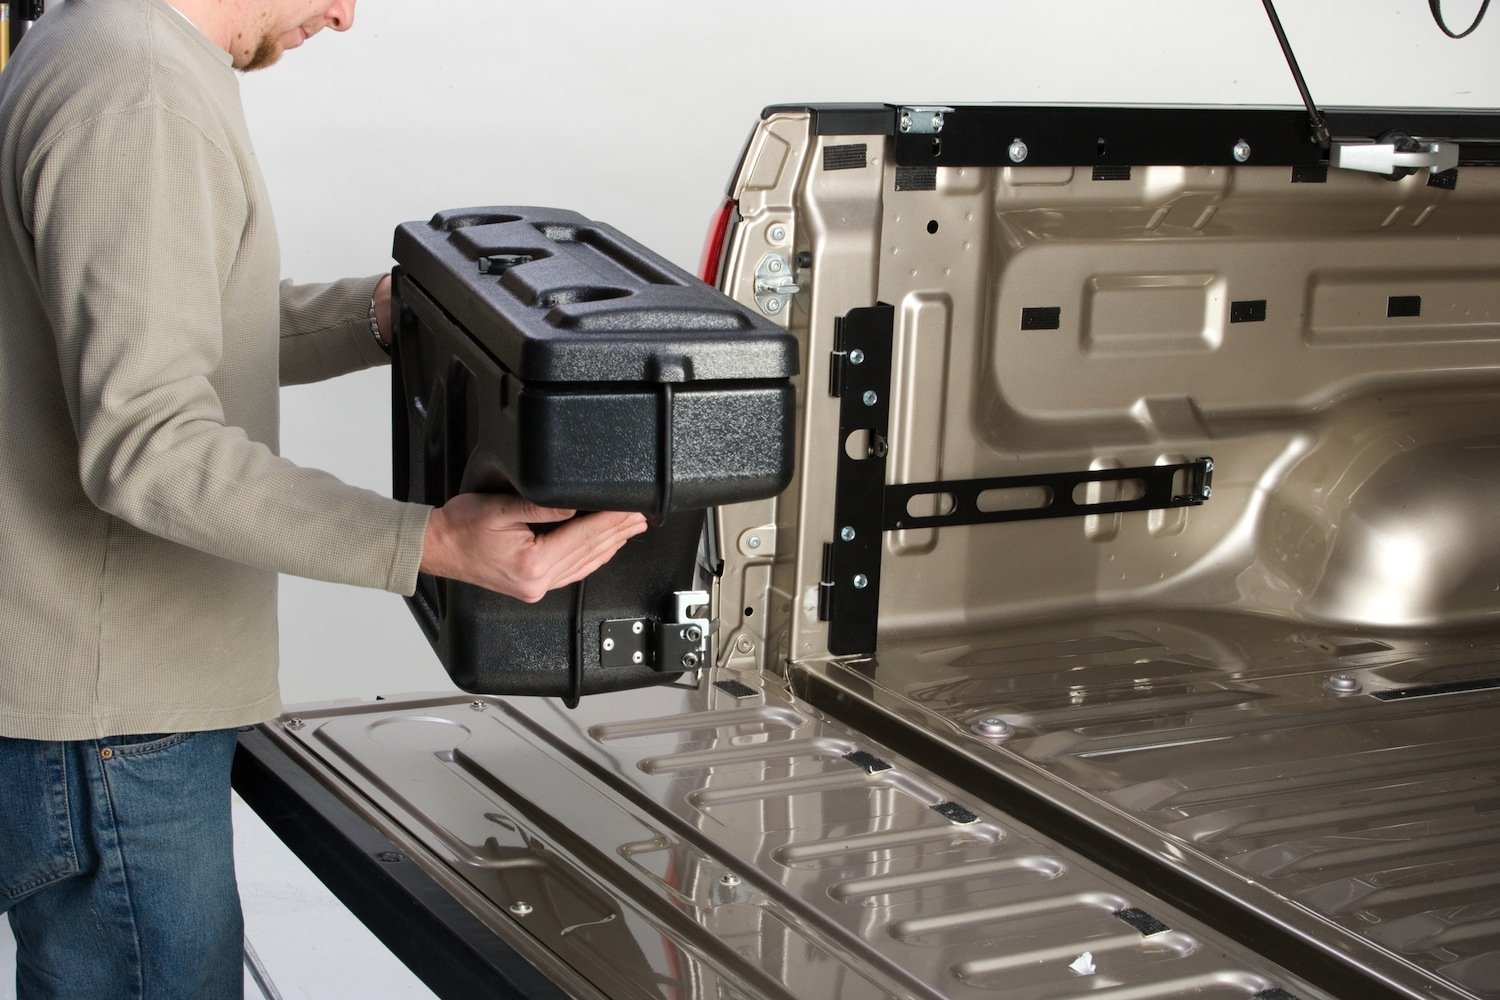
- Position the toolbox: Carefully lift the toolbox and position it on top of the base brackets. Align the holes in the toolbox with the holes in the brackets.
- Insert the bolts: Insert the bolts provided with the toolbox through the holes in the brackets and into the corresponding holes in the toolbox. Make sure the bolts are snug but not overly tight.
- Secure the toolbox: Use a socket wrench or adjustable wrench to tighten the bolts, ensuring a secure fit. Avoid overtightening, as it may damage the toolbox or the base brackets.
- Test for stability: Once the toolbox is securely attached, gently shake it to test for stability. It should be firmly in place with minimal movement. If there is any excessive movement, carefully reposition the toolbox and tighten the bolts further.
Securing the toolbox onto the base brackets is a crucial step to ensure its stability and prevent it from shifting or moving during transportation. Take your time to align the toolbox accurately and tighten the bolts properly for a secure attachment.
Step 6: Check for stability and make necessary adjustments
Once the toolbox is securely attached to the base brackets, it’s important to check for stability and make any necessary adjustments. This step ensures that the toolbox is properly installed and will remain secure during travel. Here’s how to check for stability and make adjustments:
- Test the stability: Give the toolbox a gentle shake to see if it wobbles or moves excessively. It should remain stable and firmly attached to the base brackets.
- Check for levelness: Use a level to ensure that the toolbox is properly aligned and level on the truck bed. Adjust the positioning if necessary.
- Inspect the bolts: Examine the bolts that secure the toolbox to the base brackets. Ensure that they are tightened securely, but be cautious not to overtighten and damage the toolbox or brackets.
- Make necessary adjustments: If you notice any instability or unevenness, make the necessary adjustments. This may involve loosening the bolts, repositioning the toolbox, and then retightening the bolts.
- Double-check everything: Once you have made the adjustments, retest the stability and levelness of the toolbox. It should now be firmly secured and properly aligned.
Checking for stability and making necessary adjustments is crucial to ensure the toolbox remains secure and does not pose any risks while driving. By taking the time to perform these checks, you can ensure a safe and reliable installation.
Step 7: Finalize the installation
After securing the toolbox and making any necessary adjustments, it’s time to finalize the installation. This final step involves double-checking the stability of the toolbox, ensuring all bolts are tightened properly, and making any finishing touches to complete the installation. Here’s how to finalize the installation:
- Double-check the stability: Give the toolbox a firm shake to ensure it remains stable and securely attached to the base brackets. Confirm that there is minimal movement or wobbling.
- Inspect the bolts: Take a moment to inspect all the bolts and confirm they are tightened securely. Check that there are no loose or missing bolts.
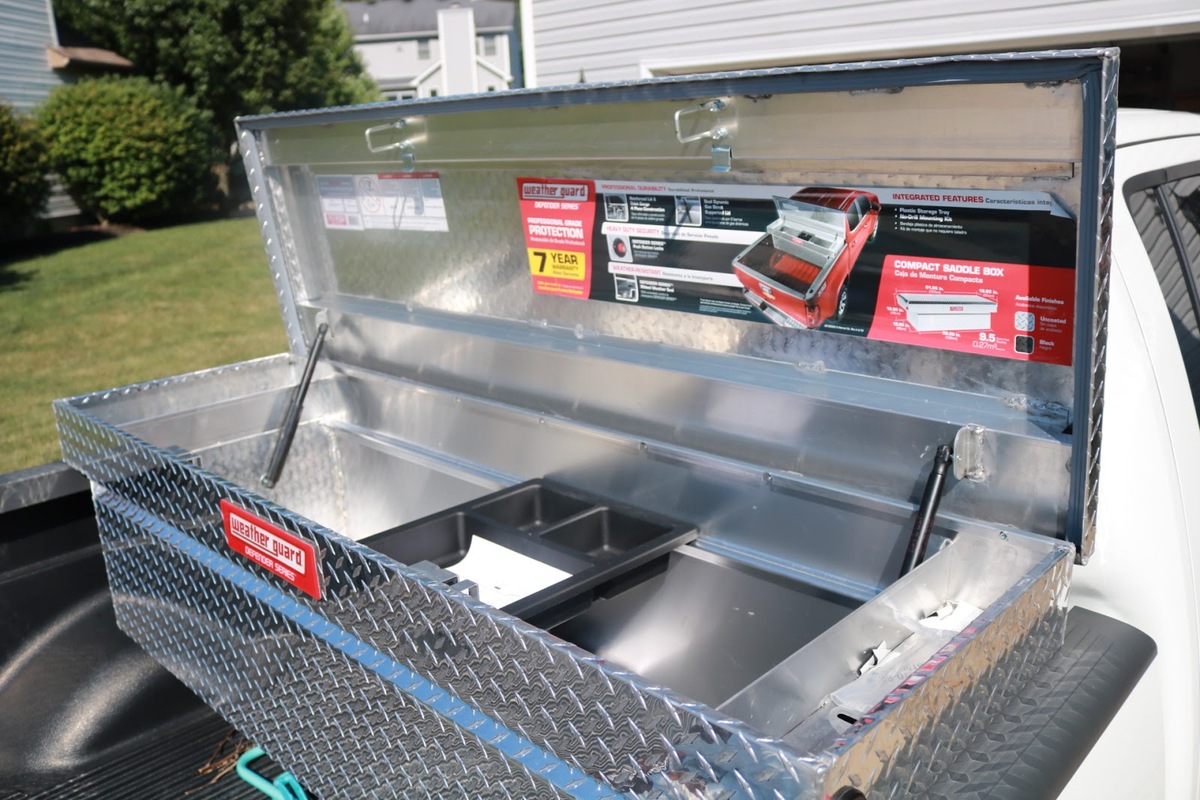
- Secure any loose items: Check the toolbox and make sure any loose items inside are secured or properly organized.
- Clean up and close the toolbox: Take the time to clean up any debris or tools that may have been left behind during the installation process. Close and lock the toolbox securely.
- Test the functionality: Open and close the toolbox to ensure it operates smoothly. Test any locks or latches to make sure they are functioning properly.
By finalizing the installation, you are ensuring that the toolbox is secure, functional, and ready for use. Take the time to perform these final checks and adjustments to ensure a successful installation.
With the toolbox securely installed on your truck, you can now enjoy the convenience and accessibility of having your tools readily available during your work or DIY projects. Remember to periodically check the toolbox and base brackets for any signs of wear or loosening, and make any necessary adjustments or repairs as needed. With proper maintenance, your toolbox will continue to serve you well for years to come.
Conclusion
Attaching a toolbox to your truck is a practical solution for organizing and transporting your tools. By carefully following the steps outlined in this guide, you can successfully install a toolbox onto your truck bed. From gathering the necessary materials to securing the toolbox onto the base brackets, each step is crucial in ensuring a secure and stable attachment.
Remember to take your time during the installation process, ensuring precise measurements, proper alignment, and tightening of bolts. It is important to check for stability and make any necessary adjustments to ensure the toolbox remains securely in place during transportation.
Once the installation is complete, it is recommended to periodically inspect and maintain the toolbox and base brackets to ensure their longevity. This includes checking for any signs of wear, tightening bolts if necessary, and keeping the toolbox clean and organized.
Having a toolbox attached to your truck allows for easy access to your tools, whether you are a professional tradesperson or a DIY enthusiast. It provides convenience and peace of mind, knowing that your tools are securely stored and protected during transportation.
Now that you know how to attach a toolbox to your truck, you can confidently take on your next project, knowing that your tools are within reach and well-organized. Enjoy the convenience and efficiency that a properly installed toolbox brings to your work or DIY endeavors!
Frequently Asked Questions about How To Attach Tool Box To Truck
Was this page helpful?
At Storables.com, we guarantee accurate and reliable information. Our content, validated by Expert Board Contributors, is crafted following stringent Editorial Policies. We're committed to providing you with well-researched, expert-backed insights for all your informational needs.


0 thoughts on “How To Attach Tool Box To Truck”