Articles
How To Store Baked Pie Crust Overnight
Modified: October 20, 2024
Learn the best way to store your baked pie crust overnight to keep it fresh and flaky. Our informative articles provide step-by-step instructions and helpful tips!
(Many of the links in this article redirect to a specific reviewed product. Your purchase of these products through affiliate links helps to generate commission for Storables.com, at no extra cost. Learn more)
Introduction
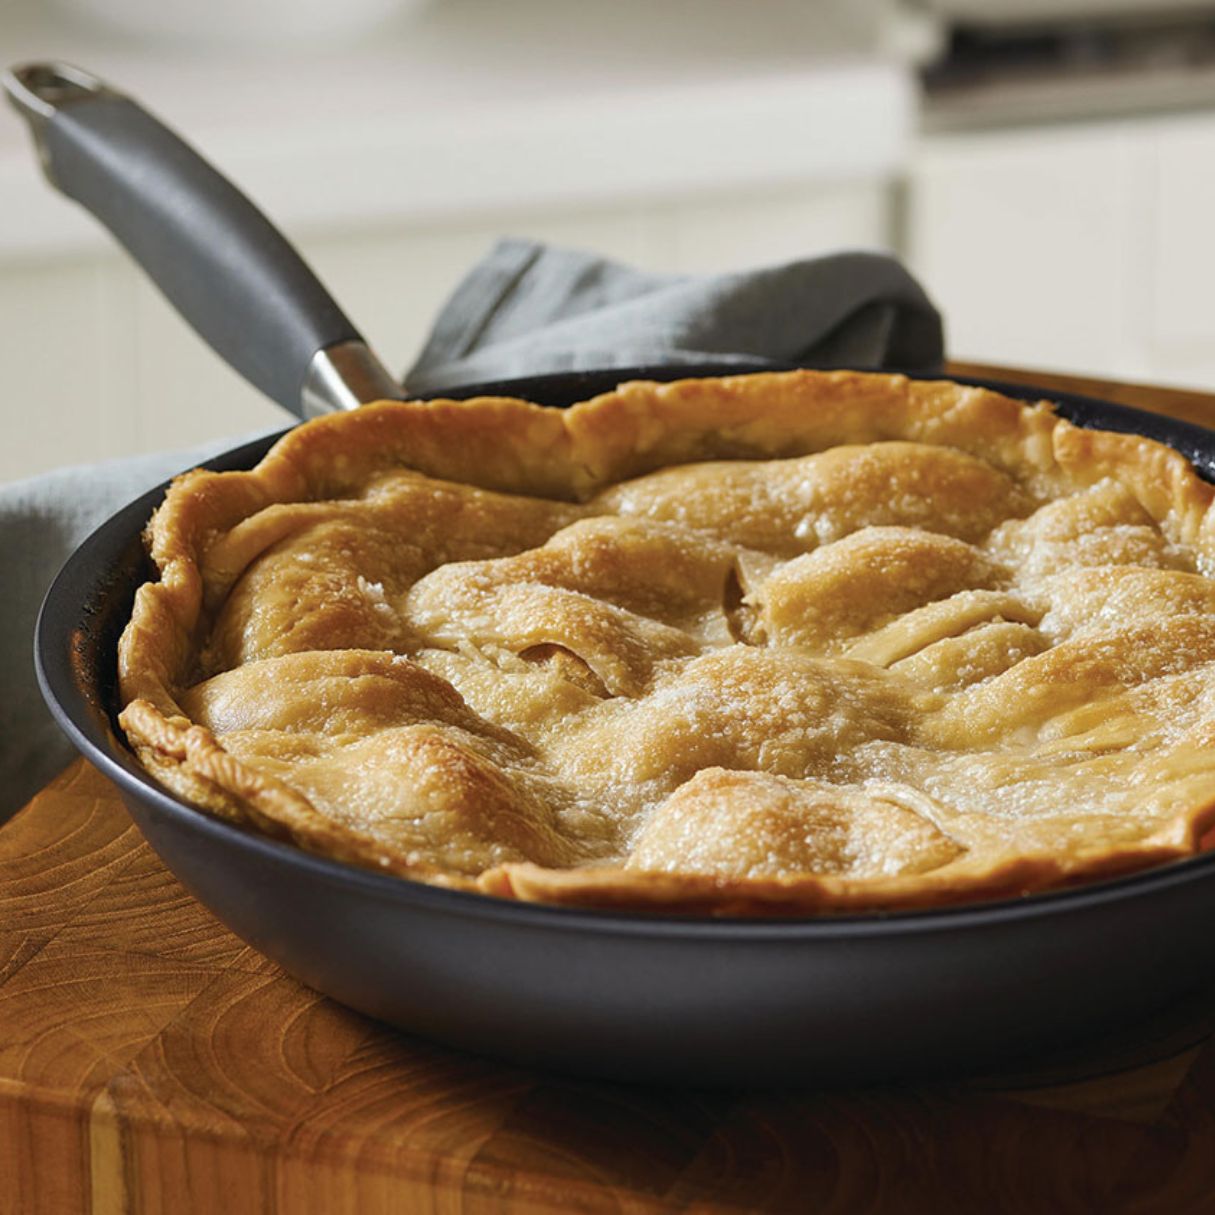
When it comes to baking a pie from scratch, the crust is often the star of the show. A perfectly flaky and buttery pie crust can take a pie from ordinary to extraordinary. But what happens when you want to make your pie crust in advance? How do you keep it fresh and flavorful overnight?
In this article, we will explore the best methods for storing baked pie crust overnight to ensure that it retains its texture and taste. Whether you are planning to prepare a pie for a special occasion or simply want to save time on a busy day, these tips will help you maintain the quality of your baked pie crust.
Key Takeaways:
- Store baked pie crust overnight to save time and enhance flavor and texture. Proper cooling, wrapping, refrigeration, and reheating are essential for maintaining the crust’s quality.
- Storing pie crust overnight allows flavors to develop and deepens, resulting in a more delicious end product. It also provides convenience and improved texture, making pie-making easier and more enjoyable.
Read more: How To Store Pie Crust Overnight
Why Store Baked Pie Crust Overnight
You might be wondering why it is necessary to store a baked pie crust overnight instead of simply using it right away. There are several reasons why storing your baked pie crust overnight can be beneficial:
- Convenience: Baking a pie crust takes time and effort. By preparing your pie crust in advance and storing it overnight, you can save valuable time and streamline your pie-making process.
- Improved Texture: Allowing the pie crust to cool and rest overnight can help to improve its texture. The overnight rest allows the crust to fully set, resulting in a flakier and crumblier texture.
- Enhanced Flavor: Like many baked goods, the flavors of a pie crust tend to develop and deepen over time. Storing the crust overnight allows the flavors to meld together, resulting in a more delicious and flavorful end product.
- Easier Handling: Baked pie crusts can be delicate and prone to cracking or breaking. By storing them overnight, you give the crusts time to firm up, making them easier to handle when assembling your pie.
Now that you understand the benefits of storing your baked pie crust overnight, let’s dive into the step-by-step process of how to do it properly.
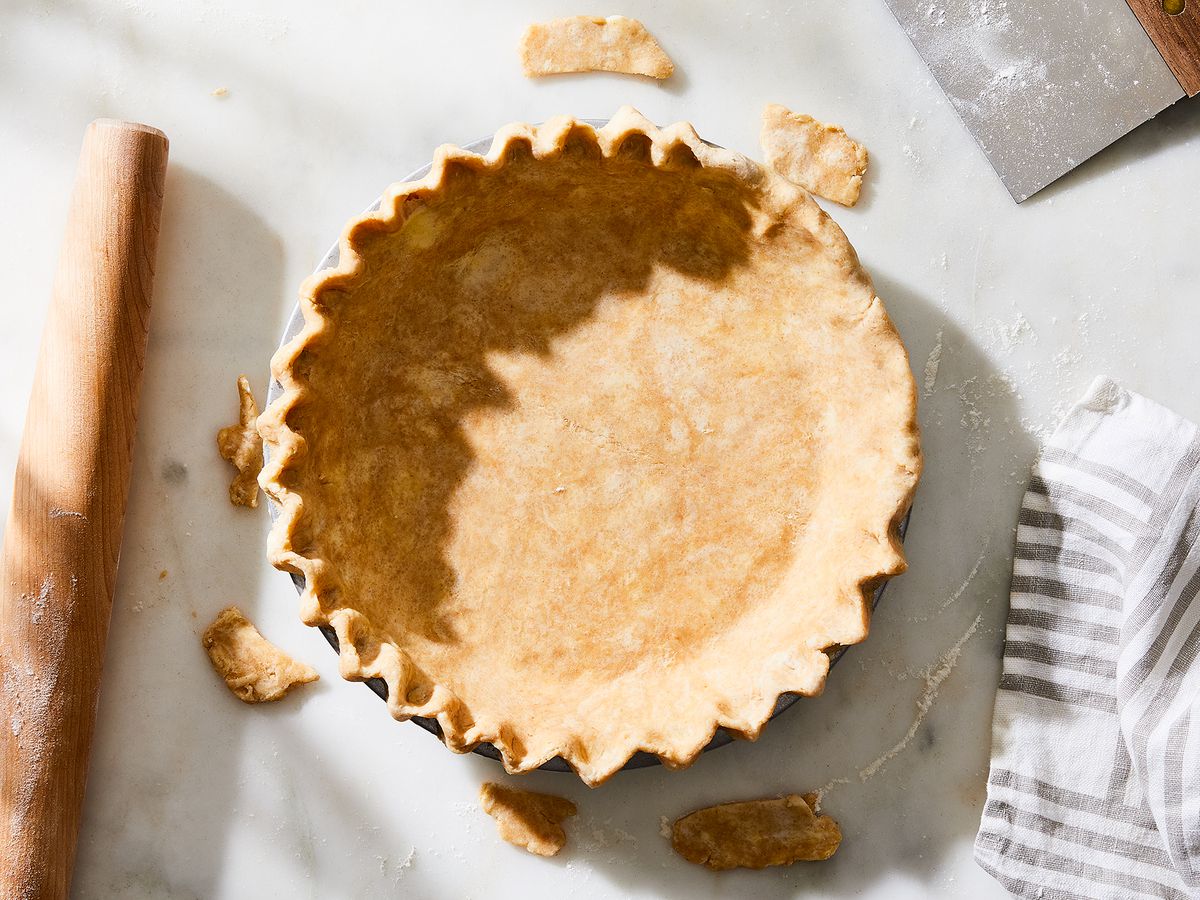
Step 1: Cooling the Pie Crust
Once your pie crust has finished baking, it’s important to allow it to cool completely before storing it overnight. Cooling the pie crust properly will ensure that it maintains its structure and doesn’t become soggy or lose its flakiness. Here’s how to cool your pie crust:
- Remove from the oven: Carefully take your baked pie crust out of the oven using oven mitts or heat-resistant gloves. Place it on a cooling rack or a heatproof surface.
- Let it cool at room temperature: Allow the pie crust to cool completely at room temperature. This process usually takes about 1-2 hours, but the exact time may vary depending on the thickness and size of your crust.
- Avoid direct airflow: Make sure to place the cooling pie crust away from any direct airflow, such as fans or vents. Direct airflow can cause the crust to cool too quickly, potentially resulting in a soggy or uneven texture.
It’s important to note that you should not attempt to wrap or store the pie crust until it has cooled completely. If you wrap it while it’s still warm, moisture can get trapped, causing the crust to become soft and lose its crispy texture.
Once your pie crust has cooled completely, you’re ready to move on to the next step: wrapping the pie crust to keep it fresh overnight.
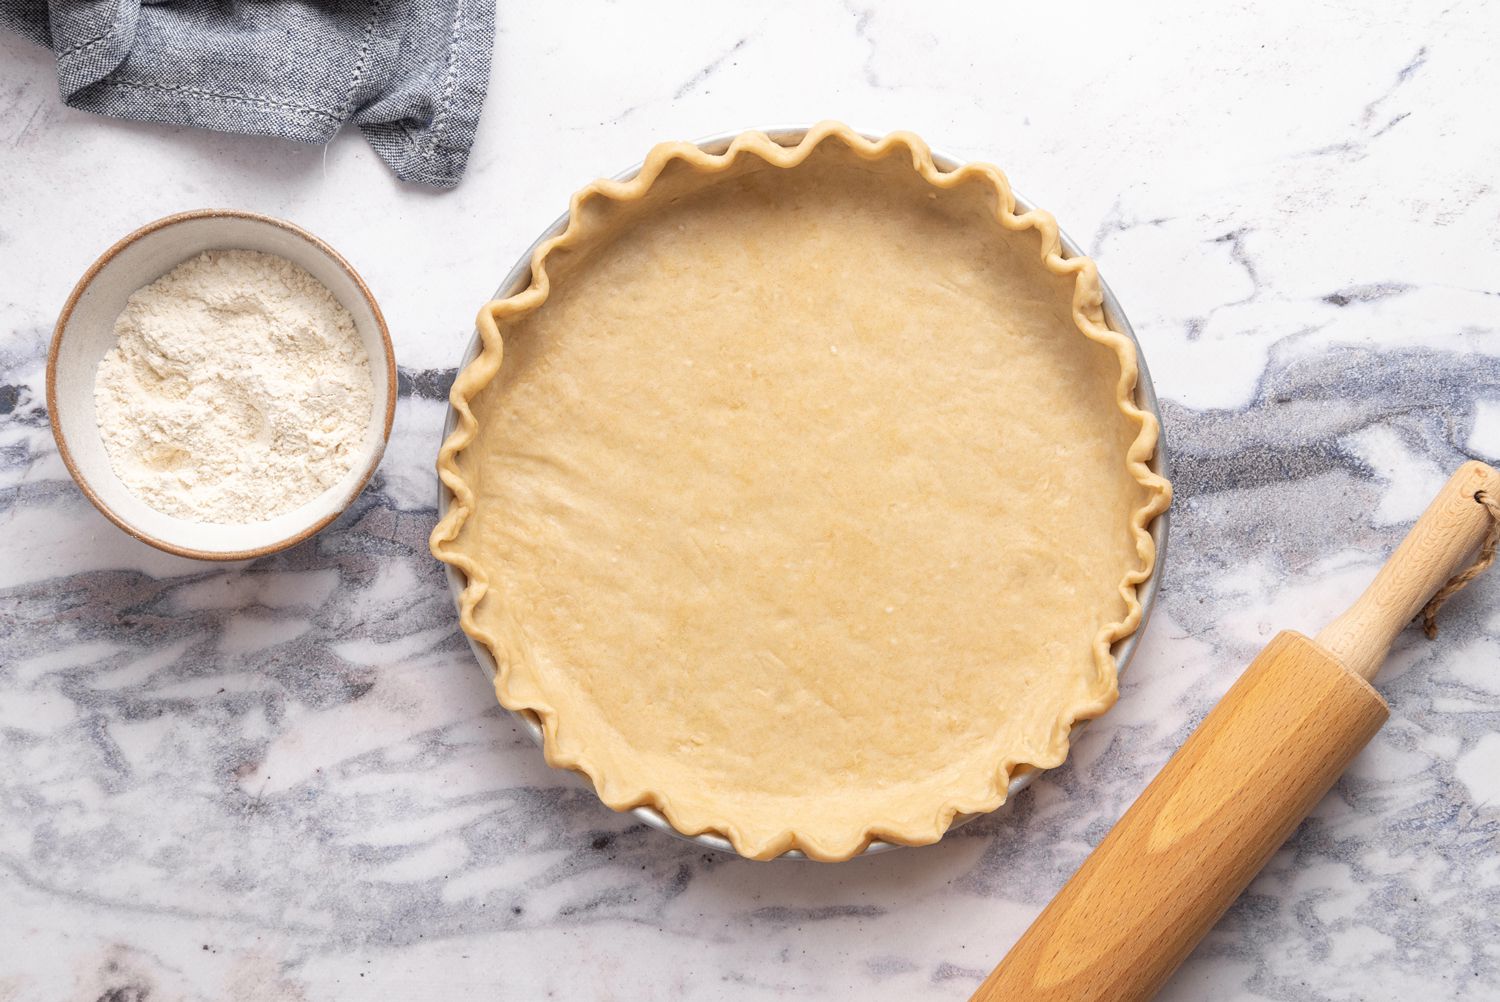
Step 2: Wrapping the Pie Crust
After your pie crust has cooled completely, it’s time to wrap it properly to ensure it stays fresh and protected overnight. Follow these steps to wrap your pie crust:
- Collect your materials: You will need aluminum foil or plastic wrap to wrap your pie crust. Make sure the foil or wrap is large enough to fully cover the crust.
- Place the pie crust on a clean surface: Gently transfer the cooled pie crust from the cooling rack to a clean and dry surface, such as a cutting board or a clean countertop.
- Center the pie crust: Position the pie crust in the center of the foil or plastic wrap, making sure there is enough foil or wrap on all sides to completely cover the crust.
- Wrap the crust: Carefully fold the foil or plastic wrap over the pie crust, creating a tight seal. Make sure the crust is fully covered and protected from any air or moisture.
- Secure the wrap: If using foil, you can crimp the edges to secure it tightly around the pie crust. If using plastic wrap, you can use tape or twist ties to keep it in place.
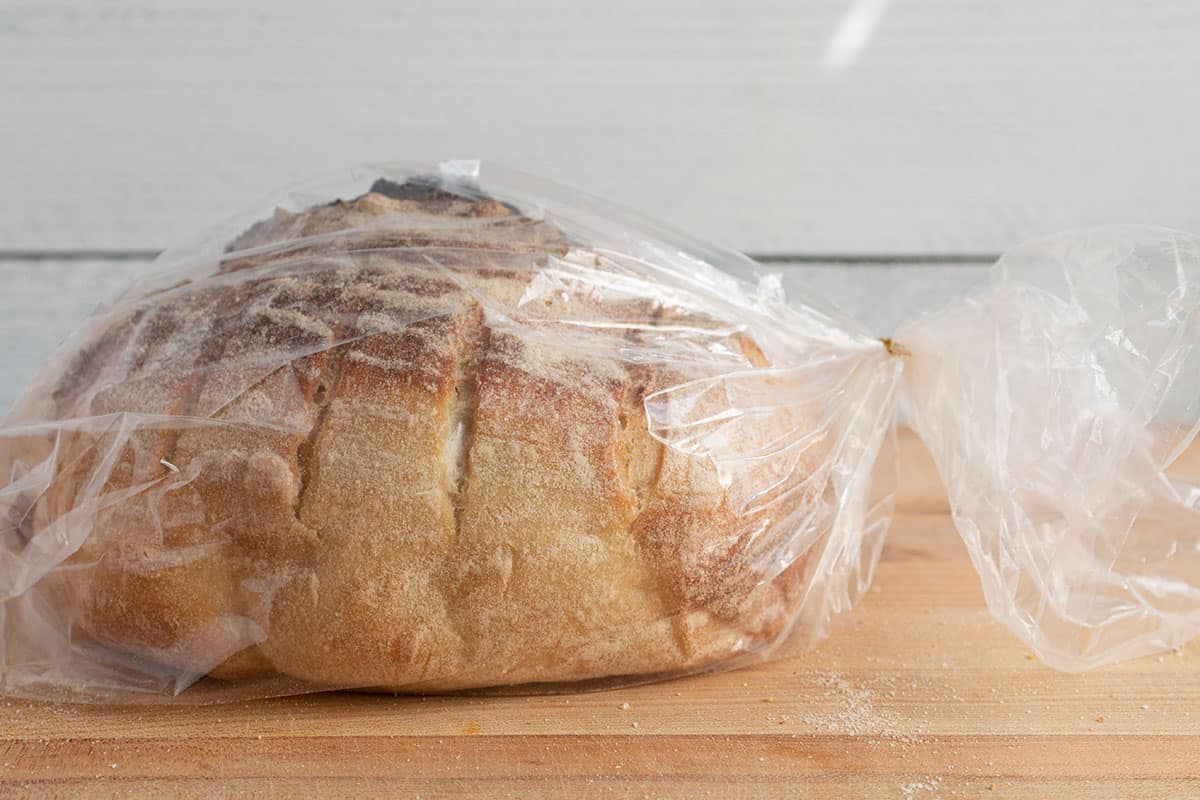
It’s important to wrap the pie crust tightly to prevent air and moisture from sneaking in. This will help maintain the freshness and texture of the crust overnight. Once wrapped, you’re ready to move on to the next step: storing the pie crust in the refrigerator.
After baking, allow the pie crust to cool completely. Once cooled, wrap the pie crust in plastic wrap or aluminum foil and store it at room temperature overnight. This will help keep the crust fresh and prevent it from becoming soggy.
Step 3: Storing the Pie Crust in the Refrigerator
Now that your pie crust is wrapped and protected, it’s time to store it in the refrigerator. Refrigerating the pie crust will keep it cool and prevent it from spoiling overnight. Follow these steps to store your pie crust in the refrigerator:
- Select a storage container: Choose a container that is large enough to accommodate the wrapped pie crust. Airtight containers or resealable plastic bags are great options.
- Place the wrapped pie crust in the container: Carefully place the wrapped pie crust into the storage container. Make sure it fits comfortably without getting squished or bent.
- Seal the container: If using an airtight container, make sure to seal it tightly to prevent any air or moisture from entering. If using a resealable plastic bag, squeeze out any excess air before sealing.
- Label and date the container: It’s a good practice to label and date the storage container, especially if you’re storing multiple pie crusts in the refrigerator. This will help you keep track of their freshness.
- Place the container in the refrigerator: Finally, find a spot in your refrigerator where the pie crust will not get crushed or disturbed. Ideally, it should be stored on a flat surface.
Refrigerating the pie crust overnight will keep it fresh and ready to use when you’re ready to bake your pie. Proper storage in the refrigerator will help maintain its texture and flavor. Now that your pie crust is safely stored in the refrigerator, let’s move on to the final step: reheating the pie crust before using it.
Read more: How To Store A Fresh Baked Pie Overnight
Step 4: Reheating the Pie Crust before Using
When you’re ready to use your stored pie crust, it’s important to properly reheat it to revive its flakiness and bring out its delicious flavors. Follow these steps to reheat your pie crust before using it:
- Preheat your oven: Start by preheating your oven to the desired temperature specified in your pie recipe. This is typically around 350°F (175°C) for most pies.
- Remove the pie crust from the refrigerator: Take the wrapped pie crust out of the refrigerator and allow it to sit at room temperature for about 10-15 minutes. This will help soften the crust slightly.
- Unwrap the pie crust: Carefully remove the foil or plastic wrap from the pie crust. Be gentle to avoid breaking or damaging the crust.
- Reheat the pie crust: Place the unwrapped pie crust on a baking sheet or directly on a wire rack. Place it in the preheated oven and bake for about 10-15 minutes, or until it becomes warm and slightly crisp.
- Monitor the reheating process: Keep a close eye on the pie crust while it’s reheating in the oven. You want it to warm up and become crisp, but be careful not to overbake it and make it too hard or dry.
- Remove from the oven: Once the pie crust is warmed through and has regained some of its flakiness, carefully remove it from the oven using oven mitts or heat-resistant gloves.
Your reheated pie crust is now ready to be used in your pie recipe. It will have that freshly baked taste and crispy texture, making your pie even more enjoyable!
Remember that reheating the pie crust is necessary if you want to use it for a cold or no-bake pie. If you’re making a pie that requires further baking, such as a fruit pie or quiche, you can skip the reheating step and use your stored pie crust directly in the recipe.
By following these steps, you can ensure that your stored baked pie crust remains fresh and delicious overnight, allowing you to enjoy homemade pies with ease and convenience. So go ahead, bake your pie crust in advance and store it overnight without worry!
Conclusion
Storing baked pie crust overnight is a great way to save time and ensure that your pies come out perfectly every time. By following the steps outlined in this article, you can keep your pie crust fresh and maintain its texture and flavor until you’re ready to use it.
From cooling the pie crust to wrapping it tightly, and from storing it in the refrigerator to reheating it before use, each step is essential to preserving the quality of the crust. The careful handling and proper storage techniques will result in a pie crust that is flaky, buttery, and delicious.
Not only does storing baked pie crust overnight provide convenience and improved texture, but it also allows the flavors to develop and deepen. The extra time gives the crust a chance to settle and rest, resulting in a more flavorful end product.
So, whether you want to make pies ahead of time for a special occasion or simply want to cut down on the preparation time, preparing and storing your pie crust overnight is a beneficial technique to have in your culinary repertoire.
Remember, the key to successful storage lies in proper cooling, wrapping, refrigeration, and reheating. By following the steps mentioned in this article, you can ensure that your baked pie crust remains fresh and ready to use whenever you’re in the mood for a delectable homemade pie.
Now that you have the knowledge and techniques to store baked pie crust overnight, go ahead and experiment with different pie recipes, knowing that your crust will be waiting for you, perfectly preserved and ready to elevate your pies to the next level.
Happy baking!
Frequently Asked Questions about How To Store Baked Pie Crust Overnight
Was this page helpful?
At Storables.com, we guarantee accurate and reliable information. Our content, validated by Expert Board Contributors, is crafted following stringent Editorial Policies. We're committed to providing you with well-researched, expert-backed insights for all your informational needs.


0 thoughts on “How To Store Baked Pie Crust Overnight”