Articles
How To Shrink A Duvet Cover
Modified: October 18, 2024
Learn the best techniques and tips for shrinking a duvet cover in this informative article. Whether you need to downsize for a smaller bed or want a snug fit, our step-by-step guide has got you covered.
(Many of the links in this article redirect to a specific reviewed product. Your purchase of these products through affiliate links helps to generate commission for Storables.com, at no extra cost. Learn more)
Introduction
Have you ever purchased a duvet cover, only to find that it’s just a little bit too big for your duvet? Don’t worry, you’re not alone. Many people face this issue when trying to find the perfect fit for their bedding. However, there’s no need to stress about returning or exchanging your duvet cover. With a few simple steps, you can easily shrink your duvet cover to achieve the desired fit.
In this article, we will guide you through the process of shrinking a duvet cover. By following our step-by-step instructions, you’ll be able to adjust the size of your duvet cover without compromising its quality or appearance. So, let’s get started on transforming your oversized duvet cover into a perfect fit!
Note: It’s important to note that shrinking a duvet cover may alter its overall dimensions permanently. Before proceeding, make sure you are confident that you want to permanently change the size of your duvet cover.
Key Takeaways:
- Easily resize your duvet cover at home by following simple steps, including prepping, soaking in hot water, drying on high heat, and ironing. Proper storage ensures the shrunken duvet cover maintains its new size and quality.
- Consider permanently altering the size of your duvet cover before embarking on the shrinking process. Tailor the method to your duvet cover’s fabric, and enjoy the perfect fit and cozy comfort of a shrunken duvet cover.
Read more: What Is A Duvet Cover
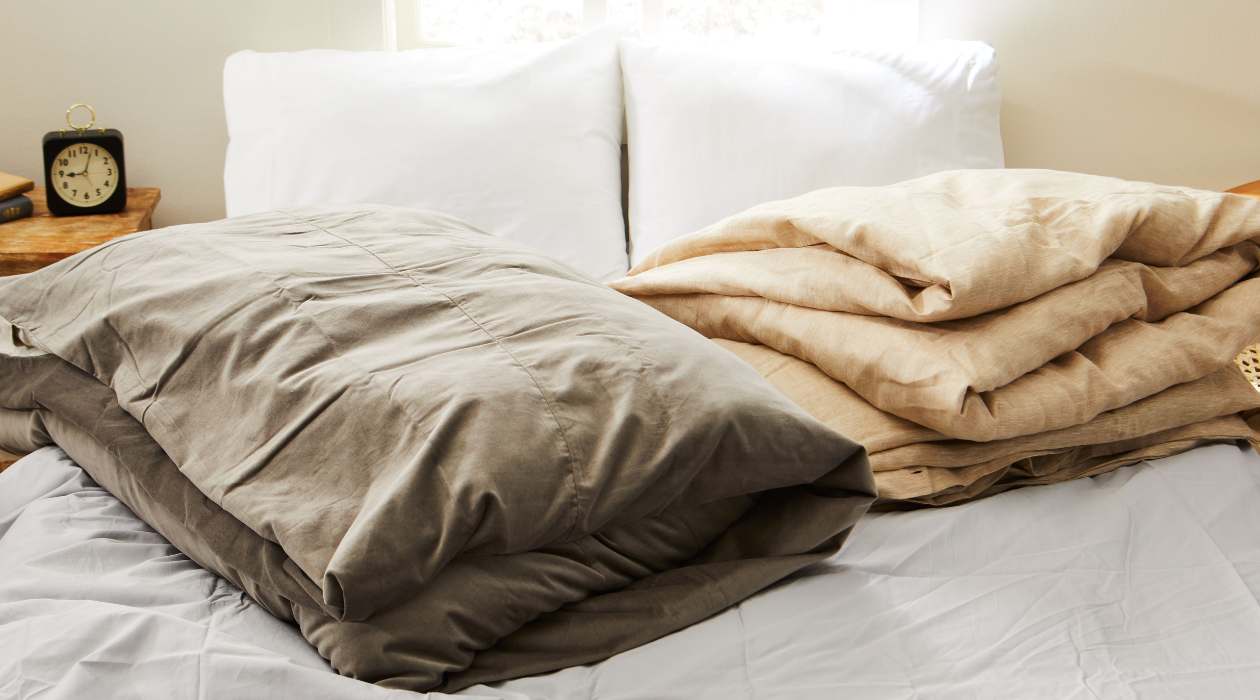
Step 1: Prep the Duvet Cover
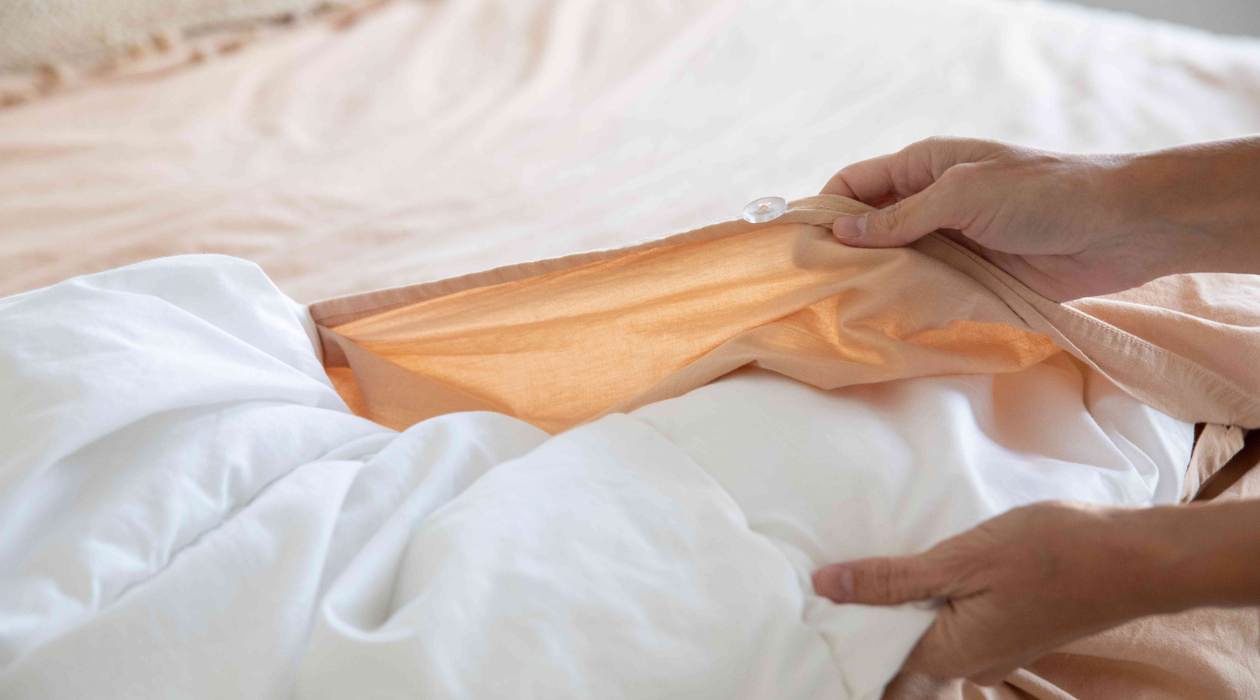
The first step in shrinking a duvet cover is to prepare it for the shrinking process. Start by removing the duvet cover from your bedding and give it a thorough inspection. Check for any stains or spots that may need pre-treatment before shrinking.
If you notice any stains, pretreat them by applying a stain remover directly to the affected areas. Gently rub the stain remover into the fabric and let it sit for the recommended time before laundering the duvet cover.
Next, make sure that the duvet cover is clean and free of any dust or debris. If it’s been a while since you last washed the duvet cover, it’s a good idea to give it a gentle wash before proceeding. Follow the care instructions on the label and use a mild detergent appropriate for the fabric of your duvet cover.
Once you’ve prepped the duvet cover, ensure that it’s completely dry before moving on to the next step. Hanging it to air dry is the best option to avoid any potential shrinkage during the drying process.
Tip: If your duvet cover is made of delicate or shrink-prone fabric, such as silk or linen, consider consulting a professional cleaner for assistance. They will have the expertise to handle the fabric properly and minimize any potential damage.
Step 2: Soak the Duvet Cover in Hot Water
Now that you’ve prepped the duvet cover, it’s time to start the shrinking process. Fill a large basin, bathtub, or sink with hot water. The water should be hot enough to comfortably immerse the duvet cover but not scalding hot.
Place the duvet cover in the hot water and make sure it’s completely submerged. Gently agitate the water to ensure that the duvet cover is evenly soaked. Allow the duvet cover to soak in the hot water for at least 30 minutes. This will help relax the fibers and prepare them for shrinkage.
Caution: Be careful not to use boiling water or excessively hot water, as it can damage the fabric of the duvet cover.
During the soaking process, you may notice some color bleeding, especially if the duvet cover is brightly colored. This is normal, and you can prevent excessive bleeding by adding a cup of vinegar to the hot water. The vinegar helps set the colors and minimize bleeding.
After the duvet cover has soaked for the recommended time, carefully remove it from the water and gently squeeze out any excess water. Avoid wringing or twisting the fabric, as this can cause unnecessary damage to the fibers.
Tip: If your duvet cover has any delicate embellishments or decorative accents, such as beading or embroidery, be cautious when soaking it in hot water. These embellishments may not be able to withstand the heat and could become damaged.
Step 3: Dry the Duvet Cover on High Heat
Once you’ve soaked the duvet cover in hot water, it’s time to proceed with the drying process. Set your dryer to its highest heat setting, as this will provide the necessary heat to shrink the fabric. If your dryer has a delicate or low-heat option, avoid using it for this step.
Place the duvet cover in the dryer and ensure that it has enough space to move around freely. Overcrowding the dryer can lead to uneven drying and potentially damage the fabric. If necessary, dry the duvet cover in multiple batches or use a larger capacity dryer.
As the duvet cover dries, you may notice some shrinkage occurring. Check the size of the duvet cover periodically to monitor its progress. Keep in mind that different fabrics may shrink at different rates, so the extent of shrinkage may vary.
The drying time can vary depending on the fabric and size of the duvet cover. On average, it may take around 30 to 60 minutes for the duvet cover to dry completely. However, it’s essential to exercise caution and not over-dry the fabric, as this can lead to excessive shrinkage and potential damage.
Once the duvet cover is dry, remove it from the dryer and check for any additional shrinkage. If the size is still not perfect, you can repeat the soaking and drying process to achieve further shrinkage. However, be mindful that repeated shrinking can alter the fabric’s quality and appearance.
Note: Some fabrics, like cotton, are more prone to shrinkage than others. If you’re unsure about how your duvet cover will react to heat, it’s best to consult the care instructions or seek professional advice.
To shrink a duvet cover, wash it in hot water and dry it on high heat. This will help the fabric to shrink and fit your duvet more snugly.
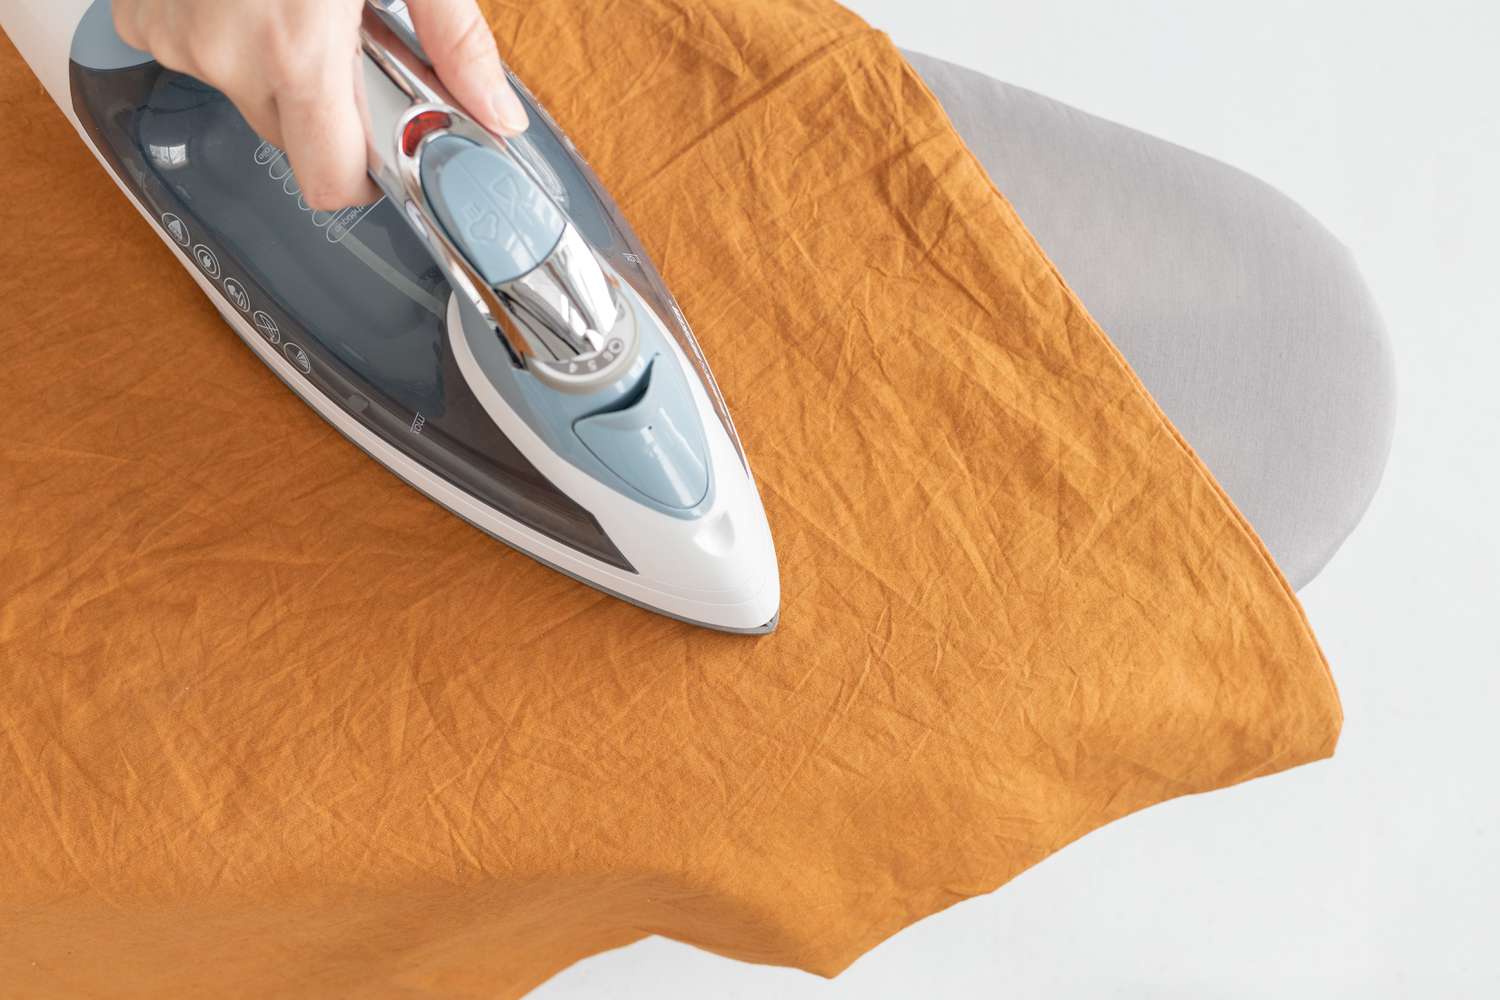
Step 4: Iron the Duvet Cover
After the duvet cover has undergone the shrinking process, it’s time to iron the fabric. Ironing helps to smooth out any wrinkles and restore the duvet cover to its desired shape and appearance. Additionally, ironing can help further set the shrinkage and ensure that the fabric stays in its shrunken state.
Before ironing, make sure that the duvet cover is completely dry. If there are any remaining damp spots, it’s best to air dry the duvet cover fully before proceeding. This will prevent any moisture from being trapped in the fabric during the ironing process.
Set your iron to the appropriate temperature setting for the fabric of your duvet cover. Refer to the care instructions or the iron’s guidelines for specific temperature recommendations. Start ironing the duvet cover, working in small sections at a time. Use gentle, even strokes to smooth out any wrinkles and creases.
If you notice any stubborn wrinkles, lightly mist the fabric with water using a spray bottle. The moisture will help loosen the wrinkles and make them easier to remove. Avoid saturating the fabric with water, as this can cause shrinkage or damage to the duvet cover.
Pay attention to any decorative accents or embellishments on the duvet cover. Be careful while ironing around these areas to avoid damaging or melting them with the heat of the iron. If necessary, use a pressing cloth or iron on the reverse side of the duvet cover to protect delicate elements.
Once you have finished ironing the duvet cover, hang it up or lay it flat to cool completely. This will allow the fabric to set in its shrunken state and ensure that the size remains consistent.
Tip: If you’re not confident in your ironing skills or if your duvet cover is made from a delicate fabric, it’s best to seek professional assistance. Professional cleaners can help ensure that the duvet cover is properly ironed without risking any damage.
Read more: How To Dye A Duvet Cover
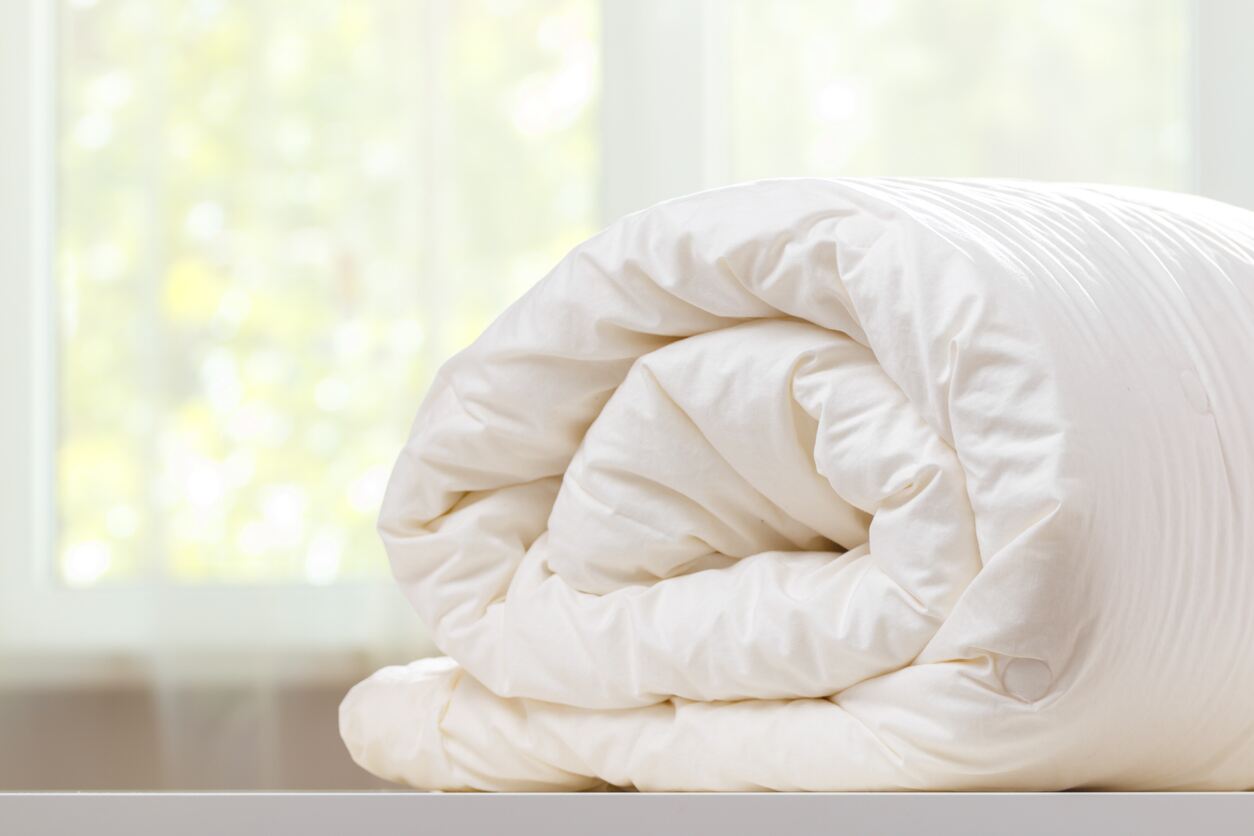
Step 5: Store the Shrunken Duvet Cover Properly
Now that you’ve successfully shrunk your duvet cover to the desired size, it’s important to store it properly to maintain its condition and prevent any further alterations to its size.
Before storing the shrunken duvet cover, ensure that it’s completely clean and free of any dust or debris. If necessary, give it a gentle wash following the care instructions on the label. Make sure to use a mild detergent suitable for the fabric to avoid any damage during the cleaning process.
Once the duvet cover is clean, it’s best to fold it neatly to save space and prevent wrinkles. Start by aligning the edges of the duvet cover and smoothing out any creases. Fold the duvet cover in thirds or quarters, depending on the size, to create a compact and tidy fold.
Store the folded duvet cover in a cool, dry place that is away from direct sunlight. Avoid storing it in a damp or humid area, as this can lead to mildew or odor issues. If possible, place the duvet cover in a breathable storage bag or pillowcase to protect it from dust, while still allowing air circulation.
Label the storage bag or pillowcase with the size and any other relevant information for easy identification. This will come in handy when you need to retrieve the duvet cover for future use.
Note: If you plan to use the duvet cover for a specific season and won’t need it for an extended period, it’s a good idea to periodically check on its condition during storage. This will help ensure that no damage or deterioration occurs over time.
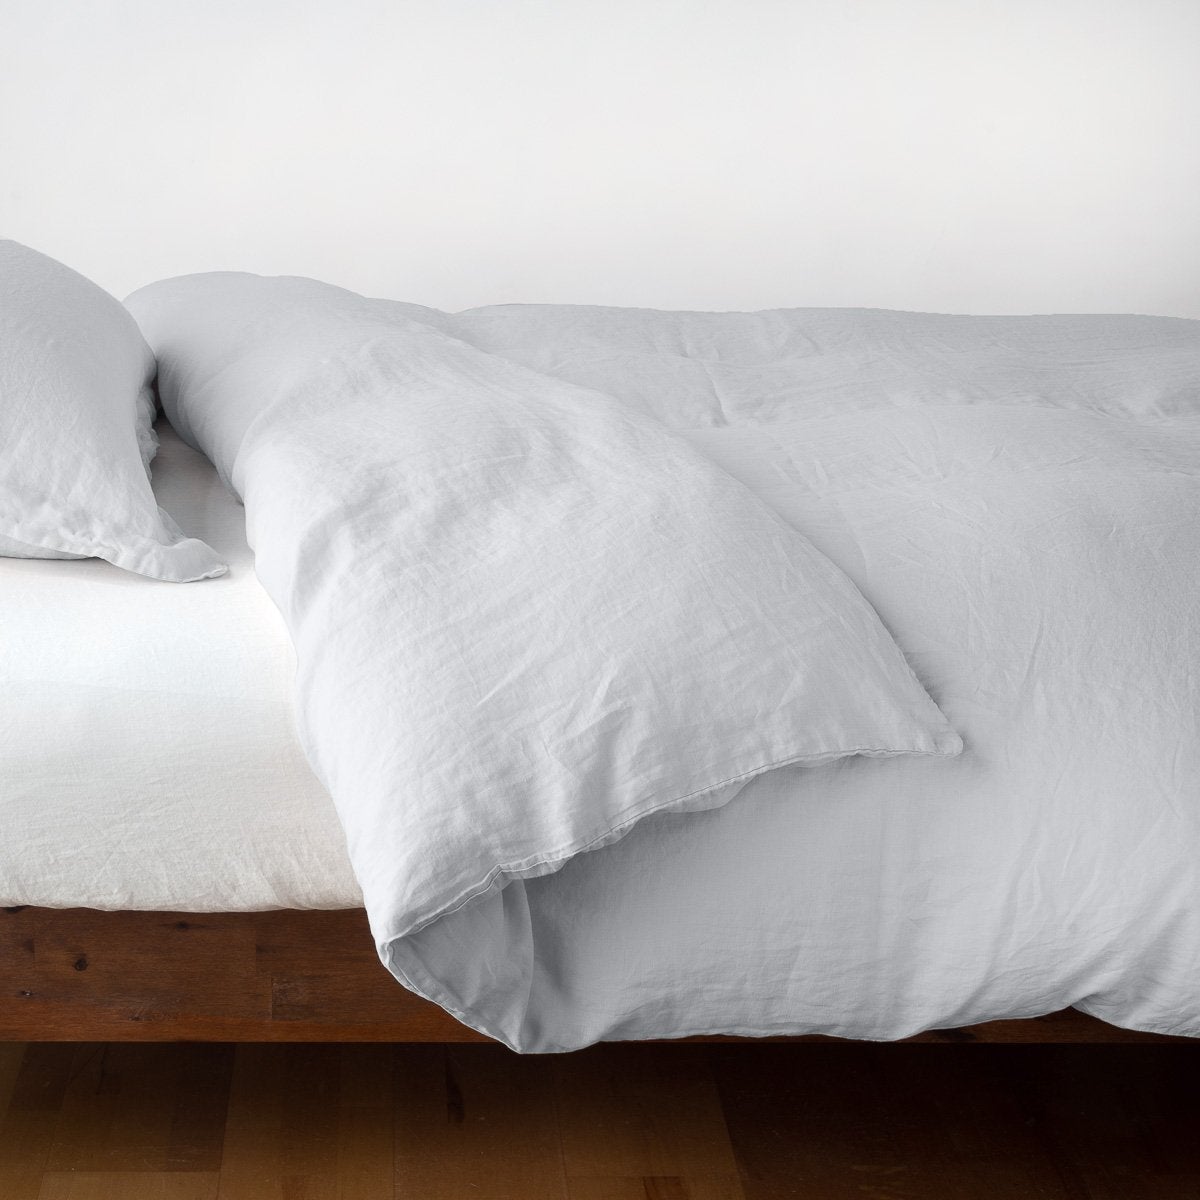
By following these steps and storing the shrunken duvet cover properly, you can extend its lifespan and maintain its new size. Now you can enjoy the perfect fit and cozy comfort of your duvet cover!
Conclusion
Shrinking a duvet cover to achieve the perfect fit for your duvet is a simple process that can be done at home with just a few steps. By following the steps outlined in this article, you can resize your duvet cover without compromising its quality or appearance.
Remember to prep the duvet cover by addressing any stains or spots and ensuring that it’s clean and dry. Soaking the duvet cover in hot water helps relax the fibers, while drying it on high heat aids in the shrinkage process. Ironing the duvet cover afterward helps smooth out any wrinkles and sets the fabric in its shrunken state.
It’s important to store the shrunken duvet cover properly to maintain its size and condition. Keep it clean, folded neatly, and stored in a cool, dry place away from direct sunlight. Label the storage bag or pillowcase for easy identification and periodically check on it during extended periods of storage.
Before embarking on the shrinking process, it’s crucial to consider whether you are willing to permanently alter the size of your duvet cover. Once the shrinkage is done, it may be challenging to reverse the process. It’s also important to tailor the shrinking method to the specific fabric of your duvet cover, as different materials may react differently to heat and water.
By following these steps and taking care during the shrinking process, you can transform your oversized duvet cover into the perfect fit for your duvet. Enjoy the comfort and style of a beautifully fitted duvet cover that enhances your bedroom decor and provides a cozy and inviting atmosphere.
Frequently Asked Questions about How To Shrink A Duvet Cover
Was this page helpful?
At Storables.com, we guarantee accurate and reliable information. Our content, validated by Expert Board Contributors, is crafted following stringent Editorial Policies. We're committed to providing you with well-researched, expert-backed insights for all your informational needs.


0 thoughts on “How To Shrink A Duvet Cover”