Articles
How To Iron A Duvet Cover
Modified: February 24, 2024
Learn the best techniques and tips for ironing a duvet cover with our informative articles. Say goodbye to wrinkles and enjoy a perfectly smooth bedspread!
(Many of the links in this article redirect to a specific reviewed product. Your purchase of these products through affiliate links helps to generate commission for Storables.com, at no extra cost. Learn more)
Introduction
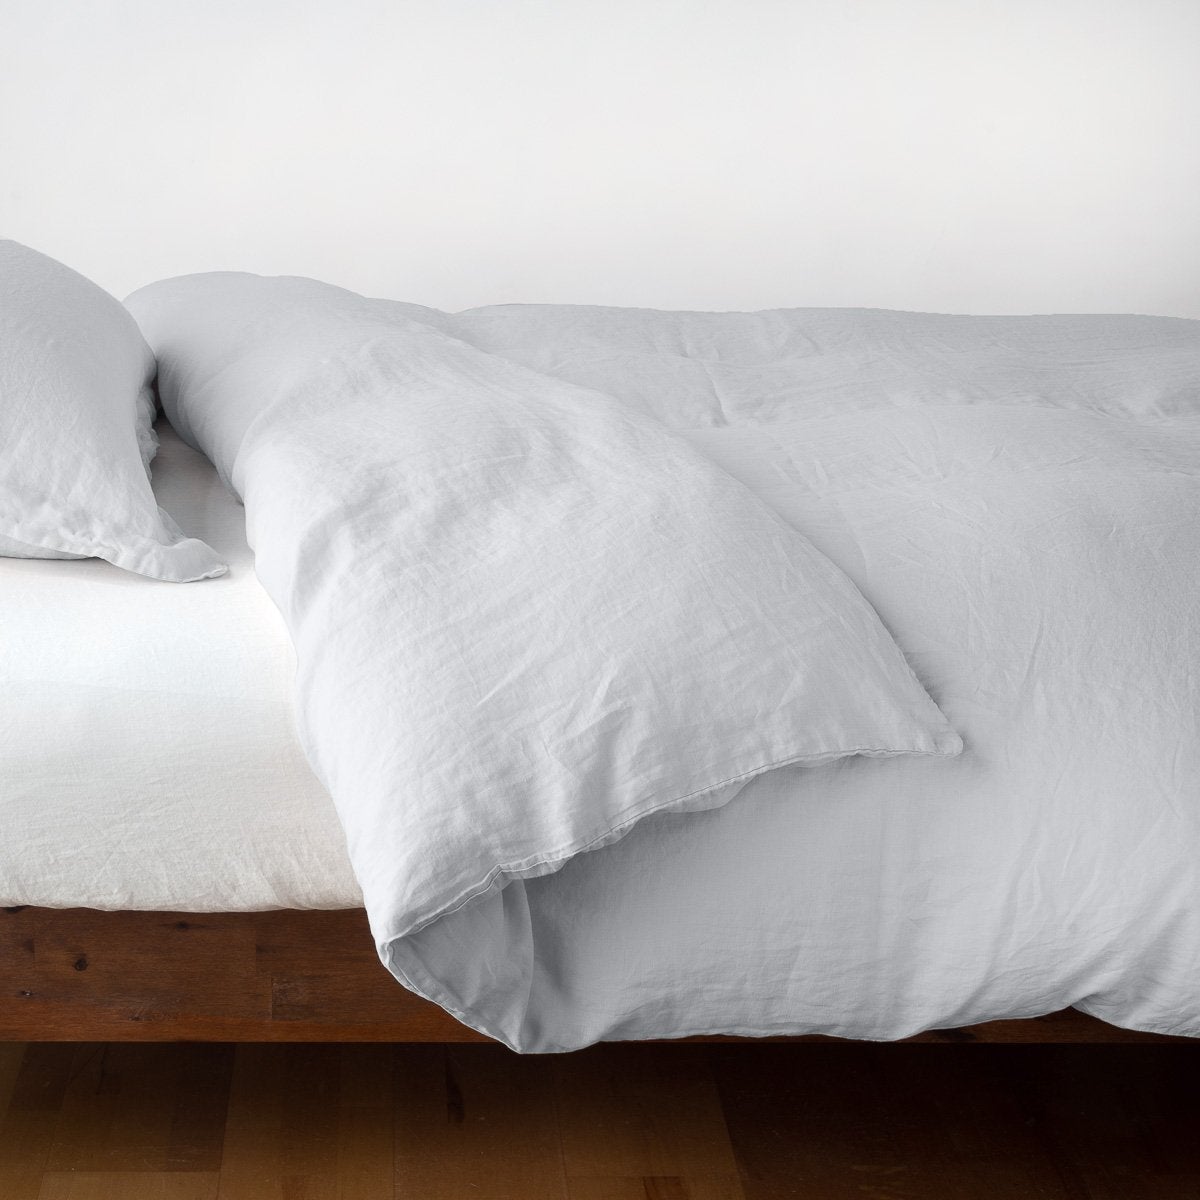
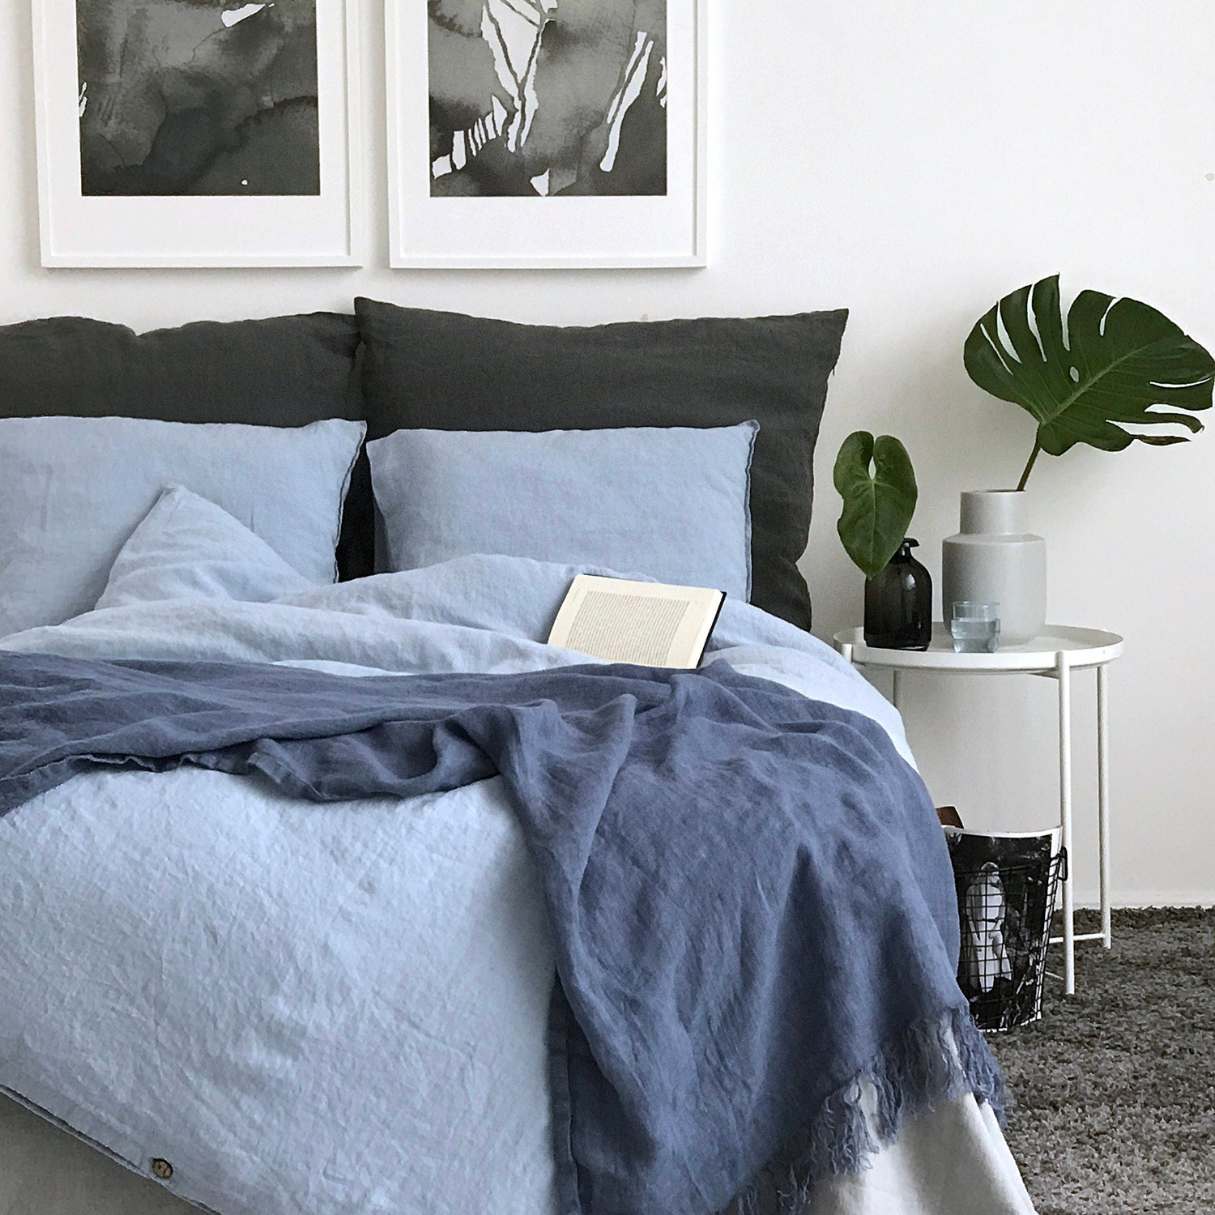
Welcome to the ultimate guide on how to iron a duvet cover! Ironing a duvet cover may seem like a daunting task, but with the right techniques and materials, you can achieve wrinkle-free results that will make your bed look effortlessly polished. Whether you’re prepping your duvet cover for a special occasion or simply want to enjoy the crisp, smooth feel of freshly ironed bedding, this step-by-step guide will walk you through the process.
Ironing not only removes wrinkles, but it also helps to sanitize your duvet cover by killing any lingering bacteria or dust mites. Additionally, the process of ironing can be quite therapeutic, allowing you to take a moment to relax and engage in a mindful activity.
Before we dive into the specifics of ironing a duvet cover, let’s go over the materials you’ll need to ensure a successful ironing session.
Key Takeaways:
- Achieve a wrinkle-free, sanitized duvet cover by following these steps, creating a polished and elegant look for your bed. Ironing can be therapeutic and rewarding, providing a sense of accomplishment and relaxation.
- With the right materials and techniques, ironing a duvet cover can be a breeze. Follow the step-by-step guide to achieve professional-quality results and maintain the fresh appearance of your bedding.
Read more: What Is A Duvet Cover
Materials Needed
Before you begin ironing your duvet cover, gather the following materials:
- An iron: Choose an iron with variable temperature settings to accommodate different fabrics.
- An ironing board: This provides a stable surface for ironing and helps prevent damage to your duvet cover.
- A spray bottle filled with water: Mist the duvet cover lightly to dampen the fabric, making it easier to remove wrinkles.
- A clean towel: Use a towel to place underneath the duvet cover while ironing to absorb excess moisture.
- A hanger or clothesline: Hang the duvet cover after ironing to prevent new wrinkles from forming.
- A steamer (optional): If you have a clothing steamer, it can be a useful tool for removing wrinkles without direct contact with the fabric.
With these materials at hand, you’re ready to begin the ironing process. Follow the steps below to achieve a beautifully pressed duvet cover.
Step 1: Preparing the Duvet Cover
Before you start ironing, it’s important to prepare the duvet cover to ensure optimal results. Follow these steps:
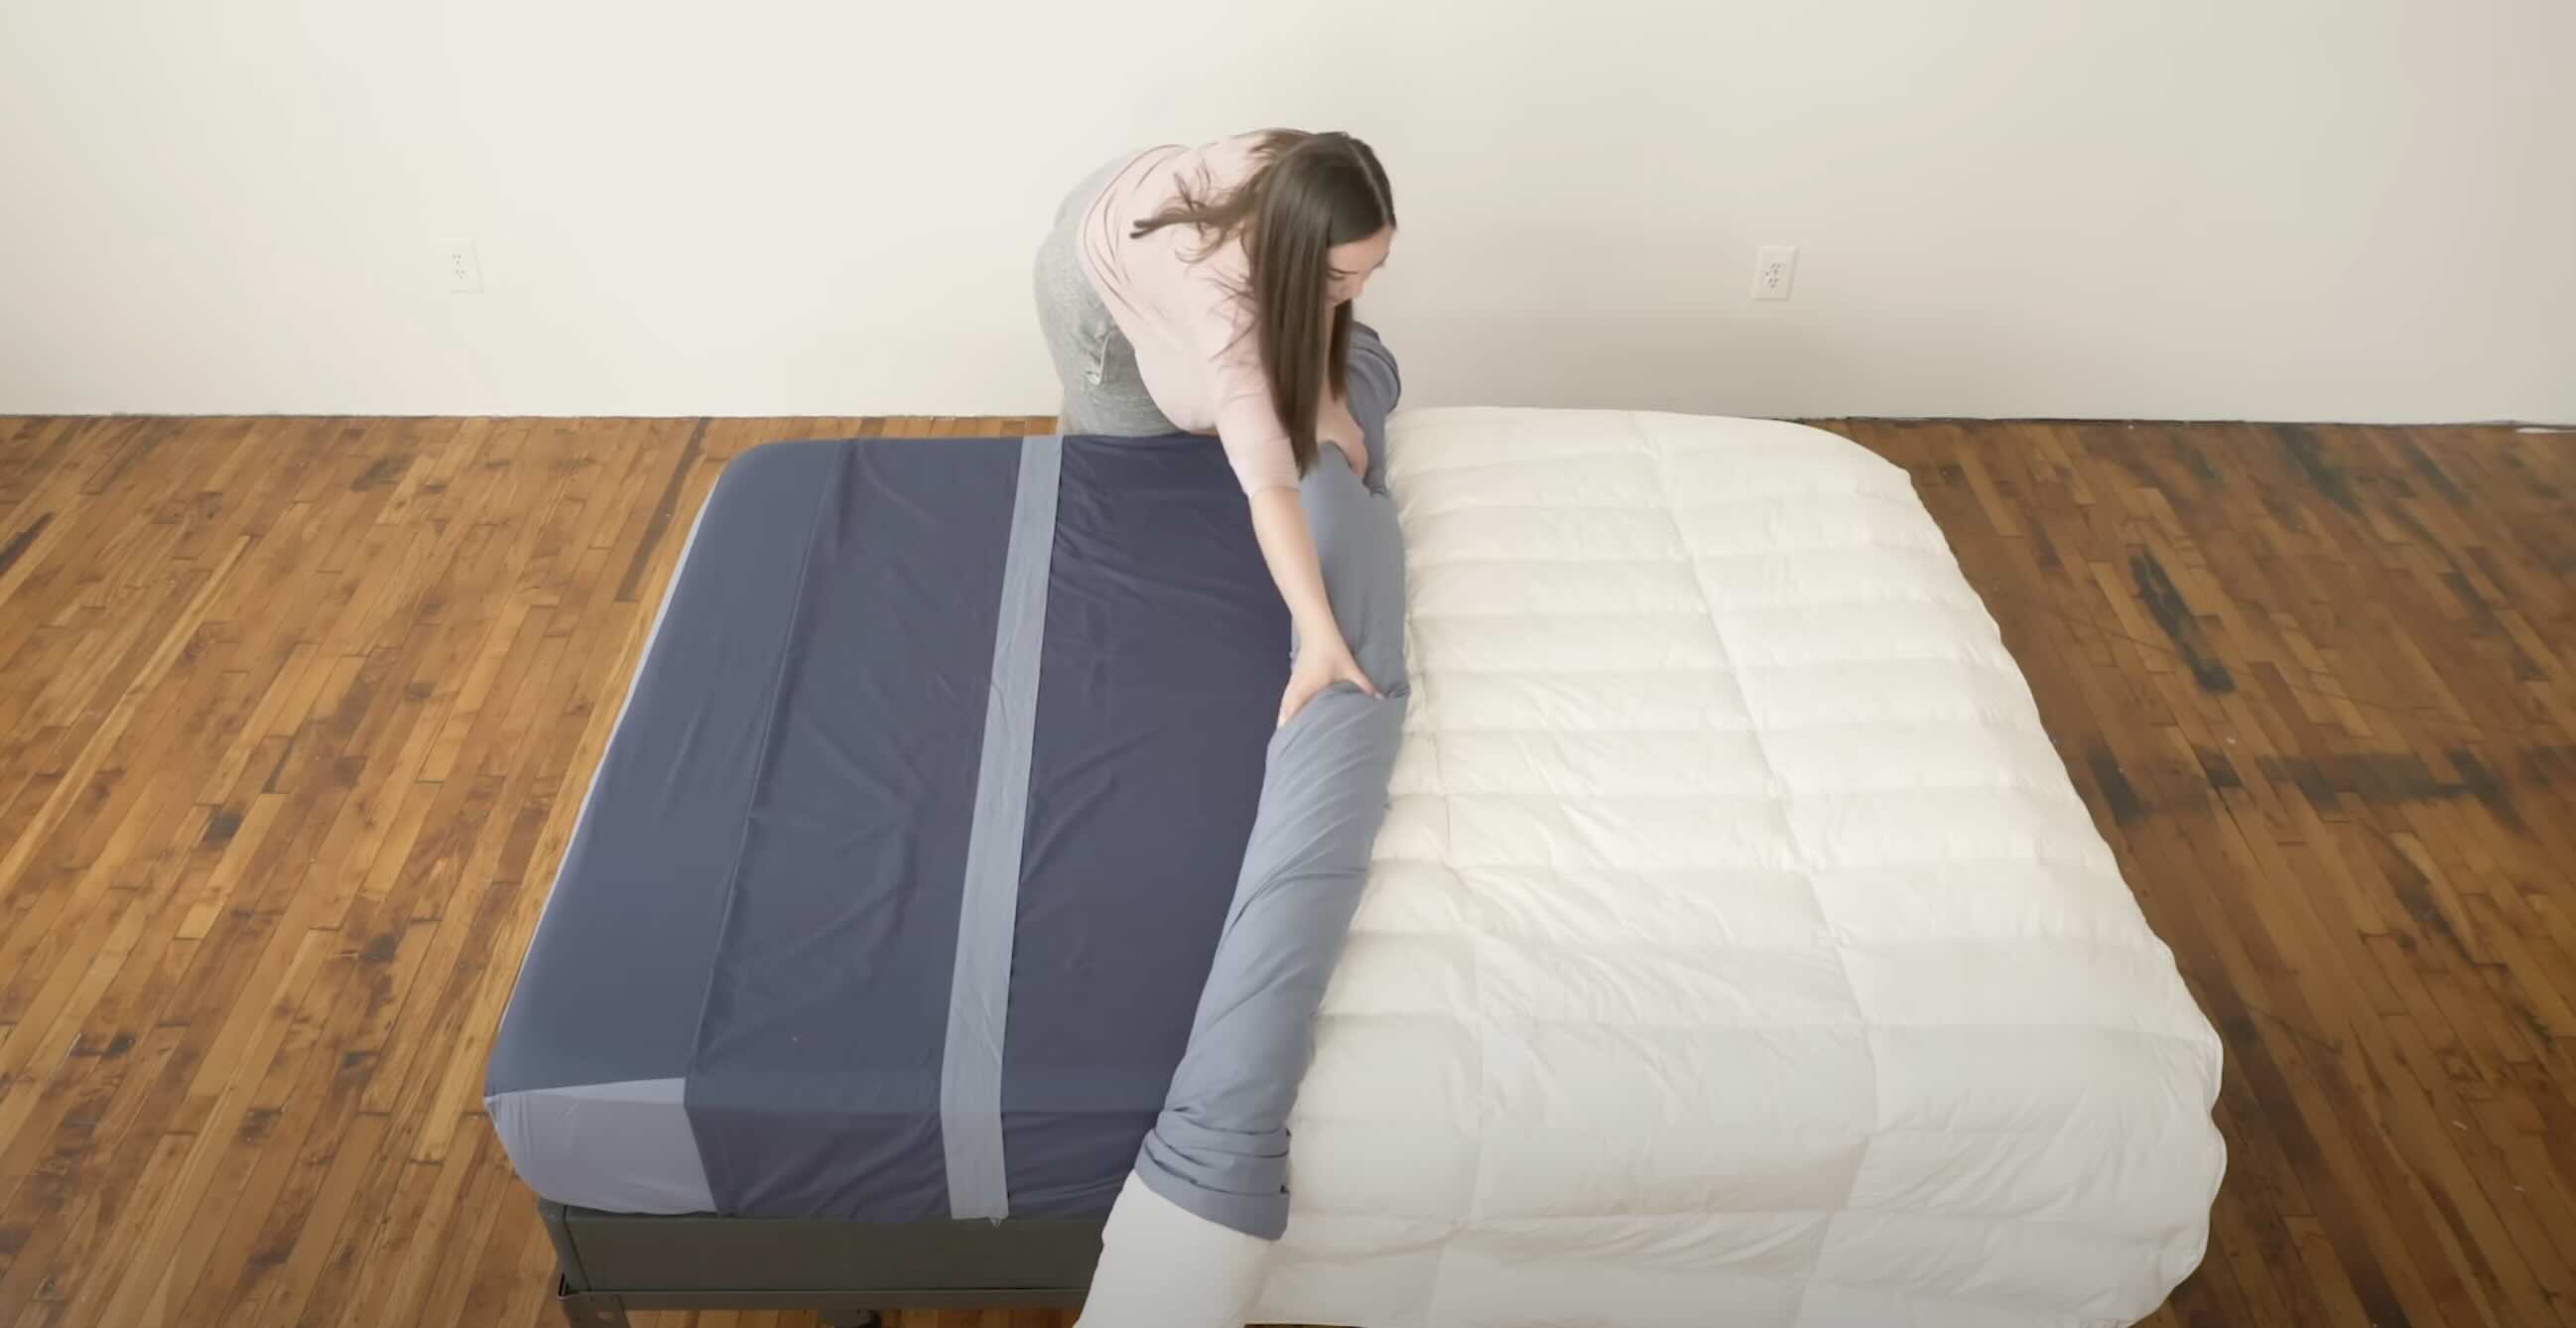
- Wash and dry the duvet cover: Start by washing the duvet cover according to the care instructions on the label. Once clean, dry it completely to remove any moisture.
- Smooth out any wrinkles: Lay the duvet cover flat on a clean surface and gently smooth out any visible wrinkles with your hands. If there are stubborn wrinkles, lightly mist the fabric with water from the spray bottle and run your hands over them to relax the fibers.
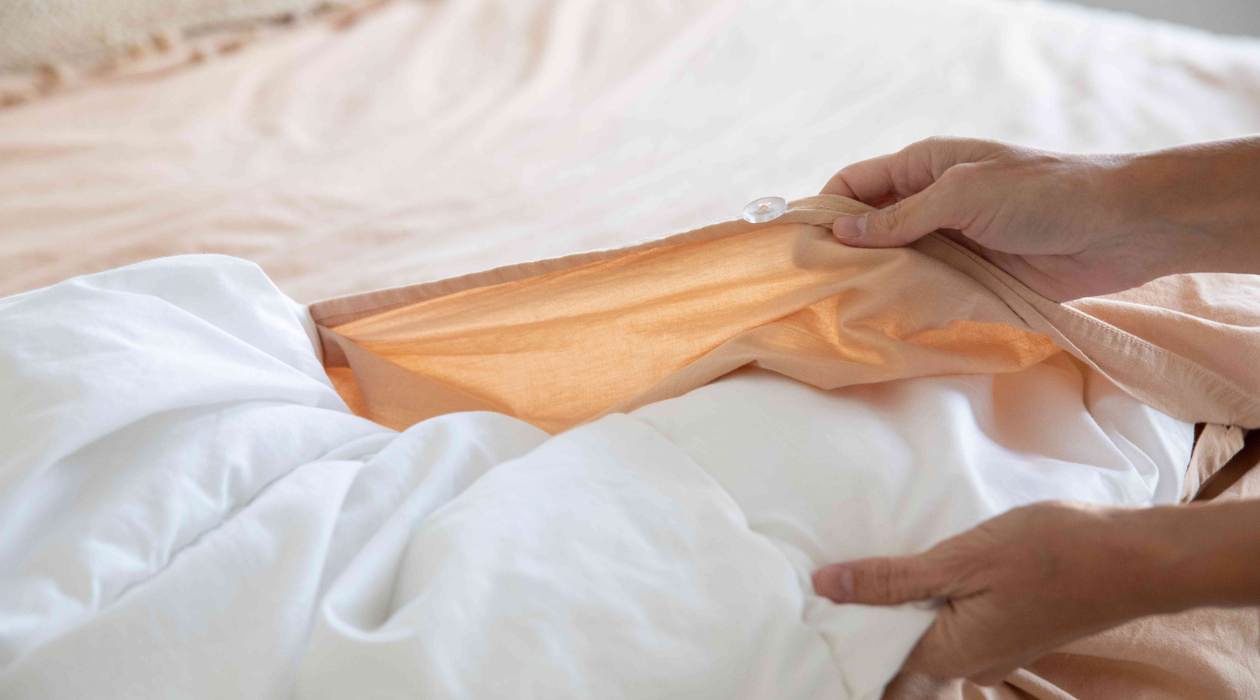
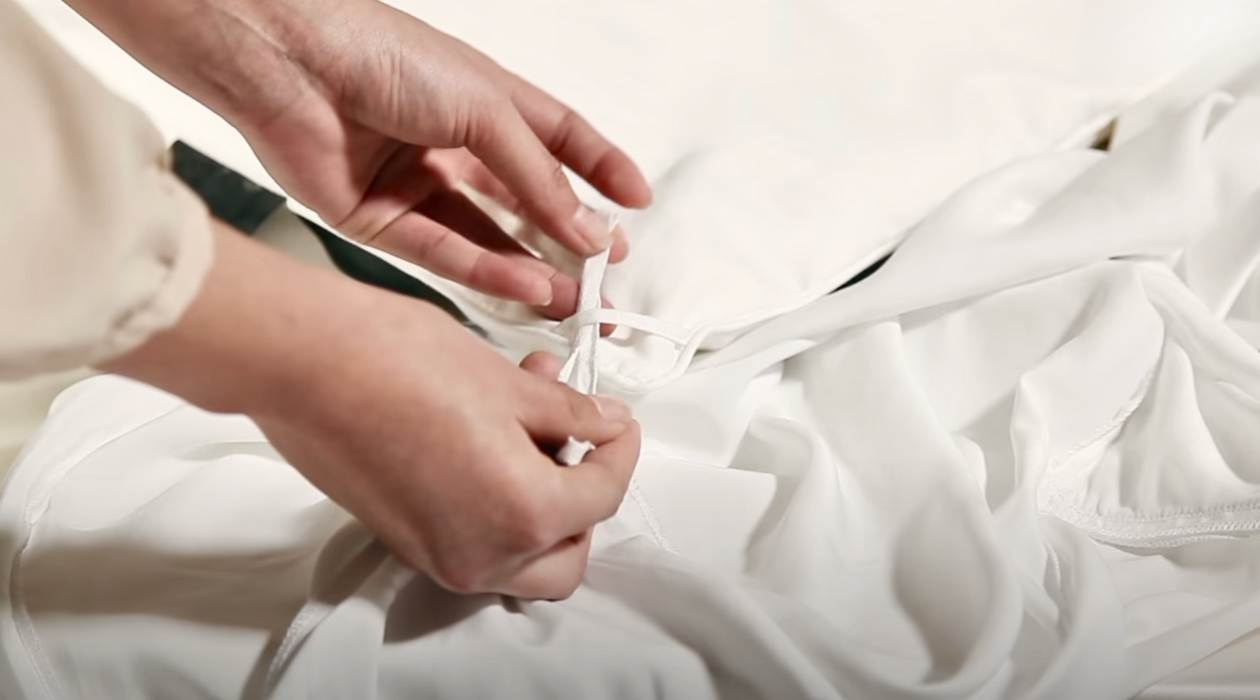
- Button or zip up the cover: If your duvet cover has buttons or a zipper, be sure to fasten them securely. This will prevent the cover from shifting and bunching up while you iron.
- Inspect for stains or spots: Take a moment to inspect the duvet cover for any stains or spots that may need attention. Spot clean these areas before ironing to avoid setting any residue into the fabric.
By following these steps, you’ll have a clean and wrinkle-ready duvet cover that’s primed for ironing!
Step 2: Setting up the Ironing Area
Creating a proper ironing setup will help you achieve the best results while ensuring your safety. Here’s how to set up your ironing area:
- Find a sturdy, heat-resistant surface: Place your ironing board on a stable surface, ensuring it is sturdy enough to support the weight of your duvet cover.
- Adjust the ironing board height: Set the ironing board height to a comfortable level, so you can iron without straining your back or arms.
- Choose the appropriate temperature: Check the care instructions on your duvet cover to determine the appropriate ironing temperature. Most covers are made from cotton, linen, or synthetic blends, which usually require a medium to high heat setting.
- Preheat your iron: Switch on the iron and select the desired temperature. Allow the iron to heat up fully before starting the ironing process.
- Place a clean towel on the ironing board: Lay a clean towel over the ironing board to protect the surface and provide extra padding.
With your ironing area properly set up, you’re now ready to move on to the next step: ironing the duvet cover.
When ironing a duvet cover, start with the inside to avoid creasing the outer fabric. Use a low heat setting and steam to remove wrinkles. Iron in sections to ensure even coverage.
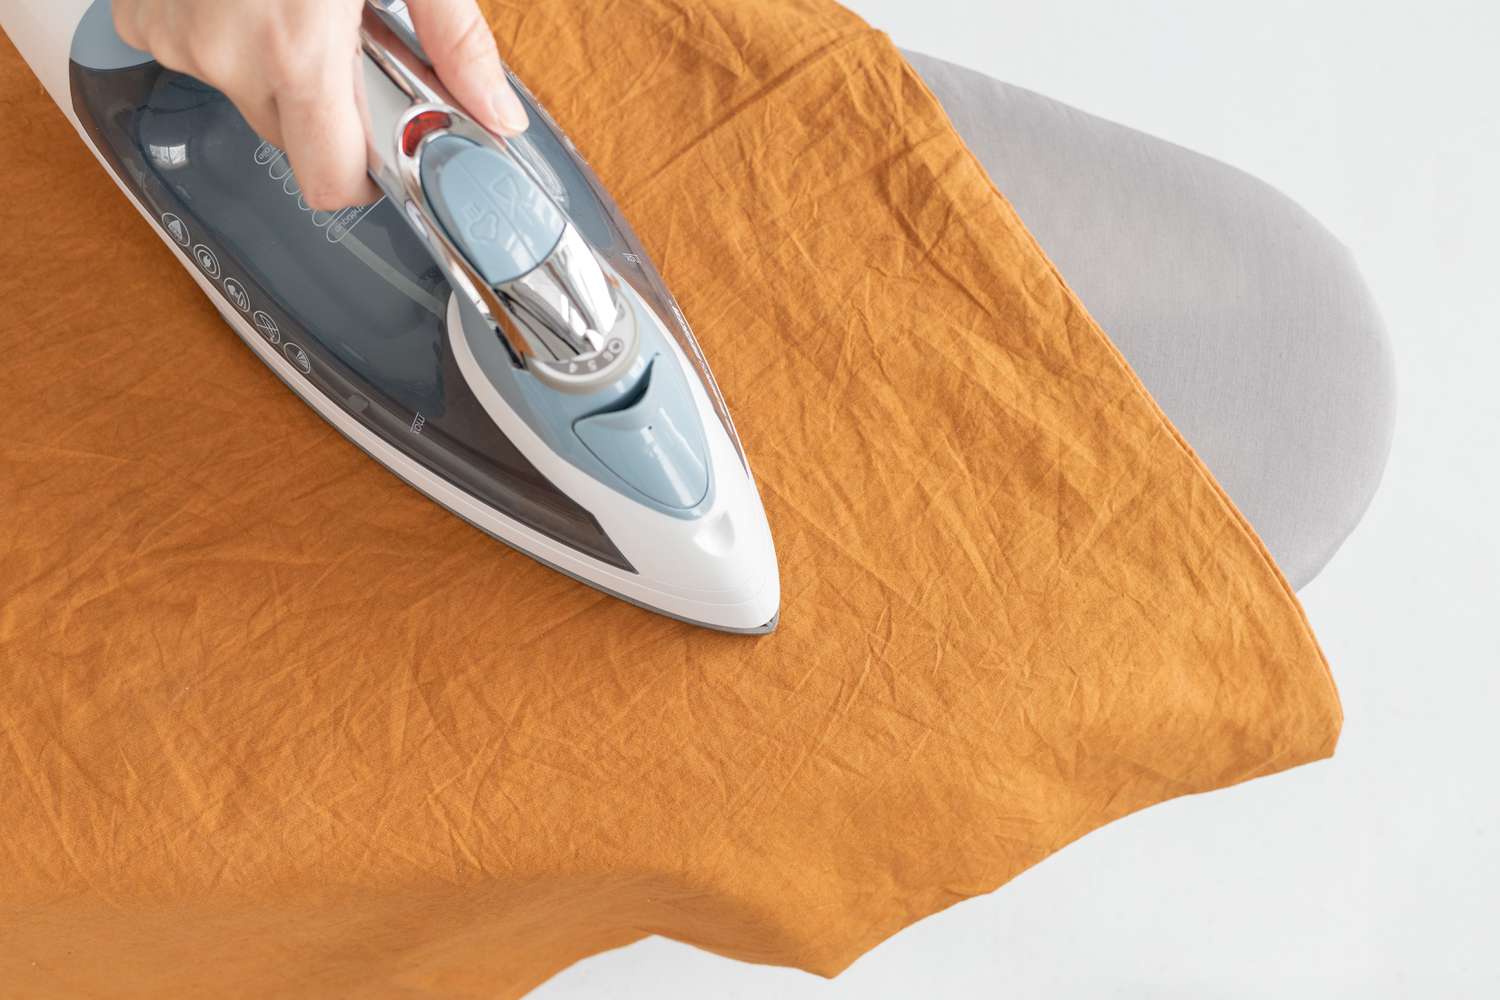
Step 3: Ironing the Duvet Cover
Now comes the most crucial step – ironing the duvet cover to achieve a smooth, wrinkle-free finish. Follow these steps for effective ironing:
- Start with a small section: Begin by ironing a small, inconspicuous area of the duvet cover to test the heat settings and ensure the fabric can withstand the iron’s temperature without getting damaged.
- Work in sections: Divide the duvet cover into manageable sections, such as the top, bottom, and sides. Start with one section and iron it before moving on to the next.
- Place the duvet cover on the ironing board: Lay the duvet cover flat on the ironing board, making sure it is spread out evenly to avoid creases or uneven ironing.
- Gently press the iron on the fabric: Place the heated iron onto the fabric and apply gentle pressure. Move the iron in straight, smooth strokes, following the grain of the fabric. Avoid dragging or pulling the iron across the fabric, as this can cause stretching or distortion.
- Pay attention to stubborn wrinkles: For stubborn wrinkles, lightly mist the area with water from the spray bottle and carefully iron over the dampened spot. The heat and moisture will help relax the fibers and release the wrinkles.
- Iron both sides of the duvet cover: Flip the duvet cover over and repeat the ironing process on the other side. This ensures all wrinkles are thoroughly removed.
Remember, it’s important to work patiently and with care to avoid any accidental burns or damage to the fabric. Take breaks whenever needed to allow the iron to cool down.
Read more: How To Dye A Duvet Cover
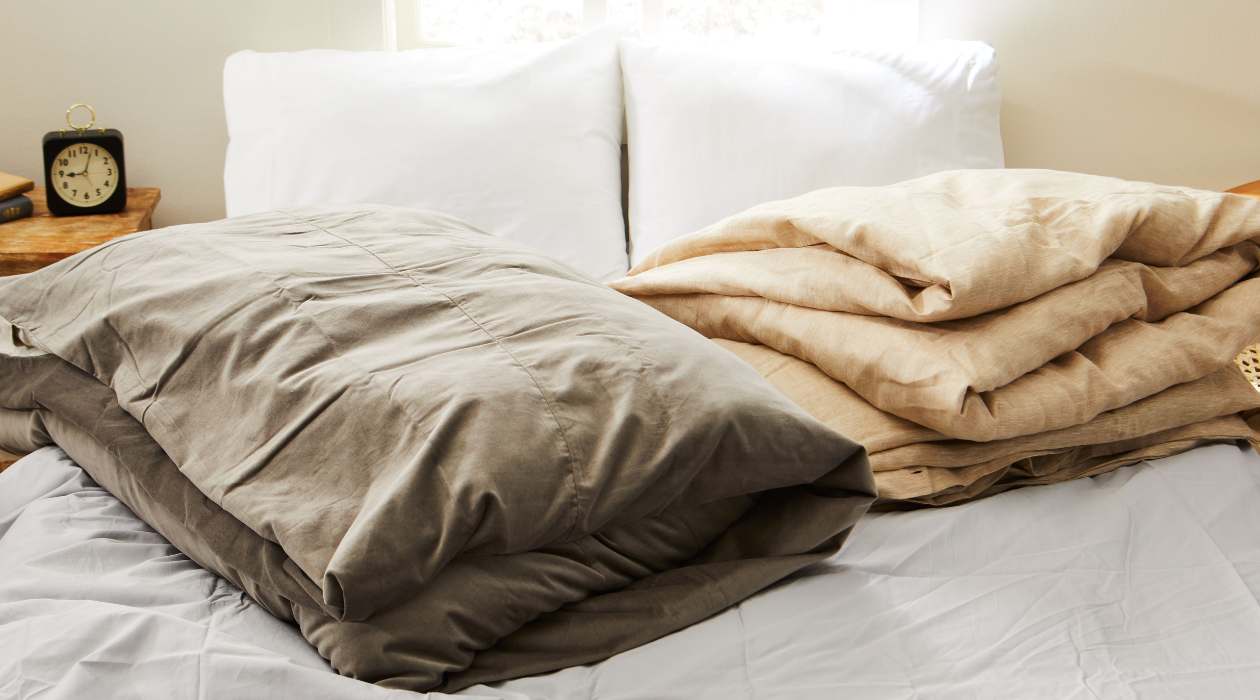
Step 4: Folding and Storing the Duvet Cover
Congratulations! You’ve successfully ironed your duvet cover to perfection. Now, it’s time to fold and store it properly to maintain its freshly pressed look. Follow these steps:
- Allow the duvet cover to cool down: Before folding, make sure the duvet cover has cooled down completely to prevent any heat damage or accidental burns.
- Remove from the ironing board: Carefully lift the duvet cover from the ironing board and place it on a clean, flat surface.
- Smooth out any remaining wrinkles: Use your hands to gently smooth out any minor wrinkles that may have formed during the process. Lightly tugging and shaking the cover can help relax the fabric.
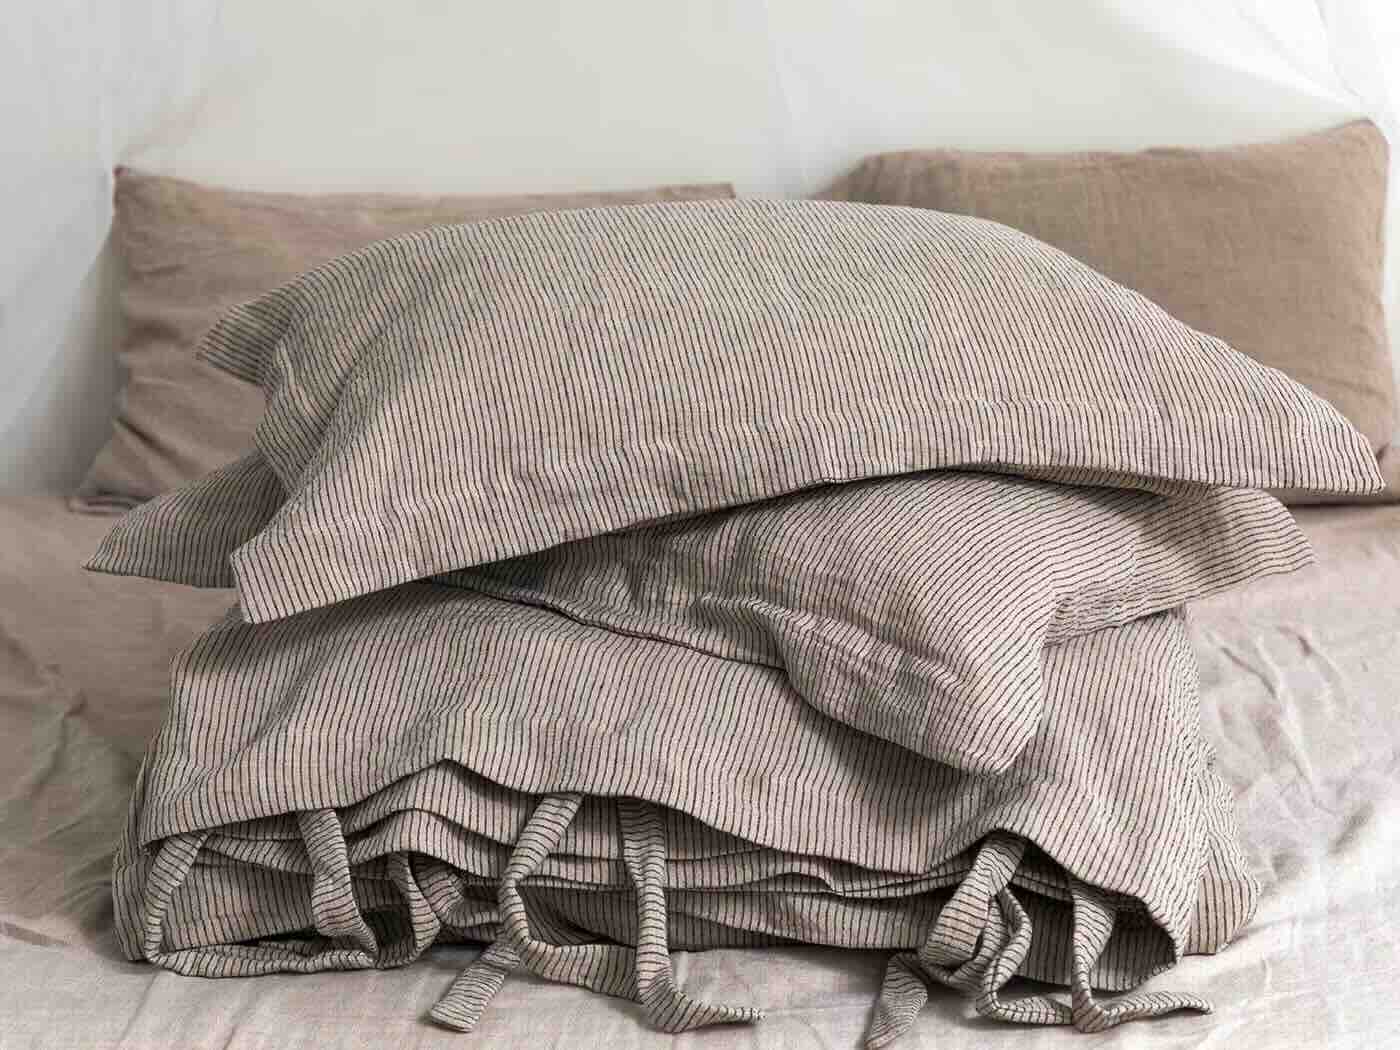
- Fold the duvet cover neatly: Fold the duvet cover in half lengthwise, aligning the edges as evenly as possible. Then, fold it in half again or in thirds, depending on the size of the cover.
- Store it in a dry, dust-free area: Place the folded duvet cover in a clean storage bag or on a hanger to protect it from dust and moisture. Keep it in a dry area away from direct sunlight to maintain its fresh appearance.
Remember, always check the care instructions on your duvet cover for any specific folding or storage recommendations.
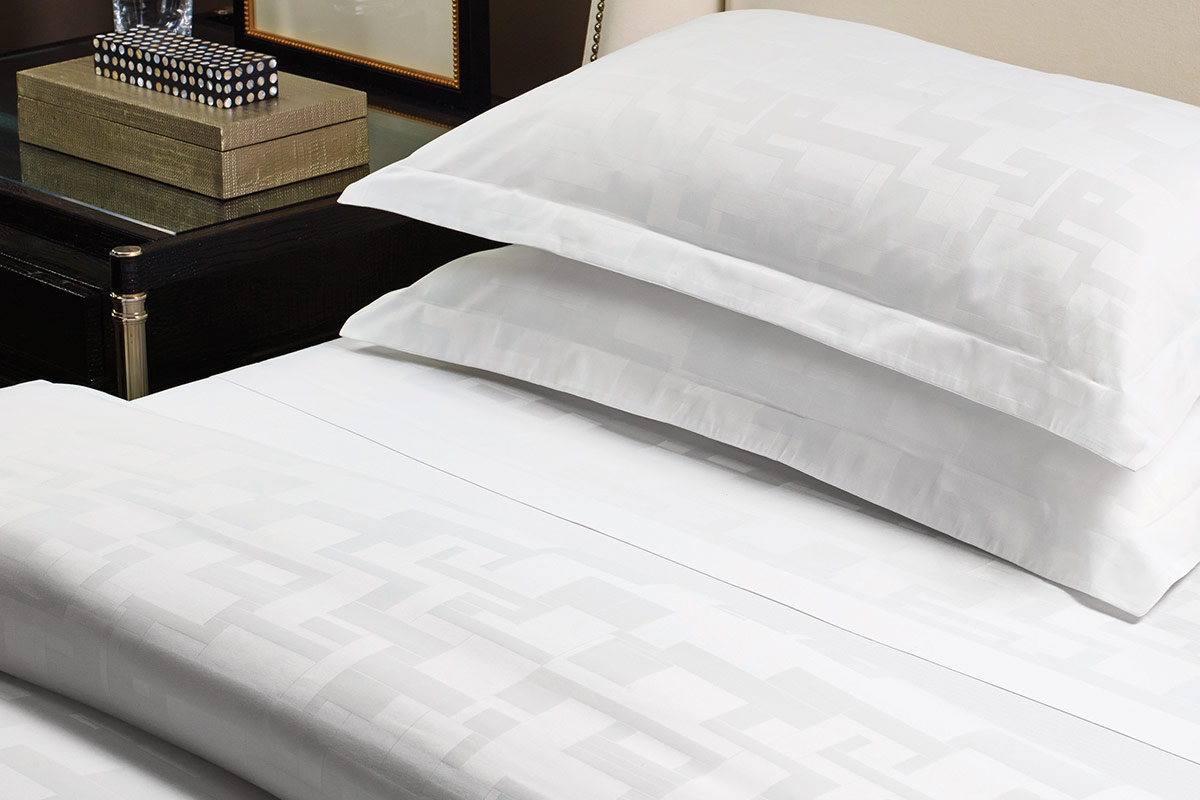
By following these steps, you’ll be able to keep your duvet cover wrinkle-free and ready to use whenever you desire a perfectly made bed.
Tips and Tricks
Ironing a duvet cover can be a breeze with these helpful tips and tricks:
- Use a steam iron: If your iron has a steam function, make use of it to help eliminate stubborn wrinkles and create a smoother finish.
- Iron inside out: For delicate or printed duvet covers, iron them inside out to protect the fabric and prevent any color transfer.
- Avoid excessive heat: Some fabrics, such as silk or satin, may require lower heat settings to prevent damage. Always check the care instructions and adjust the iron accordingly.
- Iron in a well-ventilated area: Ensure that the room is properly ventilated to prevent the accumulation of steam and moisture.
- Iron in one direction: Iron in one direction and avoid going back and forth to prevent stretching or distorting the fabric.
- Hang or fold immediately: Once you’ve finished ironing, hang the duvet cover or fold it right away to maintain its freshly pressed appearance.
- Avoid using excessive force: Apply gentle pressure when ironing to avoid damaging the fabric or causing permanent creases.
- Consider using a pressing cloth: If you’re concerned about the direct contact of the iron with the duvet cover, place a thin, clean cloth between the iron and the fabric.
By following these tips and tricks, you’ll achieve professional-quality results and prolong the life of your duvet cover.
Conclusion
Ironing a duvet cover doesn’t have to be a daunting task. With the right materials, techniques, and a little bit of patience, you can achieve a wrinkle-free duvet cover that adds a touch of elegance and sophistication to your bed.
Remember to start by preparing the duvet cover, making sure it’s clean and free from any wrinkles or stains. Set up a proper ironing area with the right equipment and select the appropriate ironing temperature for your fabric.
When it comes to ironing the duvet cover, work in small sections, using gentle pressure and smooth strokes. Pay attention to stubborn wrinkles, and lightly mist the fabric with water if needed. Iron both sides of the duvet cover for a thorough finish.
After ironing, fold the duvet cover neatly and store it in a dry, dust-free area to maintain its fresh appearance. And remember, these tips and tricks can make your ironing process more effective and efficient.
So go ahead and give it a try! Enjoy the satisfaction of a well-ironed duvet cover and the comfort of a beautifully made bed. Happy ironing!
Frequently Asked Questions about How To Iron A Duvet Cover
Was this page helpful?
At Storables.com, we guarantee accurate and reliable information. Our content, validated by Expert Board Contributors, is crafted following stringent Editorial Policies. We're committed to providing you with well-researched, expert-backed insights for all your informational needs.

0 thoughts on “How To Iron A Duvet Cover”