
Articles
How To Change A Duvet Cover
Modified: February 24, 2024
Learn how to change a duvet cover with our informative articles. Simplify the process and enjoy a fresh, clean bed effortlessly.
(Many of the links in this article redirect to a specific reviewed product. Your purchase of these products through affiliate links helps to generate commission for Storables.com, at no extra cost. Learn more)
Introduction
Changing a duvet cover may seem like a daunting task, but with the right technique and a little practice, it can be a breeze. Whether you’re looking to freshen up your bedroom decor or simply need to swap out a dirty cover for a clean one, this step-by-step guide will walk you through the process of changing a duvet cover.
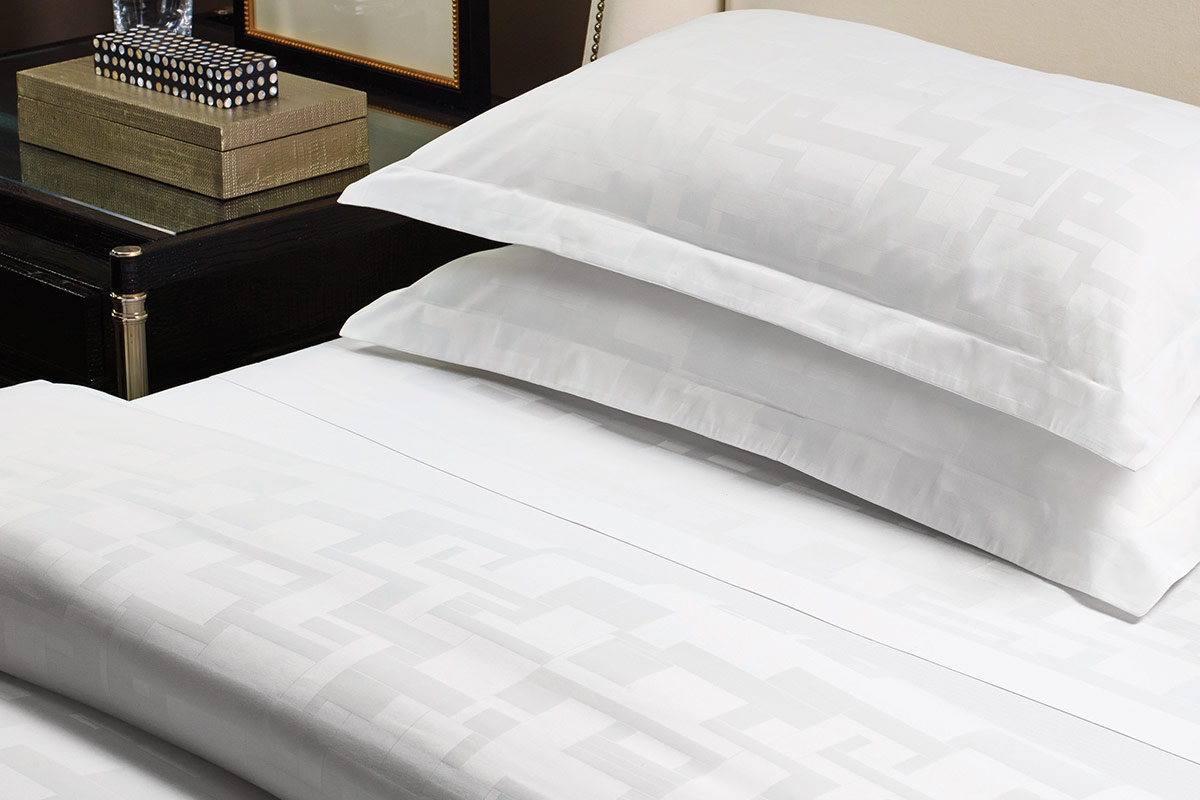
A duvet cover is a removable fabric casing that encloses a duvet or comforter, much like a pillowcase encloses a pillow. Not only does a duvet cover protect your duvet from spills and stains, but it also allows you to easily change up the look of your bedding without having to invest in a new duvet. Plus, washing a duvet cover is much easier than washing a bulky duvet, making it a practical choice for maintaining cleanliness and hygiene in your bedroom.
Before we dive into the steps of changing a duvet cover, make sure you have the following items handy:
- A clean duvet cover
- The duvet or comforter you want to insert into the cover
- Pillows (optional, for styling)
With these essentials in place, you’re ready to embark on the journey of refreshing your bedding and creating a cozy oasis in your bedroom. Let’s get started!
Key Takeaways:
- Changing a duvet cover is a simple way to refresh your bedroom decor and maintain cleanliness. Follow the step-by-step guide for an effortless and stylish transformation.
- With the right technique, changing a duvet cover can be a breeze. Enjoy the process of creating a cozy oasis in your bedroom and expressing your personal style.
Read more: What Is A Duvet Cover
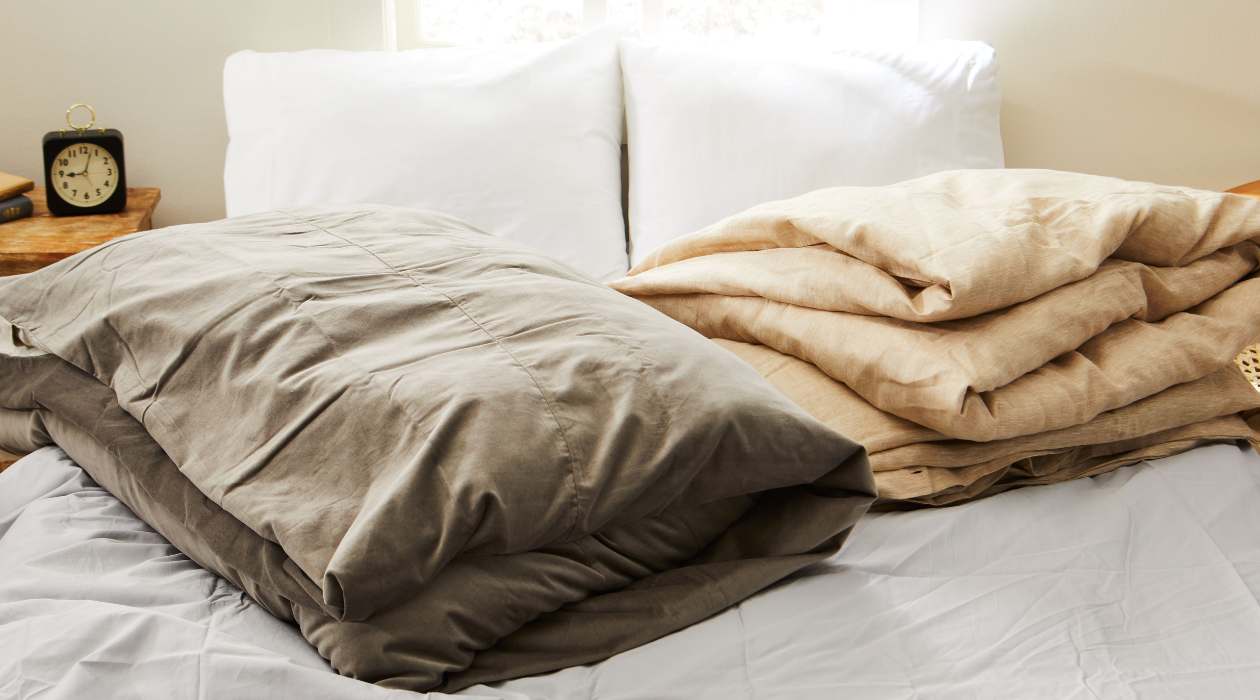
Step 1: Remove the Old Duvet Cover
The first step in changing a duvet cover is to remove the old one. Follow these simple steps:
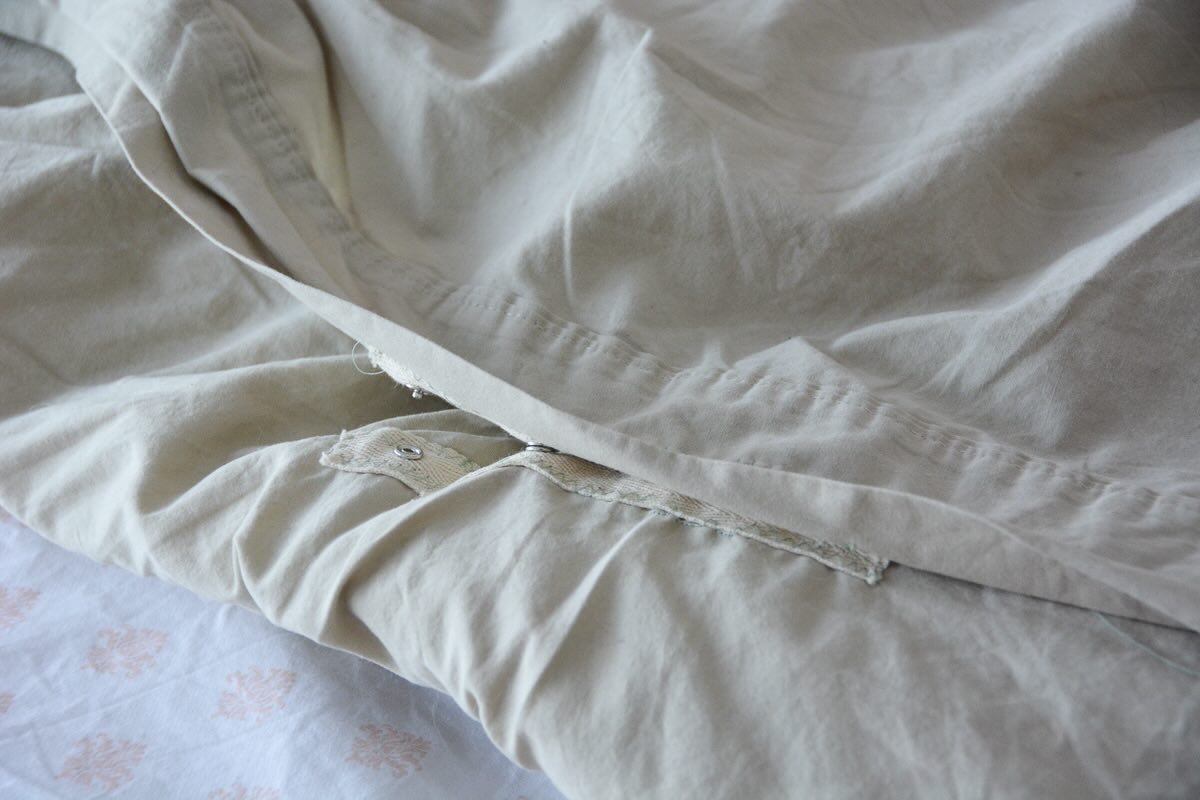
- Start by locating the opening or closure of the duvet cover. This is usually at the bottom of the cover and may have buttons, snaps, or a zipper.
- Unfasten the closure mechanism of the duvet cover. If it has buttons, gently unbutton them. If it has snaps or a zipper, carefully undo them.
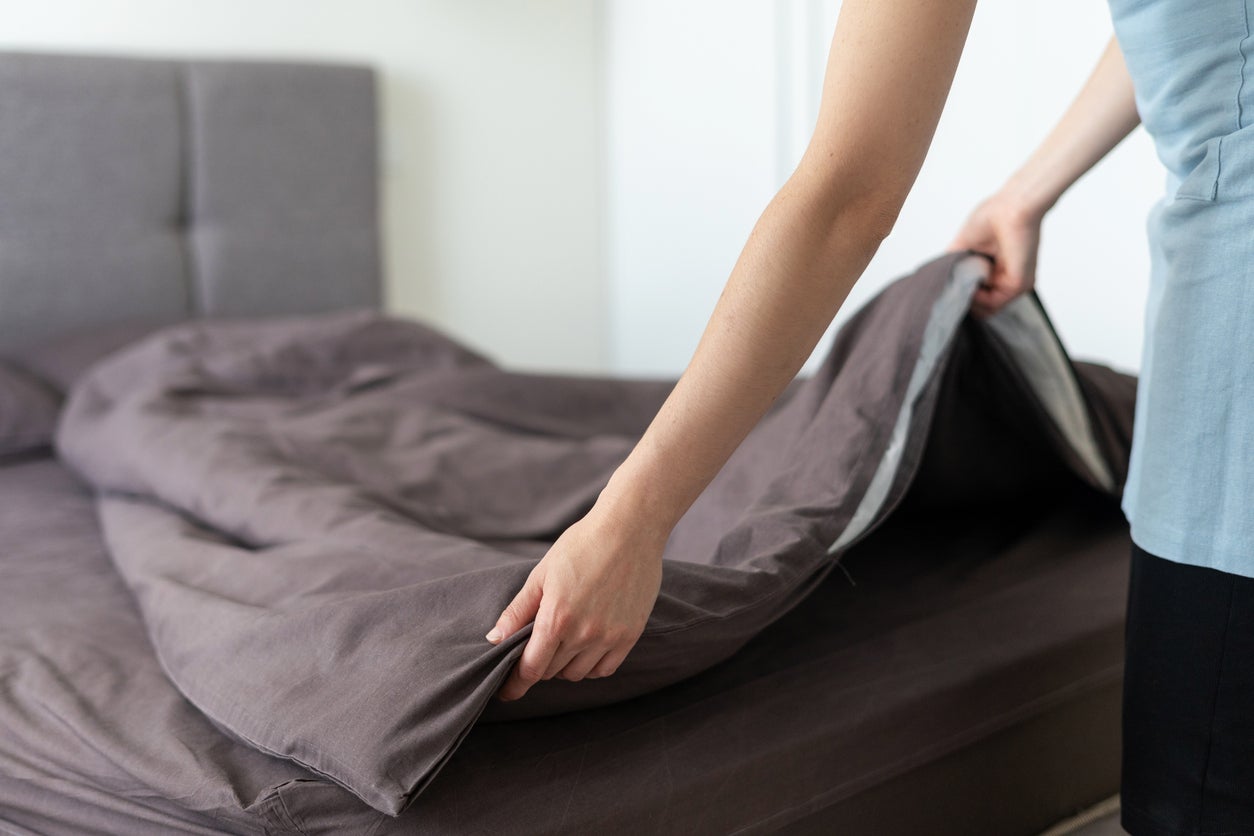
- Once the closure is undone, hold the corners of the duvet cover and give it a vigorous shake to loosen the duvet inside. This will help the duvet cover slide off more easily.
- With one hand on each corner, start rolling the duvet cover towards the foot of the bed. Continue rolling until you reach the top of the bed, where the duvet cover is no longer covering the duvet.
- Once you’ve rolled the duvet cover off the duvet, set it aside for laundering or storage, depending on its cleanliness.
Removing the old duvet cover is a straightforward process, but be sure to handle it gently to avoid tearing or damaging the fabric. If the duvet cover is particularly stubborn or tightly fitted, you can enlist the help of a partner to make the process easier.
Now that you’ve successfully removed the old duvet cover, it’s time to move on to the next step: preparing the new duvet cover.
Step 2: Prepare the New Duvet Cover
Now that you have removed the old duvet cover, it’s time to prepare the new one. Follow these steps to get your new duvet cover ready:
- If your duvet cover is freshly laundered, skip to the next step. If not, take a moment to wash and dry it according to the manufacturer’s instructions. This will ensure that your new duvet cover is clean and ready for use.
- Spread out the duvet cover flat on your bed or on a clean, flat surface. Make sure the opening or closure of the duvet cover is easily accessible and facing up.
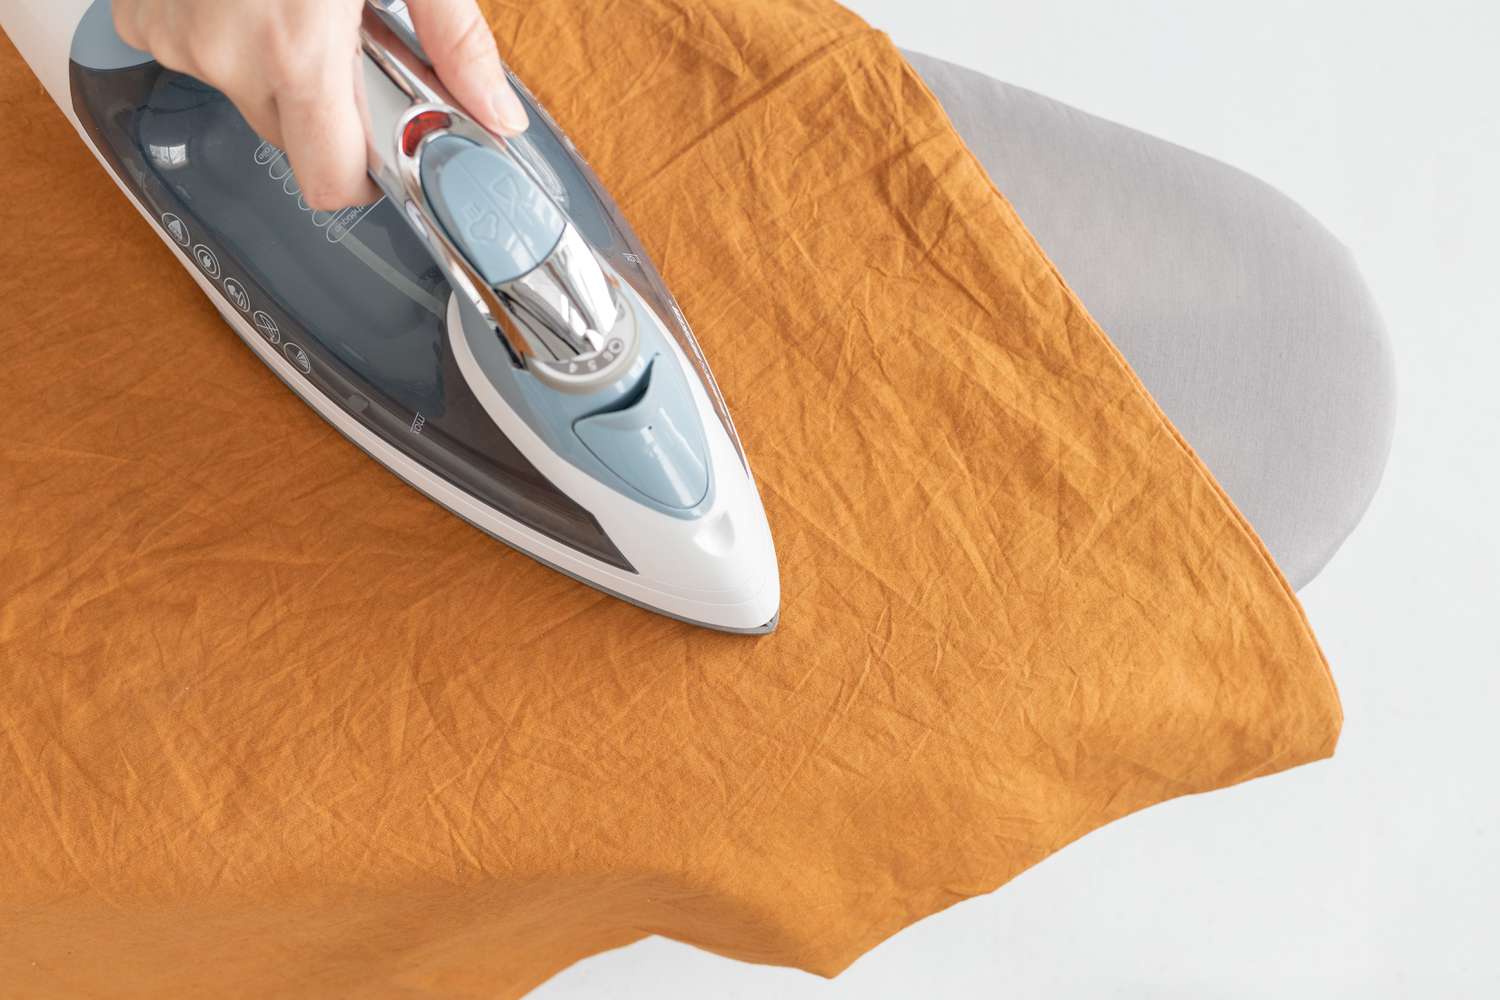
- Smooth out any wrinkles or creases in the fabric, using your hands or a fabric steamer if necessary. This will give your duvet cover a neat and polished appearance once it’s on the bed.
- Corner ties, if present, are often found inside the duvet cover. These ties help secure the duvet in place and prevent it from shifting inside the cover. Locate these ties and untie them or loosen them, ready for the next step.
Preparing the new duvet cover will ensure that it is clean, wrinkle-free, and ready to be filled with your duvet or comforter. Taking the time to properly prepare the duvet cover will make the next steps easier and will result in a beautifully made bed.
Once your new duvet cover is prepared, it’s time to move on to the next step: inserting the duvet into the cover.
Step 3: Insert the Duvet into the Cover
With your new duvet cover prepared, it’s time to insert the duvet or comforter into the cover. Follow these steps to ensure a smooth and hassle-free process:
- Hold the duvet cover open with your hands, ensuring the opening is wide enough to accommodate the duvet.
- Take hold of the top corners of the duvet and align them with the top corners of the duvet cover. This will help ensure that the duvet is evenly distributed inside the cover.
- Starting from the top, gently guide the duvet into the cover, allowing it to slide down towards the bottom. You may need to gently shake or adjust the duvet as you go to ensure it is fully inserted and properly aligned.
- As you reach the bottom of the duvet cover, check that the corners of the duvet are properly aligned with the corners of the cover. Adjust as necessary to ensure a snug fit.
- If your duvet cover has corner ties, now is the time to secure them. Take the corner ties and tie them in a knot around the corresponding corner of the duvet. This will help keep the duvet in place and prevent it from shifting inside the cover.
- Once the duvet is securely inside the cover, proceed to the next step: securing the duvet cover in place.
Inserting the duvet into the cover may require a bit of patience and adjustment, but with a steady hand, you’ll have it done in no time. The key is to ensure that the duvet is evenly distributed inside the cover and properly aligned with the corners.
Now that the duvet is in place, let’s move on to the next step: securing the duvet cover.
When changing a duvet cover, turn the cover inside out and lay it flat on the bed. Place the duvet on top and roll both together, then flip the duvet cover over the rolled bundle and unroll.
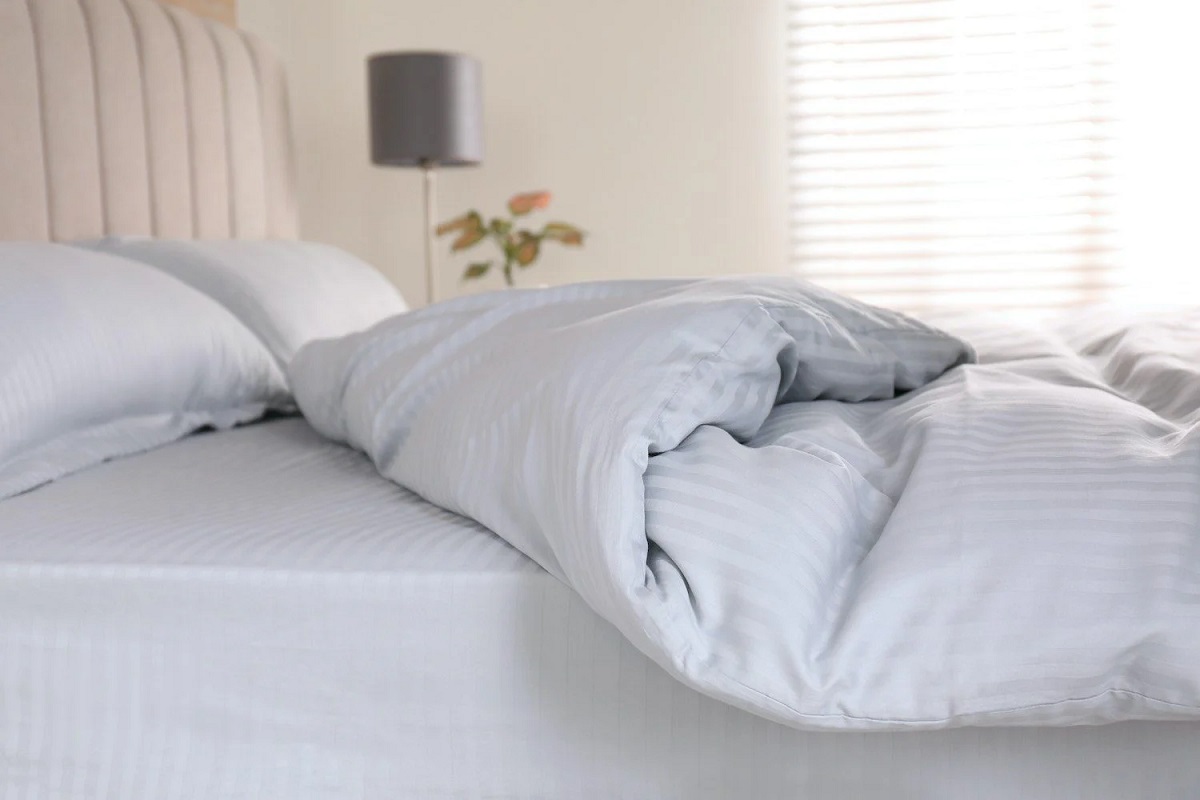
Step 4: Secure the Duvet Cover in Place
Once you have successfully inserted the duvet into the cover, it’s time to secure the duvet cover in place. Follow these steps to ensure a snug and secure fit:
- Starting from the top of the bed, zip up the closure or fasten the buttons or snaps of the duvet cover. This will help keep the duvet securely encased inside.
- Once the closure is secured, give the duvet cover a gentle tug from the top to ensure that it is properly fastened and there are no gaps or loose corners.
- If your duvet cover has additional fasteners such as ties or loops, use them to further secure the duvet inside. These additional fasteners help prevent the duvet from shifting inside the cover and maintain a neat appearance.
- Take a moment to smooth out any wrinkles or lumps that may have formed during the process. Smooth the fabric from the top to the bottom, ensuring a clean and polished look.
Securing the duvet cover is essential to keep the duvet in place and maintain a crisp and tidy appearance on your bed. Taking the time to fasten the closure and use any additional fasteners provided will ensure that the duvet cover stays in place, even with everyday use.
Now that the duvet cover is properly secured, let’s move on to the final step: smoothing out the duvet cover.
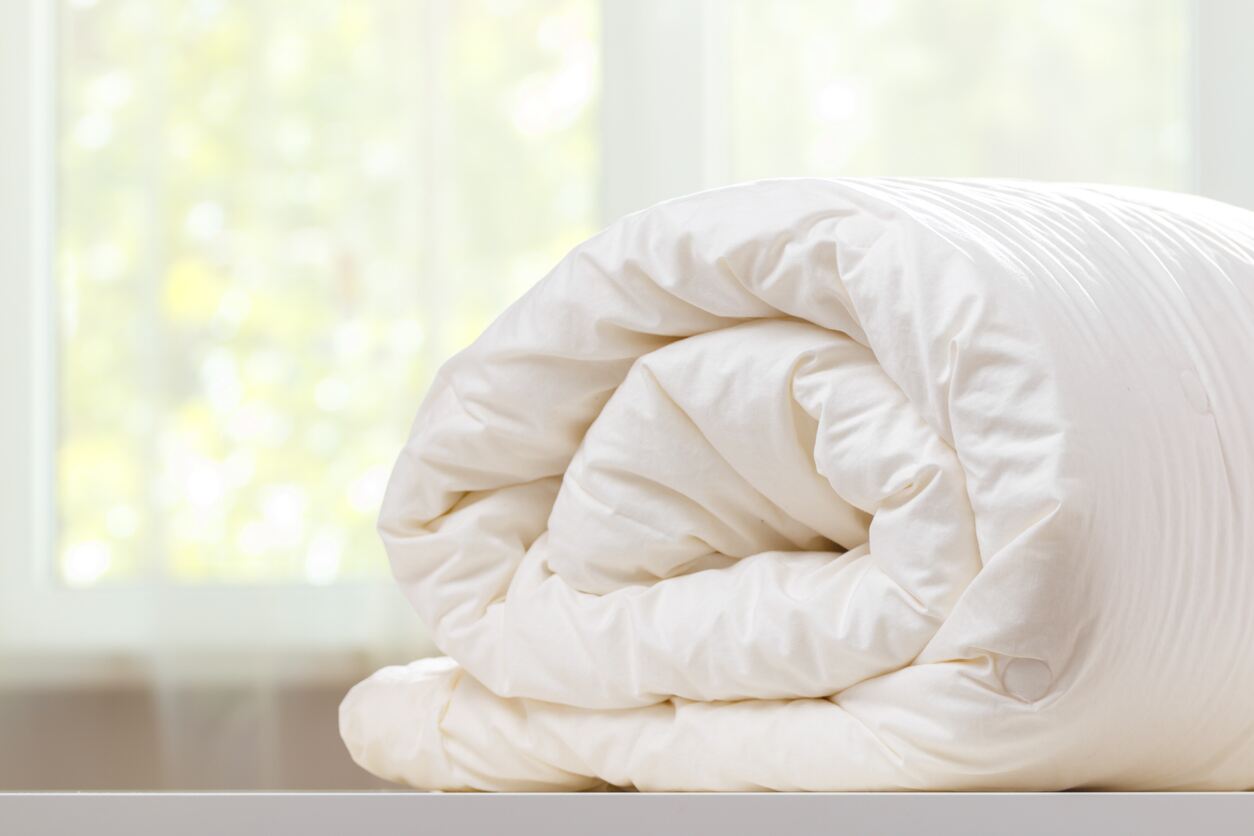
Read more: How To Roll A Duvet Cover
Step 5: Smooth out the Duvet Cover
The final step in changing a duvet cover is to smooth out any wrinkles or creases, ensuring a polished and inviting appearance. Follow these steps to achieve a crisp and tidy look:
- Starting from the top of the duvet cover, use your hands to smooth out the fabric, working your way down towards the bottom. Use gentle, sweeping motions to remove any wrinkles or folds.
- If needed, use a fabric steamer or iron on a low heat setting to further eliminate any stubborn wrinkles. Be sure to check the manufacturer’s instructions for ironing guidelines specific to your duvet cover.
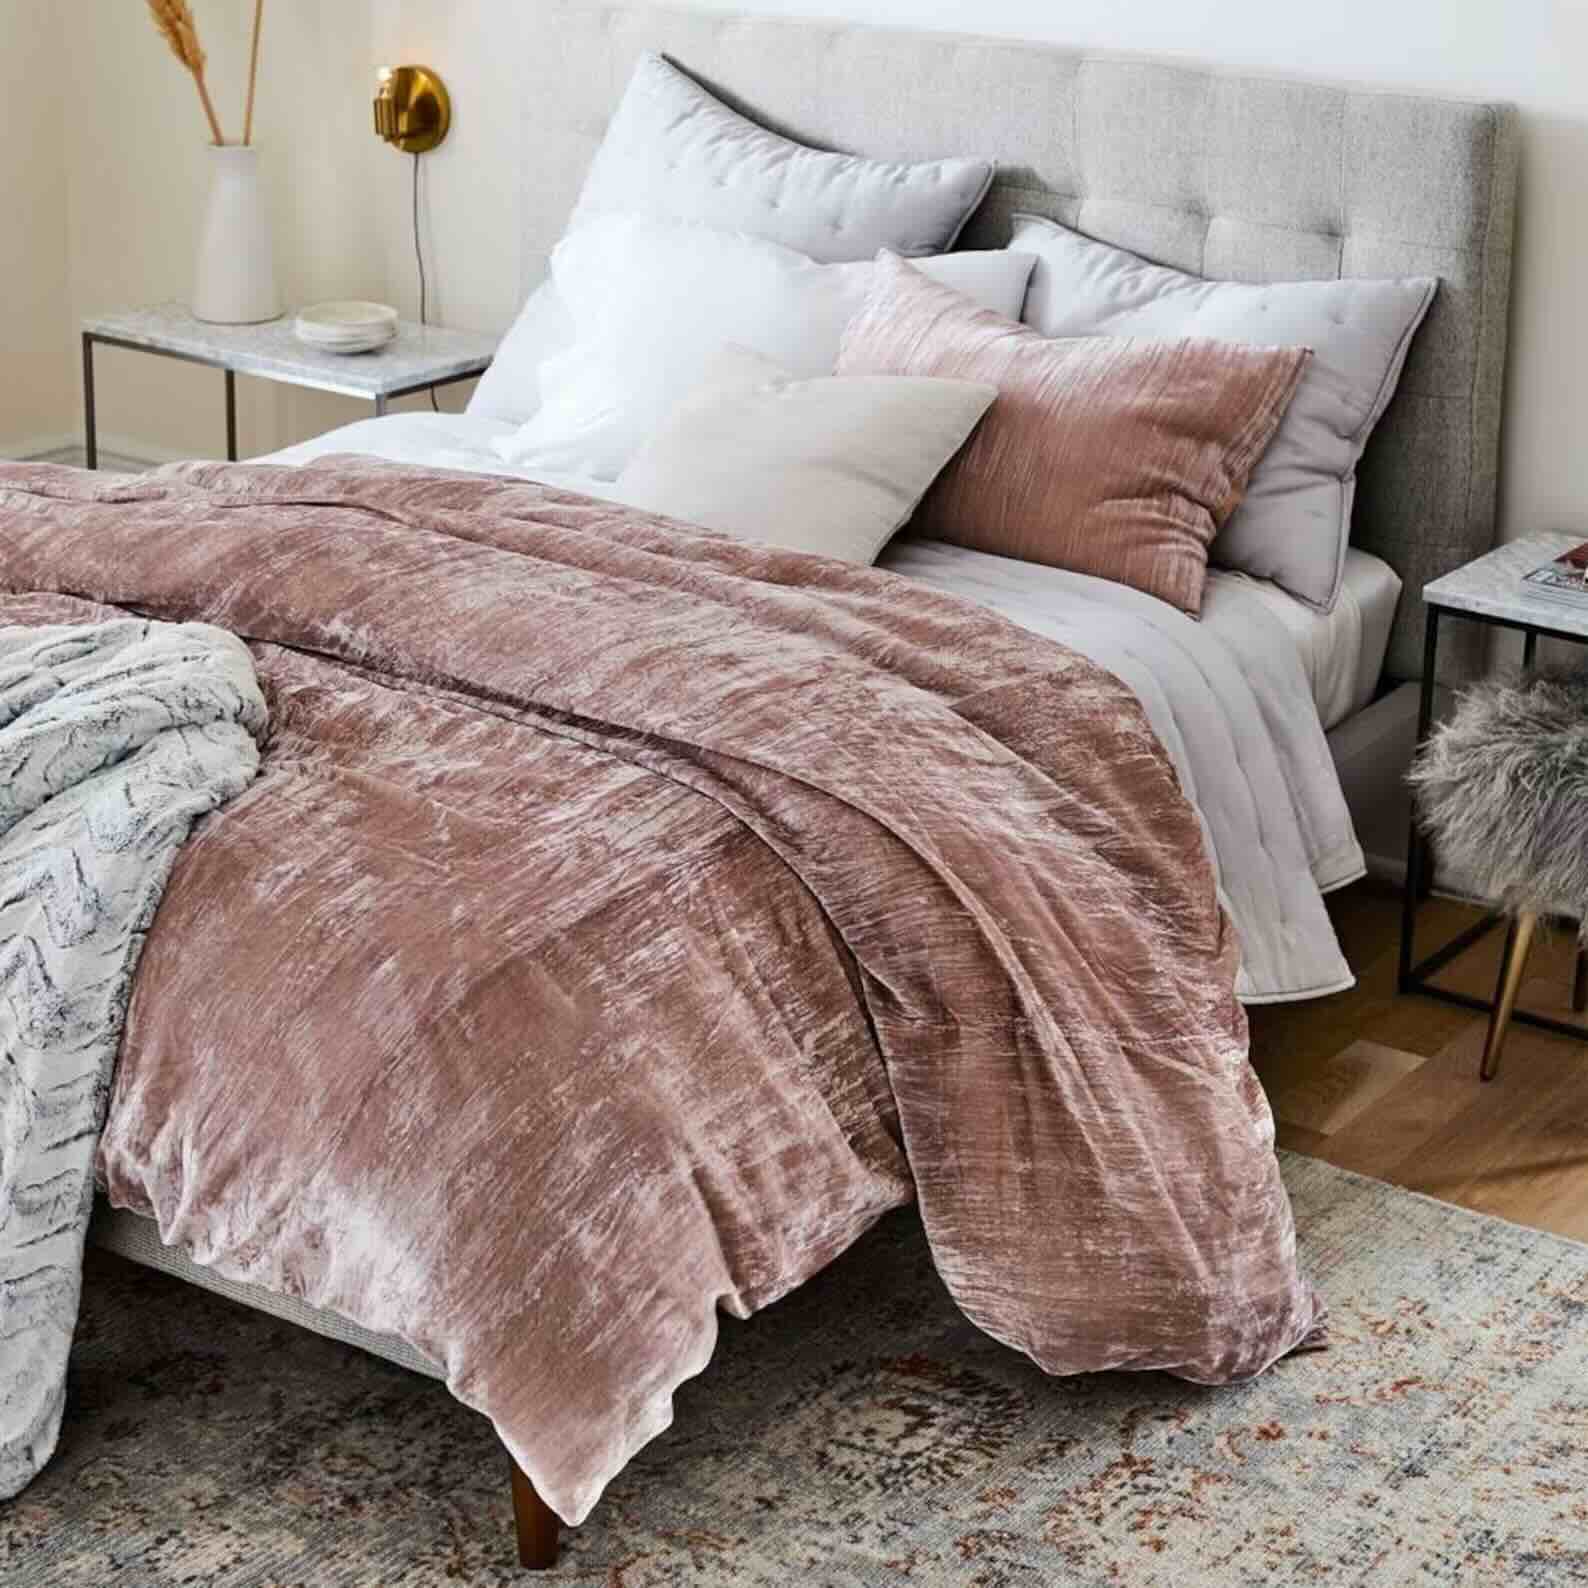
- Fluff and arrange any pillows or cushions that you plan to place on top of the bed, allowing them to complement the freshly changed duvet cover.
- Step back and admire your handiwork! Take a moment to appreciate the clean and inviting appearance of your newly changed duvet cover.
Smoothing out the duvet cover is the final touch that brings the whole look together. A well-smoothed duvet cover not only adds to the aesthetic appeal of your bed but also enhances the comfort and coziness of your sleeping environment.
Congratulations! You have successfully changed your duvet cover. Enjoy your fresh bedding and the renewed atmosphere it brings to your bedroom.
Remember, changing a duvet cover can be a simple and enjoyable task with a little practice. Before you know it, you’ll be able to change your duvet cover efficiently and effortlessly, giving your bedroom a quick and stylish makeover whenever you desire.
Conclusion
Changing a duvet cover is a practical and easy way to refresh the look of your bedroom and maintain the cleanliness of your bedding. With the step-by-step guide provided, you now have the knowledge and confidence to tackle this task with ease.
From removing the old duvet cover to preparing and inserting the new one, securing it in place, and smoothing out any wrinkles, each step plays a crucial role in achieving a neat and inviting appearance. By following these steps, you can effortlessly change your duvet cover and create a cozy and stylish atmosphere in your bedroom.
Remember to take care of your duvet cover by washing it regularly and following the manufacturer’s instructions for maintenance. This will help ensure its longevity and keep it in pristine condition for years to come.
Now that you have mastered the art of changing a duvet cover, enjoy the process of transforming your bedroom and embracing the comfort and elegance that a fresh duvet cover brings. Experiment with different colors, patterns, and textures to express your personal style and create a space that truly feels like home.
Thank you for joining us on this duvet-changing journey. May your nights be cozy, and your bedroom be a sanctuary of relaxation and rejuvenation.
Frequently Asked Questions about How To Change A Duvet Cover
Was this page helpful?
At Storables.com, we guarantee accurate and reliable information. Our content, validated by Expert Board Contributors, is crafted following stringent Editorial Policies. We're committed to providing you with well-researched, expert-backed insights for all your informational needs.


0 thoughts on “How To Change A Duvet Cover”