Articles
How To Build Sheepskin Rugs
Modified: October 18, 2024
Learn how to build beautiful sheepskin rugs with our informative articles. Get step-by-step instructions and expert tips for creating your own cozy and stylish sheepskin rugs.
(Many of the links in this article redirect to a specific reviewed product. Your purchase of these products through affiliate links helps to generate commission for Storables.com, at no extra cost. Learn more)
Introduction
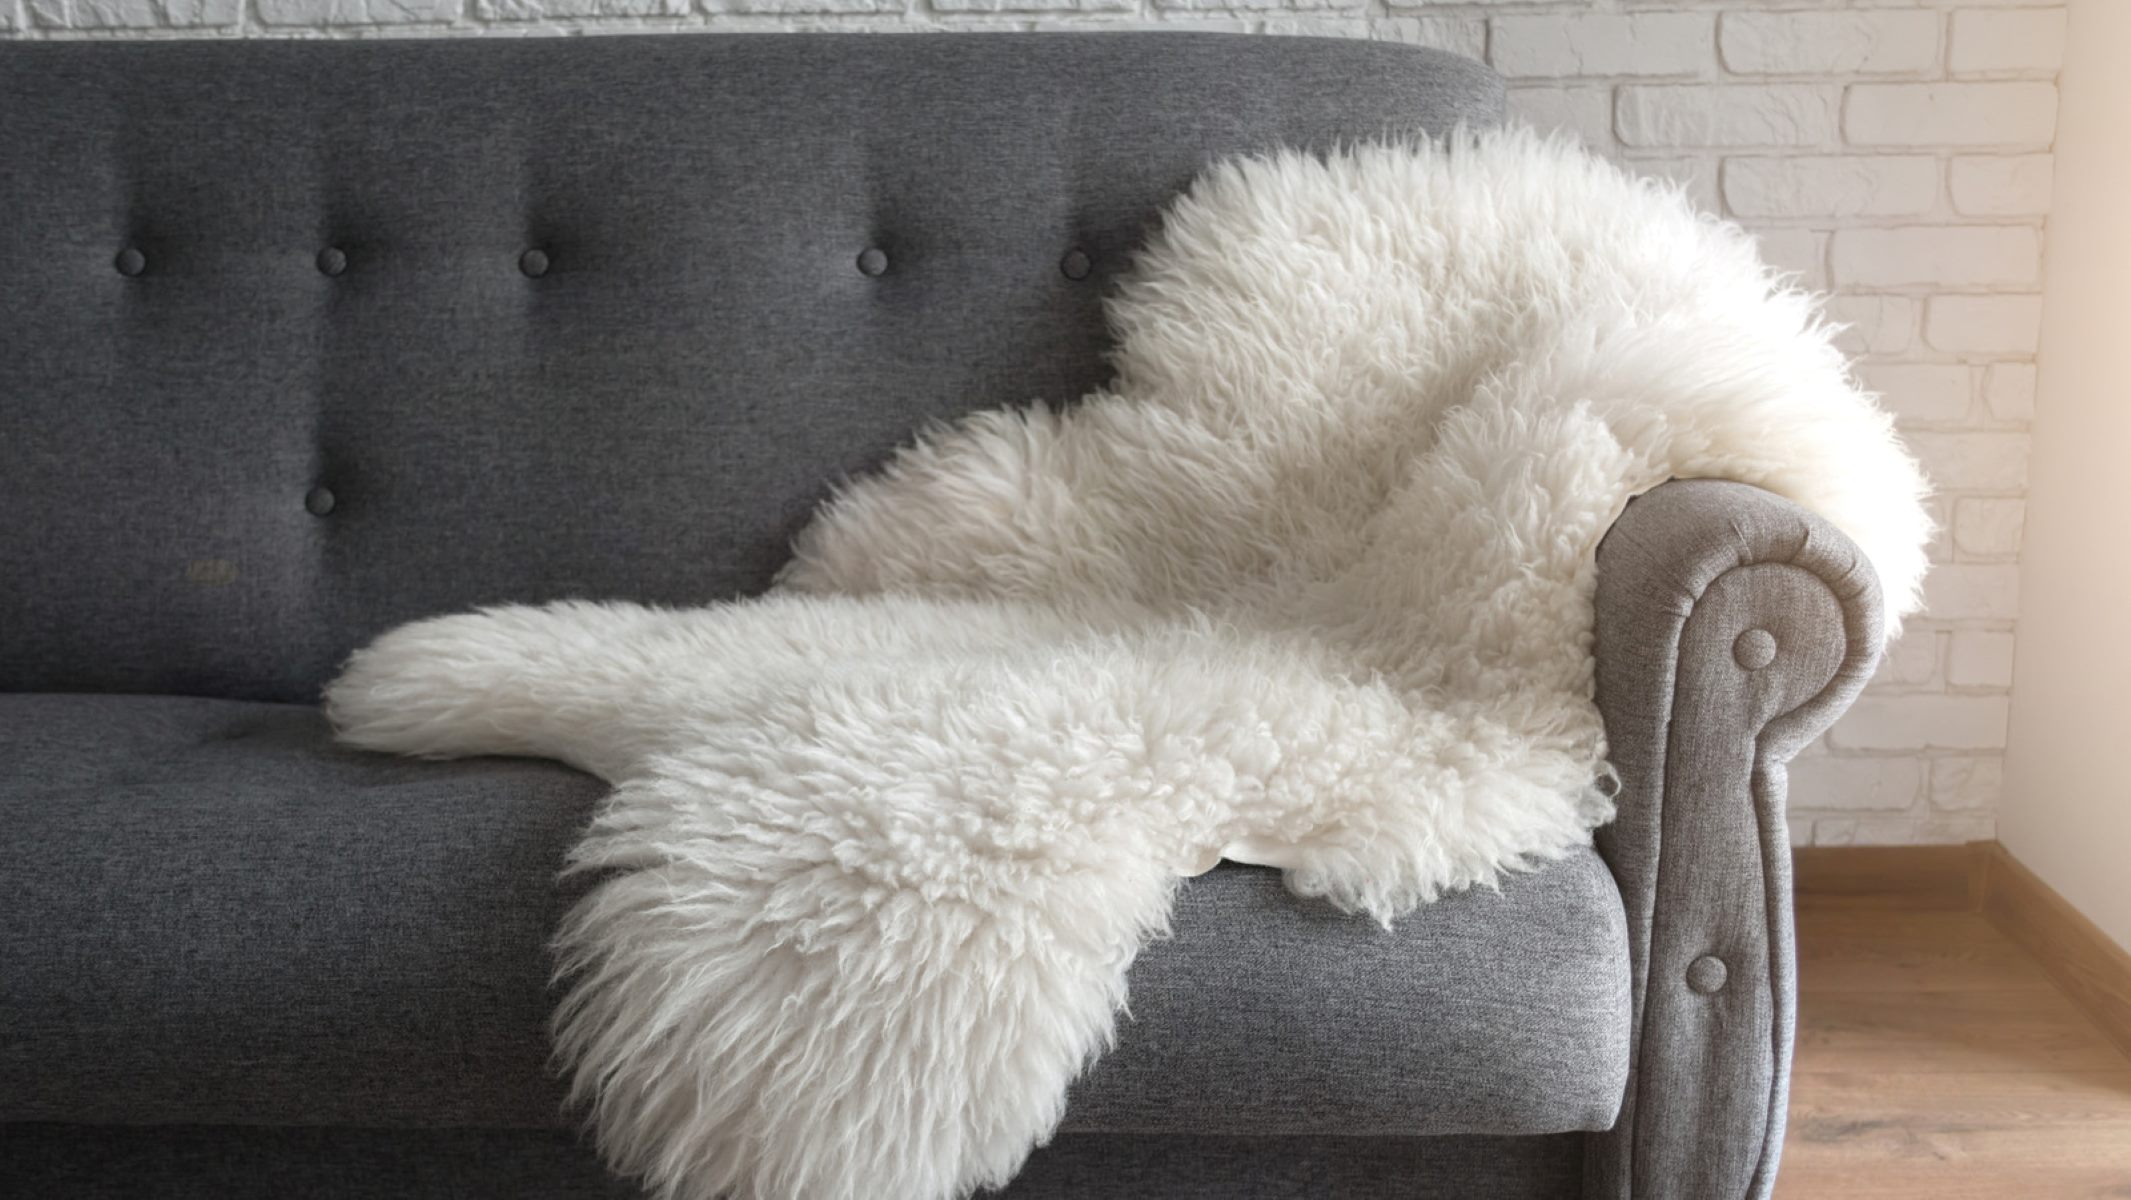
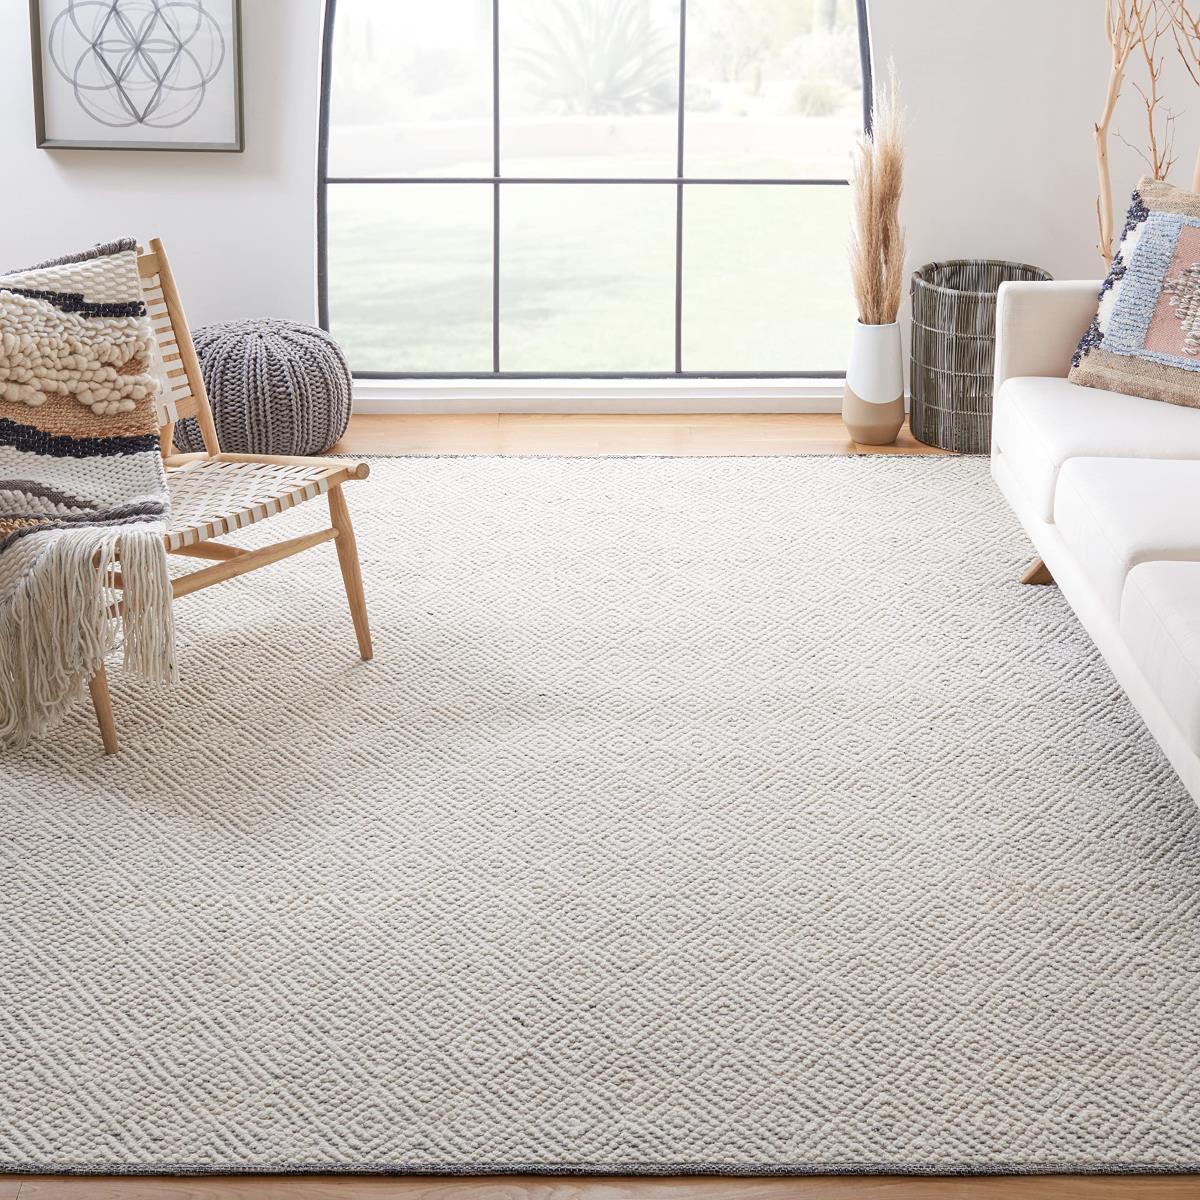
Welcome to the world of sheepskin rugs! If you’re looking to add a touch of luxury and coziness to your home, nothing compares to the softness and warmth of a sheepskin rug. Whether you want to place it in your living room, bedroom, or even use it as a cozy floor covering for your nursery, a sheepskin rug is a versatile and timeless addition to any space.
Building your own sheepskin rug allows you to customize its size, shape, and design to perfectly complement your decor. In this article, we’ll guide you through the process of creating your very own sheepskin rug, from choosing the right sheepskin to the finishing touches.
Before we dive into the steps, let’s talk a bit about why sheepskin rugs are so sought after. Sheepskin is renowned for its natural insulation, making it a perfect choice for colder climates or for adding warmth during the winter months. Its soft and silky texture creates a luxurious and inviting feel underfoot. Sheepskin rugs also have hypoallergenic properties, as the natural fibers resist dust mites and other allergens, making them ideal for those with allergies or sensitivities.
Now that we’ve covered the basics, let’s get started with the first step of building your own sheepskin rug – choosing the perfect sheepskin.
Key Takeaways:
- Create a luxurious and personalized sheepskin rug by carefully choosing the perfect sheepskin, designing a unique pattern, and meticulously cutting, shaping, and sewing the pieces together. Enjoy the cozy elegance of your handmade creation!
- Building a sheepskin rug is a creative and rewarding DIY project that allows you to infuse your personal style into your home decor. From selecting ethically sourced sheepskin to adding finishing touches, each step contributes to a warm and inviting atmosphere.
Read more: How To Clean A Sheepskin Rug
Step 1: Choosing the Sheepskin
The quality of your sheepskin is crucial when it comes to building a durable and luxurious rug. When selecting the sheepskin, there are a few factors to consider:
- Type of Sheepskin: There are various types of sheepskins available, each with its own unique characteristics. Common options include Icelandic, Merino, and Mongolian sheepskins. Icelandic sheepskins are known for their long, curly wool, while Merino sheepskins have a denser and softer texture. Mongolian sheepskins have a longer pile and slightly coarser feel. Choose the type that appeals to your aesthetic preferences and matches your desired level of softness.
- Size: Consider the area where you plan to place the rug and measure it accurately. Sheepskins come in different sizes, and you’ll want to choose one that fits the space nicely. Keep in mind that you can also trim or shape the sheepskin to the desired size later in the process.
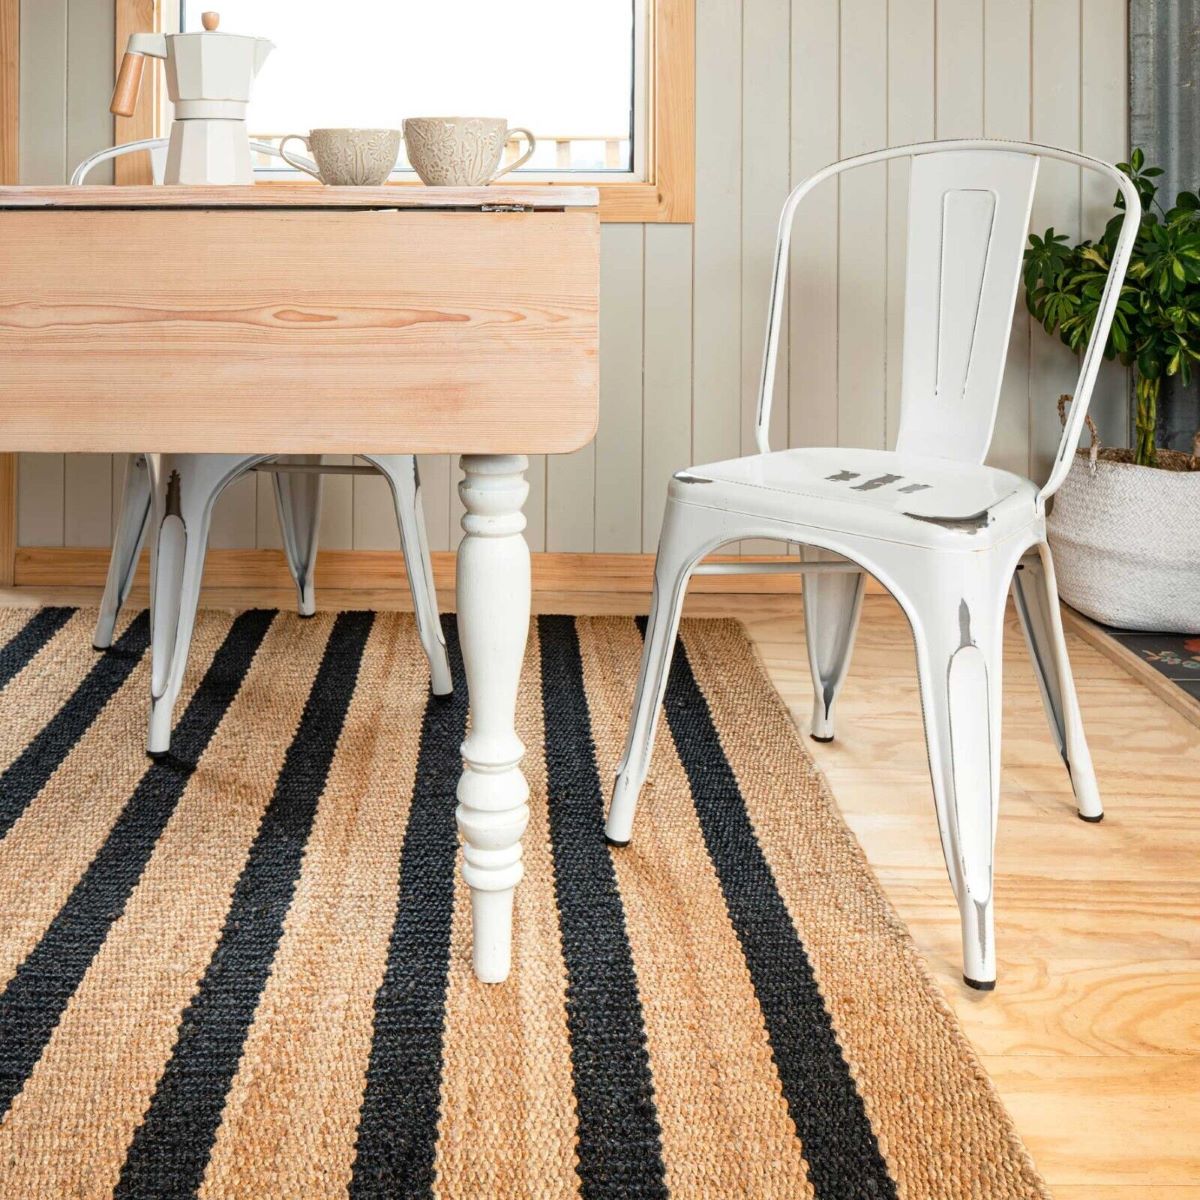
- Color: Sheepskins come in a variety of natural colors, including shades of white, brown, and gray. Pick a color that complements your existing decor or opt for a bold statement by choosing a vibrant or dyed sheepskin.
- Quality: Inspect the sheepskin for any imperfections such as bald spots, patchy areas, or thinning wool. Look for even and thick wool coverage across the entire sheepskin. A high-quality sheepskin will be soft, supple, and have a consistent texture.
When purchasing the sheepskin, it’s best to source it from reputable suppliers to ensure that you are getting a genuine, ethically-sourced product. Local specialty stores, online retailers, or farmers’ markets are good places to start your search.
Once you’ve chosen the perfect sheepskin, you’re ready to move on to the next step – preparing the sheepskin for the rug-building process.
Step 2: Preparing the Sheepskin
Before you start working on your sheepskin rug, it’s essential to properly prepare the sheepskin to ensure its longevity and cleanliness. Here are the steps involved in preparing the sheepskin:
- Cleaning: Begin by gently brushing the sheepskin with a soft brush or comb to remove any loose dirt, dust, or debris. If there are stubborn stains or spills, you can use a mild soap solution and a clean cloth to spot clean the affected area. Avoid soaking the sheepskin or using harsh chemicals, as it can damage the delicate wool fibers.
- Drying: After cleaning, allow the sheepskin to air dry naturally. It’s important to avoid direct sunlight and heat sources, as this can cause the sheepskin to become stiff and lose its softness. Instead, lay the sheepskin flat on a clean towel or drying rack in a well-ventilated area.
- Brushing: Once the sheepskin is dry, gently brush it again to fluff up the wool and restore its natural texture. This will also help to remove any remaining dirt or loose fibers. Use a soft-bristled brush and work in the direction of the wool grain.
- Retrieving Shape: If the sheepskin has become slightly misshapen during the cleaning process, you can reshape it by stretching it gently in the opposite direction. This will help it regain its original shape and prevent any irregularities in your finished rug.
By taking the time to properly prepare your sheepskin, you’ll ensure that it’s clean, soft, and ready to be transformed into a stunning rug. With the sheepskin now prepped, let’s move on to designing the pattern for your rug in step 3.
Step 3: Designing the Rug Pattern
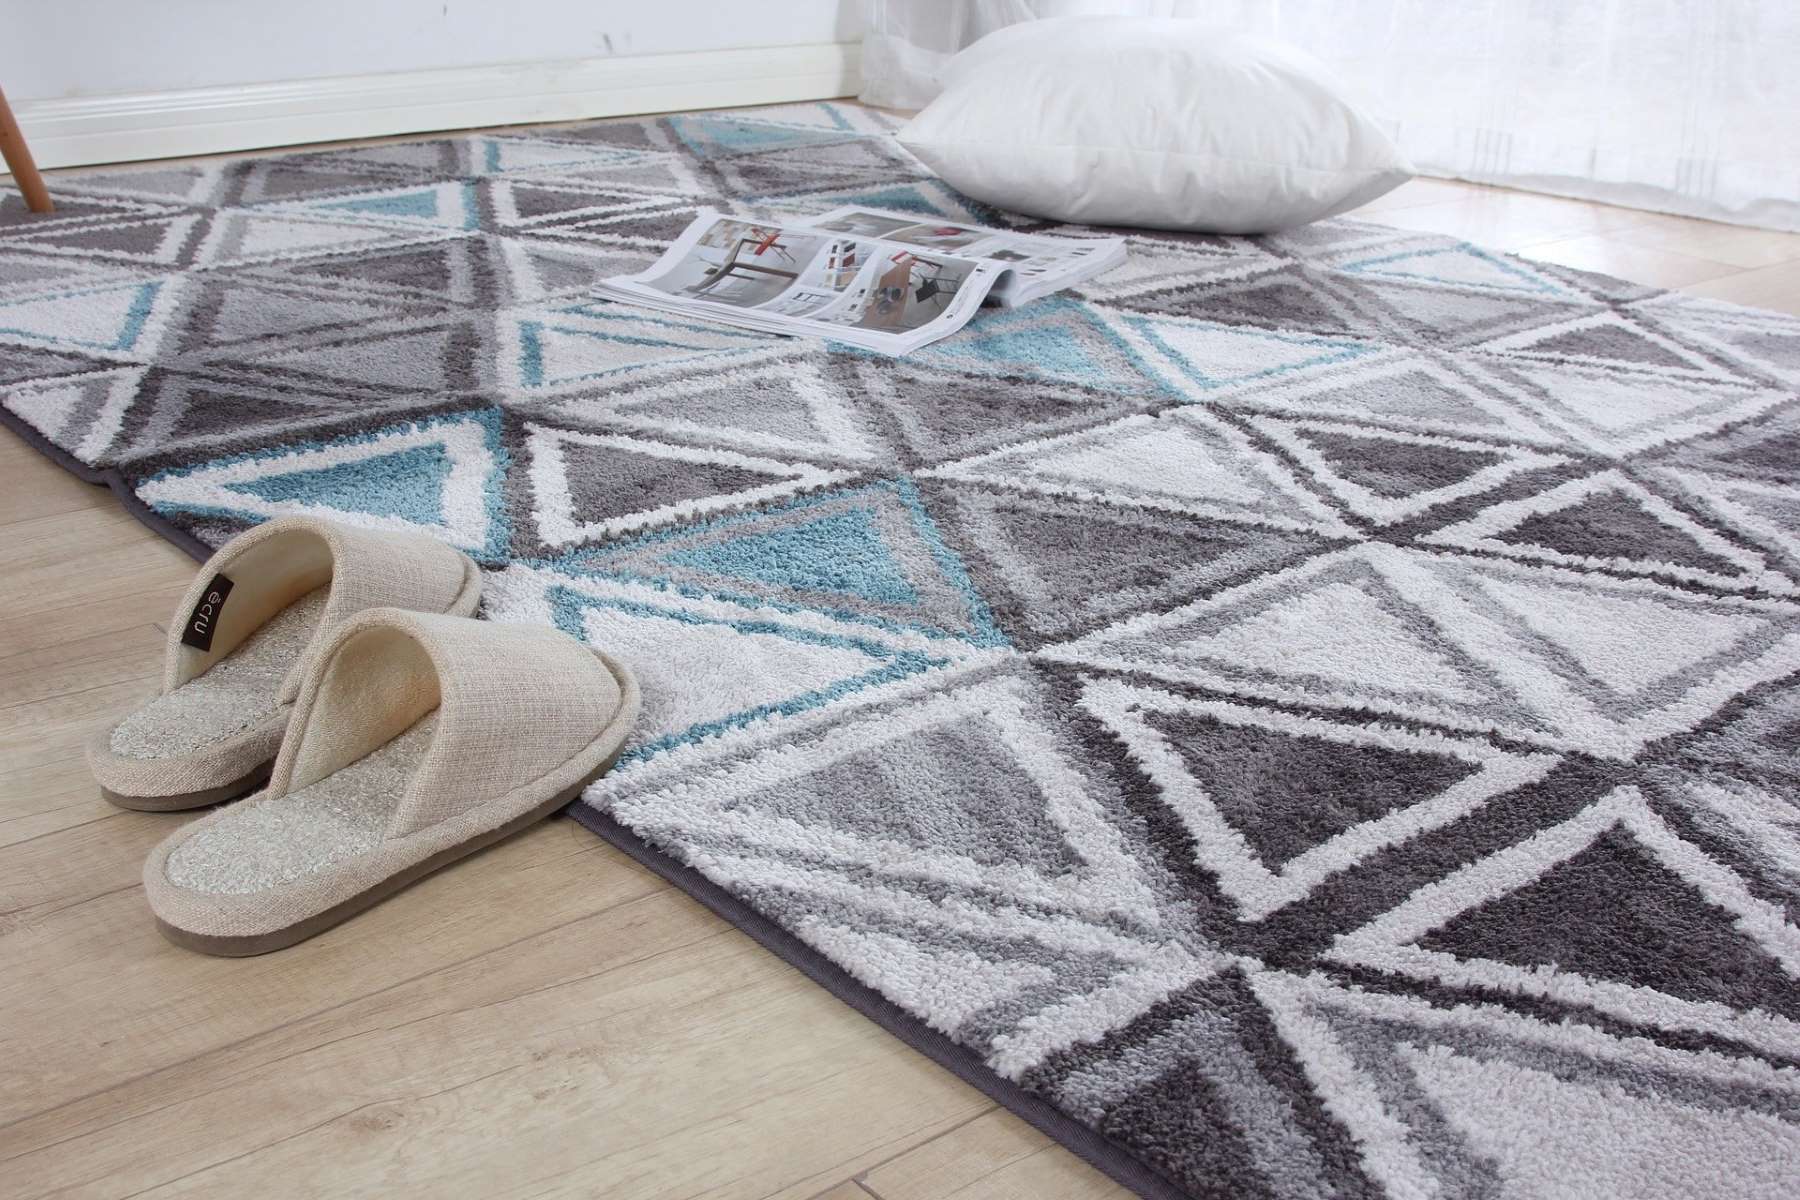
Designing the pattern for your sheepskin rug is where you can unleash your creativity and personalize it to suit your taste and the aesthetic of your space. Here are some considerations for designing your rug pattern:
- Shape: Decide on the shape of your rug – whether you prefer a classic rectangular design, a cozy round rug, or perhaps a unique irregular shape that adds a touch of whimsy to your room.
- Size: Determine the final dimensions of your rug based on your space and the size of the sheepskin you selected. Remember to leave some extra material for trimming and shaping if needed.
- Borders and Edges: Think about whether you want to include borders or edges for a finished look. You can use contrasting fabric or leather strips to create a defined border or leave the edges raw for a more natural and organic feel.
- Patterns or Embellishments: Consider adding patterns or embellishments to your rug for visual interest and uniqueness. You can use leather or fabric appliques, embroidered designs, or even incorporate different sheepskin colors to create a patterned effect.
- Symmetry or Asymmetry: Decide if you prefer a symmetrical or asymmetrical design. Symmetry can provide a balanced and harmonious look, while asymmetry can add intrigue and a modern touch.
To help you visualize your rug design, you can use a piece of paper or a design software to sketch out the pattern and experiment with different ideas. This will give you a clear roadmap to follow when it comes time to cut and shape the sheepskin in the next step.
Once you’ve finalized your rug pattern, it’s time to start bringing it to life by cutting and shaping the sheepskin in step 4.
When building sheepskin rugs, make sure to properly clean and dry the sheepskin before starting the construction process. This will ensure that the rug is free from dirt and bacteria, and will help it last longer.
Step 4: Cutting and Shaping the Sheepskin
Now that you have your rug design planned out, it’s time to bring it to life by cutting and shaping the sheepskin. Here’s how to do it:
- Trace the Pattern: Begin by placing the sheepskin on a large, clean surface and laying your rug pattern on top. Use a fabric marker or chalk to trace the outline of the pattern onto the sheepskin. Take your time to ensure accuracy and precision.
- Cut Out the Shape: Once you’ve traced the pattern onto the sheepskin, carefully cut along the lines using sharp fabric scissors. Take your time and make smooth, clean cuts to get the desired shape. If you have any intricate details or curves in your pattern, make small, incremental cuts for more control.
- Shaping the Edges: If you want to create rounded edges or other shapes, use a rounded object or template as a guide and trim the sheepskin accordingly. Remember to go slow and trim small sections at a time, checking the shape as you go.
- Trimming Excess Wool: If your sheepskin rug has a dense or uneven wool pile, you may want to trim it slightly to achieve a more uniform appearance. Use sharp scissors to carefully trim any excess or longer wool fibers, making sure to maintain a consistent length throughout.
As you cut and shape the sheepskin, keep referring back to your design pattern to ensure that you’re creating the desired shape and proportions. Take your time, be patient, and make adjustments as needed to achieve your desired rug shape.
Now that the sheepskin is cut and shaped, it’s time to move on to the next step – sewing the rug pieces together in step 5.
Read more: How Do You Wash Sheepskin Rugs
Step 5: Sewing the Rug Pieces Together
With the sheepskin pieces cut and shaped to your desired rug pattern, it’s time to assemble and sew the rug pieces together. Here’s how to do it:
- Prepare the Sewing Materials: Gather your sewing materials, including a heavy-duty needle, strong thread, and upholstery or leather sewing machine needles. Make sure your thread matches the color of the sheepskin or the desired decorative effect.
- Position the Rug Pieces: Lay out the sheepskin pieces according to your rug pattern design. Make sure the edges align properly and any borders or embellishments are positioned correctly.
- Starting the Sewing: Begin sewing the rug pieces together starting from one corner or edge. Use a strong, durable stitch such as a blanket stitch, whip stitch, or a zigzag stitch to securely join the pieces. Take your time to ensure that the stitches are neat and even.
- Sewing Techniques: As you sew, make sure to insert the needle through both layers of sheepskin to create a secure bond. For added strength, you can double-stitch or reinforce any areas that may experience more wear and tear.
When sewing the sheepskin pieces together, pay attention to maintaining a consistent seam allowance and keeping the stitches as invisible as possible. Be careful not to pull too tightly, as it may distort the shape of the rug or cause the sheepskin to pucker.
Continue sewing the rug pieces together until the entire rug is properly joined. Take breaks as needed and step back periodically to check the overall appearance and alignment of the rug. Once all the pieces are sewn together, it’s time to move on to the final step – adding the finishing touches and cleaning the rug in step 6.
Step 6: Finishing Touches and Cleaning
Now that the rug pieces are sewn together, it’s time to add the finishing touches and ensure your sheepskin rug is clean and ready for use. Follow these steps to complete the rug-building process:
- Trim Excess Threads: Carefully inspect the rug for any loose threads or stray fibers and trim them with scissors. This will give your rug a polished and tidy appearance.
- Check and Adjust Shape: Lay the rug flat on the ground or a clean surface and gently adjust the shape if necessary. Smooth out any wrinkles or uneven areas by gently pulling and tugging on the sheepskin.
- Gently Brush the Wool: Use a soft-bristled brush to fluff up and restore the natural resilience of the sheepskin wool. Brush in the direction of the wool grain to avoid damaging or pulling out the fibers.
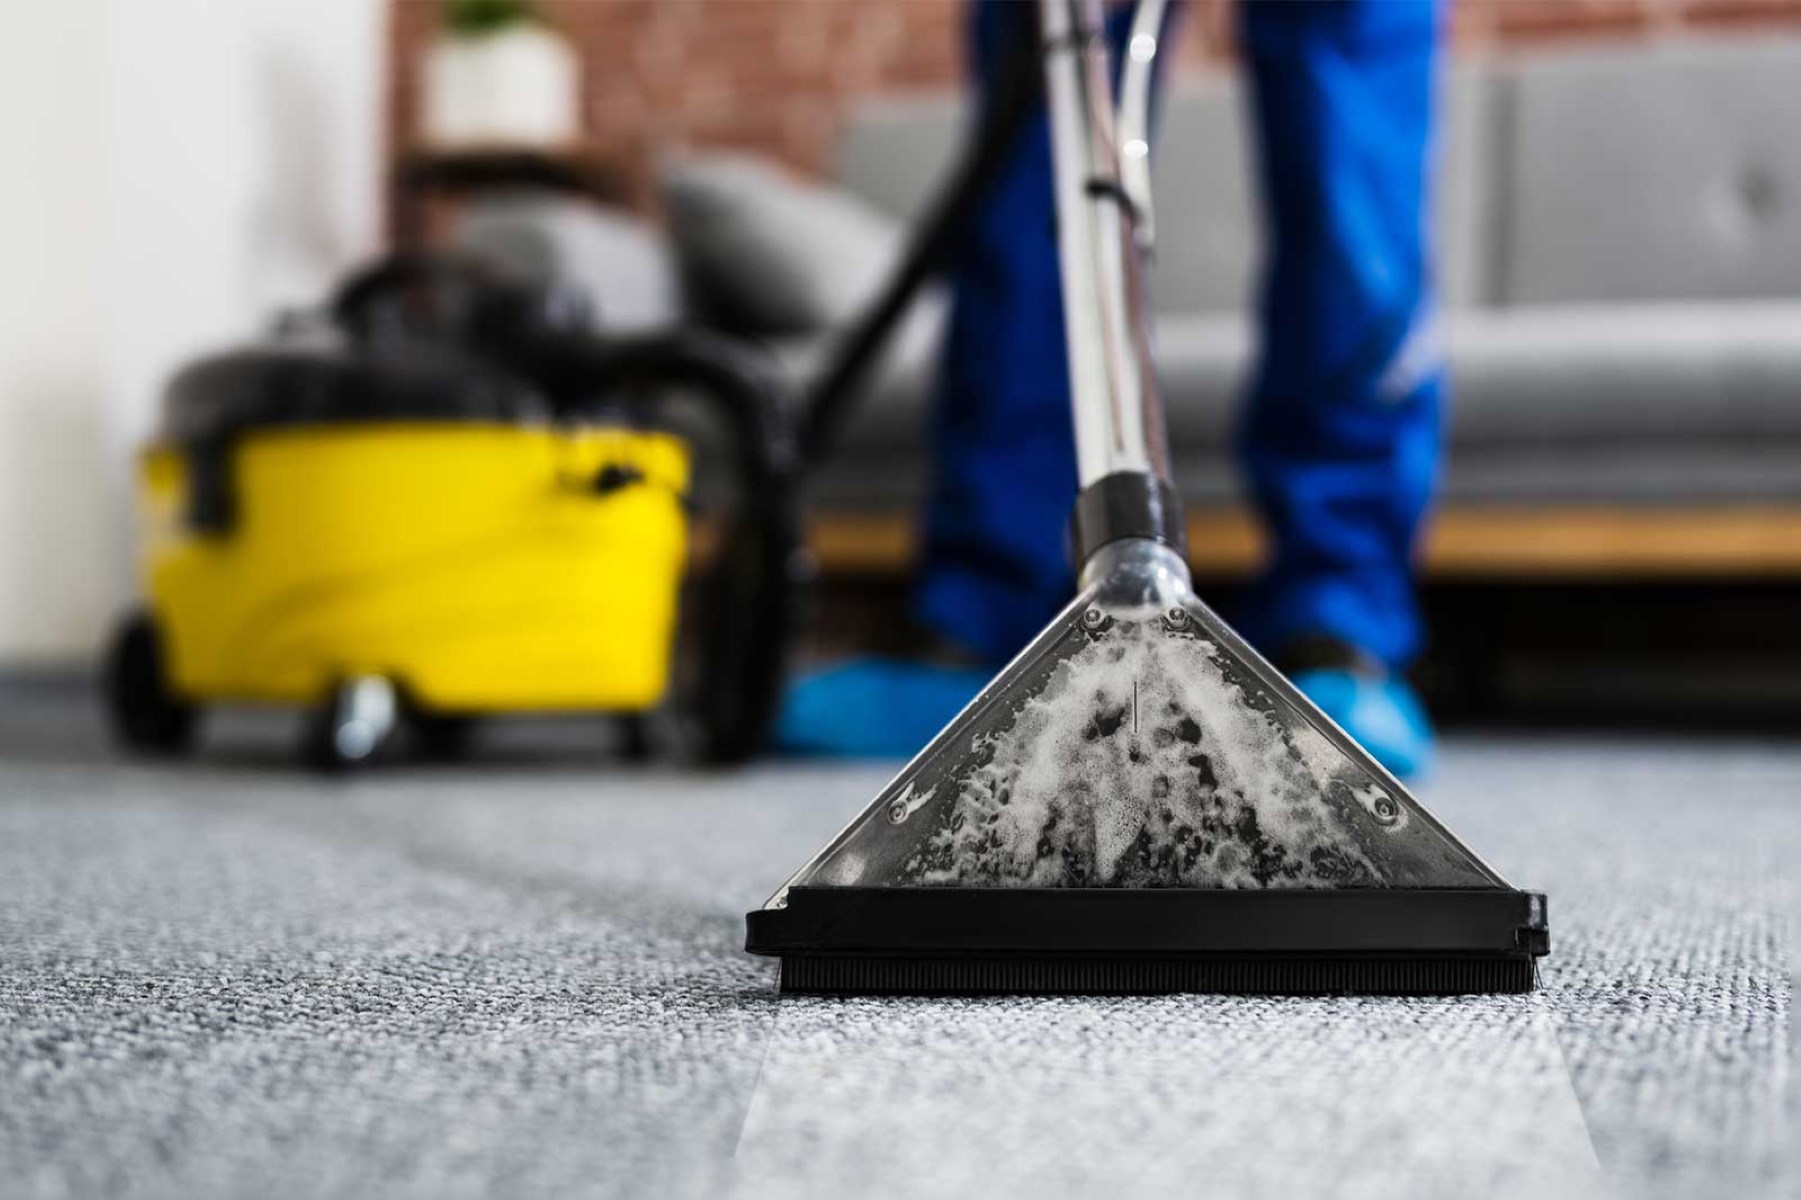
- Professional Cleaning: While sheepskin is naturally resistant to dirt and odors, it’s a good idea to occasionally have your rug professionally cleaned to keep it looking fresh and maintain its softness. Consult with a professional cleaner experienced in dealing with sheepskin rugs for the best results.
Regular maintenance of your sheepskin rug is important to keep it looking and feeling its best. Shake out the rug outdoors periodically to remove any loose dirt or debris. If any spills or stains occur, blot them immediately with a clean, damp cloth, and, if necessary, use a mild soap solution to spot clean the affected area.
Remember to protect your sheepskin rug from prolonged exposure to direct sunlight, as this can cause fading and deterioration of the wool fibers over time. Rotate the rug periodically to ensure even wear and prevent excessive flattening in high-traffic areas.
By following these steps, you’ll have a beautiful, customized sheepskin rug that adds warmth, luxury, and style to your home. Enjoy the comfort and elegance it brings to your space, and take pride in the fact that you built it with your own hands.
With the completion of step 6, you’ve successfully finished building your sheepskin rug. Don’t forget to share your creation and enjoy the cozy ambiance it brings to your home!
Conclusion
Building your own sheepskin rug is a rewarding and creative endeavor that allows you to personalize your space with a luxurious and cozy touch. By following the steps outlined in this guide, you can create a beautiful and unique sheepskin rug that not only adds warmth and comfort but also reflects your personal style and taste.
From choosing the perfect sheepskin to designing the rug pattern, cutting and shaping the pieces, sewing them together, and adding the finishing touches, each step contributes to the overall success of your rug-building project. Along the way, remember to infuse your own creativity and flair, whether it’s including intricate patterns, contrasting borders, or unique shapes.
Responsible sourcing of the sheepskin is essential to ensure that you’re supporting ethical practices and obtaining a high-quality product. Take the time to research reputable suppliers and choose the type and color of sheepskin that best complements your home décor.
As you enjoy your newly built sheepskin rug, remember to take good care of it to prolong its lifespan and maintain its beauty. Regular cleaning and occasional professional care will ensure that your rug stays soft, plush, and free from dirt and odors.
Whether you place your sheepskin rug in your living room, bedroom, nursery, or any other cozy corner of your home, its natural insulation, softness, and hypoallergenic properties will create a welcoming and comfortable atmosphere. You’ll find yourself drawn to its warmth during cold winter months and reveling in its luxurious texture year-round.
Building a sheepskin rug is not just about adding a decorative element to your space. It’s about the satisfaction of creating something with your own hands, knowing that it’s a reflection of your unique vision and style. So, take the plunge, unleash your creativity, and embark on the journey of building your own sheepskin rug – a true testament to your DIY skills and love for cozy elegance.
Frequently Asked Questions about How To Build Sheepskin Rugs
Was this page helpful?
At Storables.com, we guarantee accurate and reliable information. Our content, validated by Expert Board Contributors, is crafted following stringent Editorial Policies. We're committed to providing you with well-researched, expert-backed insights for all your informational needs.


0 thoughts on “How To Build Sheepskin Rugs”